How to make a rack for seedlings with your own hands
Outside the window, a cold north wind blows up flakes of snow, and summer residents are already engaged in agricultural work ... in their own apartment. There is not enough space on the windowsills for seedlings, and on the tables, in the back of the room, there is not enough natural light for the seedlings. There is nothing left to do but to make a rack for seedlings with your own hands.
What is a seedling rack for?
Summer residents usually do not have spacious sun-drenched greenhouses in which they can grow crops before transplanting them into open ground or a greenhouse on their backyard. However, the lack of space can be compensated by shelves for seedlings.
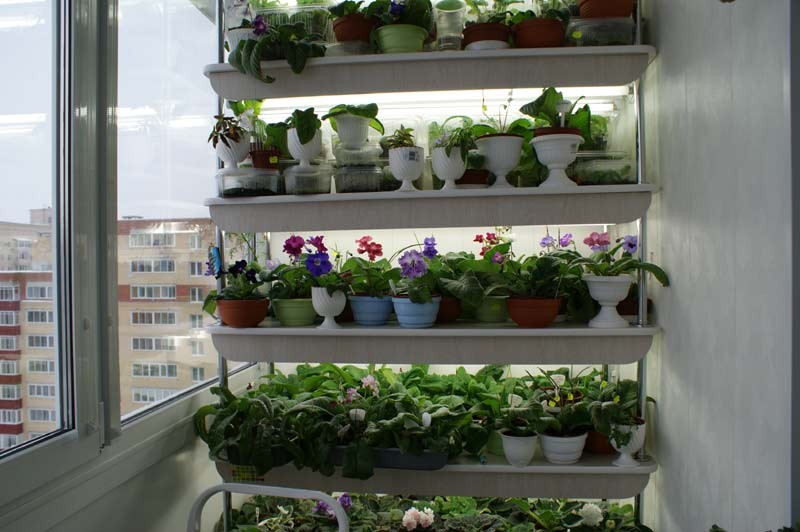
With their help, you can place seedlings in several tiers in a small area. The convenience of this option is that you will save space and will be able to determine the location of the germinated plants yourself, taking into account lighting and other factors.
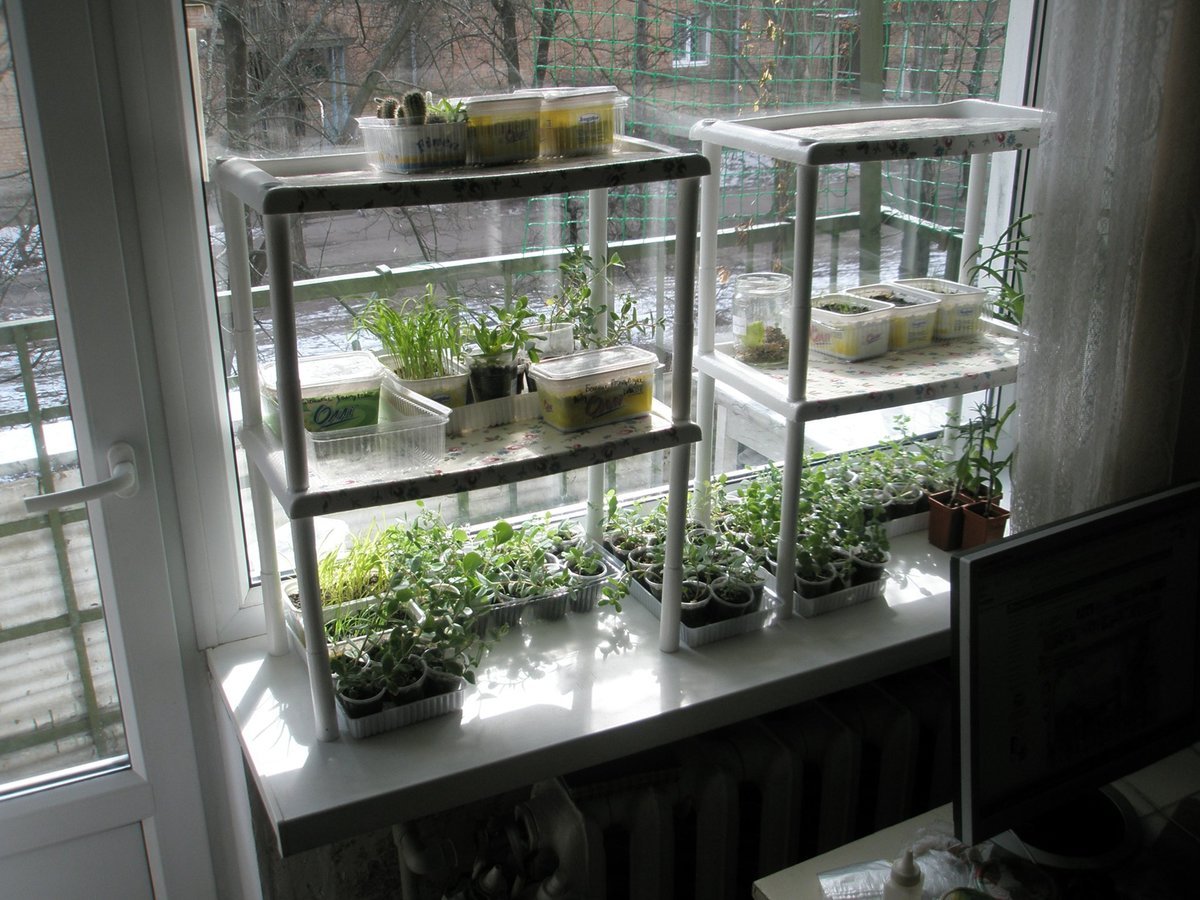
A DIY seedling rack will help:
- Save space (a large number of seedlings takes up a minimum of space).
- Compensate for the lack of light (general lighting + backlighting).
- Save money (homemade products will cost less than the purchased product).
- Determine on your own where exactly agricultural plants will germinate, taking into account the illumination and other factors.
What materials can be made
The most common materials are wood, metal and plastic.
Plastic is too broad a class of materials. The characteristics vary greatly depending on the production method, polymer base, and impurities. They can be both durable and not reliable enough. Both to be environmentally friendly and contain toxic substances.

The most reliable and durable structures are obtained from metal, but the material is not easy to process. More suitable for stationary structures, since it is of considerable weight.

Wood is a noble, aesthetic and fairly durable material, but it also has its drawbacks. The array noticeably loses in quality with prolonged exposure to moisture, therefore it needs protective coatings.
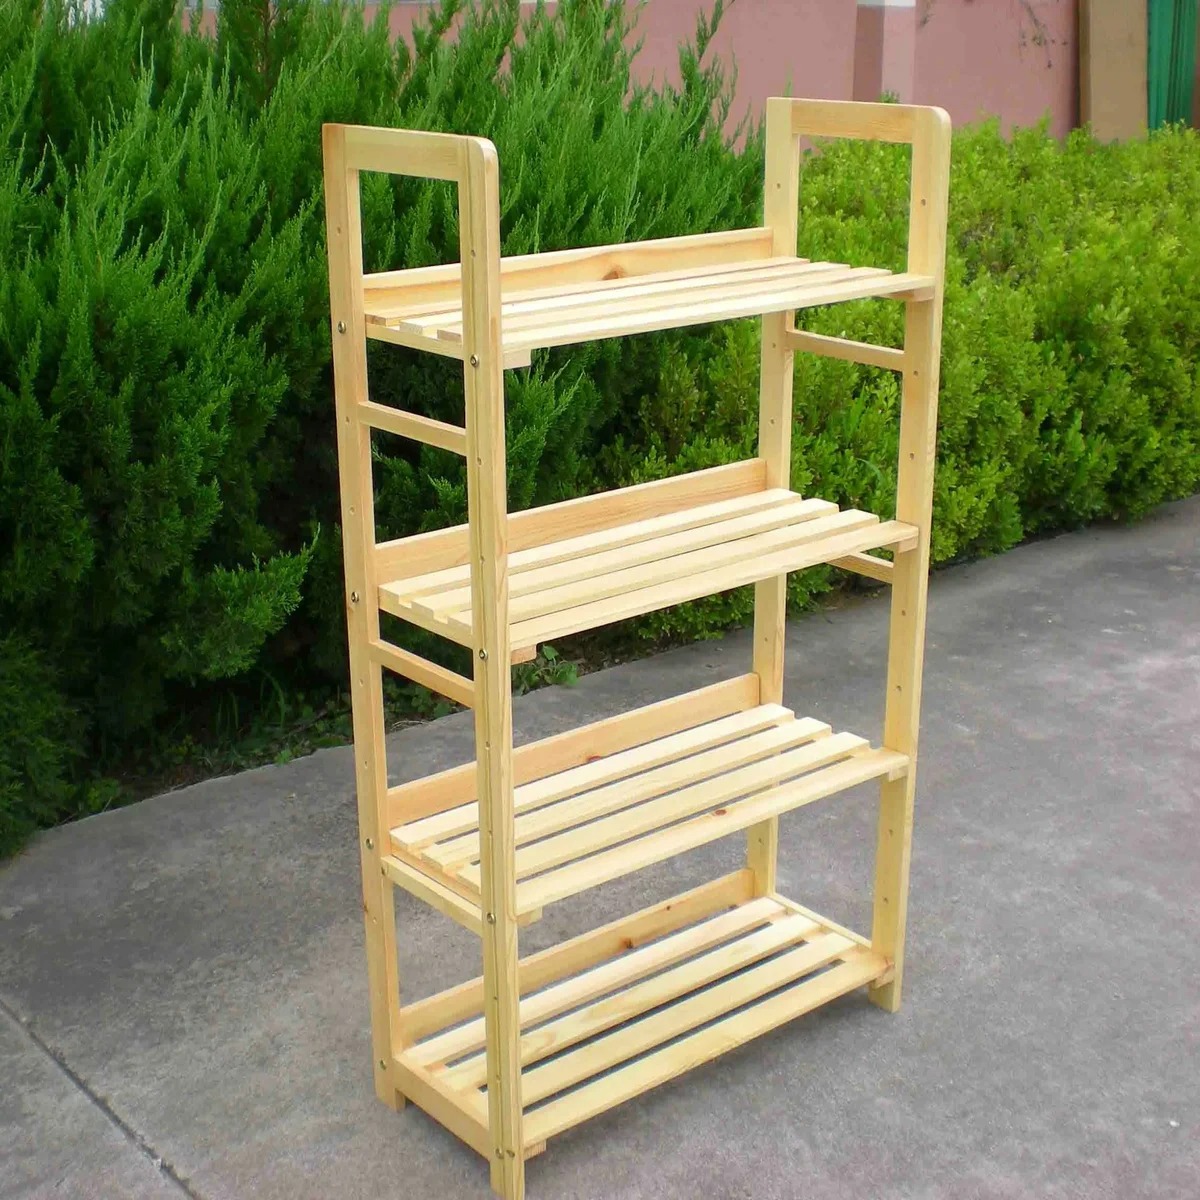
You can also make a "hybrid" model. For example, a wooden frame and shelves made of metal or organic glass.
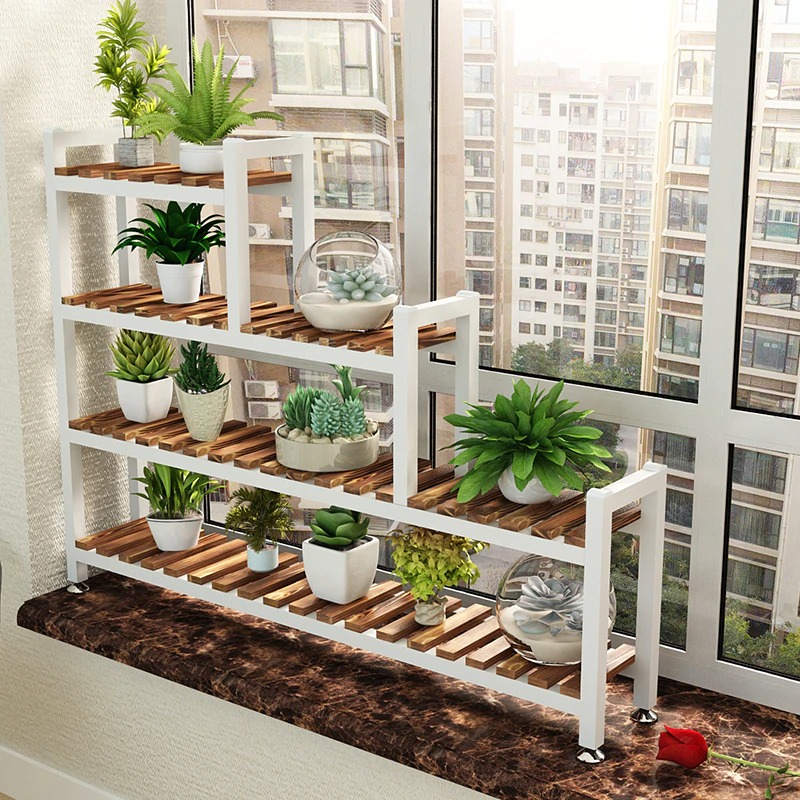
Types of shelving designs and manufacturing workshops
In addition to materials of manufacture, shelving structures can be classified according to the degree of mobility:
- Stationary.
- Mobile (on wheels).
- Collapsible.
Collapsible, the most convenient in terms of space saving. They can be folded and hidden in the closet or garage as soon as the seedlings are transplanted into the ground. Until next season.
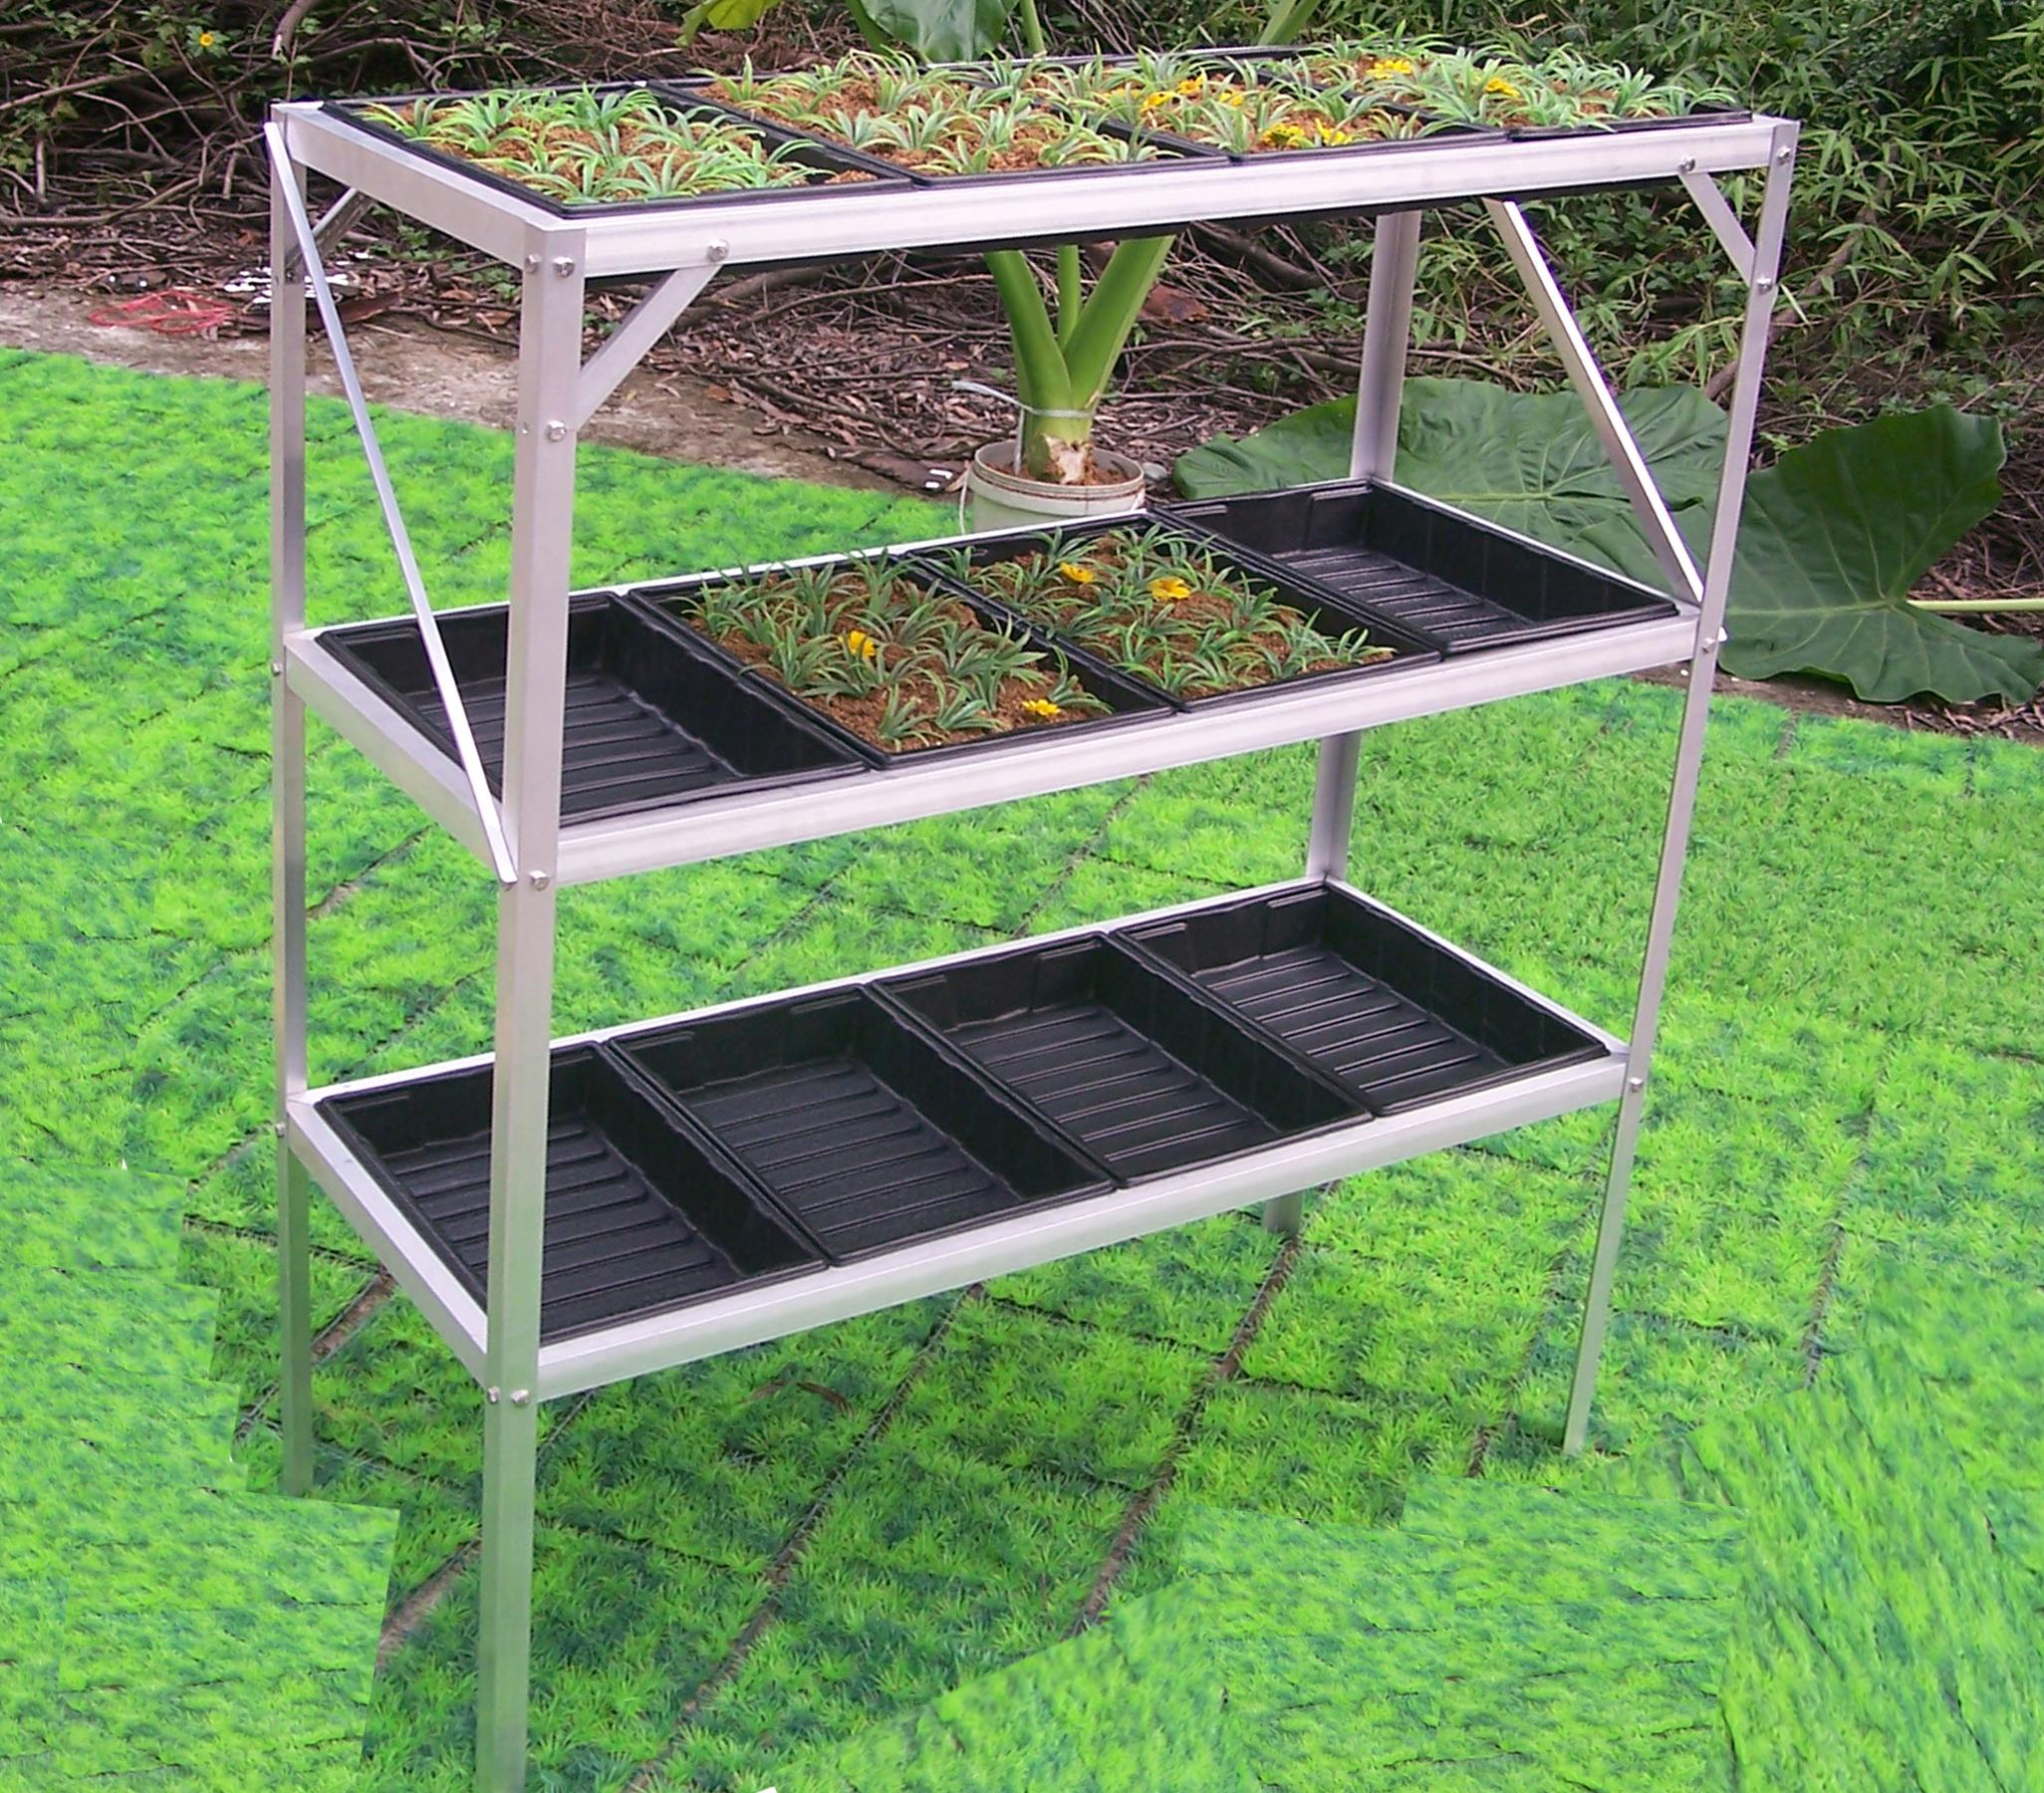
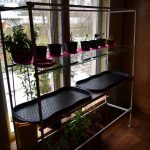
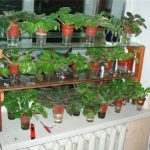
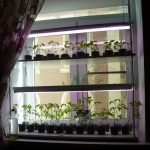
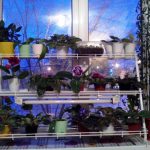
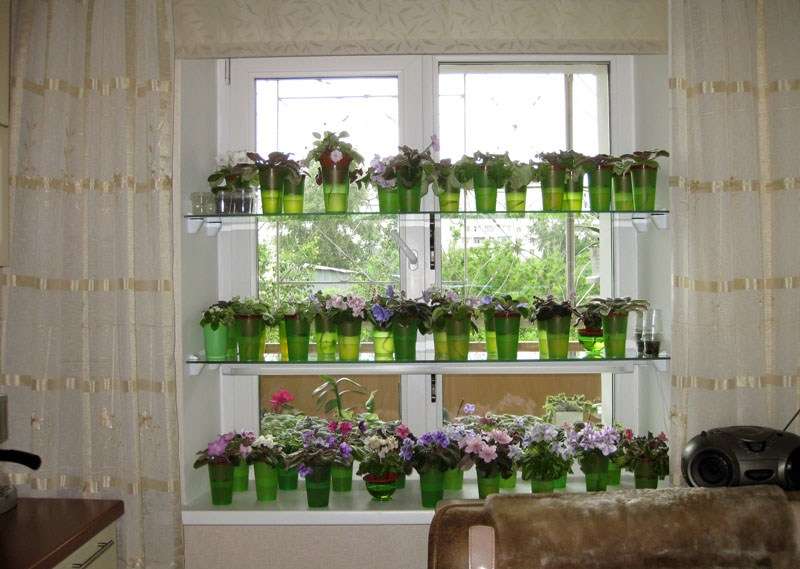
Rack for seedlings on the windowsill
Making a rack for seedlings on the windowsill with your own hands is not at all difficult. The manufacturing process is practically no different from a stationary floor structure. The main difference is the size. Since the base area is limited by the area of the window sill, and the height is limited by the height of the window opening. The optimal distance between the tiers is 0.4-0.6 m.
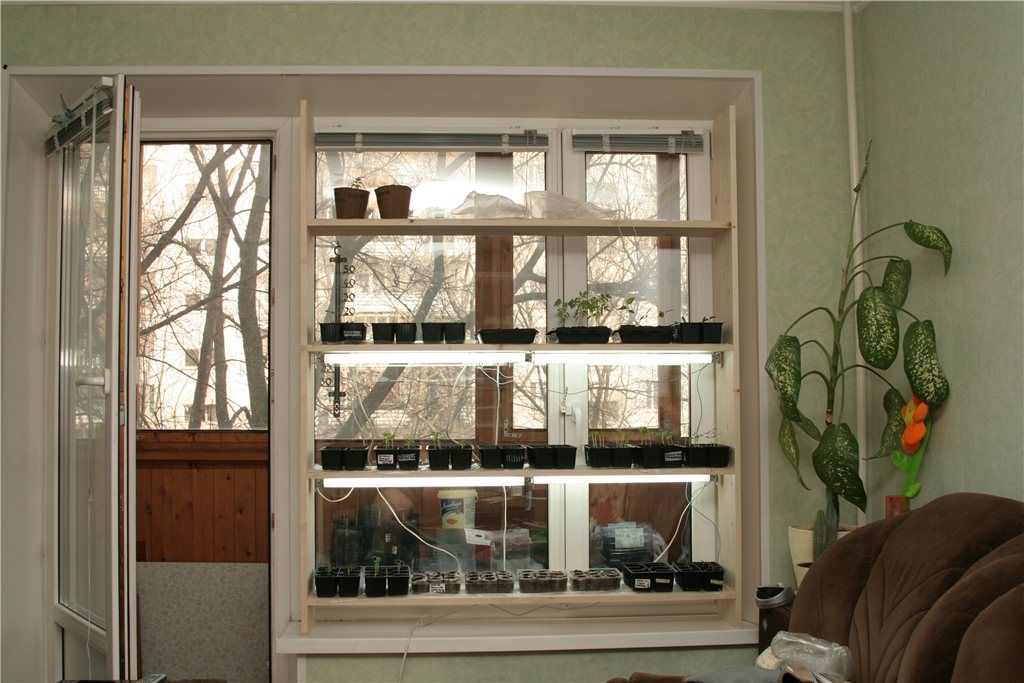
How to make a backlit wood shelving unit
Let's figure out how to make a wooden backlit seedling rack.
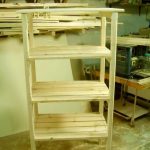
- Step 1. We think over the design and make a drawing. The width of the shelf should not be more than 0.5-0.6 m. Usually they are made from three to six.

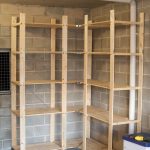
The simplest version of the design with shelves can be assembled with your own hands from ready-made parts used in arranging storage places in warehouses. - Step 2. We cut the timber to the required size. The coniferous massif needs an additional antibacterial coating.
- Step 3. Mark the attachment points with a pencil, connect the frame elements with a metal corner using self-tapping screws.
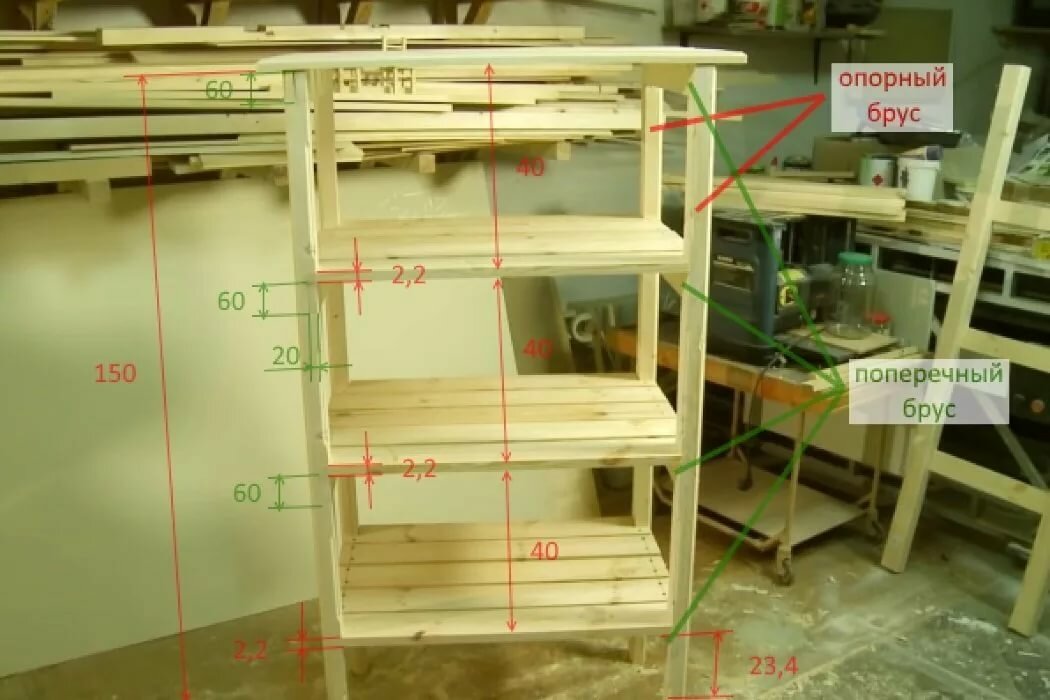
The most affordable material for shelves is wood. - Step 4. Grinding, covering with protective compounds. We cut plywood shelves.
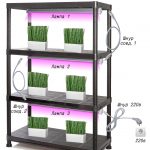
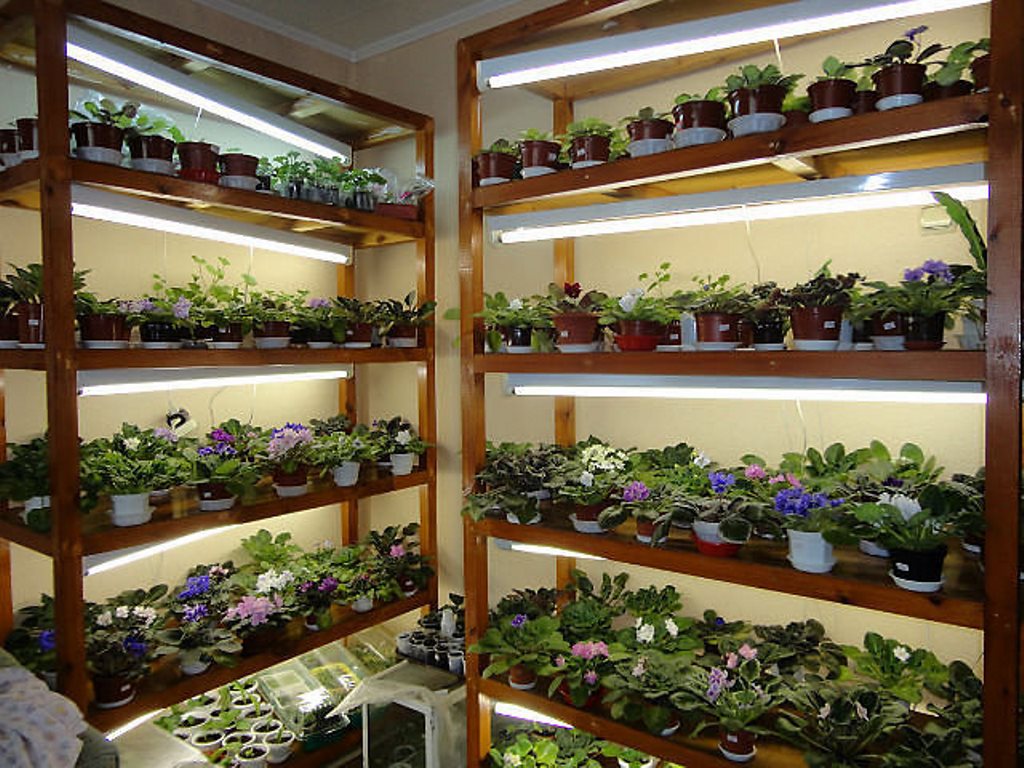
- Step 5. We attach the fluorescent lamps to the bottom surfaces of the shelves. We connect the lighting to the mains.
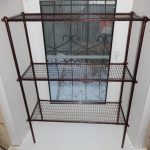
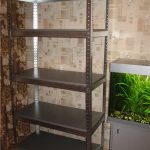
Making a metal rack
For a stationary metal rack you will need:
- Grinder with a circle for metal for cutting a corner.
- Electric drill with drills for metal and concrete.
- Welding machine.
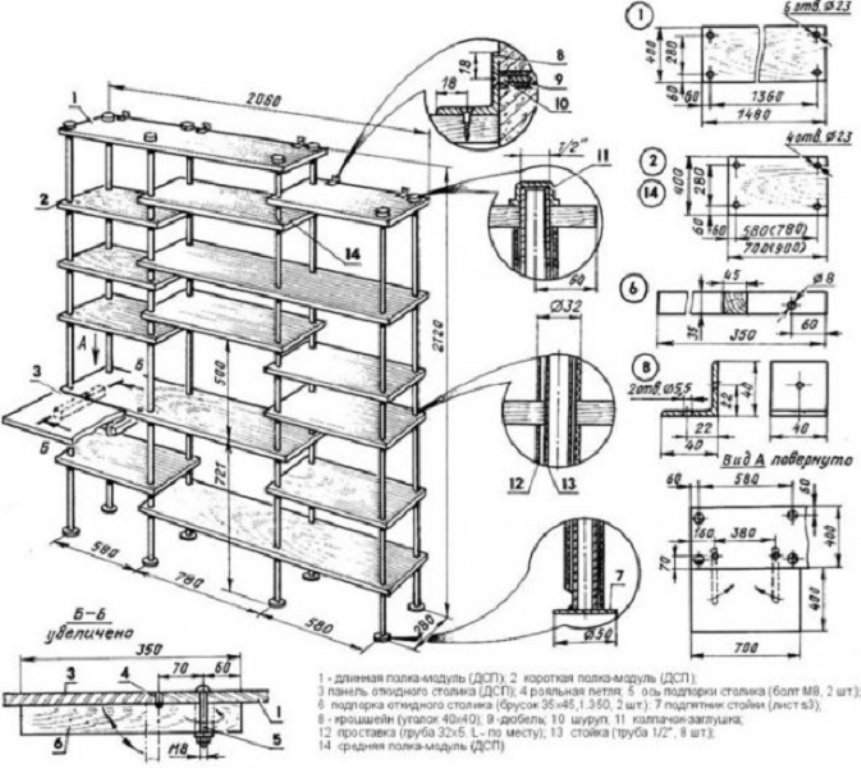
- Materials: steel corner 25x25 for the frame, particle boards, anchor bolts for fastening the metal structure to the wall.
Algorithm of actions:
- Step 1. Making a preliminary sketch and drawing.
- Step 2. Cut the corner and slabs into shelves.
- Step 3. We weld the frame, fasten it with anchor bolts to the wall.
The metal rack should be cleaned of traces of corrosion and dirt and painted. Lay the shelves, attach them to the frame.

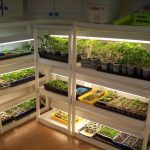
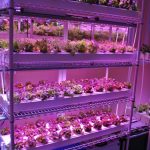
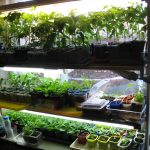
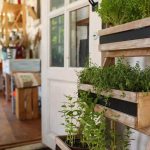
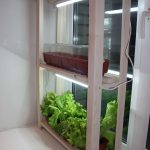
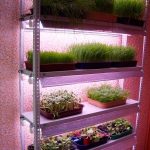
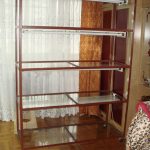
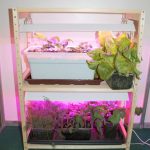
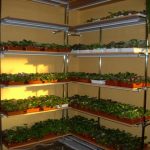
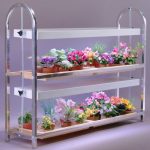
DIY seedling racks examples
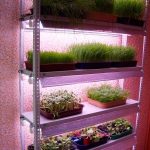
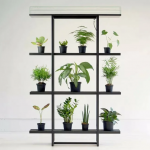
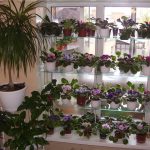
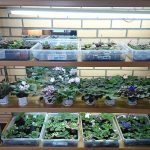
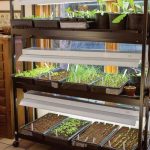
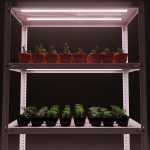
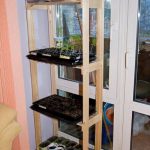
Stylish shelf with height-adjustable tiers.

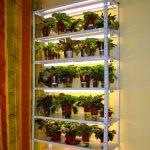
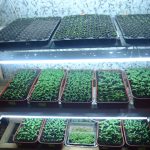
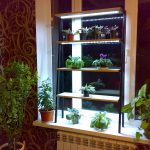
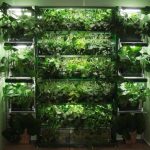
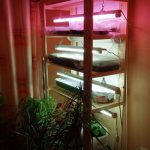
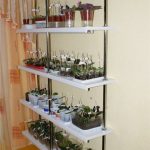
Cabinet with fluorescent lighting in the interior design of the living room.

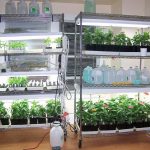
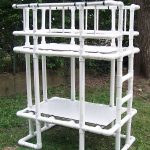
A structure made of polypropylene pipes that can be easily moved from place to place.

A seedling rack is one of the simplest furniture options that you can easily do yourself. In many cases, you don't even have to draw a drawing, a schematic image indicating the main dimensions will be enough.
Video: how to make a do-it-yourself seedling rack

