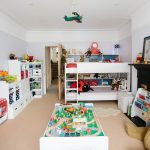
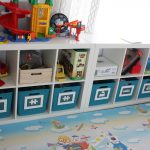
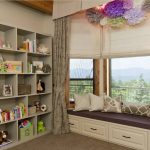
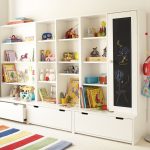
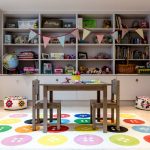
Furniture for storing toys in the nursery
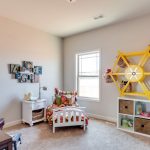
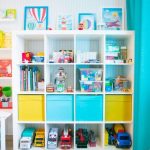
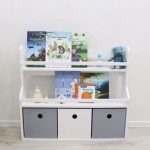
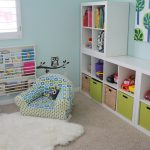
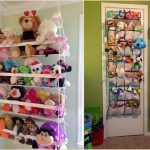
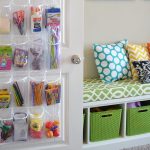
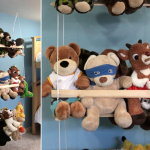
Each child needs his own personal space, in which all individual wishes and needs are taken into account. It is important not only to make good repairs, but also to fill the room with the right furniture. For example, you can make a do-it-yourself toy rack, where the baby will compactly place all the books, teddy bears or cubes.
Advantages and Disadvantages of Toy Storage Furniture
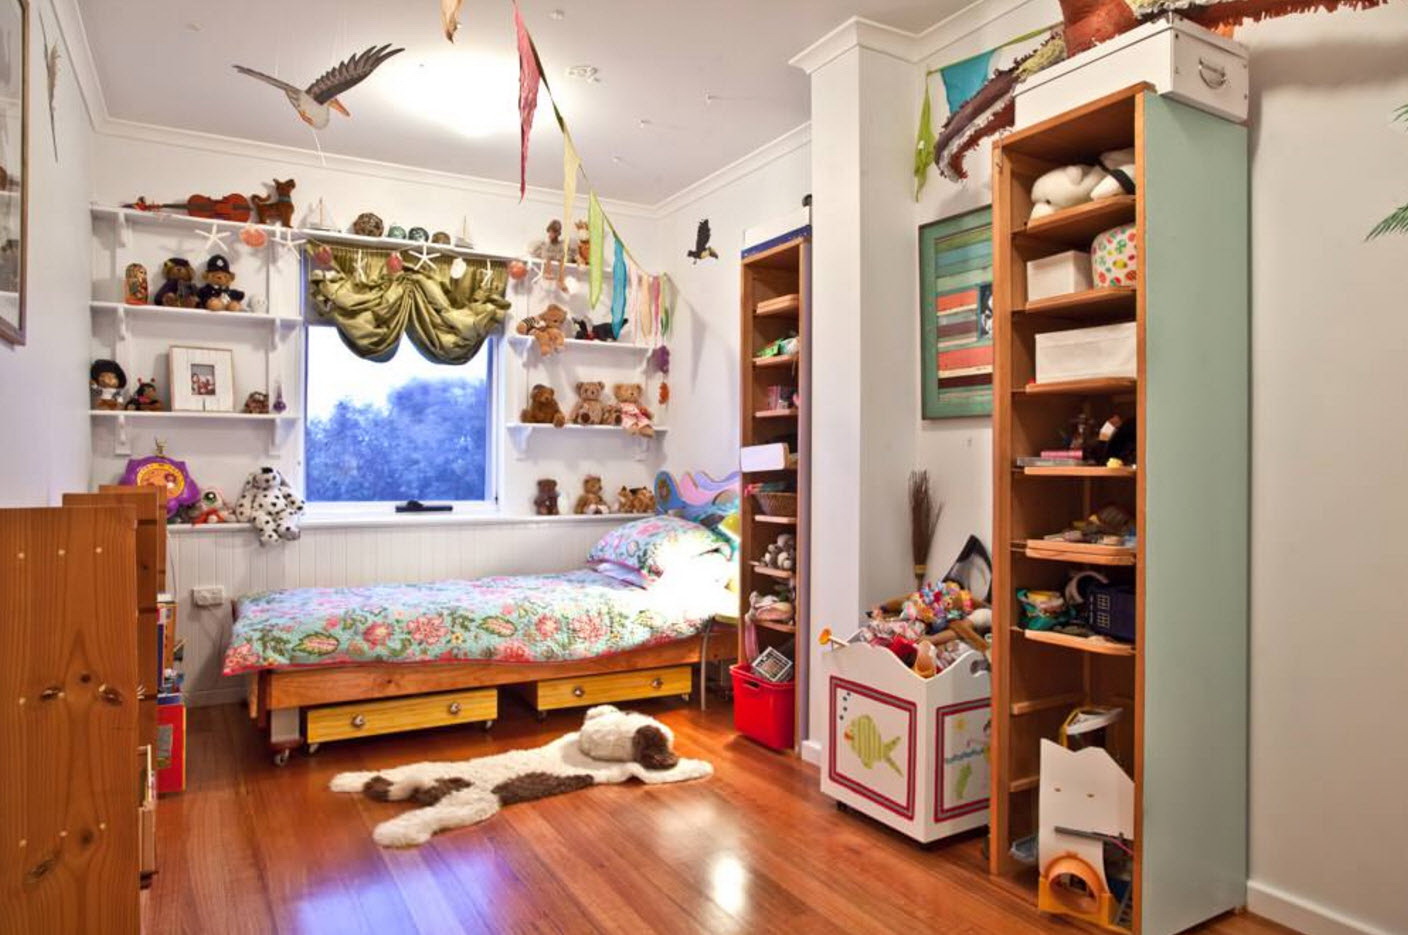
Shelves and dressers for the nursery are multifunctional and will suit a child at any age. A lot of accessories fit into them: for school, creativity, toys or bedding. The furnishings are ergonomic: convenient placement of things and minimal expenditure of free space.
The following advantages can be distinguished:
- Safety, environmental friendliness. Modern materials meet all criteria, do not cause allergic reactions, and do not emit harmful toxins.
- Exclusive execution (if the production is independent), a wide range of models (if selected in stores).
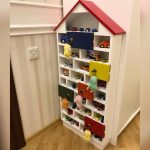
- Unique appearance - ships, animals, trees.
- The convenience of use.
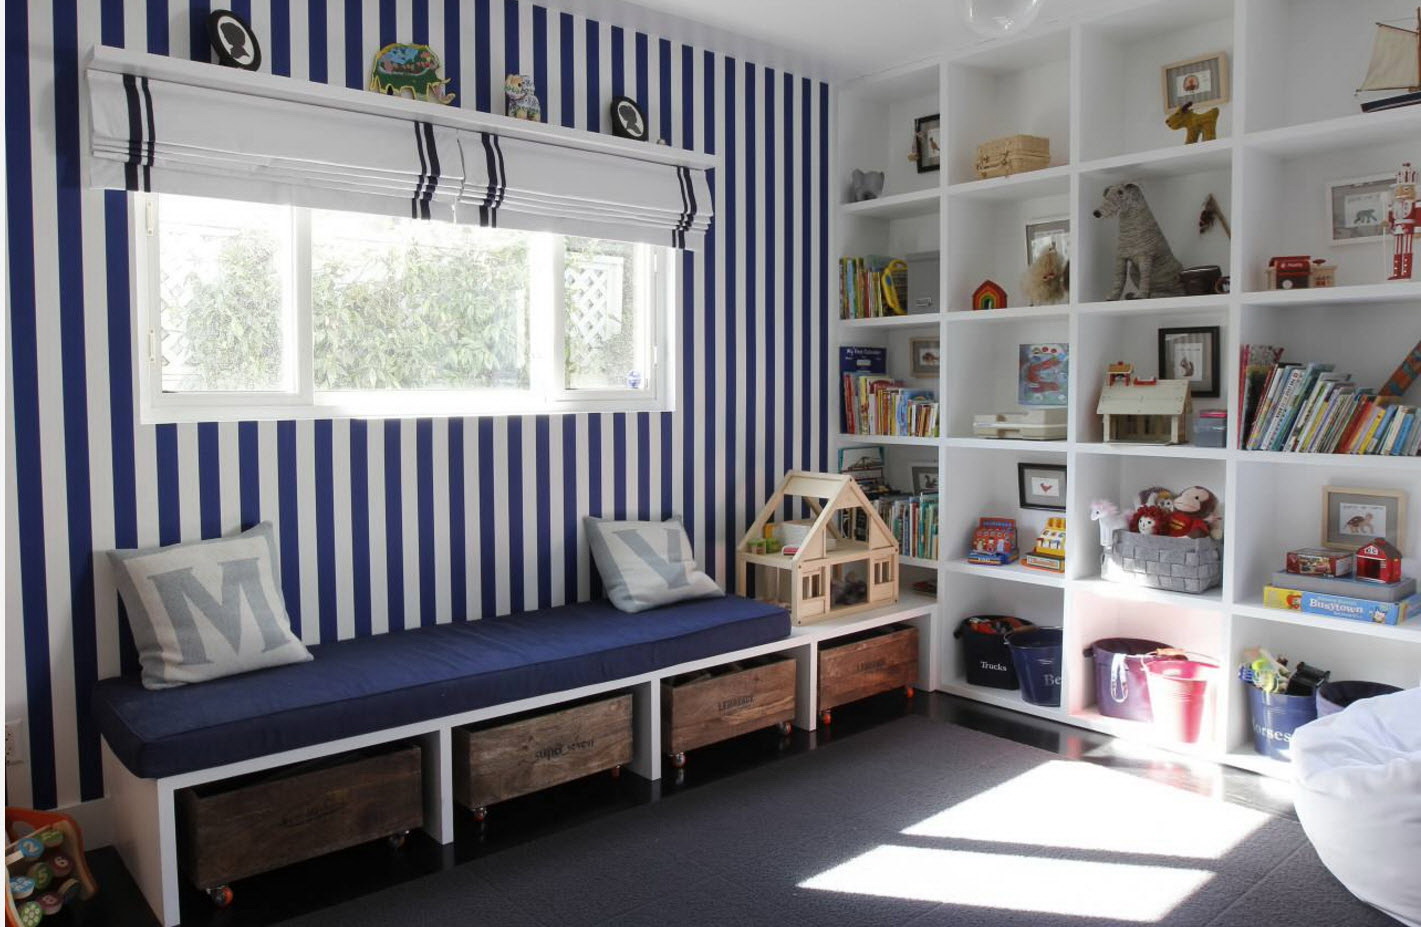
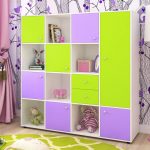
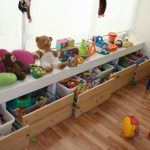
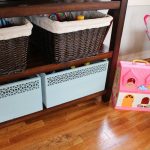
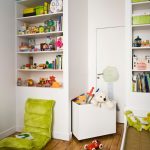
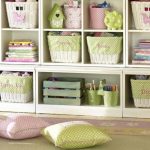
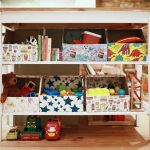
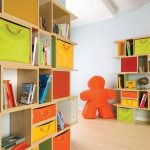
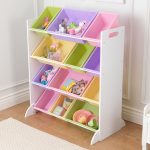
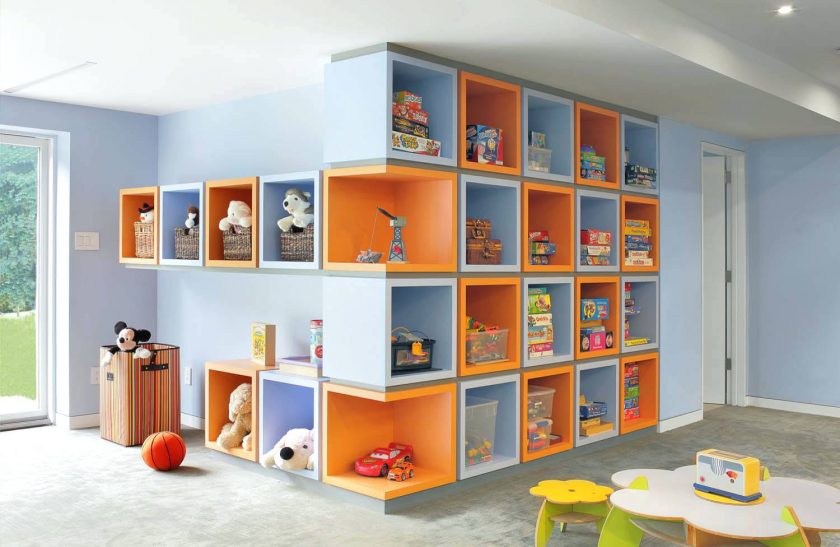
It is convenient to place wooden and collectible toys and books on open shelves. Drawers can be used to hide a constructor or cubes.
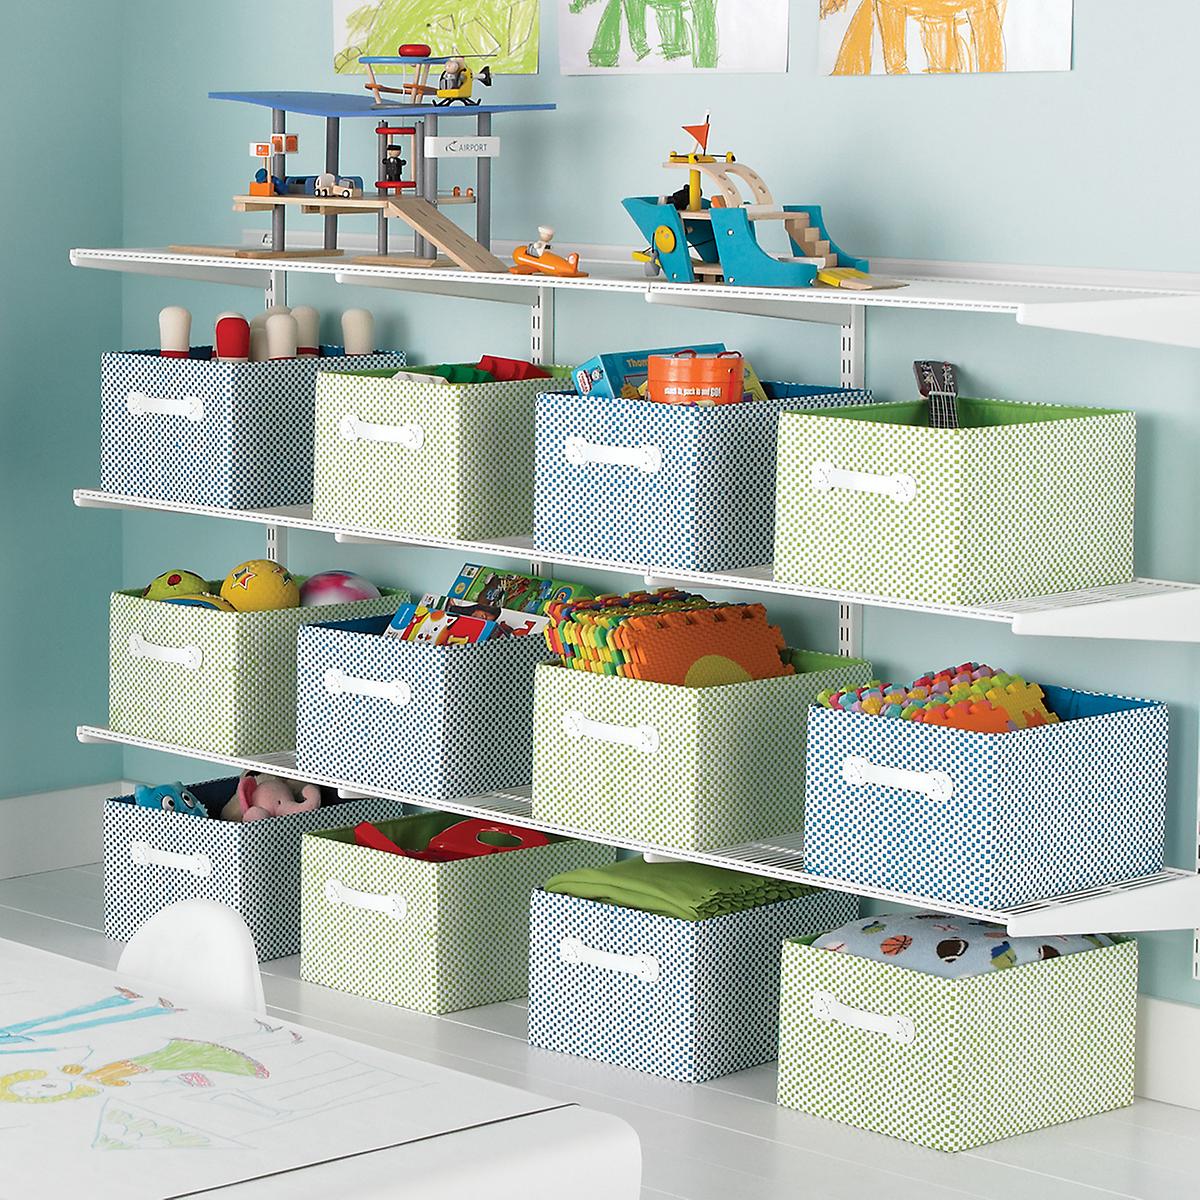
Depending on the type of furniture, the following disadvantages are distinguished:
- plastic chests of drawers must not be overloaded;
- furniture made of natural rocks is too heavy and uncomfortable for the independent use of children;
- drawers without limiters can cause injury;
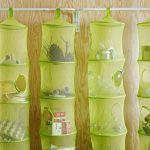
- DIY textile trim collects a lot of dust.
It is necessary to purchase whatnots and racks taking into account the individual characteristics of the child, his age and independence.

What material can be made
Making furniture for compact storage of things and toys in a nursery with your own hands is not so difficult. Consider the age and gender of the child, the number of toys, and the state of health (some coatings can cause allergies).
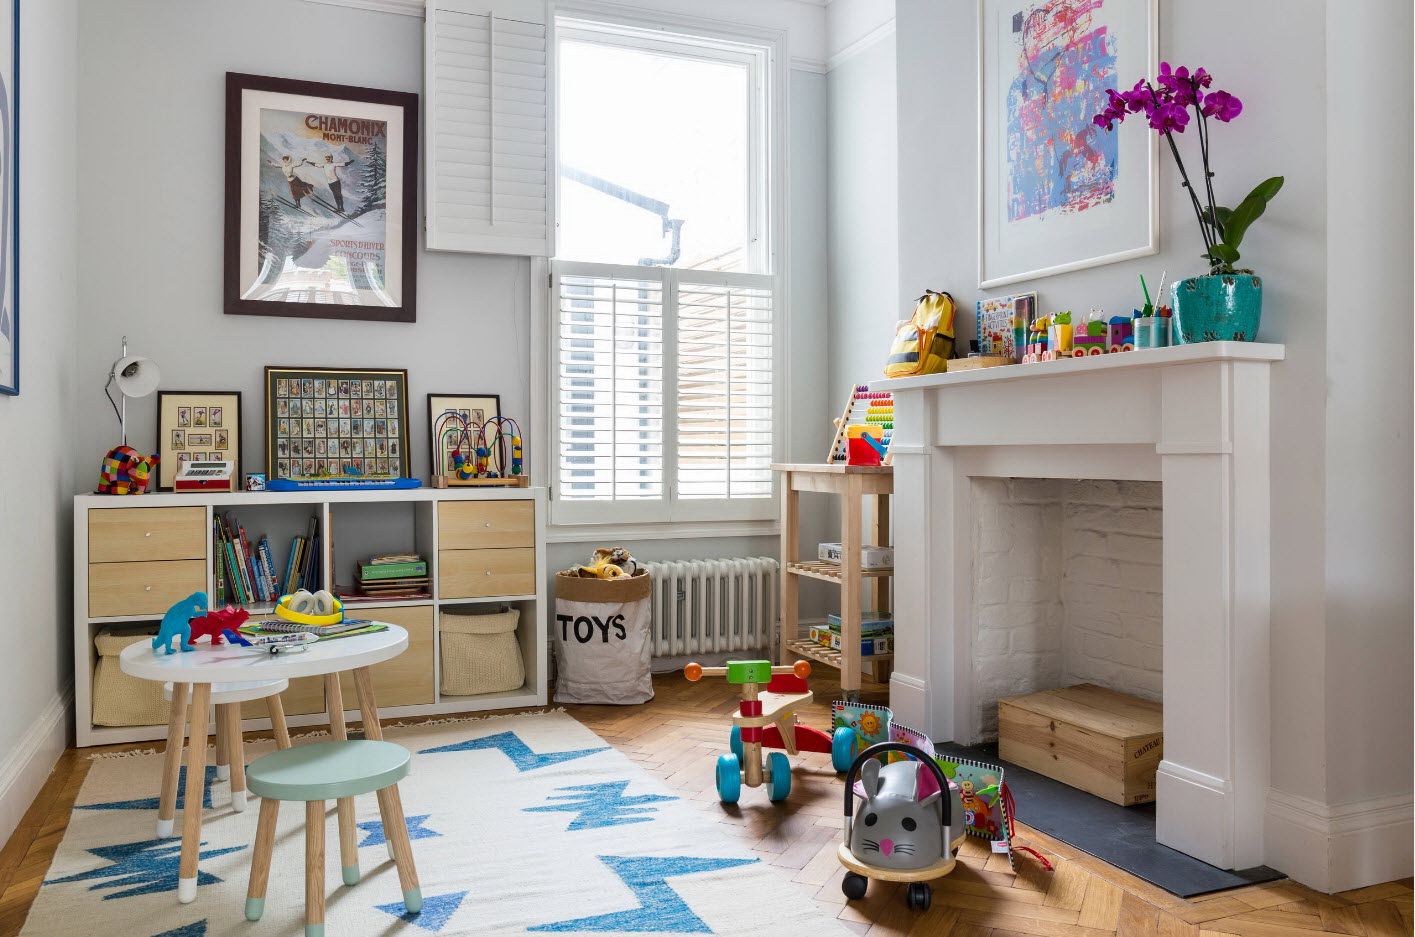
First: decide on the material of manufacture. This could be:
- natural wood;
- Chipboard;
- plastic;
- metal;
- cardboard;
- MDF.
Important! If you have to work on wood, you will need certain skills in processing it.
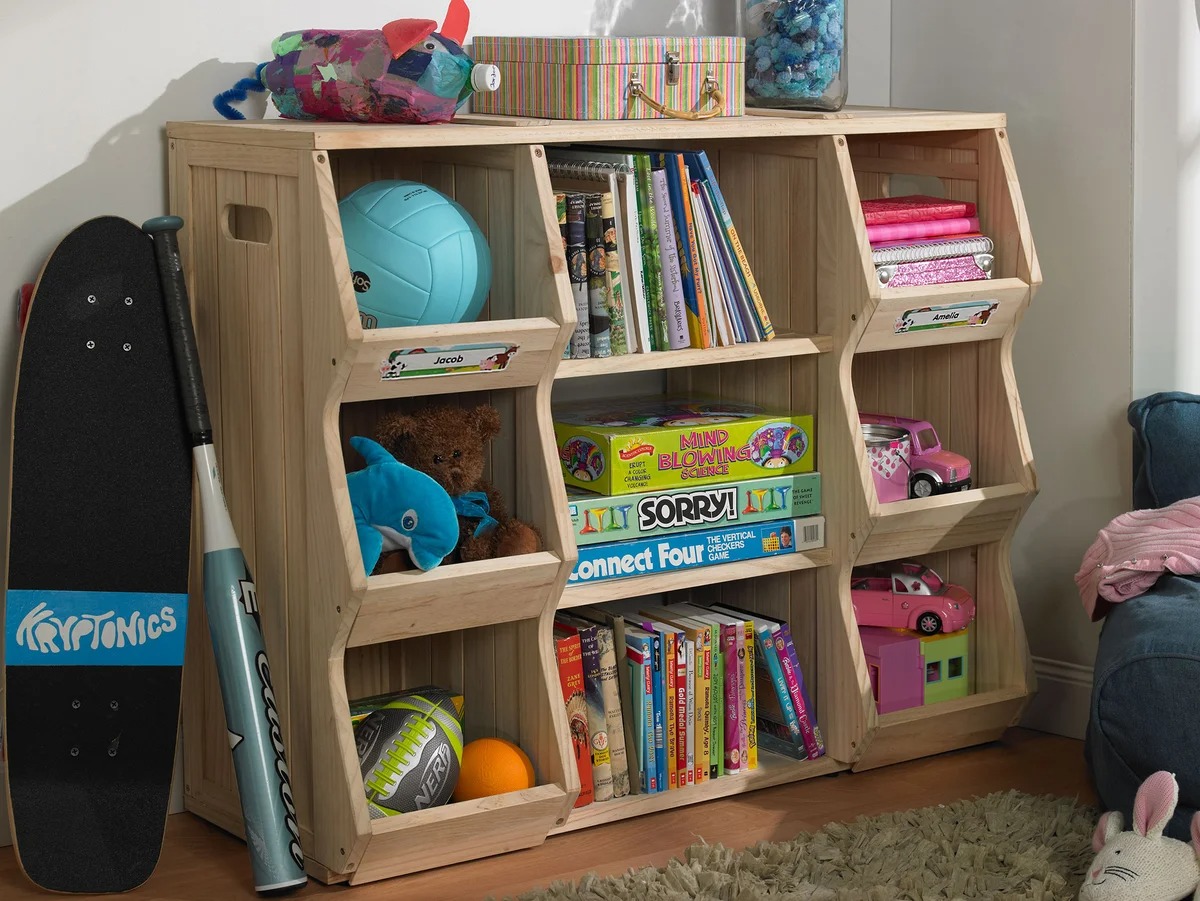
Depending on the type of building material used, the following tools may come in handy:
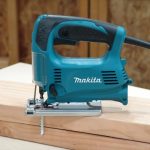
- jigsaw;
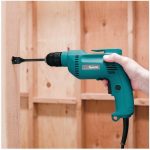
- drill;
- Sander;
- hammer;
- roulette;
- wood glue;
- hacksaw;
- fasteners;
- drills of different diameters;
- metal corners;
- picture baguettes;
- miter box and others.
It is recommended to give preference to wood: it is easy to work with, it is characterized by durability and environmental friendliness, and it tolerates mechanical damage. Before starting work, you need to create a drawing of the future piece of furniture. Indicate the dimensions and all options for fastening parts on the diagram.
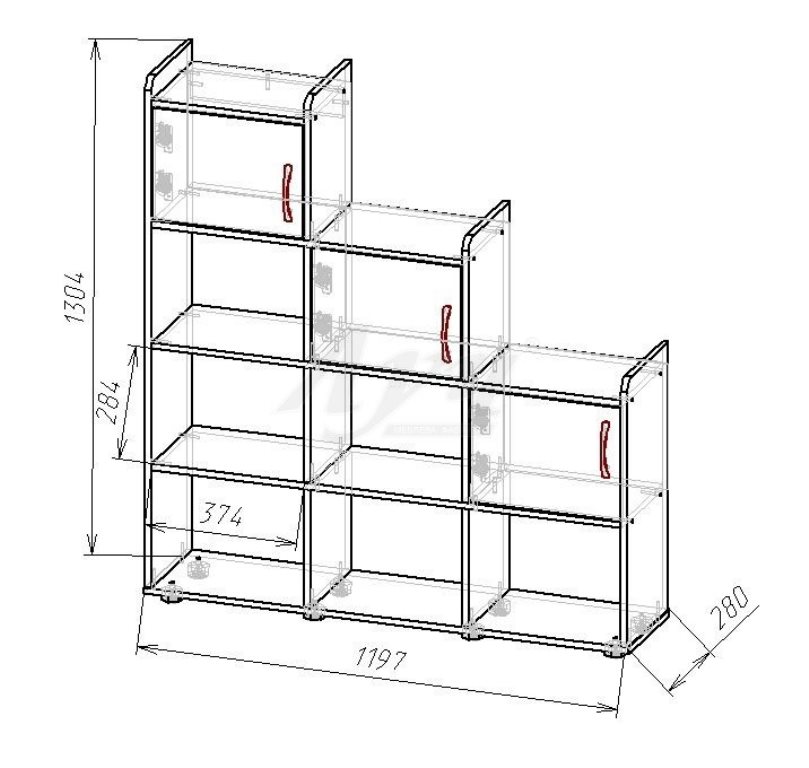
How to make shelves for storing toys
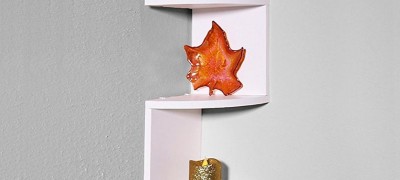
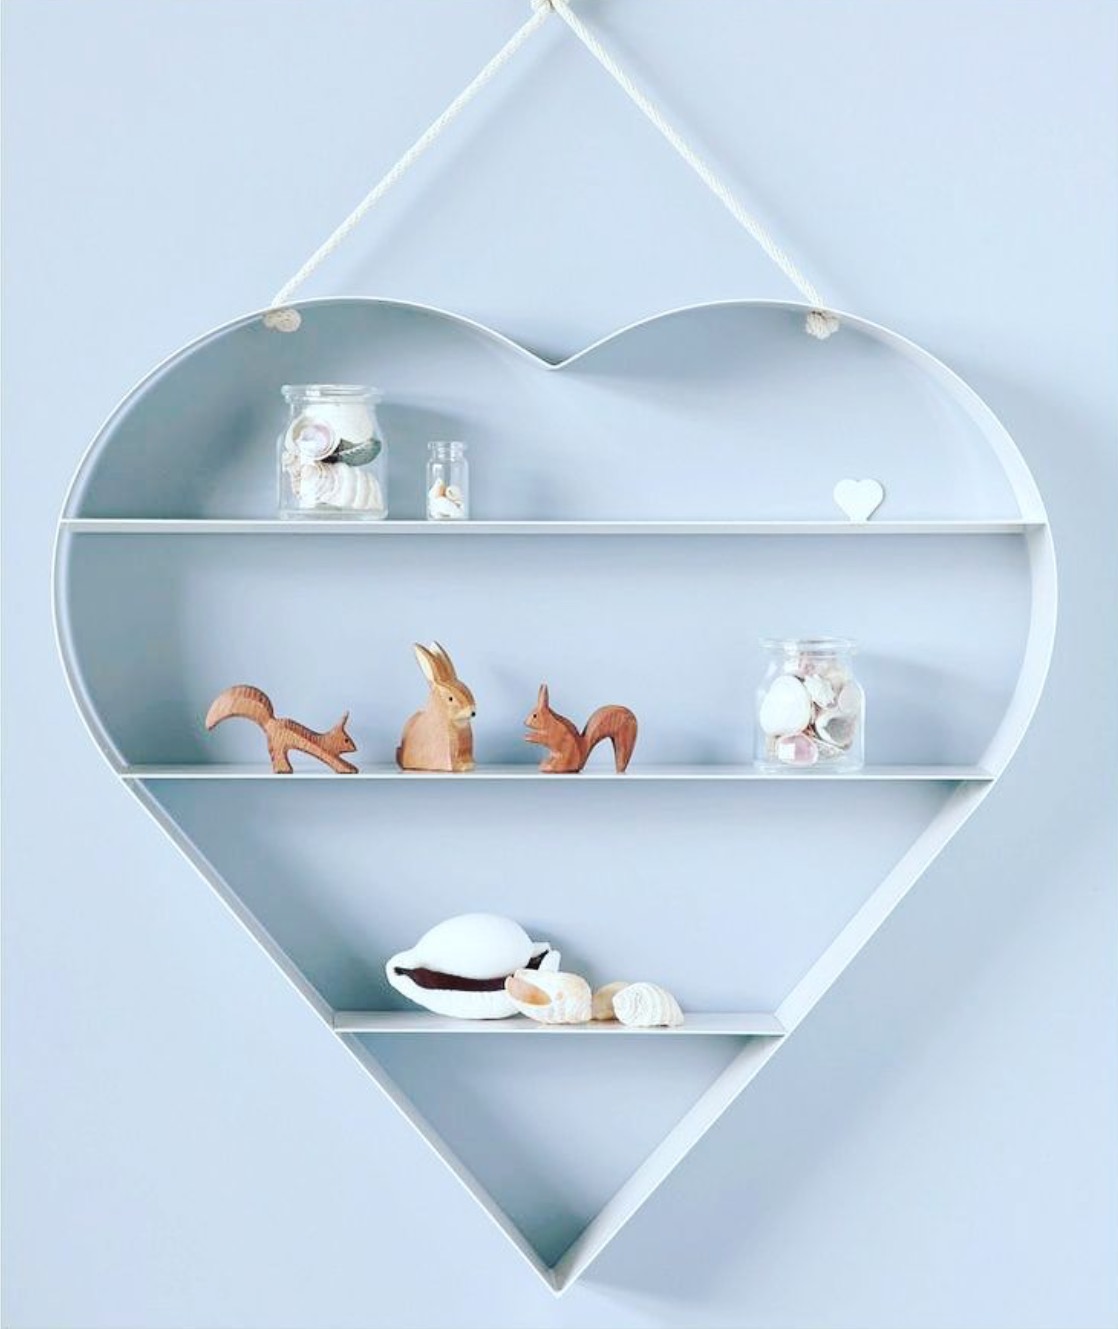
You can make a creative hanging shelf in the form of a cartoon character, a child's favorite object, or a fruit. Draw the base on paper in advance so that you can transfer it to the wood later. You will need:
- a large sheet of plywood;
- fasteners: nails, screws, dowels;
- holders of the structure;
- building level and ruler;
- drill;
- emery;
- everything for decoration.
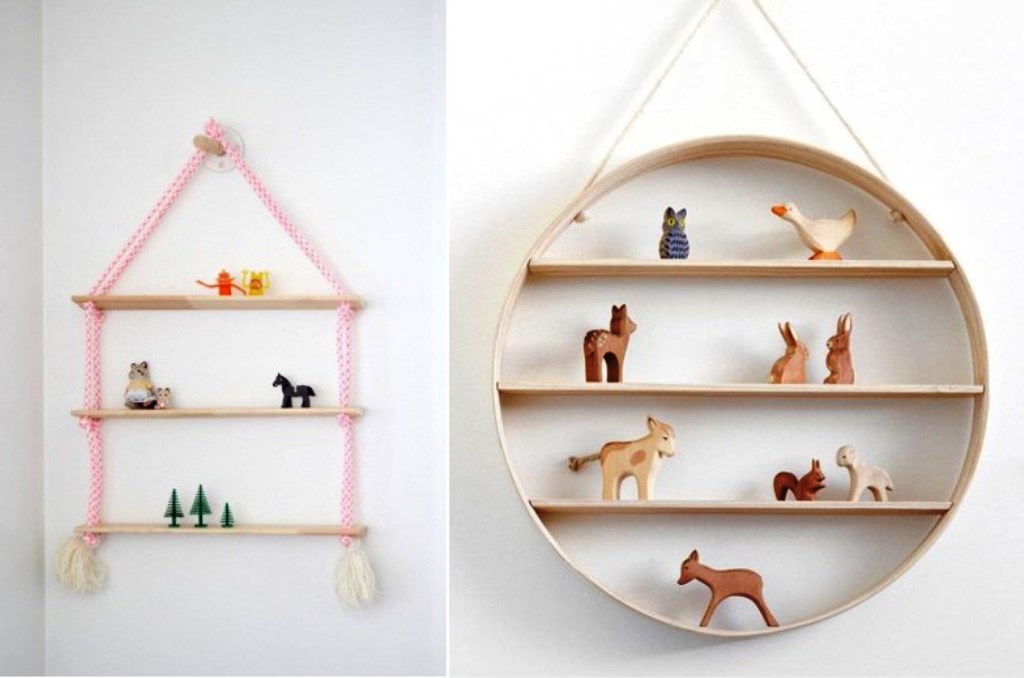
After drawing the pattern, you need to carefully cut it out, and mark the areas for further cutting on the second sheet of material. The workpieces are fastened together, the pattern is cut with a jigsaw.
Important! Before starting the assembly, each element must be worked out with sandpaper.
Use nails and self-tapping screws to mount all the parts, having previously marked the areas where the holders will be located. At the end of the assembly, the furniture is painted, opened with varnish, and after complete drying, it is attached to the wall with dowels.
Shelving manufacturing
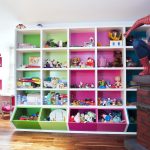
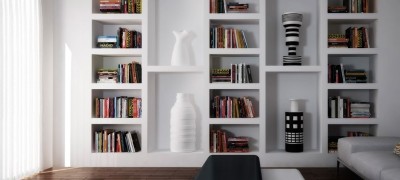
Consider how to quickly make a beautiful do-it-yourself toy storage rack. The structure must be stable and well supported. There should be no sharp protruding parts and corners on the surface - it is important to minimize the possibility of the child getting injured.
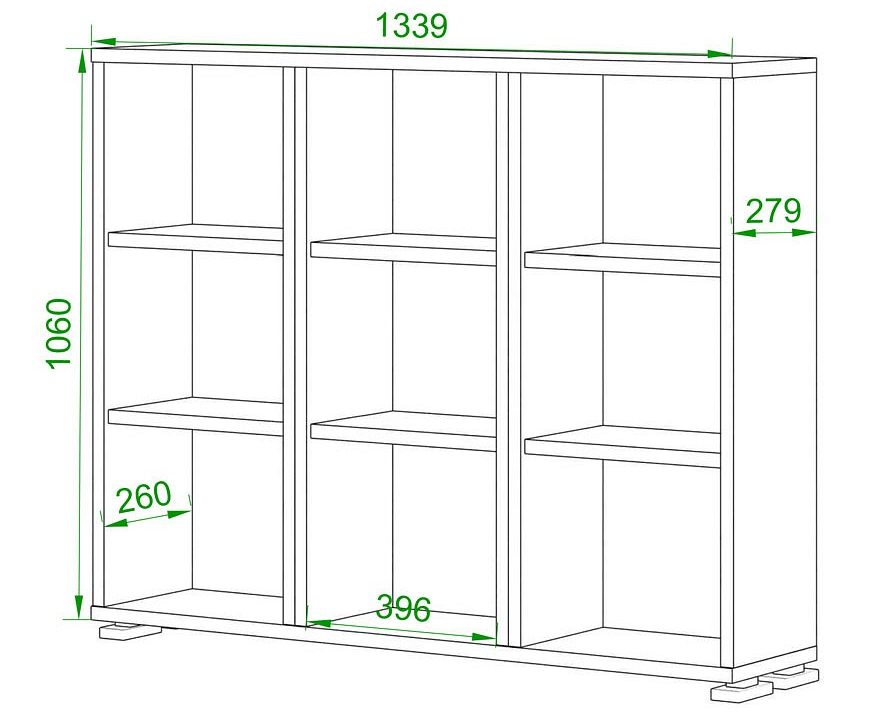
The creation process looks like this:
- draw a drawing with dimensions;
- prepare all parts separately;
- assemble the frame: top, bottom and side shelves;
- drill the grooves on the shelves with dividers;
- grease the joints with plenty of glue, dry;
- connect the shelves with nails;
- assemble the rack and process with emery.
The back wall can be cut out of plywood and attached with small studs to assemble furniture. Decorate the finished product to taste: coloring, carving, drawings through stencils.
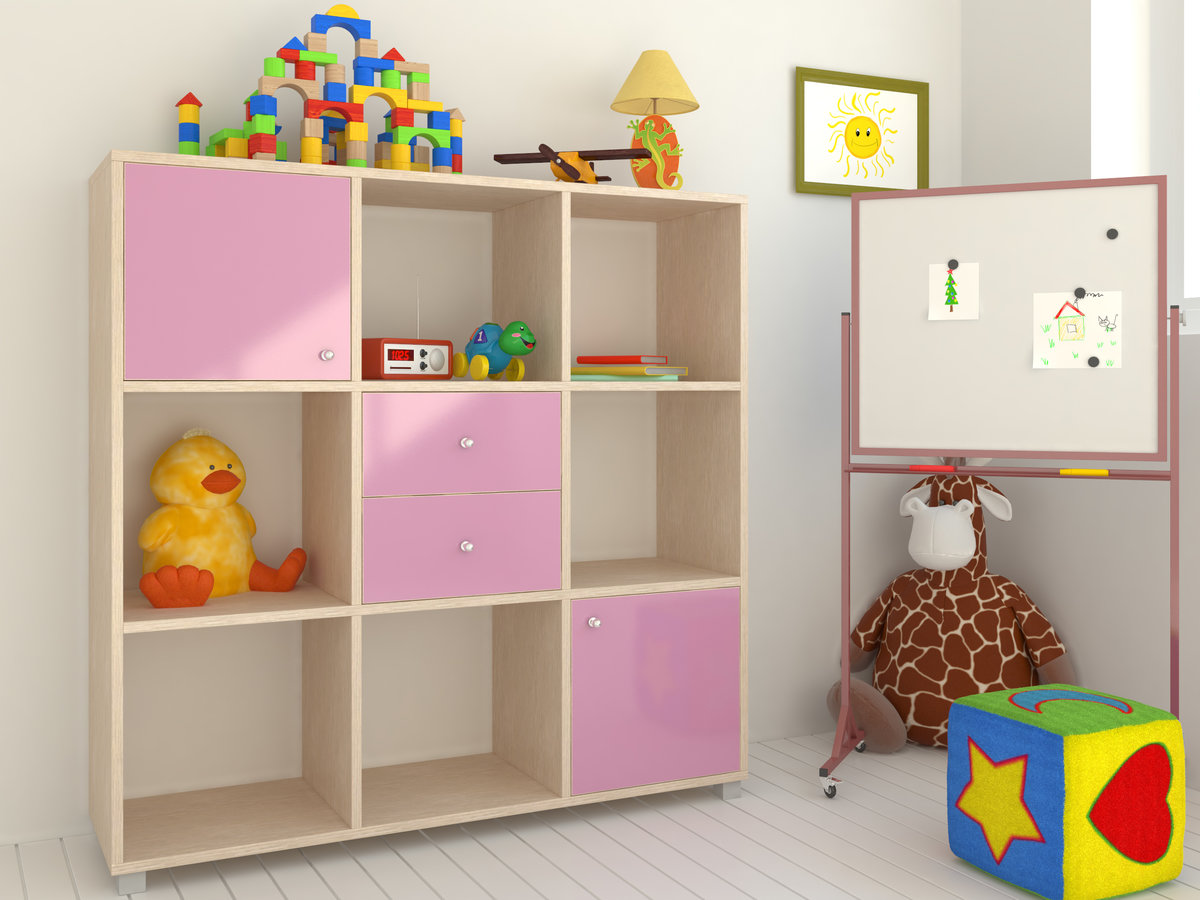
Important! The wooden piece of furniture must be additionally attached to the wall with metal corners to ensure stability.
Building a storage cabinet
The best option for a wardrobe for a nursery is made of plywood. The material is environmentally friendly and practical, does not dry out, does not lose its original appearance. Depending on the needs, the sheet thickness can be selected individually.
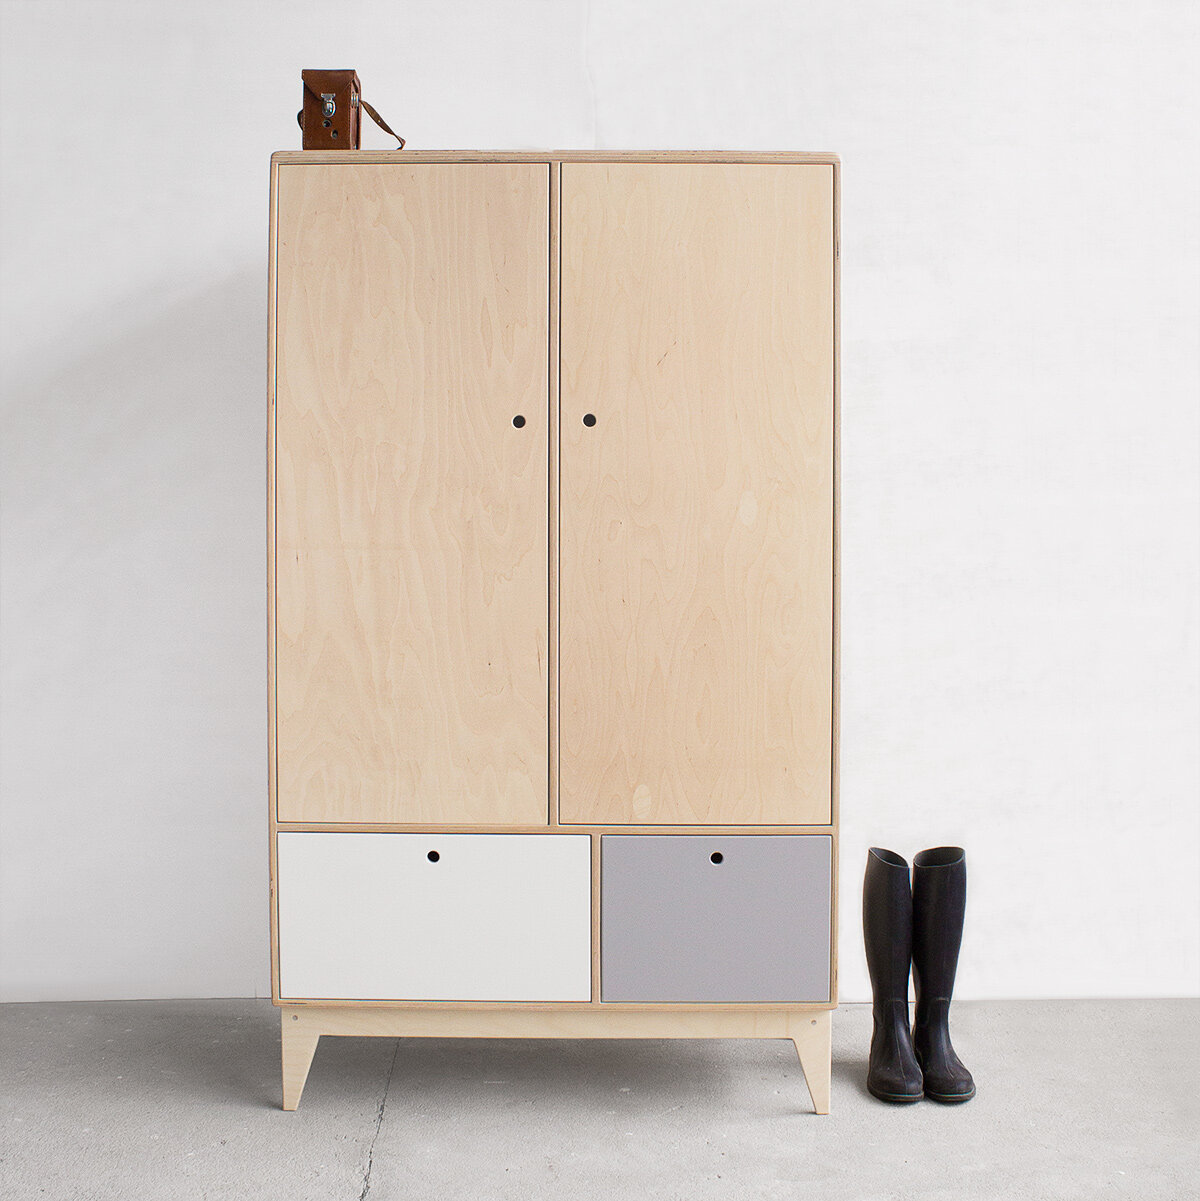
Advice! For the manufacture of such furniture, it is important to think over the shape and design in advance, to prepare the tool.
To get an original cabinet, you need to make blanks in advance: cut out the shelves and two sides. Holes are made in the walls for fastening the shelves, according to the width of the plywood itself. If the thickness is less than 2 cm, you can attach the shelves to the structure with small metal corners. The assembly algorithm looks like this:
- two bases are connected: lower and upper (using furniture bolts);
- shelves are inserted.
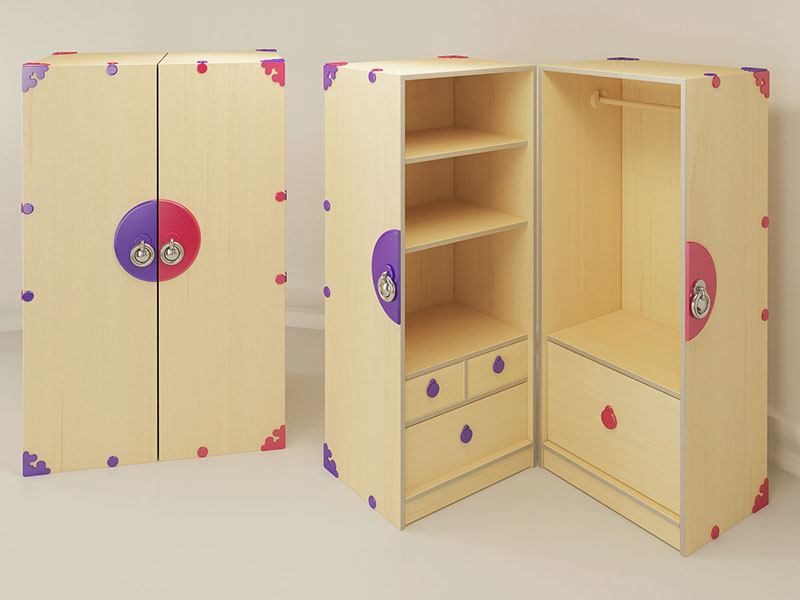
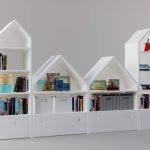
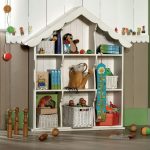
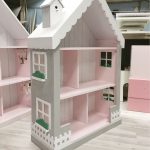
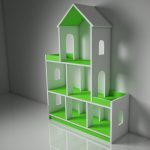
As you can see, everything is simple. Upward, you can mount two planks connected at right angles and give the finished product the shape of a house.
Making a dresser for toys
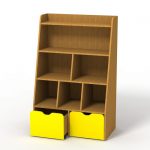
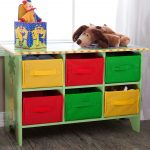
The design of the chest of drawers can be different, depending on preferences.Only environmentally friendly material is suitable: chipboard, plywood, wood. It is necessary to make a drawing with dimensions, purchase consumables and get to work. A drill, a building level, fasteners and a jigsaw will come in handy with a tool. Design drawers: decide on the width and depth, the height of the sides of the chest. A good solution: a chest of drawers with a door on top - for large toys.
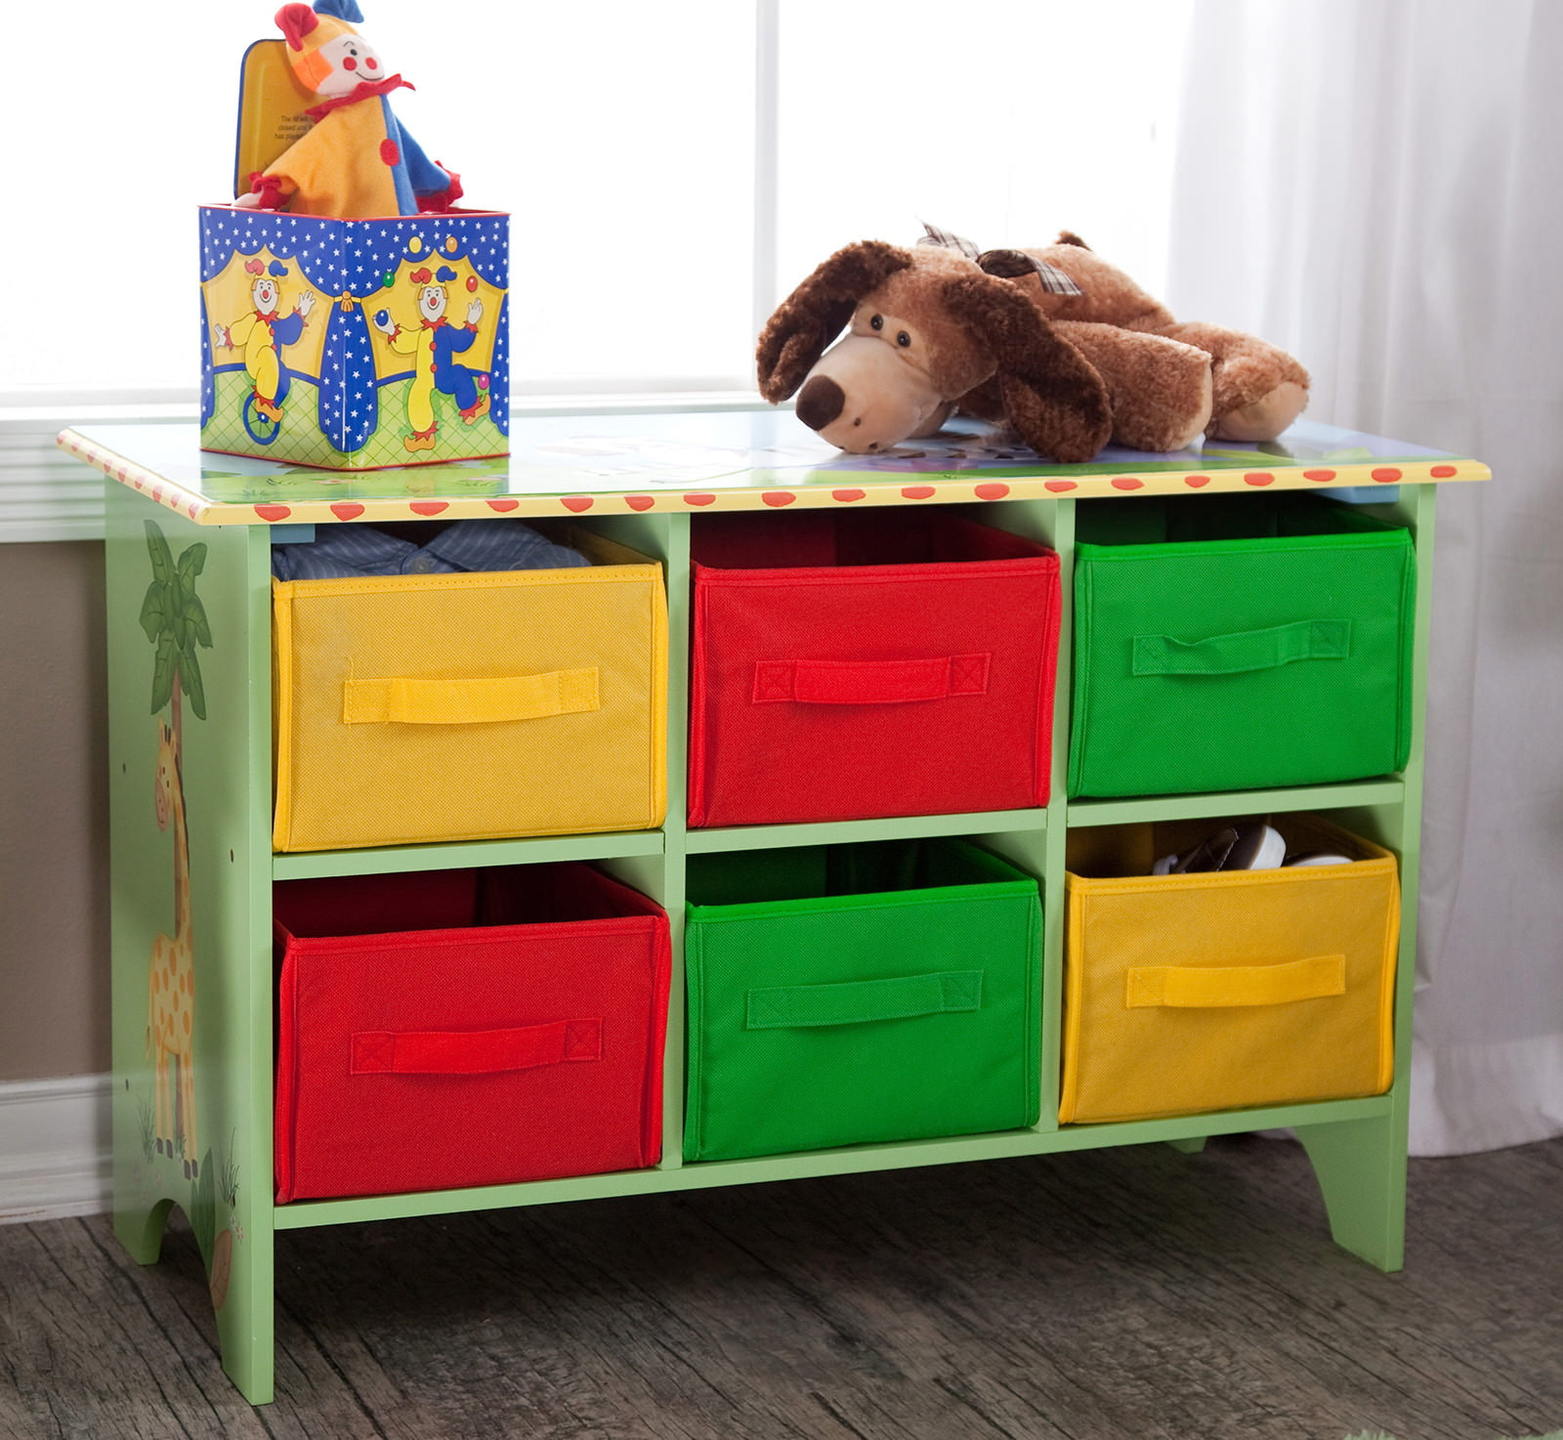
Important! The fittings should be of high quality: durable, smooth and comfortable for a child's hand.
First of all, the frame is assembled, then the side guides are fixed. The third stage: cutting out the boxes and assembling them together. The bottom is fixed with furniture studs. The last thing to do is to assemble the facades. You can view detailed step-by-step assembly instructions on the Internet.

Design ideas
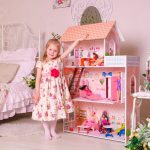
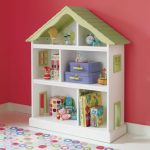
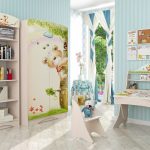
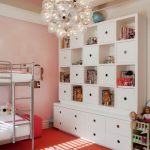
The choice of furniture design depends on the age and gender of the baby. From 1 to 3 years, one section with shelves is enough, from 3 to 6 - drawers and boxes are needed. For older children, from 6 and up, half-wall racks would be a good solution. Boys will appreciate the shelving in the form of a ship or a fortress, a car garage or an airplane. For girls, bright castles, towers, houses will suit, in which you can not only store toys, but also convert them into a mansion for Barbie.
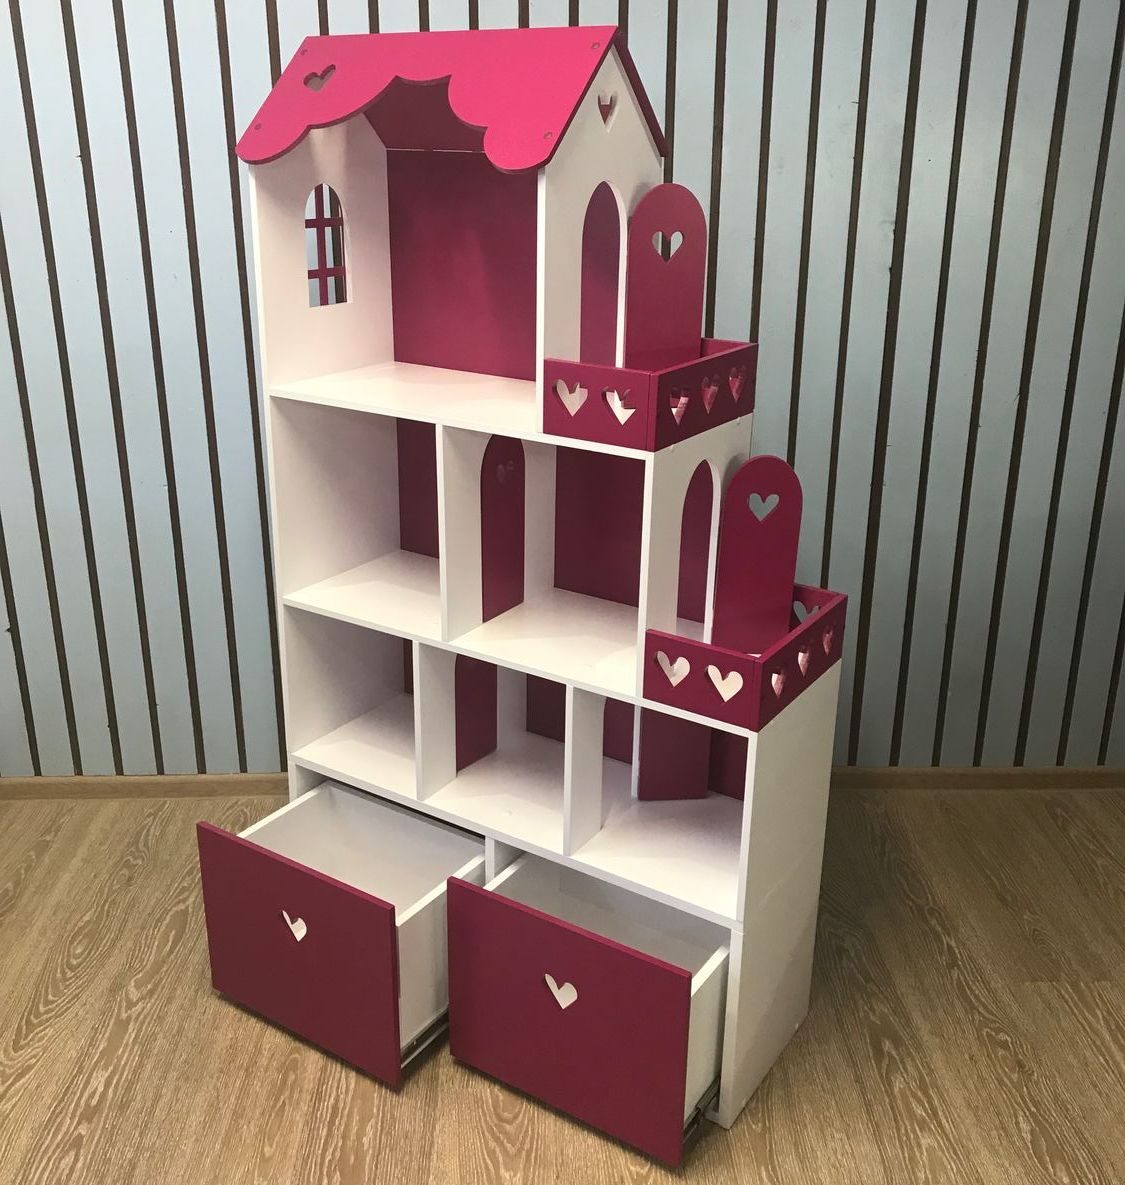
Advice! Schoolchildren are encouraged to select neutral furniture colors that can be added with new shelves.
Video: DIY toy rack

