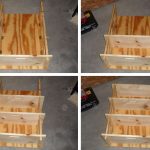
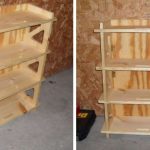
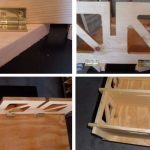
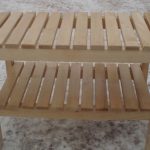
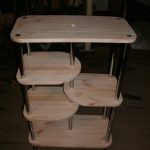
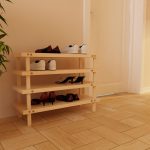
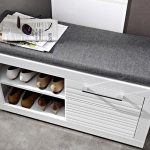
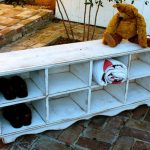
DIY shoe rack in the hallway
A shoe shelf is a convenient piece of furniture for organizing storage, allowing you to give your hallway a cleaner look. However, it is not always possible to find a model that fits in size and design into an existing interior.
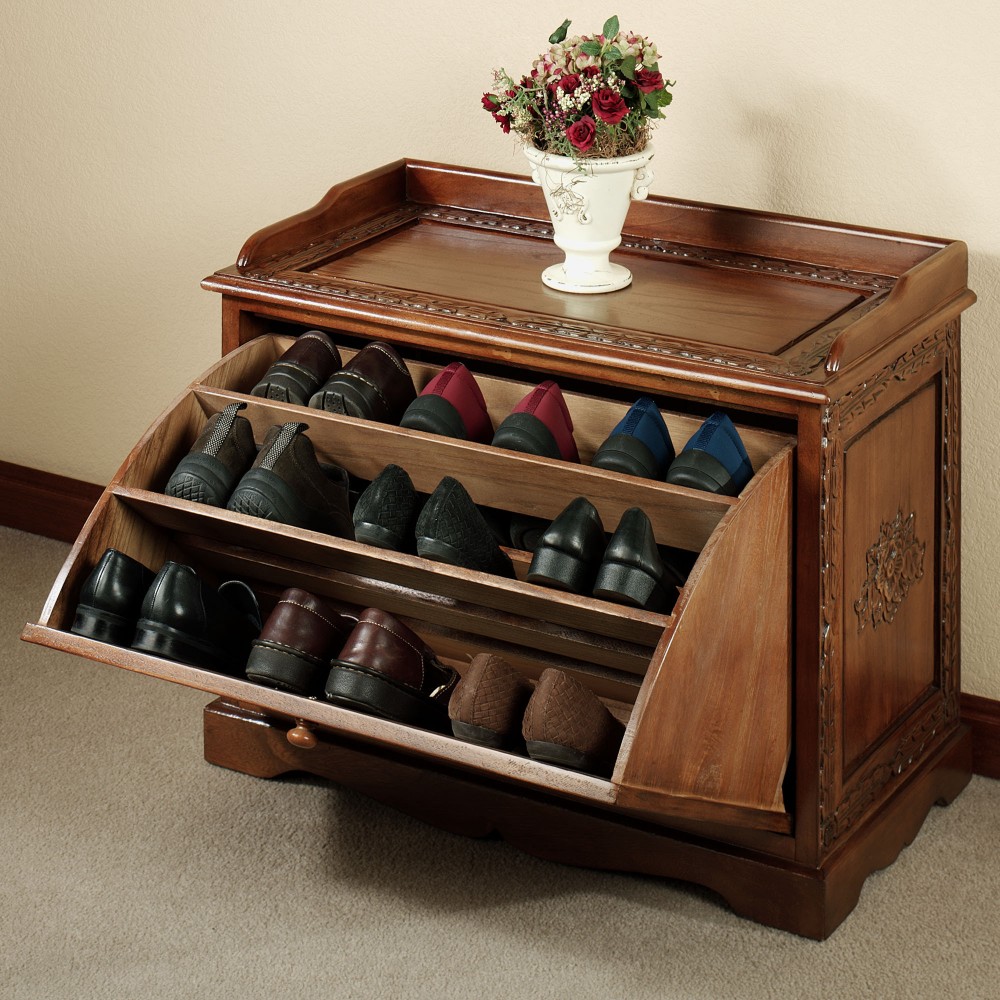
In this case, you can make the shelf yourself.
How to make a shoe rack with your own hands
First, you need to decide on the desired shelf model and make a drawing.
The options can be as follows:
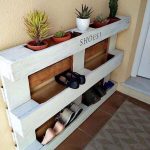
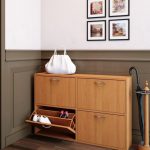
- Wall. The best option for a small hallway. Not only saves space, but also makes cleaning easier.
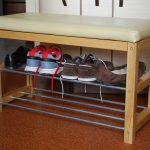
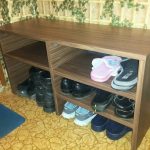
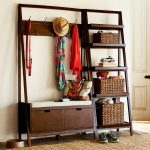
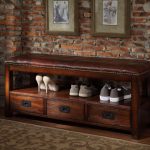
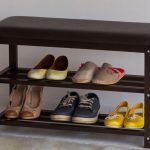
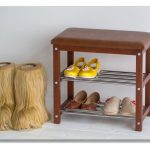
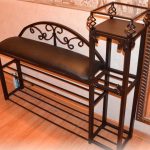
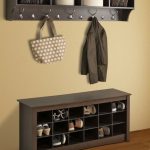
- Rack. This design can be used not only for storing shoes, but also as a seating area, which eliminates the need to install a bench. If you make the rack high enough, then the top surface can be used as a table.
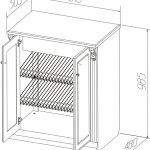
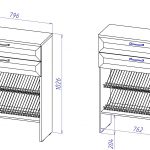
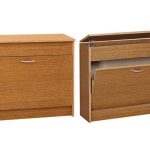
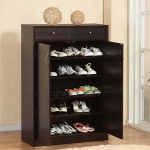
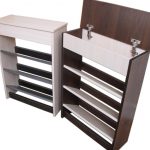
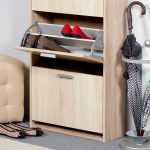
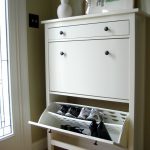
- Curbstone-slim. This is a fairly practical design, which is a closed pedestal, opening by repeating the case. Usually corner shelves are made in this form.
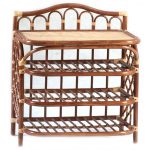
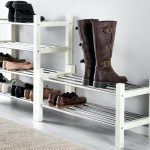
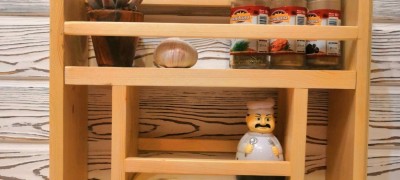
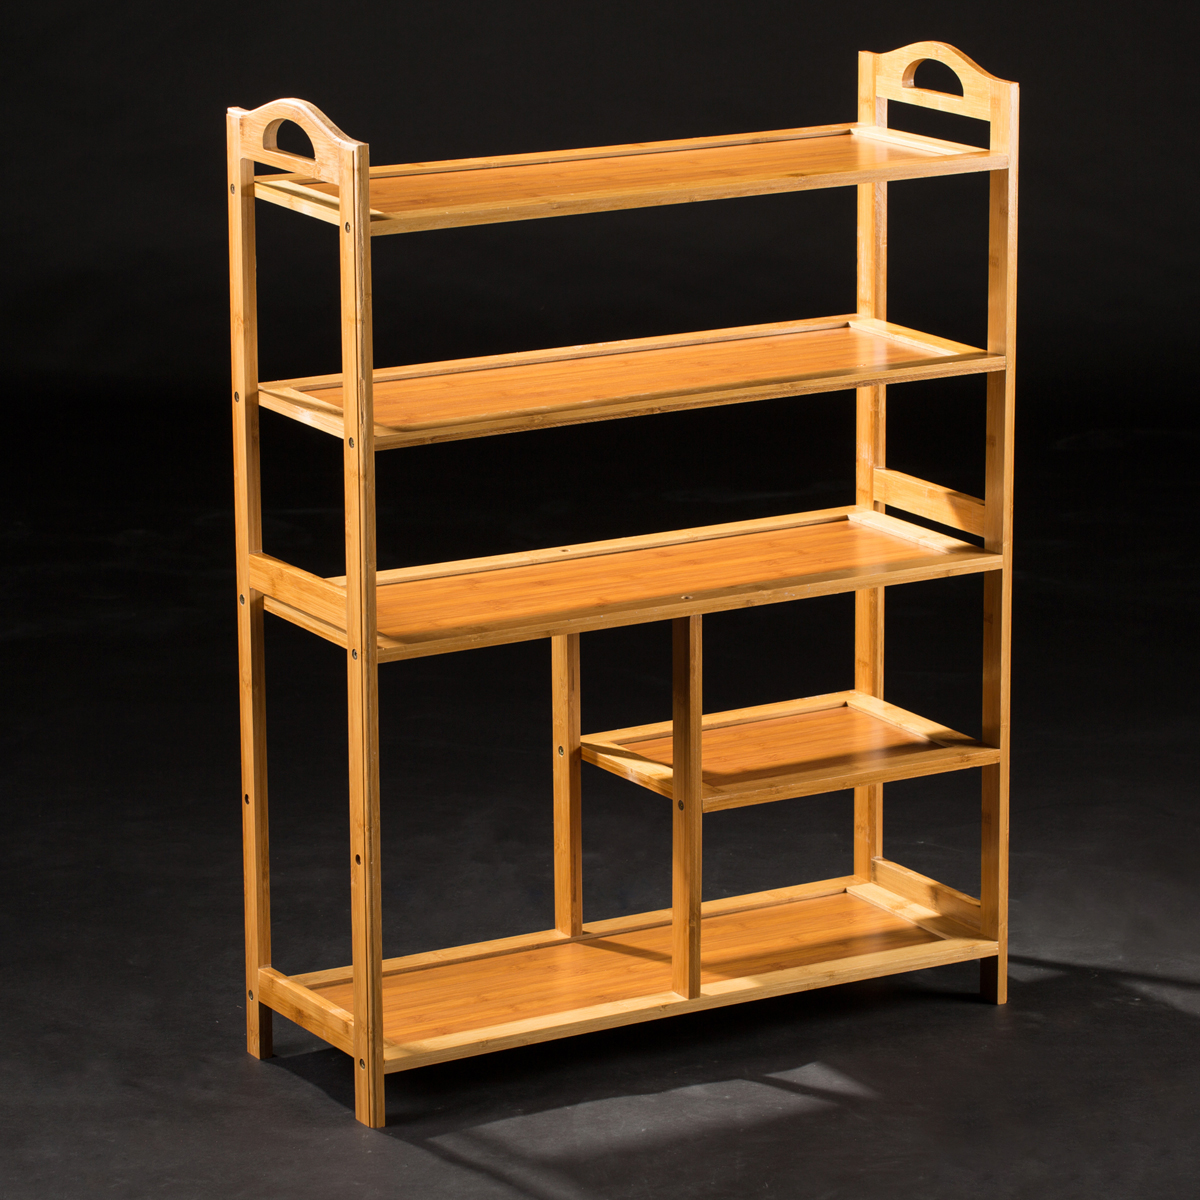
- Stand. The simplest design, which can be either floor-standing or wall-mounted.
Note! When choosing a model, it should be borne in mind that open shelves allow shoes to dry out faster and not smell, as they provide constant air circulation.
Wooden shoe racks
Natural wood is distinguished by high aesthetic properties, noble texture, environmental friendliness and plasticity of shape. At the same time, this is a rather expensive material, work with which requires certain skills due to the complexity of processing.
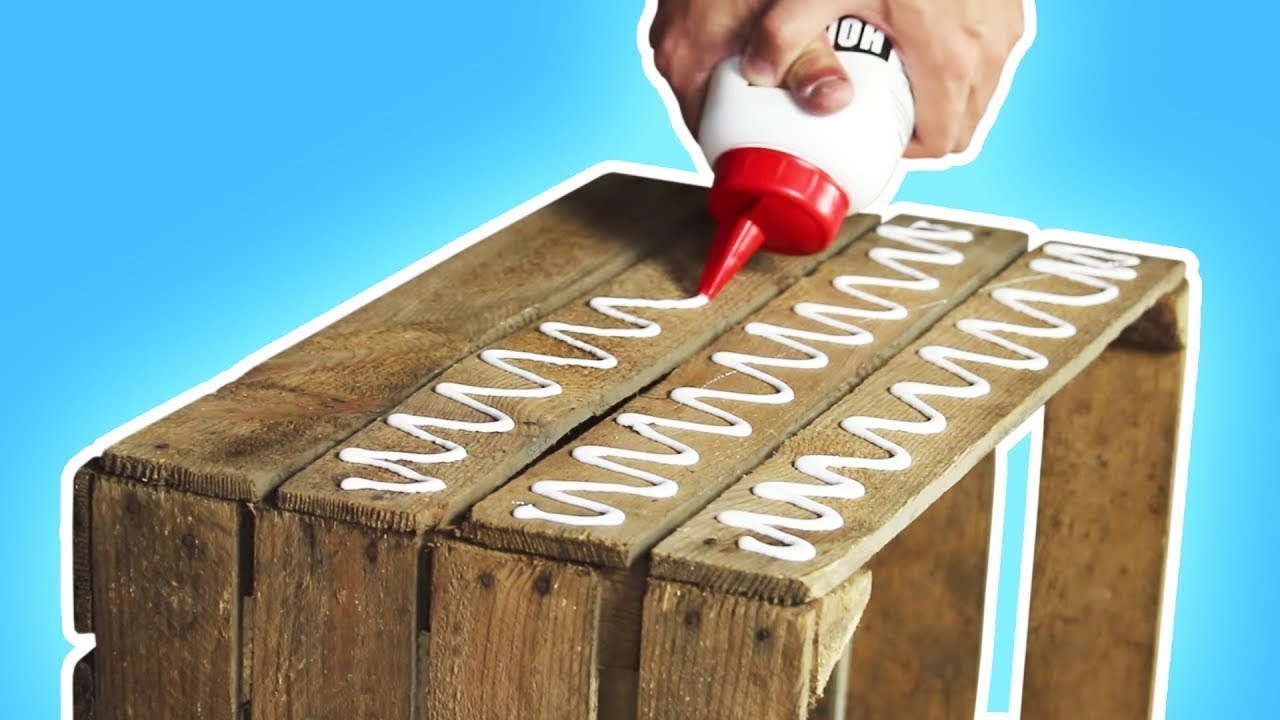
In addition, this material absorbs moisture, and therefore only dry and clean shoes can be stored on wooden shelves. Also, such a design can only be used indoors, since temperature drops and precipitation lead to deformation.
To make a simple wooden shelf, you will need the following:
- two long boards 1.5-2 cm thick and 20-35 cm wide;
- wooden lath;
- saw;
- simple pencil;
- ruler;
- self-tapping screws;
- screwdriver;
- metal corners.
The order of work is as follows:
- Mark the boards with a pencil, indicating the lines of the cuts. For manufacturing, you will need: two sidewalls of 70-90 cm each, top, bottom and several transverse strips of 60-90 cm each, bars from the rail (pair per shelf) of the same length as the sidewalls.
- Cut pieces of the required size according to the outlined scheme. If the cuts are uneven, they need to be sanded with sandpaper.
- Mark the sidewalls for the shelves.
- Fasten the metal corners with self-tapping screws using a screwdriver.
- Attach the top and bottom surfaces to the corners.
Note! In the absence of the skill, you can cut boards evenly in hardware stores and workshops.
In the resulting box, you can either fix the shelves or insert them. The latter option will be more convenient if the shelves are planned to be washed frequently.
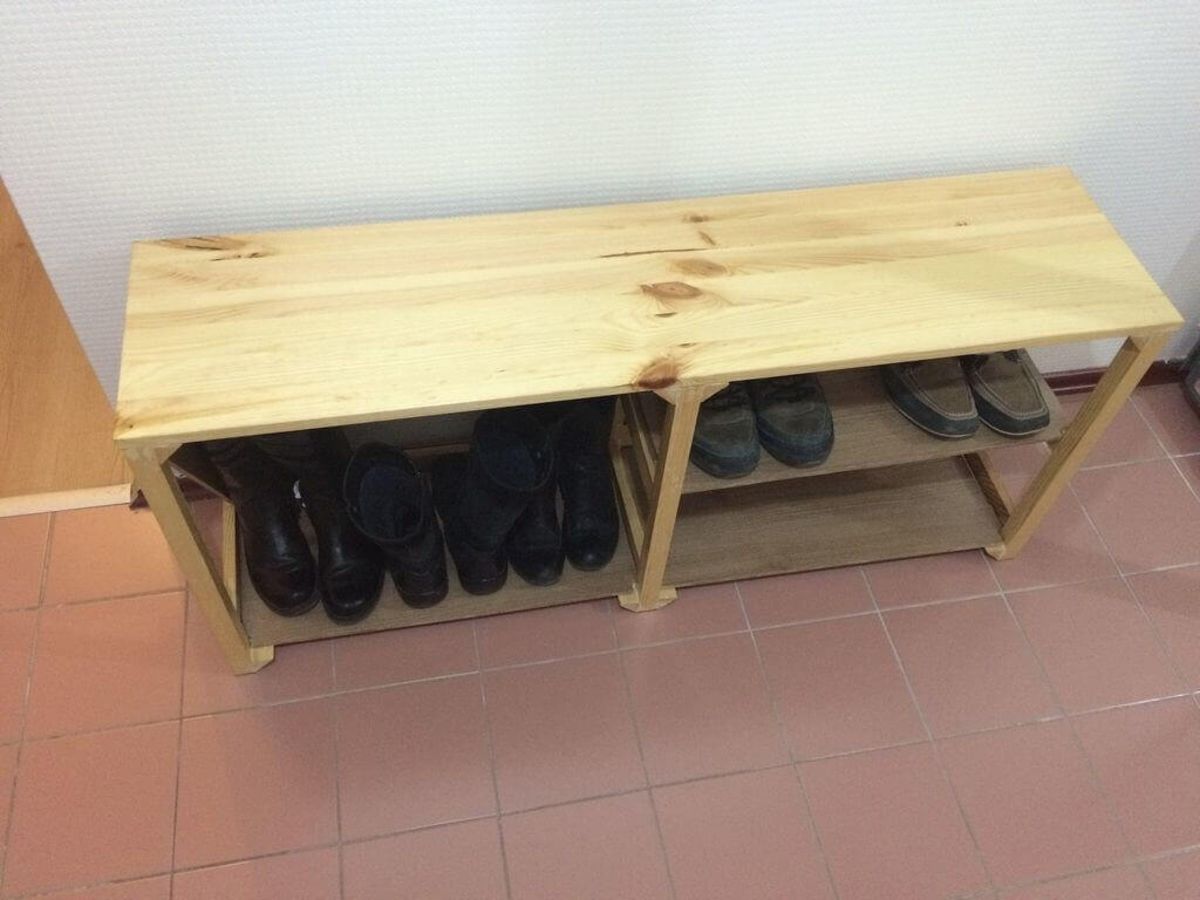
To protect the wood, the shoe rack must be opened with a special varnish.It can be decorated using colored varnish or wood stain, as well as annealed with a soldering iron.
From scrap materials
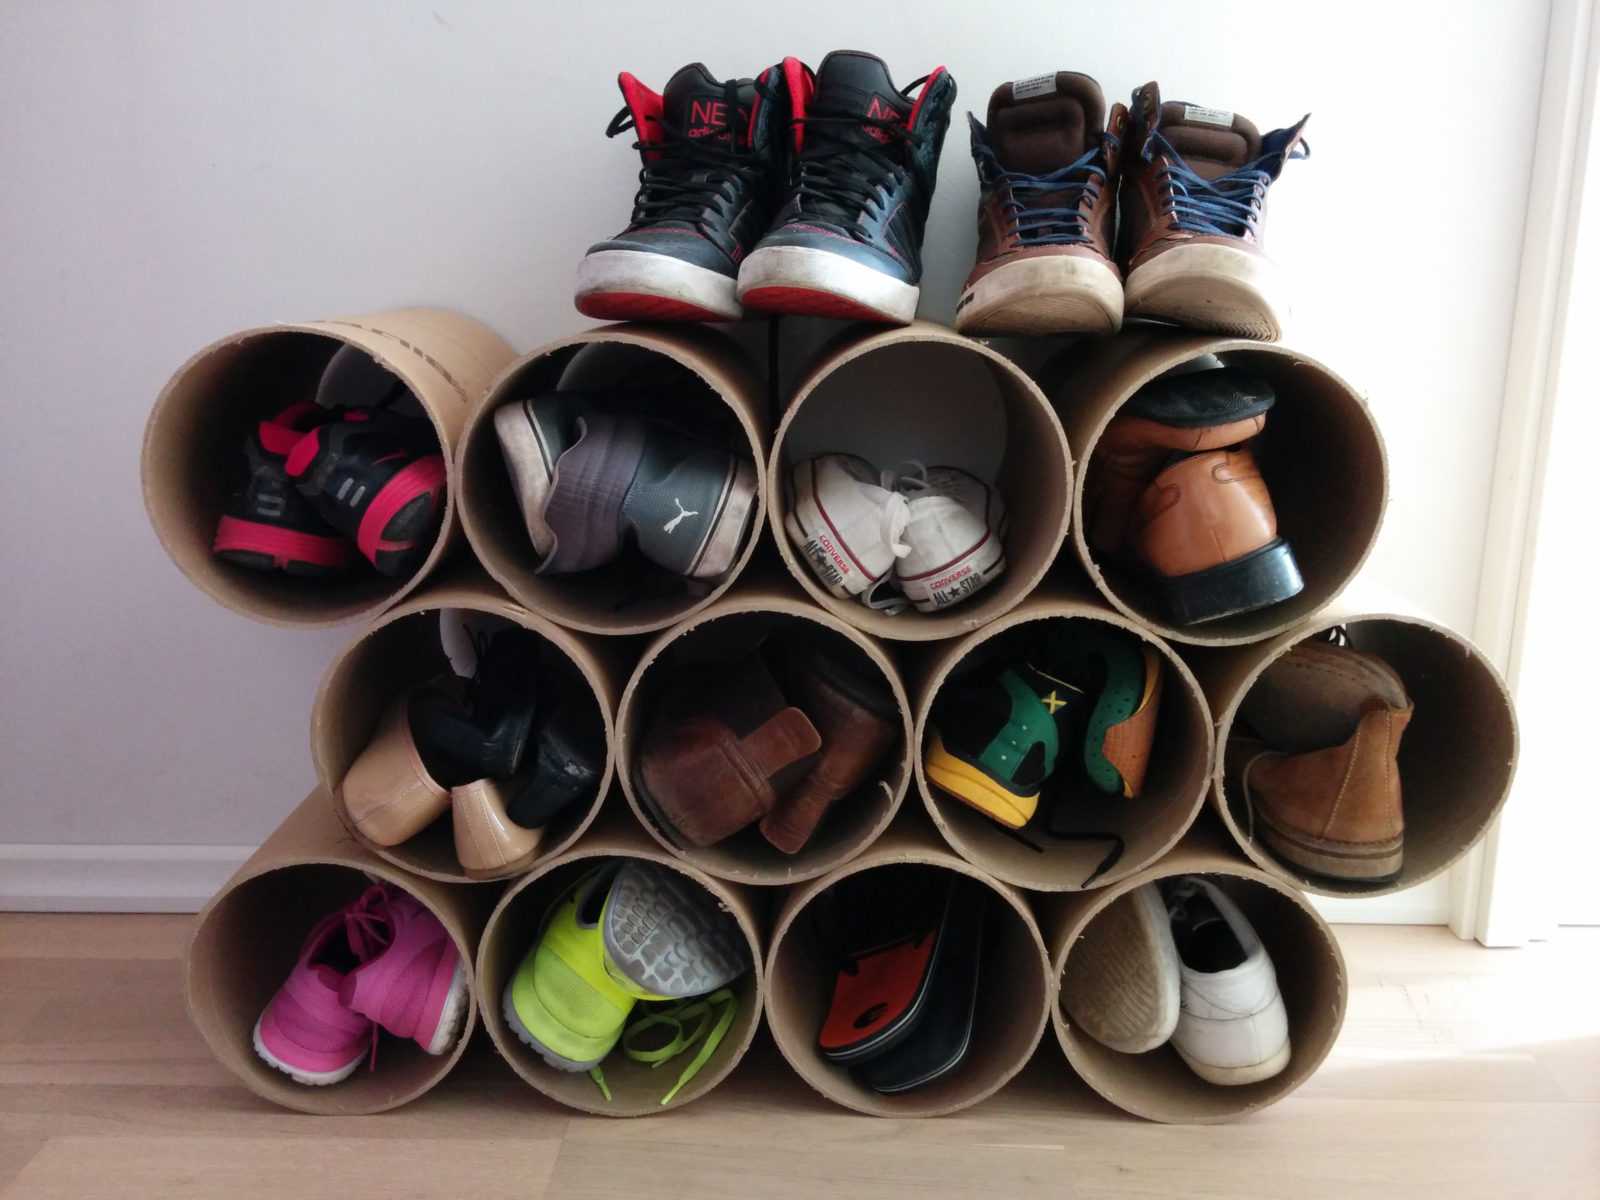
Shoe shelves can be made with your own hands from almost any available materials, for example:
- laminate;
- old furniture;
- wooden or plastic boxes;
- drywall;
- plastic bottles;
- pallets;
- shoe boxes;
- a piece of tin.
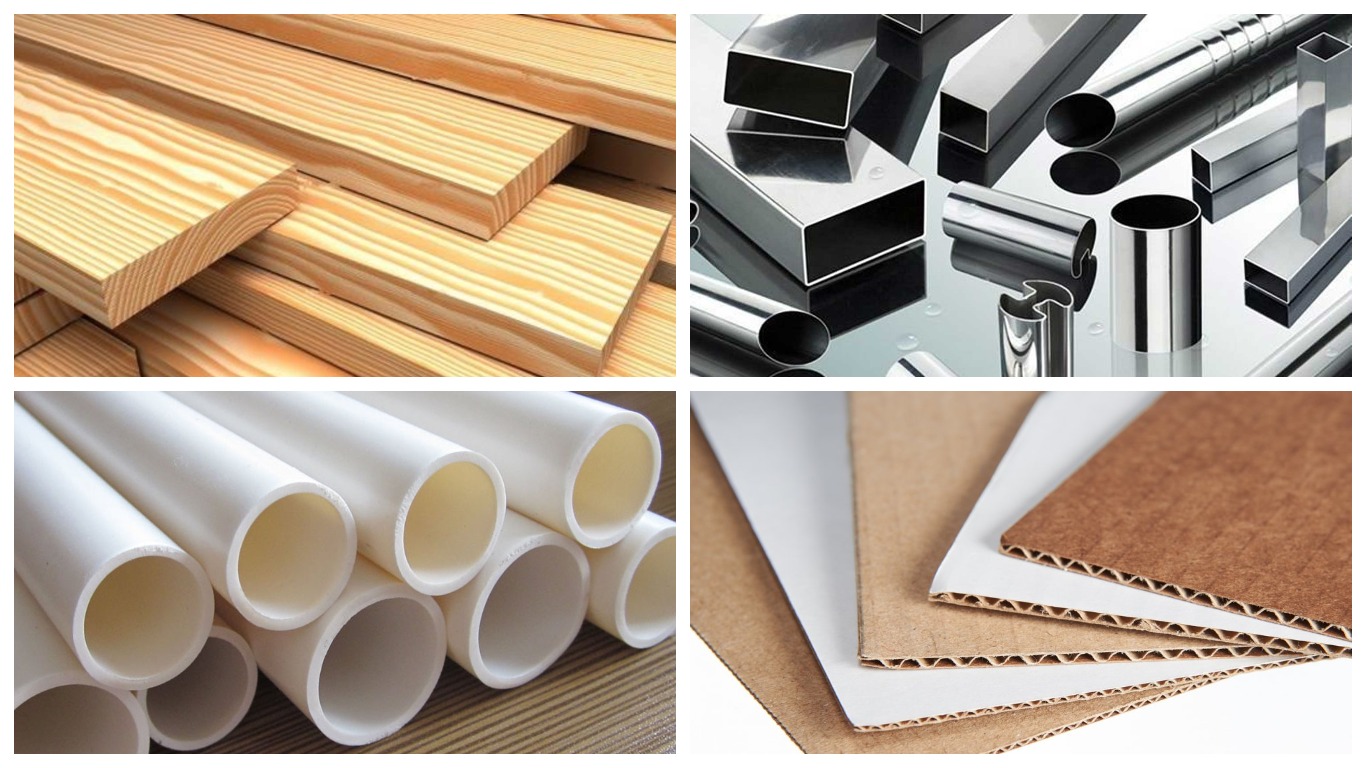
Quite an interesting solution is a shoe rack made of fabric, which represents pockets located vertically one above the other. To make it, you need small pieces of fabric and sewing accessories. The structure is fastened to nails and, if necessary, can be easily moved.
Plywood
It is a more affordable alternative to natural wood. It is easier to process, so working with it does not require special skills. At the same time, plywood is heavier than wood and also absorbs moisture, and therefore needs special processing.
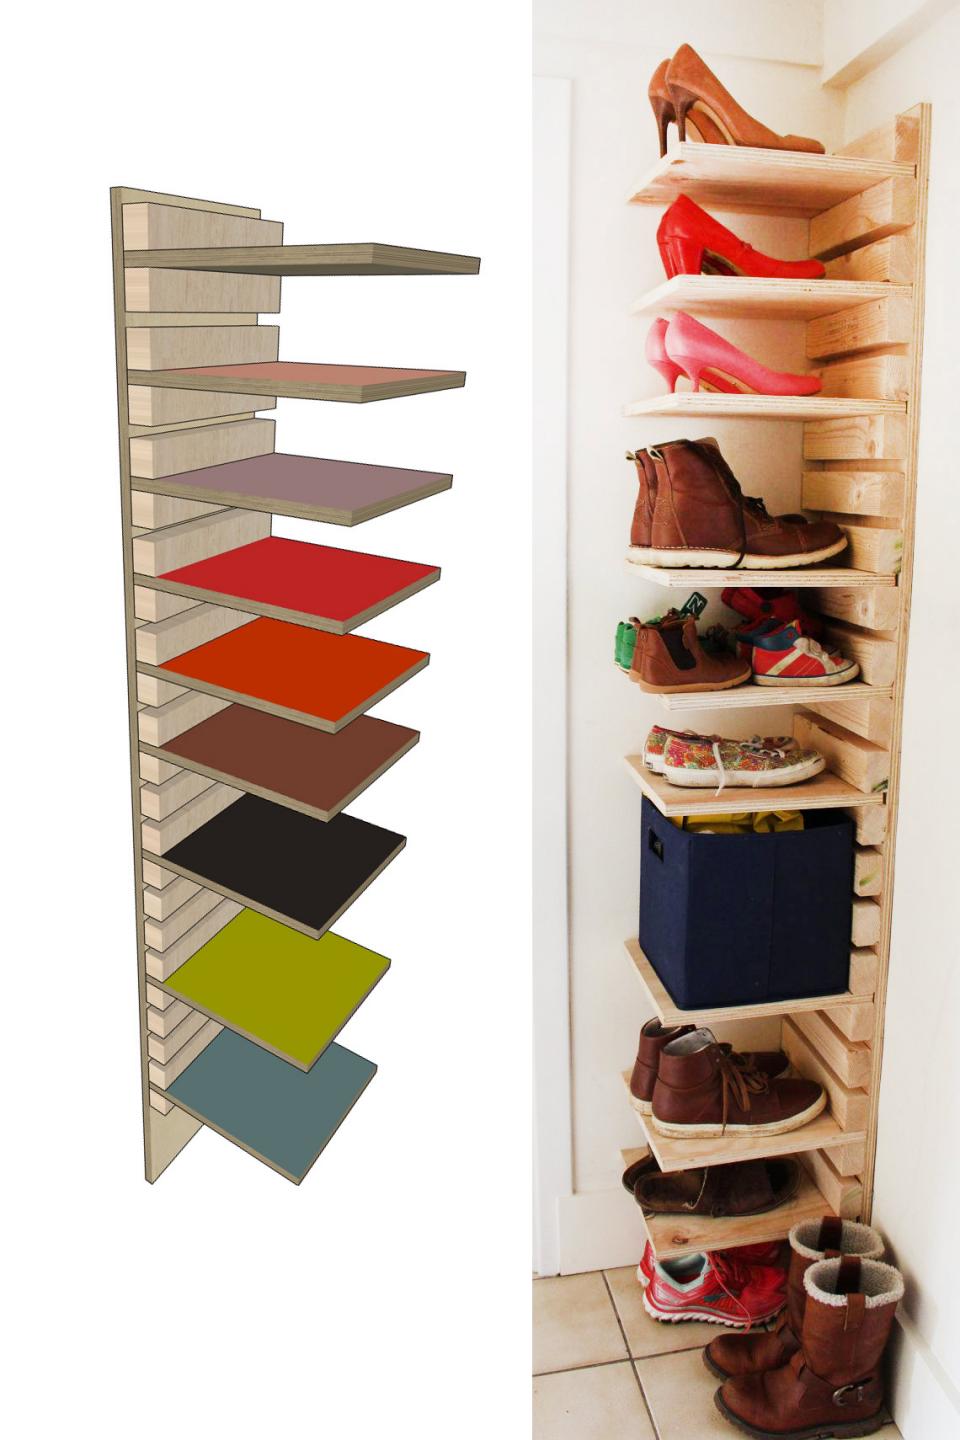
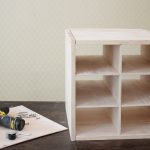
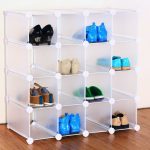
Plywood can be used to make not only a simple shoe shelf, but also a modular shelf. In this case, it will be attached to the wall, which will save space. In addition to plywood sheets, work will require:
- jigsaw;
- drill;
- puncher;
- hammer;
- pins;
- glue.
The procedure is as follows:
- Cut plywood sheets into equal rectangles, for example 20˟30 cm, and sand thoroughly.
- Mark the workpieces by drilling holes in the attachment points.
- Fasten the rectangles into U-shaped blocks with wooden pins.
- Connect the blocks by nesting them into each other to form a labyrinth-like structure.
Note! Plywood cracks easily, forming chips when sawing.
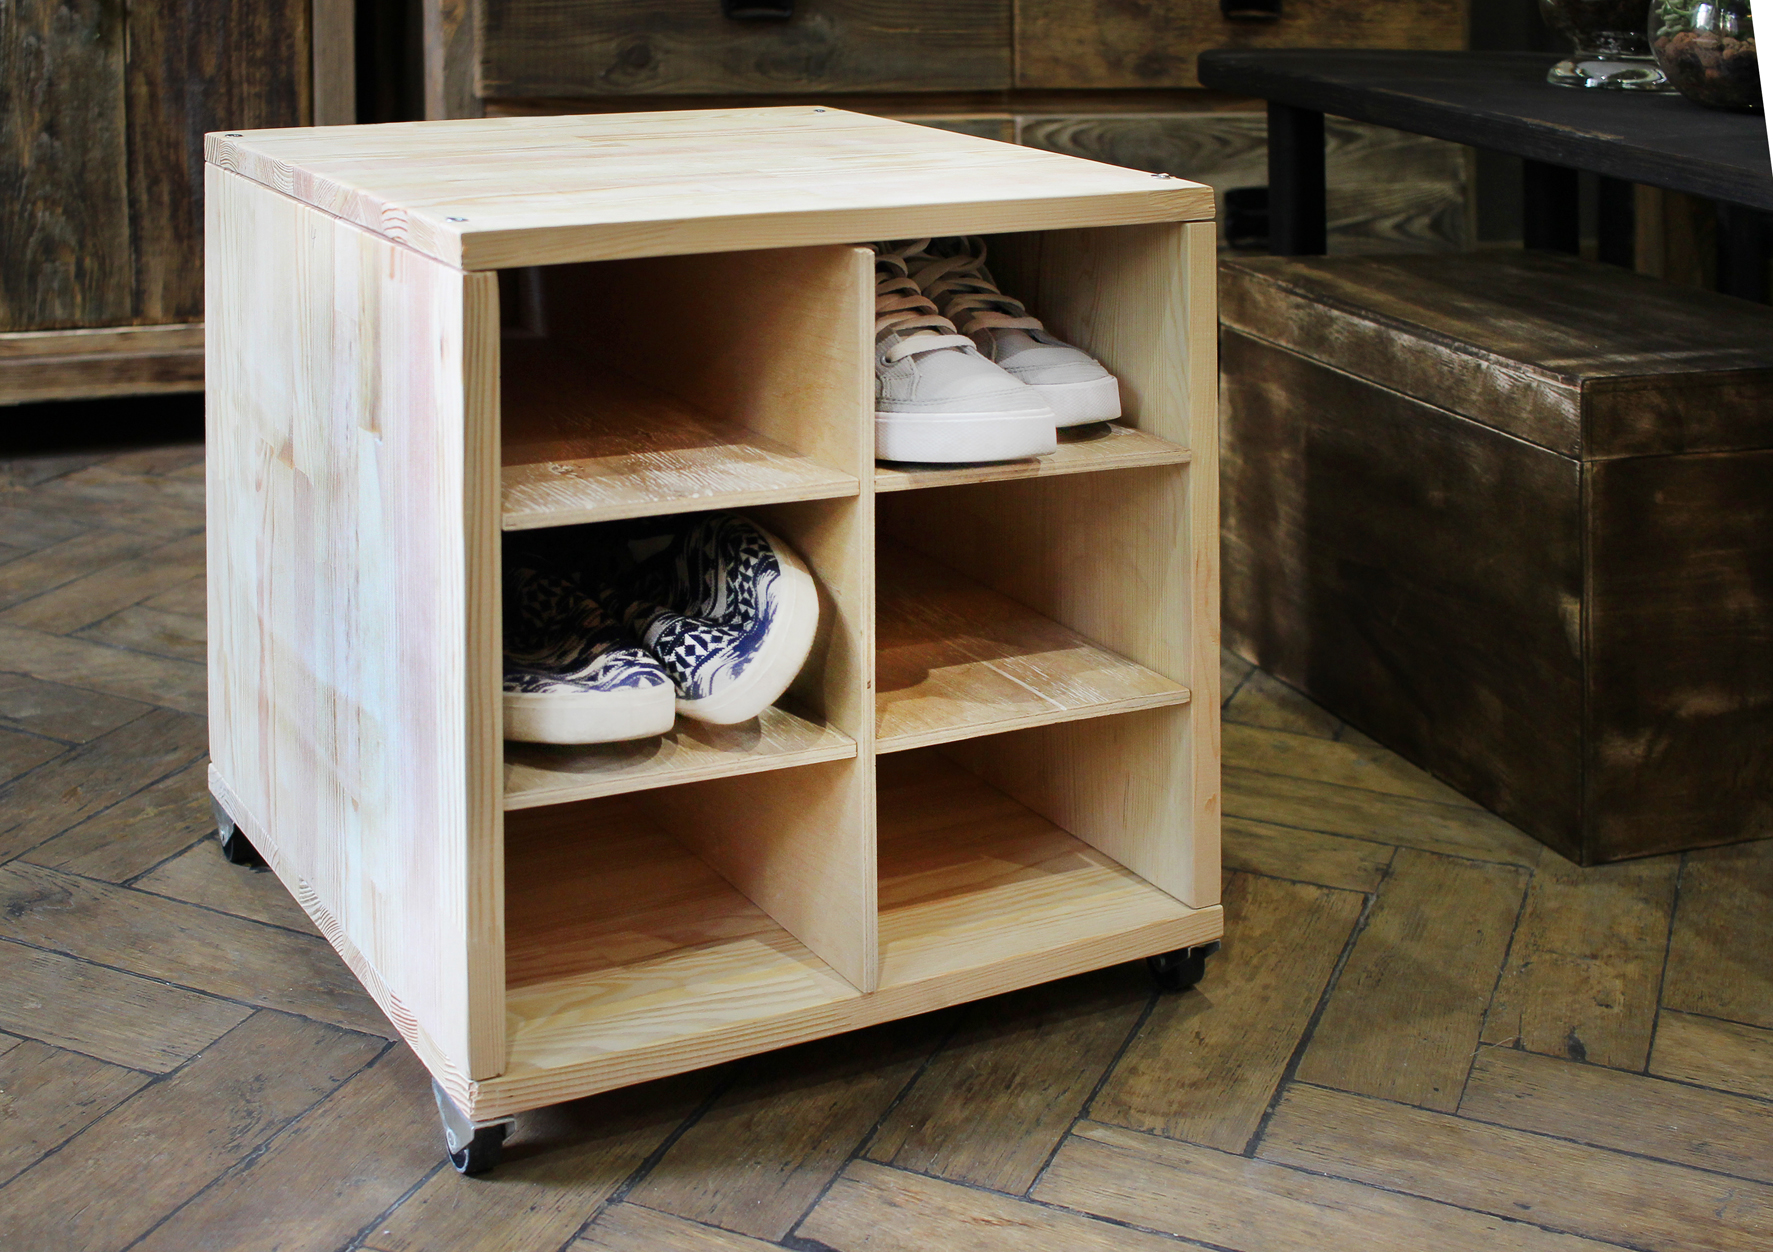
You can use any number of blocks, focusing on the size of the hallway and the number of shoes that need to be stored.
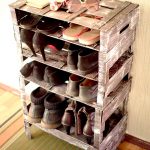
From pallets
Shipping pallets are readily available material that is easy to work with.
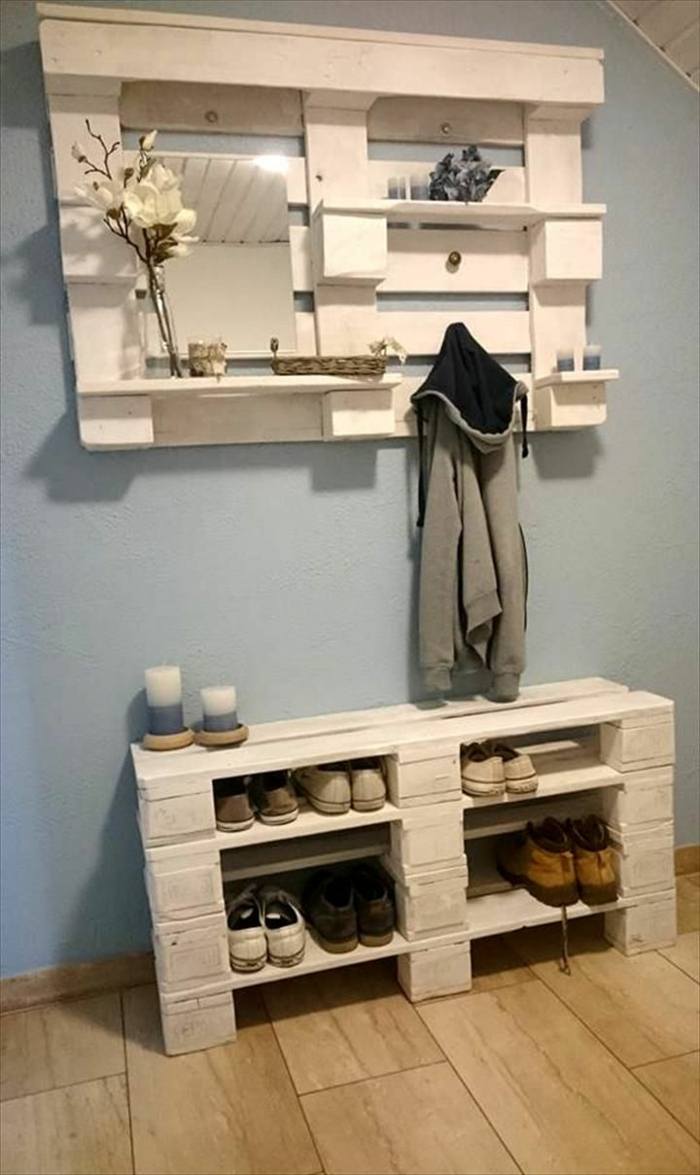
You can make a shoe rack out of it as follows:
- Disassemble the pallet and file the strips to fit the dimensions required for the shelf.
- Assemble the base of the structure, connecting the boards and wooden blocks of 5˟5 cm with self-tapping screws, necessary to impart strength.
- Form supports from the same bars at the corners of the base. Fill the space between them with planks, attaching them with self-tapping screws.
- Make the top panel by fixing the horizontal strips to the supports. Put a thin sheet of plywood on top, fixed with self-tapping screws.
- Treat the structure with a moisture protective agent.

Note! It is worth fixing the strips in such a way that there are no gaps between them.
Foldable
The foldable structure can be used as additional storage space when there are a lot of shoes. It is equipped with a folding mechanism: textile inserts, door hinges, plastic or wooden slats, belts or bolts.
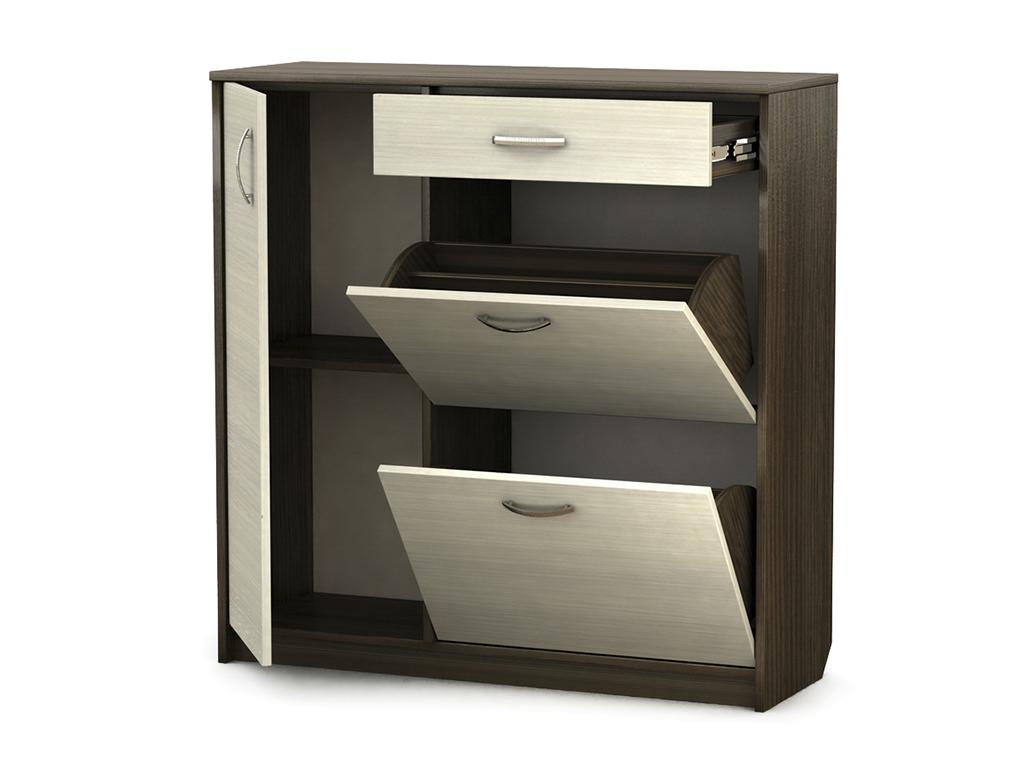
In addition to him, you will need to work:
- boards or plywood;
- jigsaw;
- self-tapping screws;
- drill;
- sandpaper.
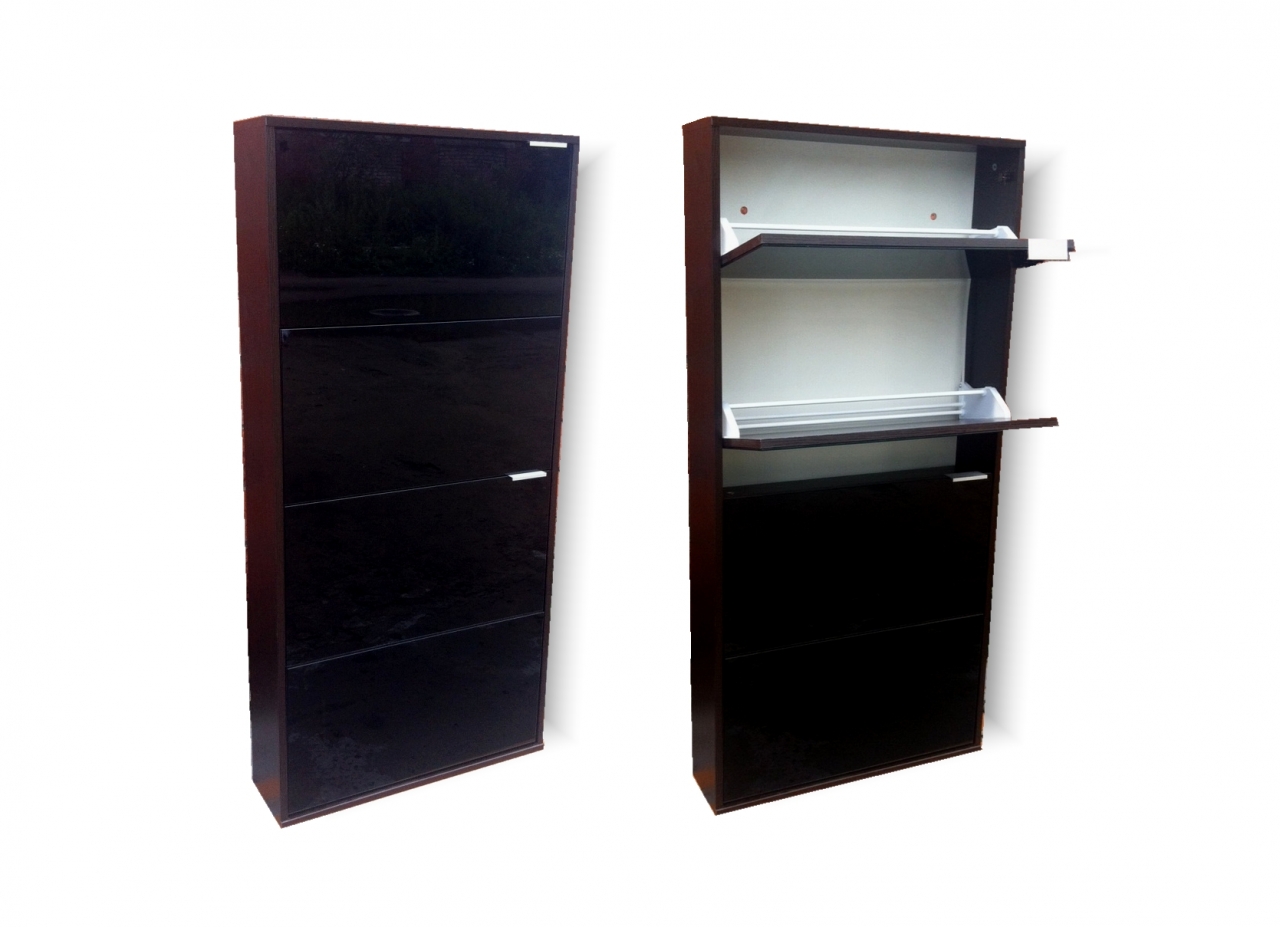
The easiest way is to use door hinges. With them, the process looks like this:
- Cut out the back wall 50-100 cm in size and the shelves 20-50 cm in size from the material. Sand the parts with sandpaper.
- Attach the back to the wall.
- Attach shelves to it using hinges.
- Fasten the shelves to the side with chains or belts. This will keep them horizontal.

A latch is used to secure the folded shelf.
Made of cardboard
Sturdy cardboard boxes can be used to construct a narrow wall structure with individual pockets. For this you will need:
- ruler and pencil;
- glue or tape;
- cord;
- decorative material such as self-adhesive tape, wallpaper, or fabric.
The manufacturing process is as follows:
- Cut out rectangles measuring 65˟60 cm.
- Mark the long side into strips 20, 25 and 20 cm wide.On the short side, draw a line with a 25 cm indent. This will form a rectangle and a square.
- Cut off the sides of the resulting rectangle to form a T-shaped workpiece.
- On the wings of the workpiece, lay 11 cm along the border of the upper side of the square. Draw diagonals connecting the corners "T" and the marked points.
- Bend the workpiece along the lines.
Note! A metal ruler can be used to make handling thicker cardboard easier.
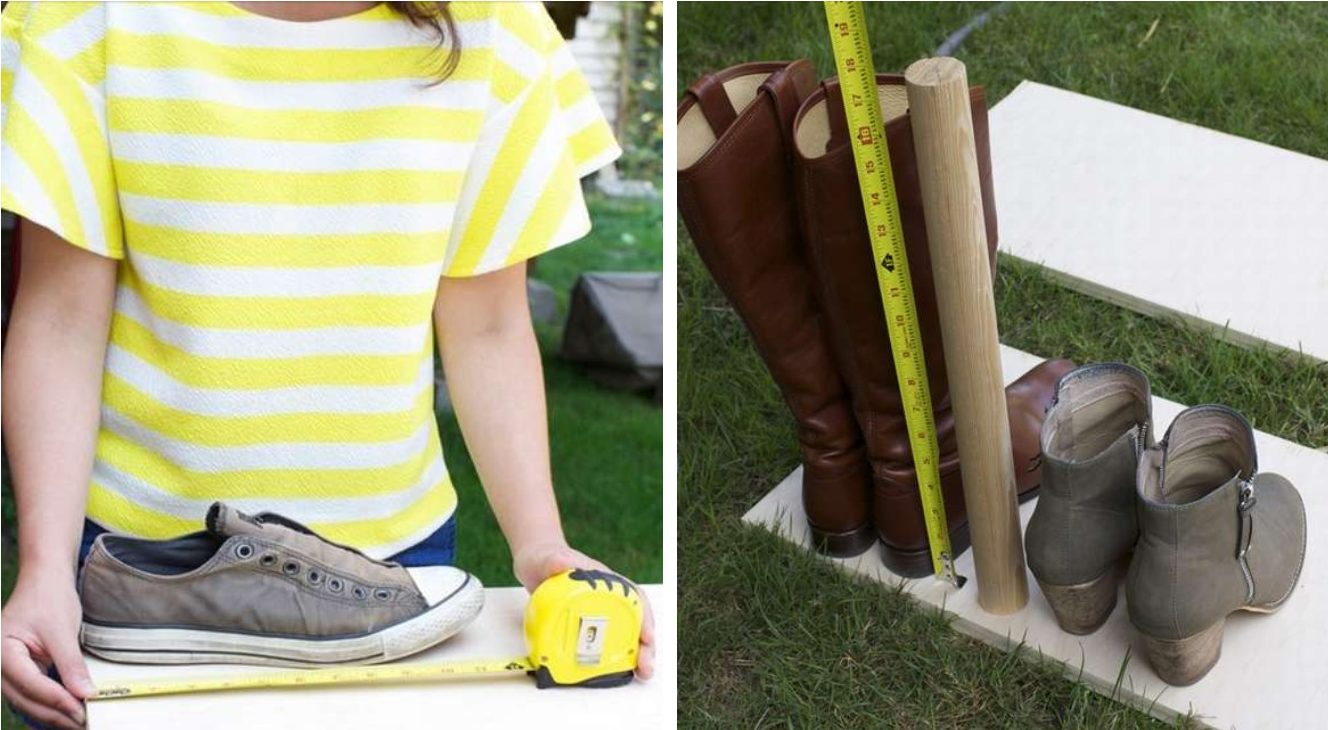
Assemble the structure by attaching a square to a rectangle so that the bent triangles turn into sidewalls. Fix with glue or tape. Decorate blocks and attach to the wall.
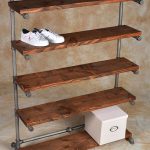
Of copper pipes
A shoe rack made of metal pipes can be of any size depending on the size of the hallway. For example, in a spacious corridor, it can be installed along the entire wall, providing it with a large number of tiers. For work you will need:
- pipes cut into pieces of the desired length;
- metal flanges;
- pipe corners;
- die for threading.

The work process is as follows:
- Attach the metal flange to the desired location on the floor or wall.
- Apply the thread to the pipes with a die.
- Build a zigzag structure, the elements of which are fastened with corners.
- Secure the end flange.
How to make a shoe rack with an ottoman
A shoe rack made with a rack can be equipped with a pouf. This should only be done when making the main structure from durable materials such as wood. For a soft seat, you will need foam rubber and a dense fabric for upholstery. These materials are fixed with a mounting stapler.
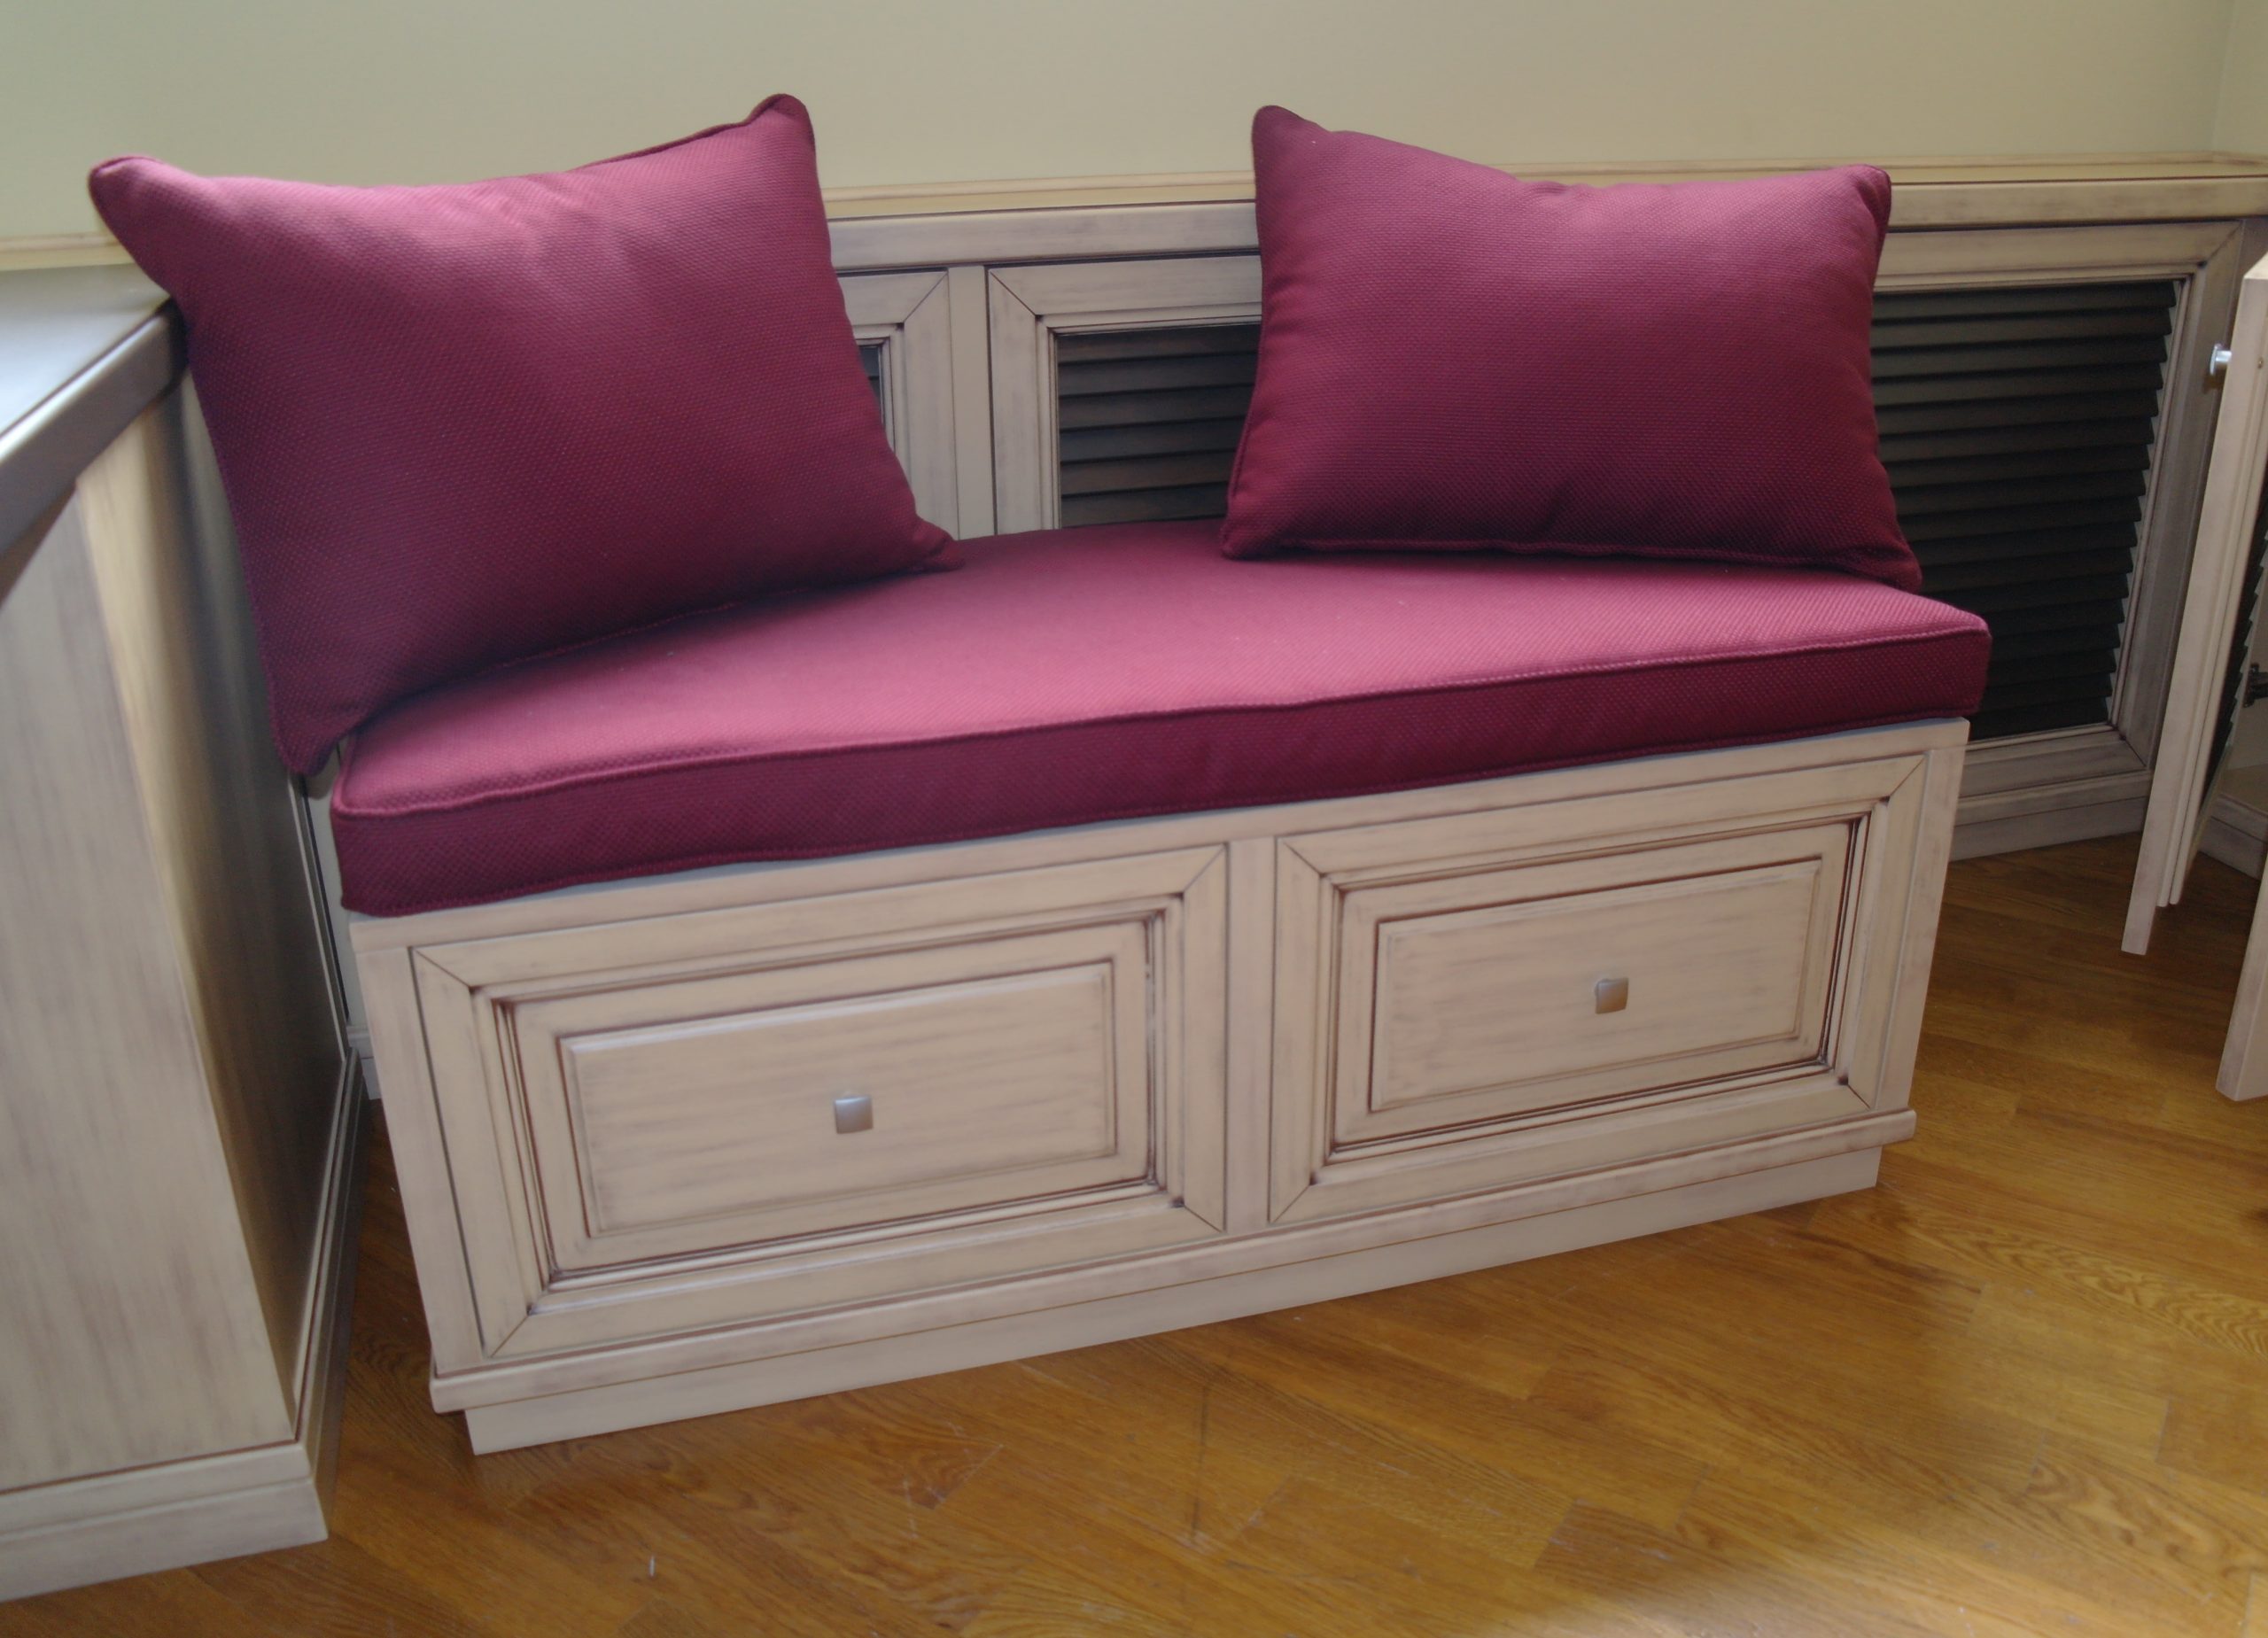
A shoe shelf in the hallway can be made with your own hands if a construction plan is outlined and the necessary materials are available. The resulting product will differ not only in ease of use, but also in its original appearance.
Video: do-it-yourself stylish shoe rack
