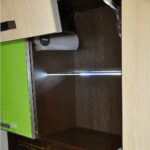
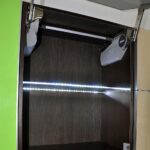
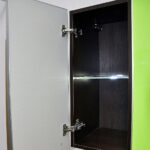
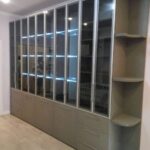
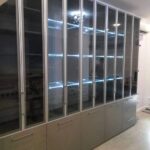
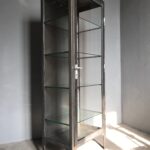
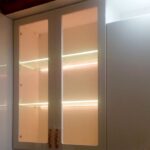
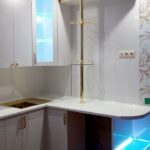
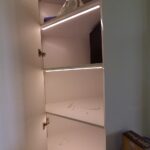
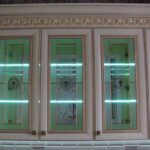
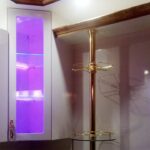
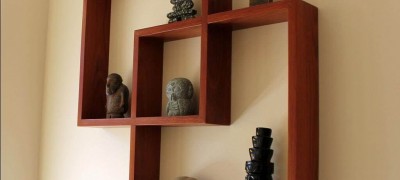
Lighting for glass shelves in cabinets
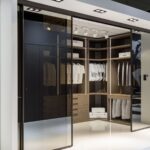
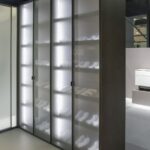
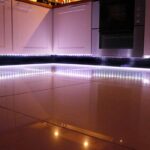
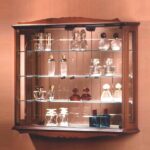
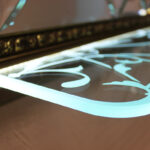
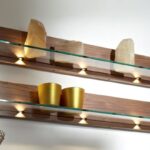
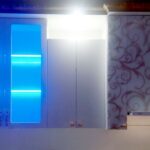
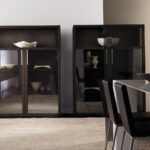
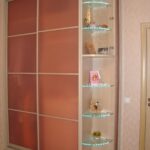
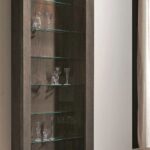
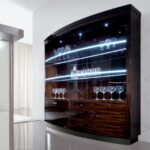
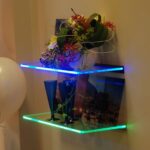
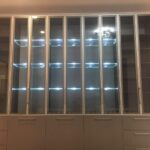
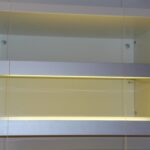
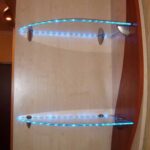
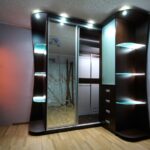
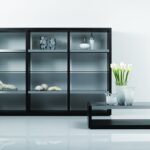
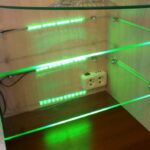
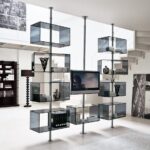
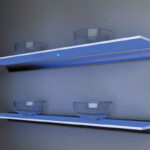
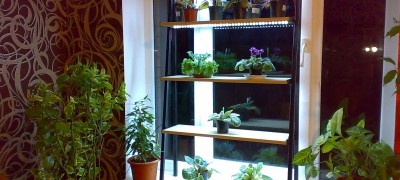
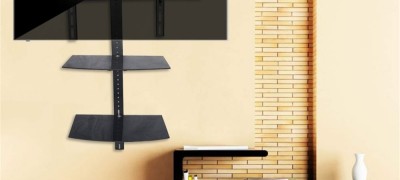
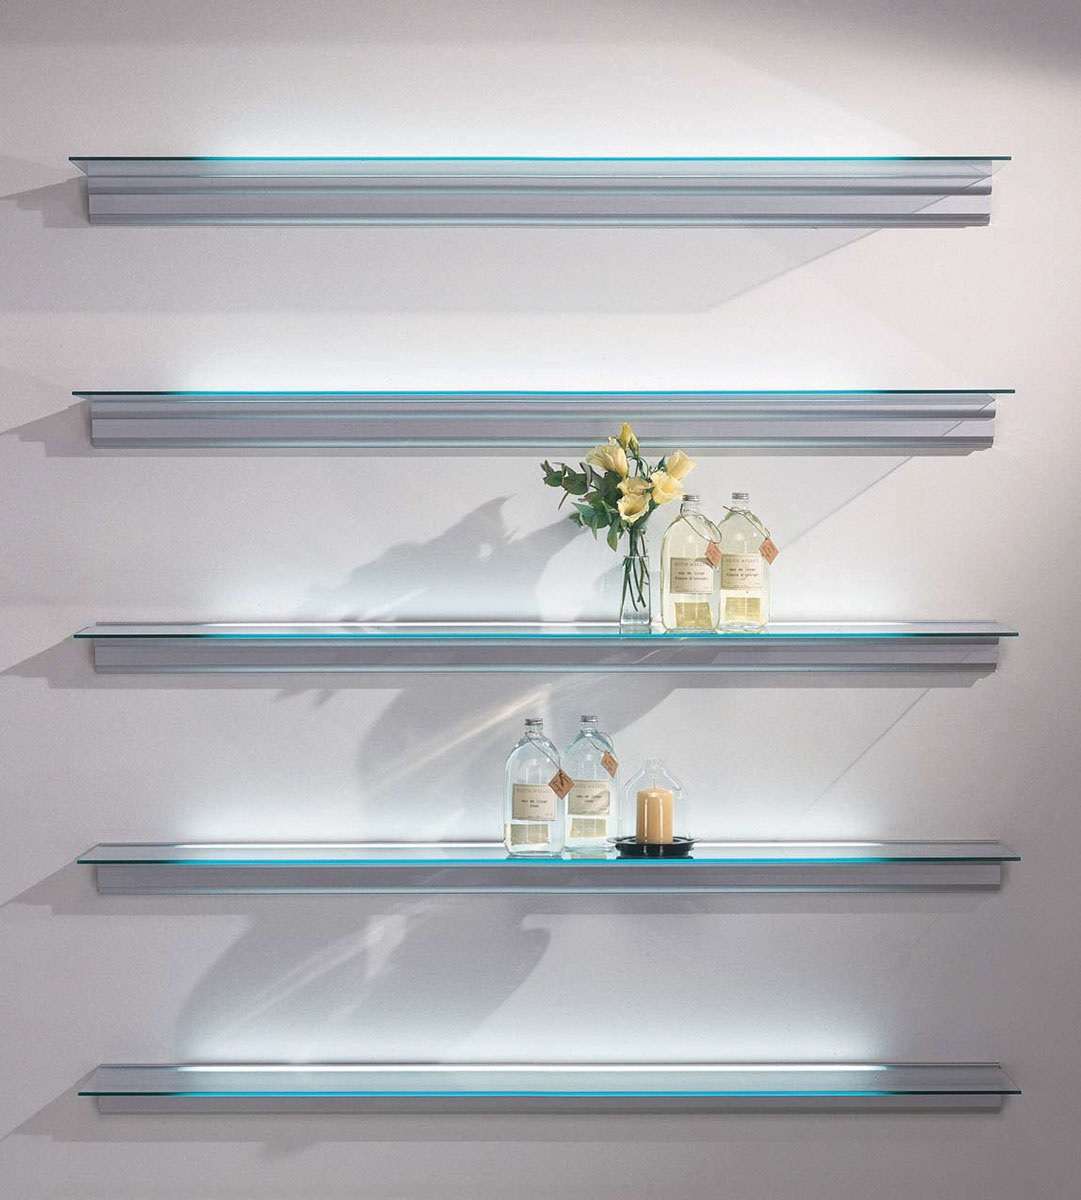
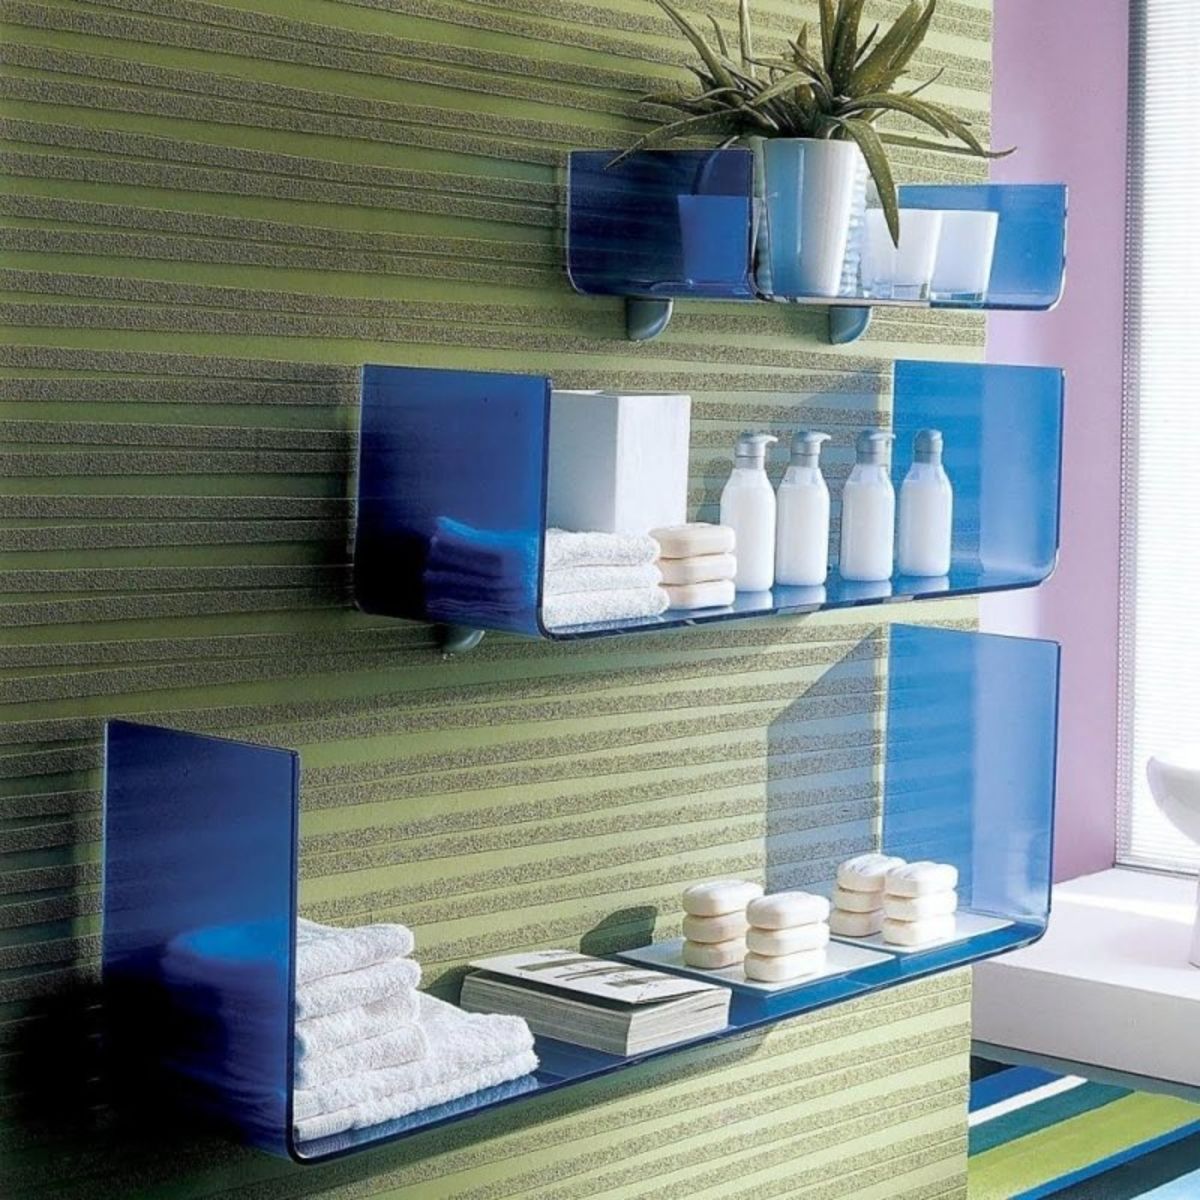
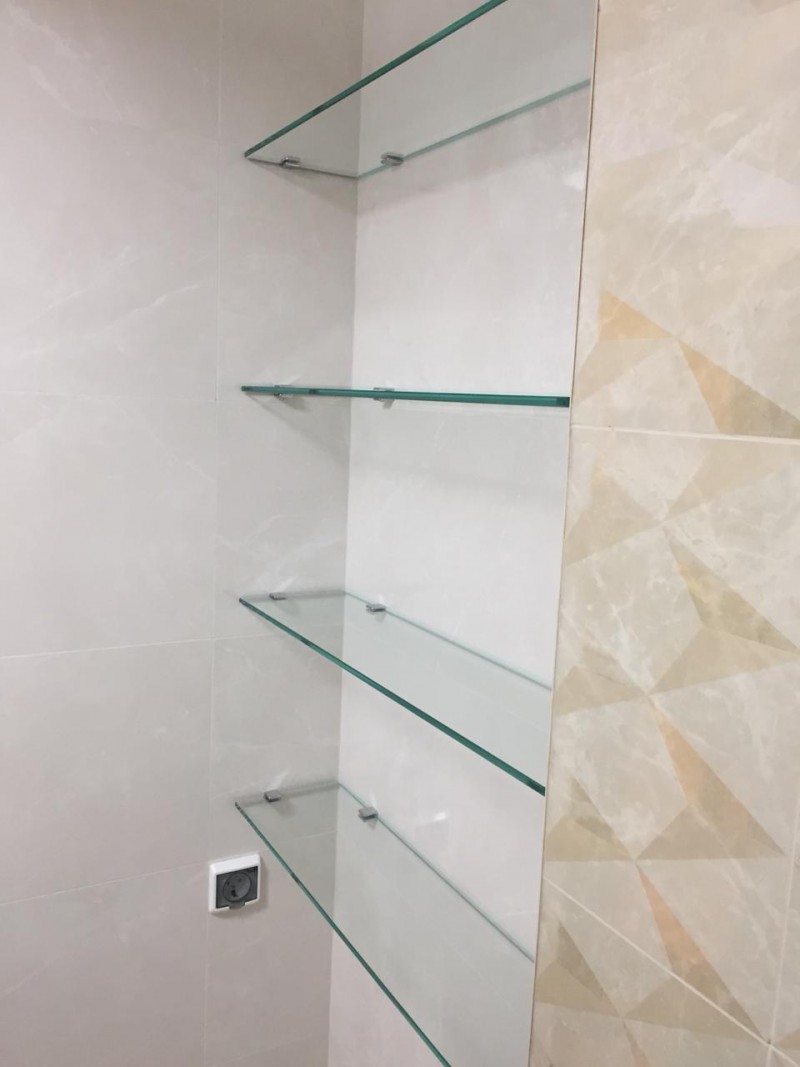
There are many ways to decorate the interior. One option is to install lighting on the shelves. If the glass shelves are hung on the wall and decorated with lighting, then when the main lighting is off, they will look like an original lamp.
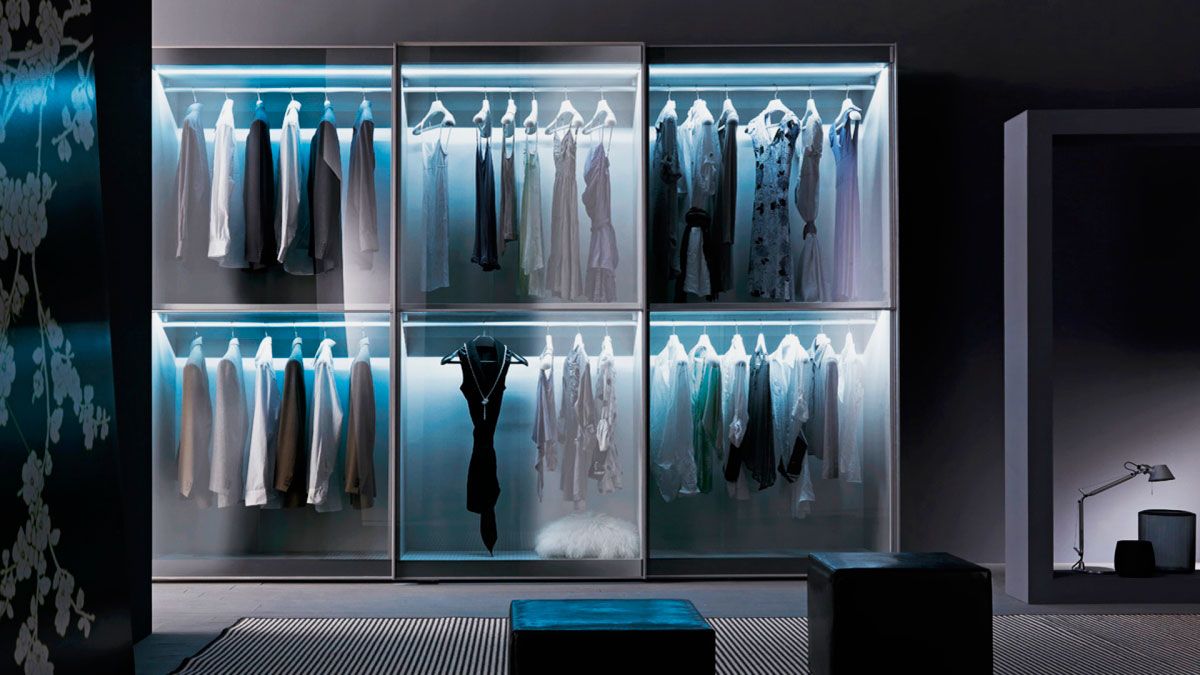
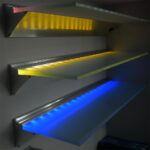
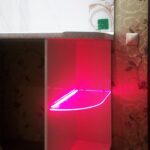
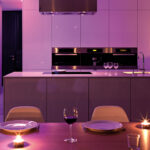
Such shelves can visually expand the space of a room, and if you choose a multicolor option as a light strip, the shades will change, decorating the room and giving it an unusual, cozy look.
Choosing lighting for shelves
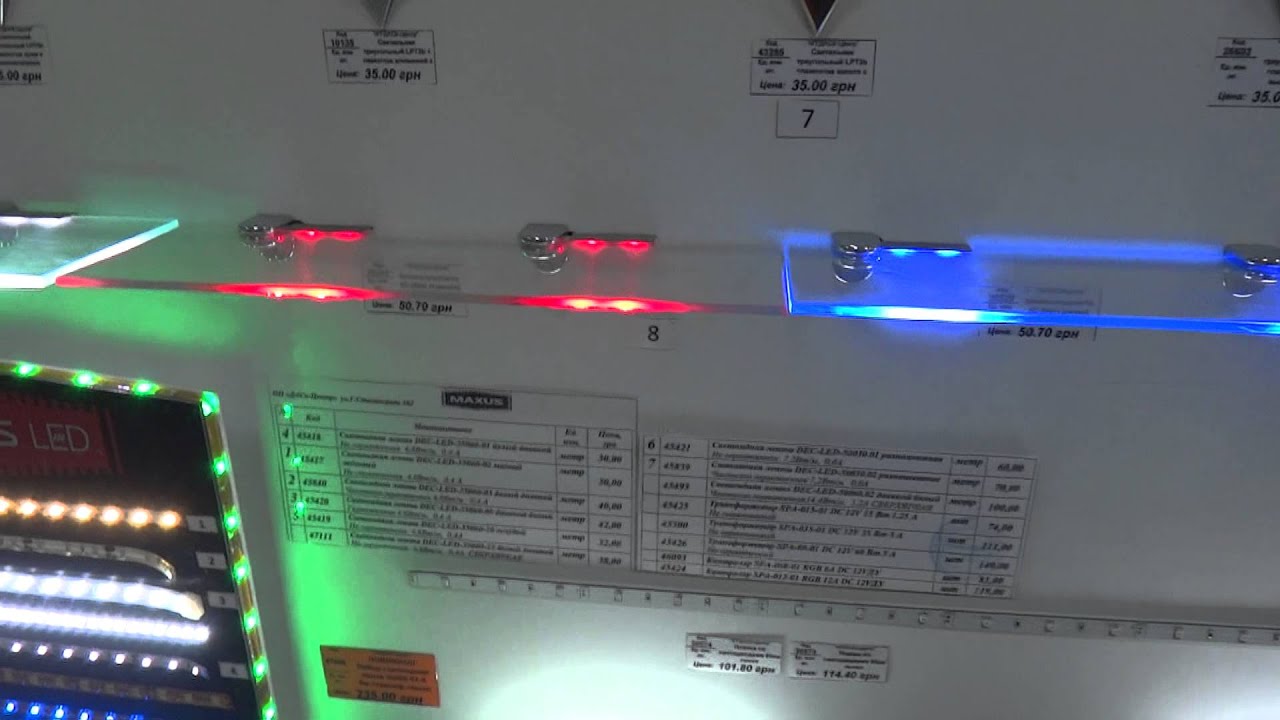
The shelves with LED backlighting are equipped with different versions of devices - single color, multi-color, multi-white, controlled by radio transmitter or control system. When choosing an option with a controller, it will be possible to set the type of lighting by flickering or changing the brightness of the bulbs.
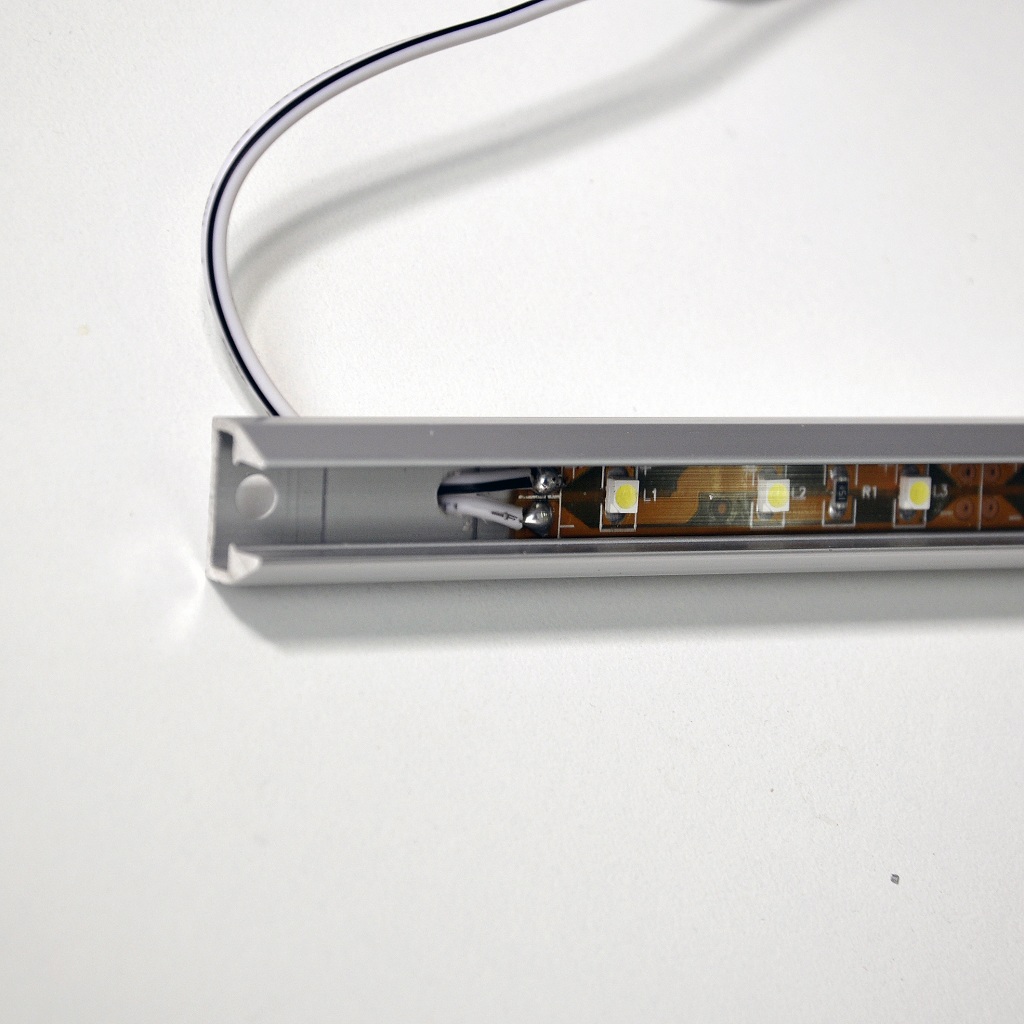
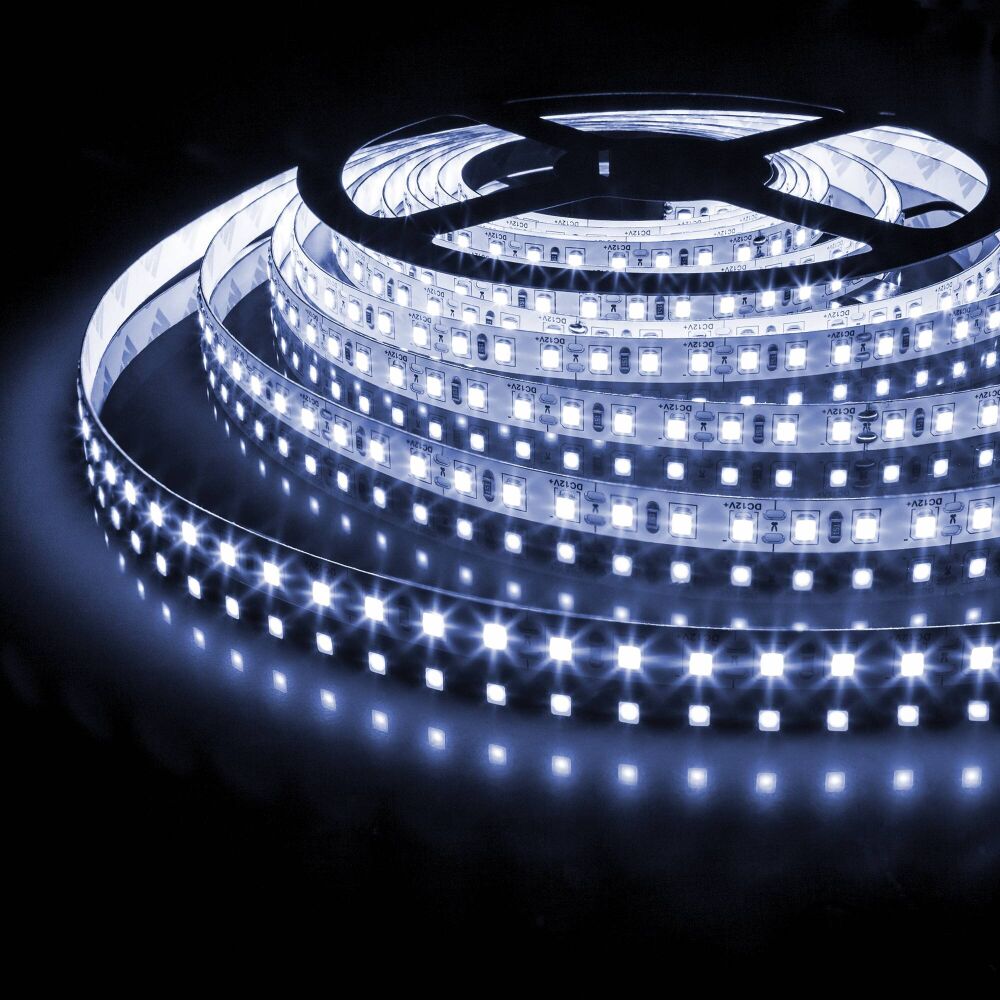
The brightness depends on the size of the LEDs on the tape. You can buy an LED strip of any size, since in retail outlets they are sold in bobbins, 5 meters long and 8-40 millimeters wide. The entire strip consists of many modules with a certain number of LED lamps as well as resistors.
There are free spaces between the modules, in which the section of the required size is cut off. Individual parts of the tape can be assembled into a single chain using fixing materials.
Important! When choosing a backlight, it is recommended that you familiarize yourself with the information in the marking.
Here you will find information about the important characteristics of the product:
- stress;
- color / colors of bulbs;
- size;
- type of installation;
- the number of lamps;
- protection class.
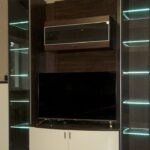
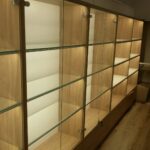
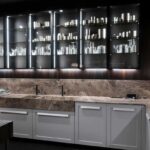
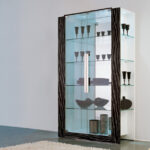
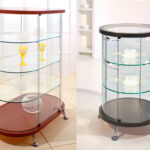
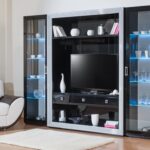
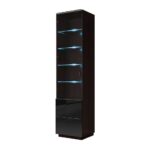
In addition to diode lighting, the option of installing halogen lamps on shelves in cabinets and on racks is widely used. Glass cabinets look original with LED lighting.
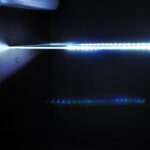
LED Strip Light
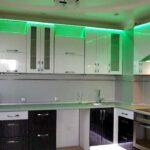
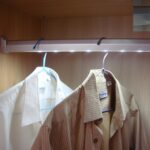
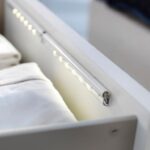
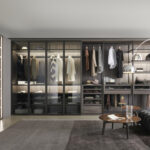
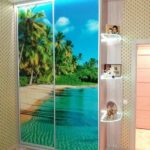
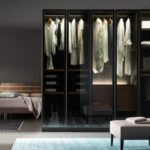
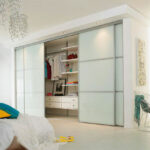
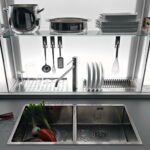
LEDs are installed not only on glass shelves - they perfectly cope with lighting in cabinets and on shelves of any type. For example, in kitchens, wardrobes, wardrobes, walls, shelves.
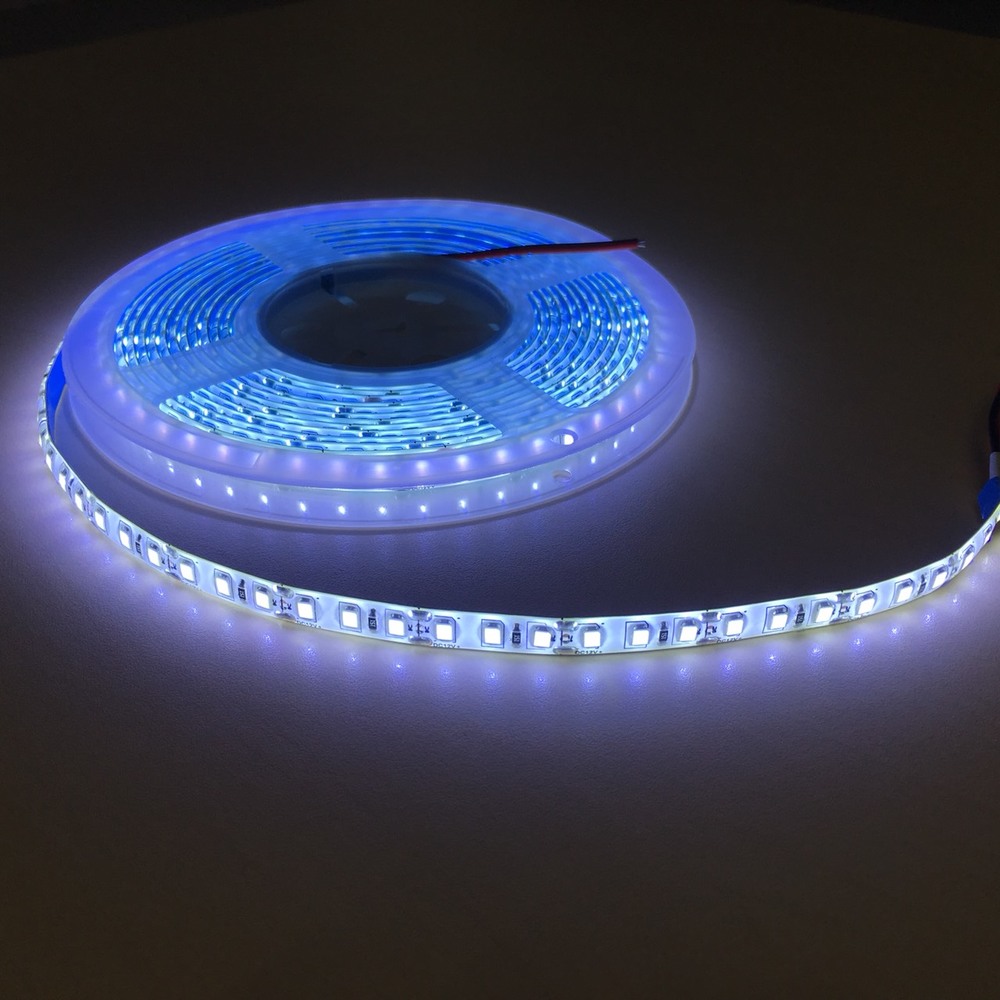
This lighting option has several advantages:
- difficult to damage by shock or vibration;
- dimensions are compact;
- durability;
- economical consumption of electricity;
- different color options;
- luminous flux brightness;
- lighting in full from the moment of switching on (without preheating);
- affordable prices for any budget;
- environmentally friendly;
- safe to use;
- resistant to temperature changes.
Note! The multicolor stripes are equipped with four wires - three are responsible for the color, the fourth is connected to the negative pole of the power supply. Single-color cables have only two.
Other
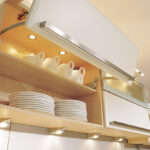
Halogen lighting is widely used for installation in any type of cabinet furniture. On sale you can find ready-made kits that include several lamps.Such a kit can be installed independently in any cabinet to illuminate the shelves.
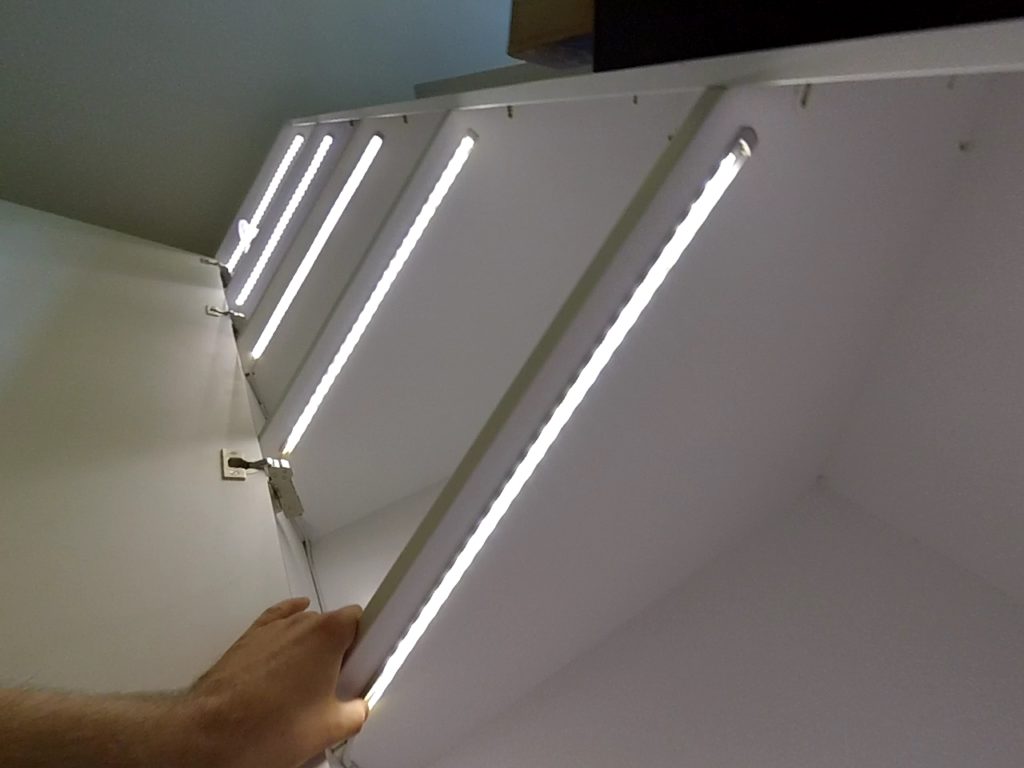
The standard kit consists of the following parts - transformer, fixtures, electrical wiring, switch and connectors. Lamps look like small bulbs, made of quartz. The dimensions of such luminaires are smaller than the dimensions of fluorescent lamps.
The main advantages of this type of backlighting include:
- long service life;
- the light spreads soft, even;
- energy saving properties;
- does not deform fabric coverings in the room due to soft, diffused light.
There are also disadvantages of this type of electrical appliances:
- significant heating of the surface. Eliminated with a special reflector;
- it is permissible to use lamps only with UV filters due to the danger of negative effects.
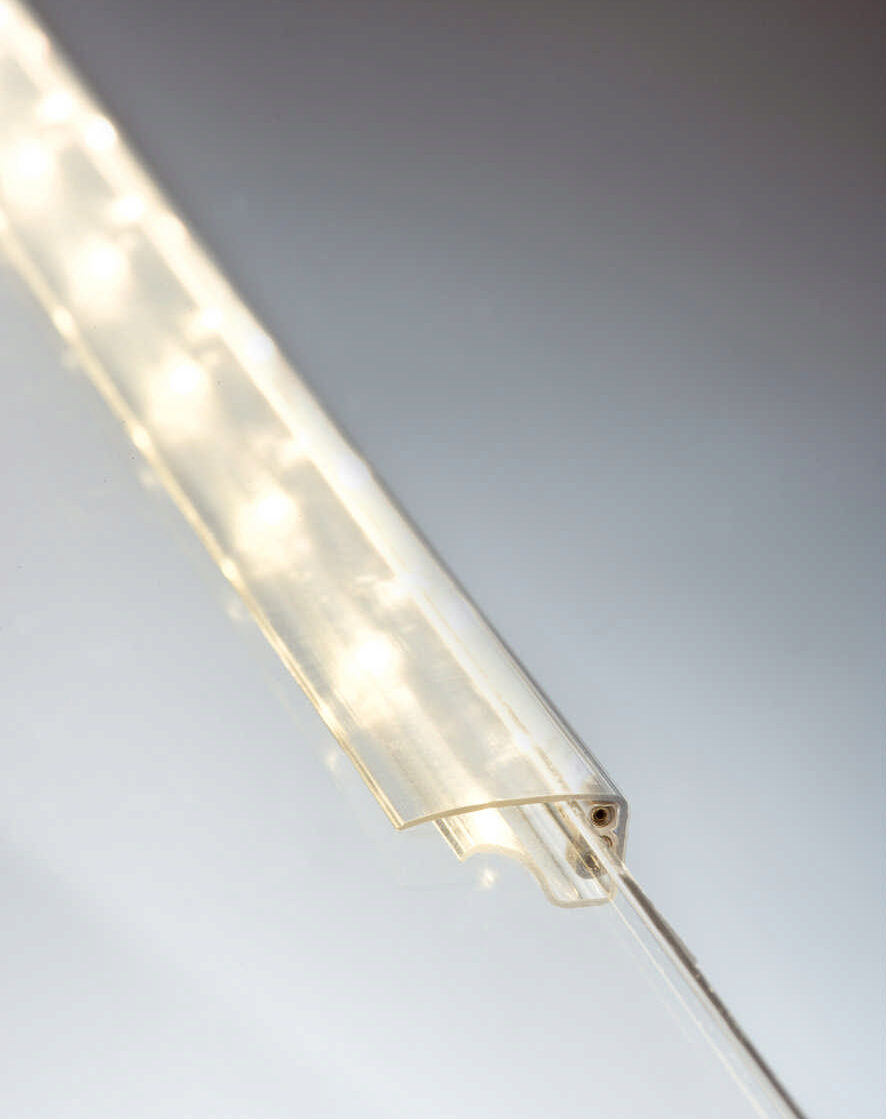
In addition to the above types of lighting, furniture is often equipped with overhead lamps. They are point, linear, mortise. Their advantage is the ability to direct light in a certain direction and adjust its brightness.
What materials and tools are needed for mounting the backlight
Any kind of shelf lighting is powered by electricity. To connect devices to the mains, wires and switches are used. Switches can be overhead, cut-in, touch-sensitive, motion sensors, remote switches, as well as a button on the luminaire itself.
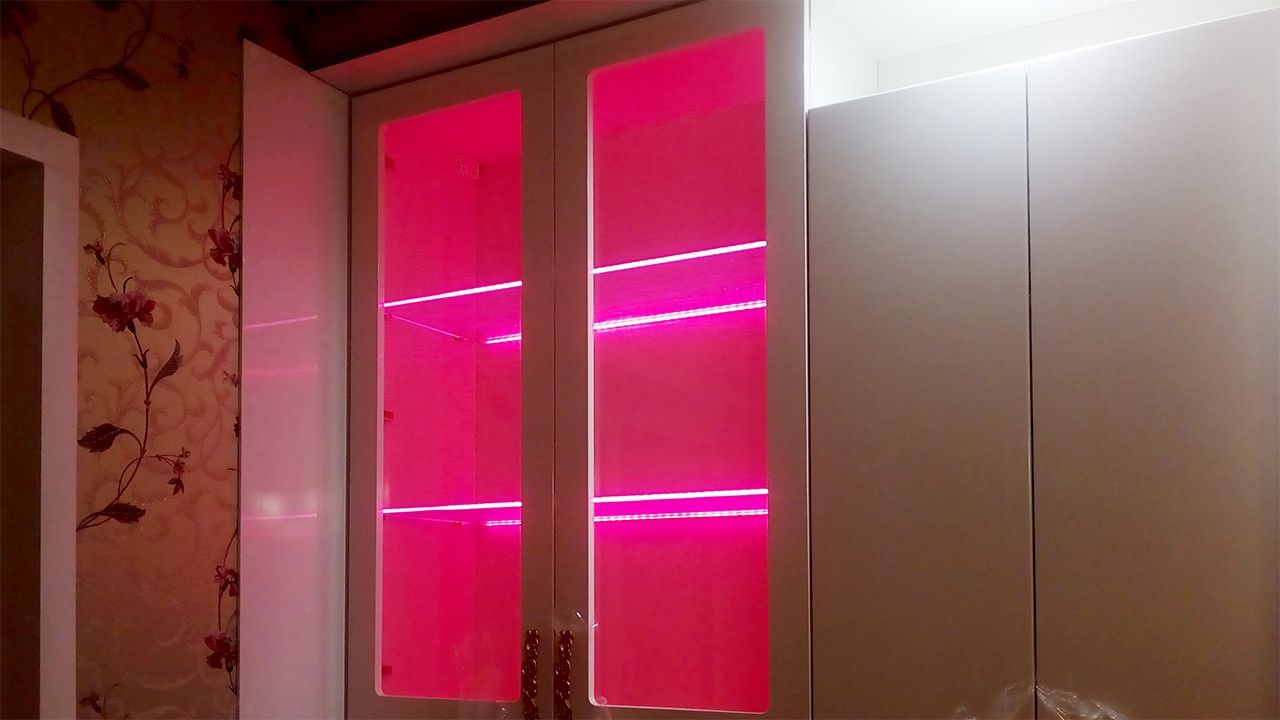
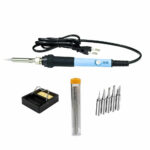
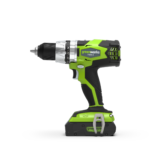
Before proceeding with the installation of LED lighting on shelves made of glass or other material, it is necessary to prepare the necessary materials and tools. In particular, you will need:
- diode tape of a given length;
- control system when choosing a multi-color strip of illumination;
- connectors to connect individual strips;
- aluminum profile;
- wire (section 0.74 mm);
- soldering iron;
- knife or scissors;
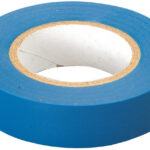
- insulating tape;
- fasteners, drill.
Additional information - it is not always possible to use electrical tape. If the LED strip is self-adhesive on the inside, it will stick to the shelves without an accessory. A drill is needed to drill holes in the shelves to pull the wire to the entire height of the cabinet.
How to properly attach to the shelves in the closet
After the necessary tools have been prepared, you can proceed with the installation of LED lighting on the shelves. First, you need to measure the shelves, and cut strips of the required size along their length. You need to cut in those places where special lines are indicated (in the form of a scissor).
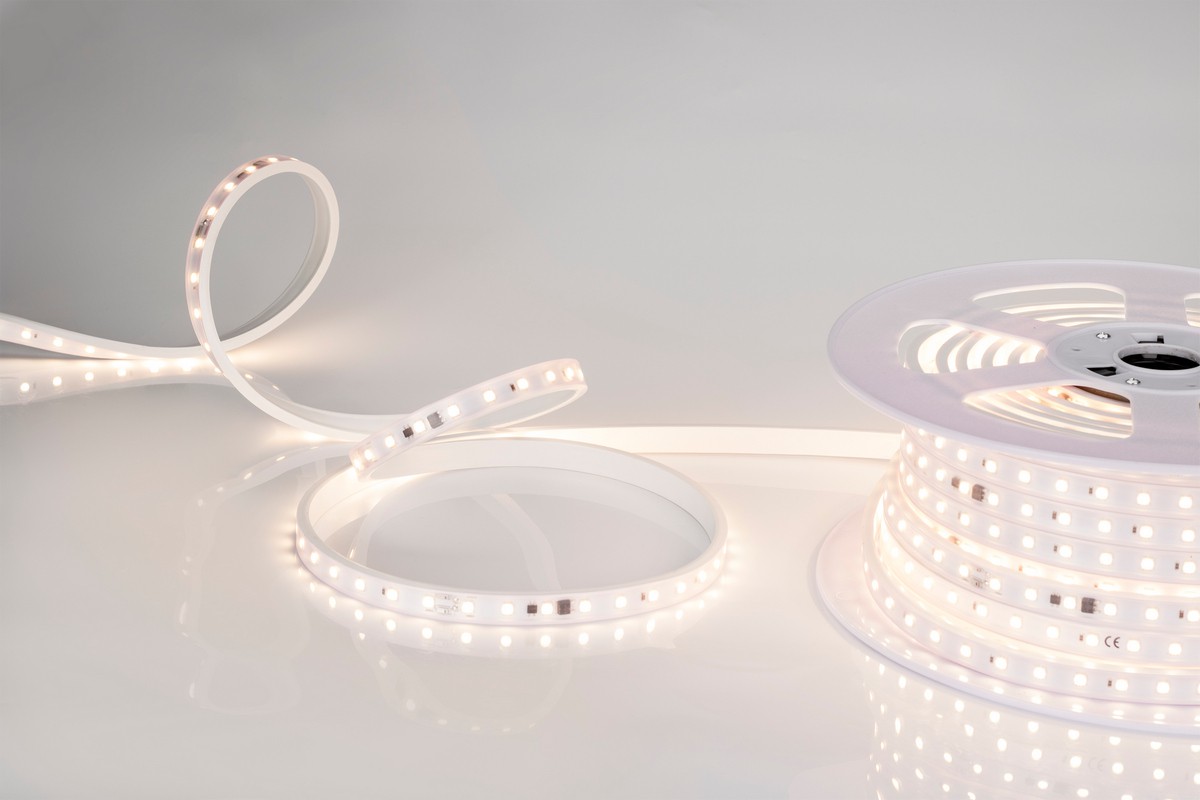
The ends will need to be stripped of the silicone coating. The length of the stripping should be one and a half centimeters.
They are attached to the cleaned ends with connectors or two cables are soldered. More reliable is the option with soldering.
The wires must be insulated. For this, either a heat shrink tube or electrical tape is used. It is much more convenient to do this using heat shrinkage. A 2 centimeters long tube is cut off and pushed onto the sealed place. After that, it is fixed with a building hair dryer.
The LED strips are attached to an aluminum profile or directly to a shelf with tape or an internal adhesive surface. But first, the surface on which the backlight is attached must be degreased. After that, the device is fixed on the walls of the shelf. As a result, it remains only to bring the structure to the power source and turn it on.
How to connect the backlight to the network
To supply lighting to the mains, you need to do the following:
- Connect the cable from the luminaire to the power supply;
- Connect the unit to the control lighting system;
- Pull the wire through the cable channels;
- Strengthen the canals with liquid nails;
- Connect the controller to the diode strip with color-oriented cables;
- Connect the switches to the circuit and fix it with a soldering iron or terminals;
- Check the operation of the device by plugging it in.
This connection instruction is for installing multi-color type LEDs. To connect a single-color or multi-white version to the lighting network, there will be only two cables from the tape to the power supply.
By the same principle, you can mount and connect to electricity any kind of lighting fixtures that are designed to be installed on furniture shelves. Only for recessed luminaires, you will need to drill holes of the required diameter.
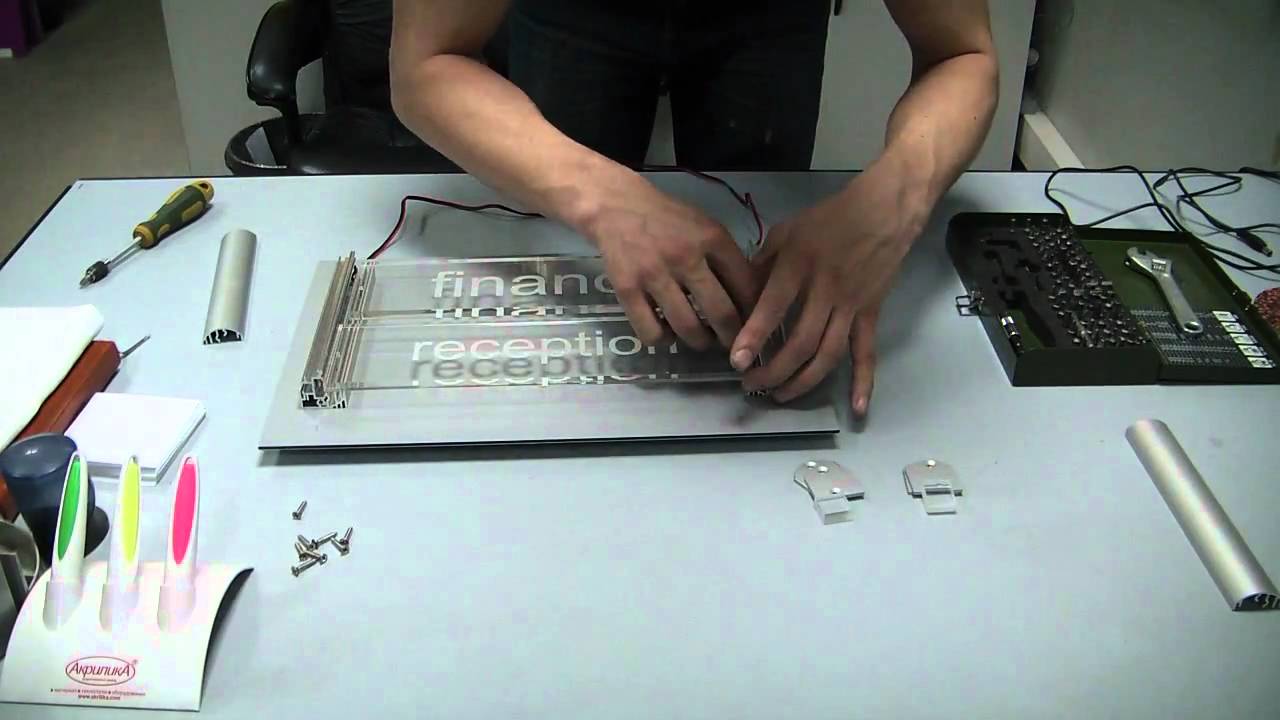
Video: how to make luminous glass shelves
