DIY methods and instructions for making garage shelves
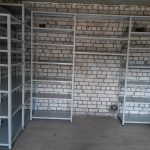
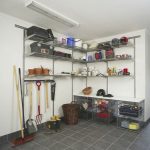
The main task of the garage is to store a personal car and related tools. With the right arrangement of the premises, you can rationally use the space and spend time there comfortably. To store tools and other things, you need to make a rack in the garage with your own hands.
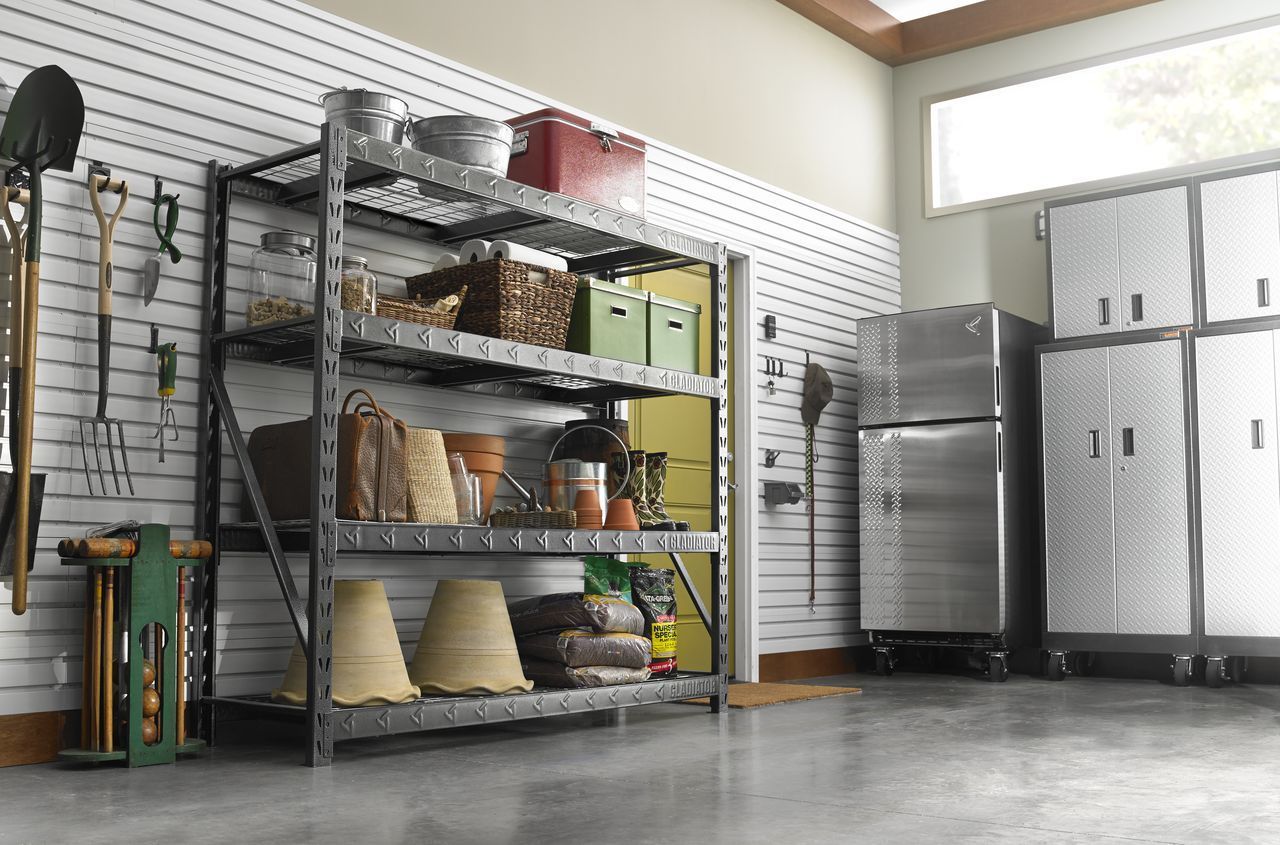
- What are garage shelves for?
- What materials are racks in the garage made of?
- Design options
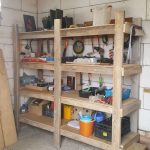
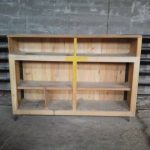
- How to make an ordinary wooden shelf with your own hands
- Instructions for the manufacture of welded shelves with a metal frame
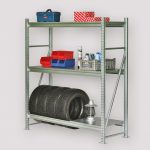
- Special shelves for storing heavy items
- Examples of arranging shelves in the garage with your own hands
- Video: how to make a rack in the garage with your own hands
- 50 designs for garage shelves and racks
What are garage shelves for?
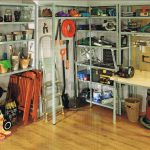
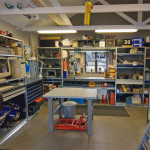
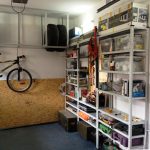
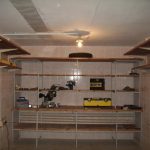
The big advantage of rooms and furniture is versatility and ergonomics. Therefore, most people try to make from the garage not only a place to store a car, but also a workshop for storage:
- Car parts;
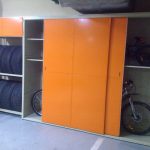
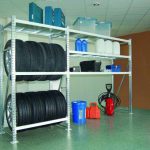
- Replaceable wheels;
- Electric and pneumatic tools;
- Refueling fluids;
- Accessories for fishing, hunting, tourism or other hobbies;
- Detergents and more.
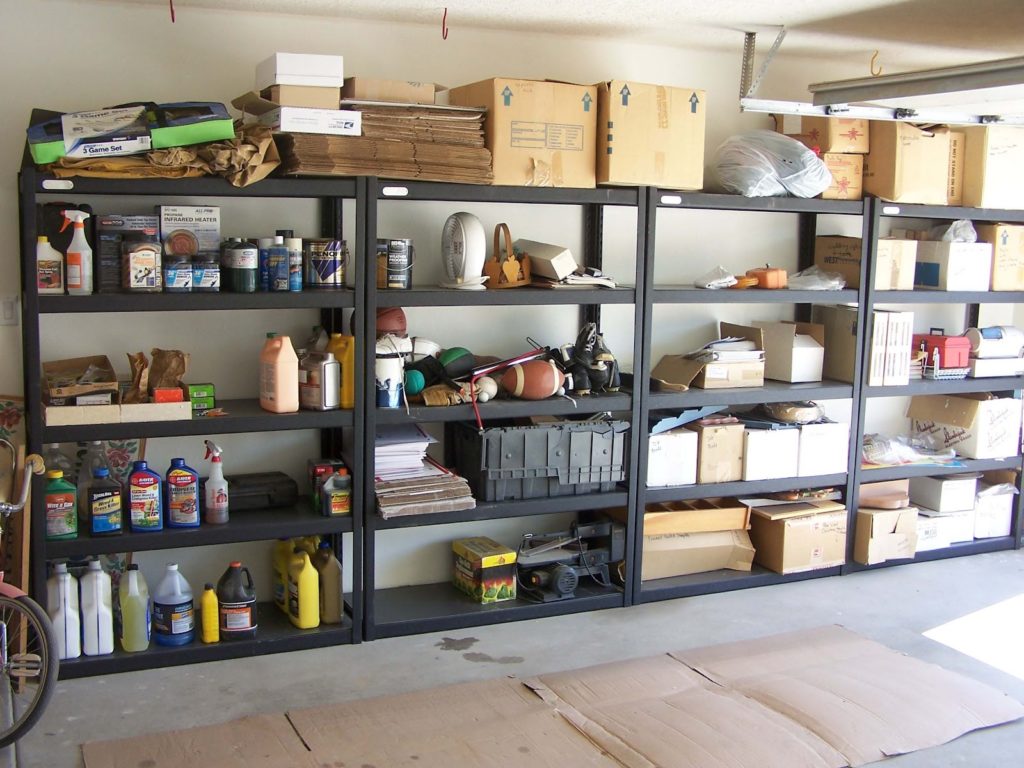
All these things should not lie in complete disarray, they need to be organized in an orderly way on special shelves.
In order that it is easy to find the necessary devices quickly and without problems, you need to arrange things correctly. It is best to follow the following separation principle: tools, long products, building materials, electrical tools, small fixtures.
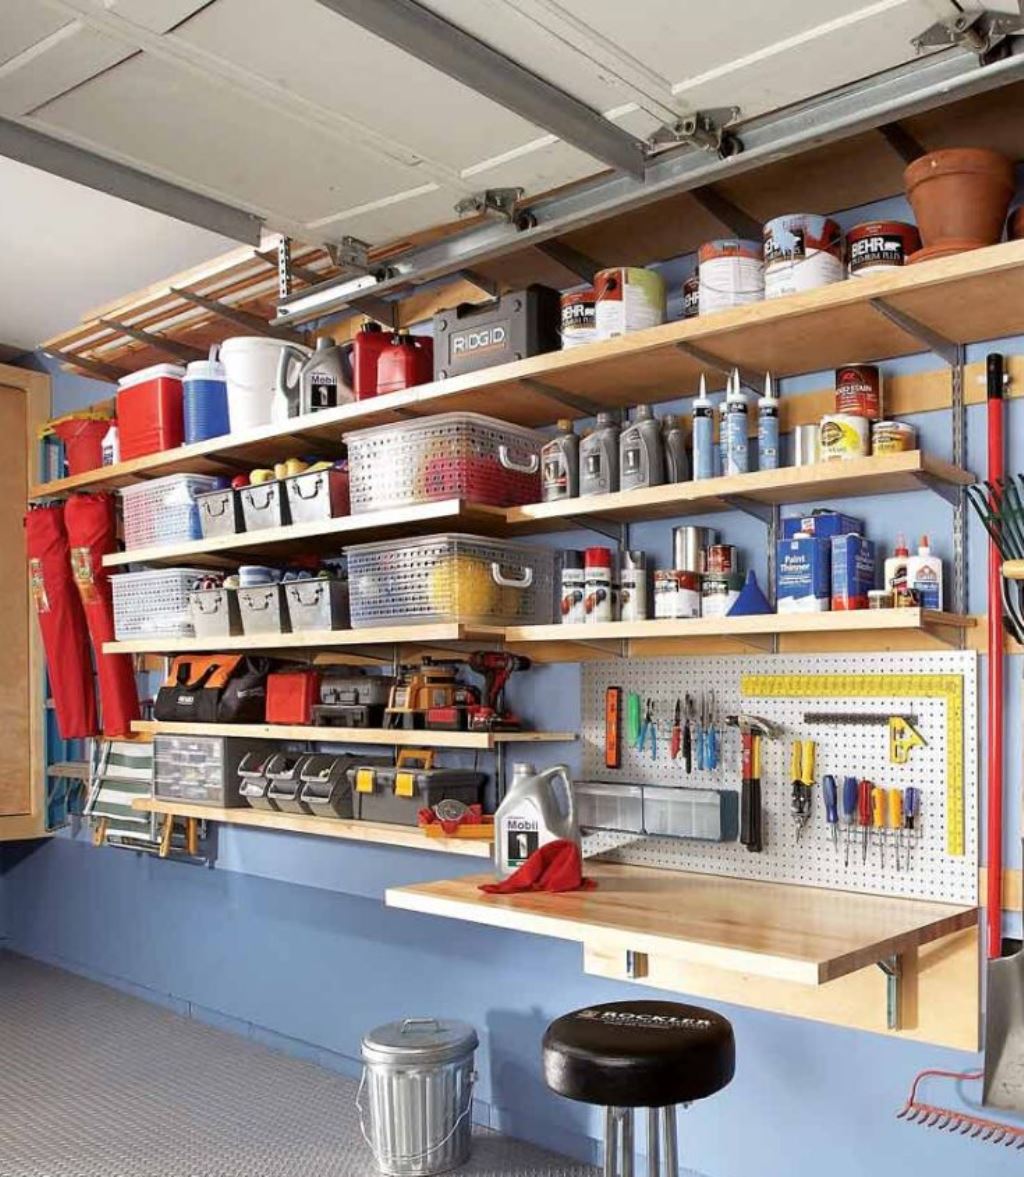
You need to choose the size of the shelves depending on the number of things, their purpose and dimensions. And also it is worth paying attention to how often this or that device is used. The more often, the closer and more accessible it should be.
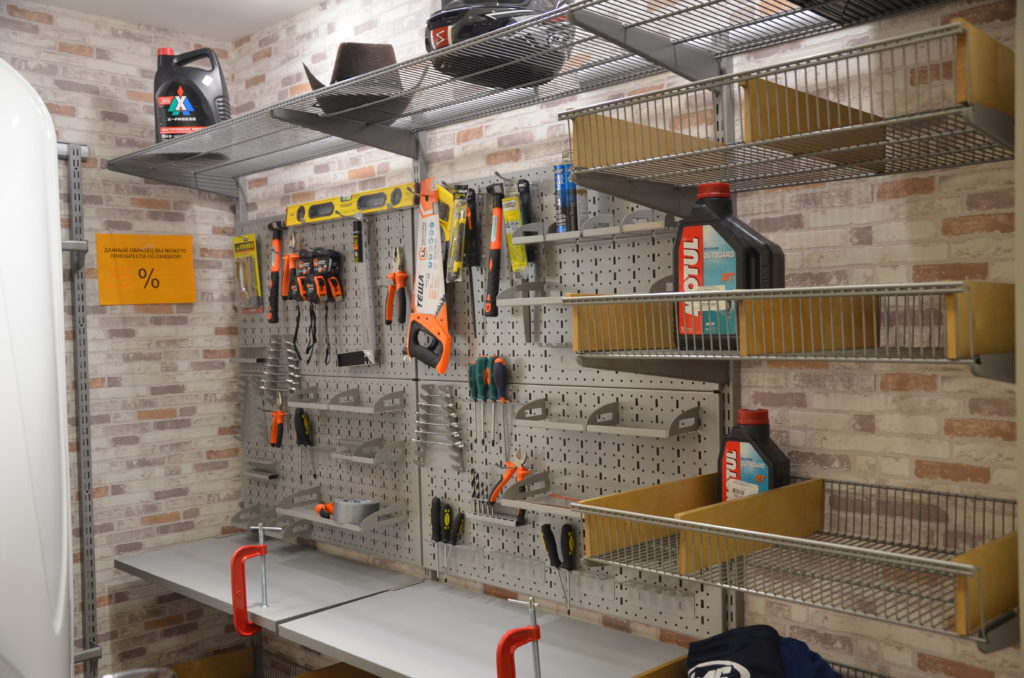
What materials are racks in the garage made of?
The service life of the structure depends on this condition. Wood and metal are commonly used. Consider what material you can make do-it-yourself tool shelves in the garage.

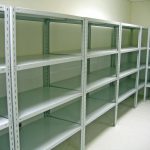
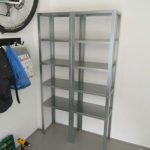
- Metal. It is durable, strong and can withstand any stress. But with excessive moisture, it quickly begins to deteriorate without preliminary anti-corrosion treatment. It is very simple to care for such a structure, you just need to wipe it off dust and process it with stainless steel;
- Wood. It is better to make them hinged shelves. Not suitable for heavy structures. It is best to opt for oak, pine or birch. It is better to fix the boards with iron corners. In a dark and damp room, this is not the best option, since after a while the tree begins to rot;
- Plastic. Perfect for storing lightweight items. For example, in the form of containers or boxes.The plastic has a low weight, which will allow the structure to move freely. But this material has a significant drawback - it is its fragility. With little physical impact, it breaks easily;
- A combination of several materials. Usually it is metal and wood. This is the best option, since together you can get the highest quality and durable structure.
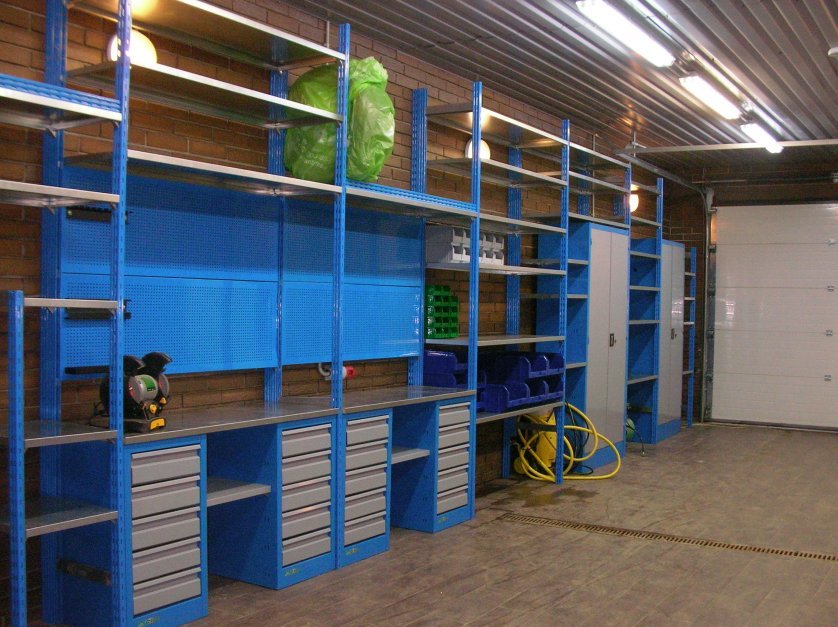
In addition, you can use improvised items: plastic containers, flower pots, and so on.
Important! When choosing a material, first of all, you need to rely on its strength and durability.
If necessary, you can buy ready-made shelves or make yourself.
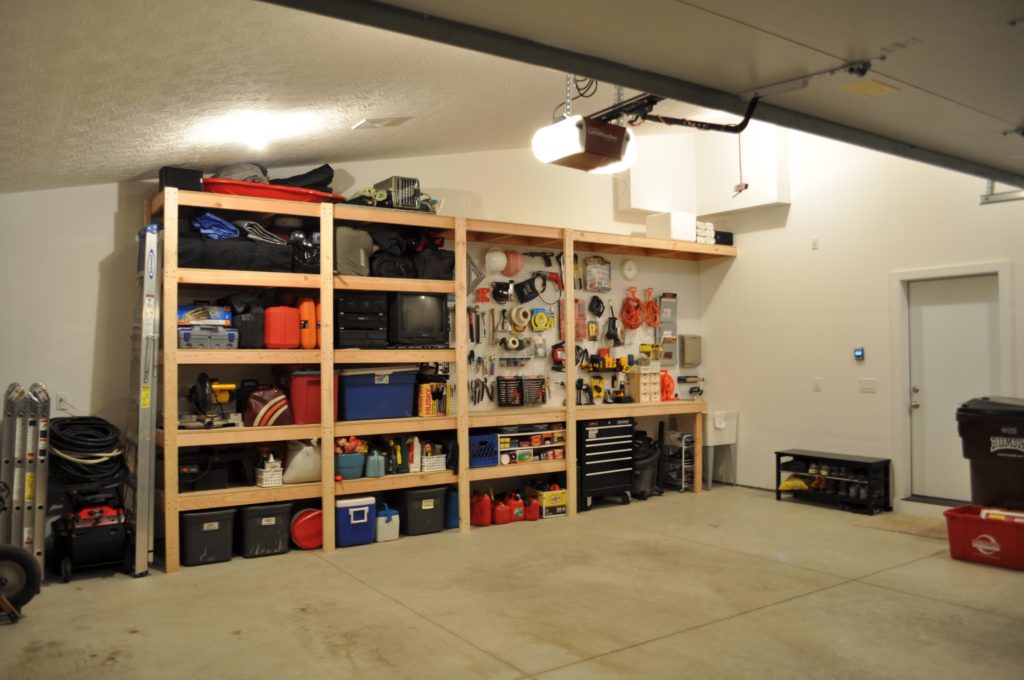
Design options
To properly organize the space, you need to choose the right shelves. When choosing one or another option, it is recommended to follow the following recommendations: the depth and width of the shelves should be convenient for use, they can be arbitrary; the distance between the shelves should not be less than a meter; do not hang them too low. Now let's look at the main varieties.
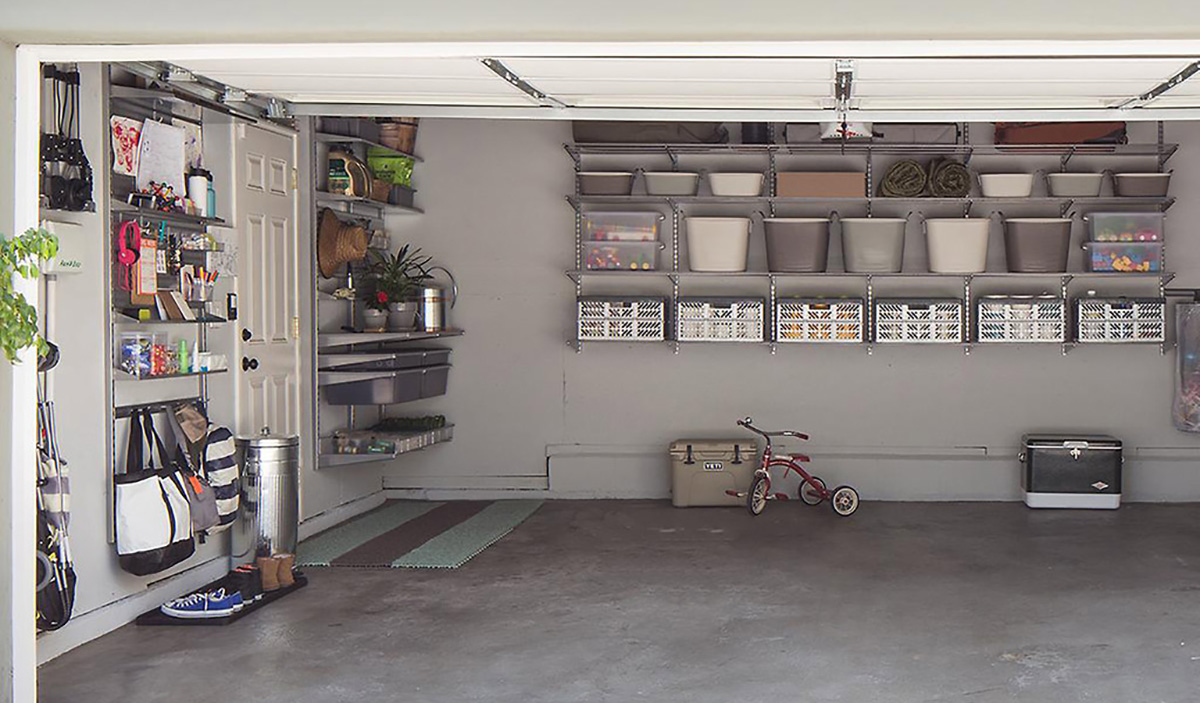
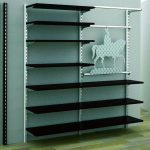
Bolted
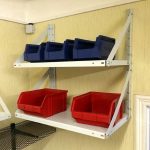
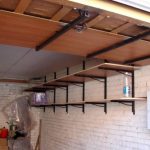
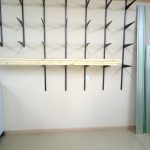
This option is best suited for lightweight storage. In order for the structure to be more stable, it must be attached to the wall with bolts and corners. The advantage is the ability to easily and quickly move the shelf.
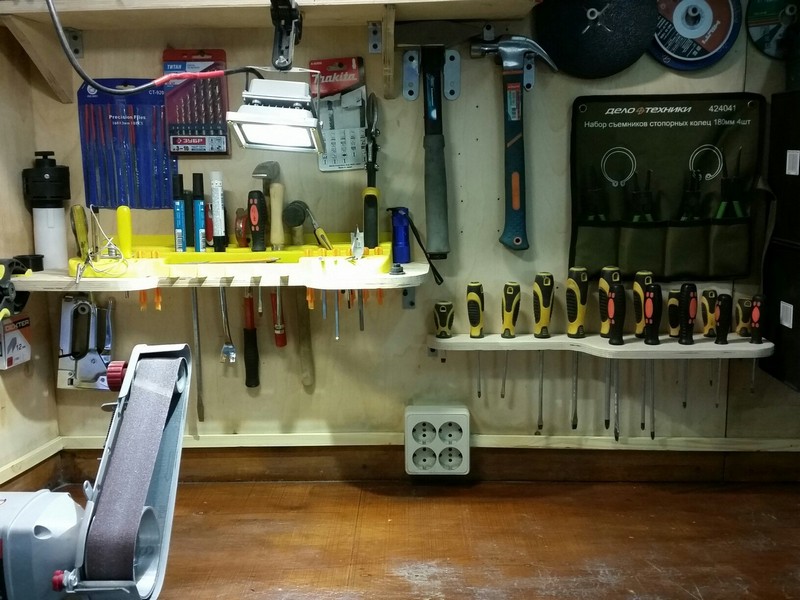
Welded
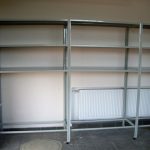
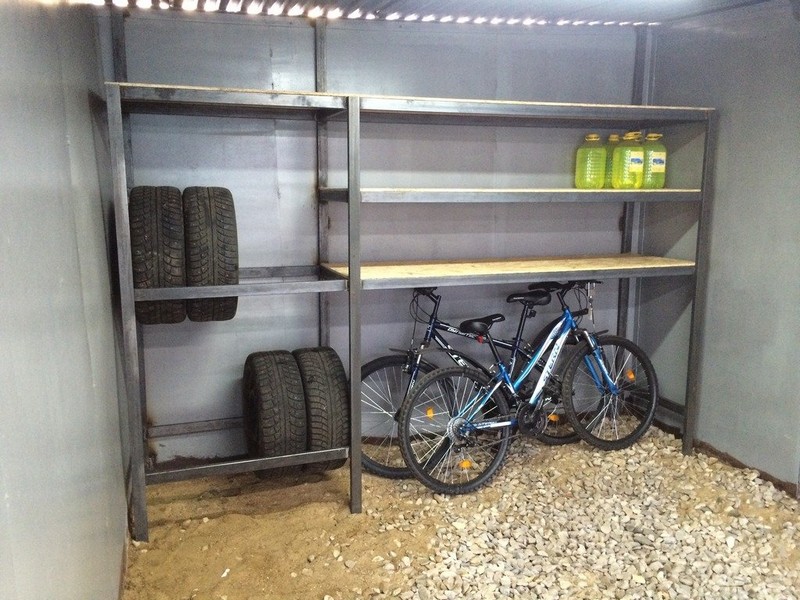
A significant disadvantage is that it cannot be disassembled if necessary. But the shelf welded from metal is very reliable and durable, capable of withstanding almost any load. For its manufacture, metal pipes are used, which are connected with a welding machine.
Combined
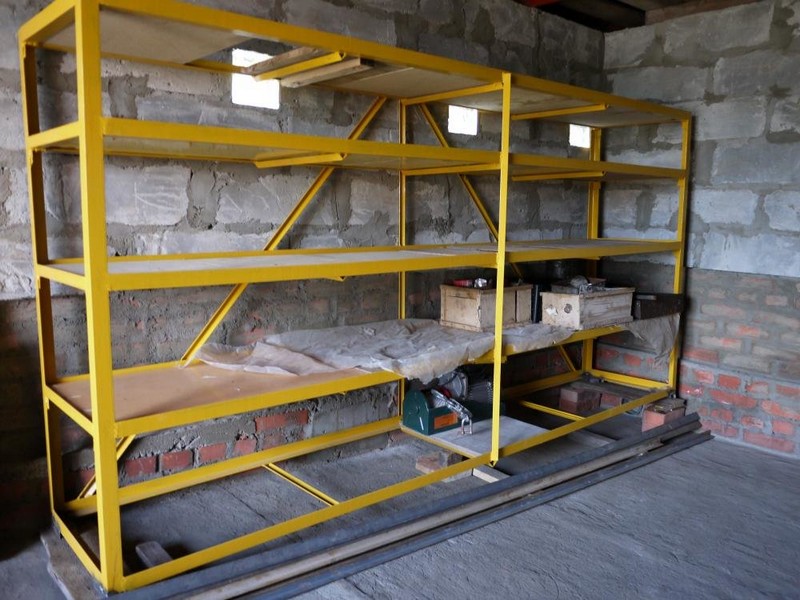
Used immediately for the method. For example, initially the shelf was built with bolts, and then some more part was welded to it. Perfect for a large garage.
How to make an ordinary wooden shelf with your own hands
In order to make a do-it-yourself tool rack, you need to take the appropriate measurements to determine the size of the structure. It is recommended to draw up a drawing, which will contain the exact layout, dimensions, tools used and step-by-step execution of work.
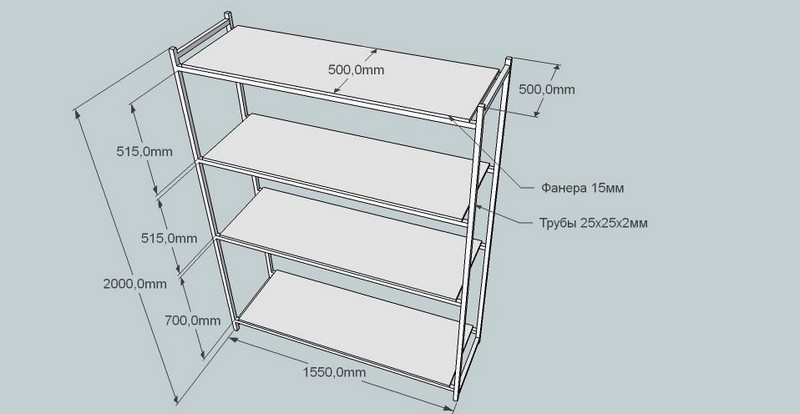
When drawing up a sketch, consider the following parameters:
- The distance between adjacent shelves is about 40 centimeters;
- The width of the rack should be no more than half a meter so that you can easily get the necessary tool;
- The distance from the bottom shelf to the floor must be at least 80 centimeters;
- The length of the shelf should be between one and a half to two meters.
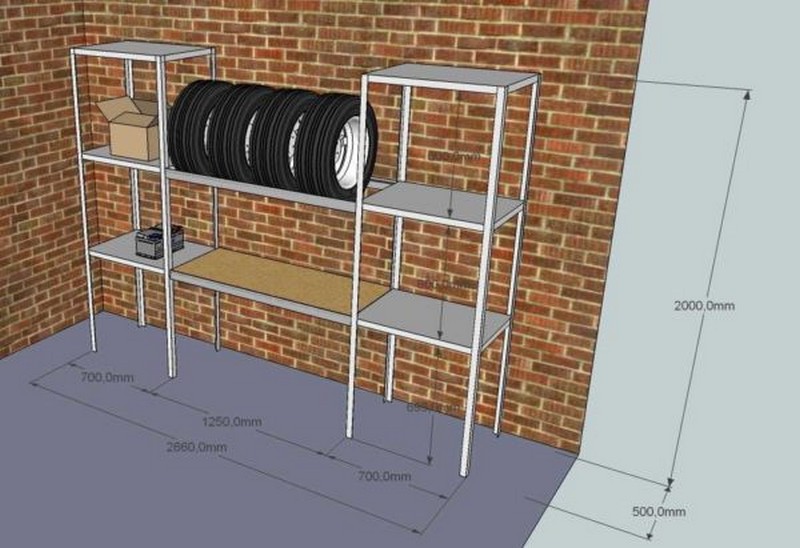
The second step is the choice of design. Now we will consider a master class on installing garage racks using bolts.
To do this, you need the following tools: hammer drill, drills, bolts, drill, boards and metal corners. You will also need a tape measure, pencil or marker, tape measure and trim material.

Now it's worth deciding on the number of shelves. Do not make too many of them, as the whole structure may not support too much weight.
You can start assembling the frame without shelves. Markings are applied to the posts and holes are drilled for greater reliability.
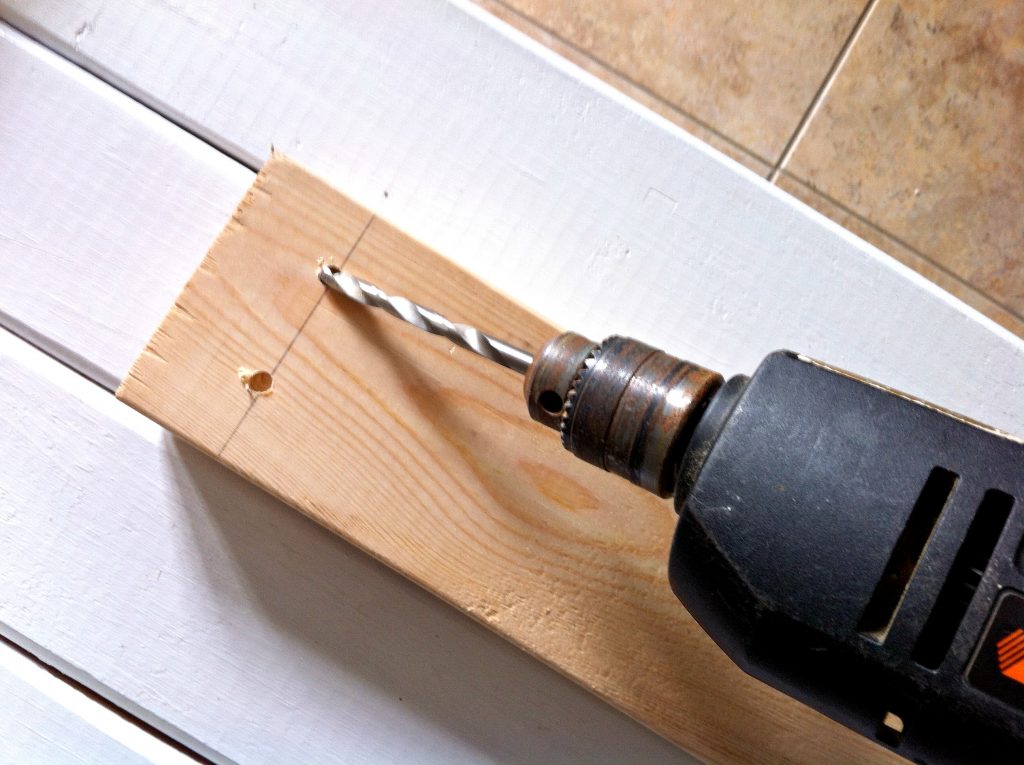
Note! It is best to place the entire structure on the floor, so you can easily check the correctness of manufacture.
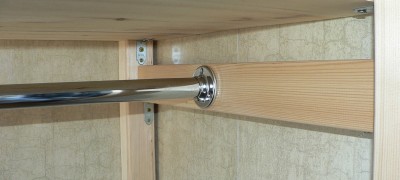
Now you need to connect all the parts. Attach boards that have been cut in advance of a suitable size using bolts and corners. For added stability, attach the shelf to the wall.

Time for the final stage - finishing. It is recommended to use varnish for wood and stainless steel for metal. This will not only make the shelving more attractive, but also improve some of the properties.
Instructions for the manufacture of welded shelves with a metal frame
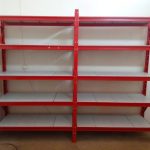
This design is perfect for storing heavy items. It should be borne in mind that manufacturing requires the use of a welding machine. To do this, you need to have certain skills. If there are none, then you can seek help from a specialist. There are no bolts in such a rack, so it is a one-piece metal product that does not break and cannot be remade.
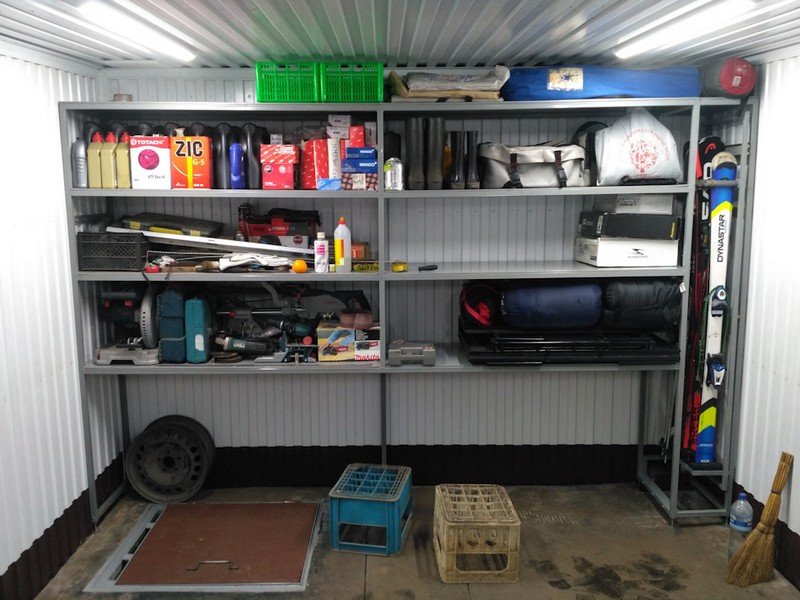
The first step is to create a drawing. Here it is necessary to reflect the appearance, the necessary tools and materials, the sequence of work and the exact dimensions. The drawing can be created independently on a sheet of paper or using a special computer program. If you still cannot complete this stage on your own, then you can resort to using the Internet. Any variant with exact parameters can be found here.
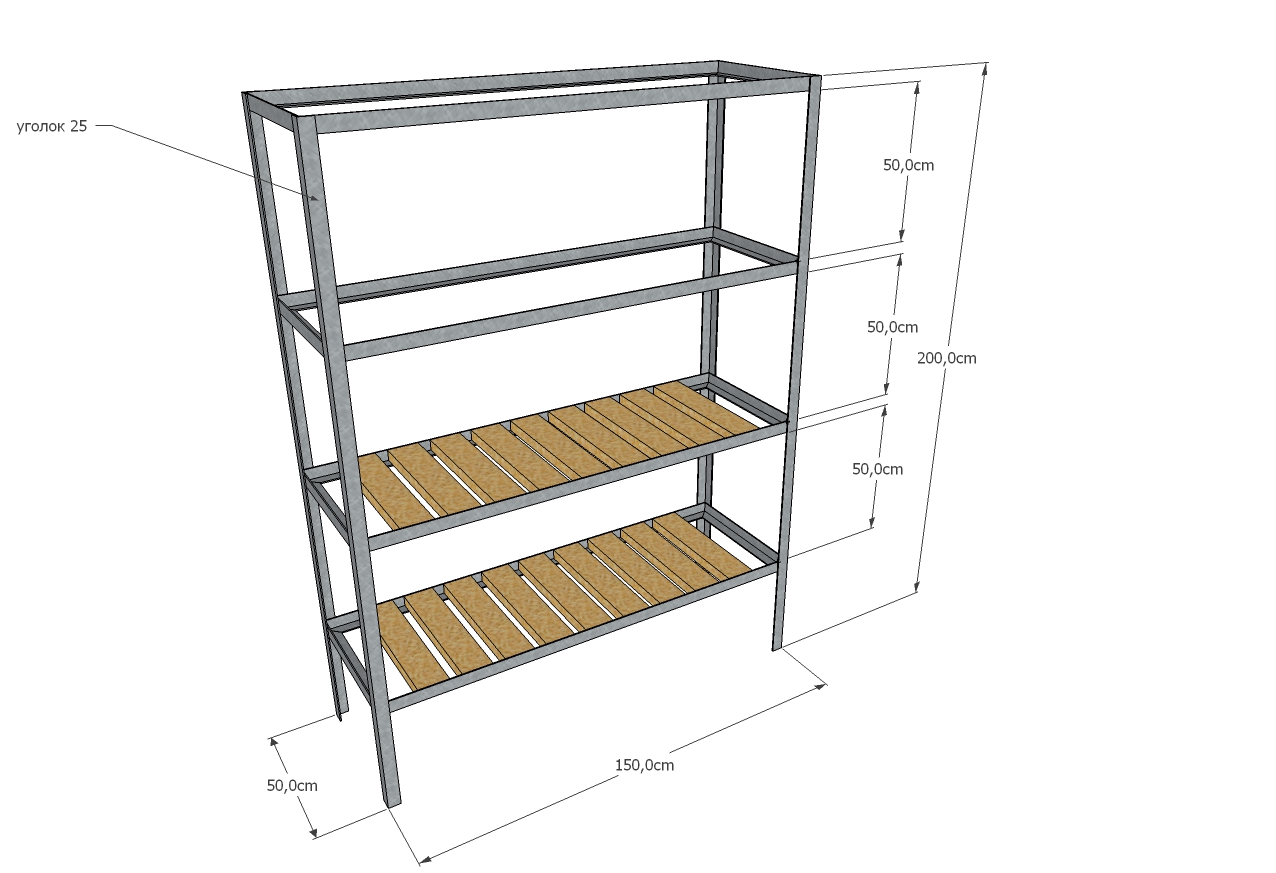
For the frame, take corners about 5 centimeters in size. Usually, manufacturing begins with fixing to the wall, so you can achieve greater reliability and much easier to carry out the work.
Using a grinder, cut out the elements for the frame and weld them into a single whole. Use a triangle to check that all fasteners are at exactly 90 degrees.

The shelves must be made of steel sheets; their thickness should be no more than 0.5 centimeters. The weight of the structure will depend on the thickness, and the ability to withstand bulky objects.
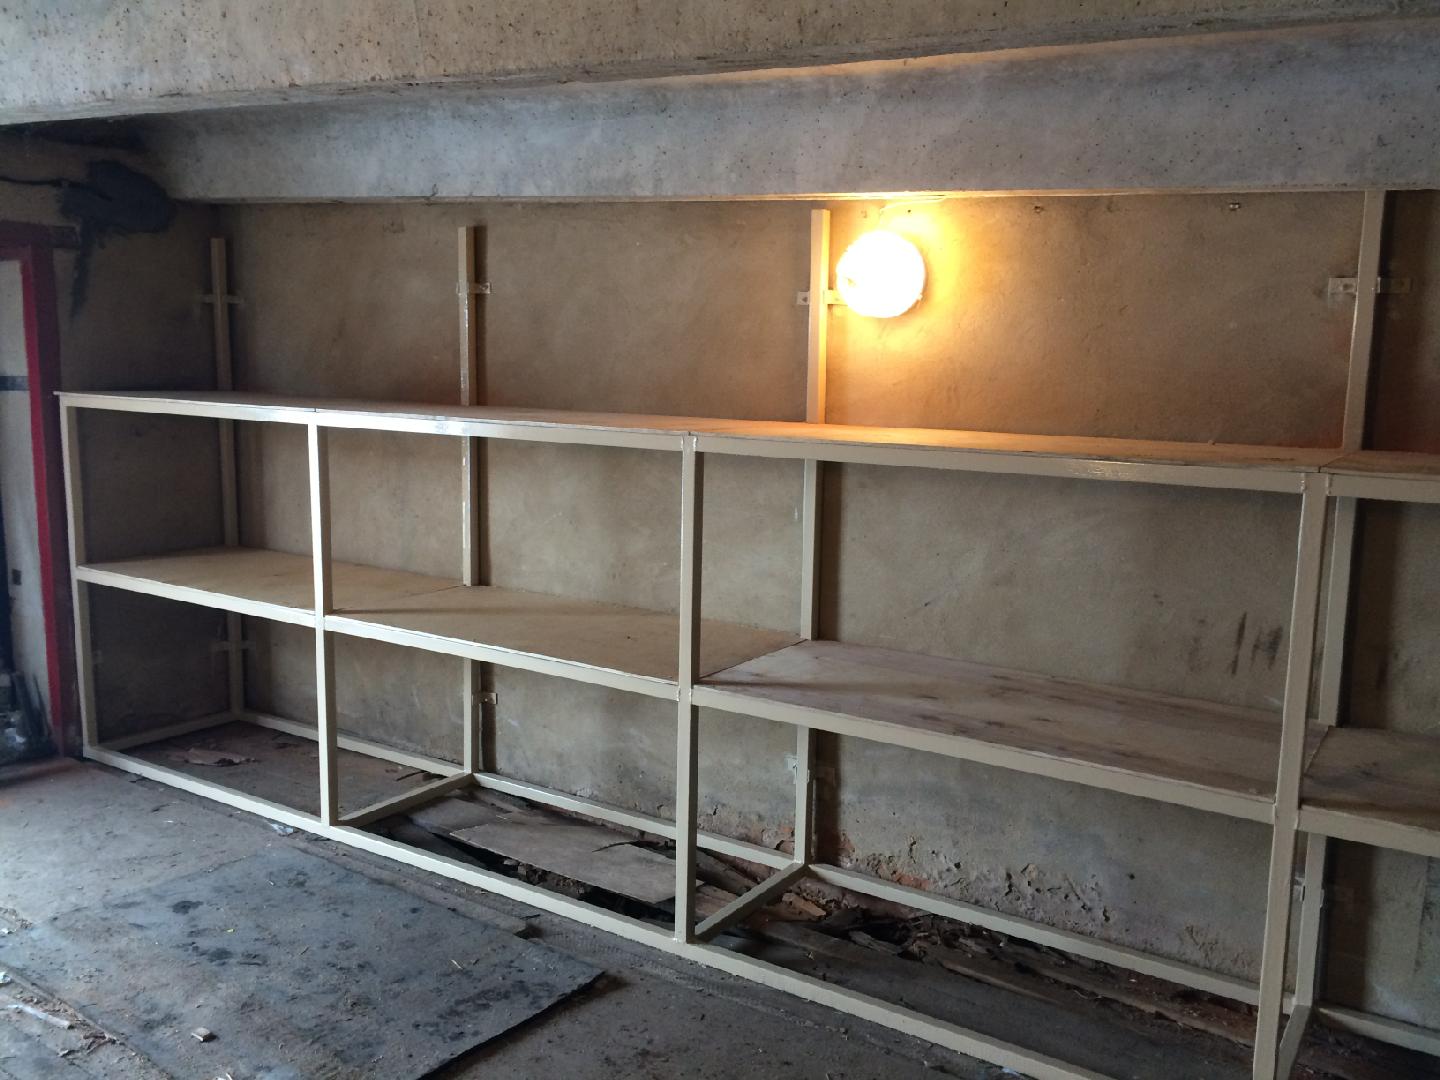
Steel sheets are welded to the frame. Now you can start finishing. The metal must be treated with an anti-corrosion solution, and then coated with metal paint.
Special shelves for storing heavy items
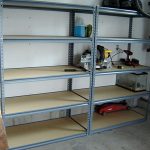
This is the same type as described earlier. Instead of steel sheets, which are too heavy, wooden planks can be used.
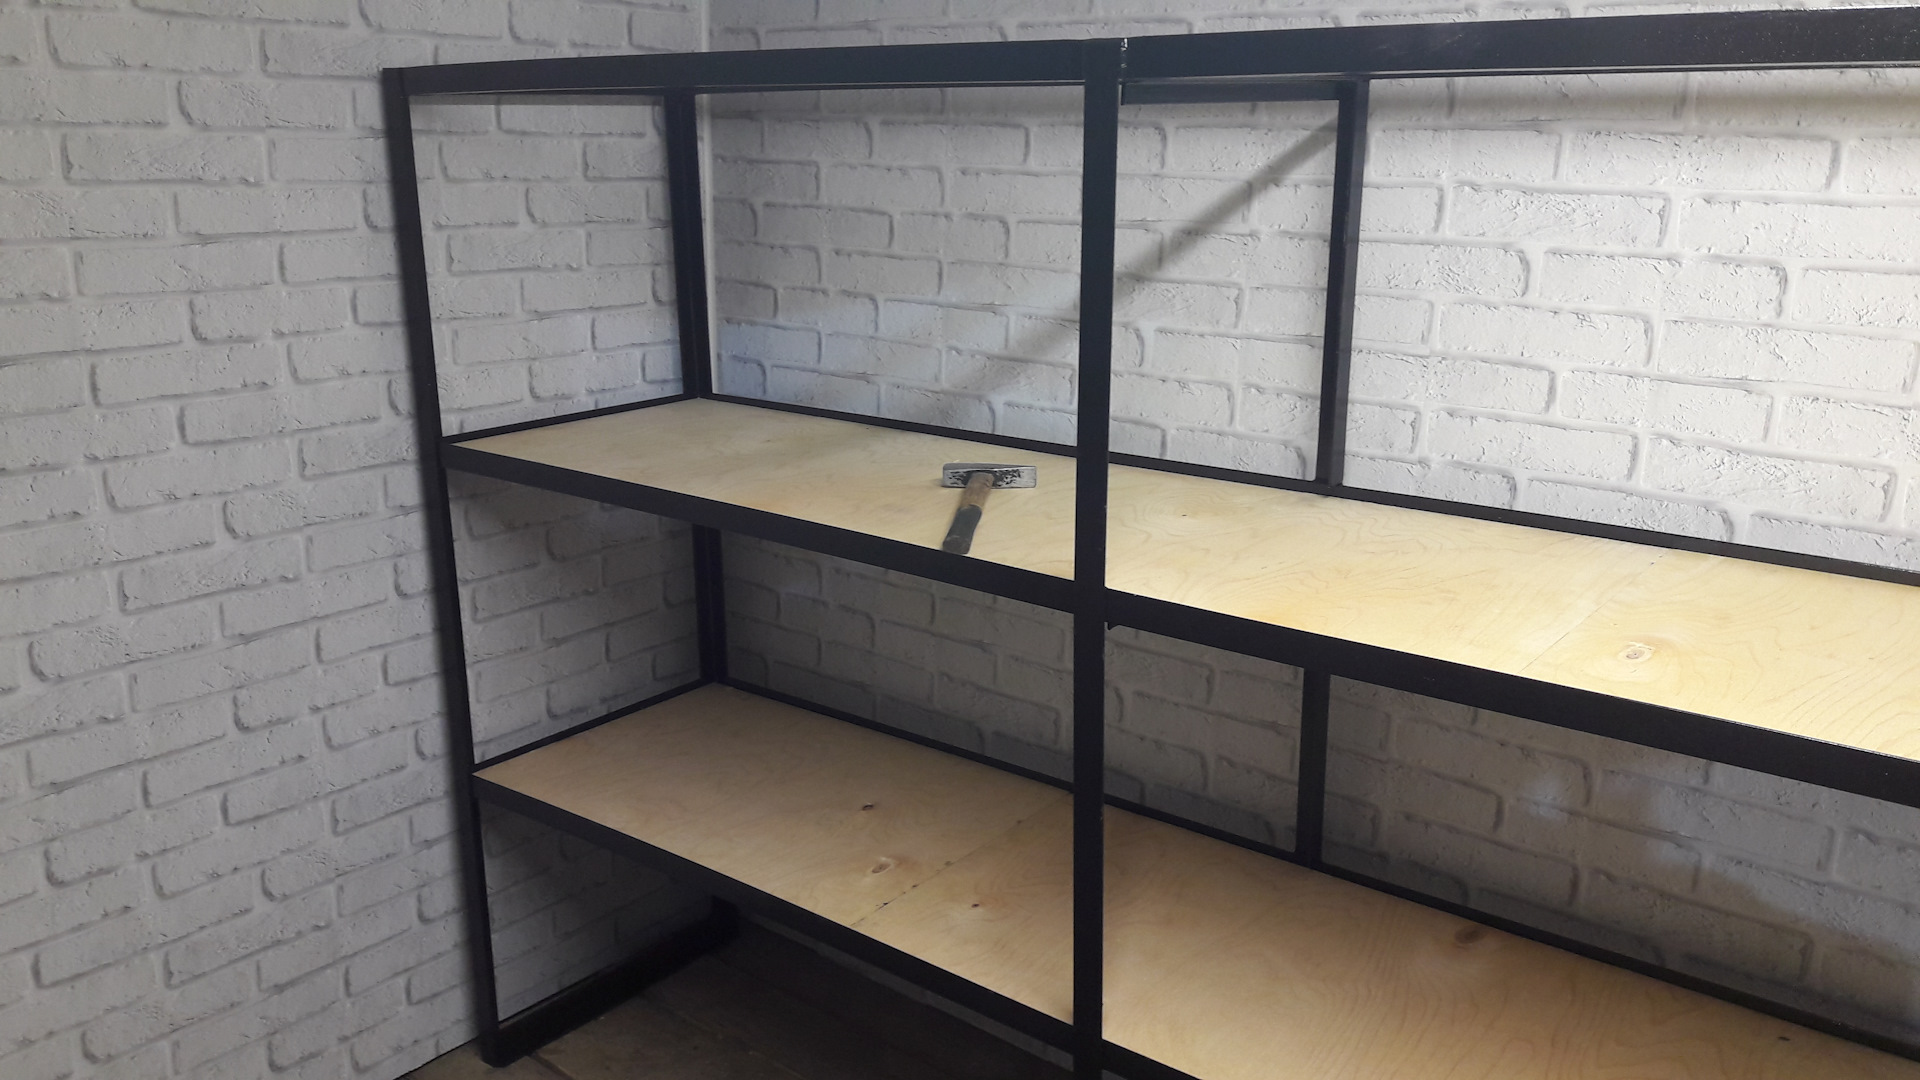
To do this, you need to make a frame, as described earlier, but instead of welding steel sheets, you need to screw the boards with bolts and metal corners. After that, they are covered with wood varnish.
Examples of arranging shelves in the garage with your own hands
After making the shelving in the garage, you can start arranging it.It is recommended to install the crossbars horizontally along the shelves to prevent objects from falling off the shelves.
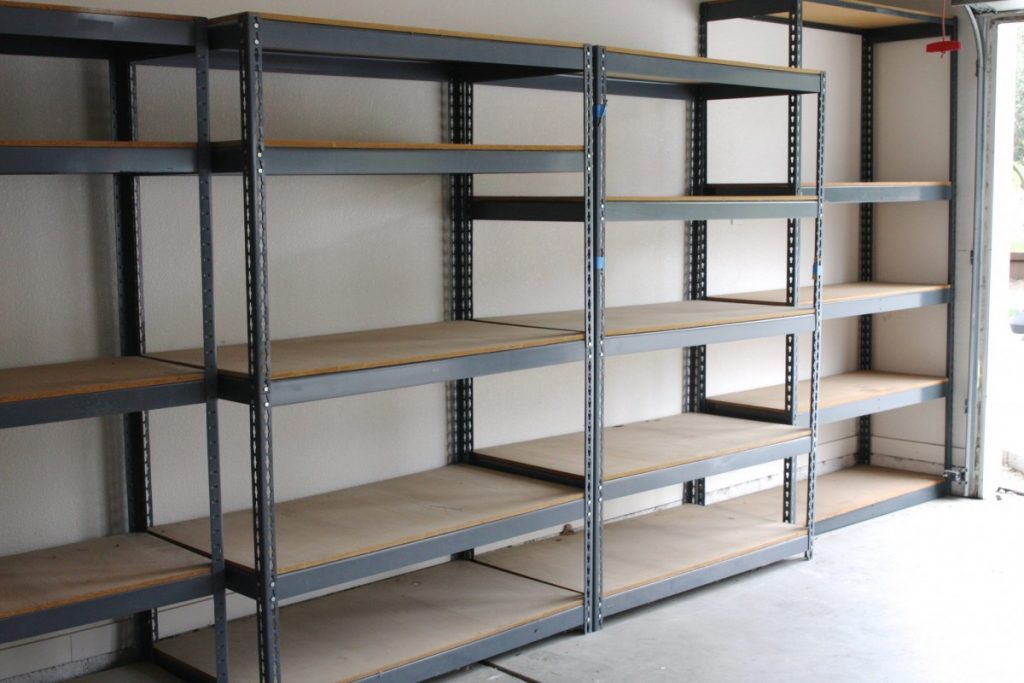
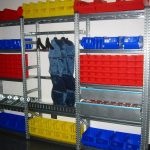
Try to optimize the space as much as possible to make room for free movement. So, shelves can be installed in the corners. It is very convenient to use small containers or jars for storing small accessories.
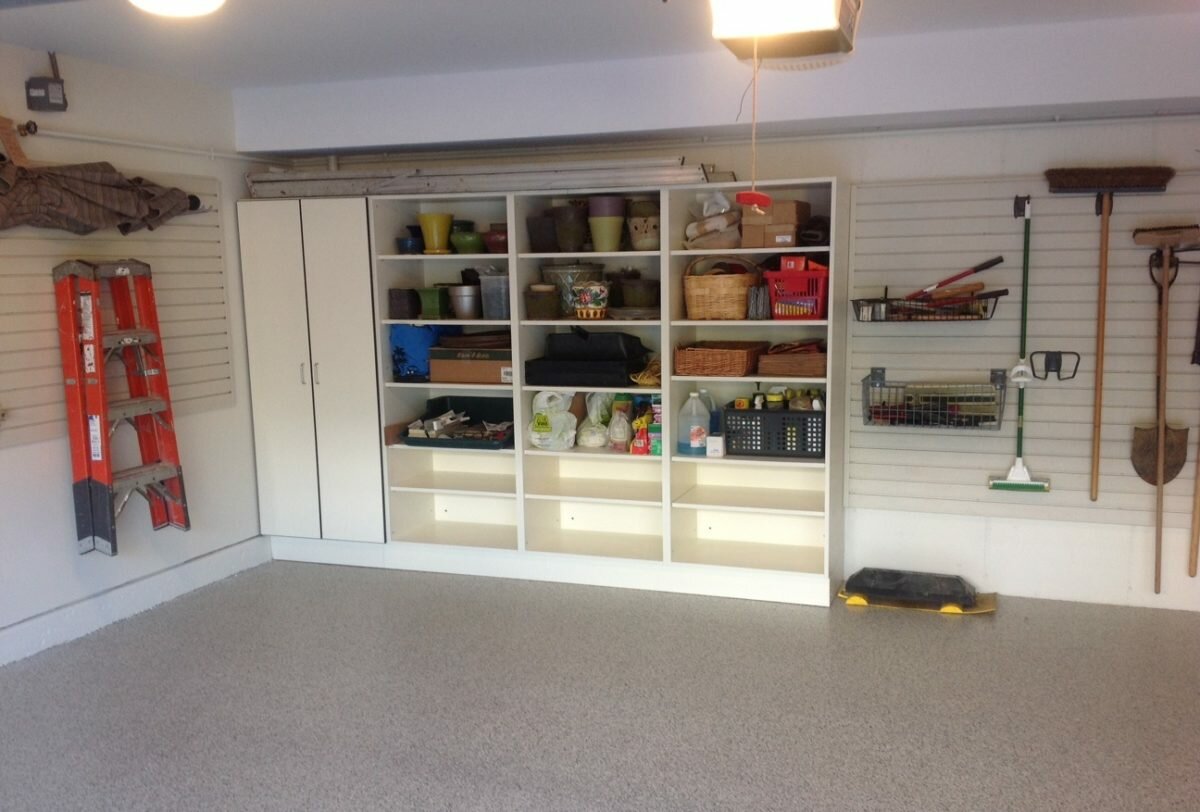
Do not place shelves on the aisle: they should be located around the perimeter of the room. It is better to store upstairs things that are rarely used.

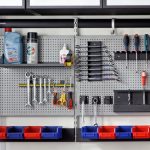
A board with magnets will look great, you can attach keys, screwdrivers and other things to it, which may often be needed. A board with magnets can be attached horizontally to a shelf: put nails or other small objects in small jars, attach a magnet to the lid. Attach the pieces to each other using the magnet on the lid and on the board.

Now you know how to make garage shelves. They will help to perfectly save space and organize order in the so-called workshop.
Video: how to make a rack in the garage with your own hands
