DIY methods for making shelves
Shelves are not only a very practical piece of furniture, but also a part of the interior that allows you to decorate the space around and add some zest to the house.
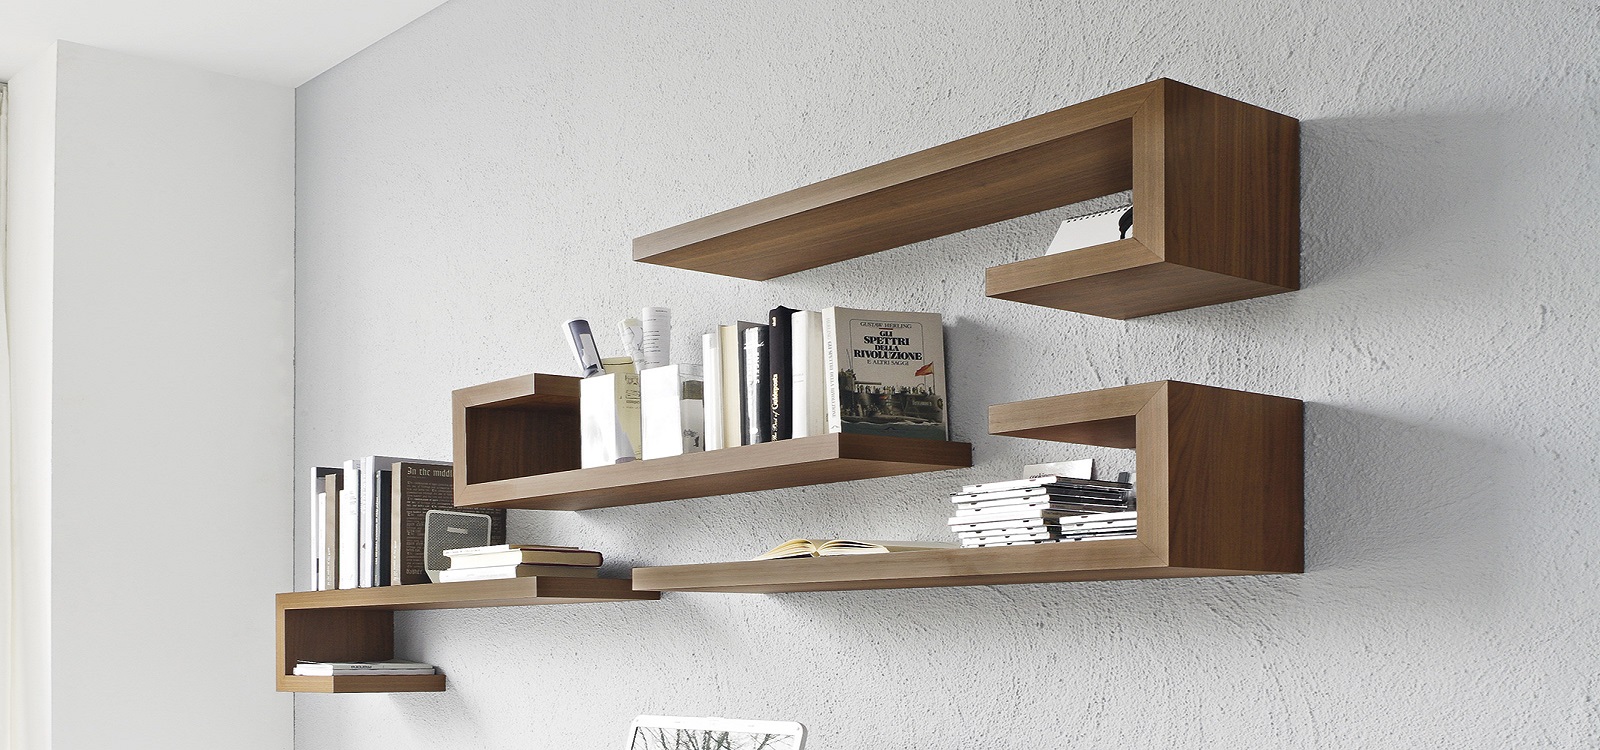
Of course, you can buy shelves at your nearest furniture store, but why not try to make the shelf yourself, because in fact it is not difficult at all. All that is required is a few materials and your own imagination. From the article you can find out how to make a bookshelf with your own hands, what you need for this and what nuances you need to take into account when making it.
What materials at hand can be used to make a shelf
In order not to spend money on the purchase of expensive materials, you can make furniture from improvised means that everyone will find at home. The most popular option is pallet shelves.
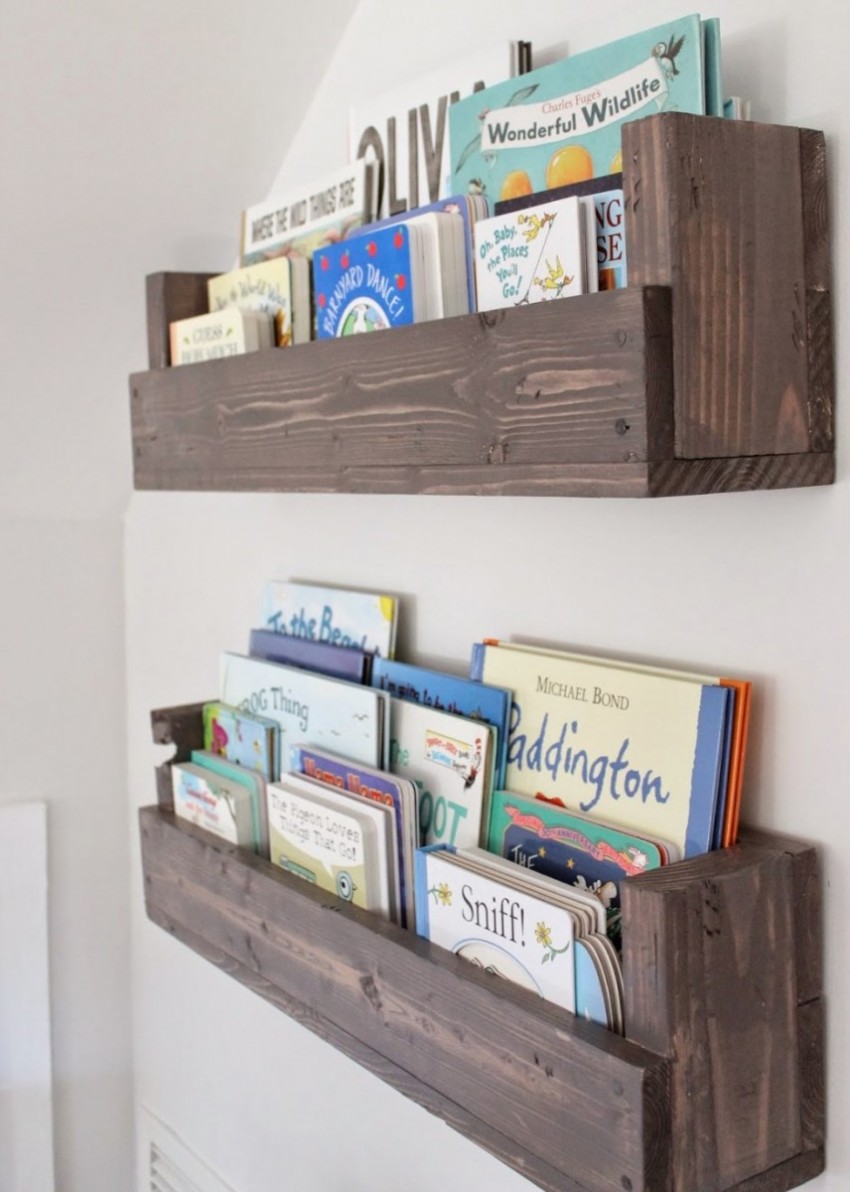
Such material costs practically nothing, most often it can be found at home or purchased for a pittance at the nearest warehouse. At the same time, the material has high strength, the wood has already been processed and impregnated with special components in the form of resins to protect it from external influences. Racks of any shape and size can be made from pallets, and all that will restrain a person is a fantasy.
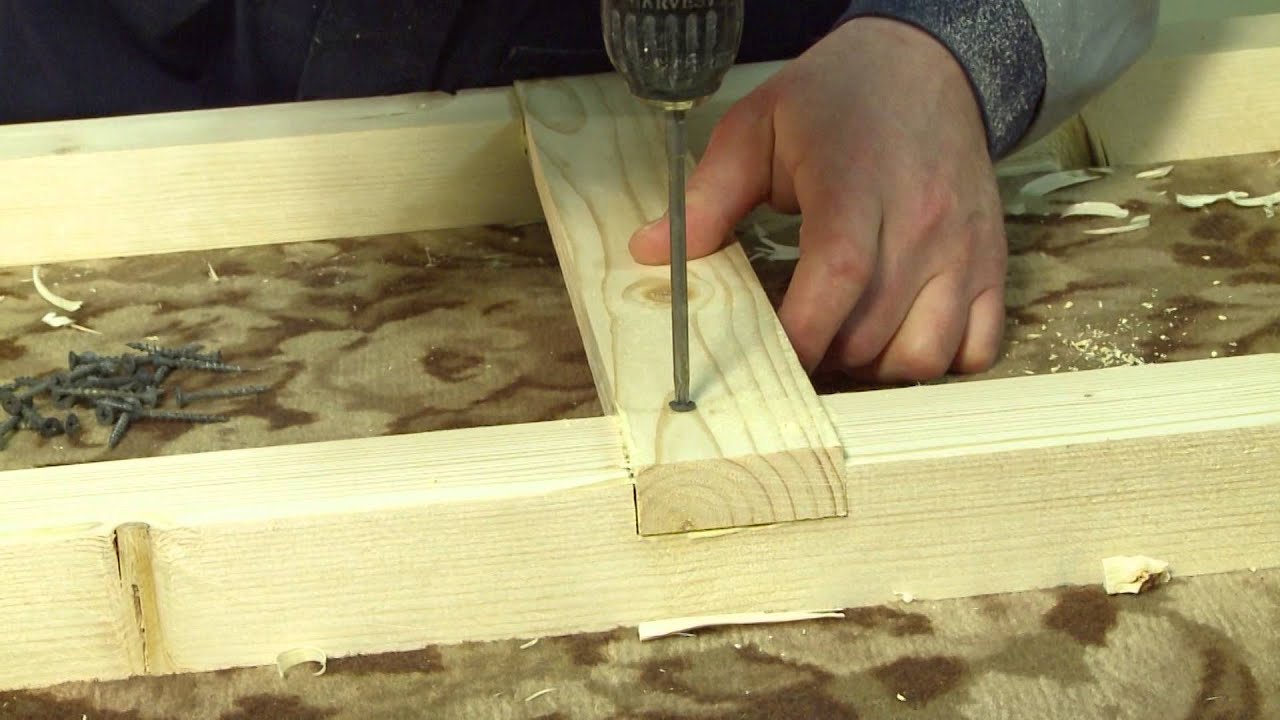
To make a shelf from a pallet, you need
- Pallet;
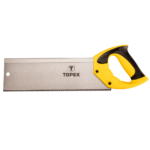
- Saw or hacksaw;
- Screwdriver;
- Sanding paper;
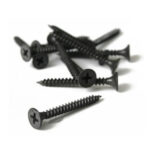
- Self-tapping screws;
- Brushes and paint.
The shelves are made quite simply, it is enough to divide the parts of the pallet into the necessary parts, having previously measured the same length, and then fasten the parts with a screwdriver. Before painting, you should sandpaper all surfaces of the material so that the wood becomes smoother and the coloring composition lies in an even layer.
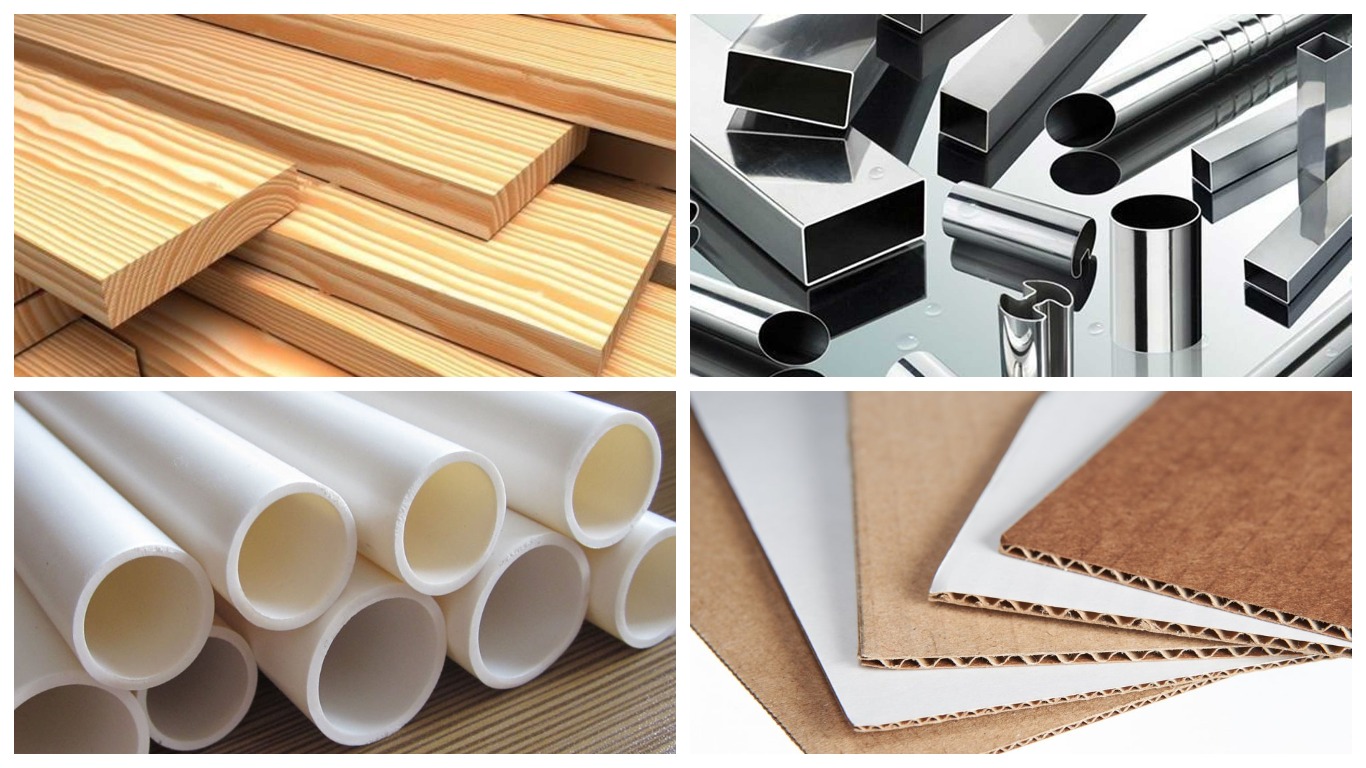
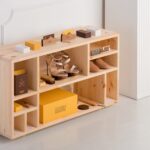
It is advisable to paint over the shelves two or more times to get a bright, saturated and uniform shade. Another very interesting option for making a shelf would be a special rack made of cardboard pipes. Of course, putting something heavy on such a shelf is not worth it, but, for example, making a shoe rack is quite possible.
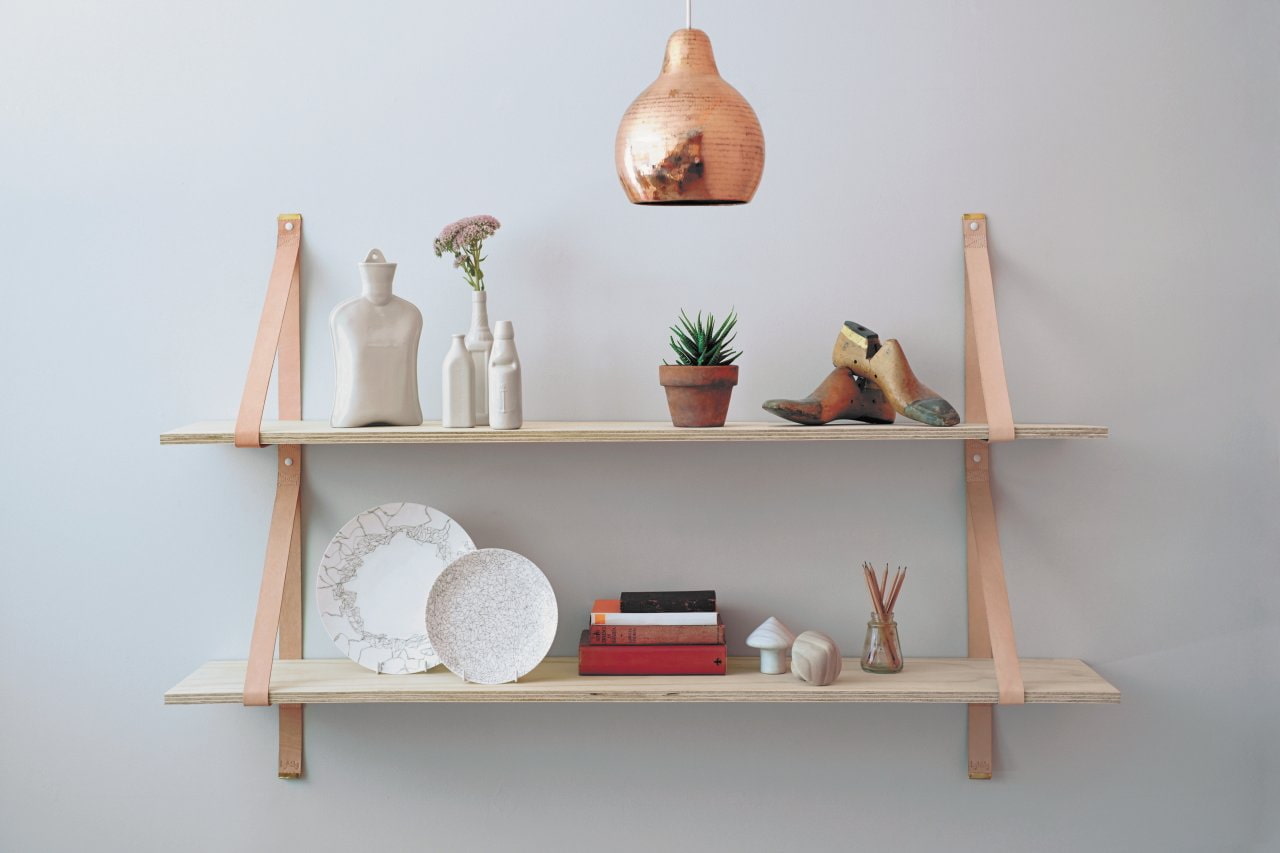
Manufacturing will require all three things that almost everyone can find at home.
- Cardboard pipes.
- Glue or stapler.
- Paint and brushes.
Advice. If you wish, you can not even paint the finished shelf, leaving the original color. The only nuance that should be taken into account when using a shoe rack is not to put wet sneakers or boots in it. Due to the increased level of humidity, the cardboard will quickly lose its shape.
Popular wall shelves and step-by-step instructions for making them
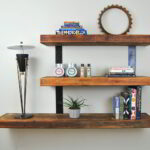
Wall hanging shelves significantly save free space, allowing you to store things or decorate a room using a minimum of space.There are several options for creating with your own hands, among which the simplest and most reliable way can be distinguished - a hinged shelf on ropes.
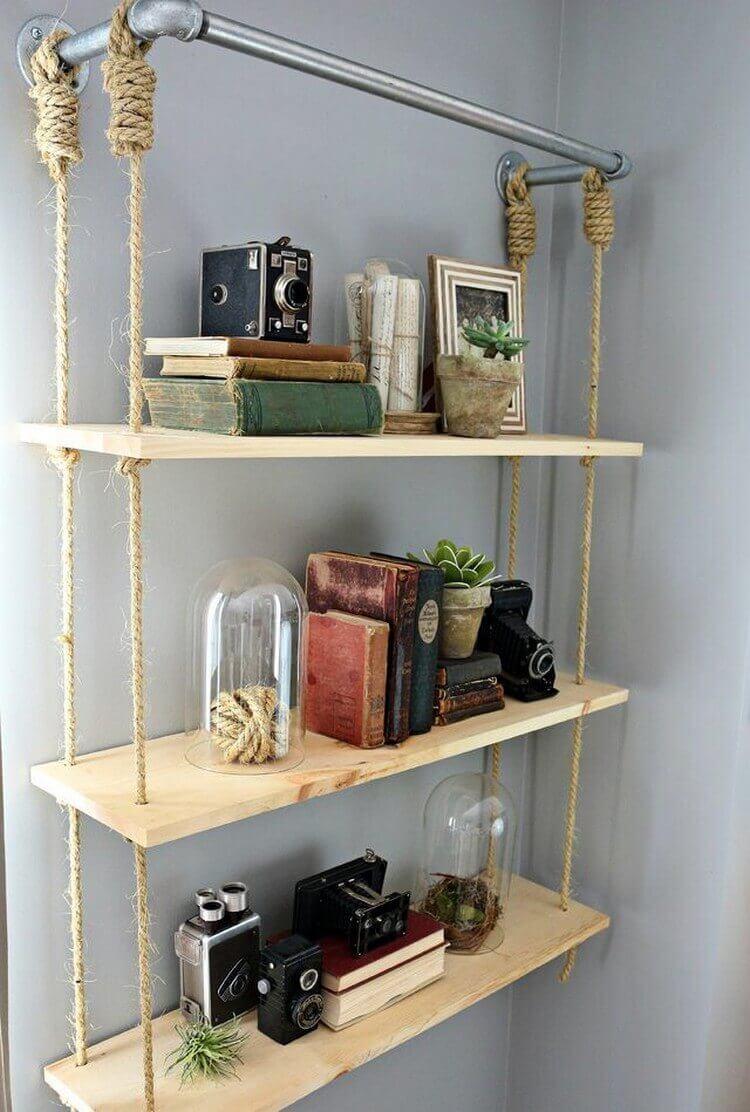
The advantage of this solution is that a shelf made from scrap materials can withstand a fairly large weight and become a full-fledged piece of furniture, and not just a decoration.
To create a shelf you will need:
- Any strong rope;
- Treated wooden boards;
- Drill and drill;
- Perforator for working with concrete;
- Metal hooks.
The production itself is very simple. It is enough to outline the required height of the future shelf, drill two holes and hang the hooks on which the ropes will be attached.
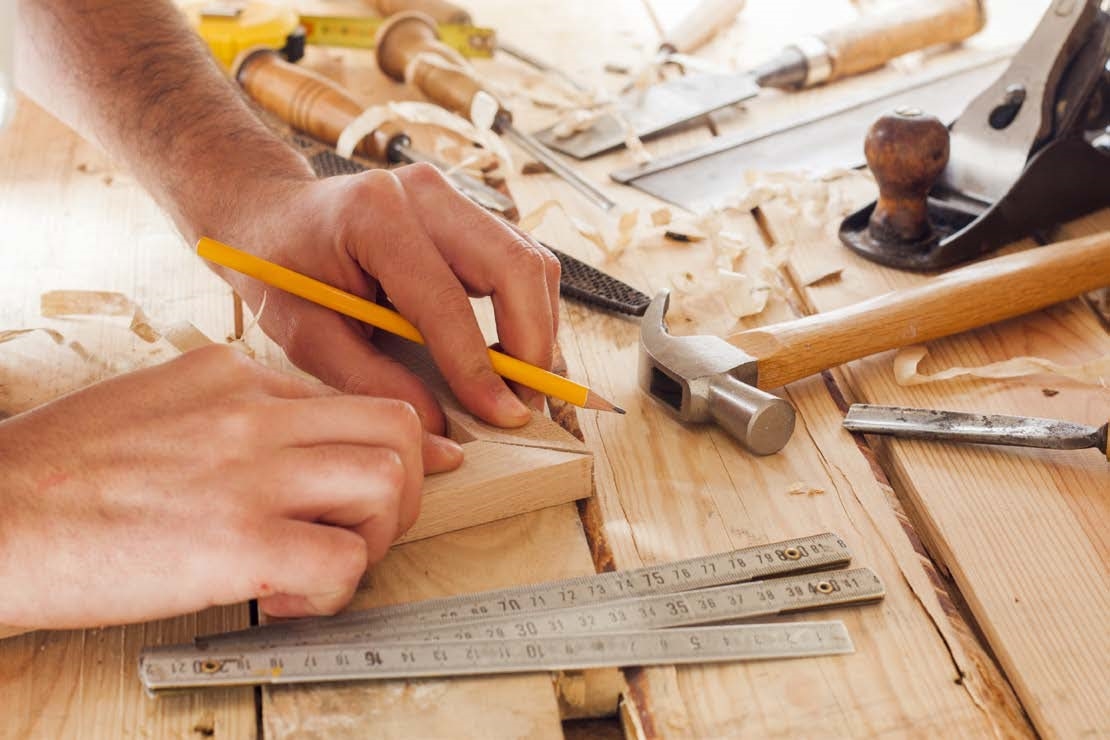
Then there are two options - you can drill holes in the board to secure the rope, or just make loops, and then place the edges of the wood in them. Of course, the first option will be much stronger and more reliable, but if a suitable tool was not found at home or neighbors, you can completely do without it. Such shelves can be multi-tiered, thus creating a small hanging rack, or they can consist of separate compartments, which will look more neat.
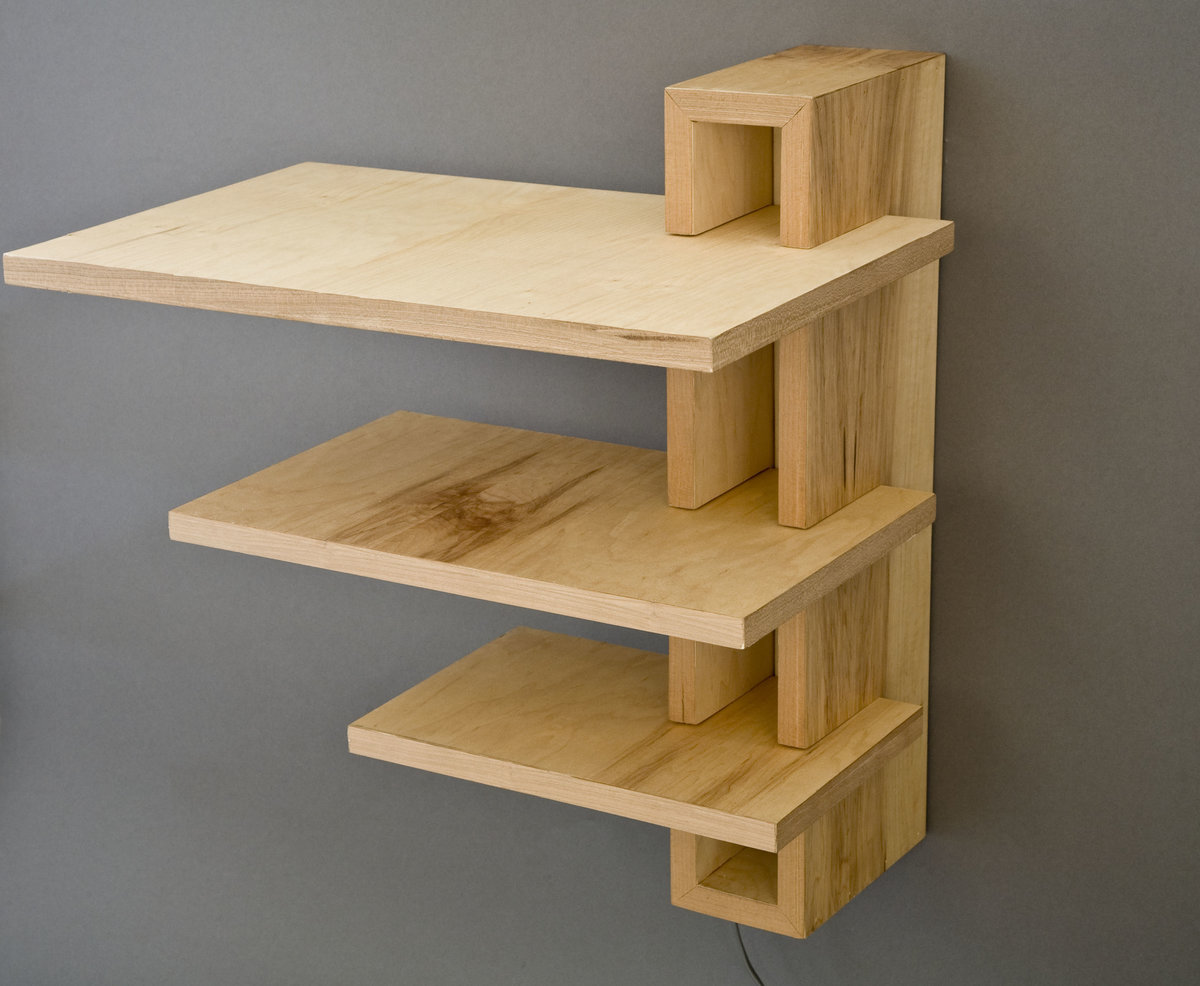
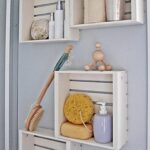
Another fun idea is a hanging shelf from a cabinet. Suppose the furniture has fallen into disrepair, so why not give the cabinet a "second life"? In order to make a new piece of furniture out of a cabinet, very few materials are required.
- Small and thin wood planks for creating partitions.
- Paint in the desired color and brushes in different sizes.
- Sandpaper for the surface of the cabinet.
- Rotary hammer and special drill for concrete.
- Glue or "liquid" nails.
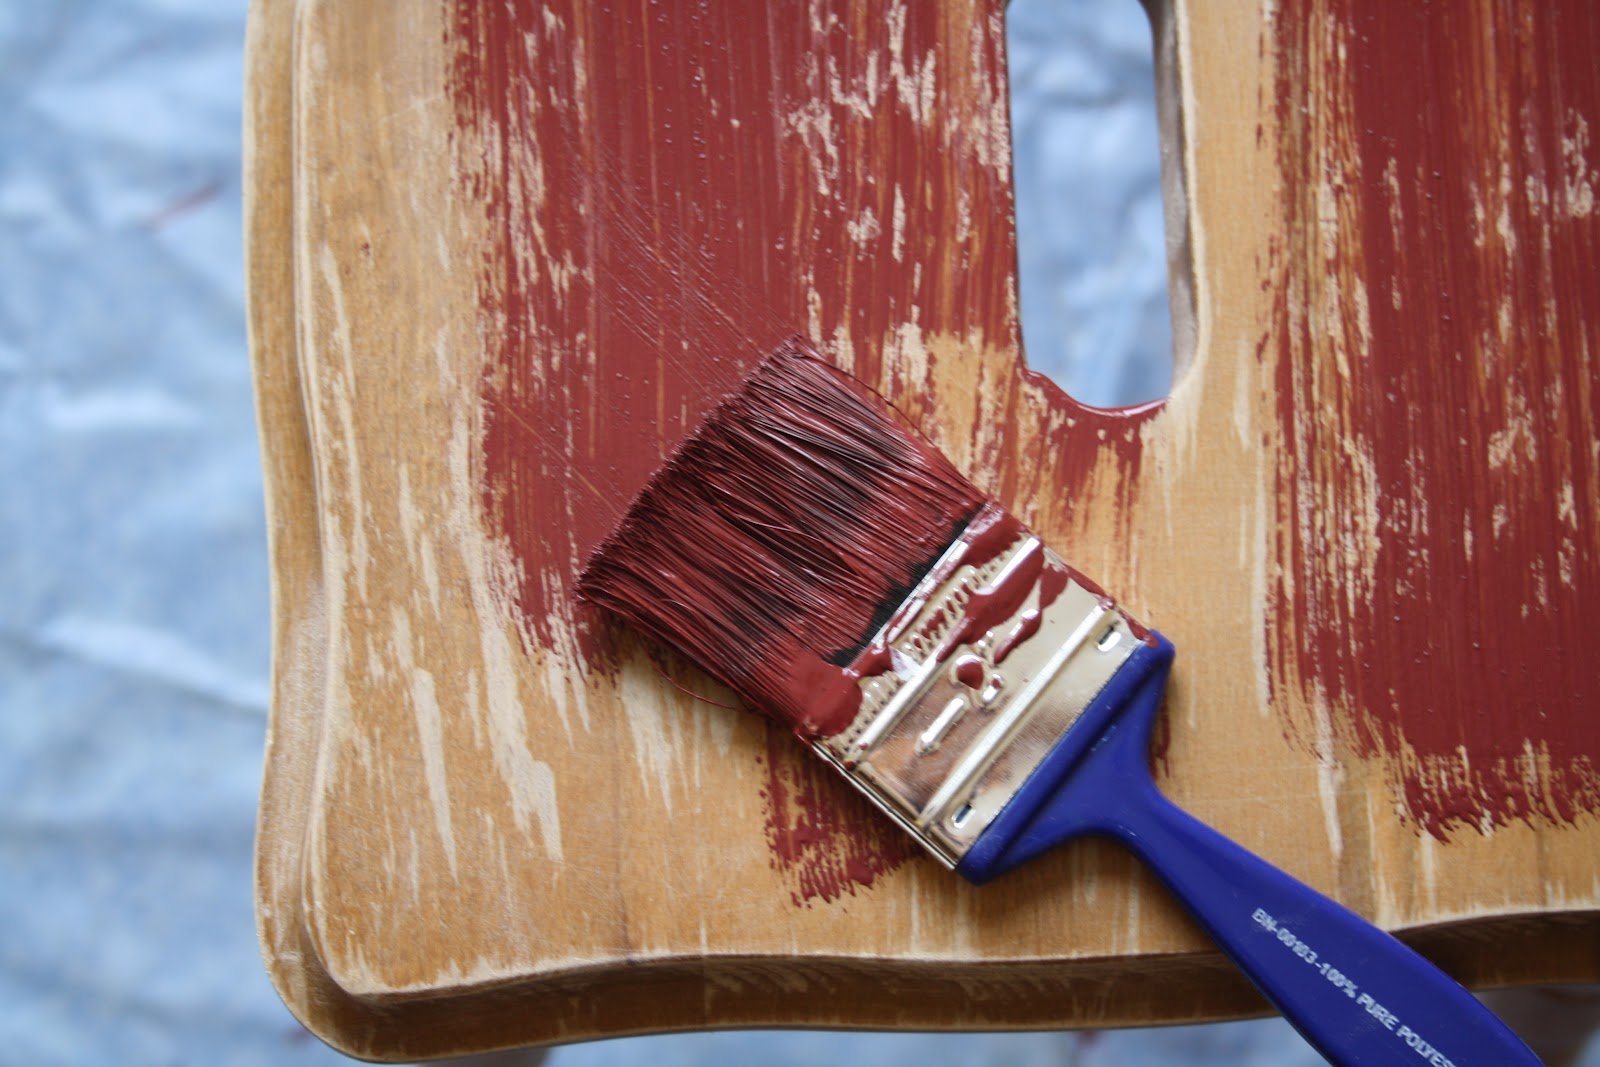
And then everything is simple, it is enough to remove the fittings from the cabinet, outline the places where the partitions will be placed and fix them with glue or nails. If necessary, you can sandpaper the surface of the cabinet and only then cover the surface with paint.

The matter remains small - you need to make holes in the wall and attach the cabinet. Such a homemade shelf is capable of withstanding heavy loads, which makes it a good option for storing books, flower pots or dishes.
Instructions for making wooden shelves
To create a wooden shelf, you first need to prepare the material itself.
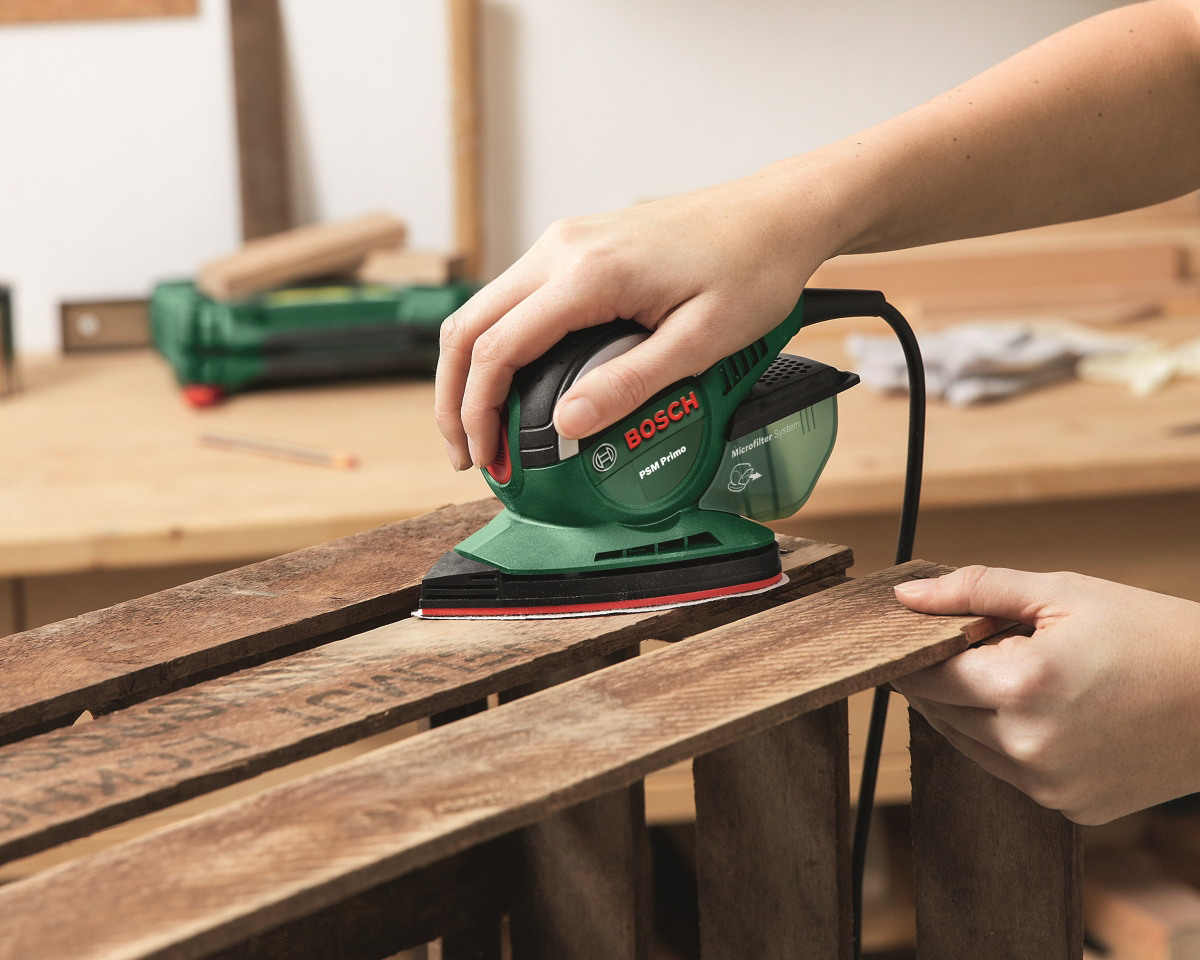
It should be remembered that natural wood is very whimsical to care for, so you will need to cover the surface with resins, paint, using sandpaper or an appropriate tool to remove any irregularities on the surface.
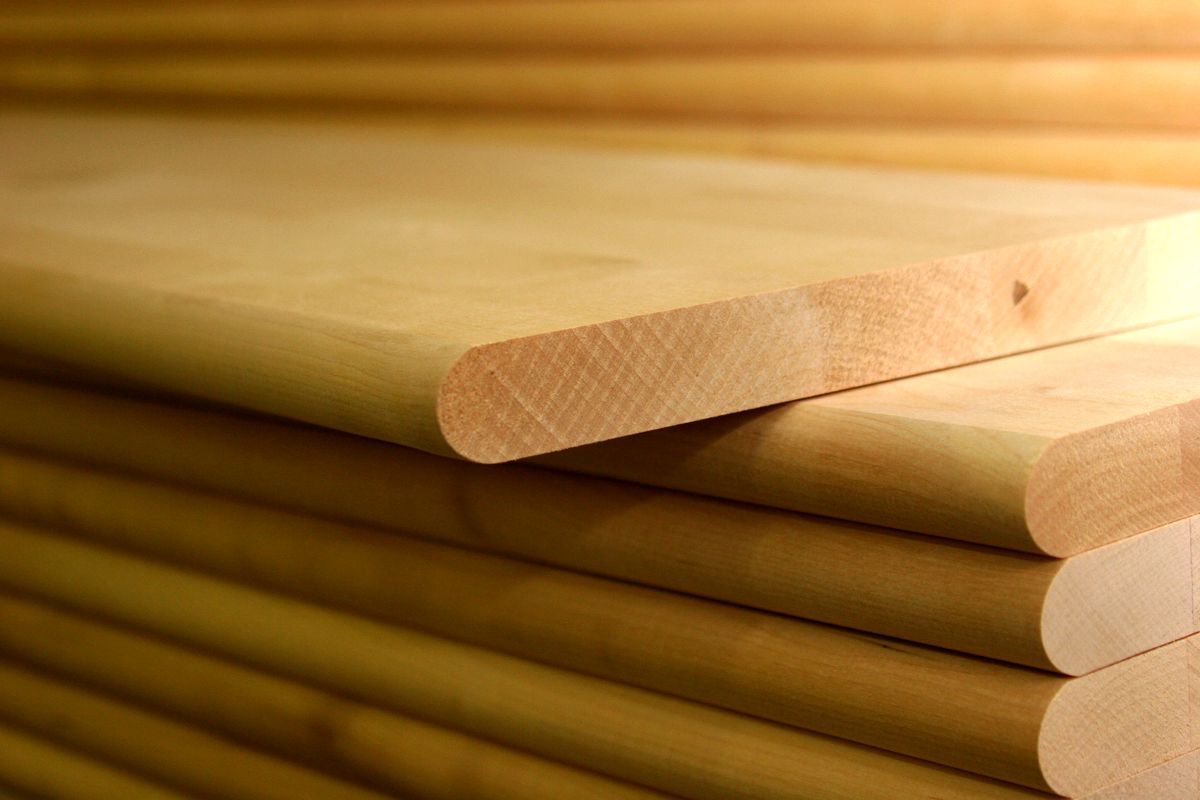
An interesting option would be to create a shelf from a natural cut. To create such a piece of furniture and at the same time preserve the natural wood pattern, you will have to do without processing. It is enough to cover the wood with varnish, this will leave a natural relief, but will not let the wood deteriorate.
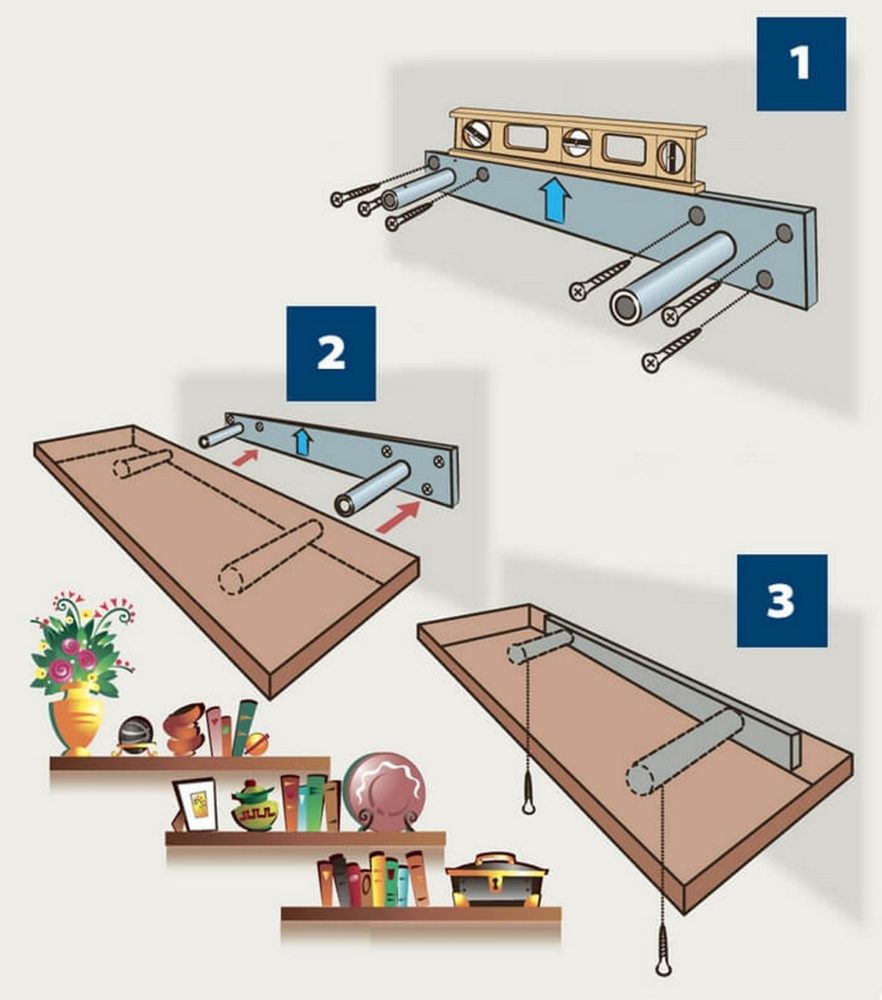
There are different options for fastening such a shelf, among which there are both the ropes already listed above, and simpler methods.
Advice. You can use old vintage belts instead of ropes or replace them with special fasteners to which the shelf is screwed.
Step-by-step description of making a bookshelf
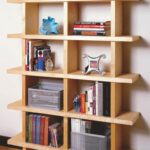
So, to make a bookshelf you will need
- Wooden board and a piece of plywood.
- Hacksaw and jigsaw.
- Drill, screwdriver, screws.
- Caps, screws for furniture.
- Sandpaper.

Next, we move on to the most interesting - directly creating a piece of furniture. According to the masters, there is really nothing complicated, it is enough to strictly adhere to the plan and accurately measure.
- It is necessary to prepare the workplace, remove all foreign objects and clean the space as much as possible.
- Make the necessary measurements of all parts, check them with the original drawings.
- After that, you can proceed directly to sawing the necessary parts. It is important to prepare the wood for this, that is, sandpaper the entire surface and, as much as possible, remove all kinds of irregularities.
- It is important that all the "rough" spots are on the back of the shelf.
- If a rear wall is planned for the shelf, you need to measure the required size of plywood and cut the material clearly along the line.
Important! According to the masters, now it has become very popular to use chipboard instead of natural wood cut. This is due to the fact that chipboard has a low cost in comparison with higher quality materials, however, there is one "but". Particleboard contains very toxic compounds, which is why the material is simply hazardous to health. To avoid such a harmful effect, it is enough to glue the edge with a special melamine film, which is attached with a regular iron. It will not only avoid toxic effects, but it will also make the furniture look more attractive and make the furniture look more attractive.
Method of manufacturing laminate shelves
This material has one major advantage - it is very easy to process. To work with laminate, an electric jigsaw or grinder is most often used.
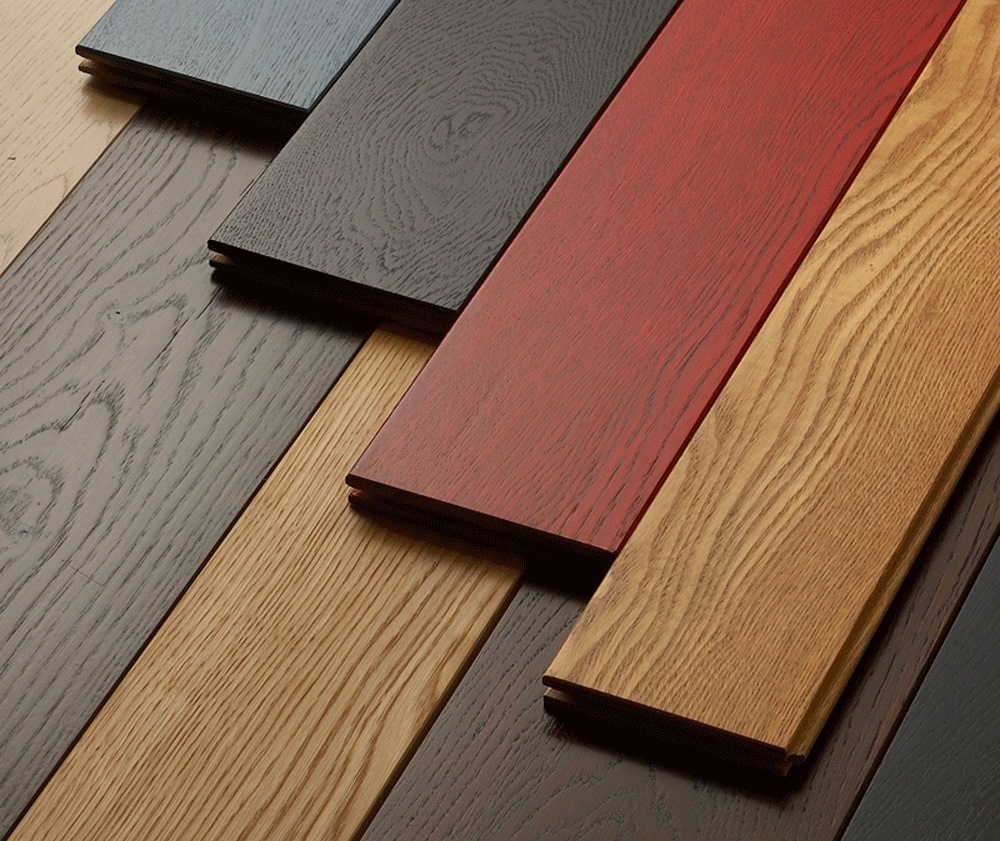
Of course, it is better to use the first option, because then the cut turns out to be smooth and perfect, but if such a tool is not at hand, the grinder will do.
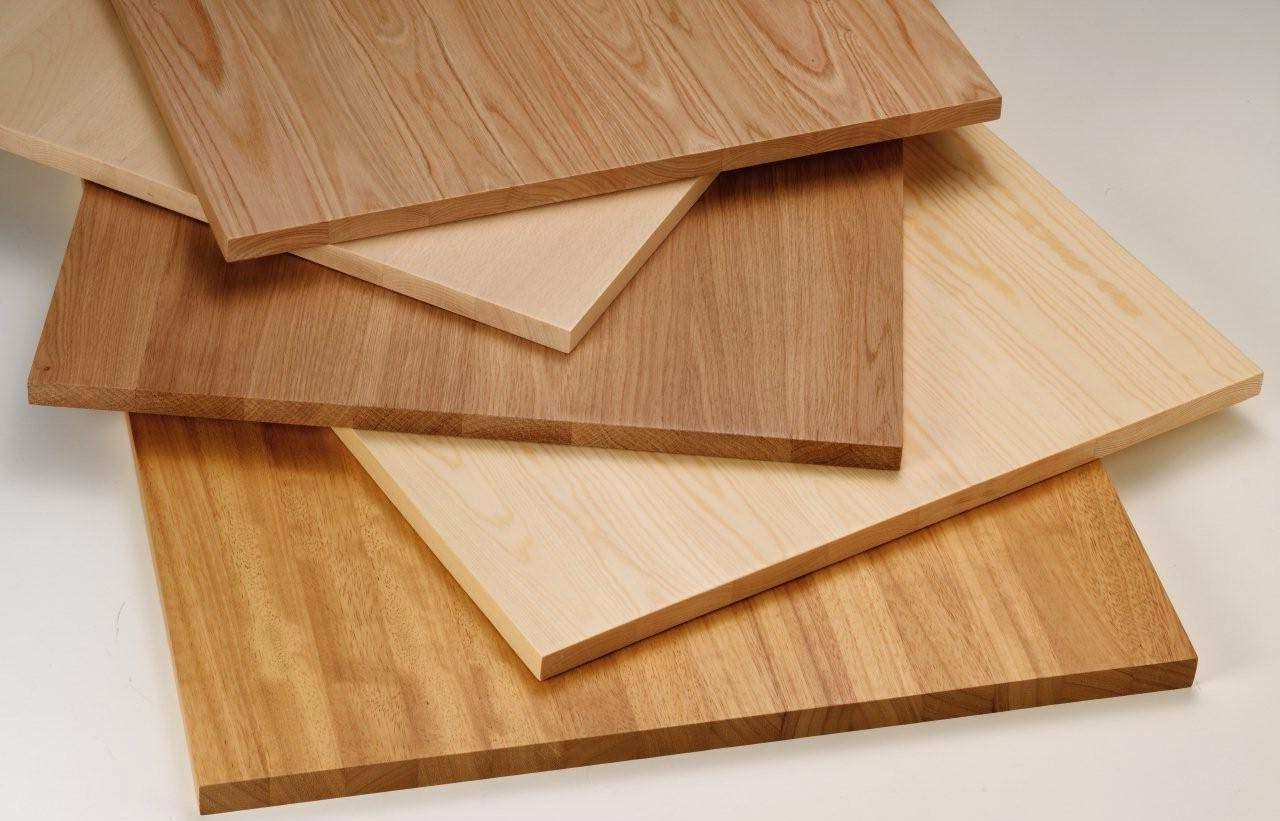
Most often, in the manufacture of laminate shelves, metal parts and a frame are used as fasteners. It is best to opt for stainless fasteners, for example, galvanized steel, then the piece of furniture will be much more durable.
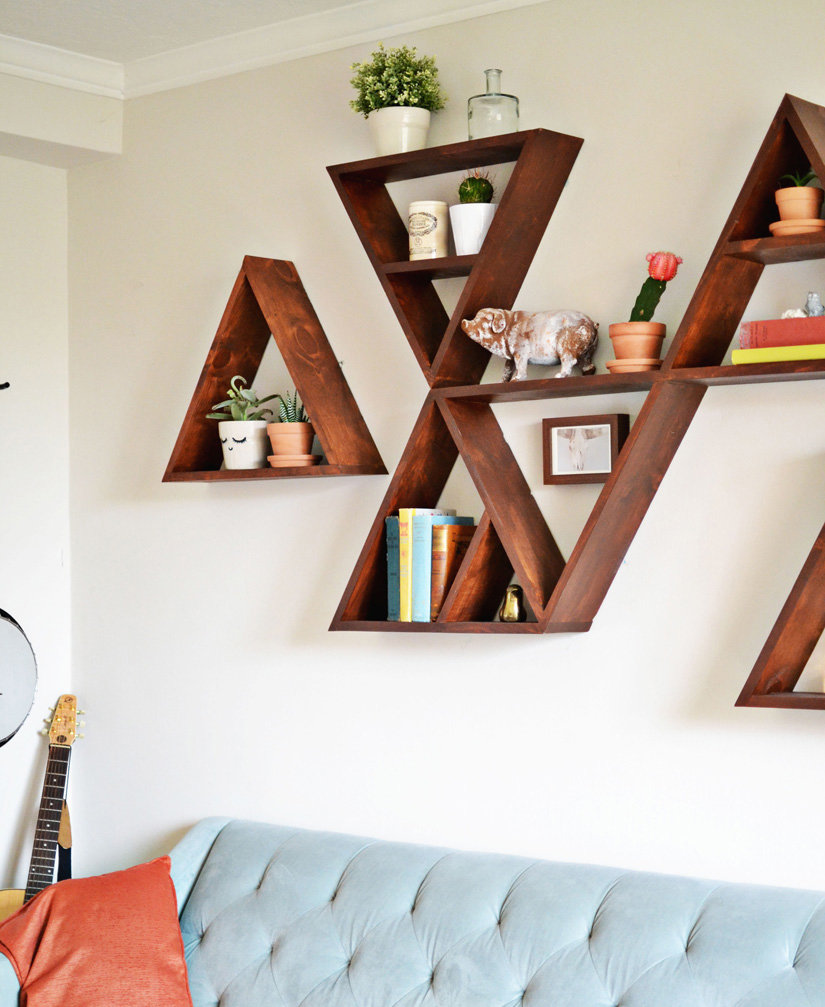
The very process of creating a shelf is quite simple. It is necessary to carry out a drawing and measurements, then cut the necessary parts and make a new shelf from them. It is important to bear in mind that so-called plugs will definitely be required to hide the screws and create a more presentable look for the shelf.
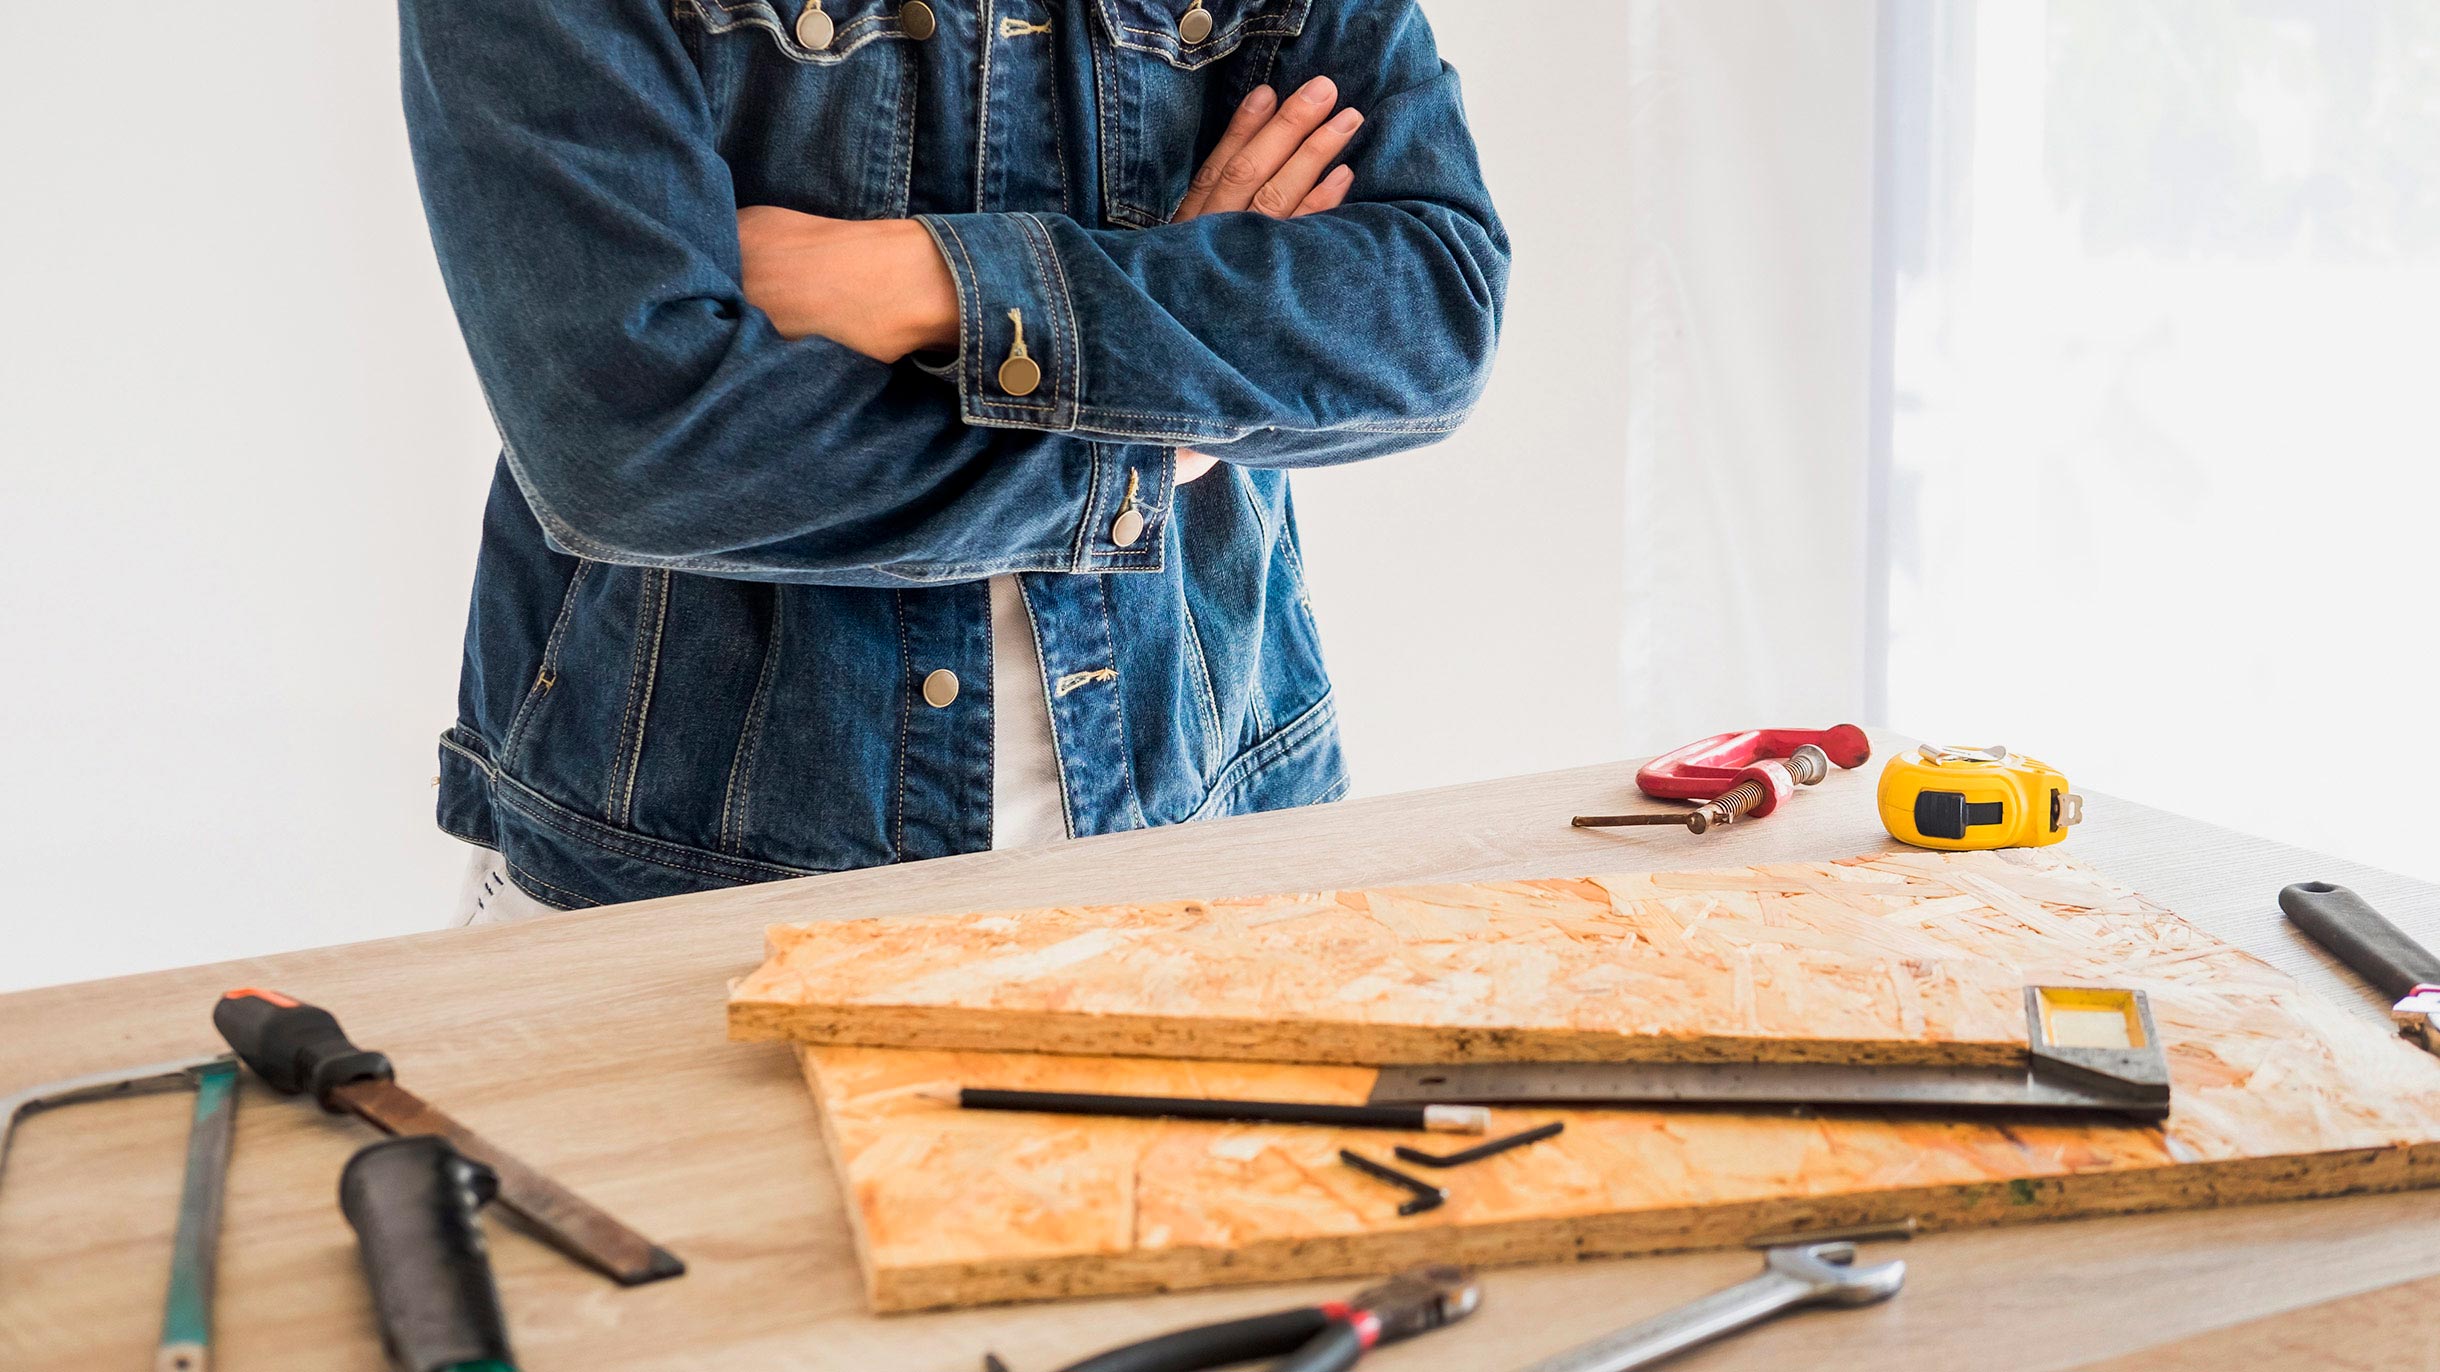
Making a plywood shelf with your own hands
Initially, plywood is a compressed veneer sheet that has already been processed.
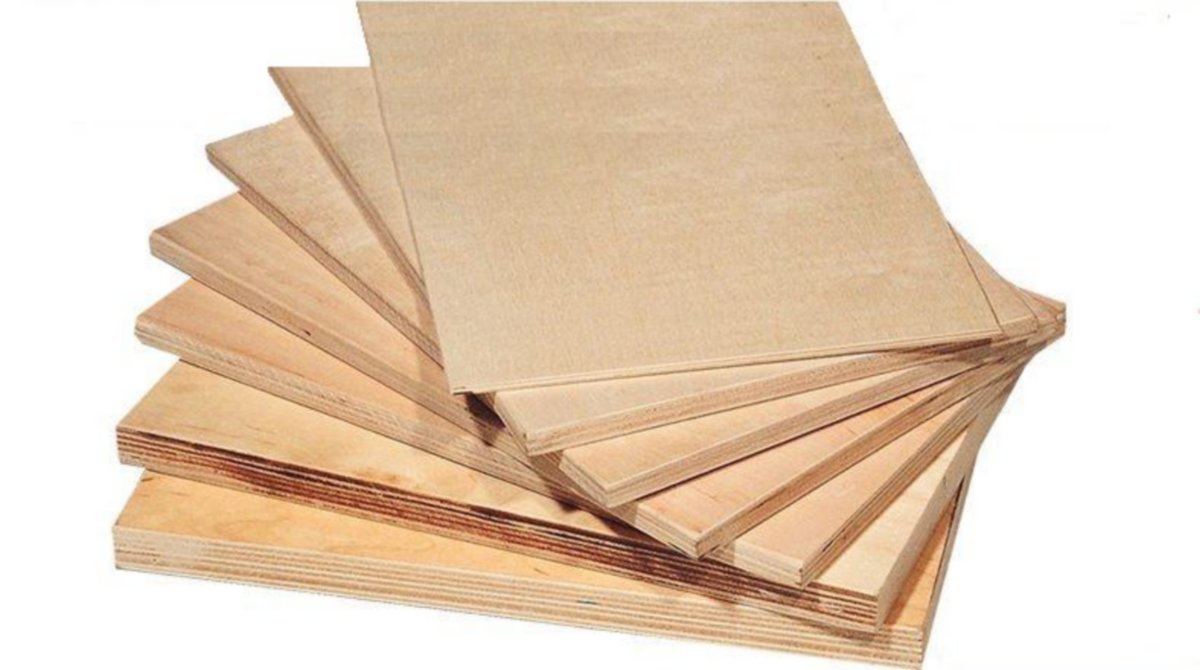
Such material is quite lightweight and durable, so it will be the most ideal option for a homemade shelf. There are many options, for example, you can make a hanging shelf, a rack for shoes, books or flower pots from plywood, so you can choose the option you like to taste.
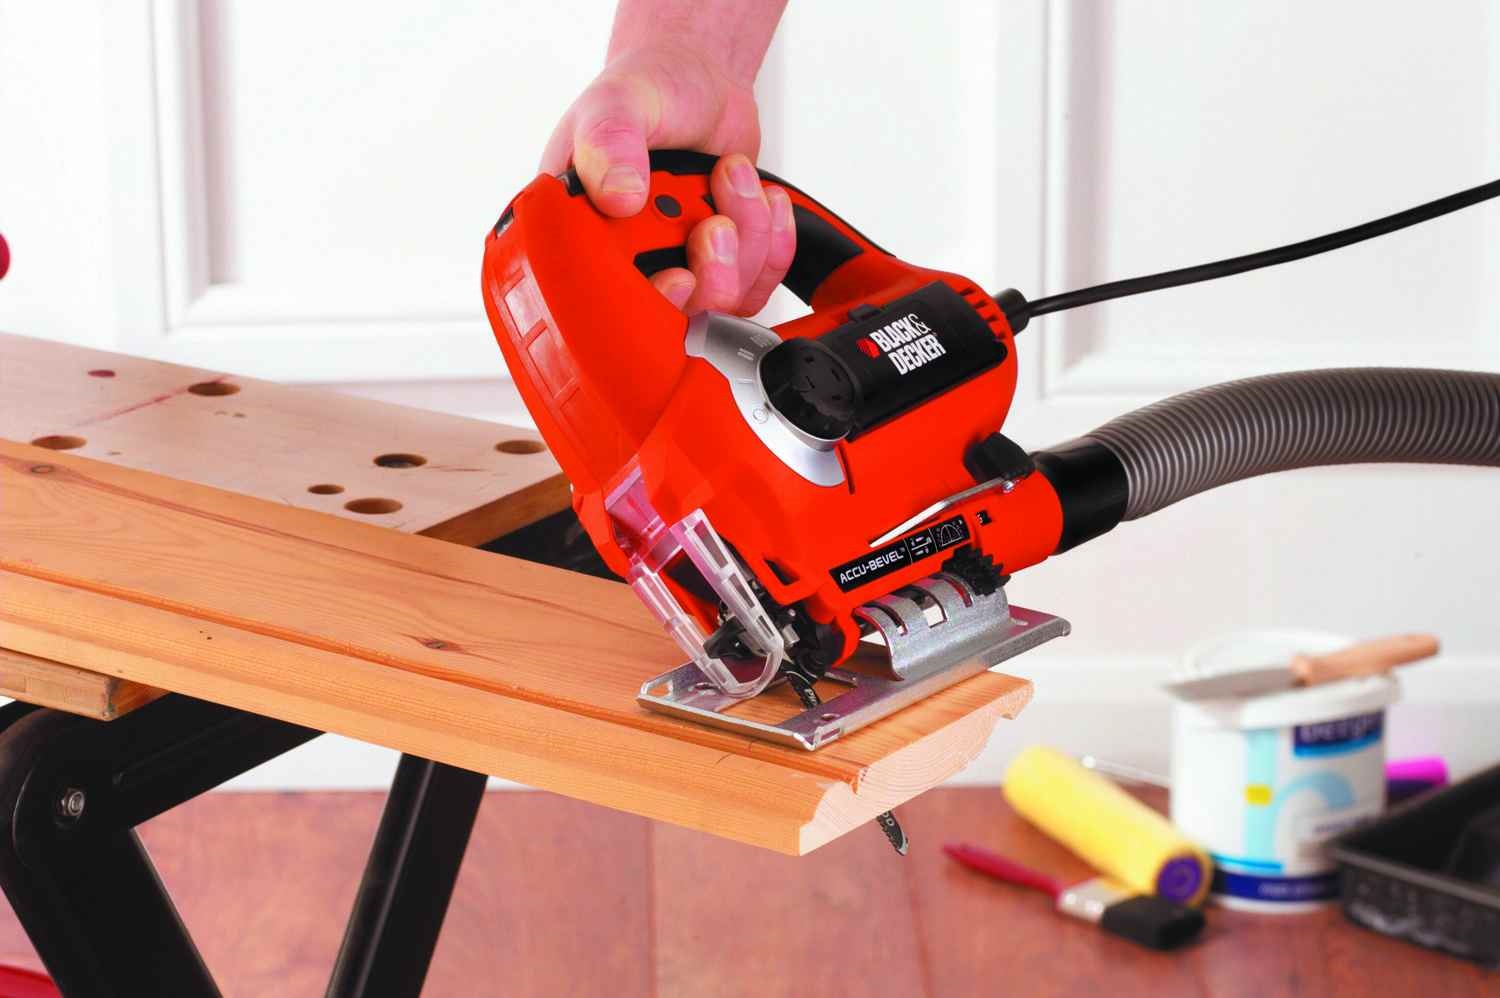
To create a shelf, you need the following tools:
- Perforator, drill, screwdriver and screws, jigsaw.
- Treated plywood sheets.
- Measuring instruments, pencil.
- Nails, hammer, carved fasteners and metal corners.
DIY round shelf
Despite the fact that the round shelf is quite simple to make, it will look very extravagant and unusual. In order to create it, you should take a chipboard and make two strips of the same width and length from this material.Thick sheets are best to make the shelf more spacious. It is important to take into account that when fastening with a circle, an overlap of about 75 mm will be required.
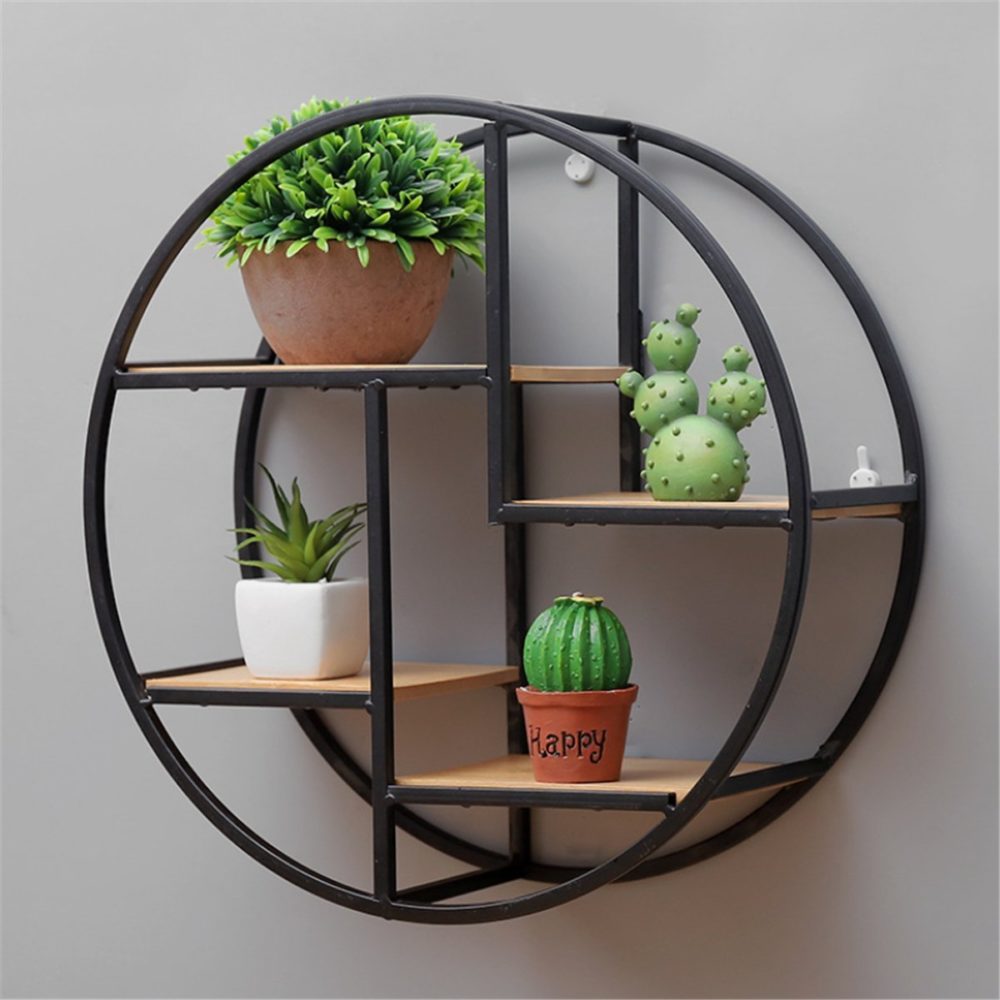
The edges are fixed with clamps, while the work must be done as carefully as possible so that the chipboard does not burst. The prepared wooden beams will serve as shelves in this circle. The shelves are fixed to the chipboard circle on the back side with screws, after which you can paint the resulting furniture in the desired color, cover it with stain or varnish. Optionally, you can leave it in the original version, but on condition that such a solution is suitable for the interior of the house.
How to make a corner shelf
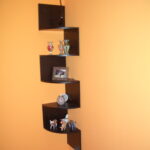
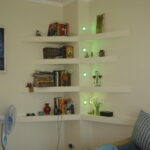
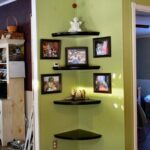
Corner shelves, or as they are also called "flying" shelves, look neat due to the fact that at the first glance you cannot see the mountings. To create them, you will need beams of different lengths and the shelves themselves. The structure is a frame on which a solid bar of wood or any other material of your choice is attached from above.
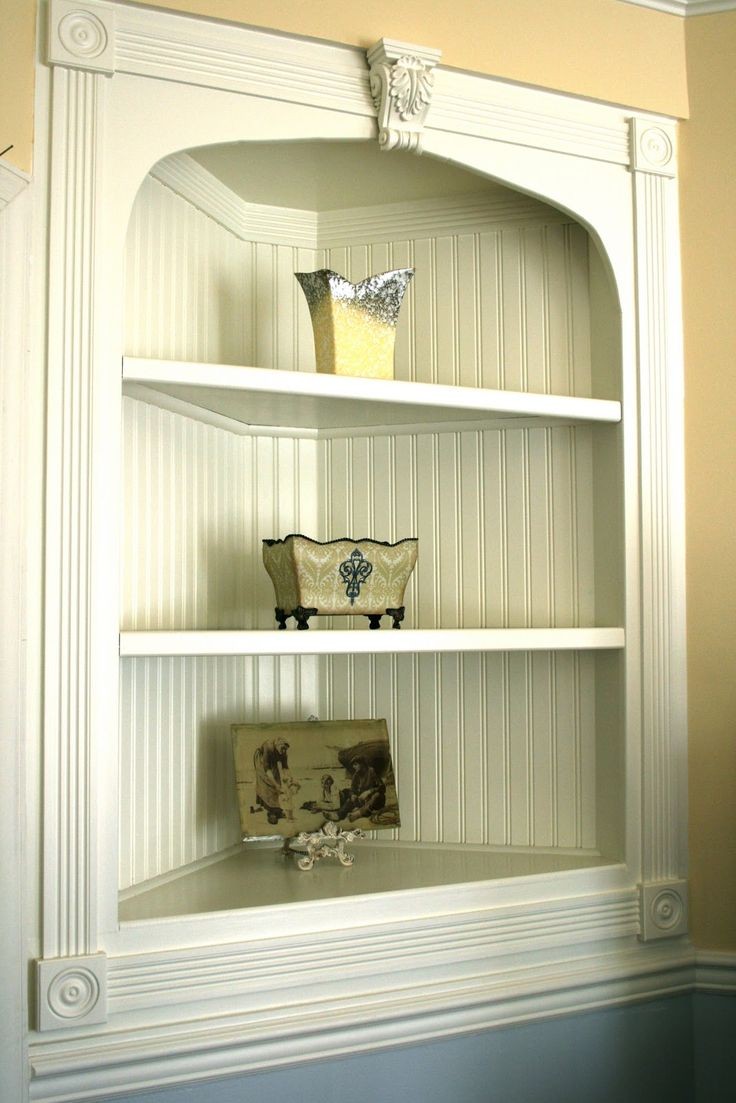
Further, the entire surface is painted or decorated so that the frame is not visible. Alternatively, you can add a zest to such a corner shelf. To do this, when creating, you will need boards that have preserved irregularities, scuffs and cracks. Special luminescent pigments are poured into them, and glued with tape on top. After drying, you can grind the shelf and hang it in its rightful place.
Examples of original wall shelves with your own hands
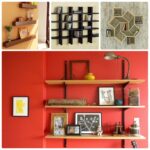
As stated earlier, there are countless varieties of shelf options available. Below are some very interesting ideas that are actually easier than shelling pears to translate into real life.
- Hinged shelf in the form of scales. Everything is quite simple - you only need two boards, ropes and special fasteners, which are positioned in such a way as to repeat the appearance of the scales.
- Metal shelves will not only look spectacular, but will also perfectly survive the effects of any damage and other things that may affect the durability of the furniture.
- Glass shelves will be difficult to repeat with your own hands if you do not have the necessary equipment, but such pieces of furniture will certainly decorate the interior of the house.
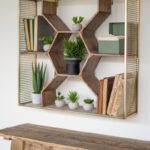
- A wall of different diameters of round shelves can become a kind of replacement for a classic cabinet-rack, because it fully fulfills its function, while looking fresh and possible.
There are many options for creating shelves that you can implement yourself. This will require very few tools and the boundless imagination of the master. So arm yourself with a screwdriver and collect the most daring solutions from the materials at hand.
Video: simple do-it-yourself trim shelves
