Assembling a computer and office chair
Office chairs or computer chairs have actively entered the life of every person. Their presence can be observed not only in office premises, but also at home, as they can be quite an excellent replacement for ordinary furniture. Many people liked them due to their convenience.
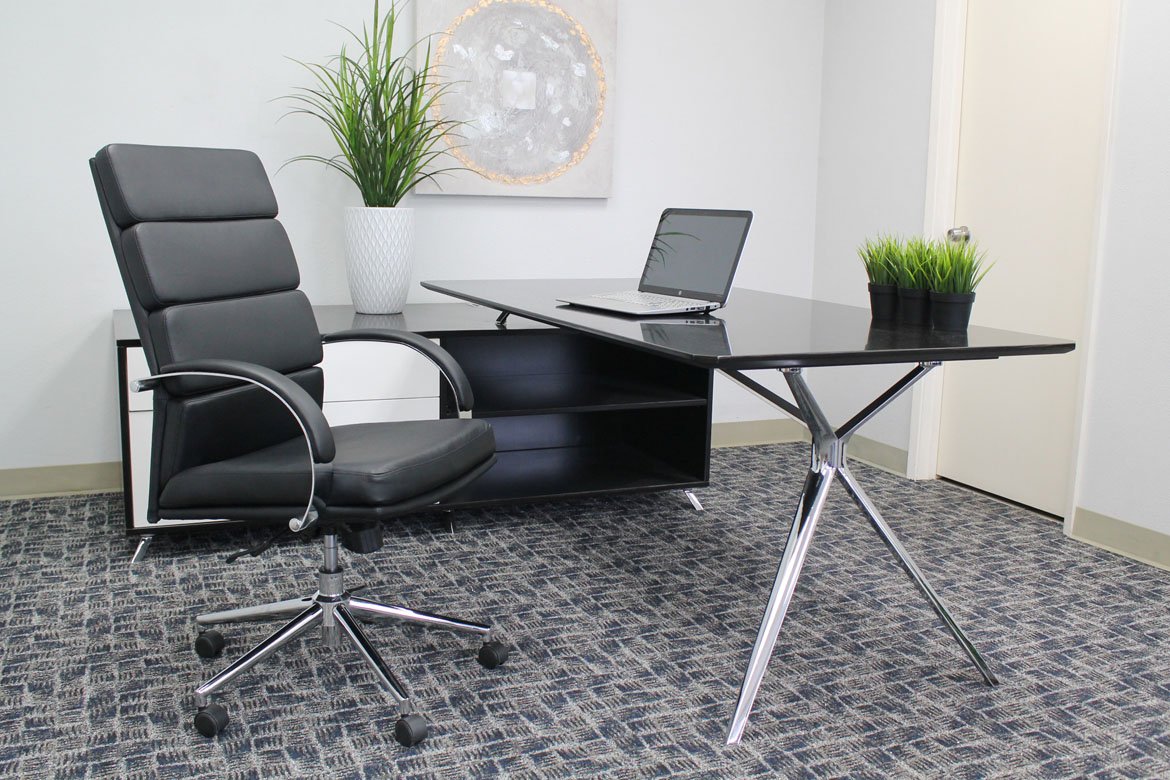
The seat and back are made in such a way that they are able to relieve the maximum load from the back and the human musculoskeletal system. The presence of wheels allows you to save a person from unnecessary and unnecessary movements, in order to take something, you do not need to lift and take one step, a little tension, and the chair drove up or moved off to one side, and now the necessary object is in your hands.
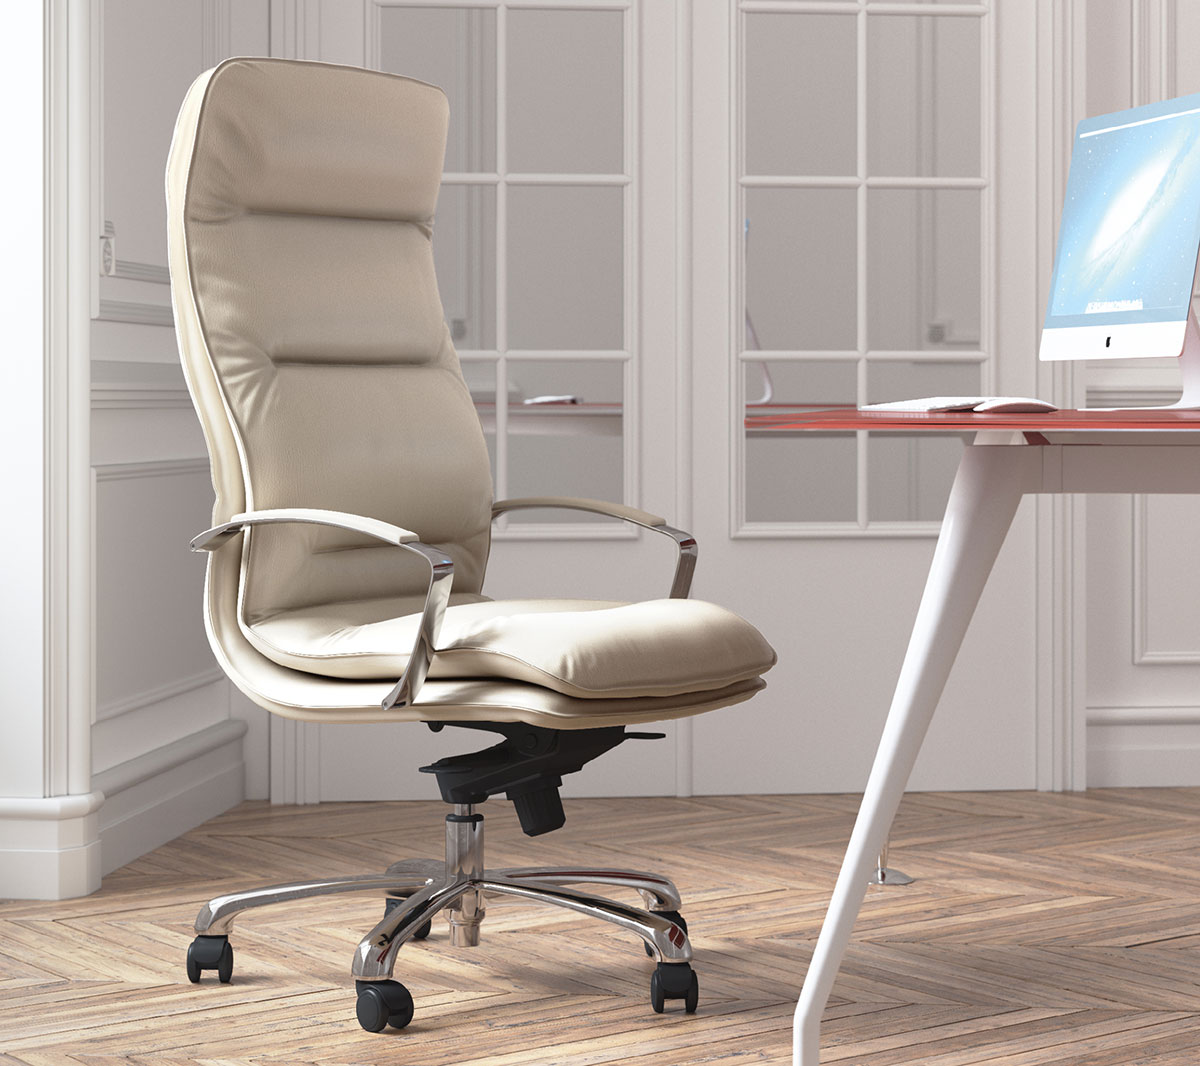
The design feature is that it will not be difficult to assemble an office chair or a computer chair. A couple of tools, carefully following the instructions of the instructions, half an hour of time and the chair is already ready for use at home or at work. This article will tell you in detail how to assemble an office chair with your own hands without the help of strangers.
What you need to assemble an office or computer chair
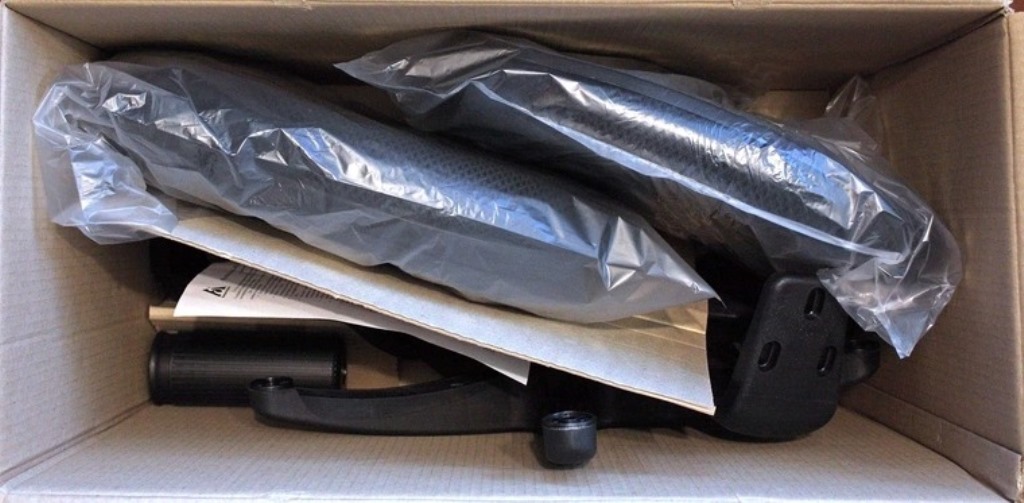
As a rule, when ordering an office chair using a delivery service, it comes disassembled. To make the softest and most comfortable chair from a large number of large and small parts, you need to prepare the place where the assembly will take place. It is best to do this on the timeline, but if there is none, then this is a small problem.
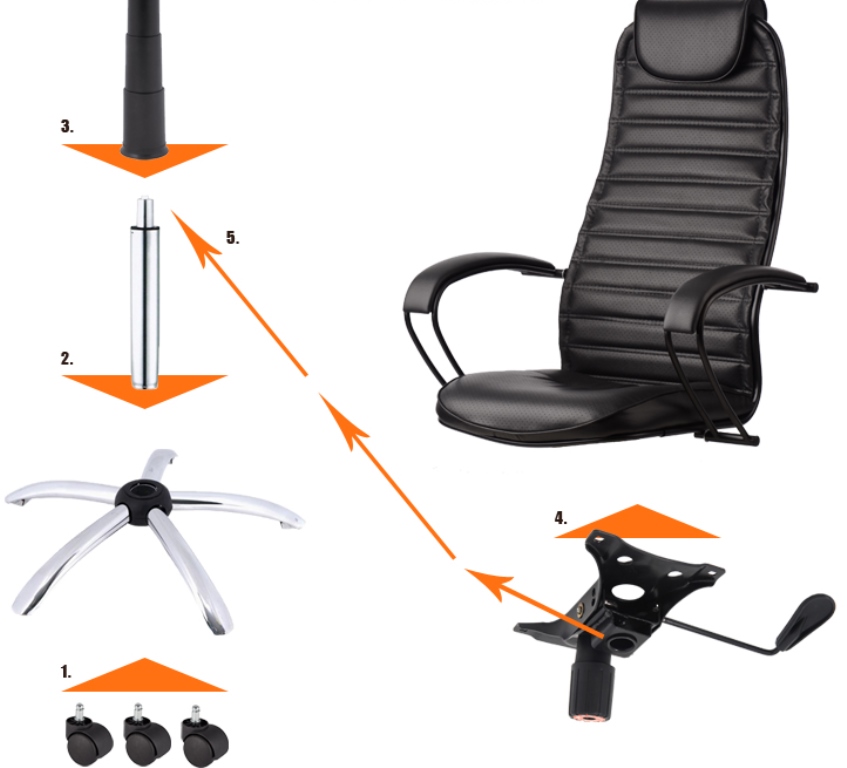
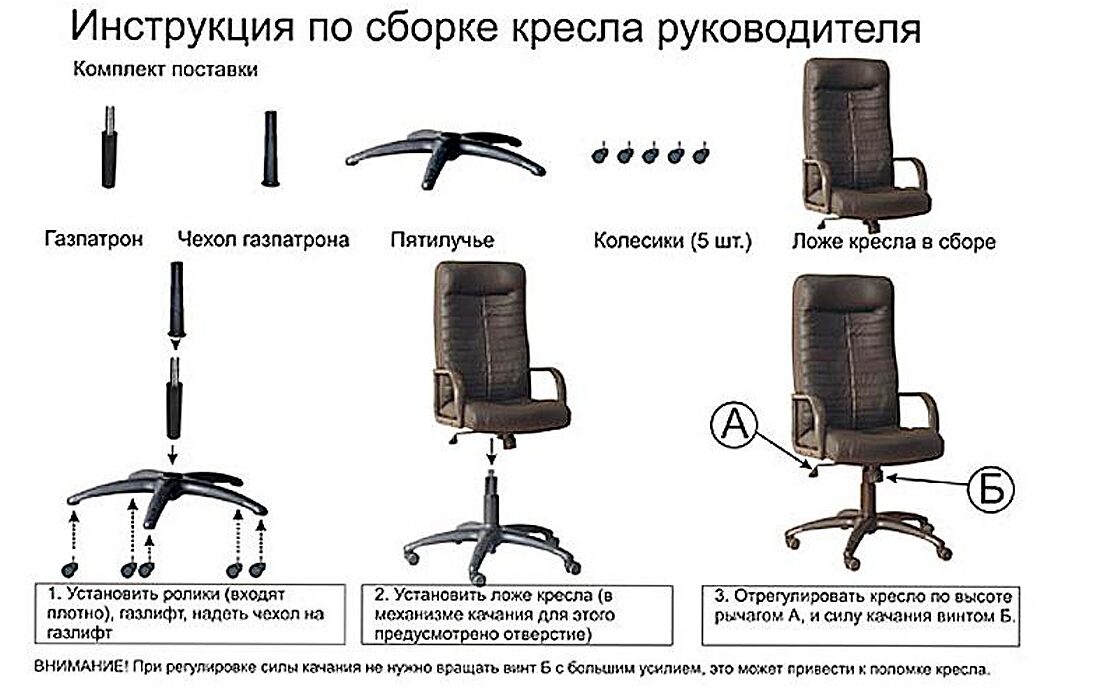
Before starting work, it is necessary to thoroughly and carefully study the instructions attached to the future product, compare the number of the described parts and elements in the provided paper and what is in the box disassembled. To assemble a chair, there must be a complete set of parts, otherwise the implementation of such work may be questionable.
The fasteners must include the following elements:
- large screws with tips (4 pcs);
- medium screws with tips (6 pcs);
- small screws with tips (4 pcs);
- hex wrench.
Important! The number of fasteners may vary depending on the model purchased and its design.
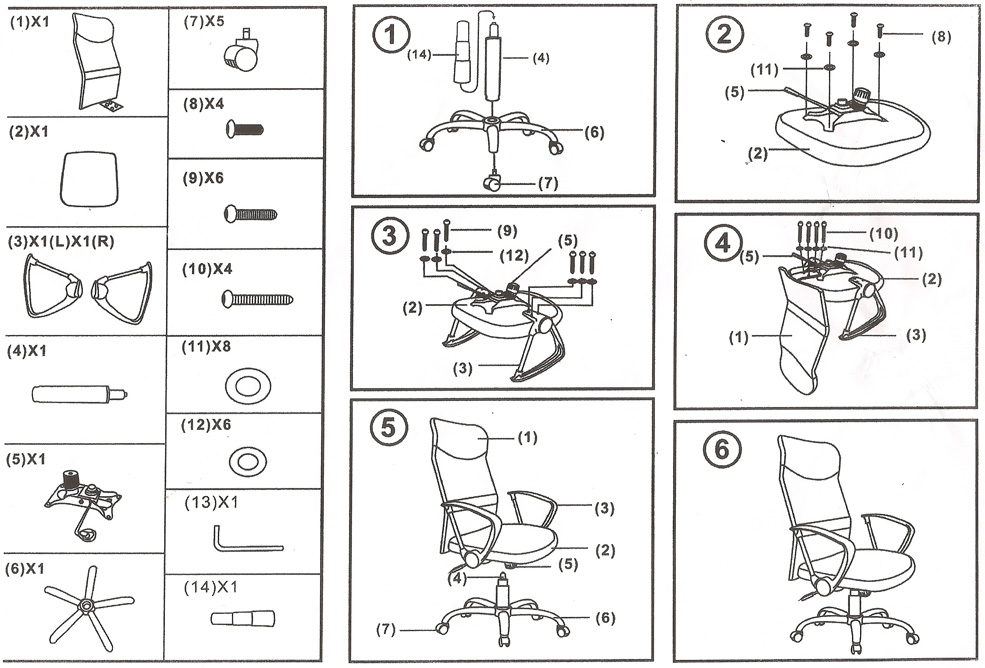
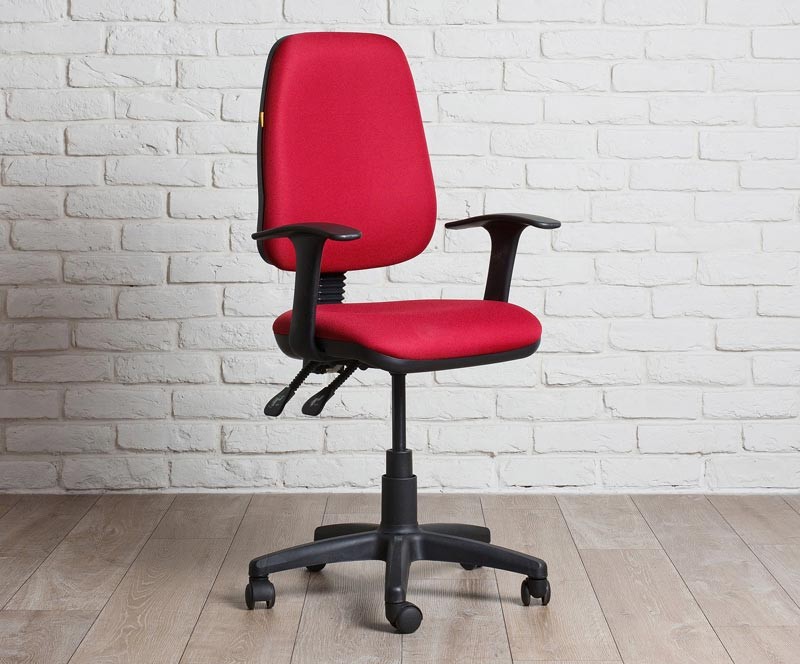
Modern manufacturers that produce office chairs or computer chairs offer to purchase models that consist of two main parts:
- seat with backrest (adjustable);
- support part (with a mechanism that makes it possible to adjust the height of the seat relative to the roller wheels).
A person is faced with the task of correctly connecting the two parts, as well as related elements, so that the future product can fully function.
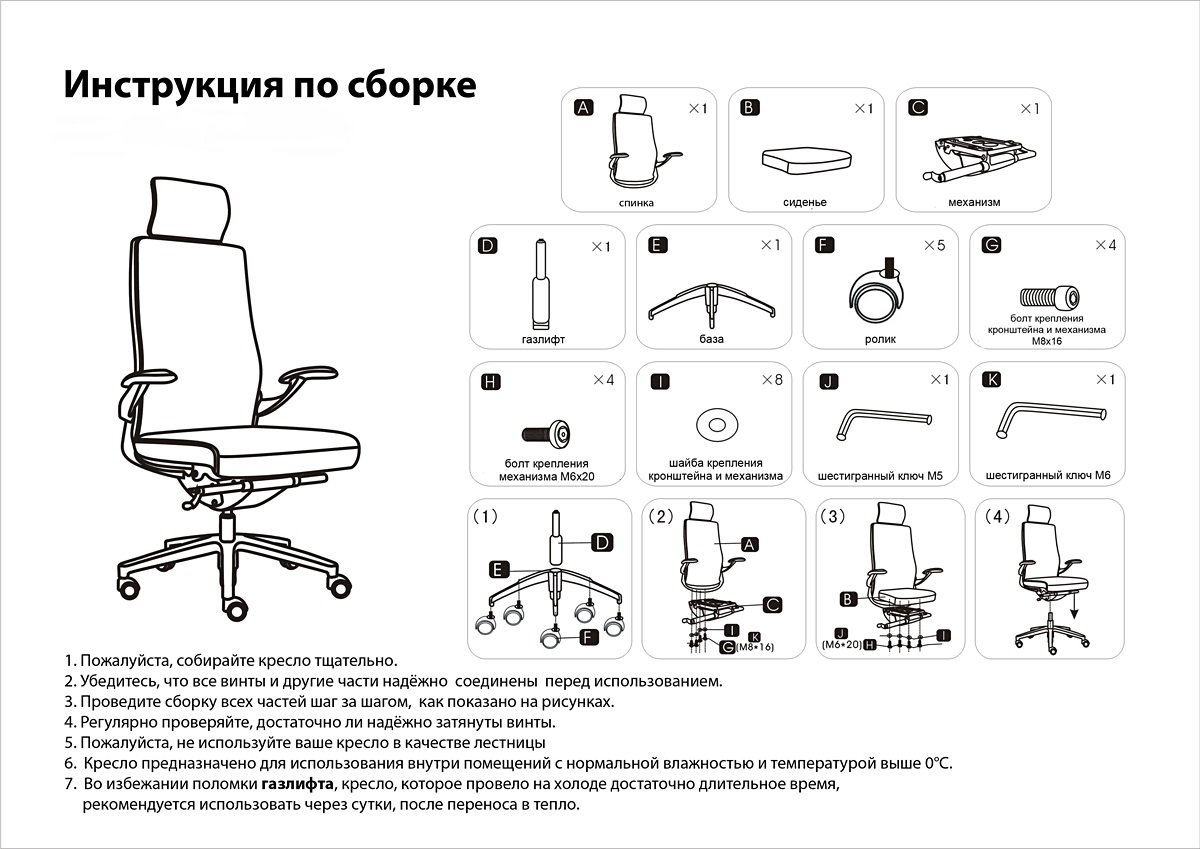
Seat and back
The first step is to start assembling the seat and backrest.This design can be provided as a one-piece solution with additional elements (armrests) for maximum convenience for the person who will use this chair for its intended purpose. However, most often there are models where the backrest goes separately from the seat itself.
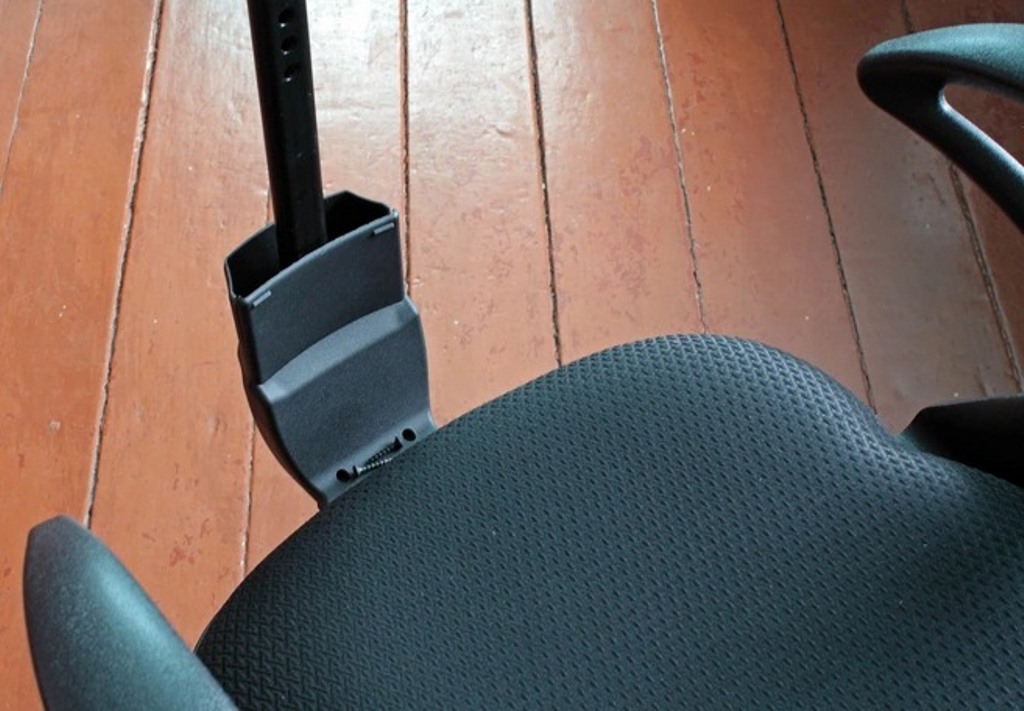
In total, we have the following configuration:
- back, as a separately existing element;
- a mechanism by which two elements such as a back and a seat are connected, and also they are adjusted relative to each other;
- seat as a separately existing element;
- armrests.
It is these details that, upon completion of the assembly, will form the upper part of the structure.
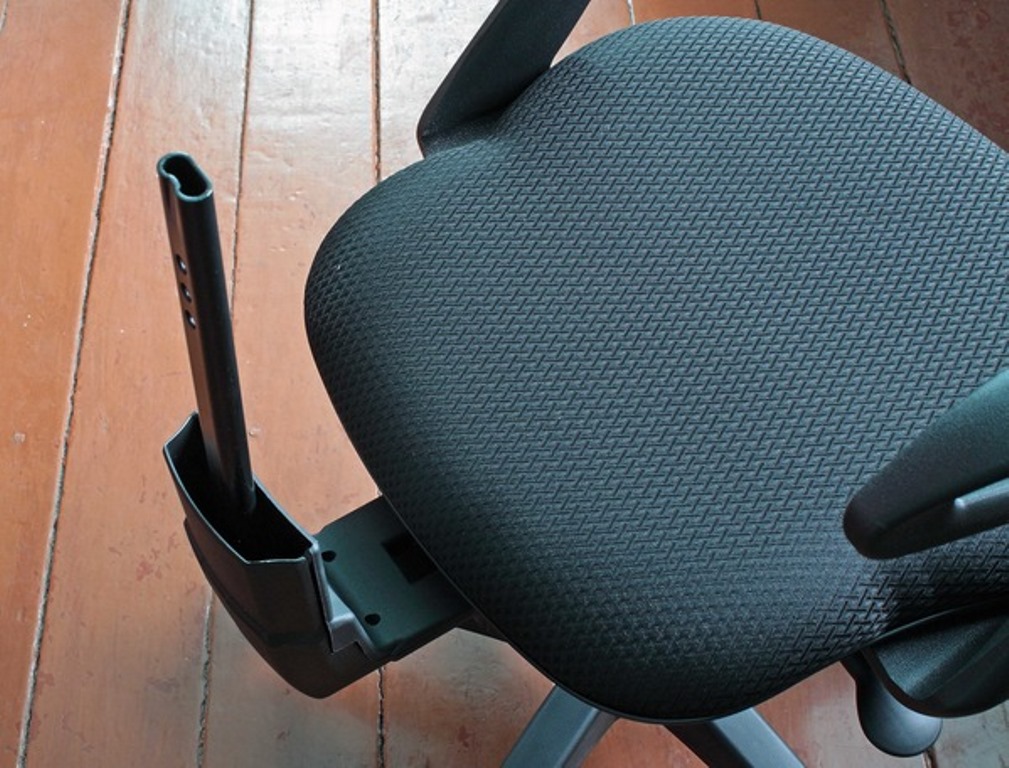
Support mechanism
It is on the supporting mechanism that one of the main functions is assigned - to hold the structure in an upright position. In addition, the casters that touch the floor help the chair move without unnecessary movements of the person sitting on it.
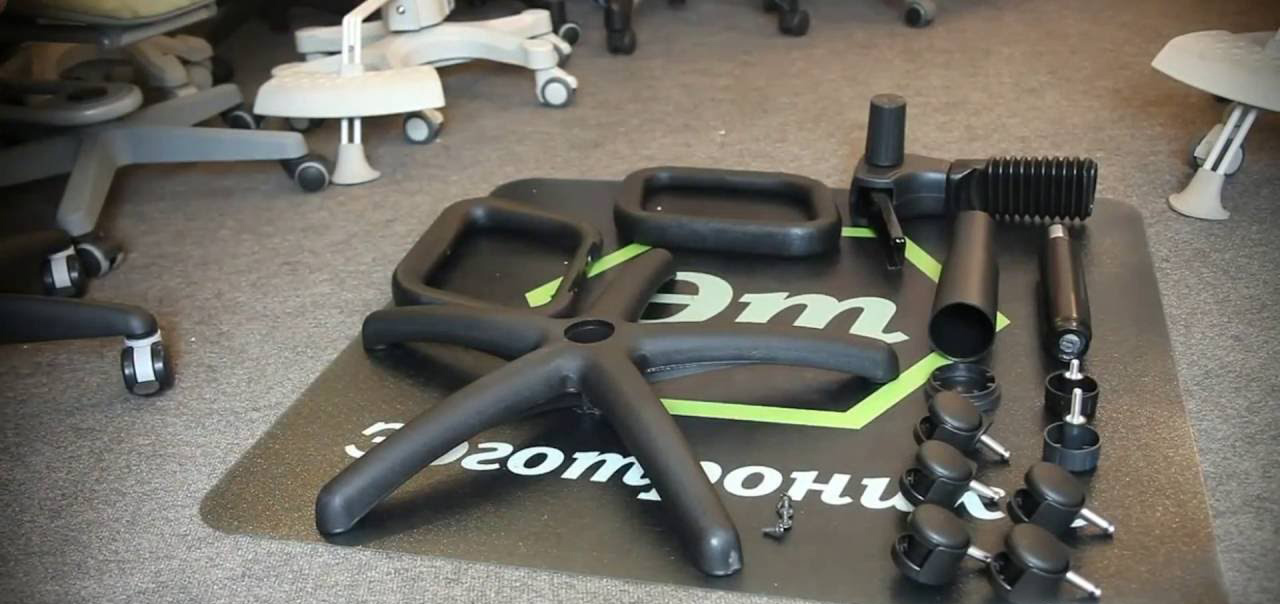
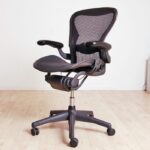
The support mechanism has the following components:
- Gas lift - this element also performs a supporting function, it has the ability to change the length if necessary, allows you to make the chair higher or lower.
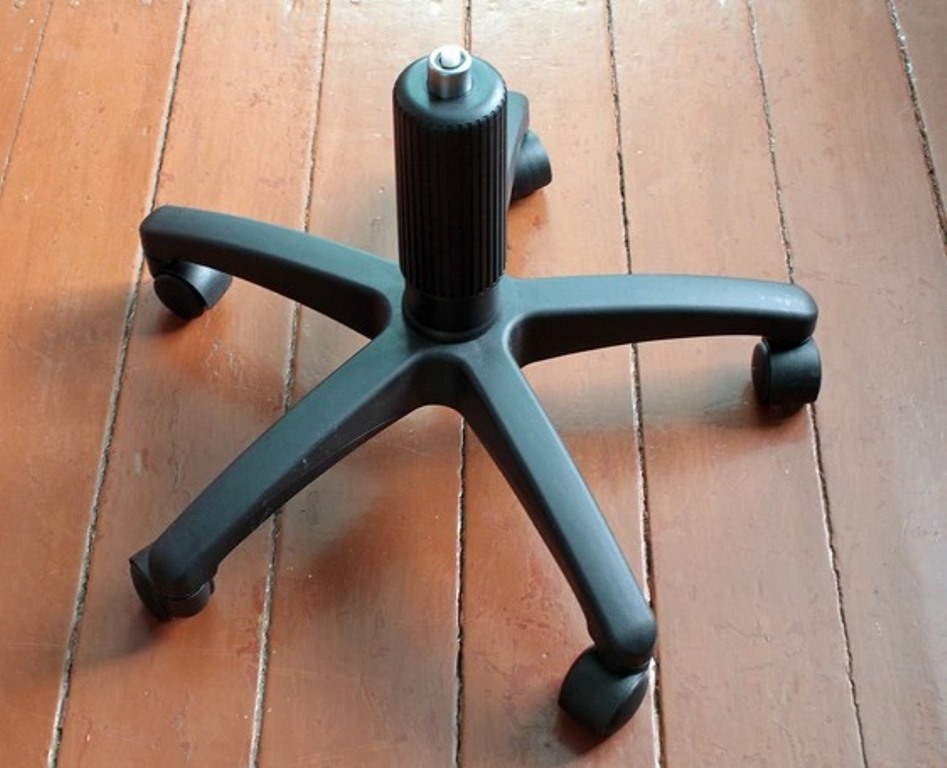
- Star-shaped cross - it has five ends, and each of which is attached with a wheel. It is this detail that distributes the weight of a seated person around the perimeter, and makes it more even.
- Roller wheels - this part has the function of moving. Due to the small wheels that are attached to the star-shaped crosspiece, the future computer chair can move quietly around the perimeter of the room.
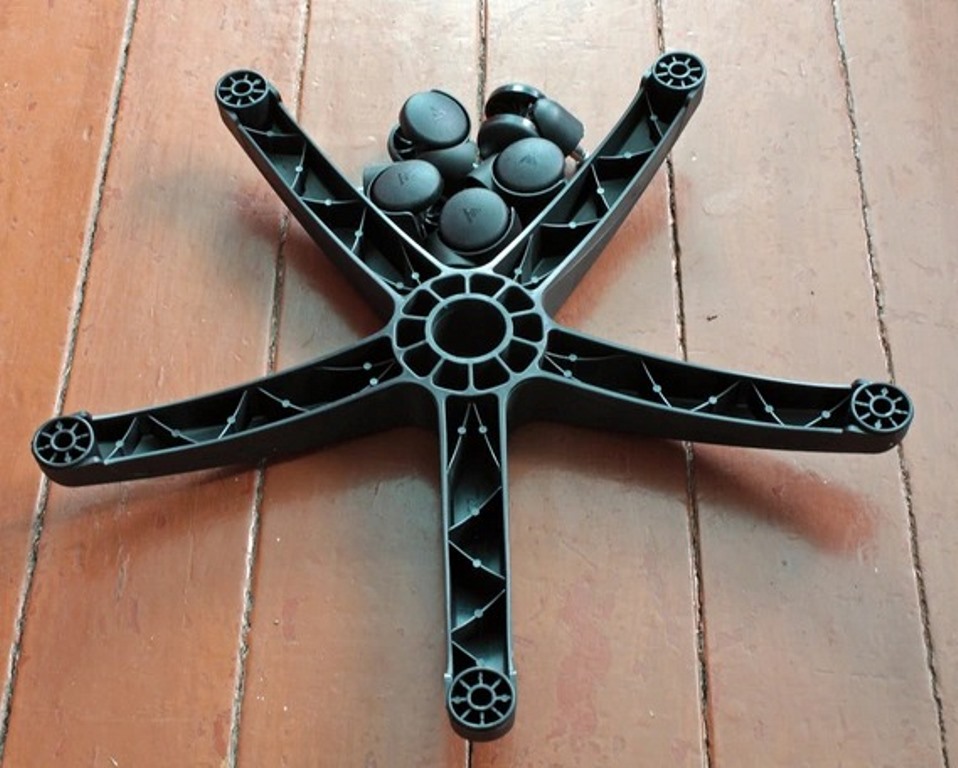
Correct fastening of each element is very important. After all, thanks to the completion of all the assembly work as indicated in the instructions, you can get a full-fledged office or computer chair that will perform all its functions, serve the owner for a long time and with high quality.
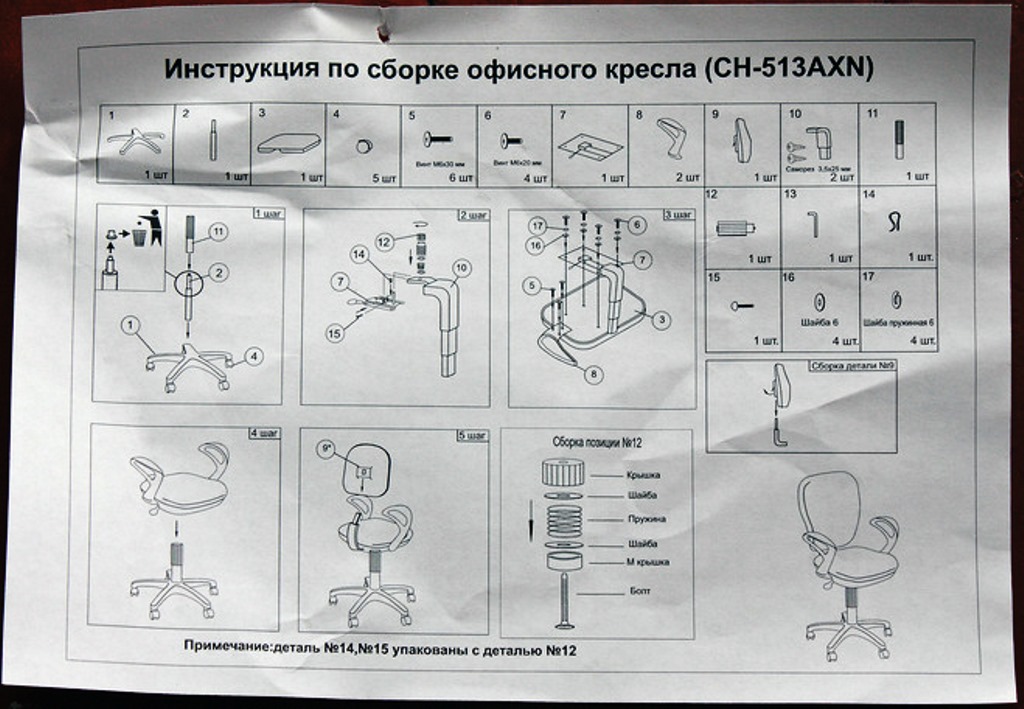
Assembly instructions
What most buyers like about these office chairs is that they are easy enough to assemble. Even a person who has not previously performed such manipulations will be able to cope with such work. Of course, all this is possible, taking into account the strict maintenance of the correct sequence of actions, which are indicated in the accompanying instructions.
Installing casters
First of all, you need to unpack our casters and prepare them for installation. This procedure is done quickly and easily. A little force is required to insert the rollers into the holes located at each of the five ends of the star cross.
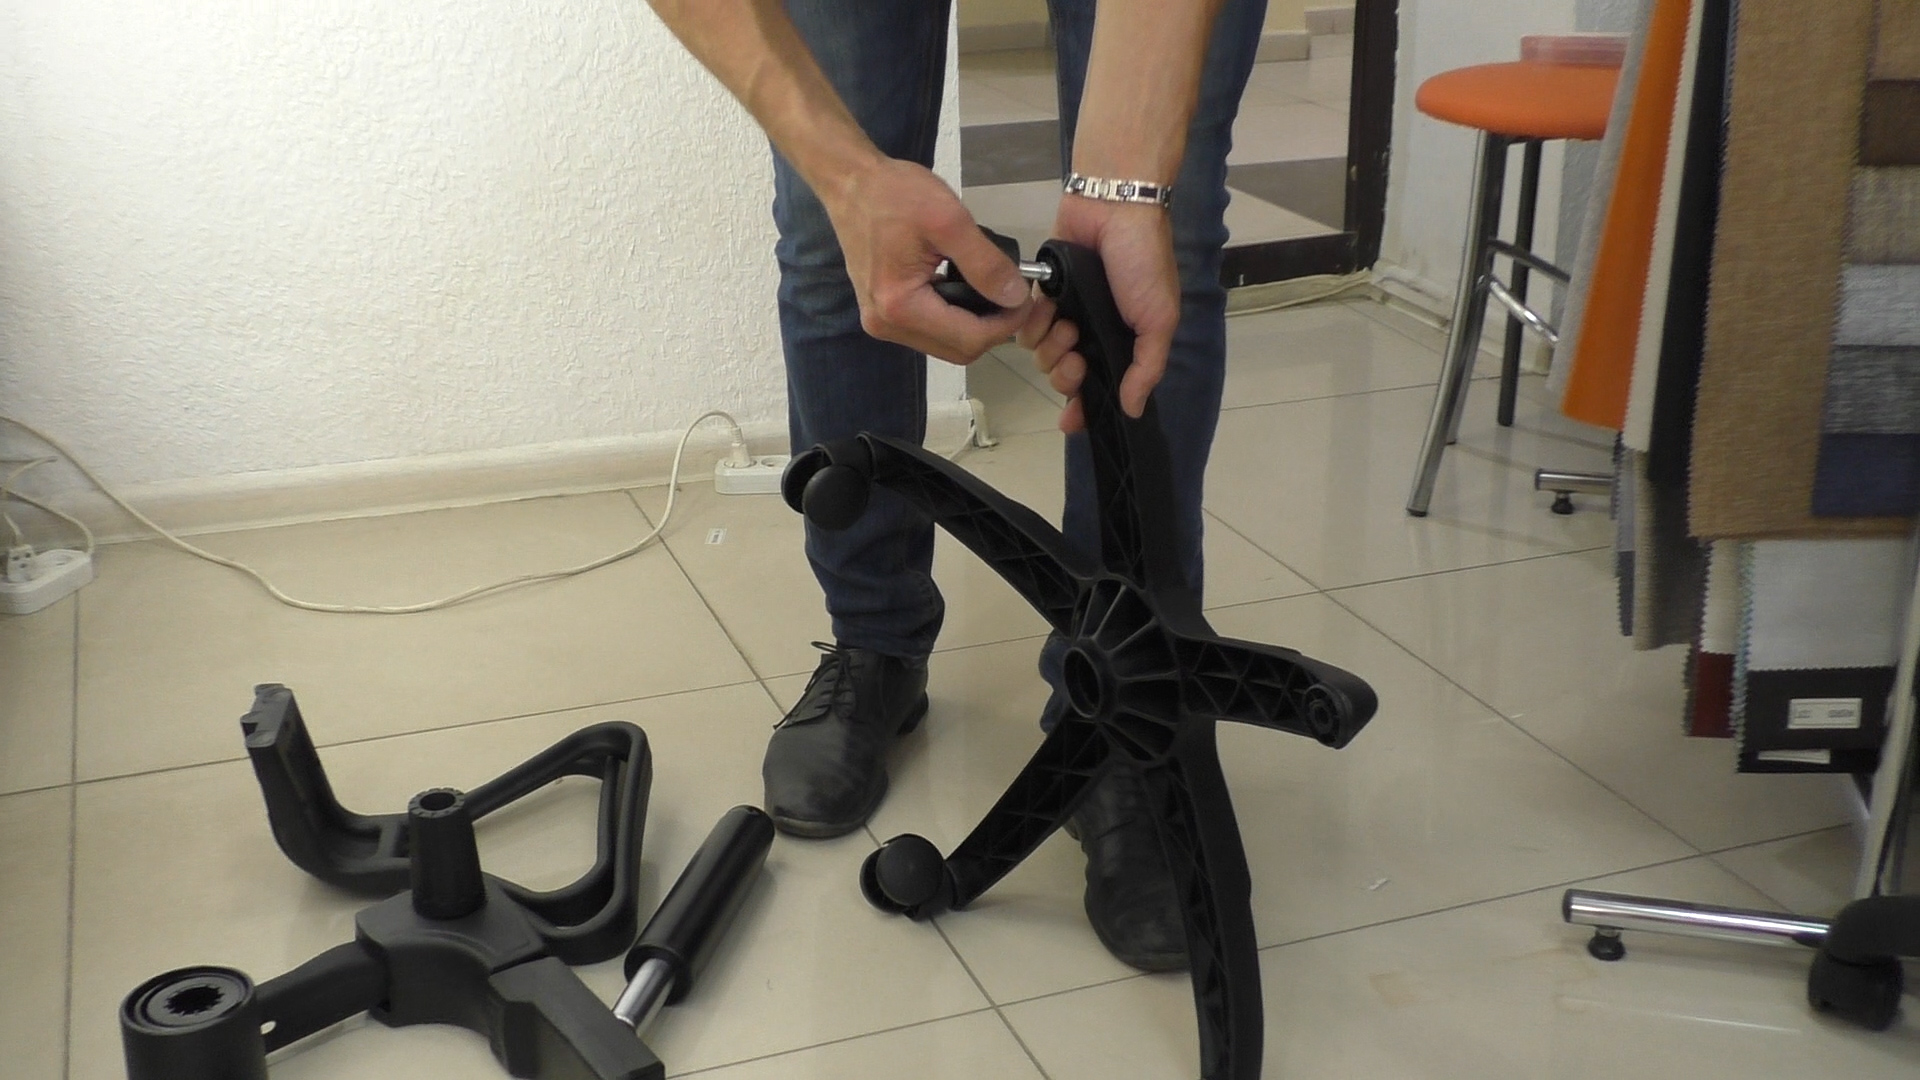
Note! How to understand that the wheel is installed and no more pressure is needed on it? Everything is very simple, as soon as a small click is heard with such a pressure - this will mean that the wheel has fallen into its rightful place.
After all the rollers have been installed in their places, you can turn the crosspiece to the floor with the rollers and slightly press on the formed structure.
Seat preparation
Now you can start assembling the seat. On the back of the seat, you need to fix a mechanism that connects the list with this element. The piastra is attached to the bottom.
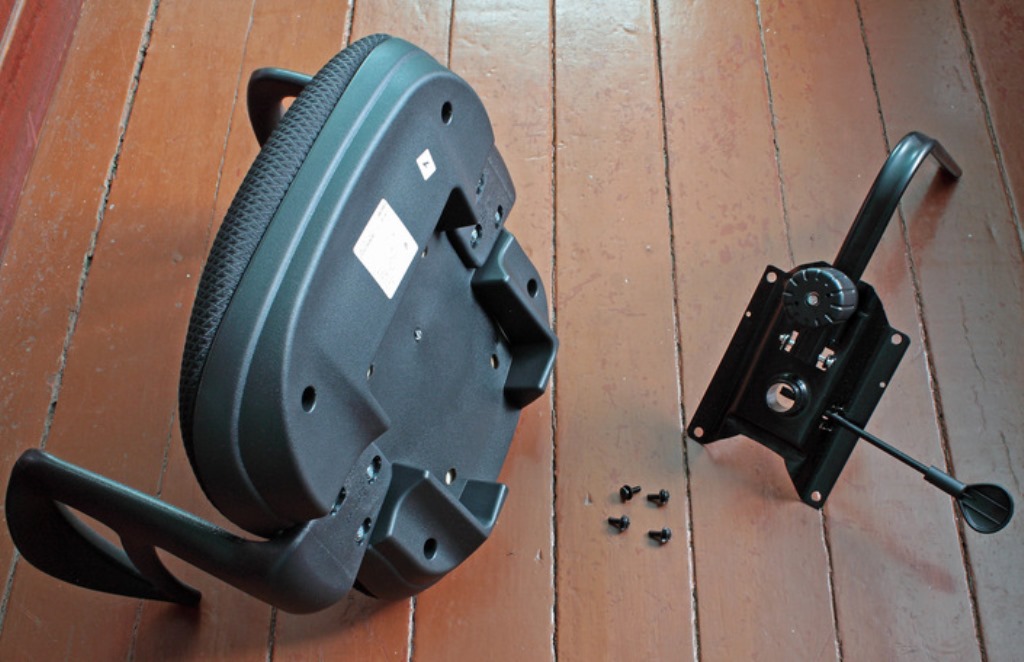
Additional Information! During installation, you need to make sure that there are two washers for each screw. Flat - it increases the contact area of the head. Retainer - performs the function of maximum connection and helps prevent loosening of nuts in the structure.
Manufacturers of office chairs or chairs for a computer desk offer customers the following options for mechanisms that adjust the position of the back and seat:
- piastra;
- PVM;
- top gun;
- synchronizing mechanism.
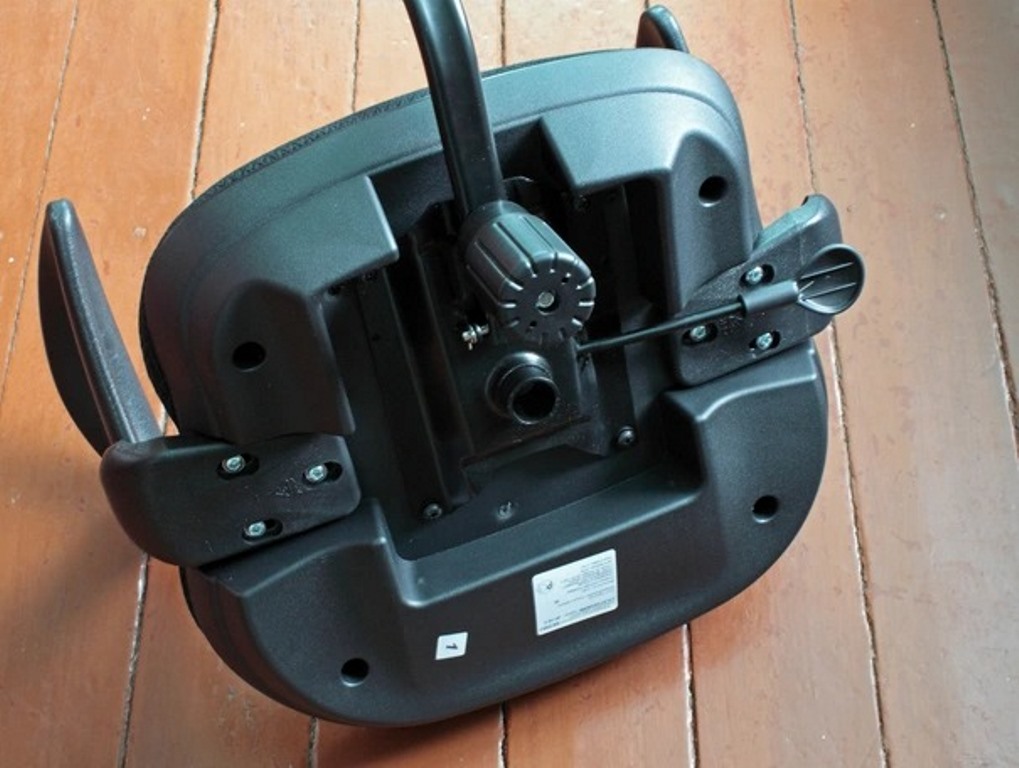
Each of the options has its own characteristics of fastening and adjustment, but the output is almost identical position options.
Installing a gas lift in a crosspiece
When packing an office chair, manufacturers put protective caps on the two ends of the gas lift. Before installing this element in the upper center hole of the cross, the protective caps must be removed. If the casing is made of several parts, then they must be connected as shown in the instructions.
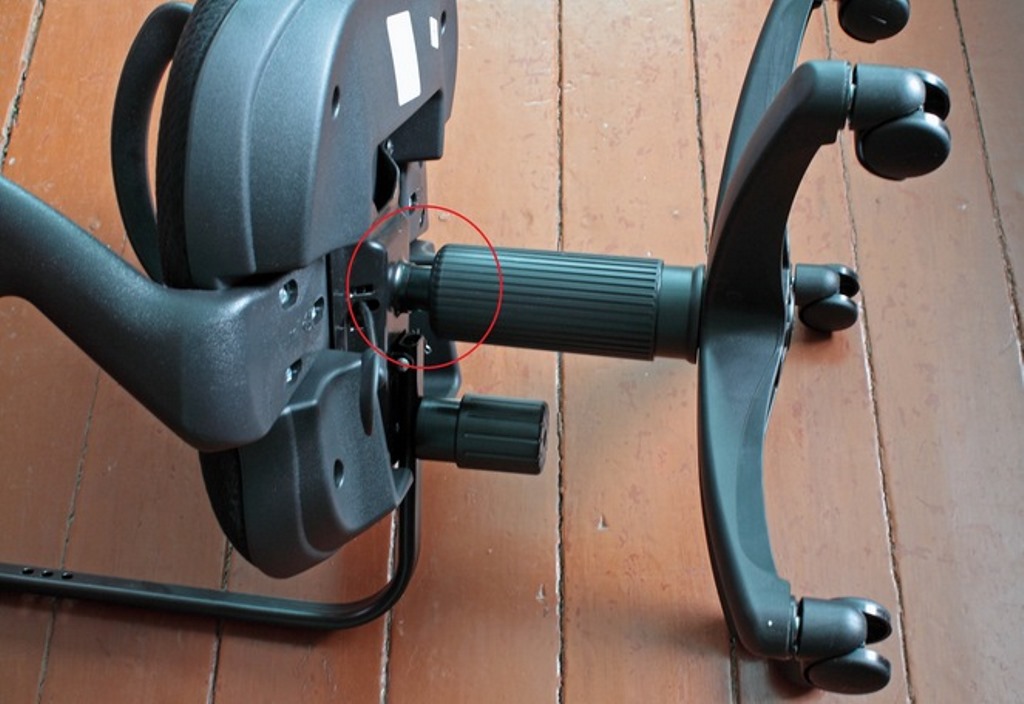
The principle of connection resembles labor from a telescope. The shroud can then be slid onto the gas lift and inserted into the center hole located on the top of the star cross. We can say that the bearing part of the future chair has already been assembled, which means that there is very little left.

Seat and backrest attachment
After all the above steps have been done, you can install the seat on our base and press on it. Under the influence of weight, the necessary fixation of both parts occurs.
Build quality check
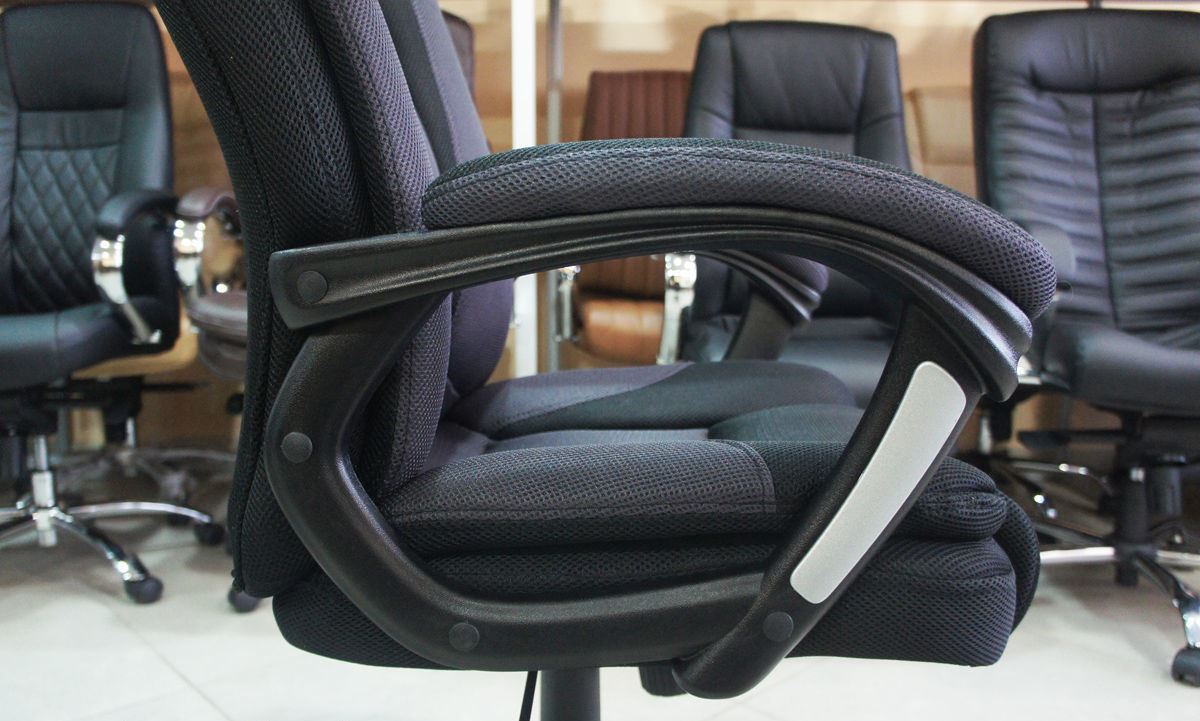
After completing all assembly work, it is necessary to check the structure for strength and correct installation of all parts. It is defined as follows. You need to sit on a chair and press the piastre down, after such a movement, the chair should lower. Then the following manipulation should be done with the same element - pull it up, if everything is done correctly, then the seat rises to its original height. This will indicate that the office chair is assembled correctly.

If you follow the clear instructions for assembling a computer chair, carefully and as carefully as possible follow each stage - then assembling the chair will not be difficult. Half an hour of time, two working hands - and the new chair can be used in turnover.
Video: review and assembly of an office chair
