We make furniture in the hallway with our own hands
Usually, in modern homes, the biggest confusion occurs in the hallway: a pile of shoes, outerwear, umbrellas and a sleeping cat to boot. If in large houses it is somehow possible to organize all this, then in cramped apartments it is practically impossible to put things in order.
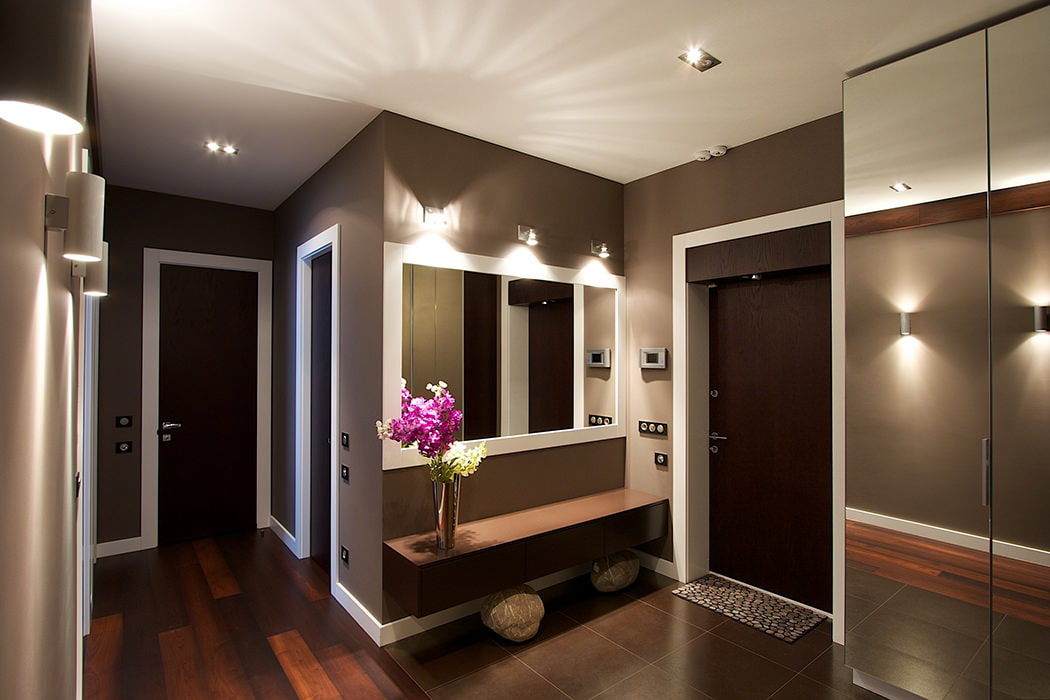
Therefore, one of the options for effectively solving the issue of organizing space can be a wardrobe in the hallway with your own hands. In-store solutions are good, but they don't always fit your specific needs, and they cost a lot.

Hallway types
There is no clear classification of the hallway, in relation to its design or furniture content. The only thing that you can rely on here is the tasks that are assigned to it:
- Placement and storage of shoes.
- Placement of outerwear.
- The ability to store hats.
- Additional features that include a mirror, trestle bed or umbrella stand. Sometimes small dressers or dressing tables are installed in the hallway.
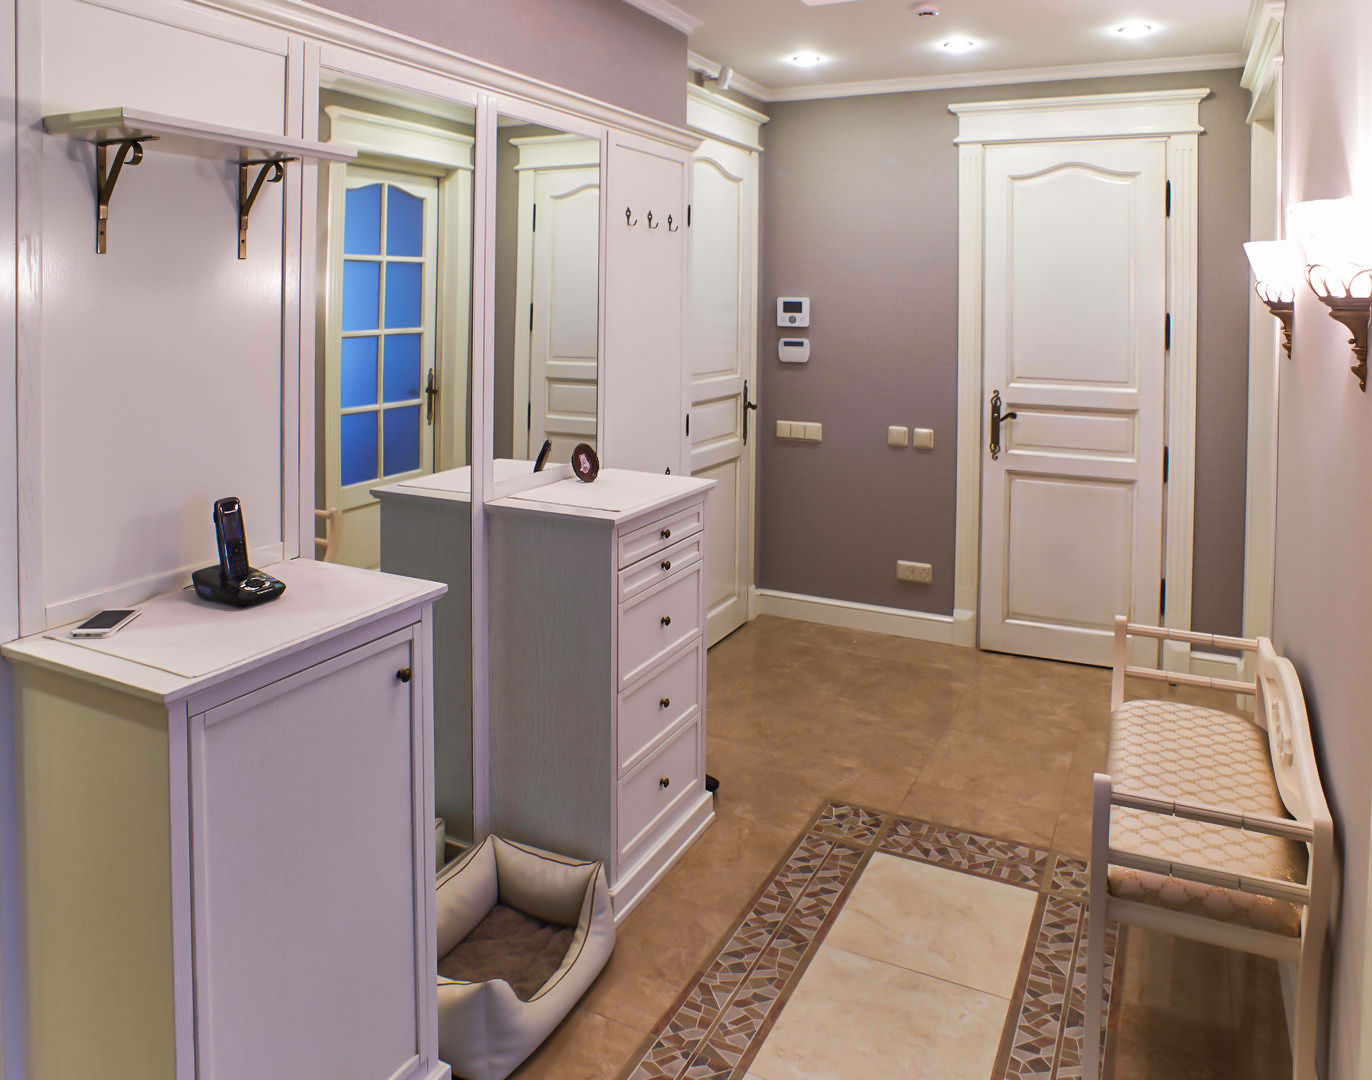
Note! Most of the listed needs can be provided with zoning, when a separate item, for example, a hanger, is responsible for storing clothes, and shoes are located on their own shelf. An alternative option is a do-it-yourself wardrobe in the hallway, which takes over these functions, in whole or in part.
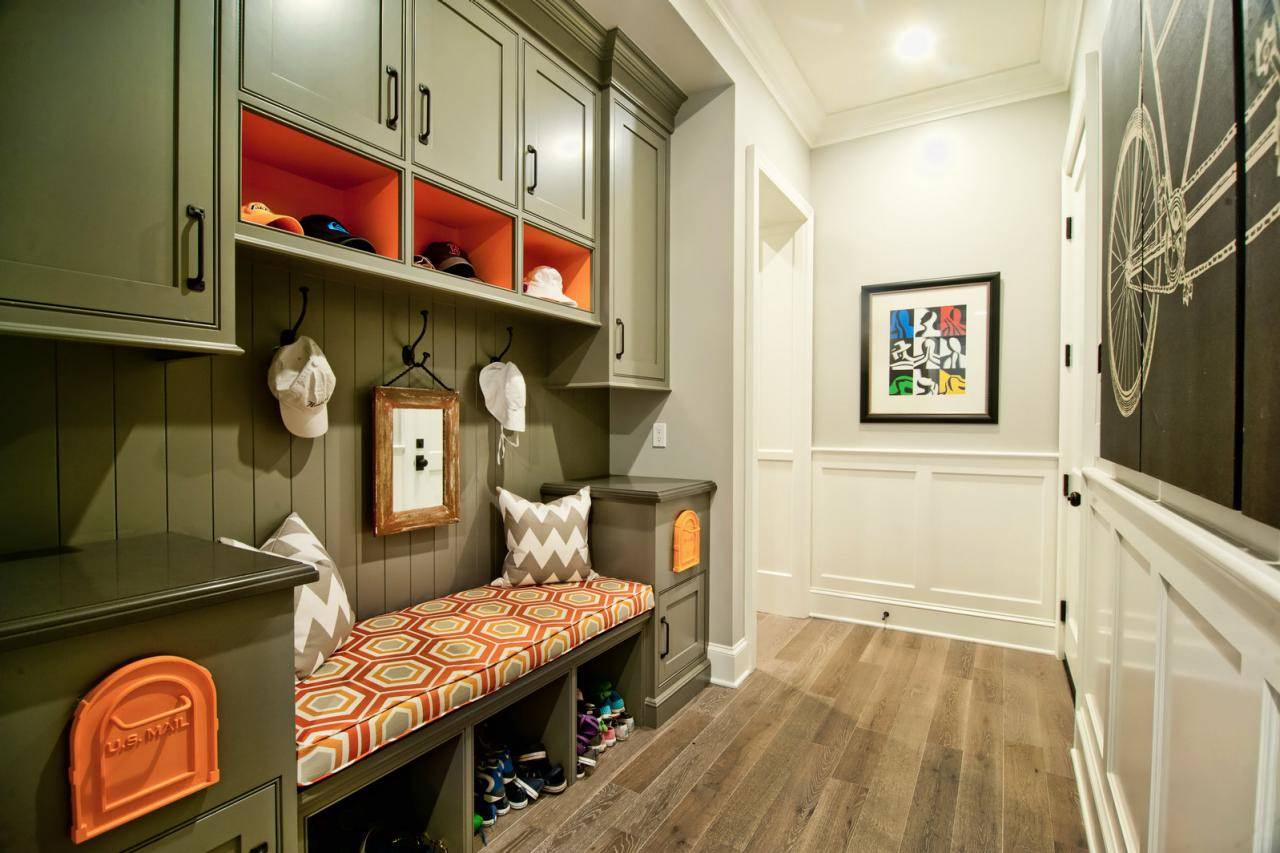
Typical hallway
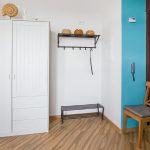
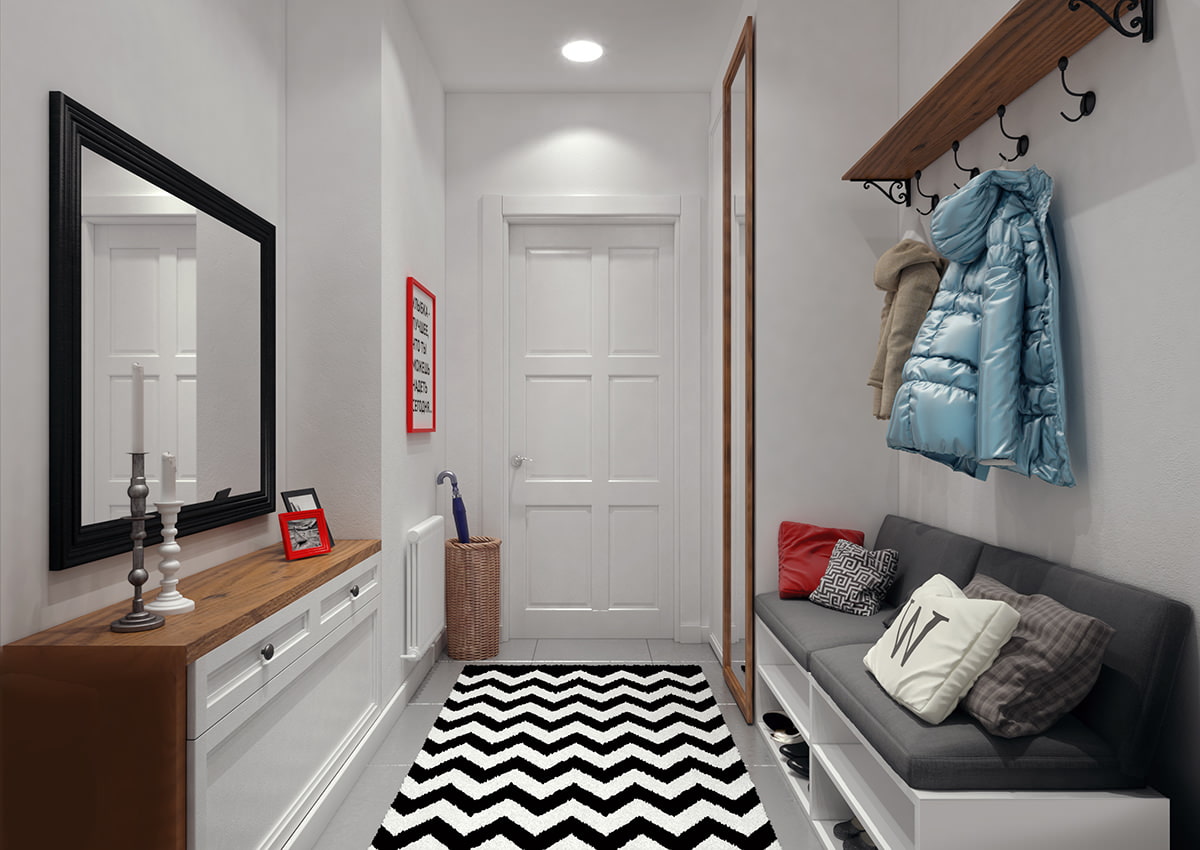
Until now, the most common option is a set of hooks for outerwear and a shelf for a hat. As a rule, a shoe stand complements the "composition". Sometimes there may be a chest of drawers or a small mirror, but for the most part it's just all sorts of combinations of them.
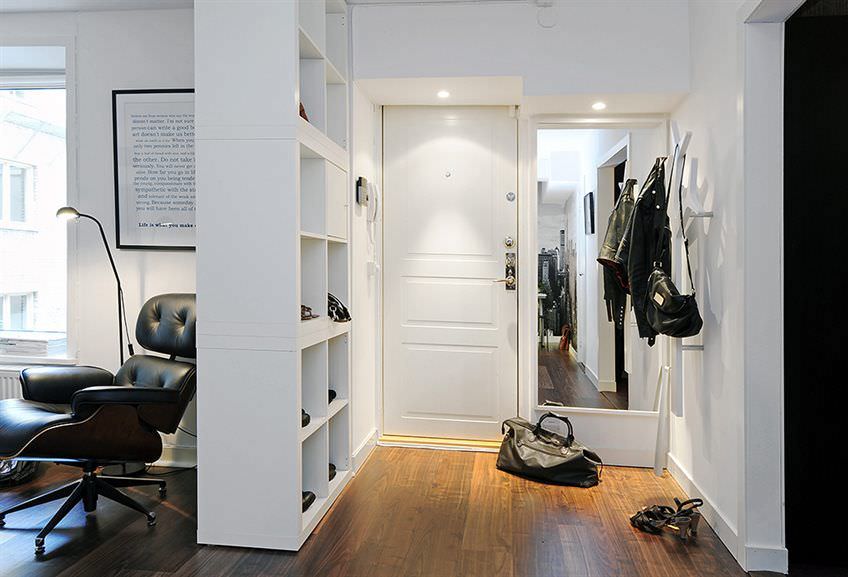
Most often, hooks and a shelf are combined into one whole. Either way, the hanger takes center stage. The closet is here, quite a rare guest.
Original, non-standard
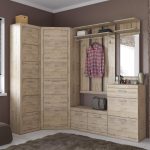
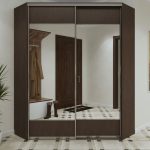
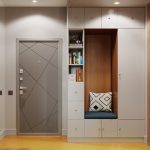
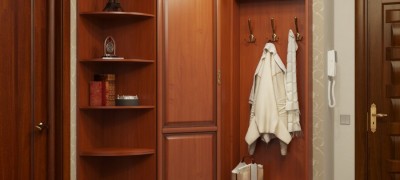
Basically, "non-standard" means an ultra-small entrance hall, much less often - the original design and distinctive style. Based on the conditions, the focus is on the efficient allocation of free space, as well as its economy. If the cabinet is installed in the corridor, then in a non-standard version (the cabinet in the hallway is assembled with its own hands, narrow or angular).
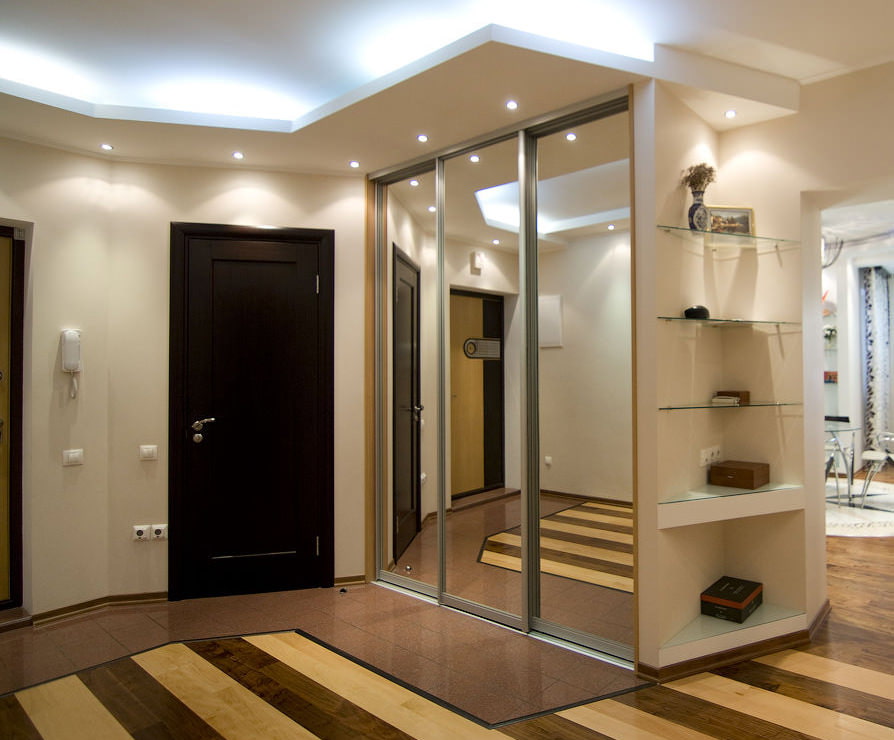
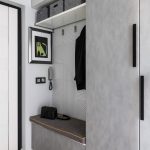
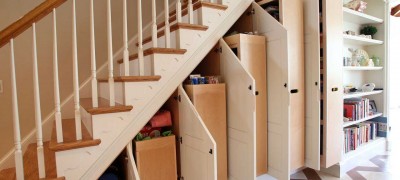
If available, a niche or pantry is used as much as possible. Basically, all available modular solutions have to be used: a hanging bar for clothes, a folding seat and a narrow shelf-cabinet, which simultaneously serves as a shoe stand and a chest of drawers.
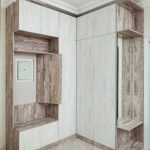
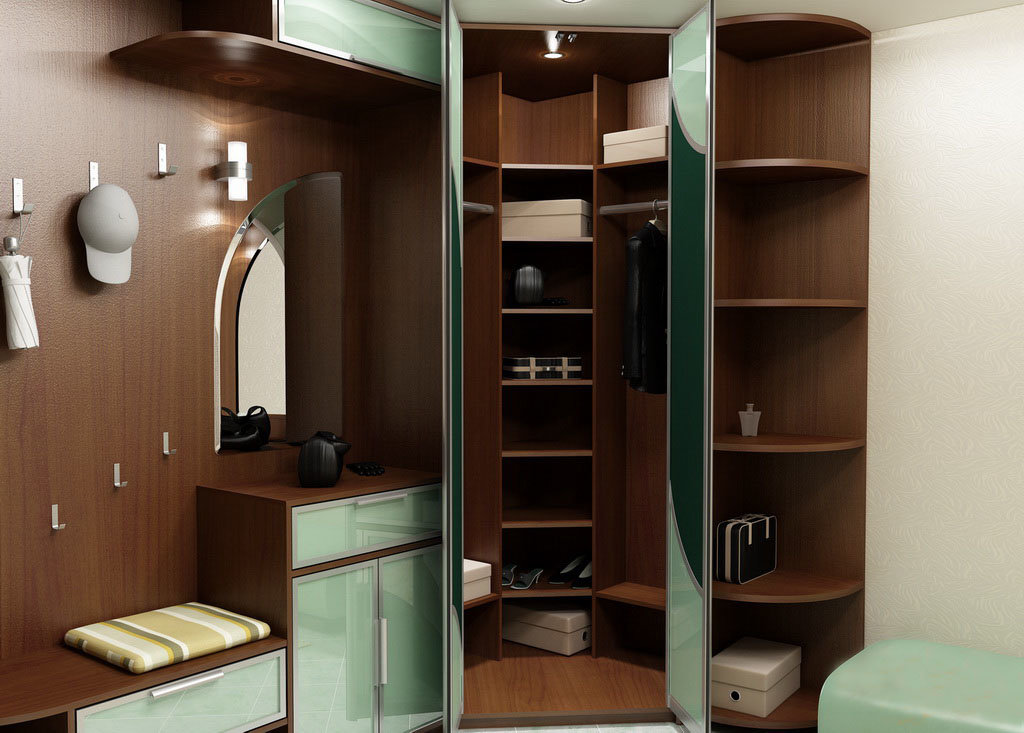
With corner cabinets
There are several options you can use here:
- Triangle. Usually equilateral or isosceles.
- Trapezoidal. Such a wardrobe in the hallway with your own hands is made with the expectation that the large side will be located along the load-bearing wall.
- "L" -shaped. Lengths and layout are selected depending on the area and design.
- Pentagonal. The section resembles a stylized image of a precious stone.
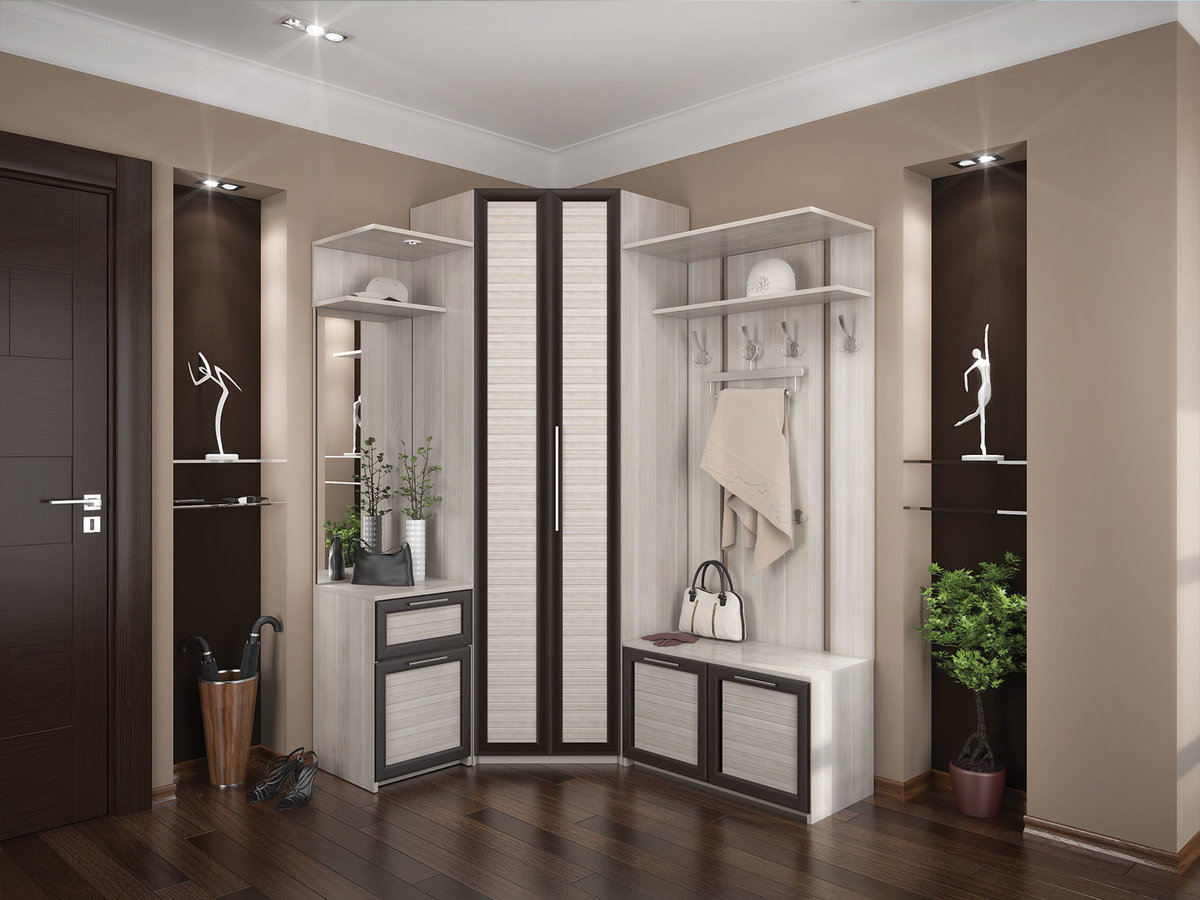
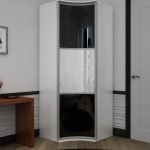
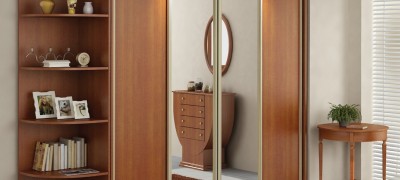
In most cases, such a cabinet is based on a supporting frame made of chipboard. Sometimes a solution with a rounded central facade is used (for triangular and pentagonal options). As an addition, a chest of drawers or a wall pedestal-seat can act.
Wardrobes
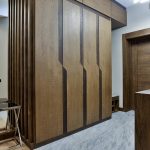
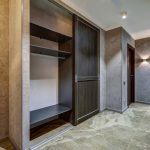
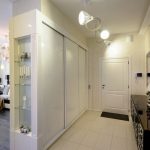
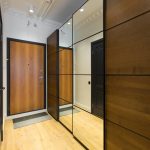
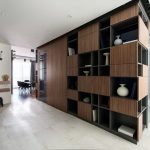
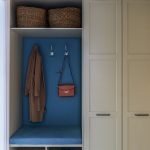
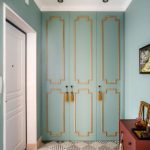
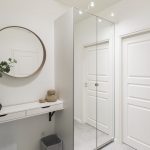
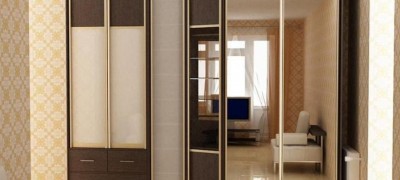
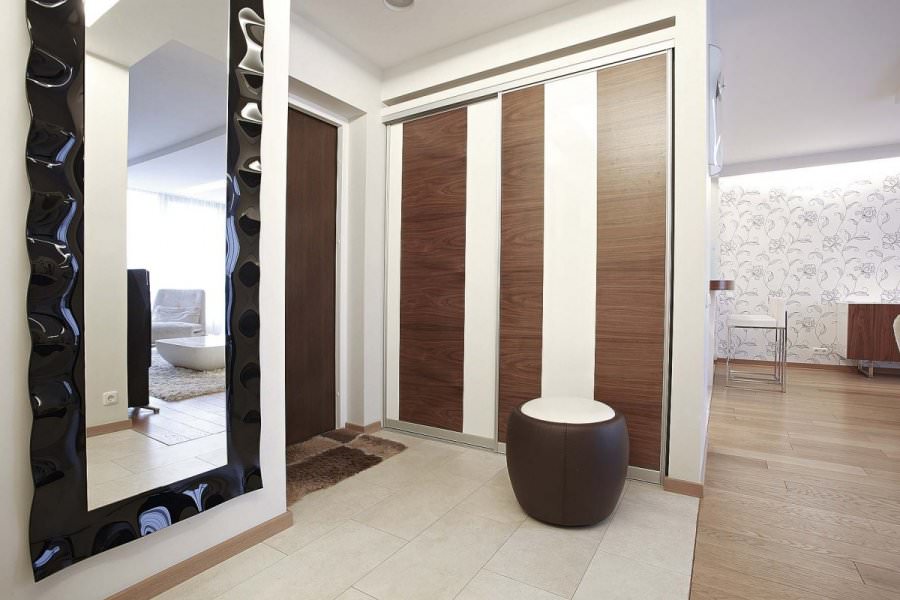
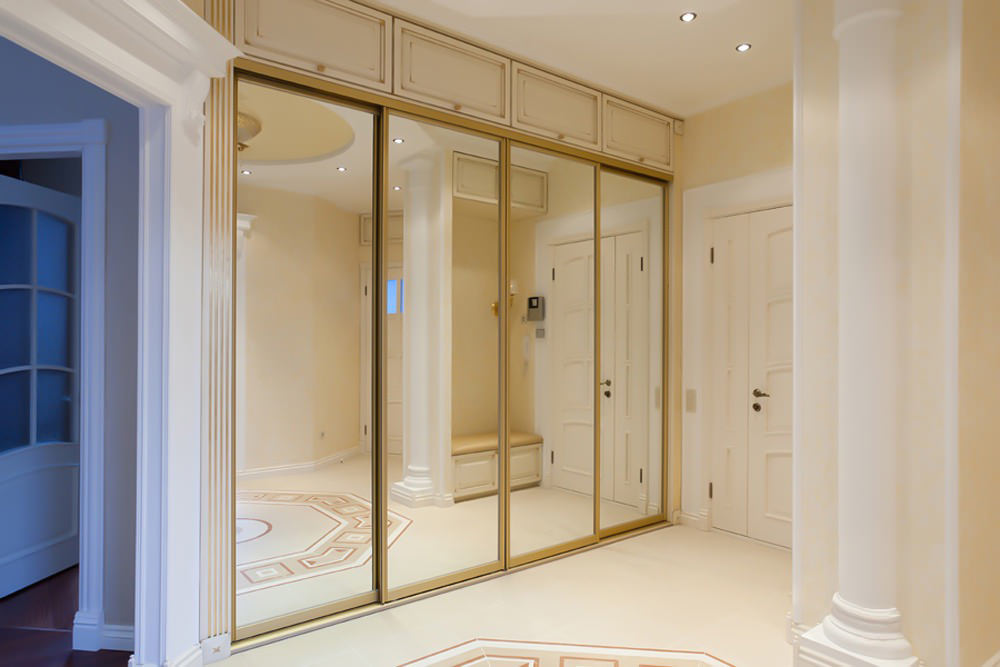
Most often, a niche option is used, with a door flush with the wall or full length. Although a freestanding cabinet is also not uncommon.
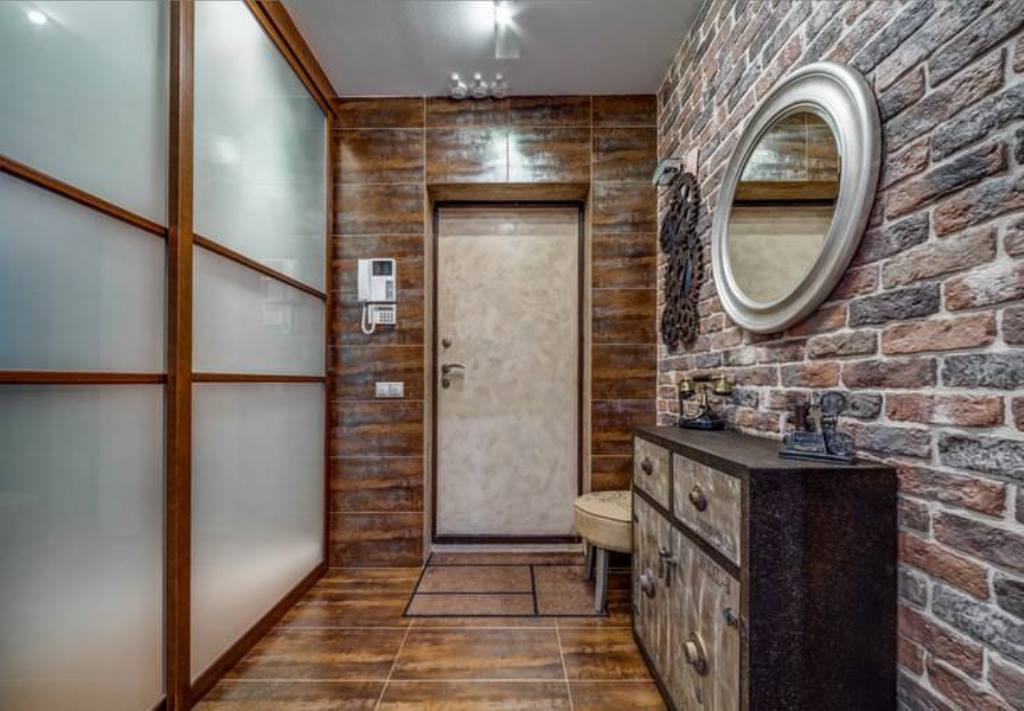
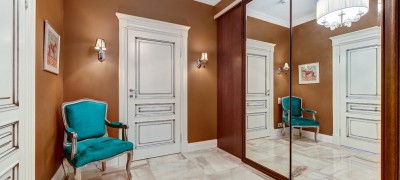
The advantages of such solutions include their effectiveness in terms of organizing space. In addition, the all-in-one principle allows you to decorate the hallway in a minimalist style, which would be a good option for rooms with a small area.
Do-it-yourself wardrobe in the hallway: choice of material
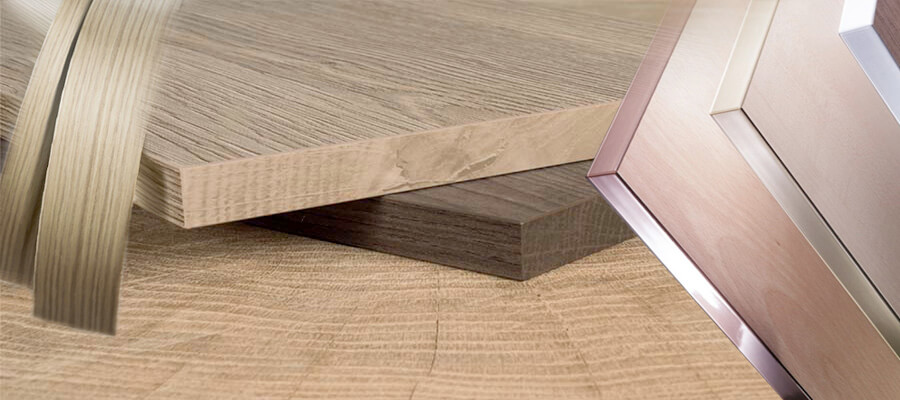
Almost all modern furniture is assembled from wood. Metal, plastic, and glass are used either as auxiliary elements (fasteners) or for decoration. Therefore, for practical reasons, the following materials may be needed in the manufacture of the cabinet:
- Chipboard. Main material.
- MDF. Well suited for a variety of countertops and bases.
- Plywood. As a rule, it is used for auxiliary purposes.
- Fiberboard. Used as a back wall.
- Bar. It will be needed when making a frame in certain types of structures.
- Mirror. Only if it plays the role of a filler in the doors.
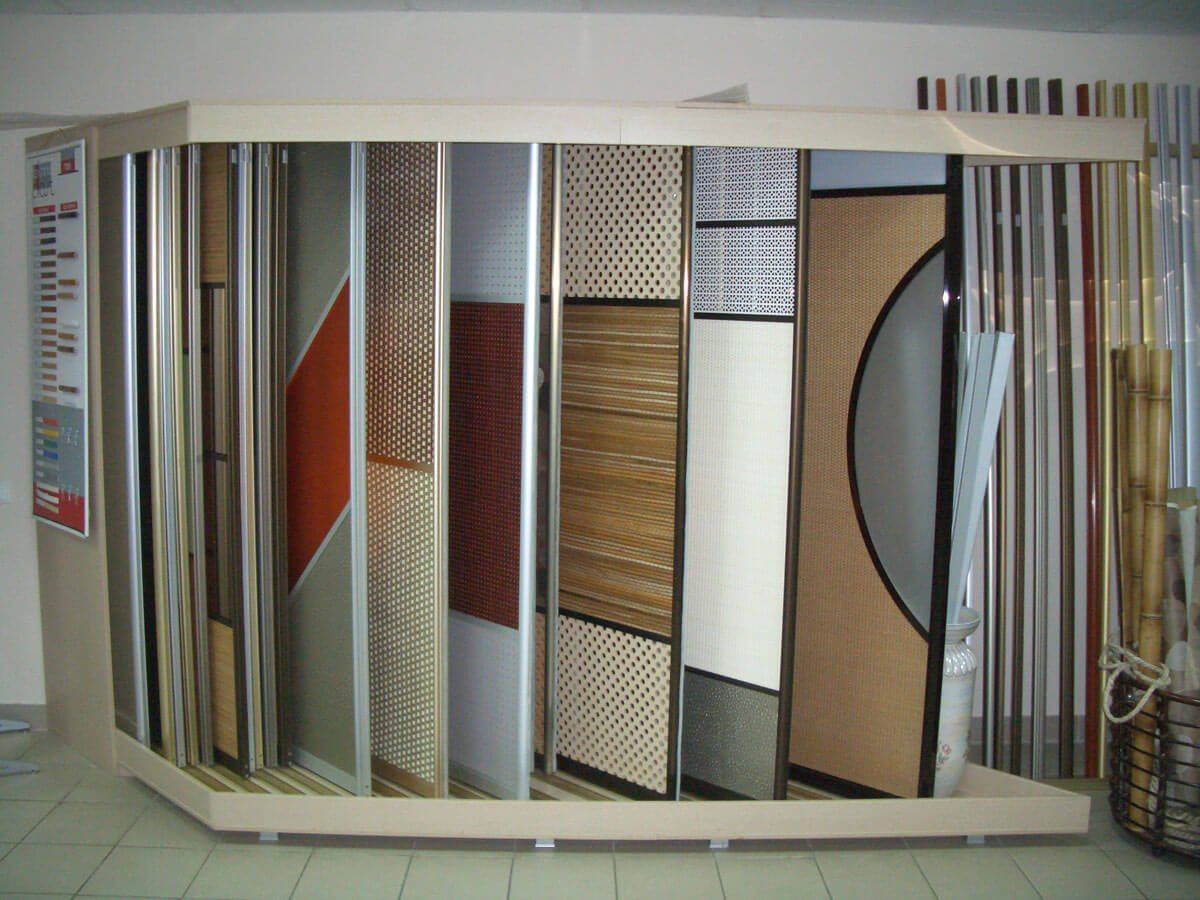
Sometimes drywall is included in this list, but it must be chosen only for decoration.
Note! If the measurements were made with sufficient accuracy, it makes sense to order the cutting of structural elements in a specialized workshop, along with edge processing.
How to make a hallway with your own hands from old furniture drawings and design
The first thing to do when designing is to decide on the place where the cabinet will stand. It depends on what kind of measurements to take and how much detail. So, for niches, you need to take measurements from all walls at different heights. If the cabinet will just stand against the wall, it is enough to determine the desired width and height.

Getting started with drawings, you need not only to know the design features of furniture (tolerances for the type of edge used or the width of the cut with a saw), but also to be able to see the entire structure element by element.
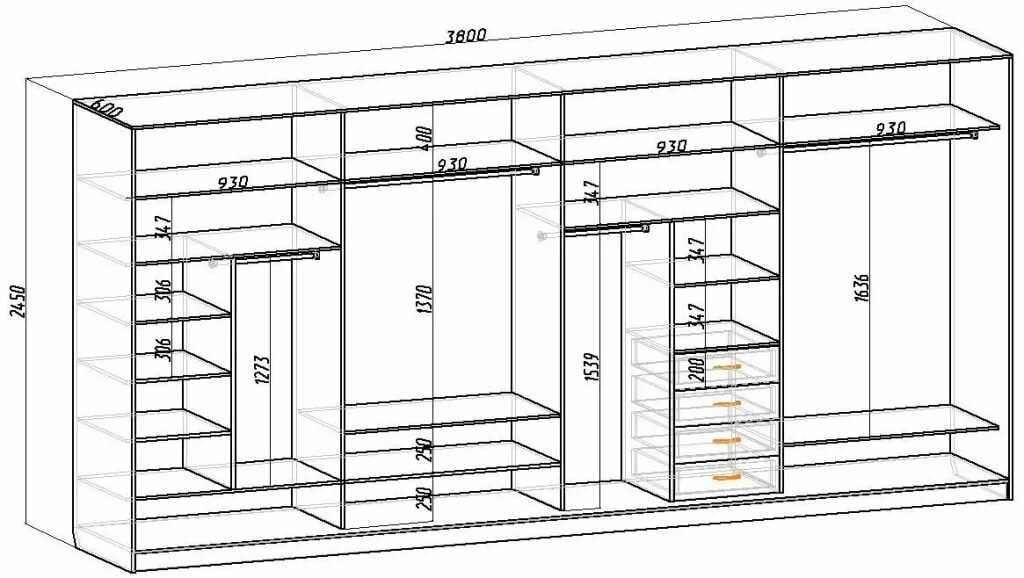
So, in the closet, the main role is assigned to the wardrobe, where outerwear will be stored. The number and size of the hanger will determine the depth of the cabinet. Usually it is done in half the entire width. The rest of the space can be set aside for small things: shelves for gloves, utility compartment for a mop and broom, a place for an ironing board, cabinets, and more.
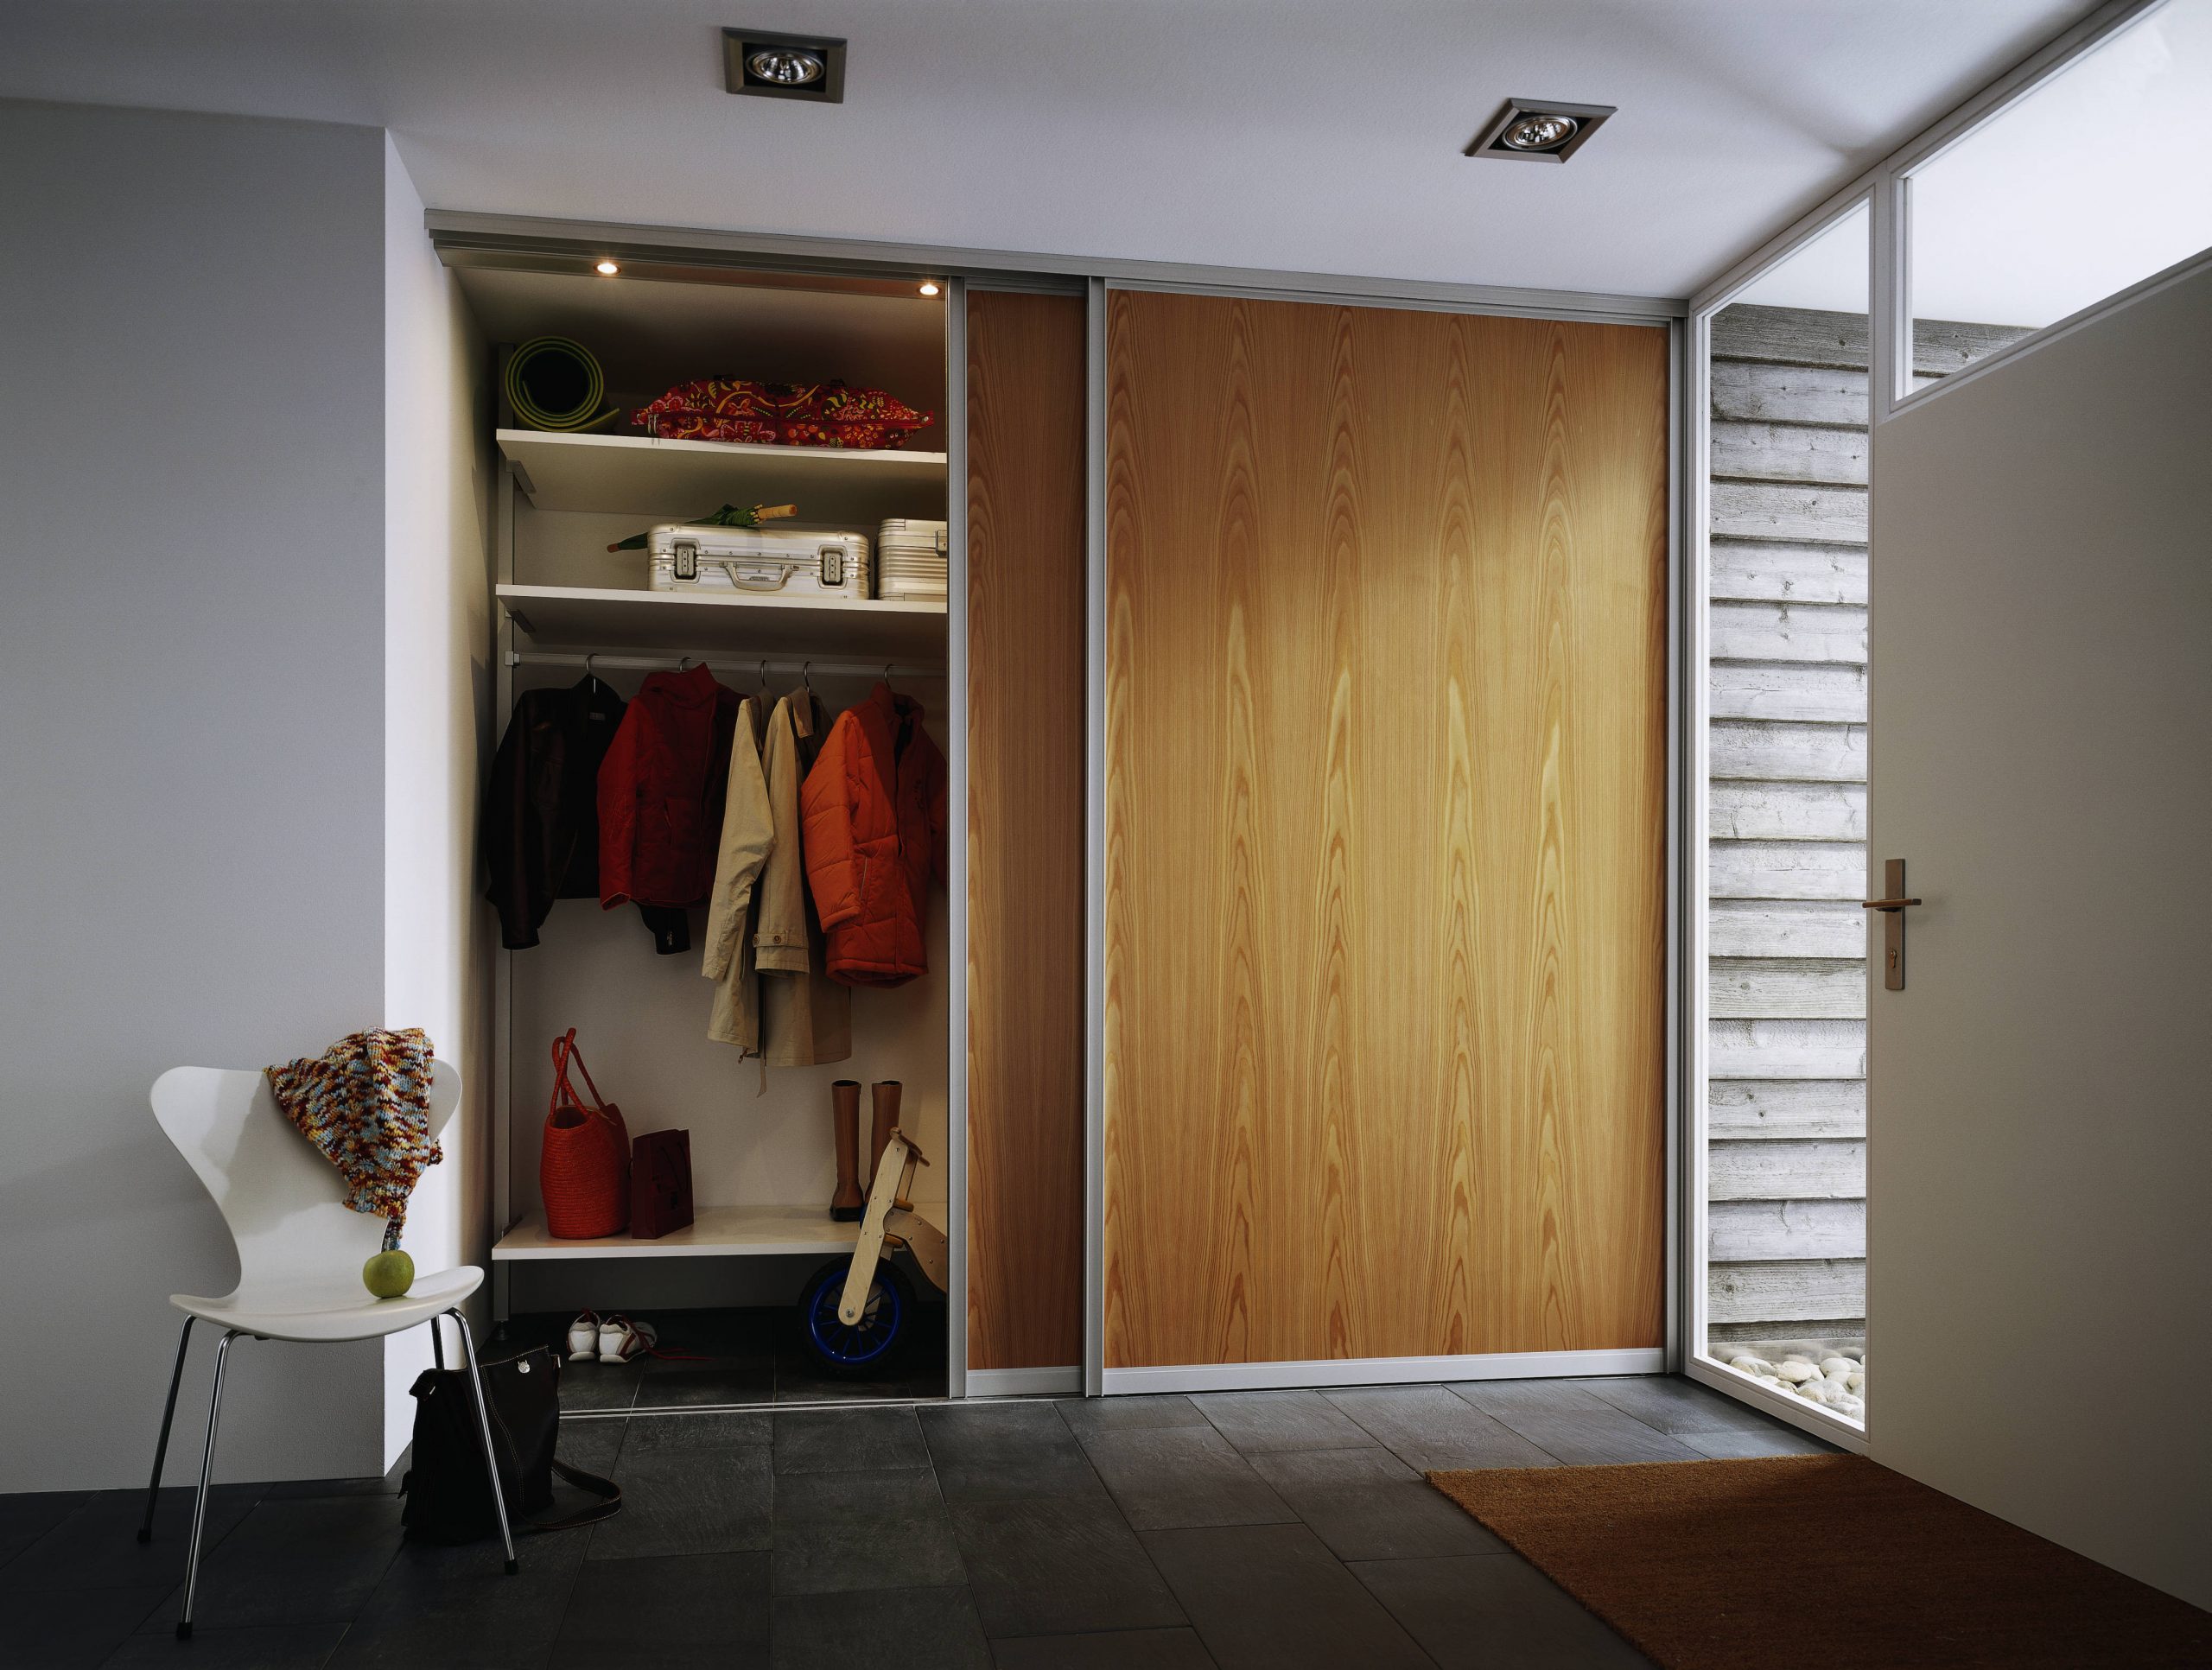
All this needs to be carefully traced and a chain of sizes should be built.
Note! Often, in order to make a new cabinet, it is not necessary to buy everything from scratch. If the house has an unnecessary headset or a sideboard in good condition, it is quite possible that it can be used for a new closet, and buy in addition, only what is missing.
Required tools
To assemble a wardrobe in the hallway with your own hands, you may need a classic set of tools:
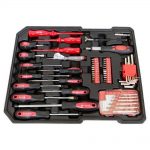
- Screwdrivers and keys for hardware.
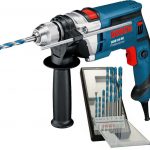
- Drill with a set of drills.
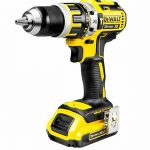
- Screwdriver.
- Hacksaw.
- Hand tools: mallet, hammer, clamp, square and level.
- Little things: tape measure, ruler, pencil, breadboard knife, core.
Depending on the chosen concept, you may need: hooks, furniture fittings (handles, door hinges, locks) or guides for drawers. In addition, you should take into account the type of connections of structural elements and make sure in advance that there are available: hardware, confirmations, rafiks, furniture corners and plugs of various types.

Getting Started: Procedure
The quality of the finished structure is determined by two things: the drawing and the fittings. If the former can still bring its own "surprises", then the fittings should be taken care of in advance, choosing only reliable and proven samples.

In general, when assembling a wardrobe in the hallway with your own hands, the procedure may look like this:
- Installation of the supporting structure. If this is a frame, you first need to assemble the power frame, and then strengthen it with auxiliary longitudinal or vertical jumpers. Sometimes the frame is mounted directly to the floor. For a frameless structure, you should start by installing the sidewalls.
- Installation of jumpers and auxiliary elements. Here, special fasteners are used, such as confirmations or minifixes.
- Installation of shelves and dividing partitions.
- Installation of hinges or guides.
- Hanging or installing a door. In the case of a wardrobe, the door is first installed with the upper part, with pressure, after which the lower rollers are inserted into the grooves of the corresponding guides.
- If the structure will be separated from the wall, the back of the cabinet is covered with fiberboard.
- Adjustment, fitting, checking the operation of mechanisms.
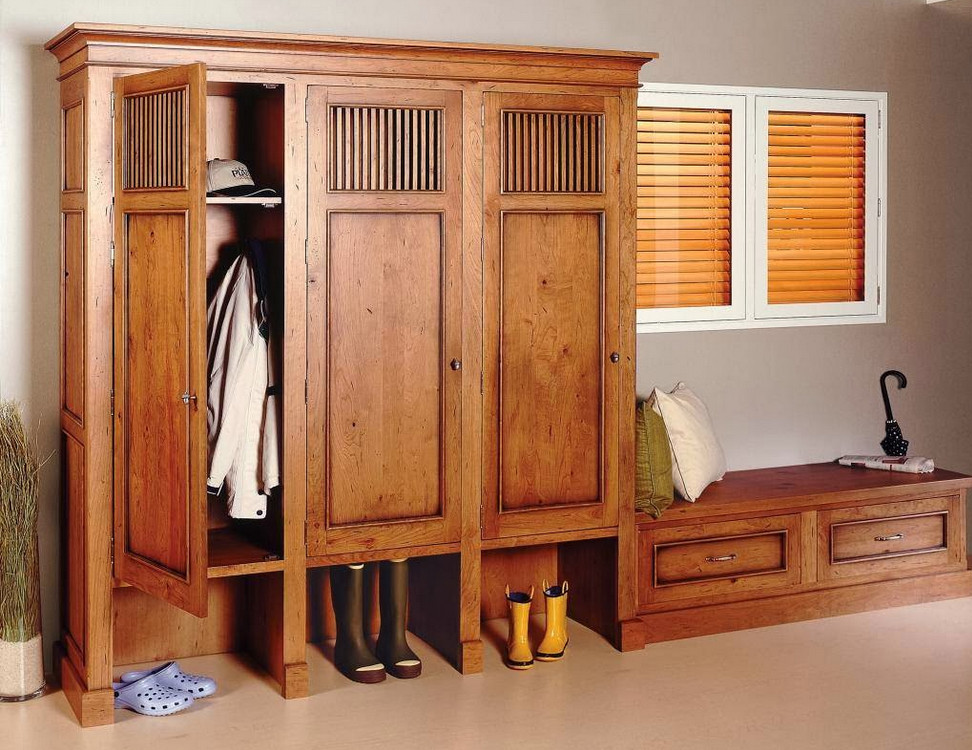
In all, it turns out that equipping an apartment on your own is not such a daunting task. With due perseverance and the ability to use the tool in the slightest degree, it is quite possible to make a wardrobe in the hallway with your own hands. Let it not be a super original design solution and not the pinnacle of inventive thought, but it will bring a particle of comfort to the house and the long-awaited order.

Video: do-it-yourself wardrobe in the hallway
