Do-it-yourself wardrobe
In any house or apartment, it is necessary to allocate a place for storing clothes, bed linen and other utensils. The easiest option is to buy a finished product in a store. But you can go the other way - make a wardrobe with your own hands. It's not easy, but it's not tricky either. It's worth a try. In this article, we will look at the process of making, assembling and installing a locker at home.
Do-it-yourself wardrobe
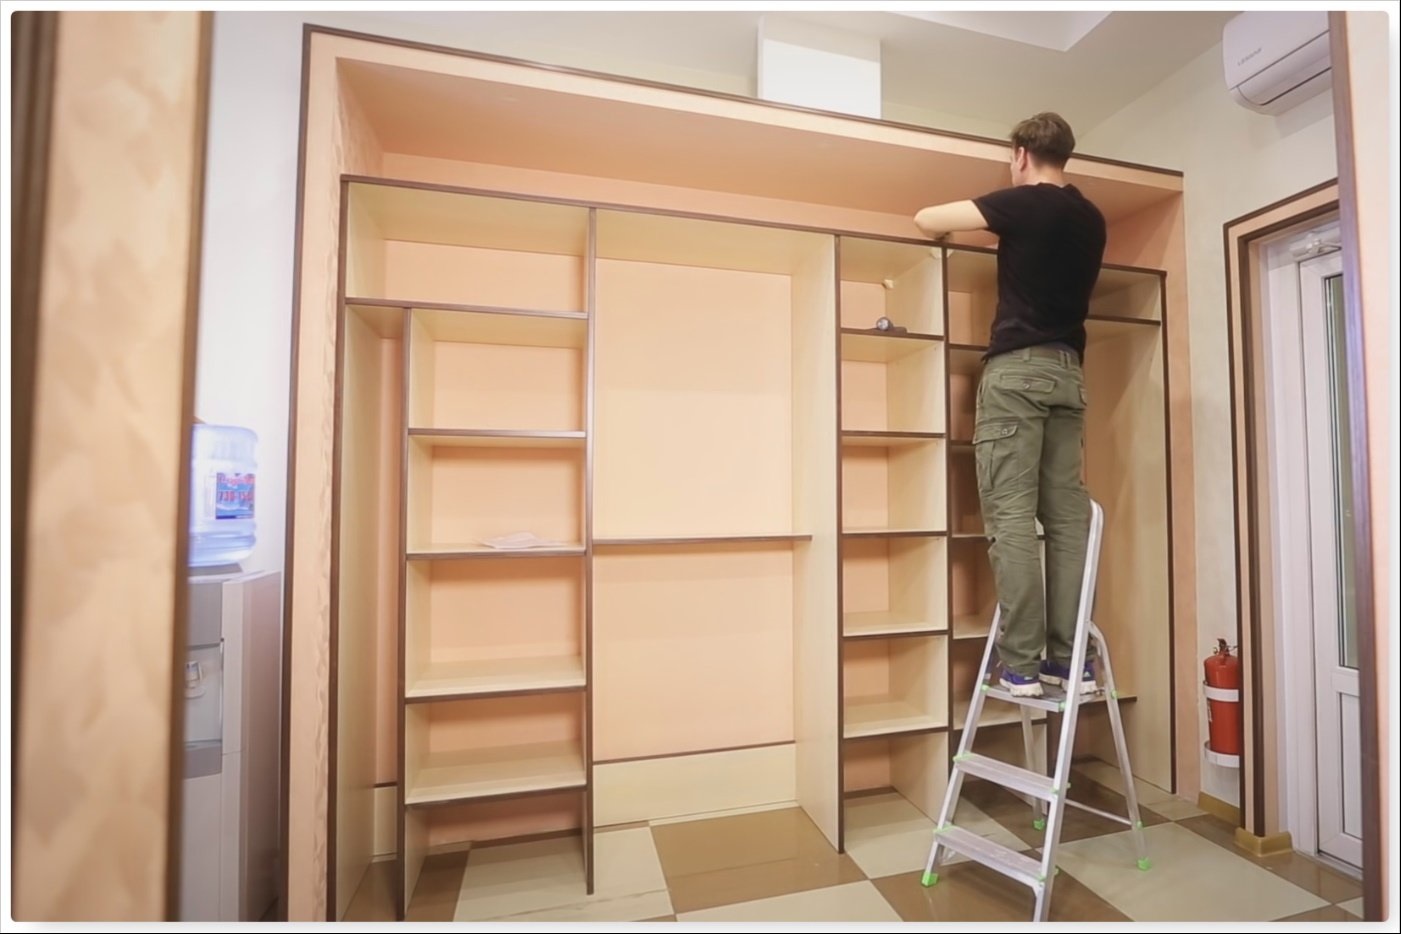
Making furniture at home is an interesting activity. An opportunity is created to independently choose the type, style and other parameters. Of course, you can order the product from a furniture store. The master will come to the house, make measurements, cutting the material and installation. But it will take a lot of money. And the master does not do it for himself, and therefore the build quality may be lame.
Cabinet types
There are several parameters that characterize the type of locker. It:
- the form;
- material of manufacture;
- type and number of doors;
- style of facades;
- appointment.
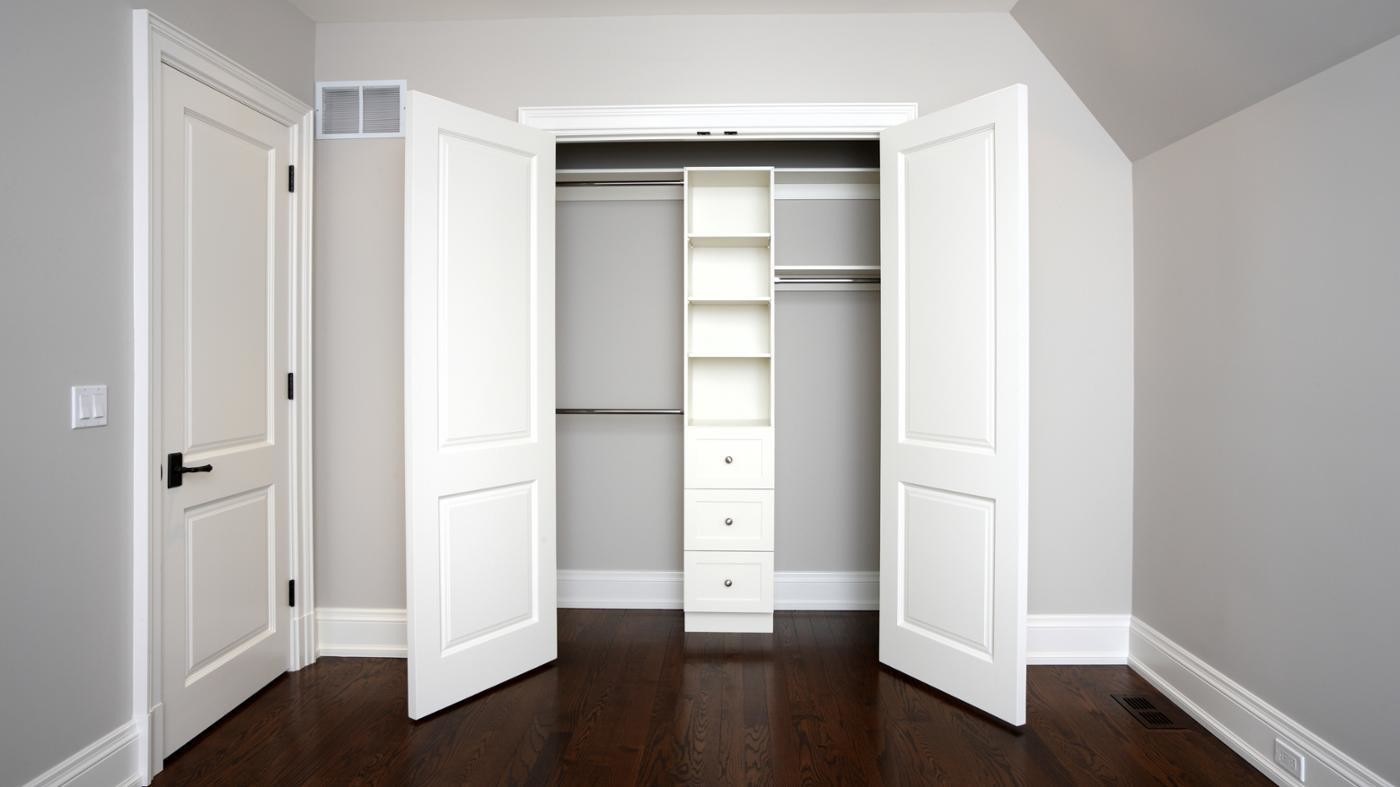
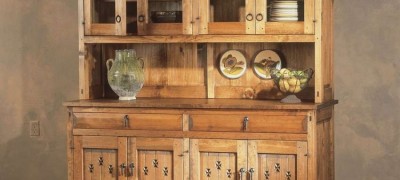
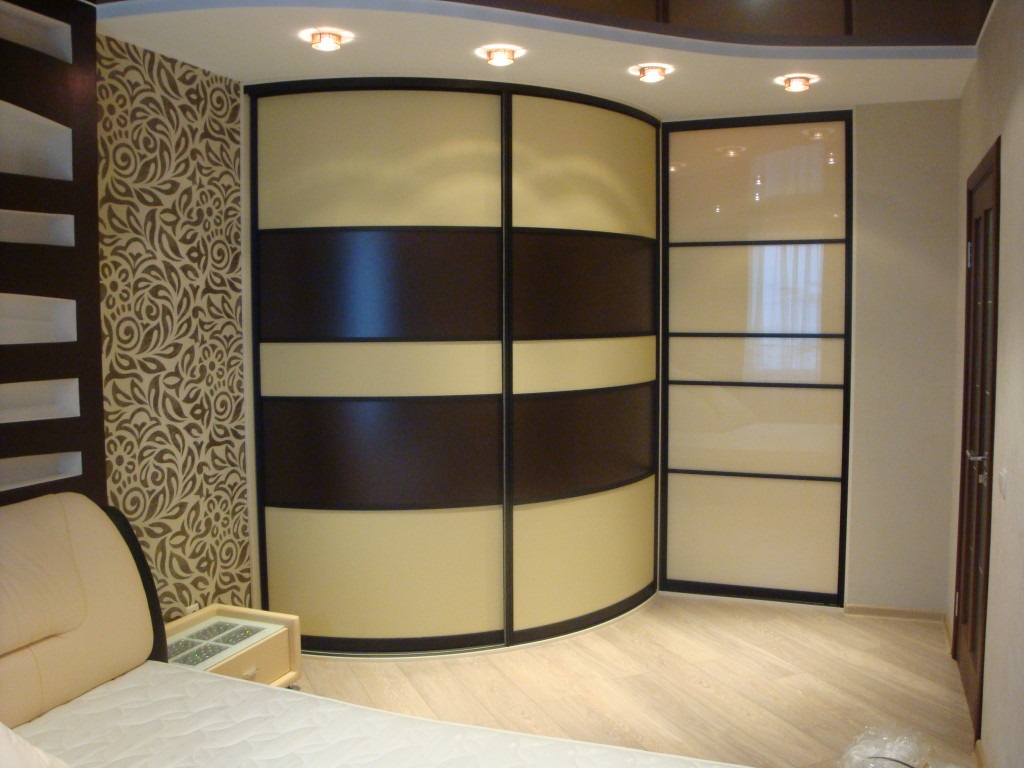
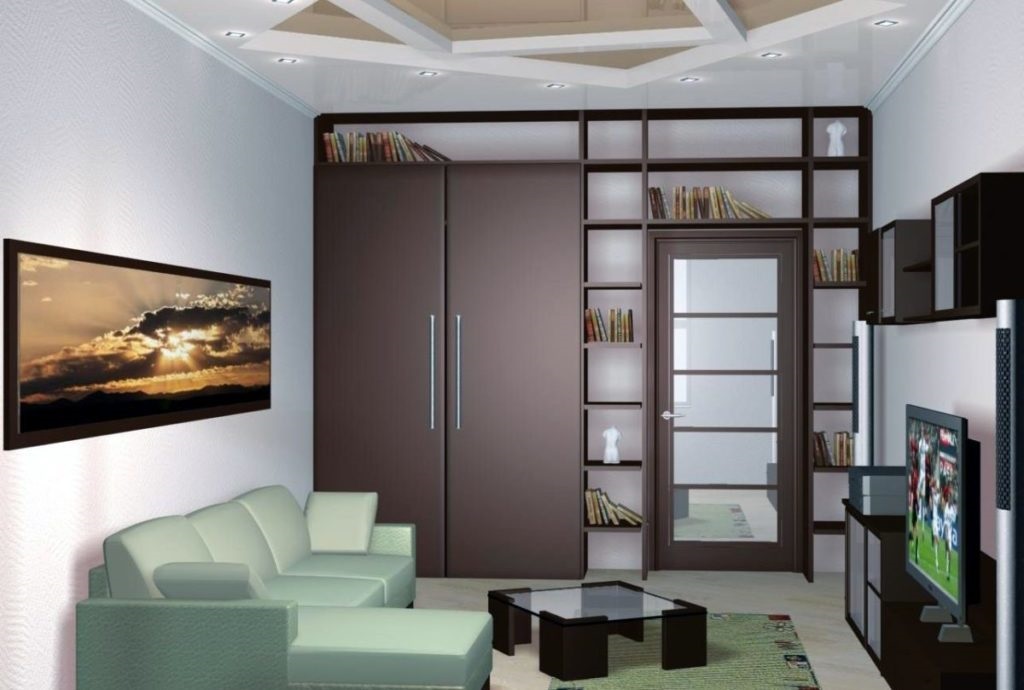
The shape of the cabinets can be straight, angular, rectangular, U-shaped, rounded, built-in, combined. The choice depends on local conditions, the size of the room where the installation is planned, as well as personal preferences and the style of the room.
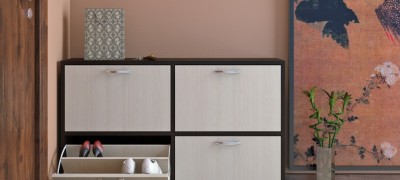
According to the assembly material, wood, glass, metal, plastic, panel (chipboard, MDF boards) are distinguished. When self-made, it is easiest to process MDF and chipboard boards. It is more difficult to design from natural wood and plastic. But metal and glass cannot be processed at home at all.
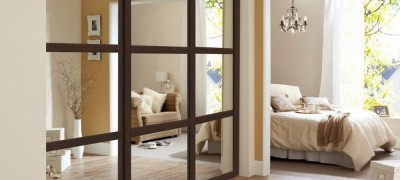
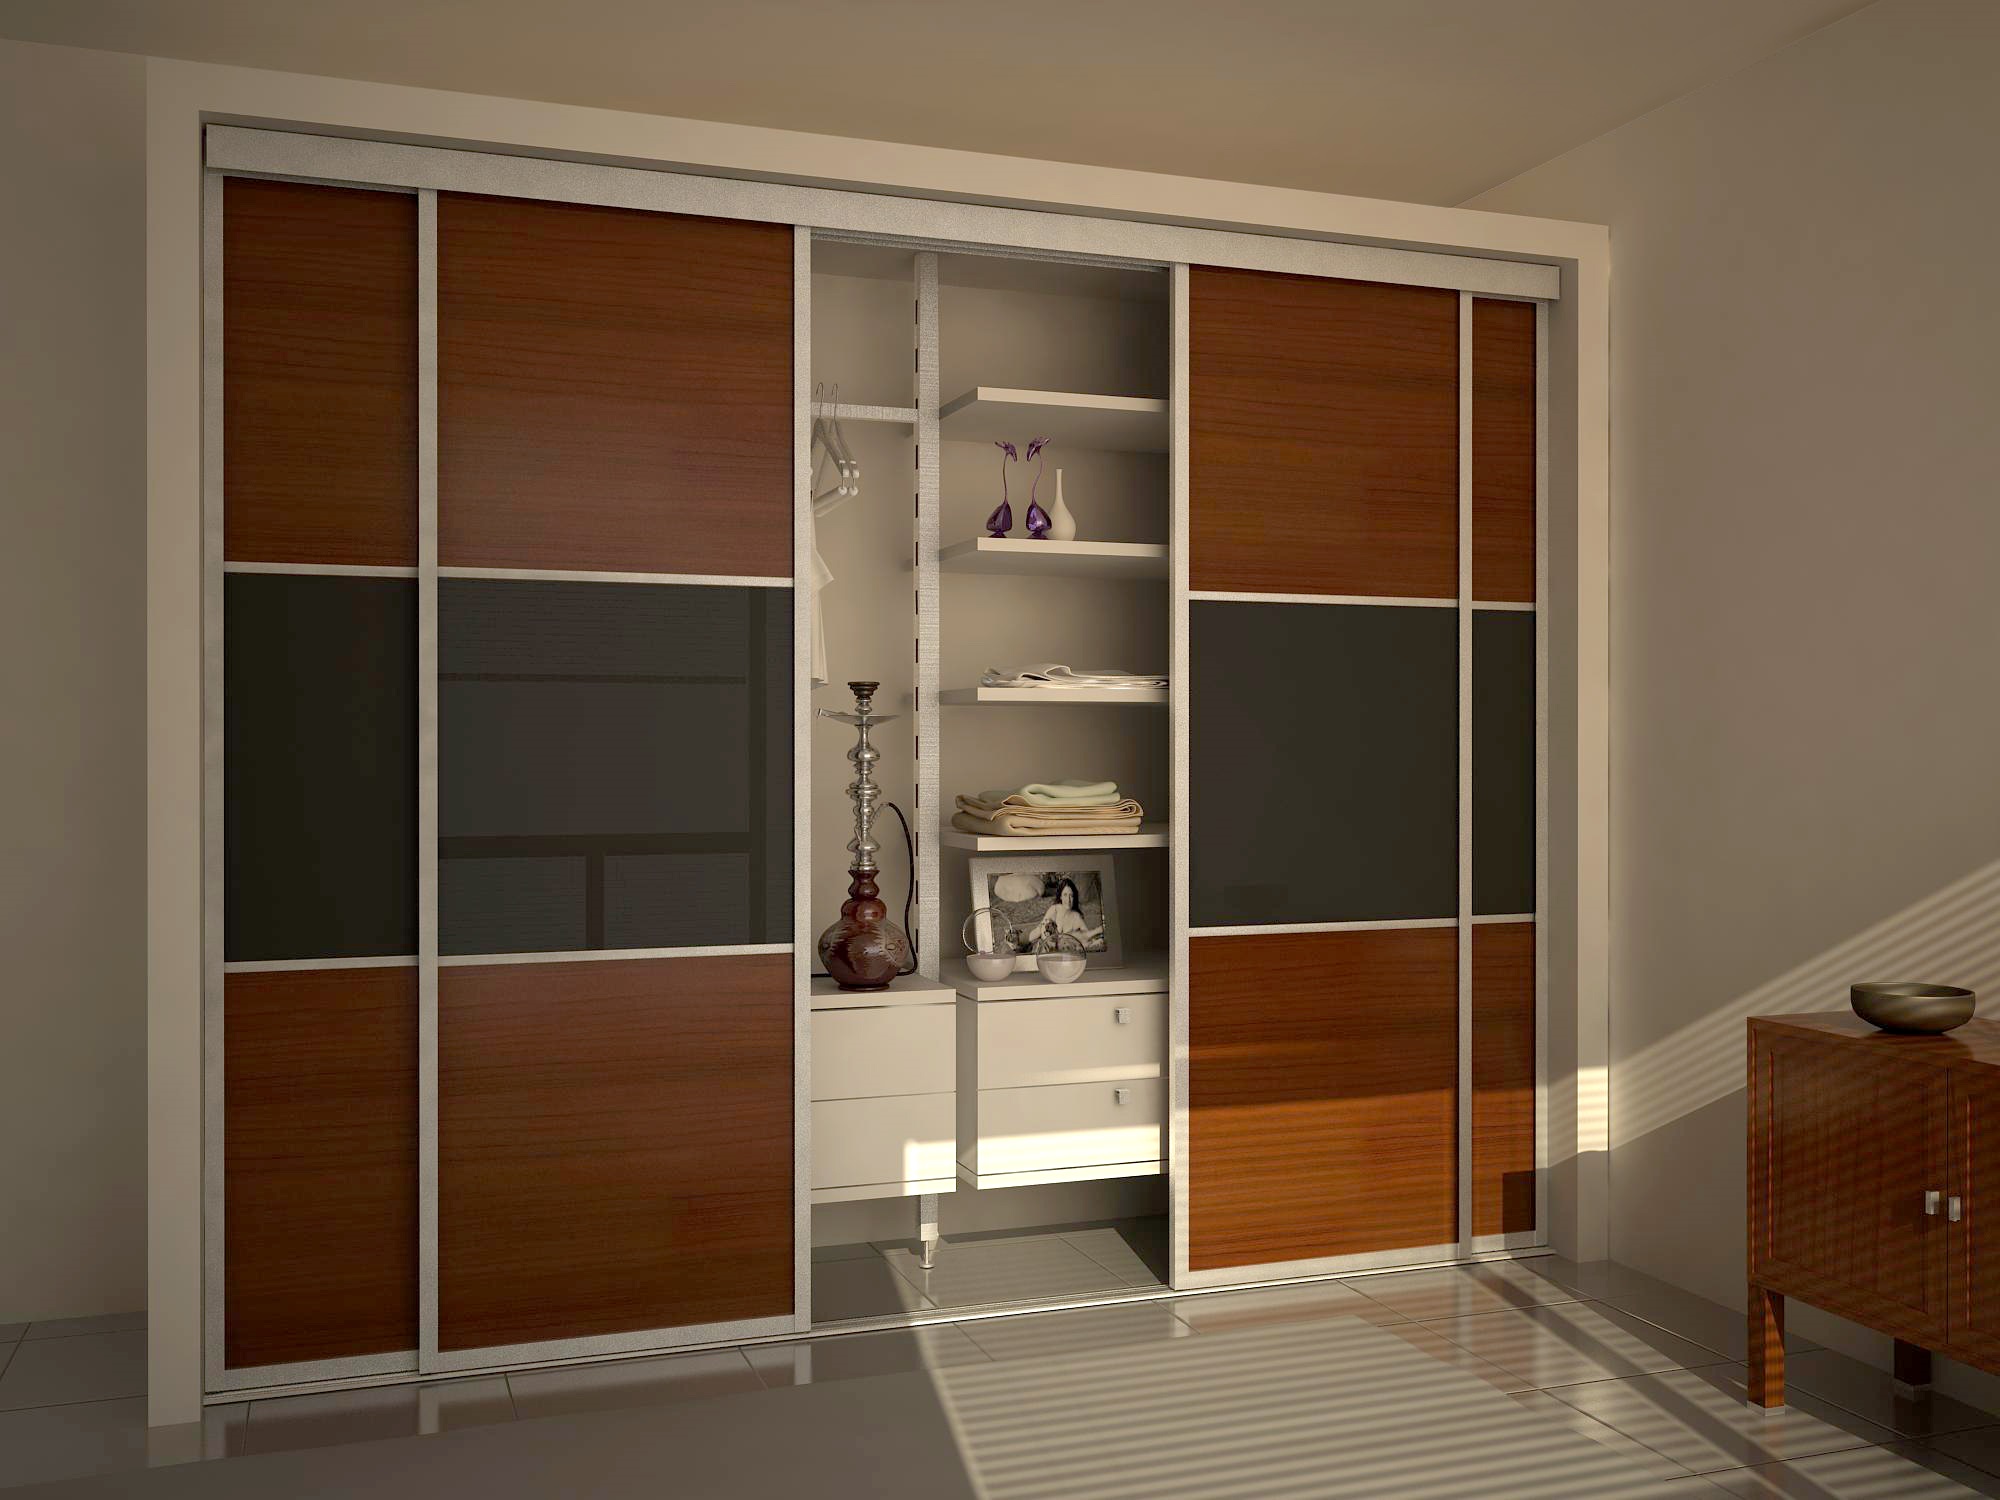
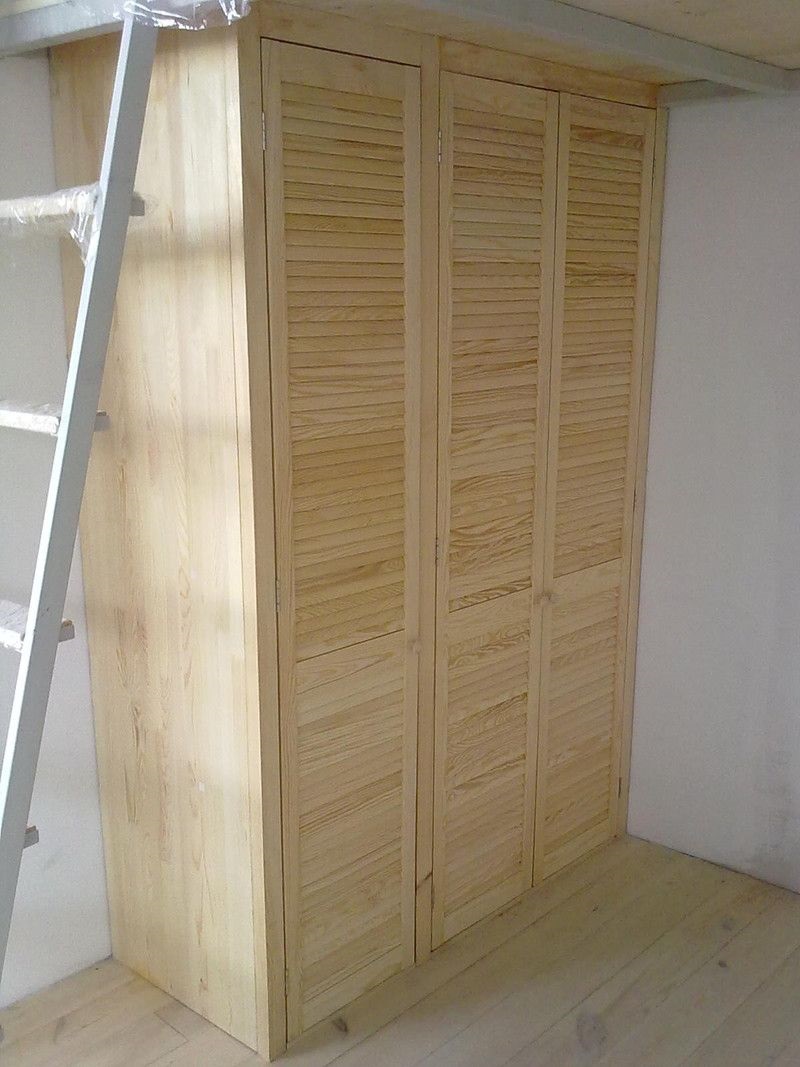
The type of doors can be swing, sliding, compartment, with special curtains. The choice is influenced by local conditions, the availability of additional space. The most popular are wardrobes. Their versatility, convenience and compactness are the main advantages.
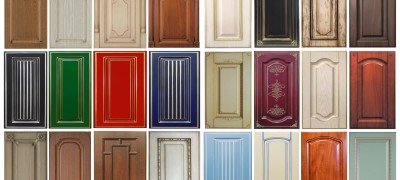
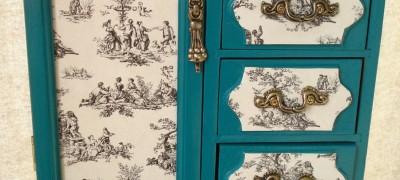
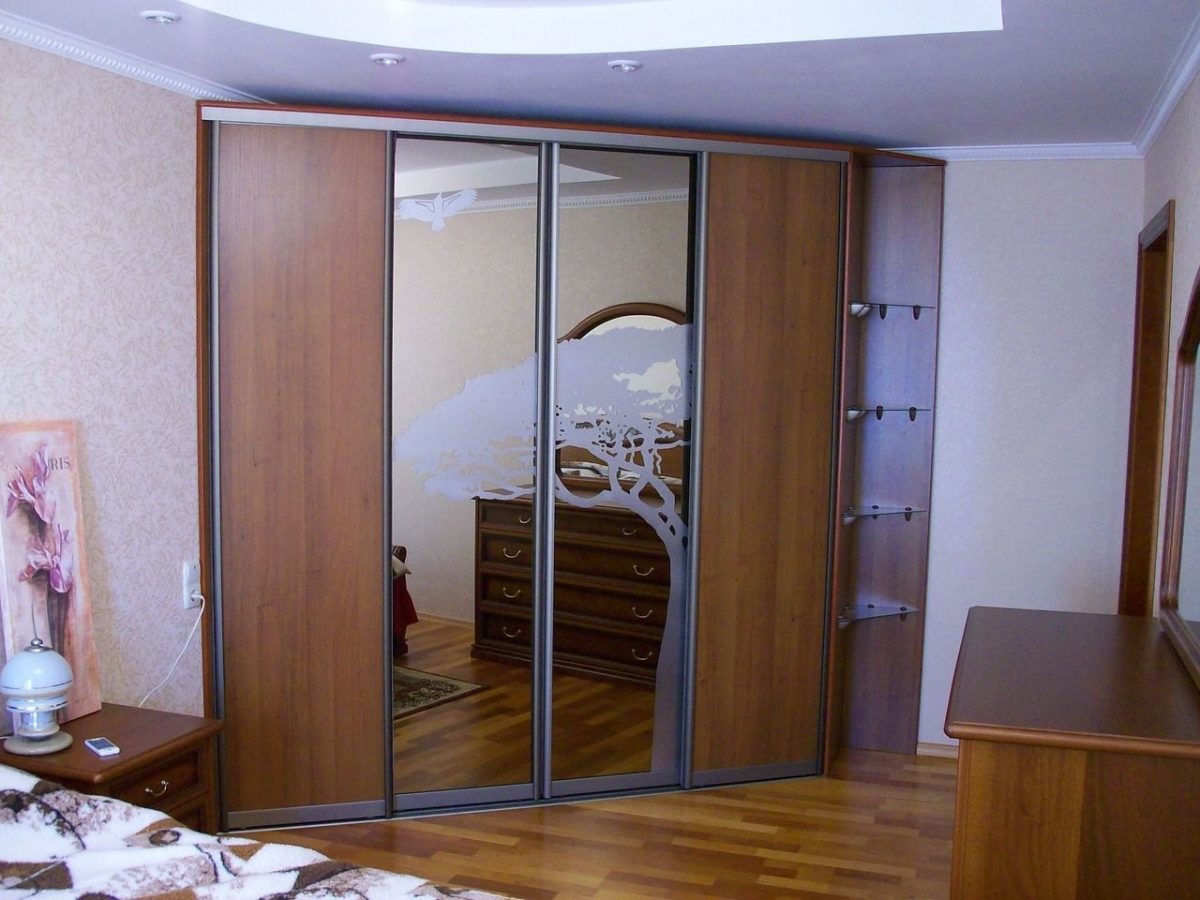
Style is the fundamental principle of making wardrobes at home. Thanks to modern technologies for processing facades, laser and sandblasting engraving on glass, photo wallpaper, glossy surfaces with drawings and patterns, it will not be difficult to decorate your home work of art.
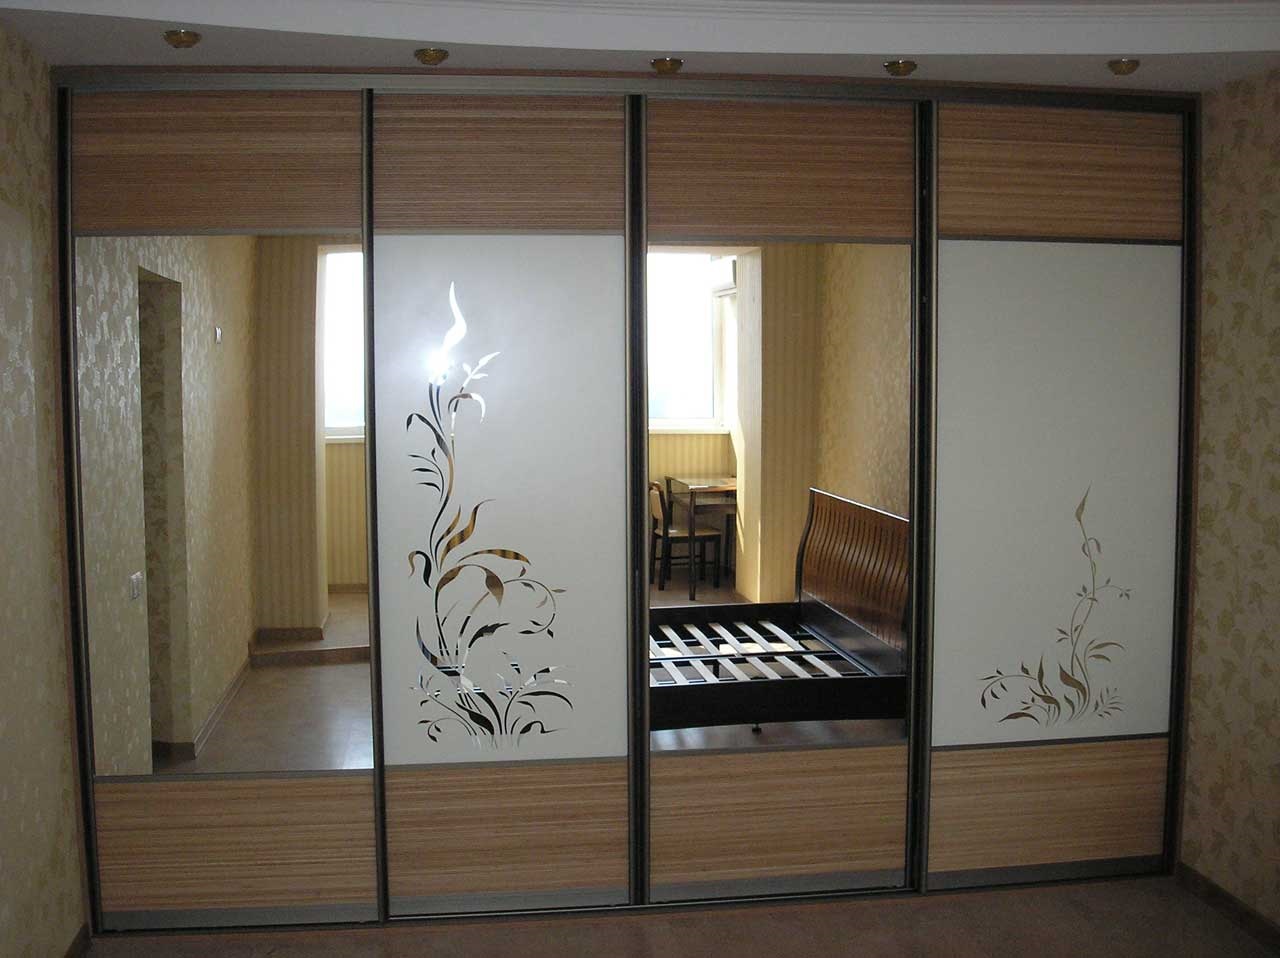
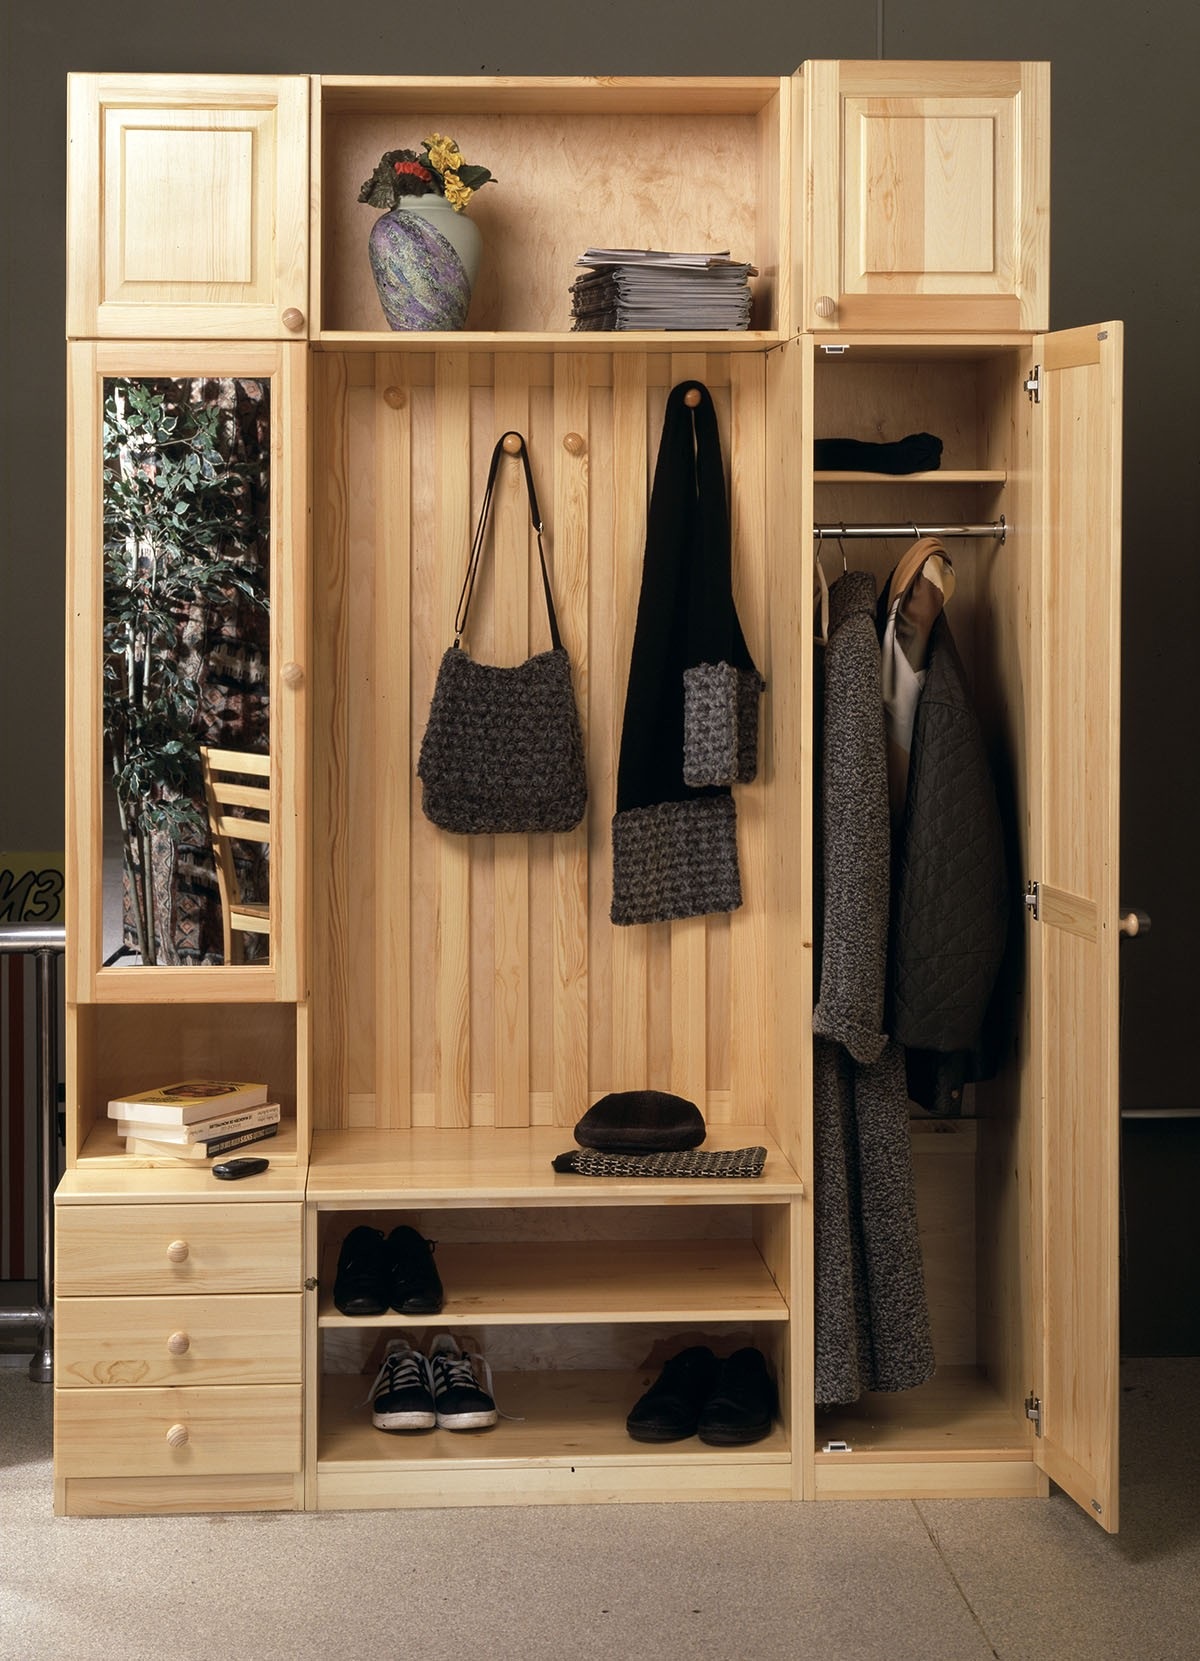
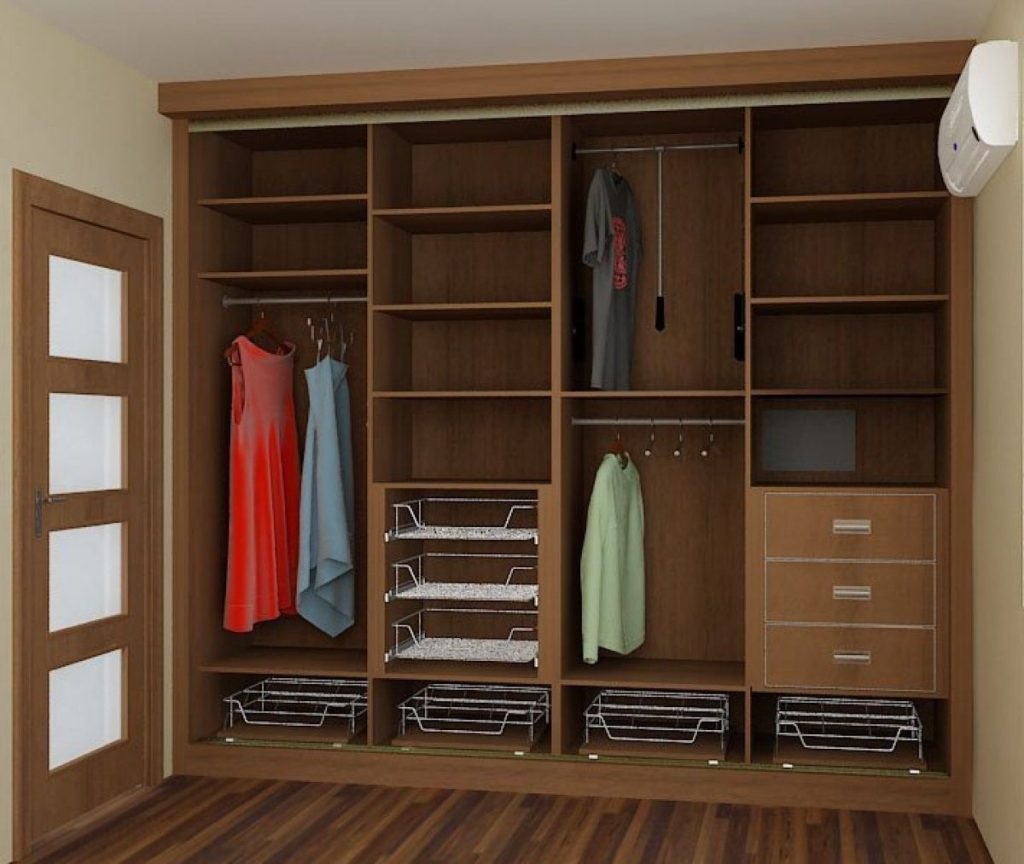
The purpose of the closet is one - to store things. But, for example, it is more convenient to hang outerwear on hangers, and bed linen to be stored on horizontal shelves. Therefore, the locker compartments differ in design, structure and fittings inside.
Choice of sizes
Before making a cheap and beautiful wardrobe with your own hands, you need to decide on its size. This should be done at the planning stage. Take a tape measure, bubble or laser level, and with the help of them you take off the parameters of the room where the installation is planned.
In height, modern cabinets are made up to the ceiling. Minimum clearance is required to make the most of the free space.And in terms of visual characteristics, such a design looks prettier than "incomplete" cabinets.
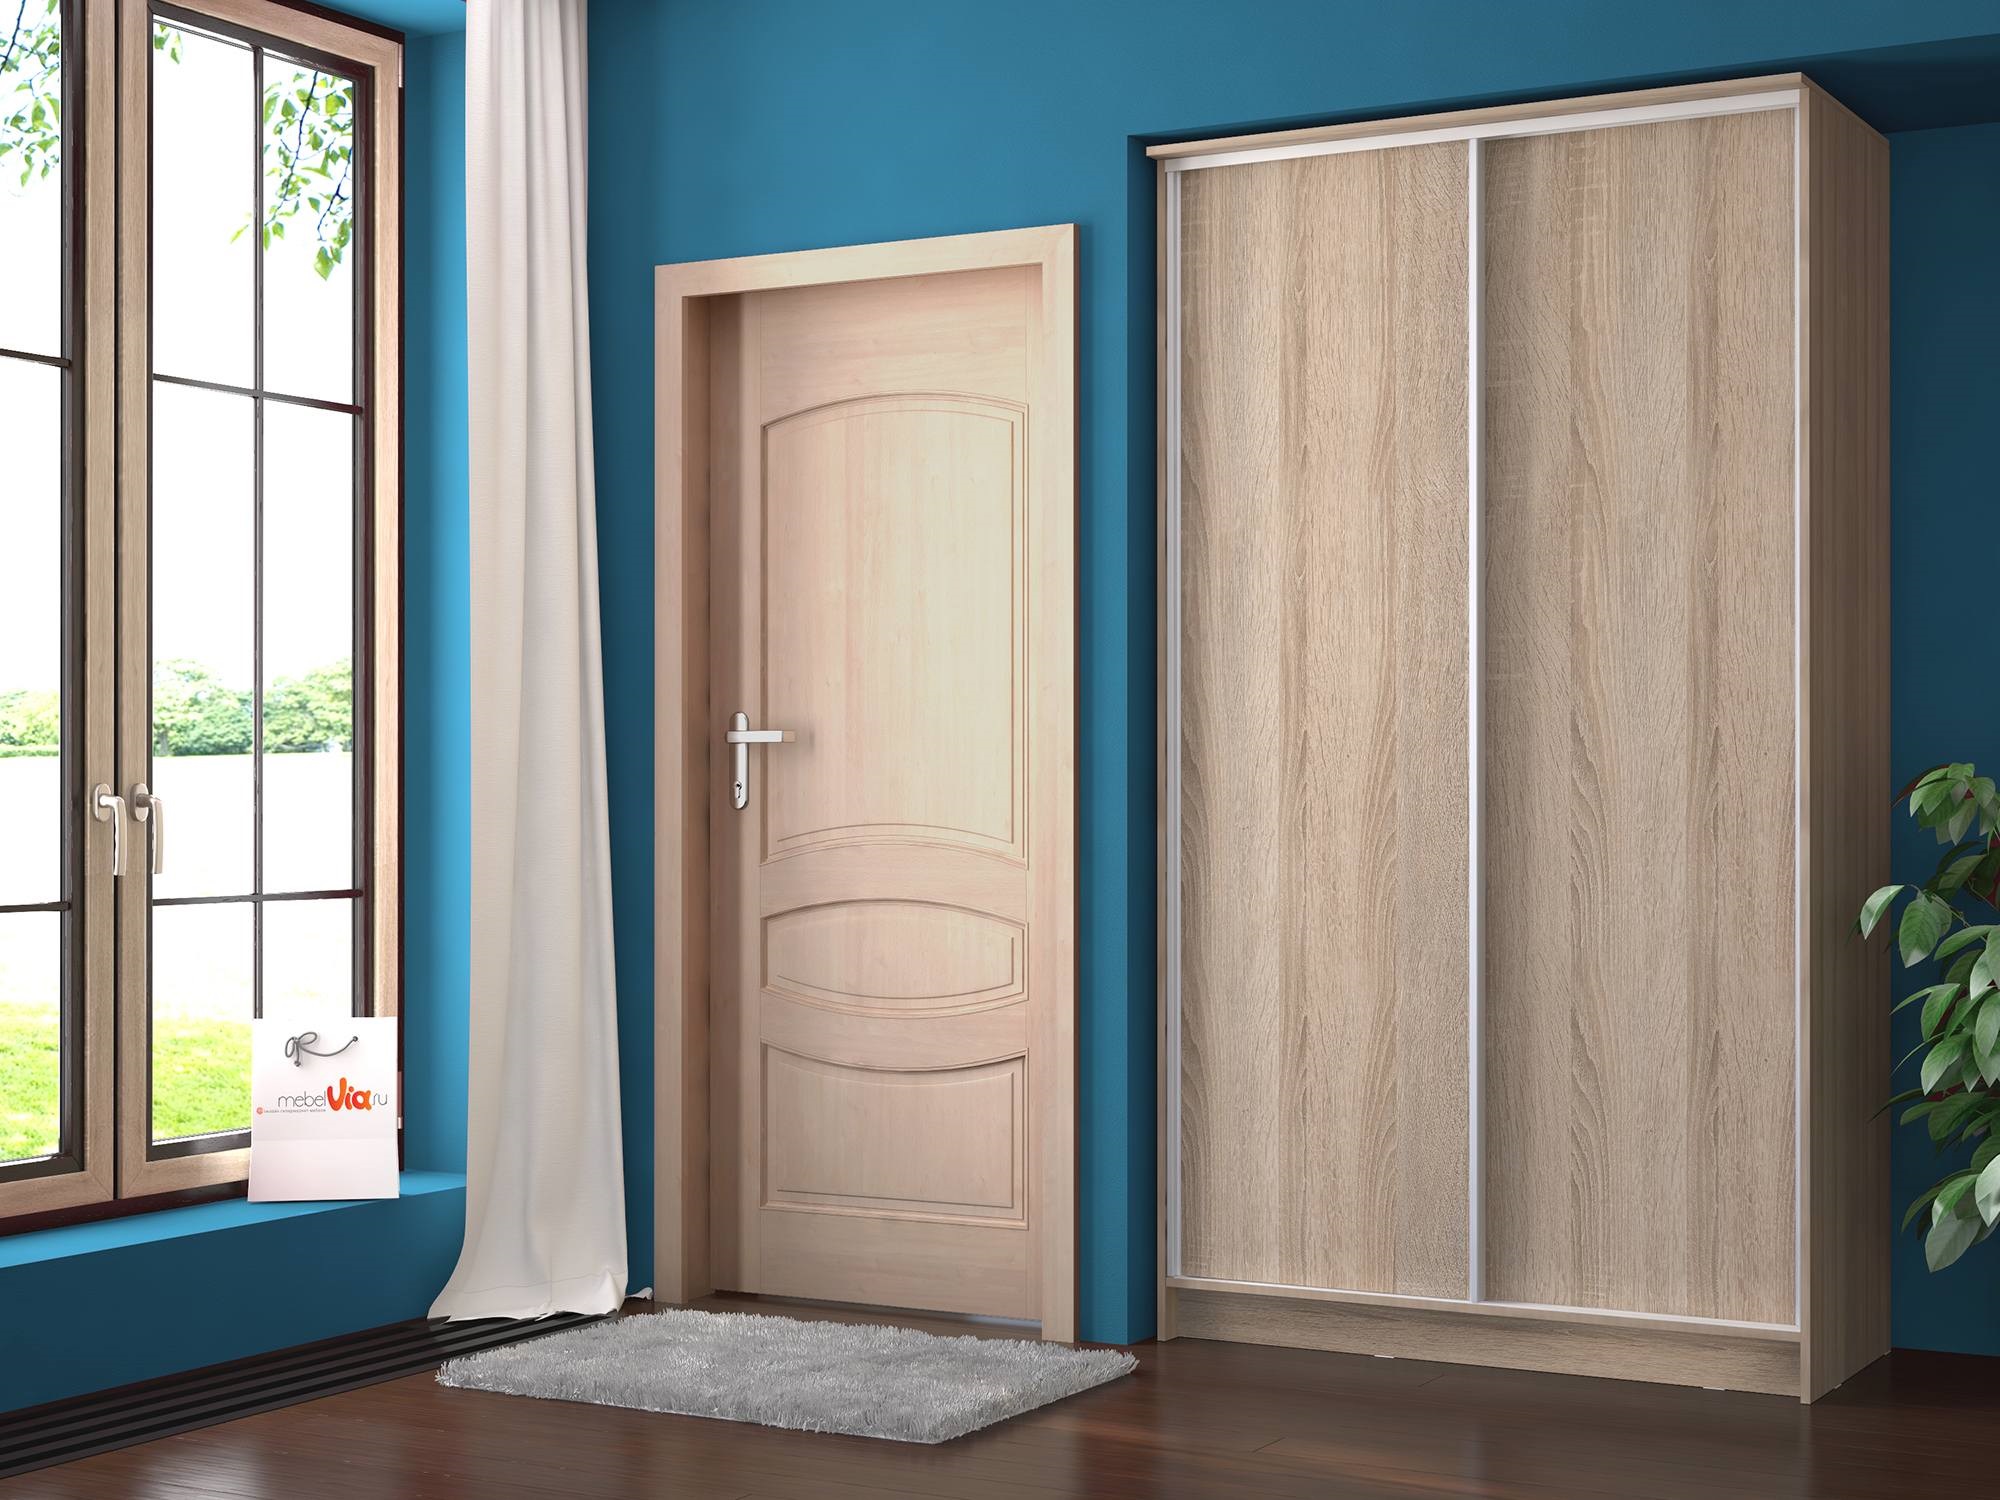
The width of the product is selected based on the dimensions of the wall to which the cabinet will be attached. Usually, installation is carried out according to the maximum wall size. Since you will not move the structure in the future, such an arrangement will allow you to accommodate all the necessary clothes and linen.
Be sure to provide shelves for household appliances. A vacuum cleaner, a food processor, an iron, a coffee maker - all these devices can easily be placed on the shelves and will not visually clog the design of the apartment premises.
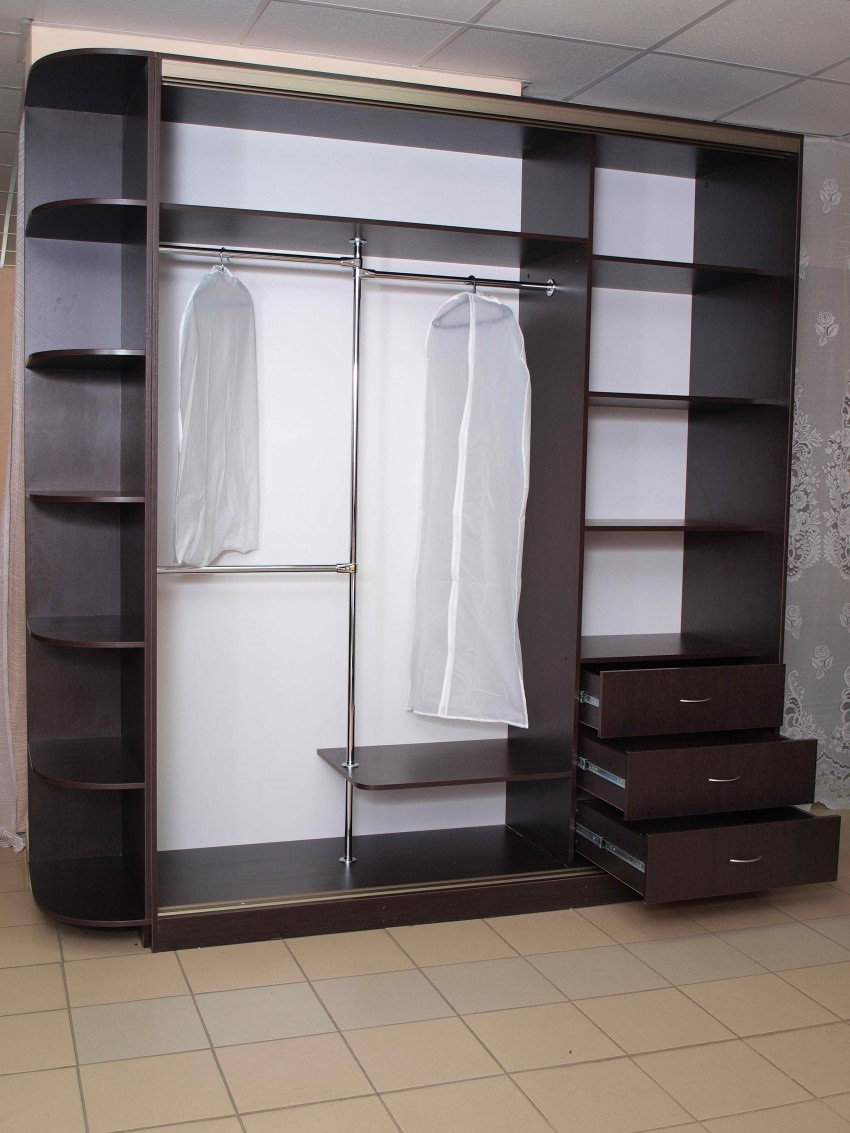
Drawings and diagrams
A correctly drawn up drawing is the key to successful work. It is important at this stage to take into account all the nuances, to determine the size of the shelves, partitions. All gaps, material processing allowances are taken into account. After the main drawing of the internal arrangement of the compartments is ready, it is necessary to draw a plan for cutting the chipboard / MDF sheets.
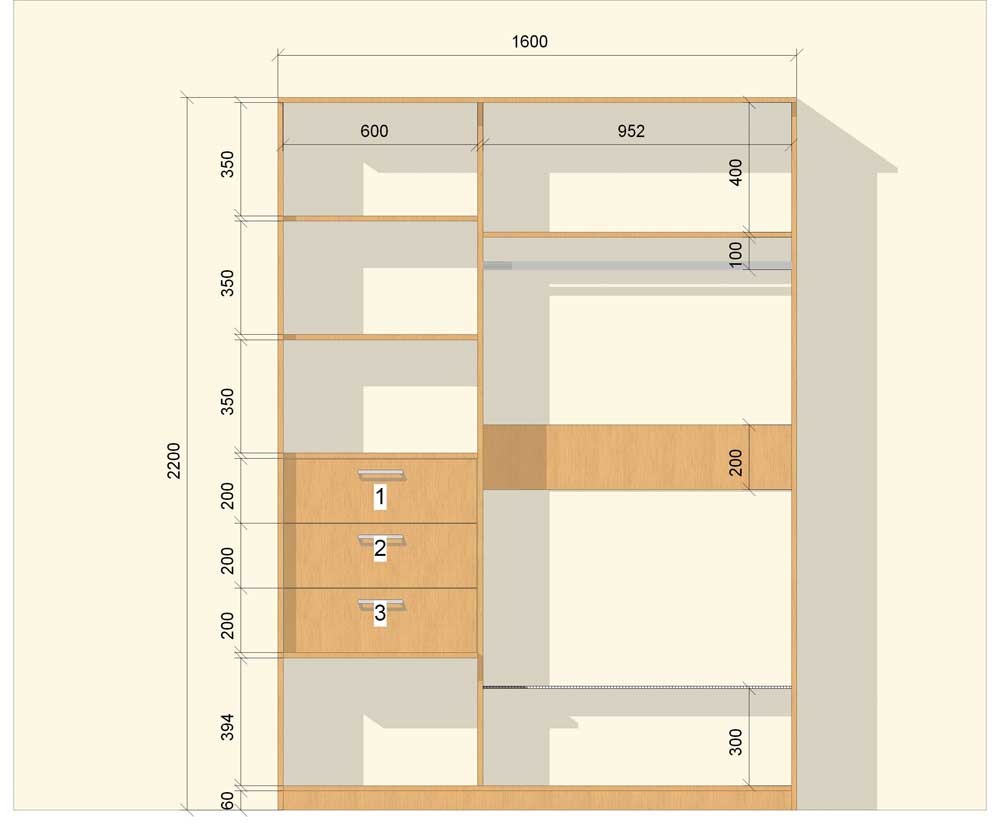
In the drawing, all significant distances are taken into account, such as length, height, width. The internal position of the shelves is drawn in all dimensions to represent future dimensions. Don't forget to consider the thickness of the sheets or wood. Since the minimum size of any material starts from 16 mm, this will play an important role.
A cutting plan is a scheme according to which sheets, bars, facades will be cut. With such a scheme, the material consumption will be minimal.
There is also a drawing up of a sketch of the future design. Designers advise using the converging point method. One or two points on the sheet are selected, to which all horizontal lines will tend. The vertical ones in this case will be perpendicular to the horizontal ones. Thus, it will turn out to present the future design of the cabinet with your own hands as believably as possible.
Material selection
Give preference to natural wood or its derivatives. These are chipboard, fiberboard and MDF. Plates, covered with a layer of laminated plastic, allow you to choose any color, structure and texture of future facades.
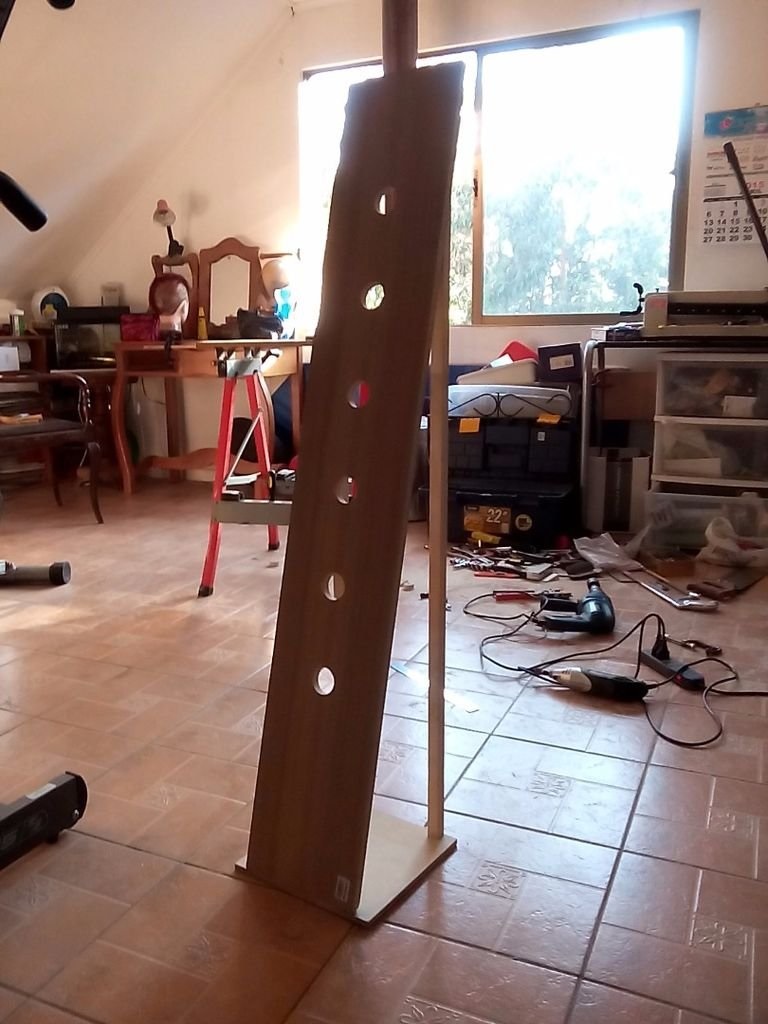
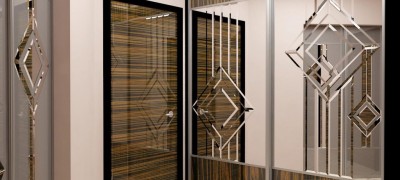
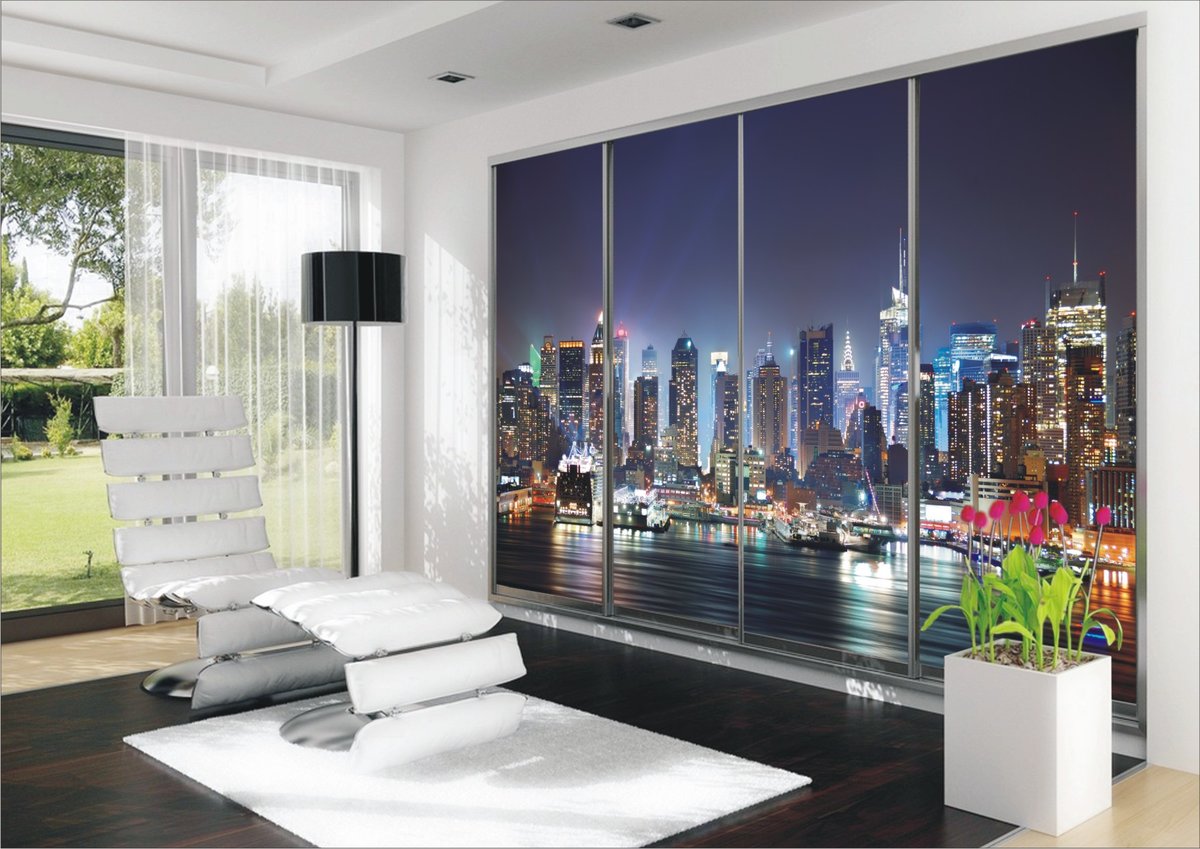
Order sliding compartment doors separately. Glass facades look beautiful, on which patterns are applied using laser, chemical or sandblast engraving.
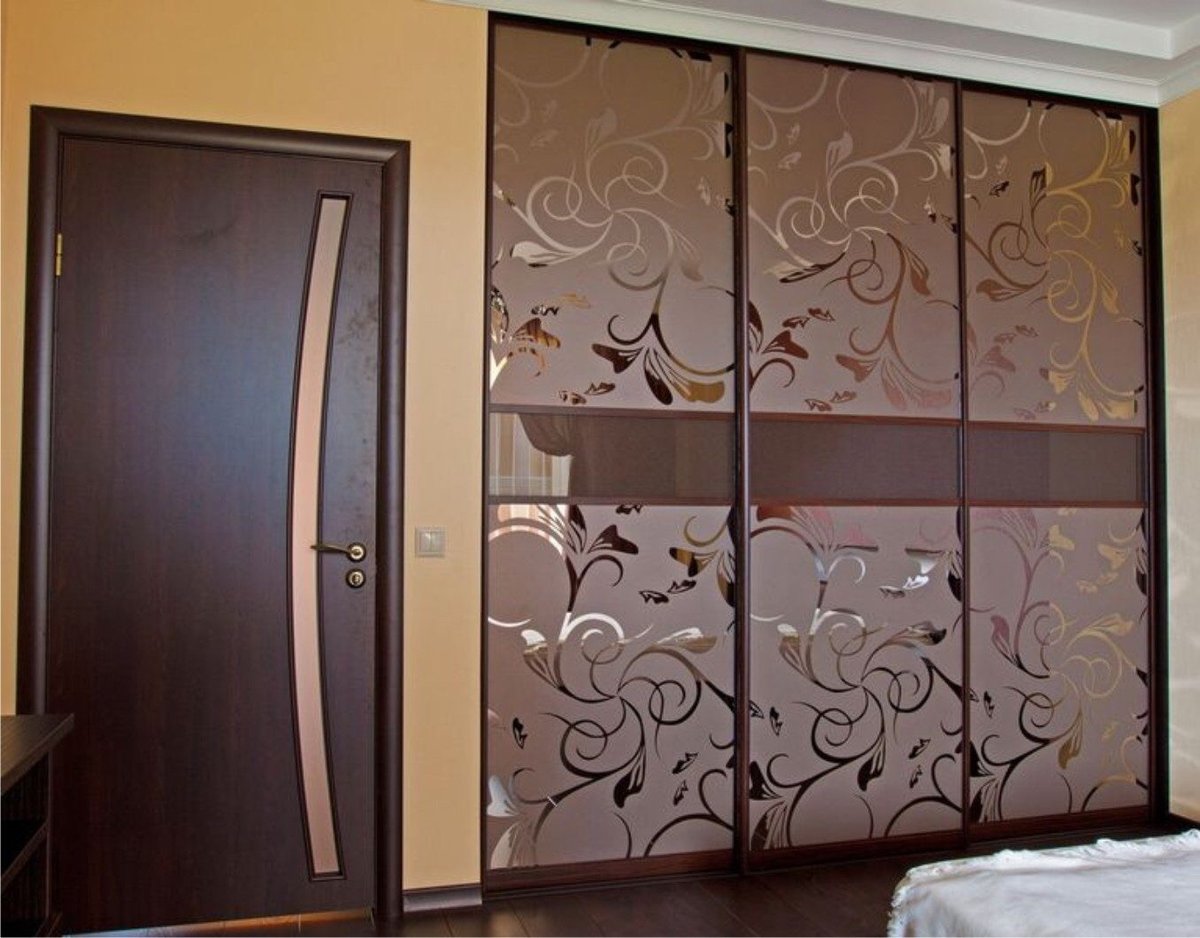
Glossy photowall-paper also fits harmoniously. They are made on glass surfaces, which is beneficial for washing and cleaning.
If you have experience working as a master carpenter, make facades from natural wood. Here are the breeds that come in handy:
- ash;
- beech;
- oak;
- hornbeam;
- exotic wood species (black, mahogany).
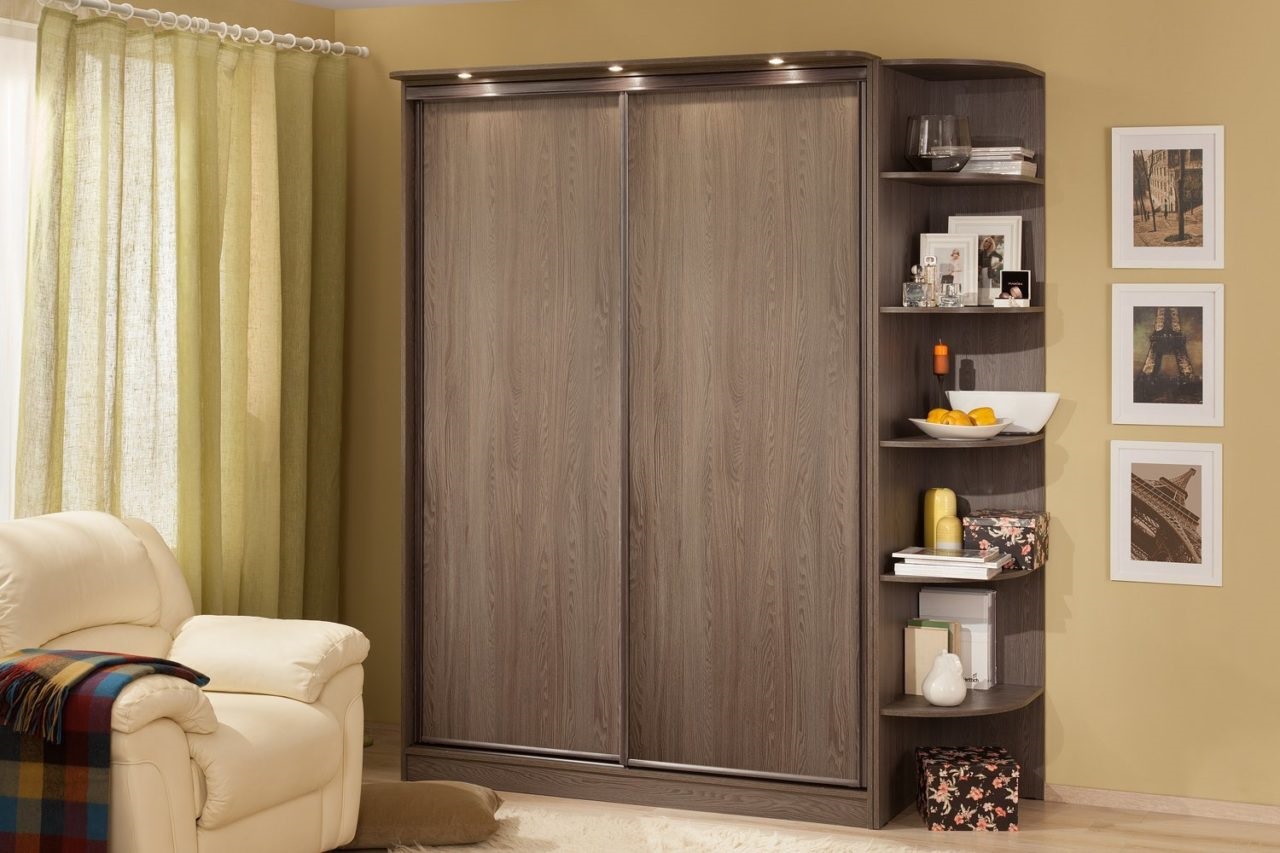
In terms of cost, labor costs and manufacturing time, cabinets made of natural wood are more expensive than those made of chipboard, MDF. But in terms of visual qualities, substitutes for the woodworking industry cannot be compared with natural wood.
Accessories and tools
The choice of fittings is an important step. It is these elements that play a significant role in the operation of furniture. The service life of the product as a whole depends on their quality.
To build you need:
- fasteners (screws, furniture screws, ties);
- hooks for outerwear;
- holders of horizontal bars for hangers;
- handles for pull-out shelves;
- swing door closers;
- fixing positions for sliding doors of the compartment;
- lamps.
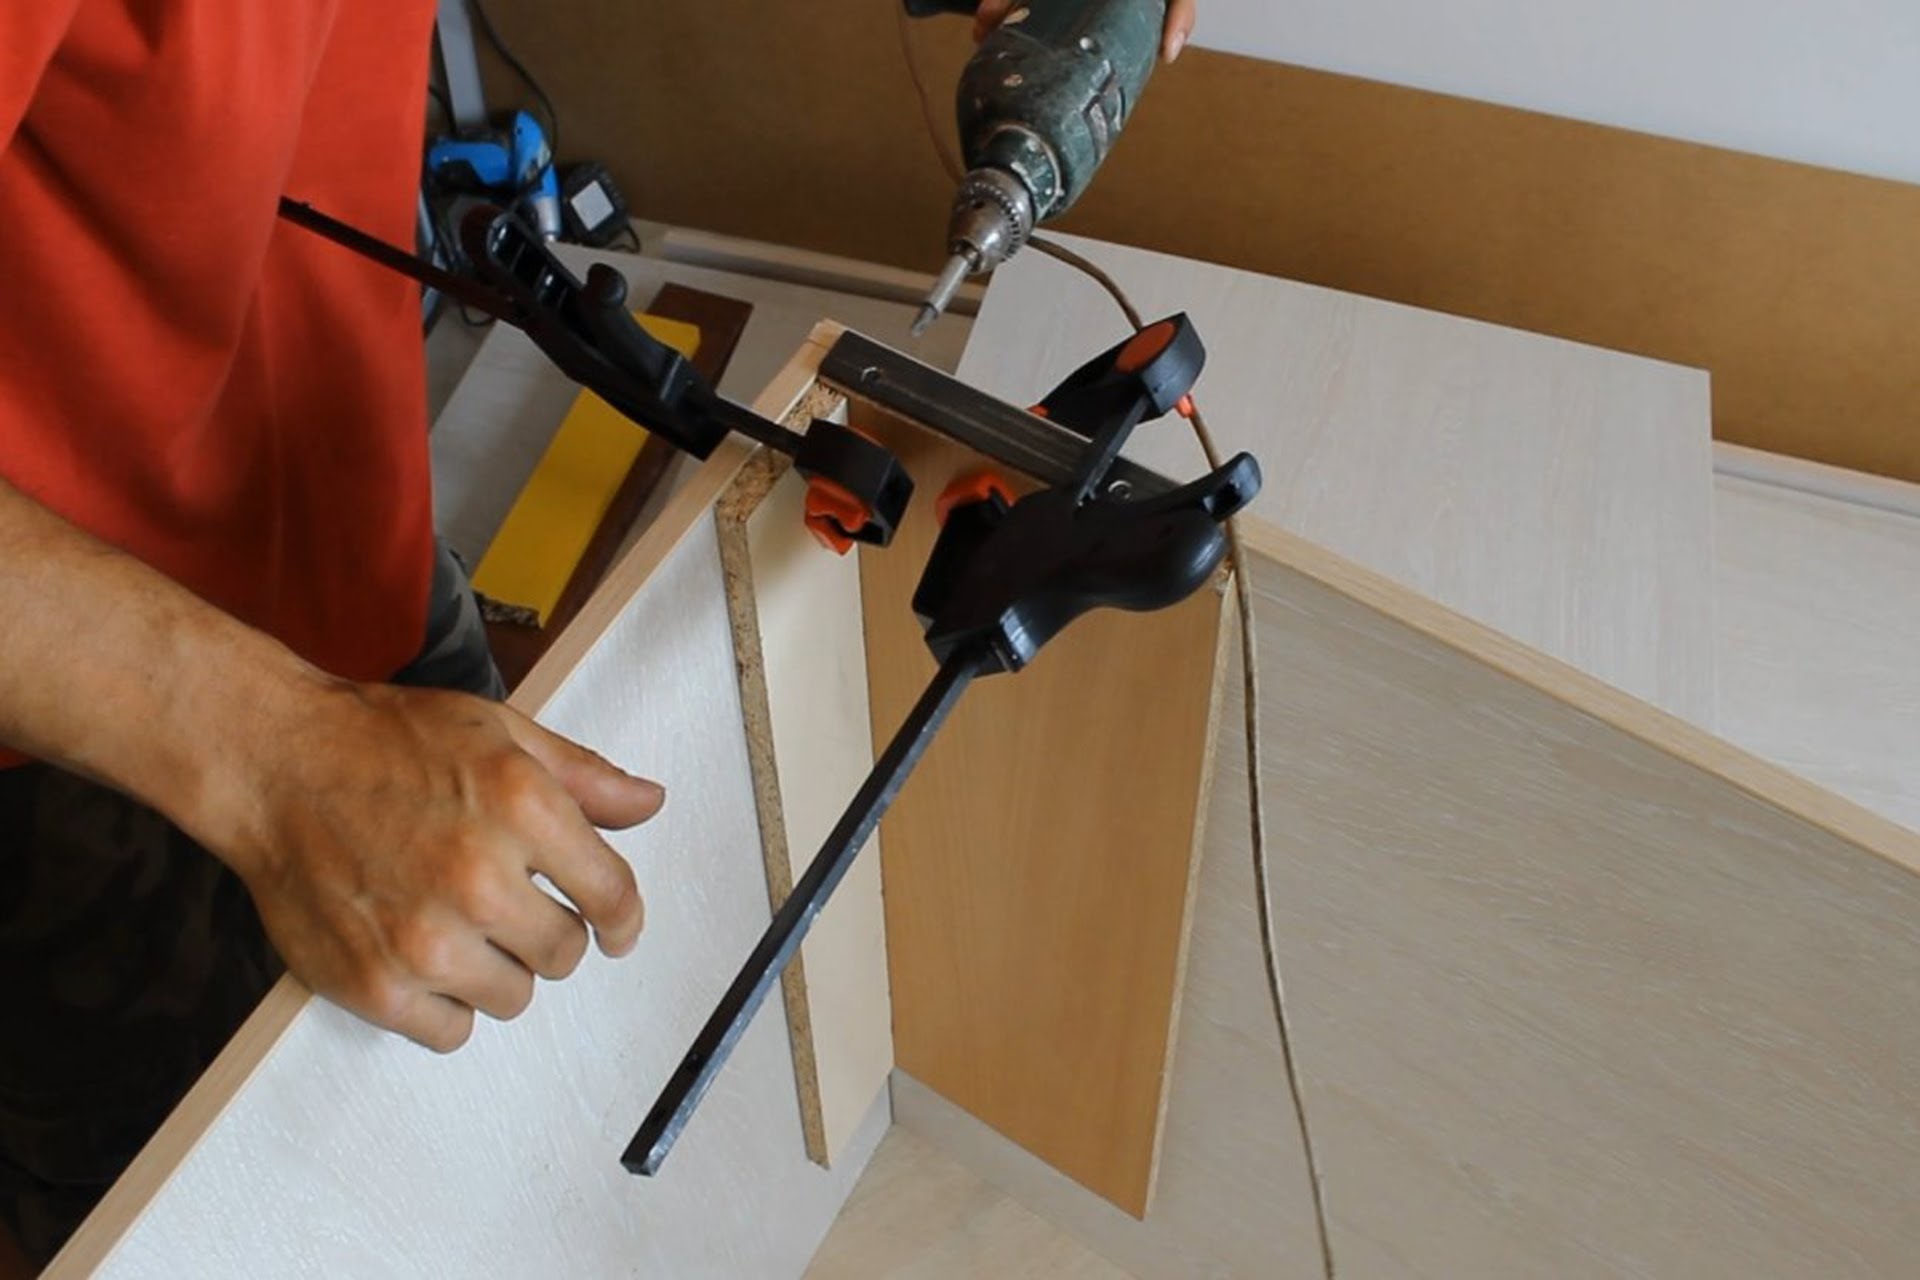
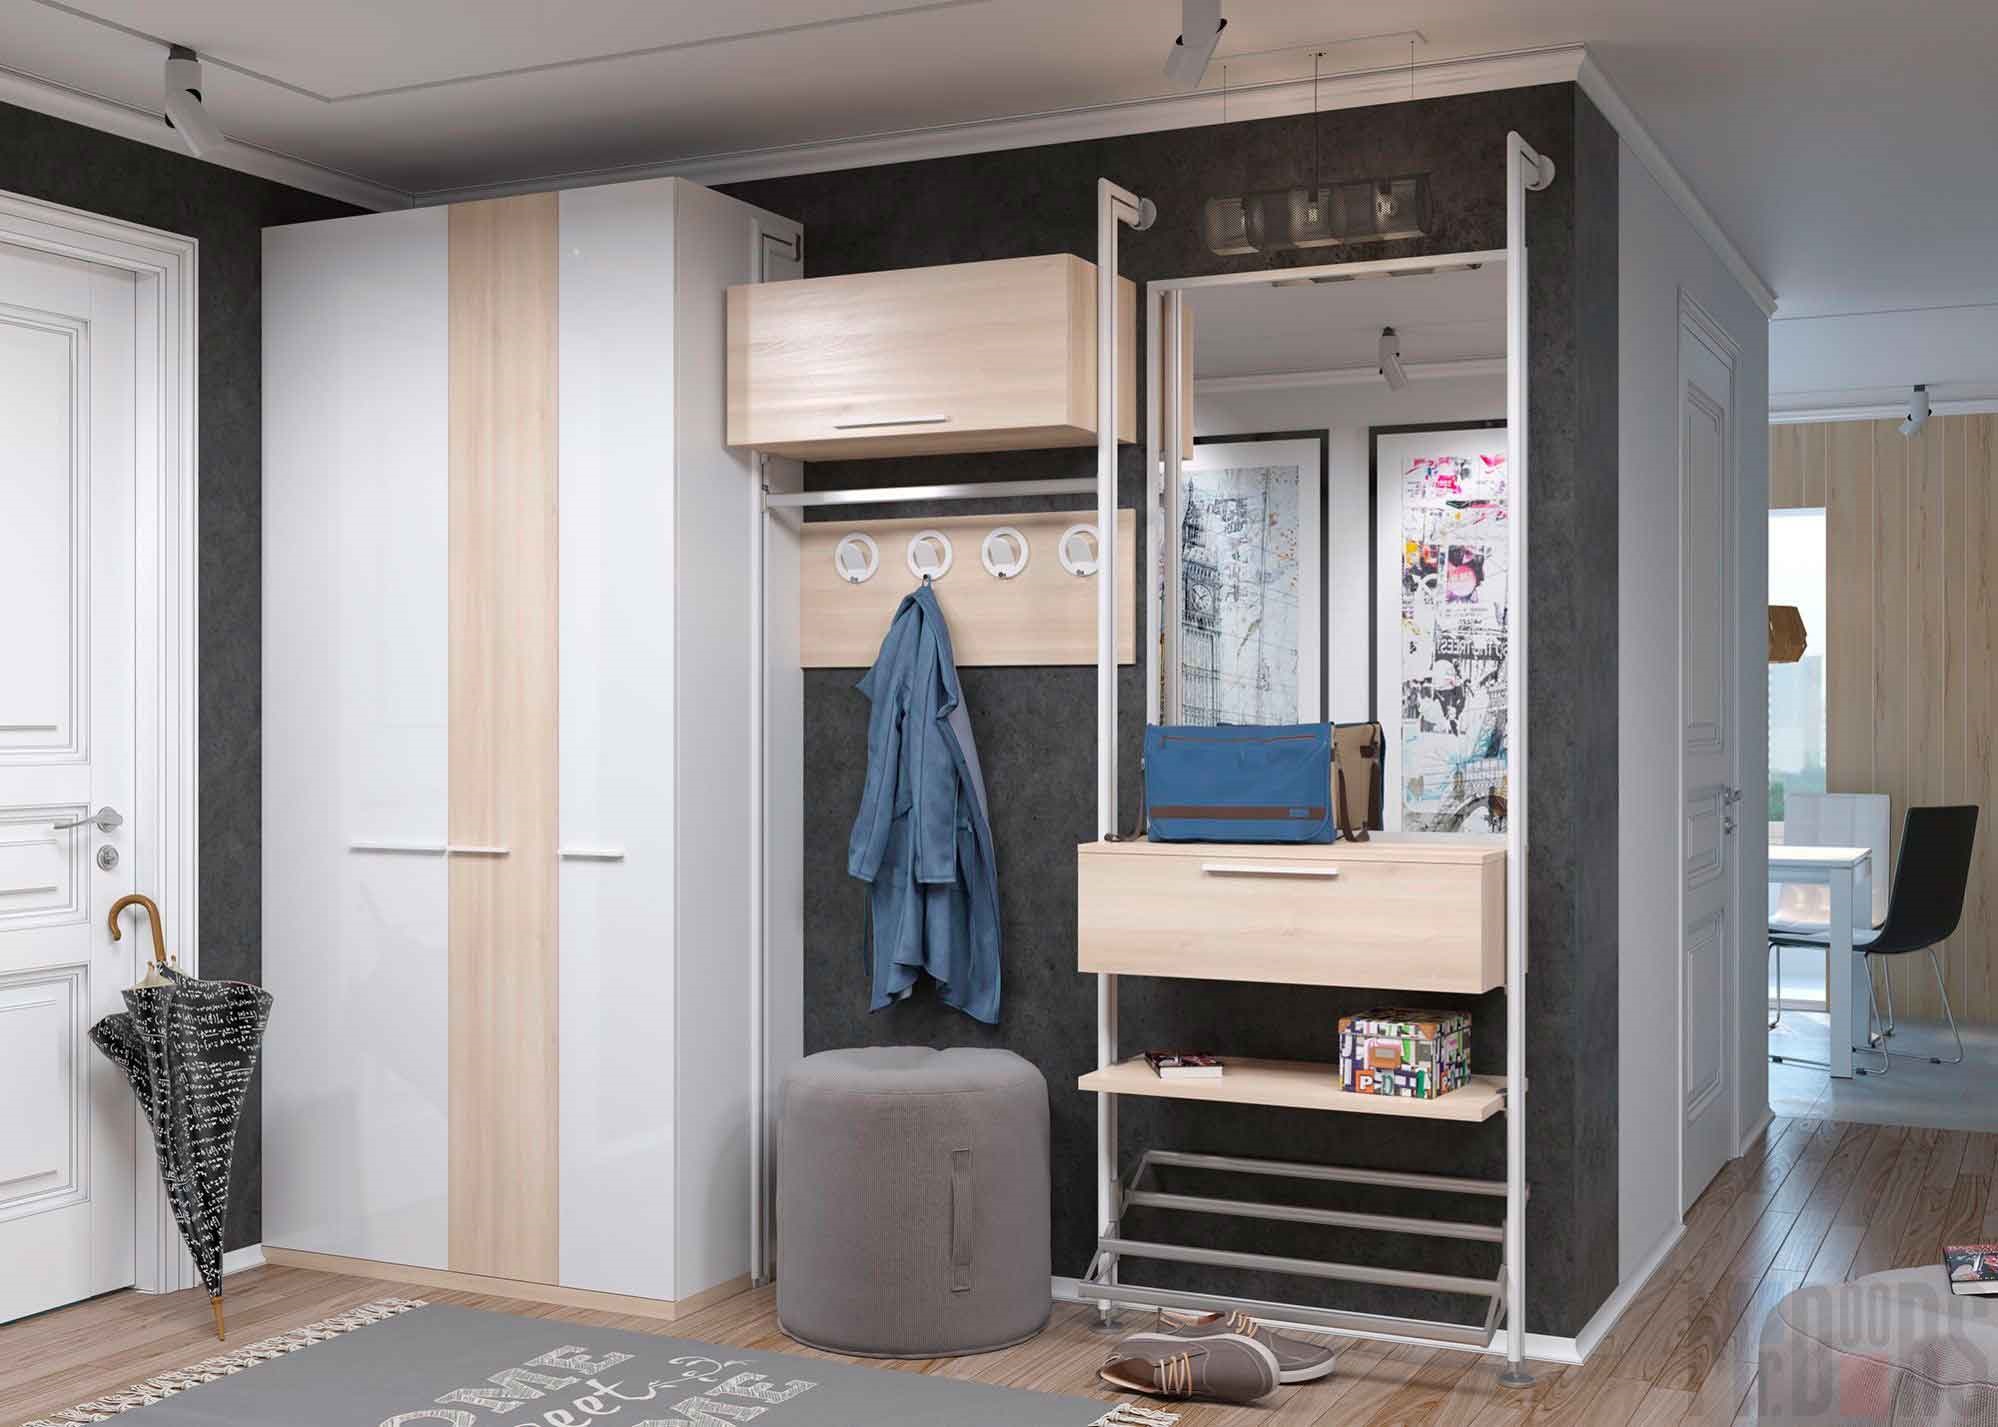
Be sure to combine the interior design of the room where you plan to install the cabinet with the style of the fittings. Choose the glossy, matte, gold and silver surfaces of your fittings wisely. In many ways, the overall stylistic decision will vary greatly from the correct choice of this position.
From the tool you need a tape measure, an electric jigsaw, a screwdriver, a drill.
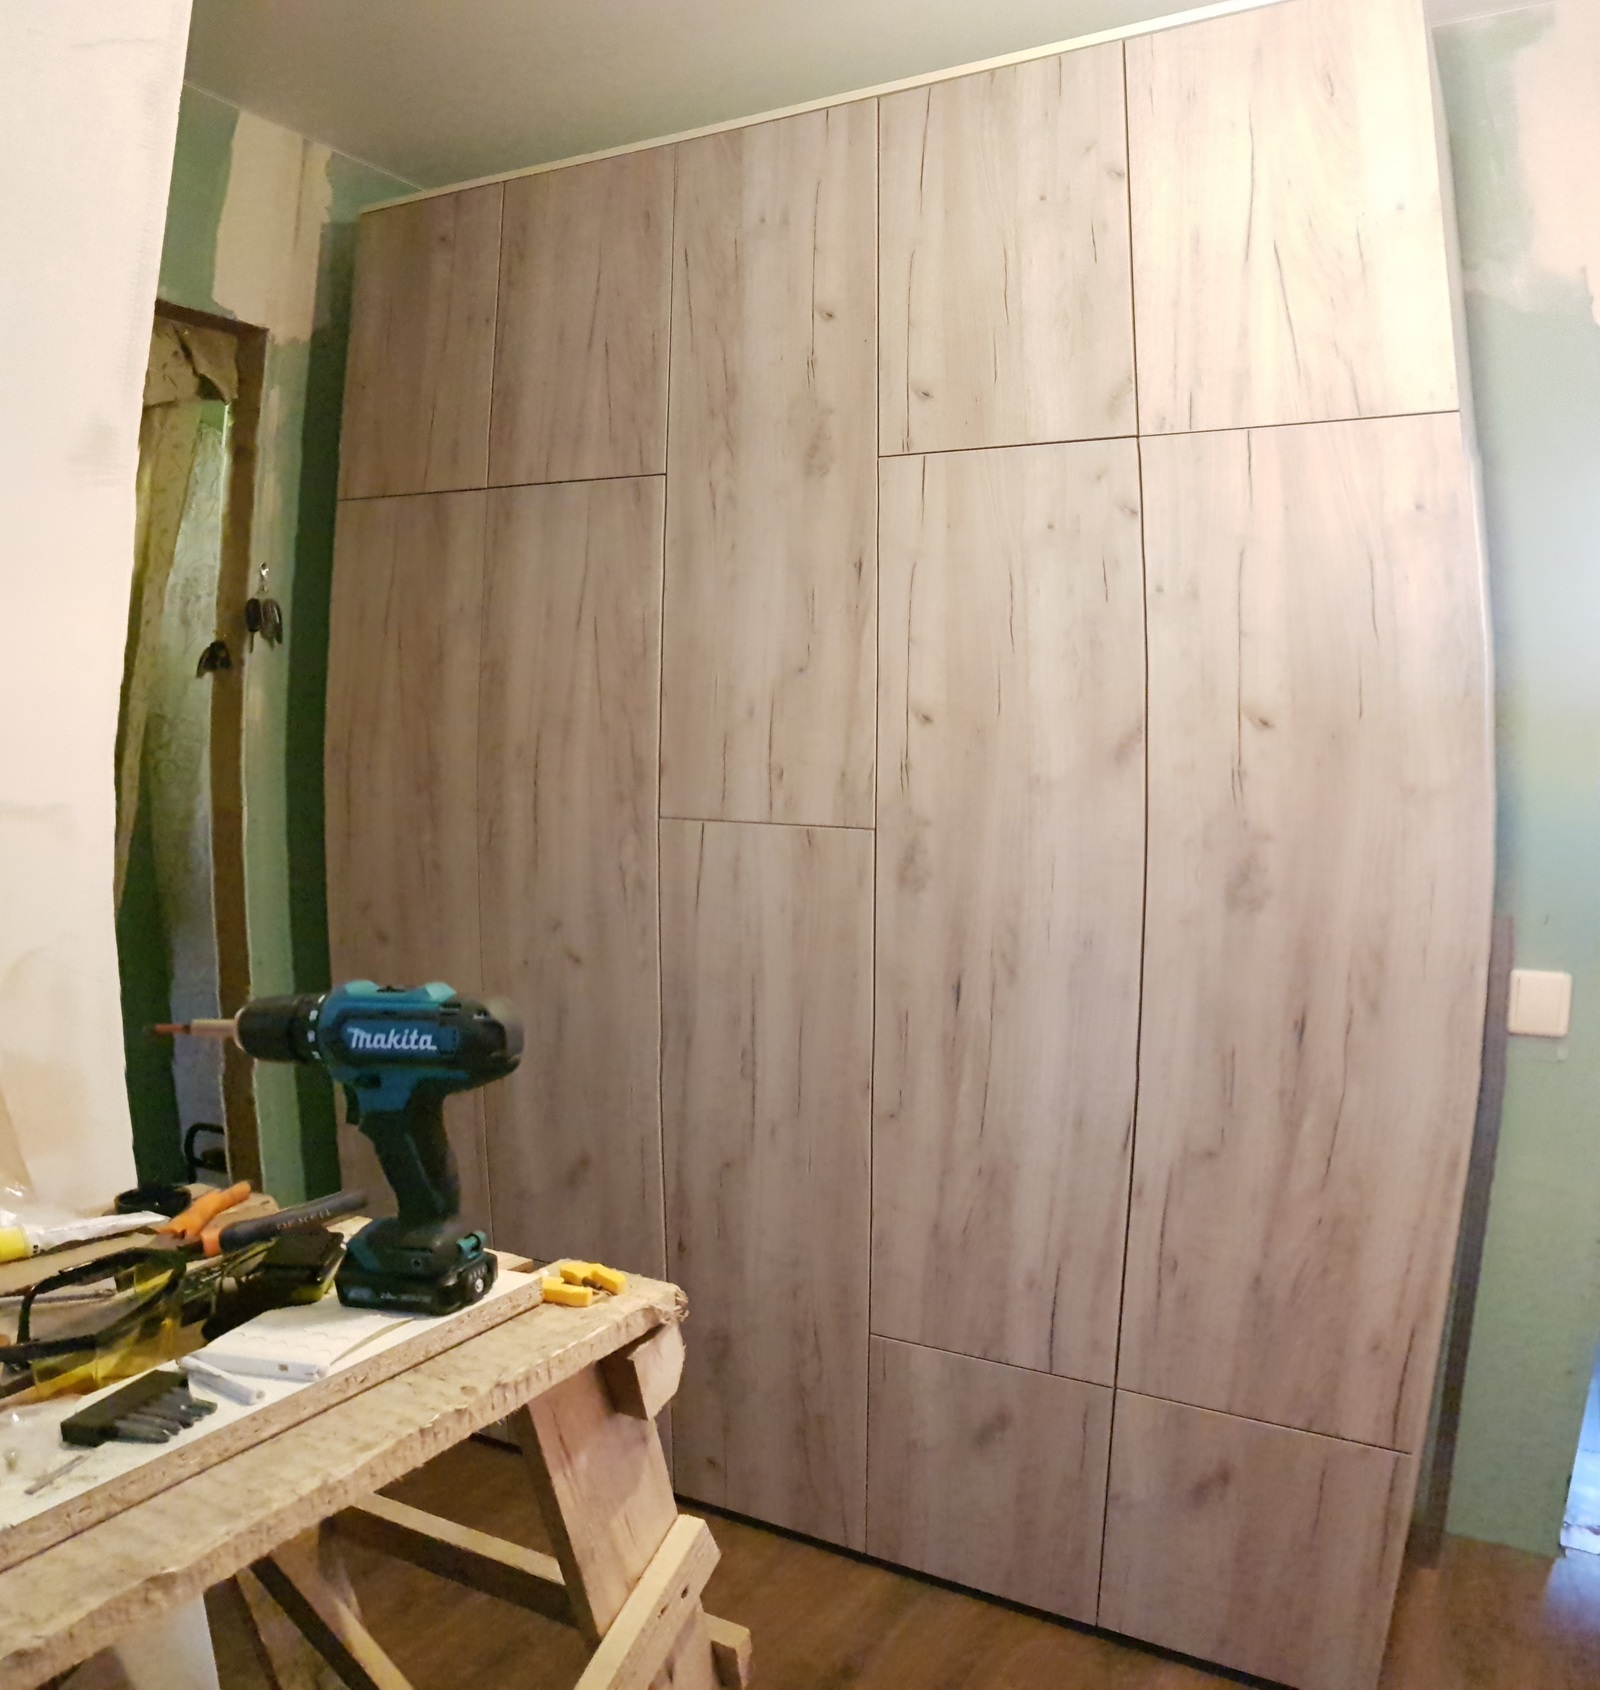
Build process
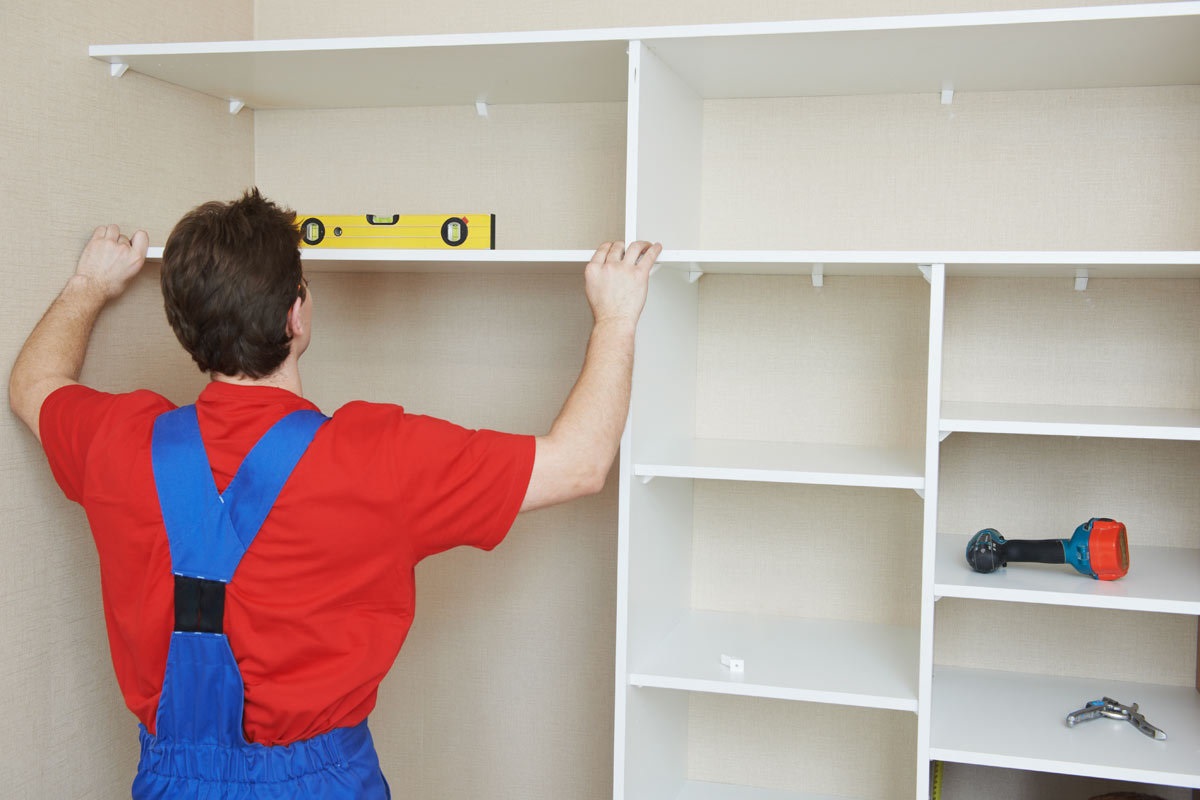
Begin the assembly of the wardrobe by cutting the material onto the cut sheet. Observe the cutting plan strictly. Consider the loss of size due to cutting the material with a jigsaw. The amount of loss is equal to the thickness of the power tool's saw blade.
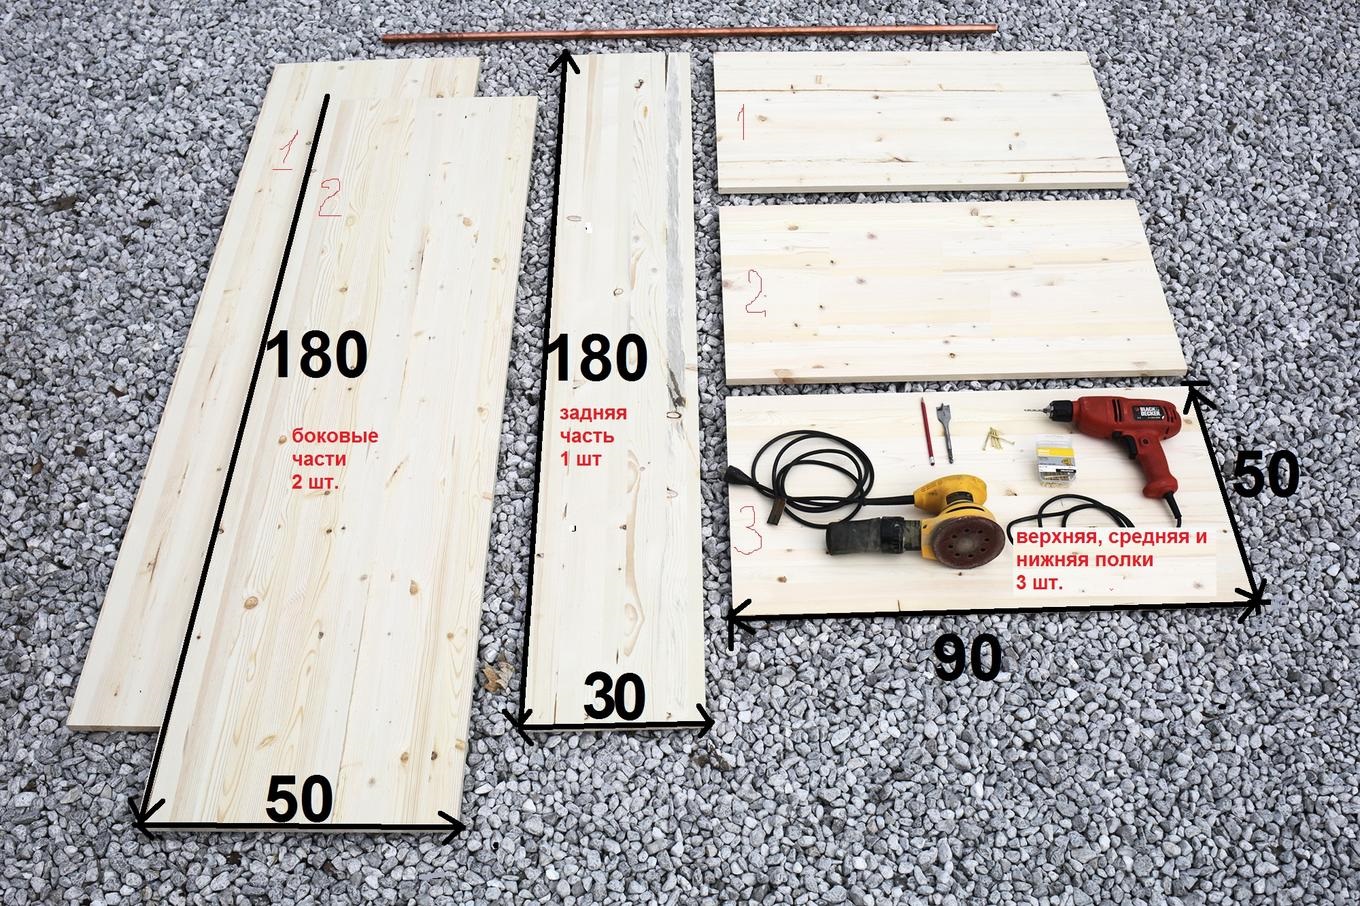
Installation begins with the installation of support bars, side frames, lower and upper horizontal cross members.
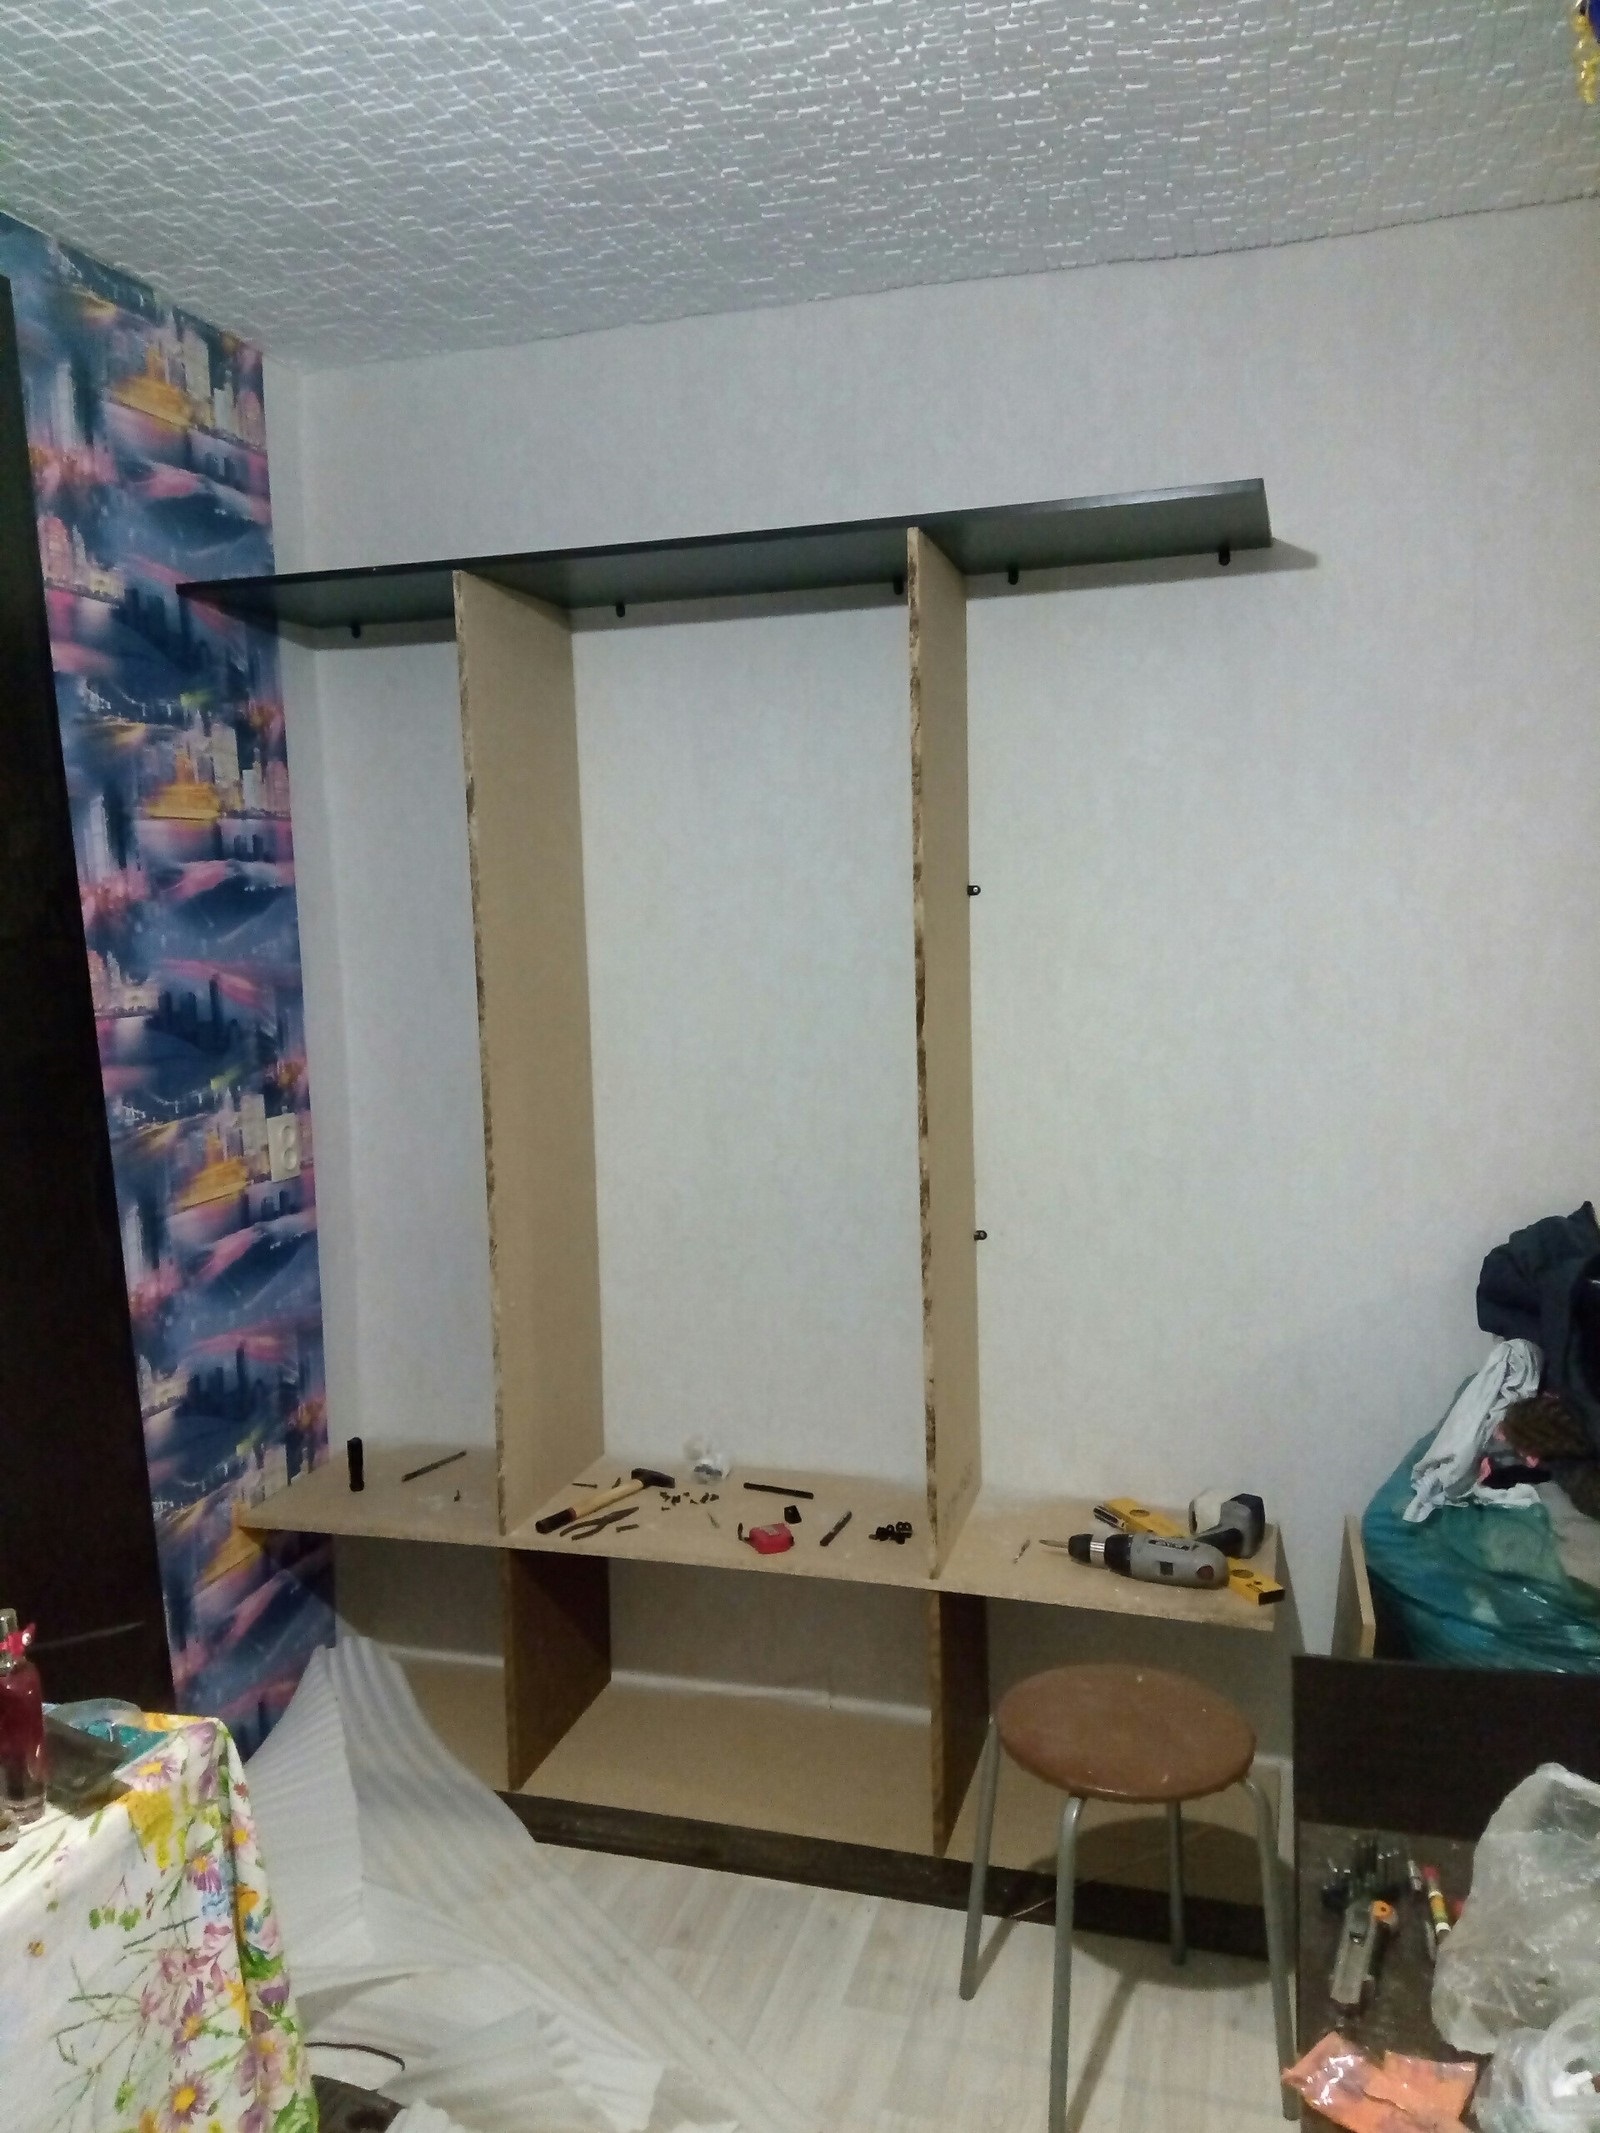
After assembling the main frame, installation of intermediate shelves, rails for hangers is carried out.
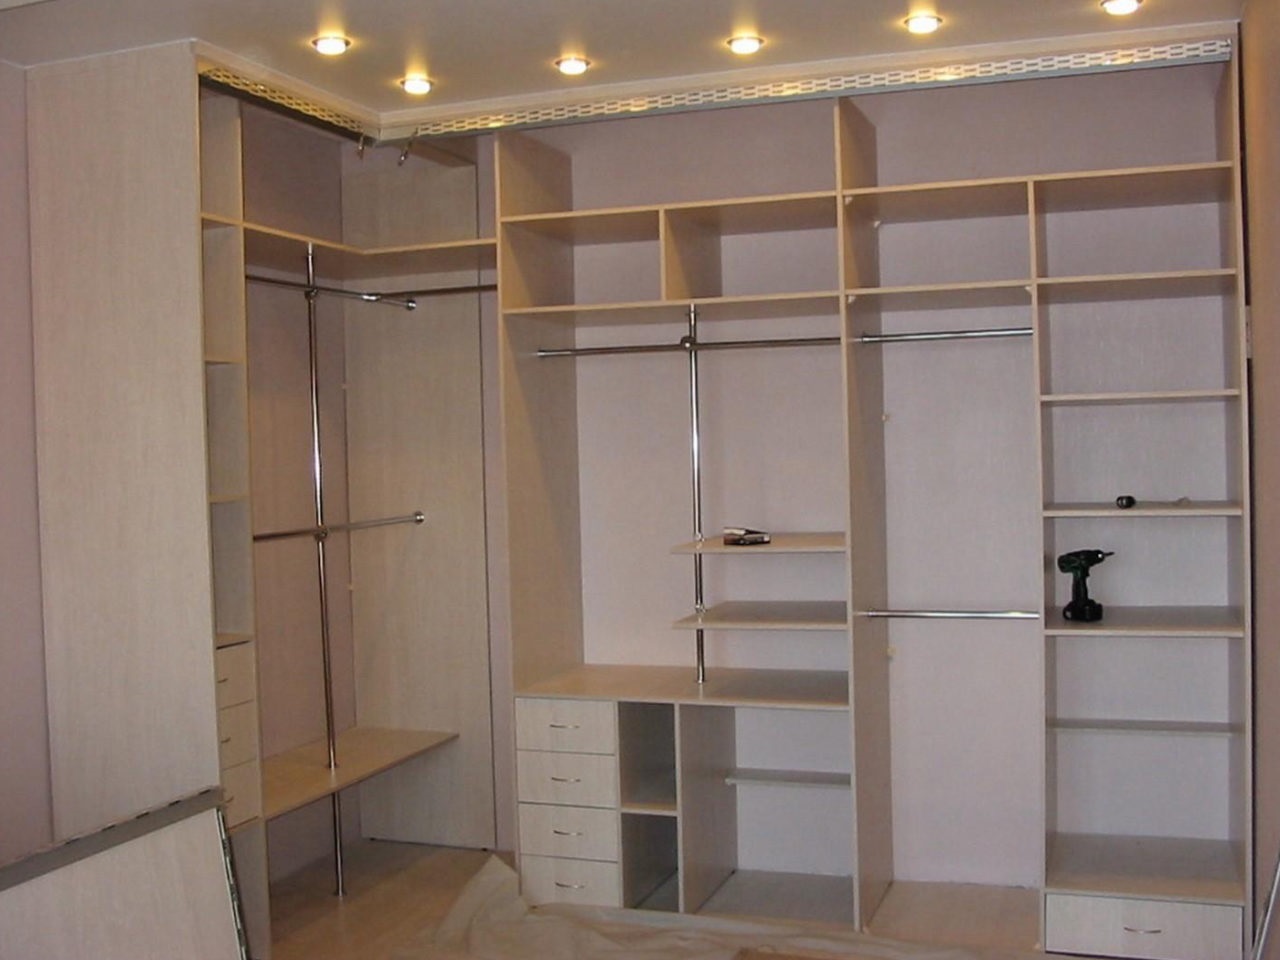
At the final stage, the sections are fastened with screws, the door hinges, handles, door closers and other fittings are installed. At the very end, swing doors of lockers, sliding compartments, lighting fixtures are installed.
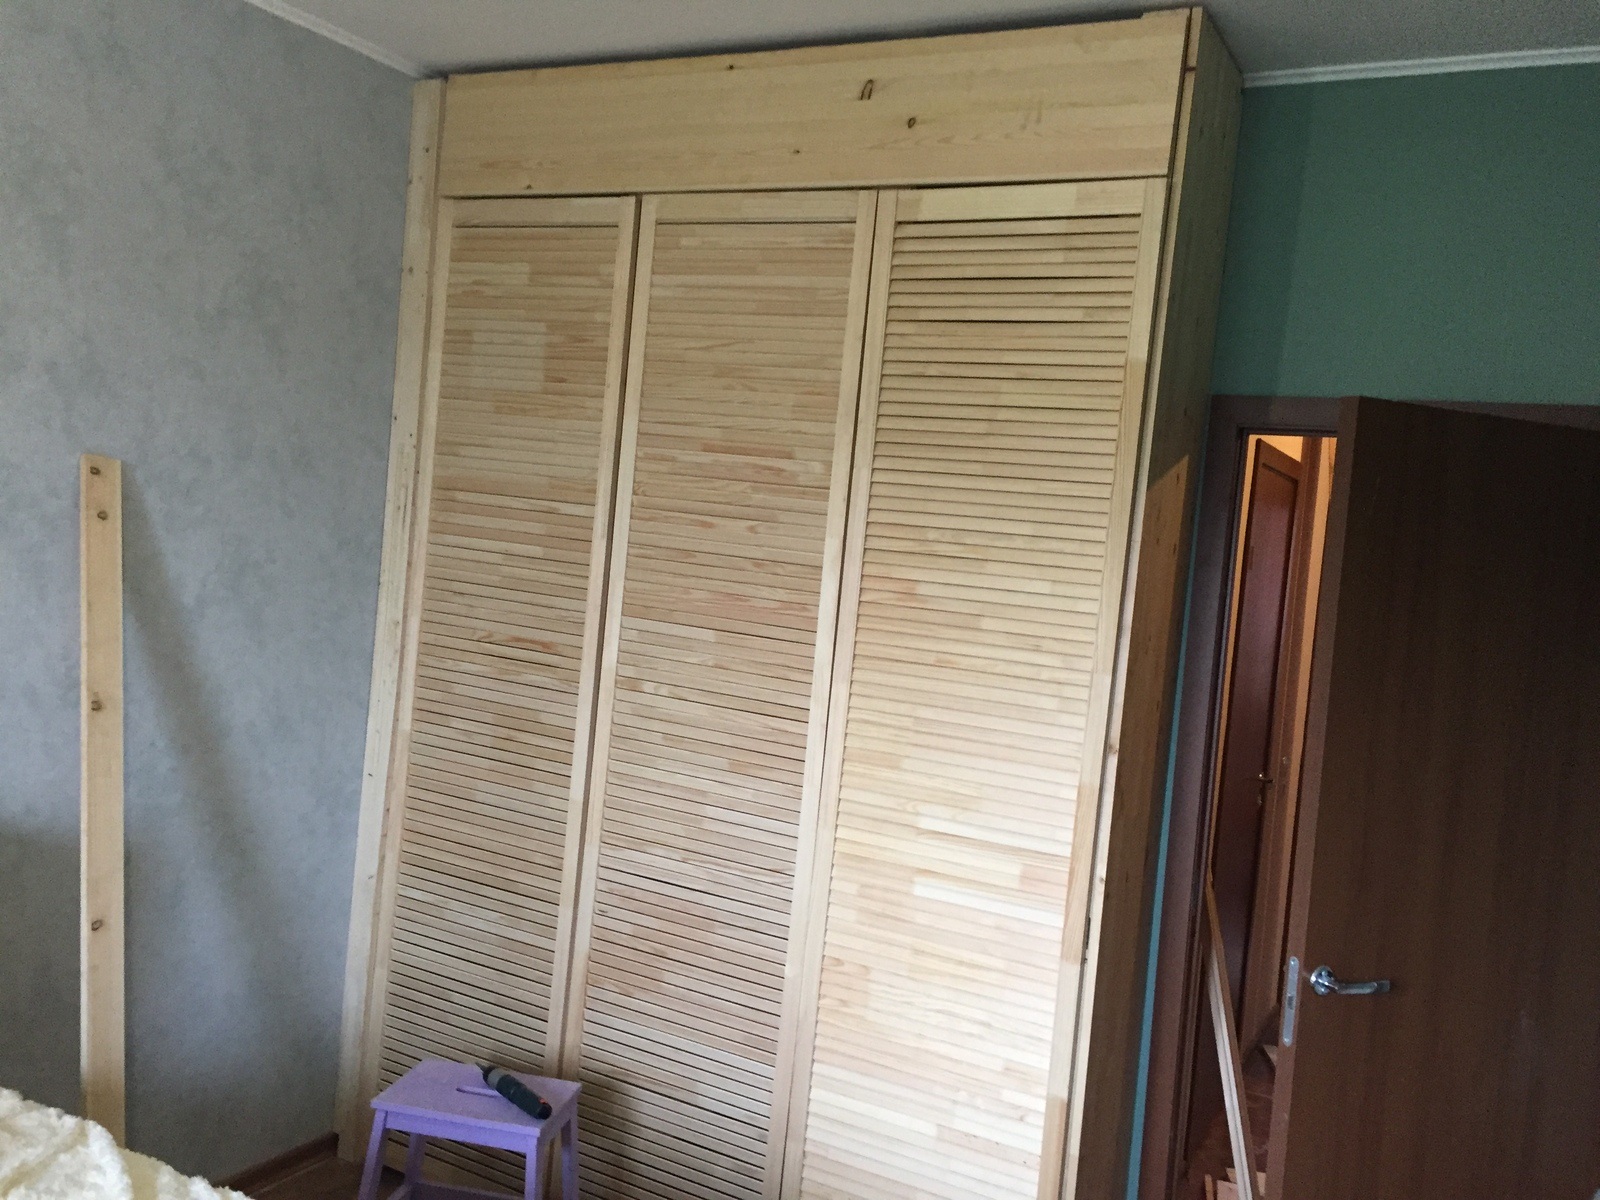
Following the sequence of actions, you will get a unique, one-of-a-kind locker for clothes.
Video: how to make a wardrobe with your own hands
