DIY instructions for assembling and installing doors for a sliding wardrobe
Among the many furniture items, the wardrobe takes the leading place, thanks to its large capacity, excellent ergonomics and the ability to transform.
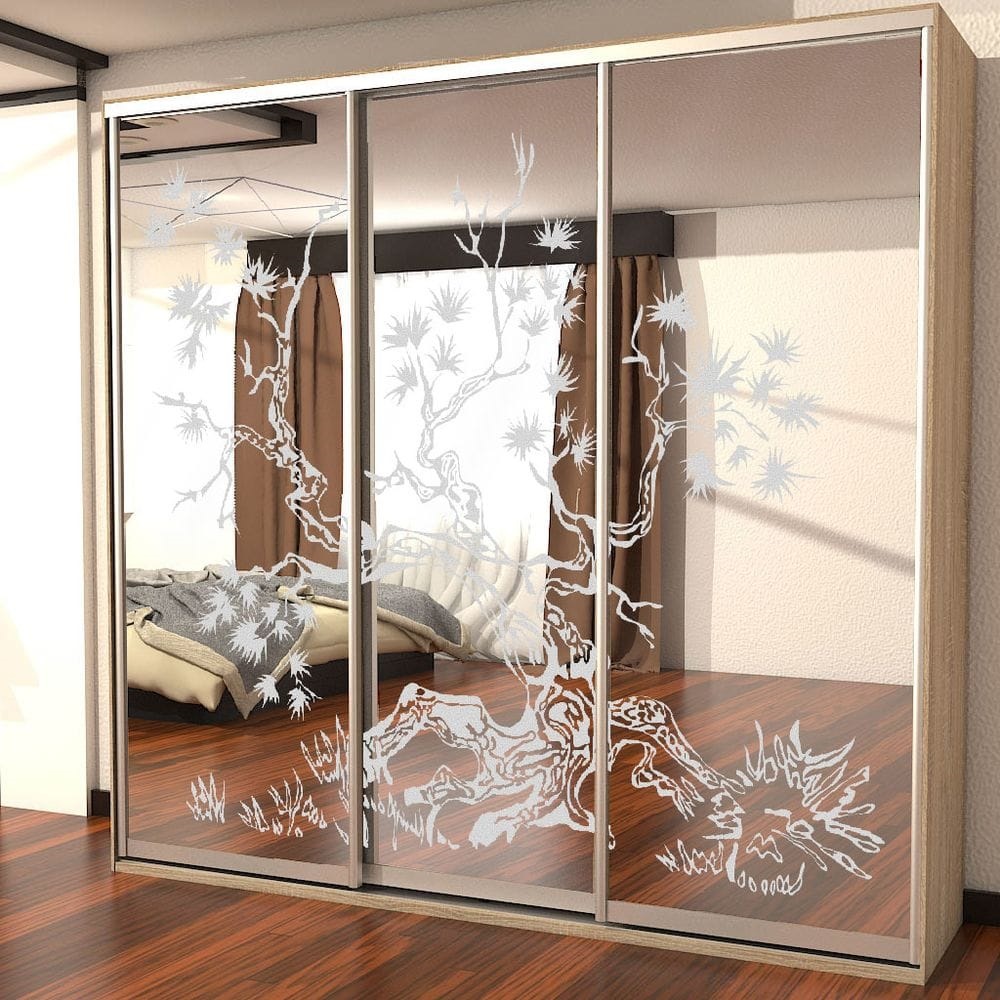
Specialized factories are engaged in the production of such cabinets, but you can assemble this impressive sliding structure with your own hands. Thanks to this material, everyone can get information on how to make sliding doors for a cabinet with their own hands.
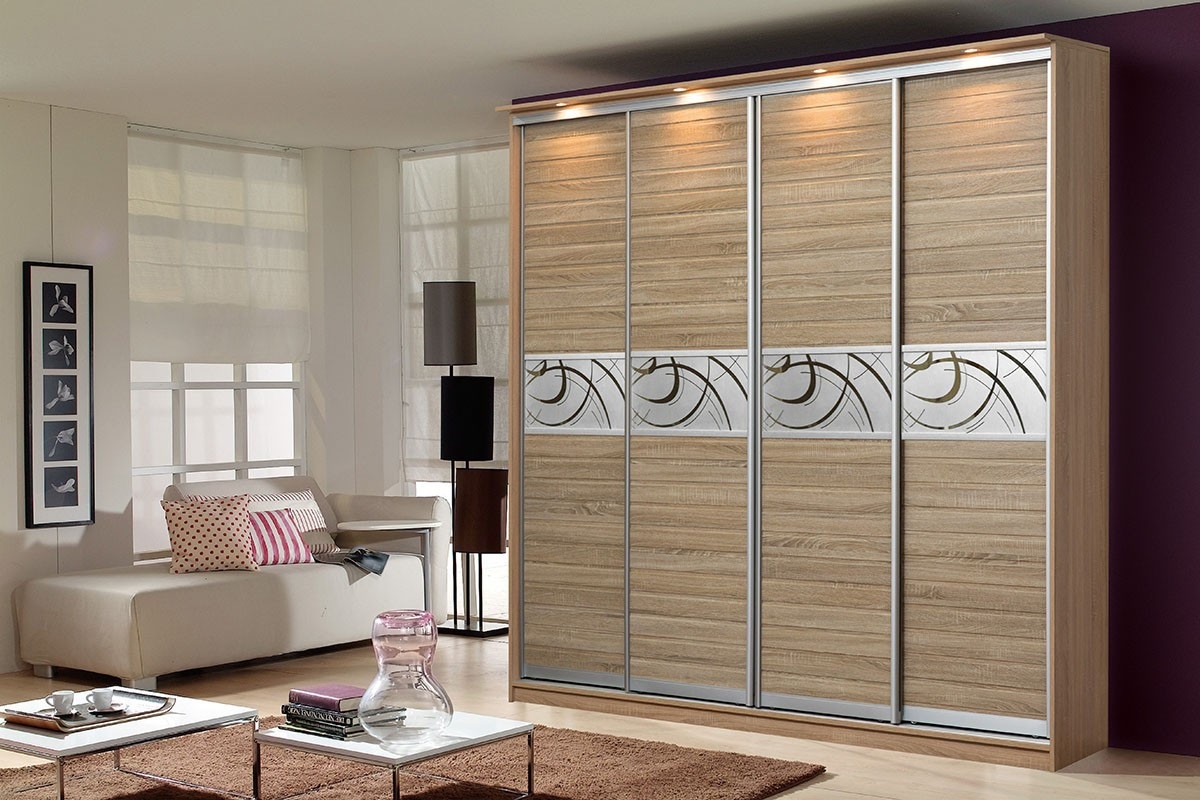
How to choose material
Before you make do-it-yourself sliding doors for a sliding wardrobe, you need to decide on the working material.
Important! Many furniture makers advise starting the manufacture of a sliding wardrobe with a miscalculation of the doors, because this is, in fact, the “face” of the entire structure. And only then you can make the main frame.
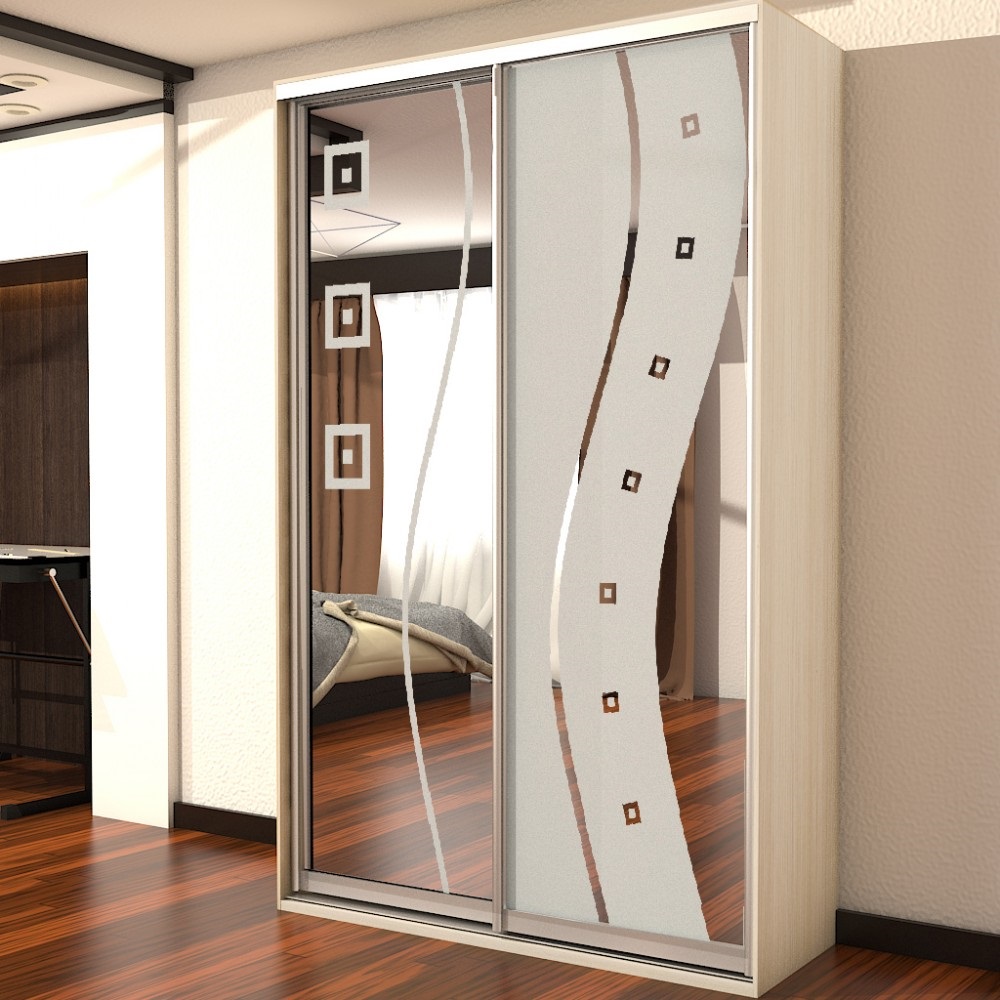
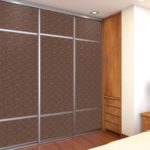
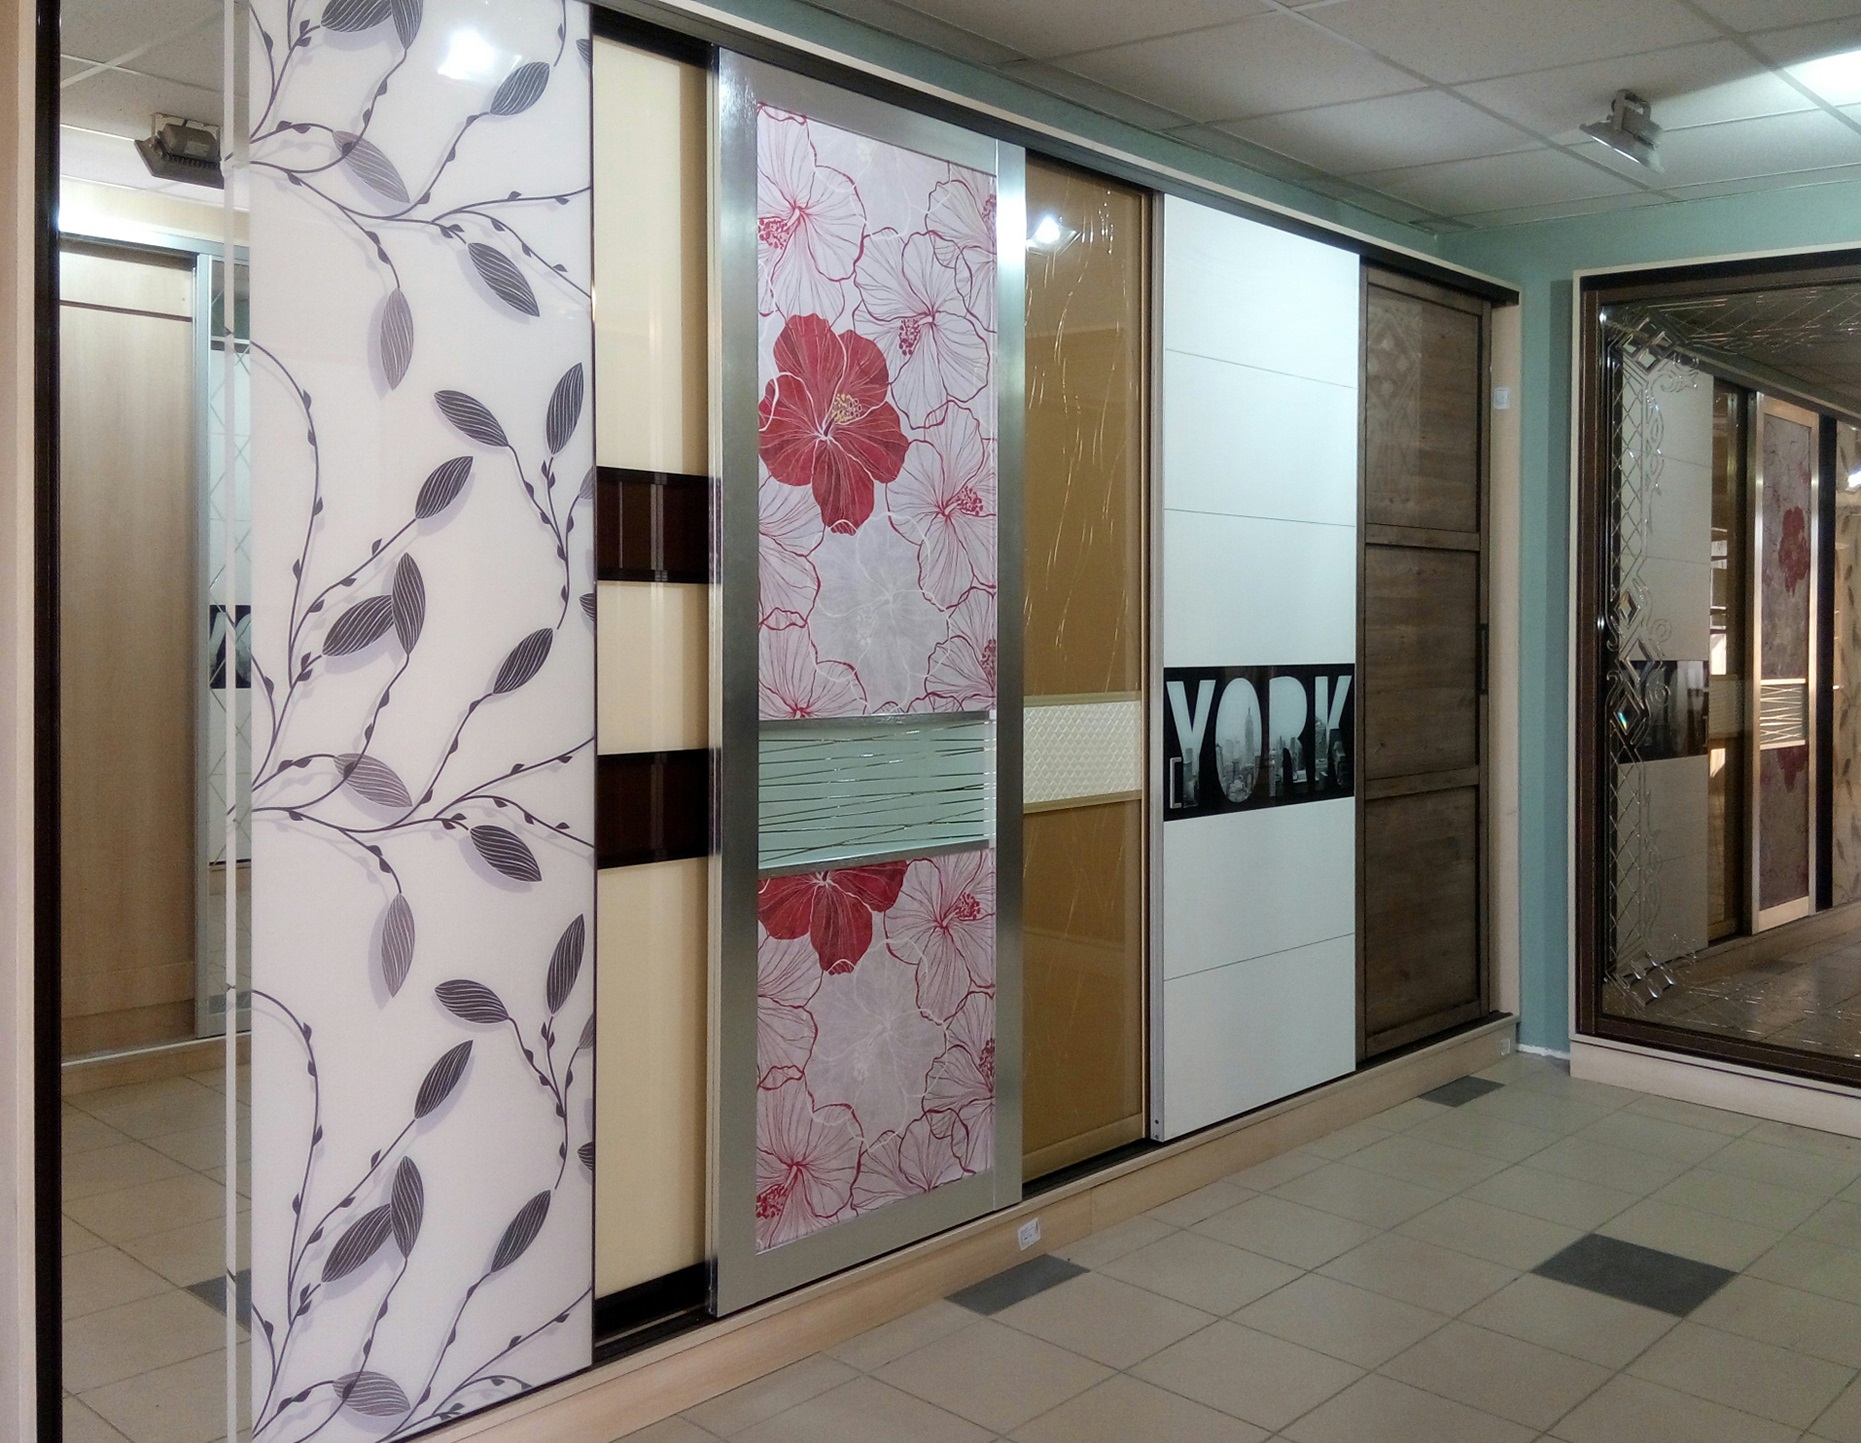
The first factor, from which customers start, is most often the budget for the manufacture of doors. The door material can be:
- natural wood;
- glass;
- plastic;
- mirror;
- rattan.
Note! Regardless of the material chosen, it is necessary to correctly calculate the permissible load on the entire structure. Under excessive load, the roller guides will suffer and the entire system will not last long.
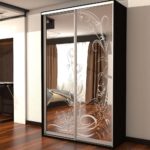
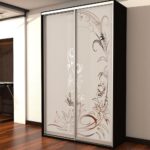
The most practical is either a dull surface made of natural wood or chipboard (chipboard), or a mirror surface. In many cases, a combination of different materials is used, such as glass and plastic, mirrors and glass. The mirror is often glued to an already finished surface, taking one of the doorways or part of it under it.
Measurement and drawing up
When making measurements of future doors, the overall width of the structure should be taken into account, because making doors with a smaller width than the inner base is the most common mistake. We also take into account that the upper and lower space of the door is set aside for the guides. Therefore, it is better to purchase door guides in advance and, according to the instructions for their use, obtain the size of the door leaf.
As a rule, when planning doors for a wardrobe, they break the canvas into 2-3 parts, and one or even two parts can be made hinged.
Although a drawing is not required, it will be very useful with the final assembly, even in the form of a rough sketch. Do not forget to take into account when drawing up the direction of movement of individual parts of the canvas and the correct location of the profiles.
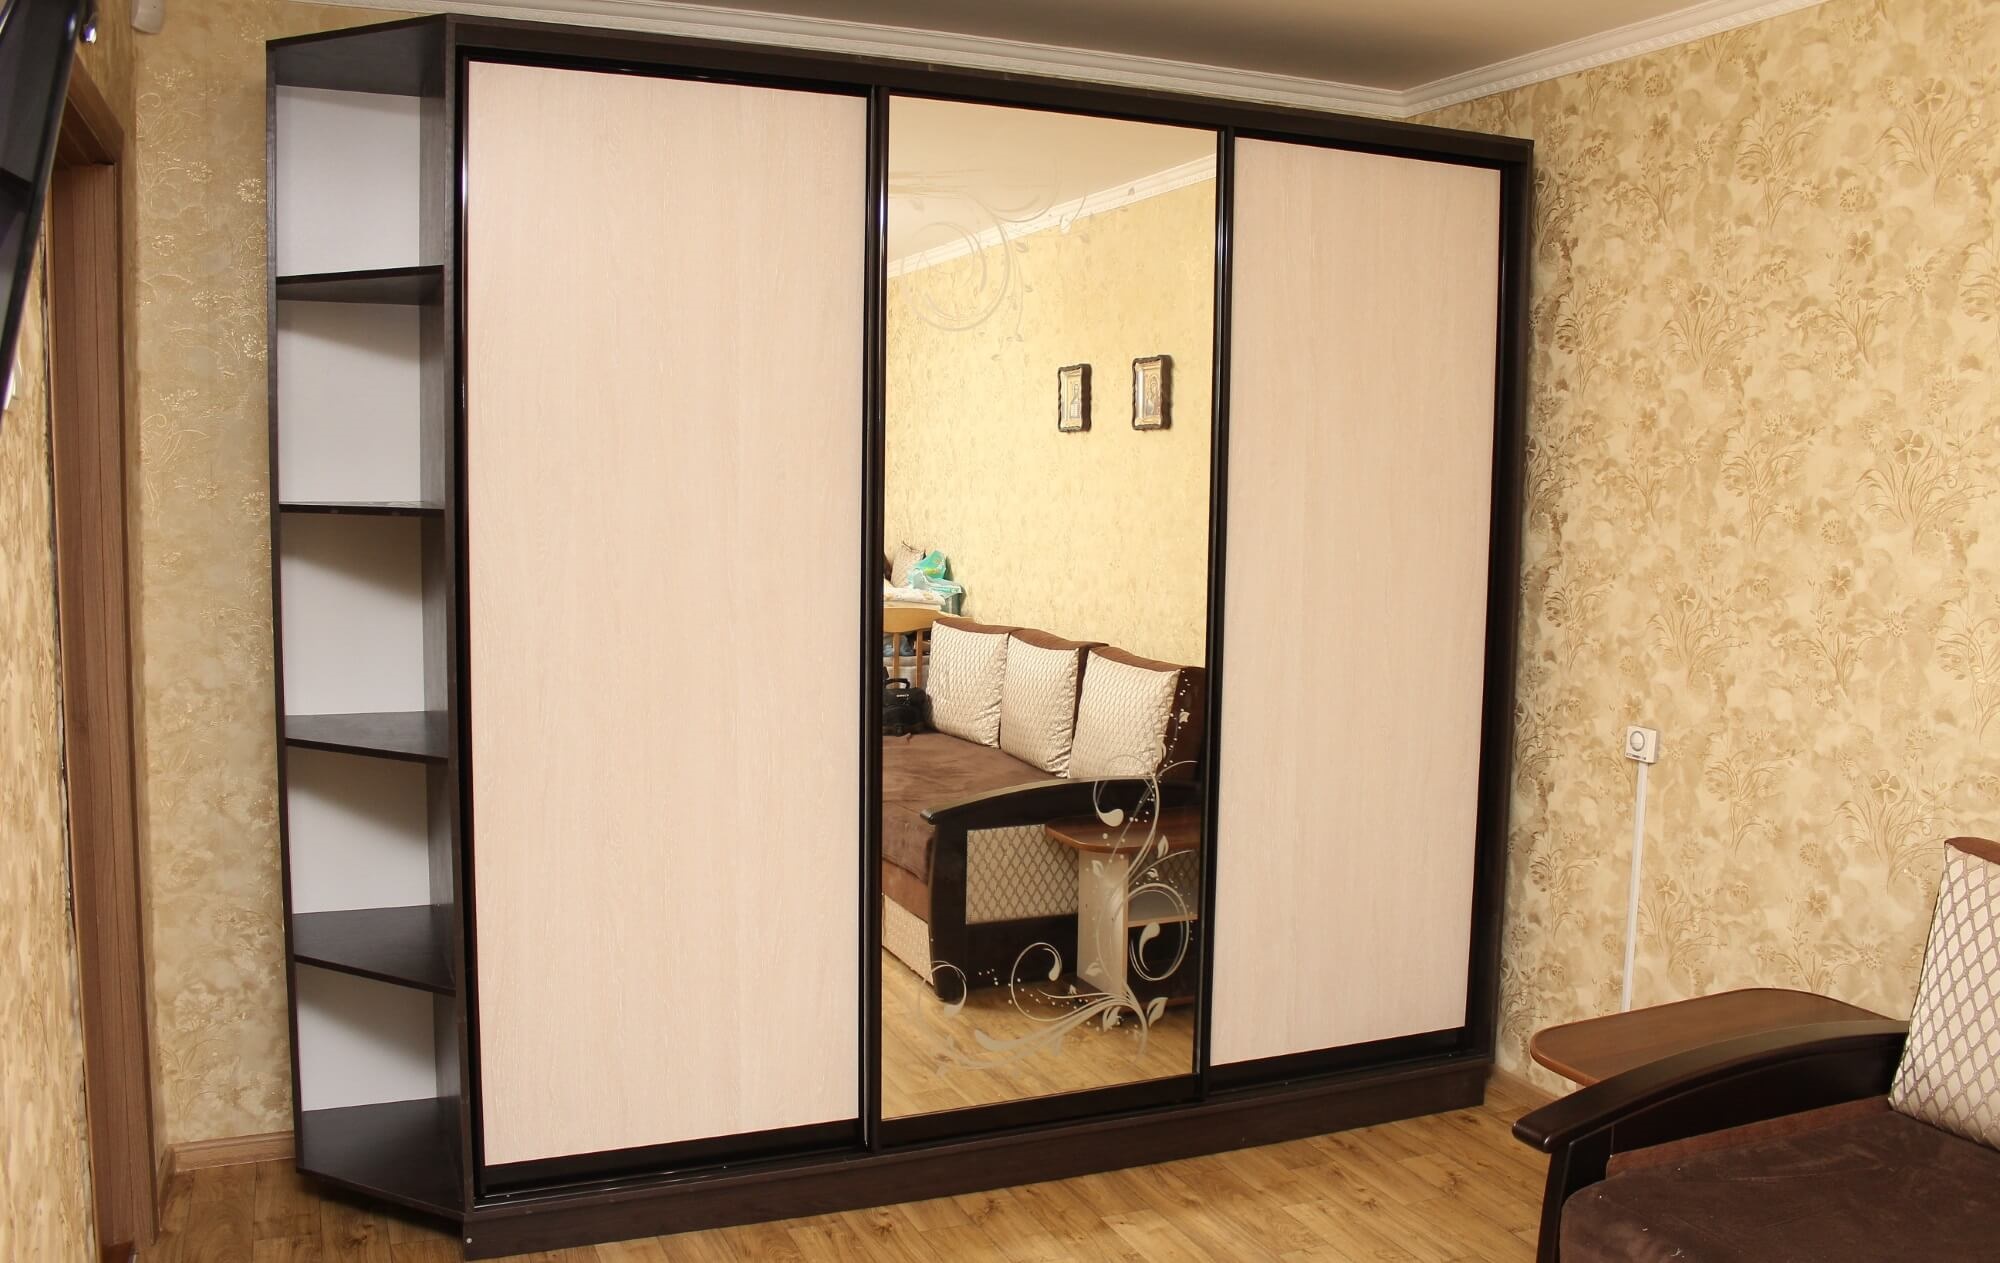
Required tool
Having decided on the final material, having carried out the required measurements and calculating the manufacturing budget, you can order work at the factory. It will not be difficult to understand and how to make the wardrobe doors yourself with your own hands.
Having the dimensions of the required workpiece, you can start manufacturing. Of course, this will require specialized equipment and skills, but on the installation and production of the door, you can save a sum of money comparable to the price of the finished structure.
In its most general form, a tape measure, a ruler, a pencil and a circular saw will be enough for marking and assembling the door. You can try to get by with a jigsaw, but when working with it, it is quite difficult to maintain an even direction of the cut and protect the edge of the material from chips. You will need a glass cutter to work with glass. For cutting plastic, you can use both a jigsaw and a hair dryer with any cutting tool.
Note! In the process of working with thick and large-sized glass, household tools will not be enough.

How to make a sliding door for a wardrobe with your own hands - step by step instructions
As in any manufacturing business, the manufacturing process must be broken down into separate steps. This makes it easier to control the final result, and most importantly, to monitor compliance with all requirements at every stage. The most important nuance in this matter is not to skimp on components. The more reliable the hardware manufacturer, the longer the entire door mechanism will perform its functions. And the less often you will have to face problems in its work.
Cooking details
To create and install a door for a wardrobe, we need the following details:
- the door leaf itself;
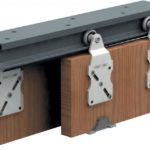
- set of upper and lower rollers;
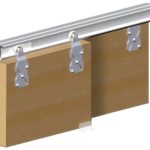
- guides for moving doors;
- frame and profile;
- buffer tape;
- set screws and self-tapping screws.
- sealing cord for the door (required when working with a mirror or glass)
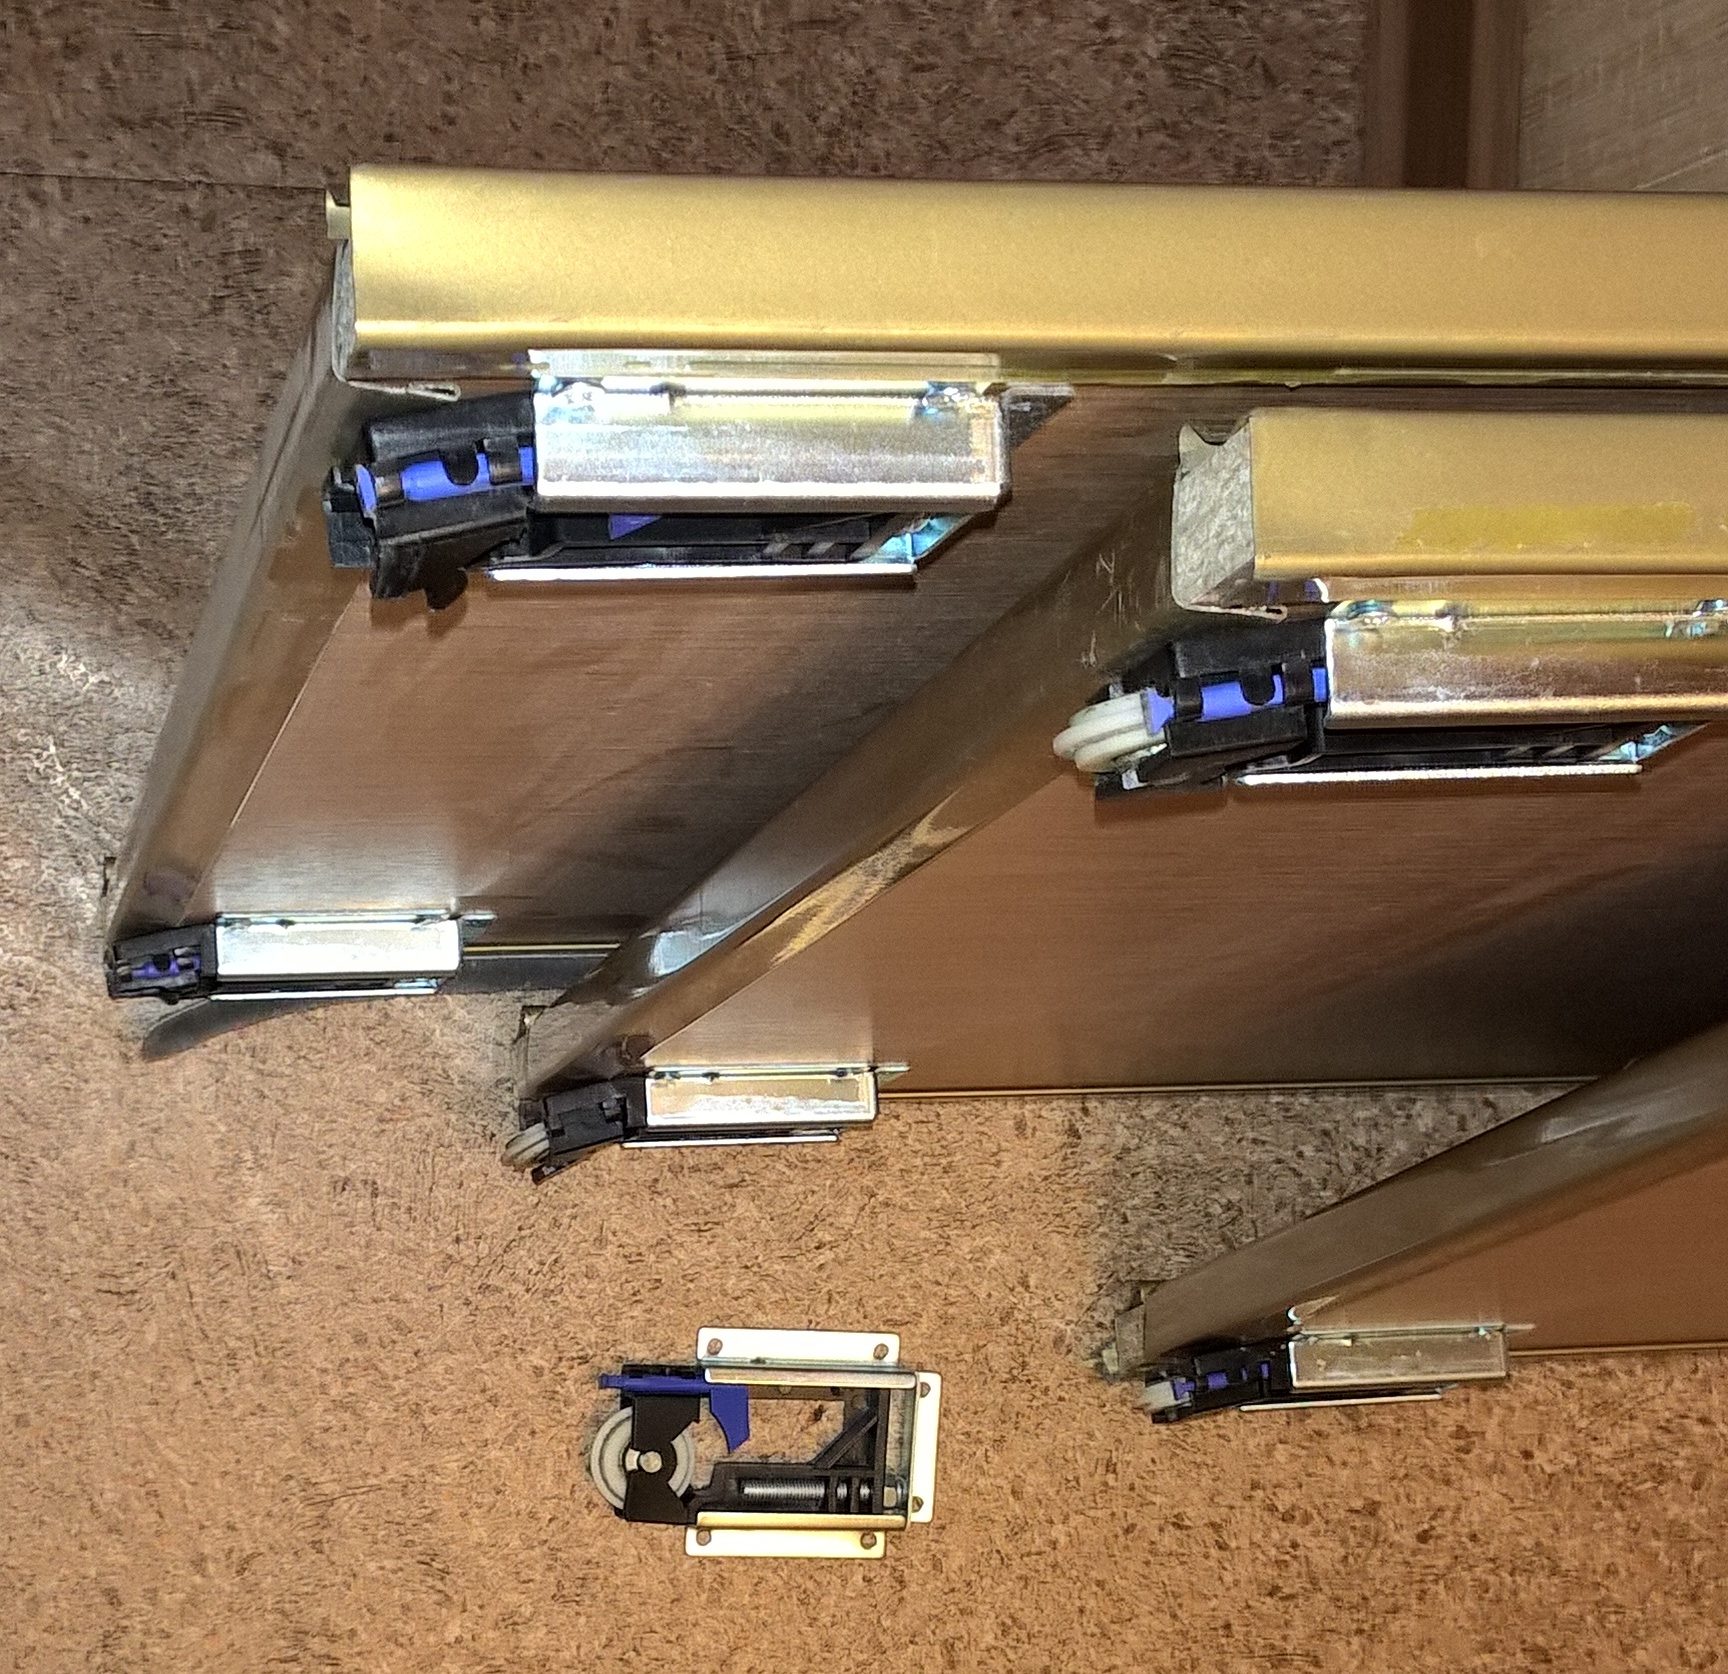
Adjusting and fixing the guides
The final result of all work depends on the quality of the installation of the guides. If the rollers do not move freely along them, the entire door mechanism can fail very quickly.
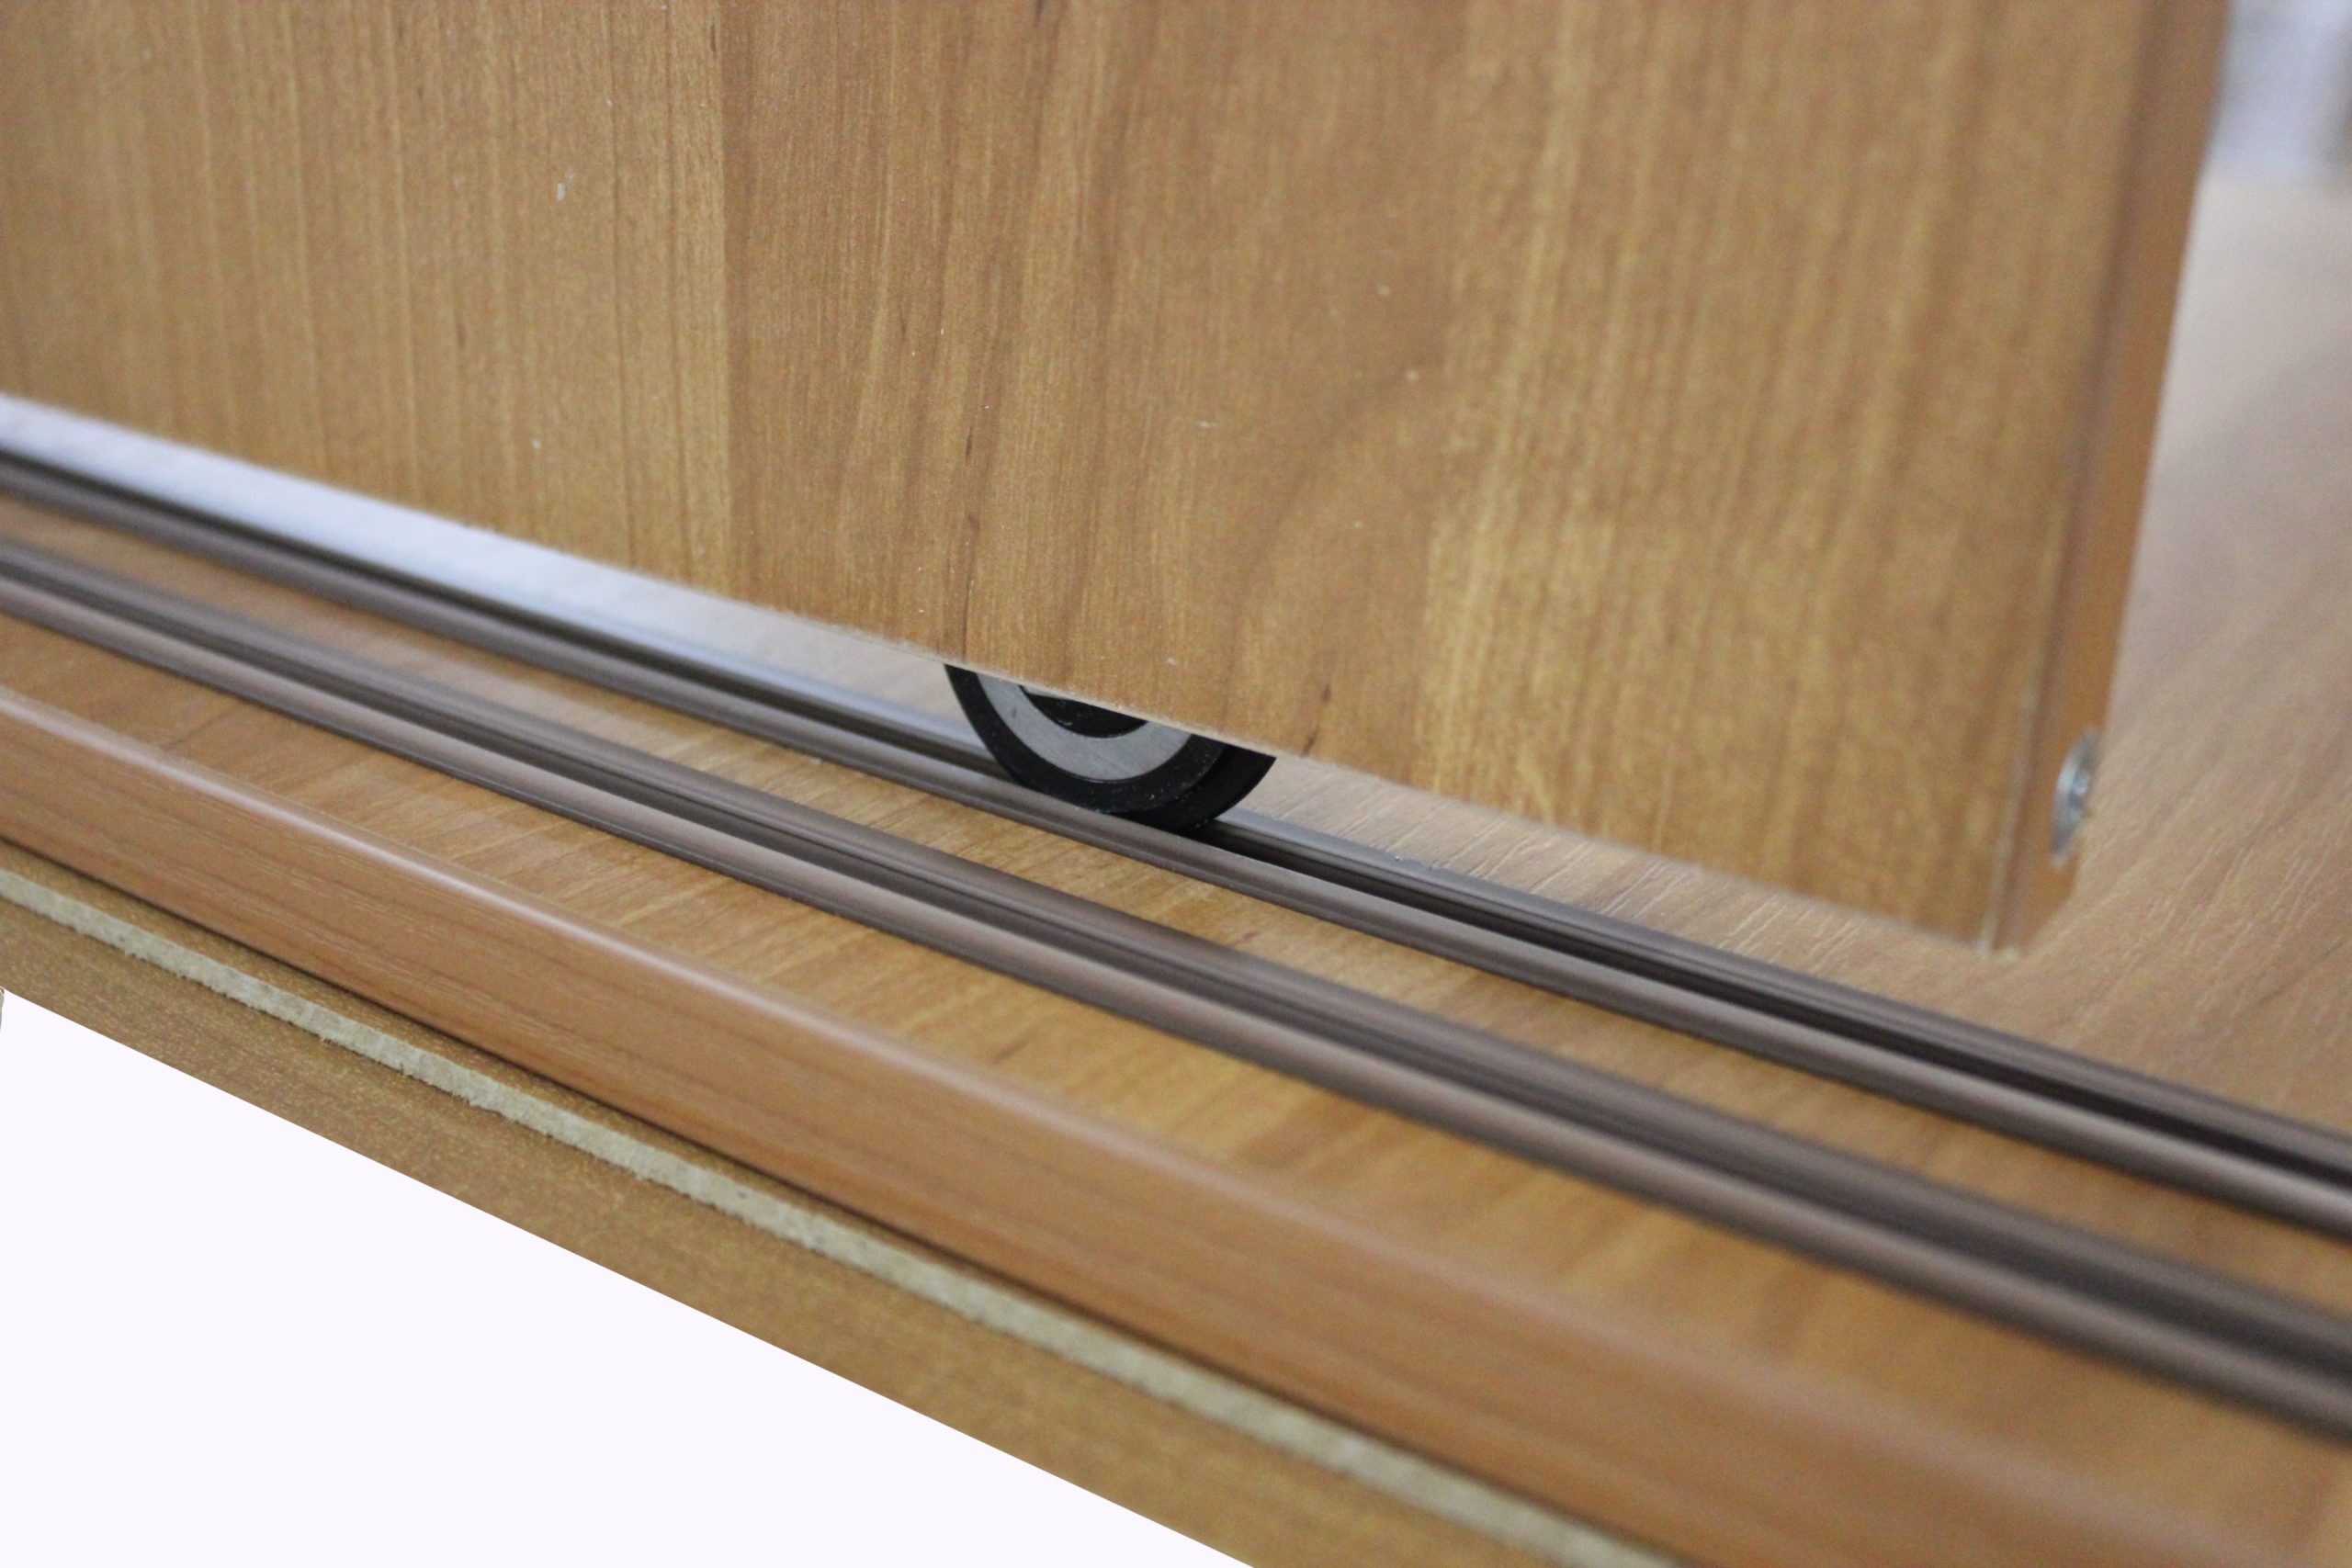
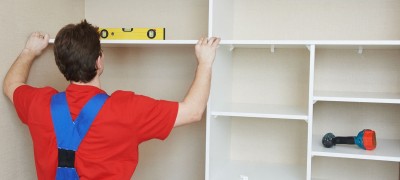
Note! The marking of the guides on the door leaf can be greatly simplified using the building level. It will also come in handy for the final installation of the door.
We measure a straight line, outline the attachment points of the screws for fixing the guides - and start installing them. The algorithm is simple enough.
Assembling the frame and profile
The frame will hold our door leaf and, thanks to the rollers, move it along the guides. The profile is more responsible for the aesthetic appearance and serves as handles for our doors. There are two types of profiles - C and H. The cross-section of the profile fully corresponds to its name, and the choice of any of them is more a matter of personal preference.
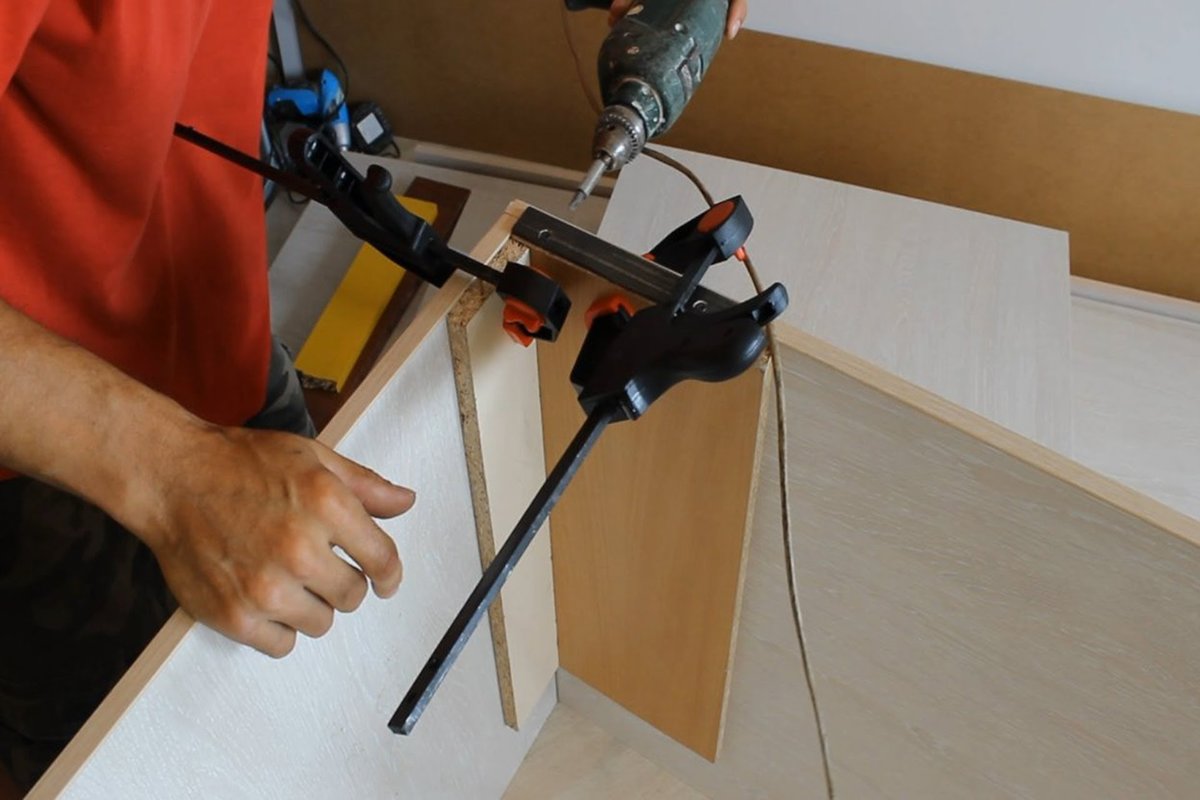
Installation and its features
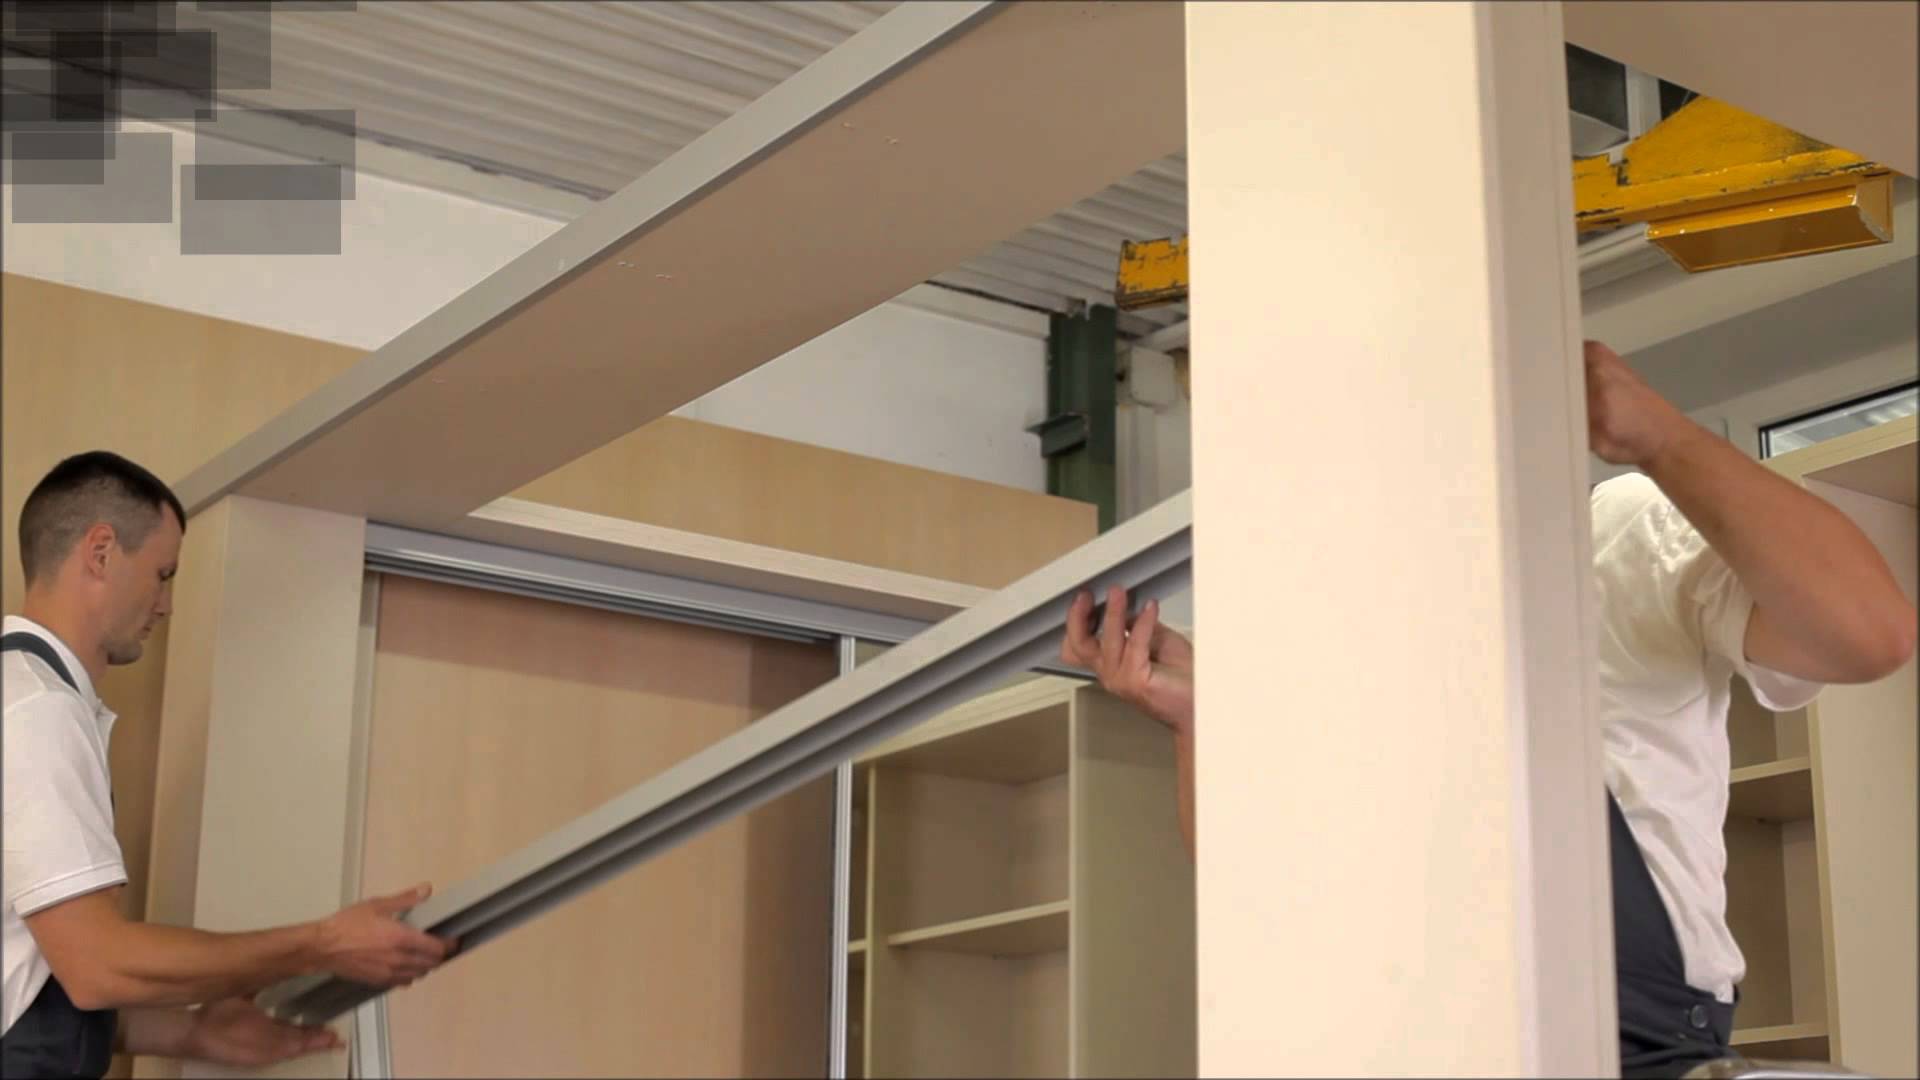
Door installation is the final stage of the installation of the entire structure. Therefore, even before starting this step, you should once again well check the compliance of the dimensions of the doors, guides, frame when they function together.
Note! To make sure of the geometric correctness of the cabinet doorway, it is enough to check the equality of the diagonals of the inner corners of the doors to each other.
And if these values do not match, check the frame dimensions for equality, even a few millimeters of difference at the output can give an incorrect result.
Do not forget to check the horizontal with a building level. At this stage, the “obstructed” horizon can be corrected with the least loss.
The mounting scheme for components is as follows:
- The guides are installed on the inner canvas.
- Assembling the door frame (without one of the sides) and installing the upper landing rollers.
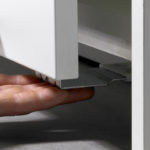
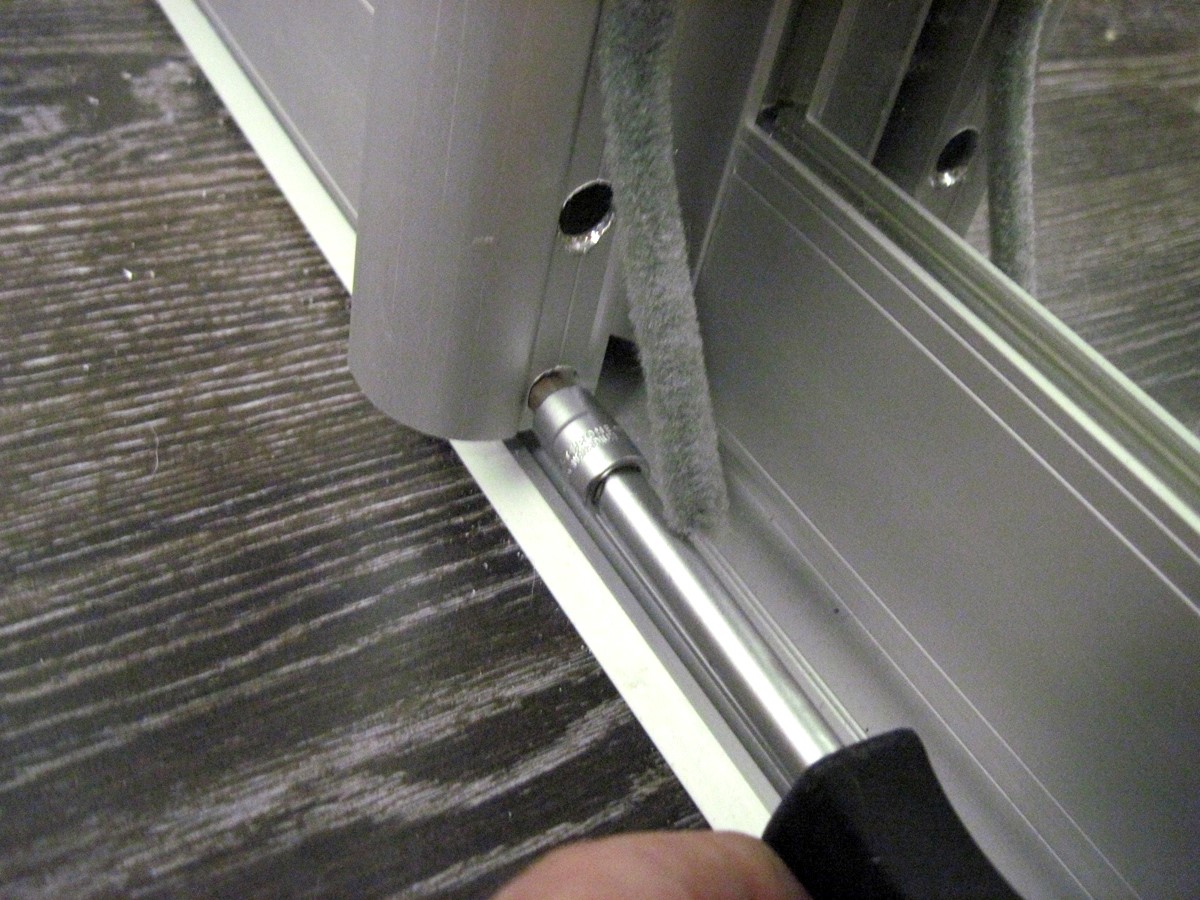
- Installation of the lower rollers.
- Installing the door leaf in the frame and assembling the rest of the frame.
- Bonding buffer tape.
- Installation of the assembled door in the guides.
Types of door fastening
There are several types of fastening systems for sliding doors:
- roller;
- frame;
- frameless;
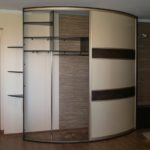
- radius.
The instructions described above refer to the frame system as the simplest and most reliable to operate. However, other systems can also be found on the market.
In the roller version, there is no frame profile on the door leaf, and this imposes rather serious restrictions. First, the blade must be in perfect condition, especially where it was cut.
This imposes serious restrictions, up to the possibility of ordering such paintings only at specialized factories. The rollers are attached only to the upper guides, respectively, if improperly used, the entire structure can be broken.
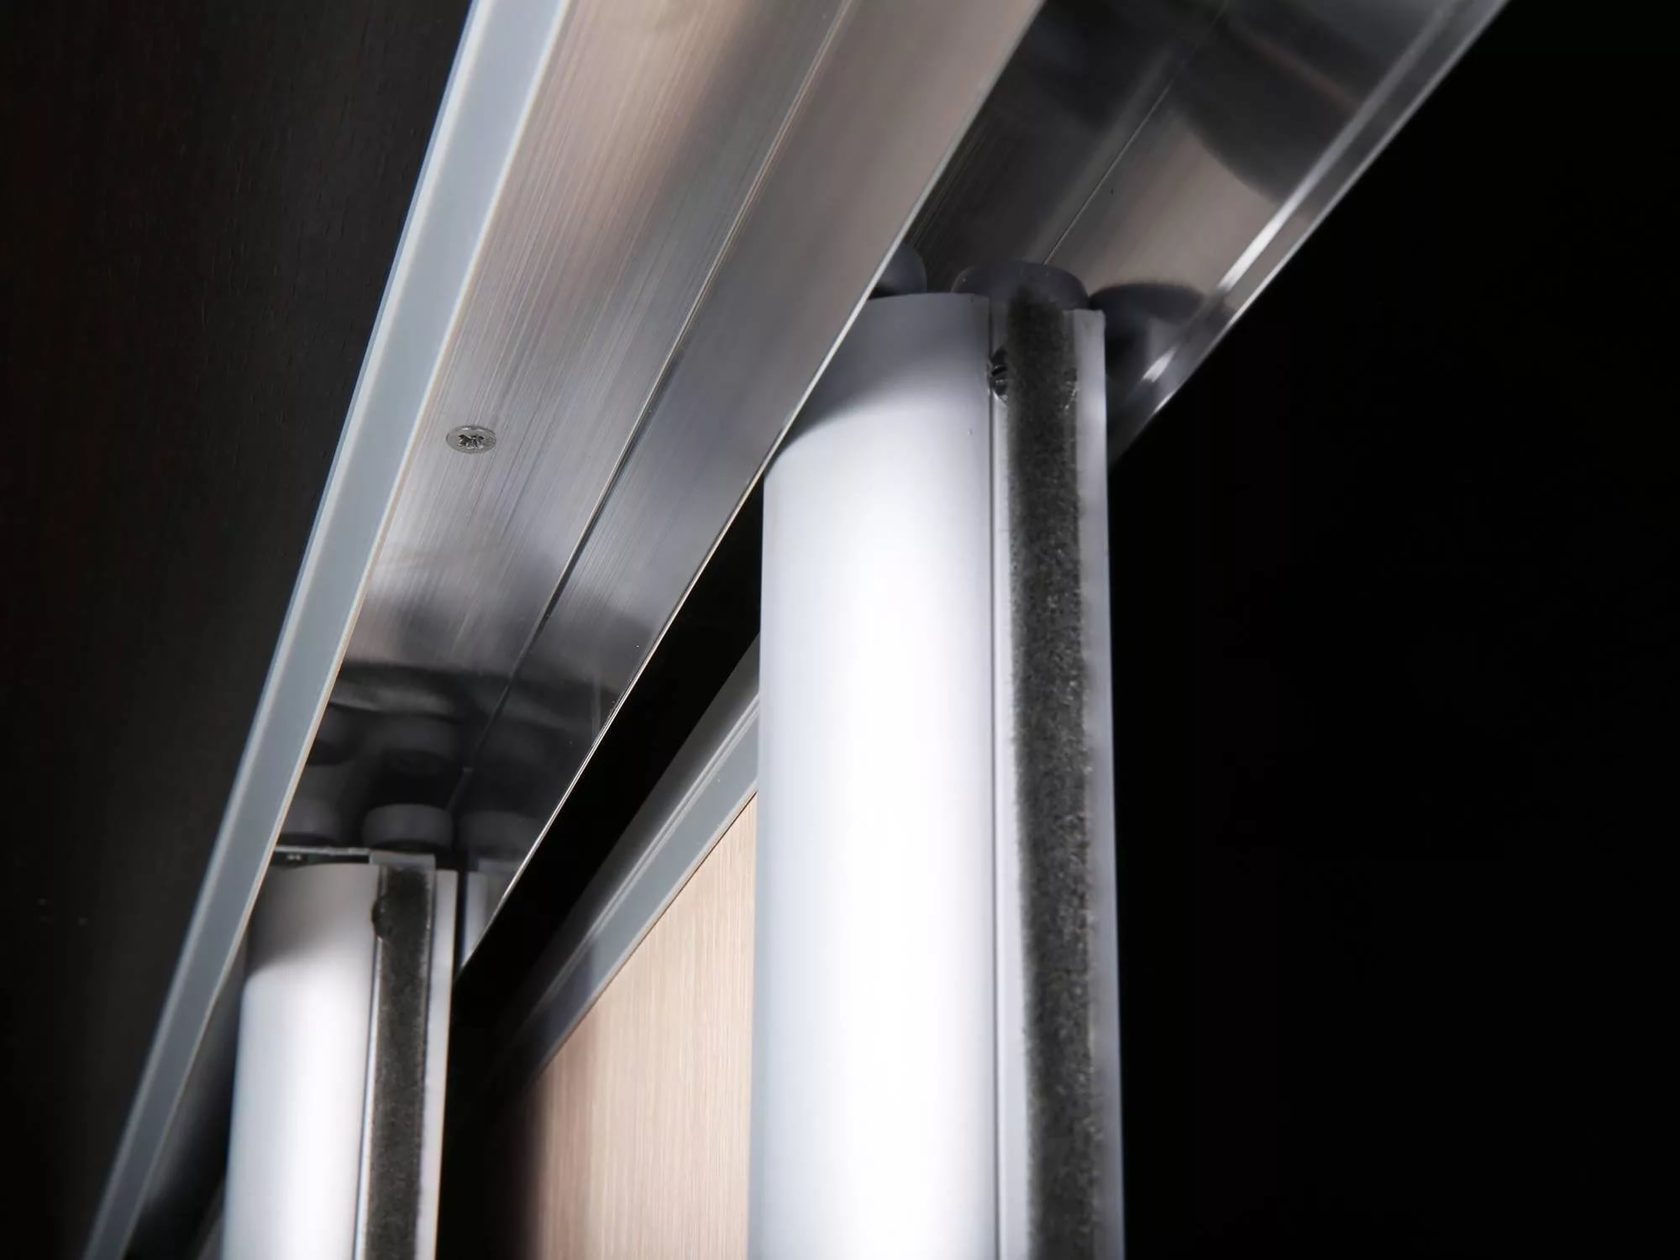
As the name implies, the frameless system is distinguished by the absence of a frame profile on the door leaf. At the same time, the same high requirements are imposed on the canvas itself.
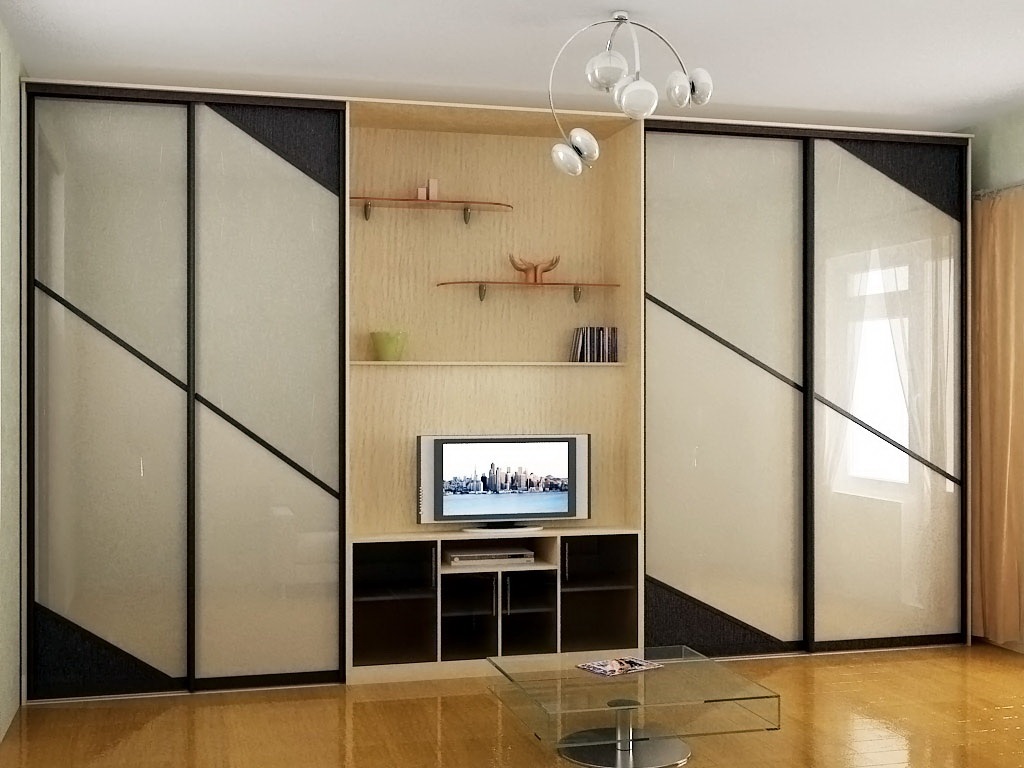
The only thing that distinguishes the radial system from the frame system is that the movement of the web is not carried out directly, but radially along the guides.
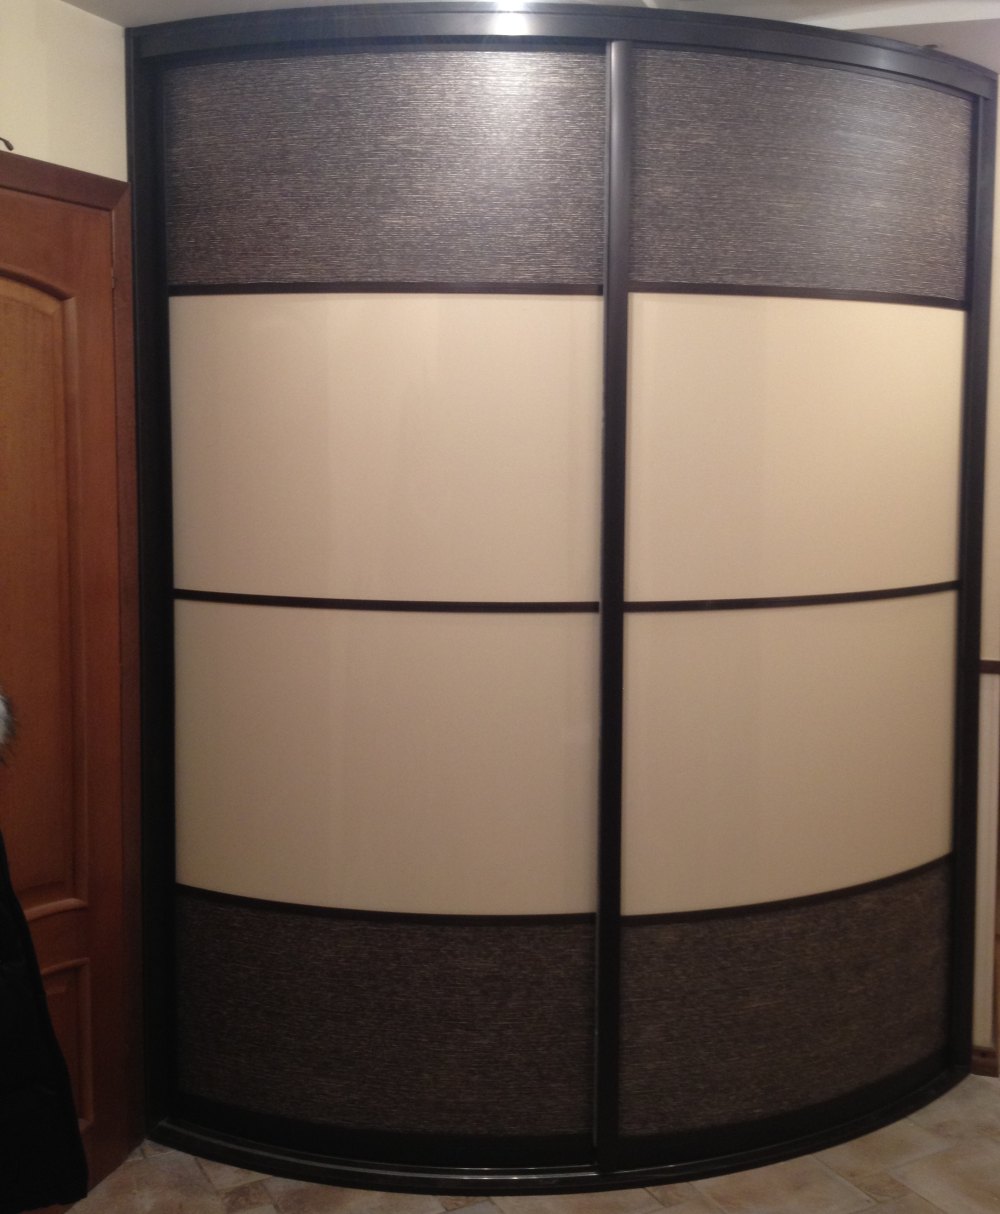
How to properly fix the door for a wardrobe
The canvas is installed as follows: the upper roller is inserted into the guide, and pressing the door as much as possible to the top, we start the lower roller. We carefully release the door - the installation is complete. It is very easy to check the correct installation - just open and close the door.
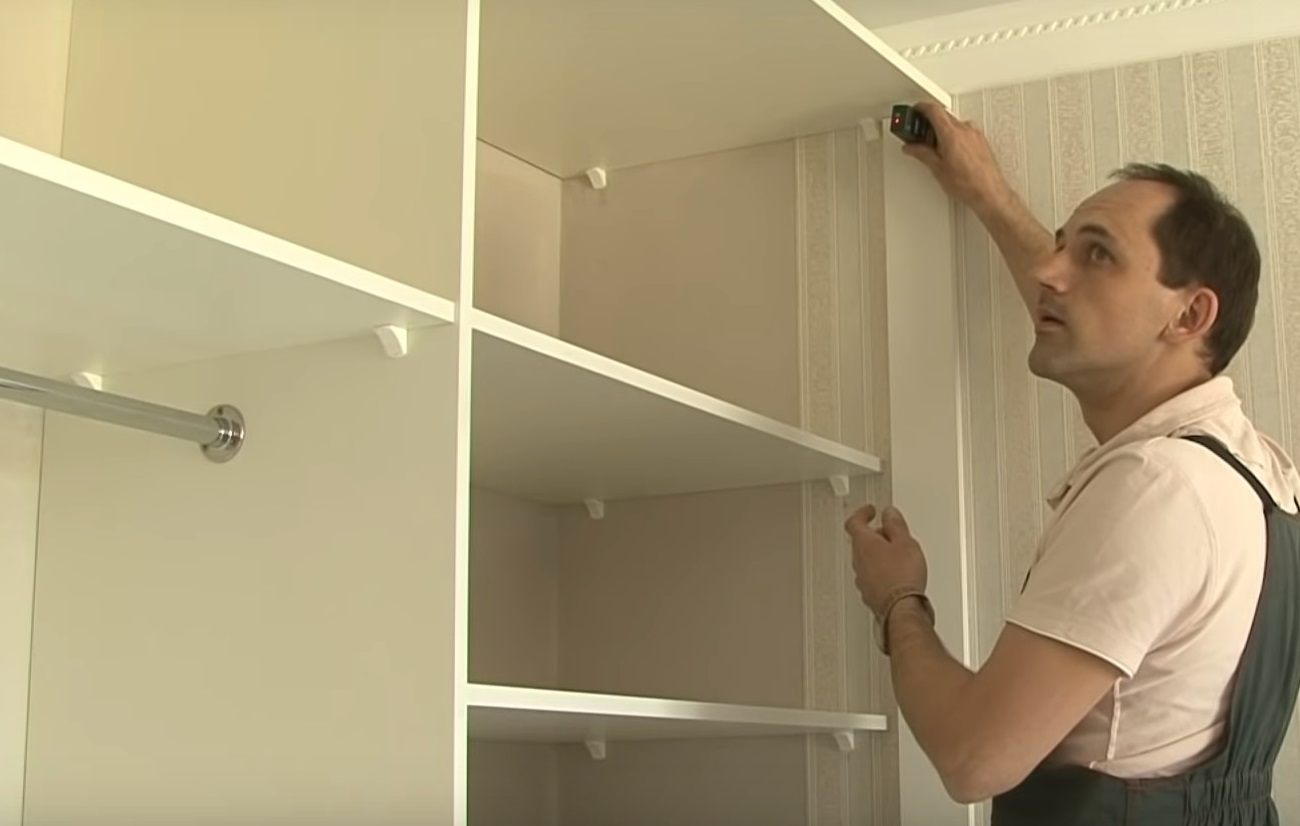
We control that the locking parts of the rollers work correctly and do not forget about the buffer tape, which ensures smooth braking of the door. Without it, each opening would be accompanied by extraneous knocks and damage to both the inner walls of the cabinet and the entire frame structure.
It is quite simple to install the doors of the sliding wardrobe with your own hands, the main thing is to adhere to our recommendations and strictly follow the correct sequence of actions.
Video: how to make doors for a wardrobe
