Cabinet assembly instructions
Self-assembly of a wardrobe is not such a difficult task as it might seem at first glance. It is enough to have at hand the manufacturer's instructions, as well as the minimum set of tools, which, as a rule, are at the disposal of every home craftsman. And in order not to lose sight of any important nuance, you should carefully read the recommendations below.
Features of the wardrobe
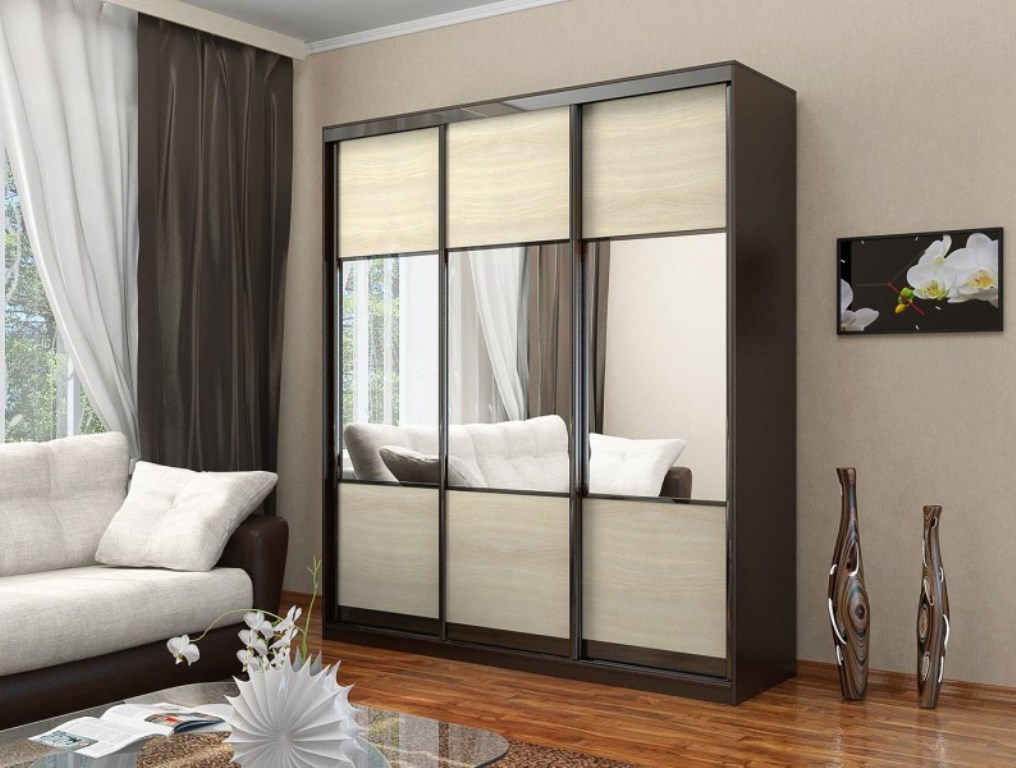
Sliding wardrobes are distinguished among themselves by design, they are:
- Built-in.
- Hull.
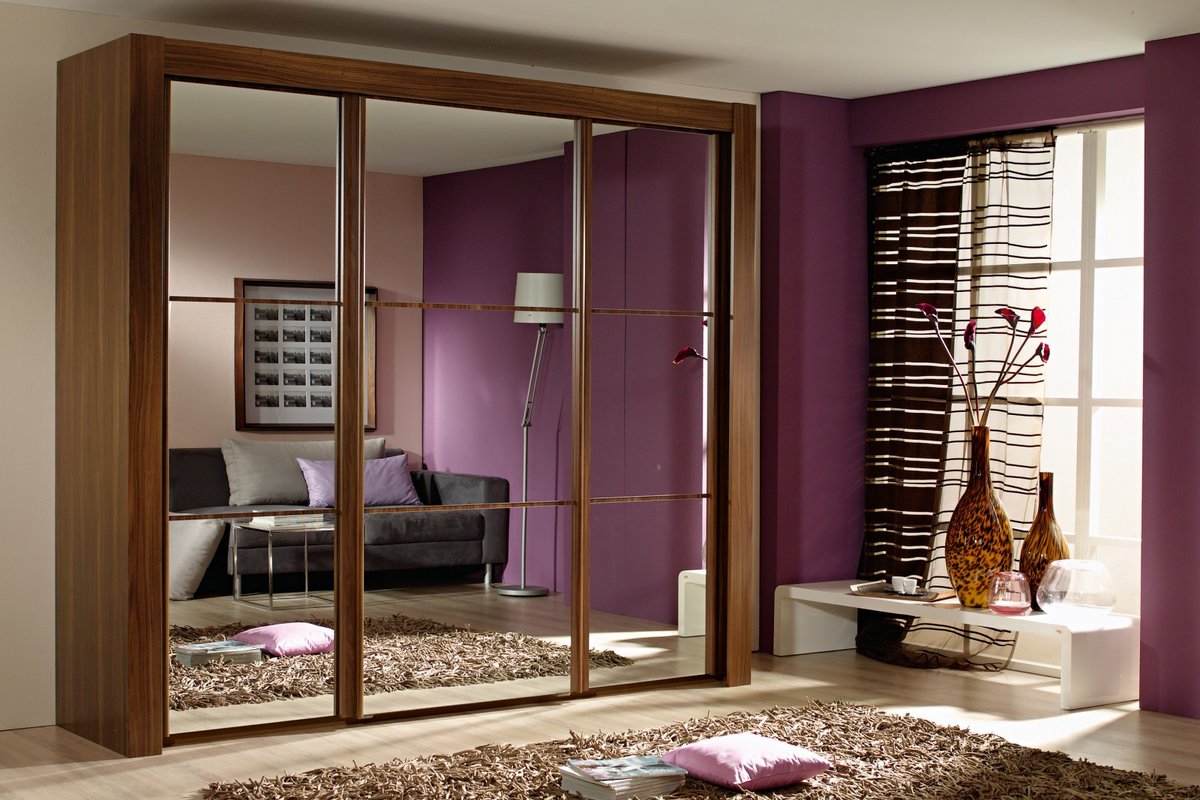
As the name implies, the main difference lies in the way such furniture is arranged. For a cabinet cabinet, it is sufficient to have a free wall in any room; a built-in cabinet should be installed in a separate wall niche.
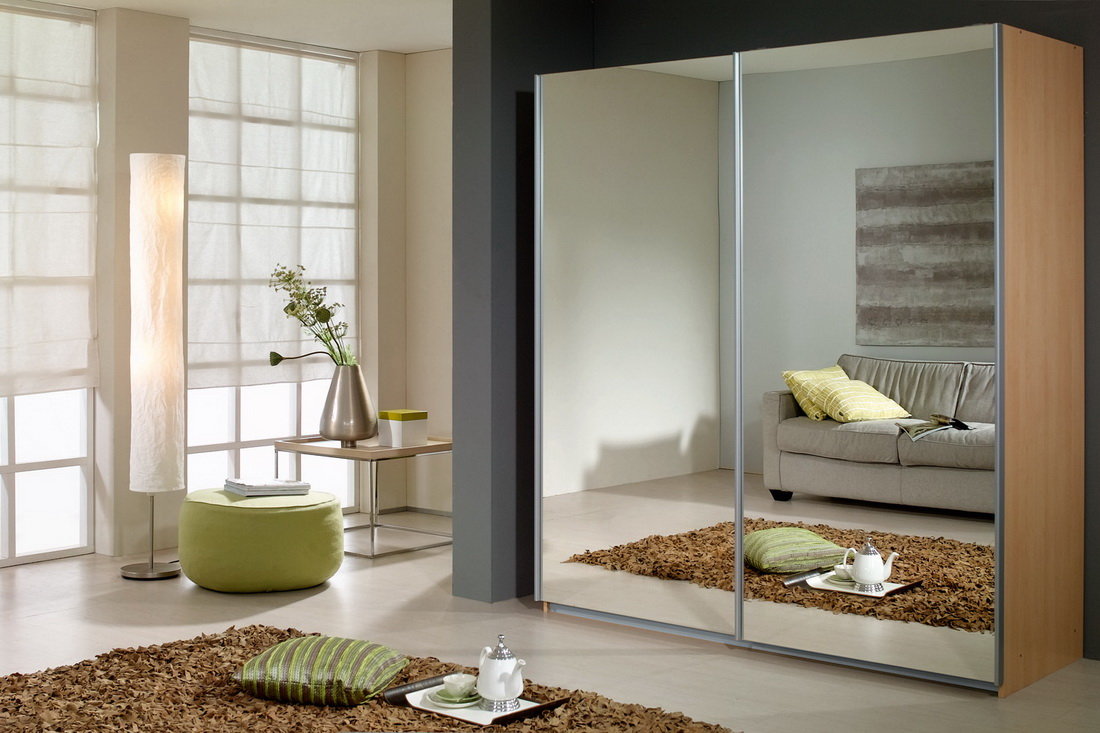
The most important opportunity that the sliding wardrobe offers to each of its owners is to plan and manufacture a model for their personal needs, to think over each individual piece of equipment. If you also do the assembly yourself, you can get an excellent functional piece of furniture interior in a very limited budget.
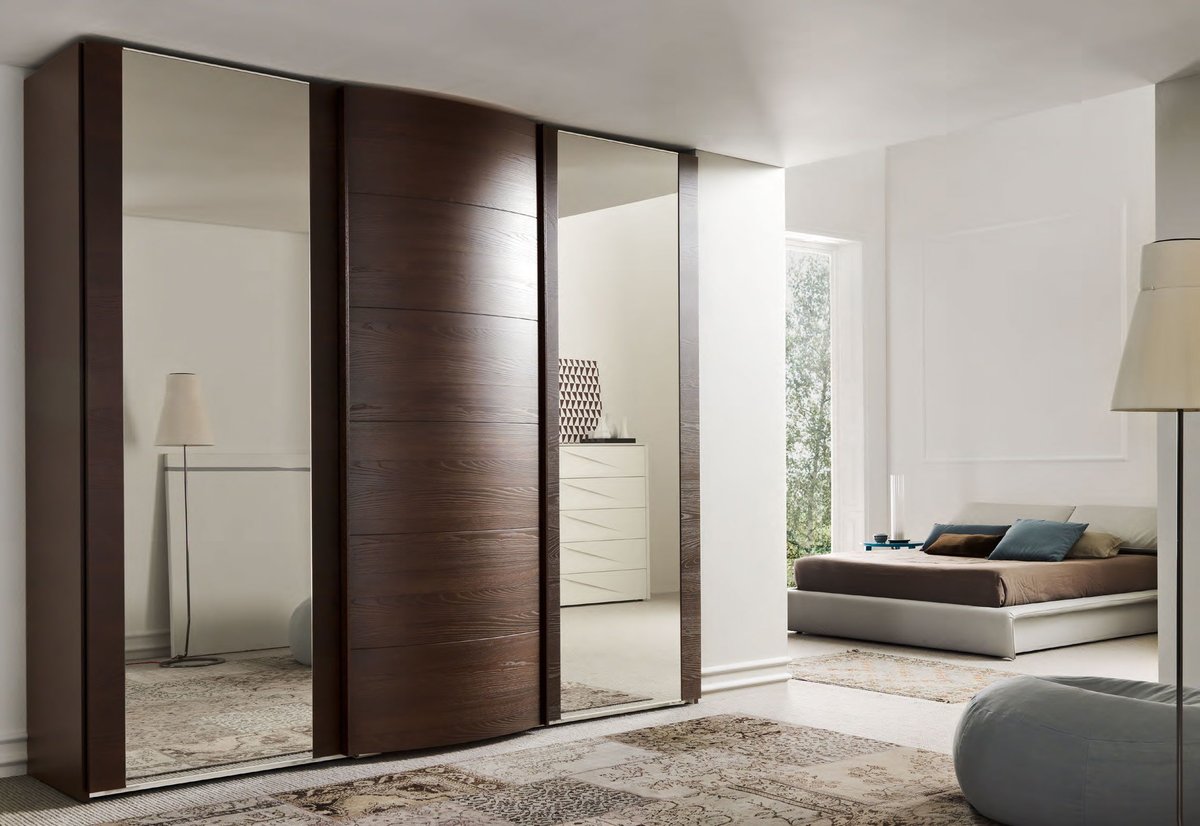
How to assemble the closet yourself
The most important thing before starting the assembly of any wardrobe compartment is that there should be detailed instructions for assembling the wardrobe from the manufacturer. Especially when it comes to a wardrobe with many internal shelves, partitions and storage compartments.
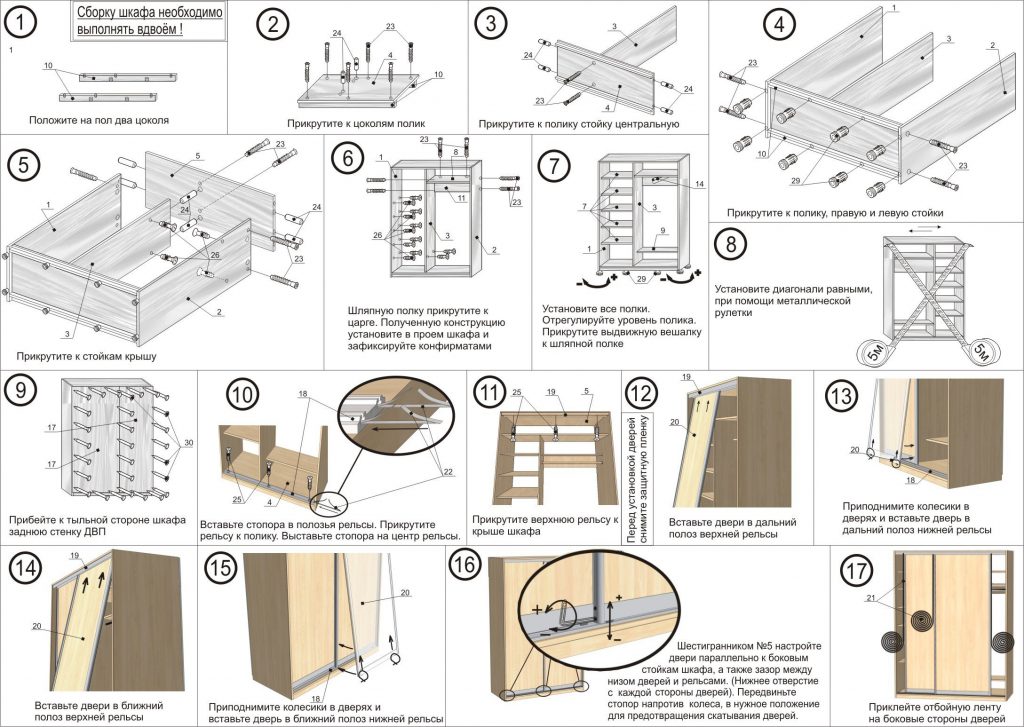
How not to make mistakes and assemble a wardrobe from ready-made fittings, we will carefully analyze further.
What tools are needed
Having a clear plan of action in front of you in the form of instructions, you must also check the presence of the following tool:
- Hammer (rubber and metal).
- Roulettes.
- Construction level.
- Screwdrivers suitable for the head of the fastener (most often furniture screws are made for a cross or hexagon), or a screwdriver with a set of suitable bits.
- Ruler and marker pencil.
- Drills for metal and wood (for the size of the fastener) - if the manufacturer has not previously provided for the mounting holes.
Note! The manufacturer's instructions for each specific model should indicate the required minimum tool for assembly.
Preparation before assembly
Before starting the assembly, it is recommended to check the completeness of the components of the future cabinet and the fasteners for its assembly.
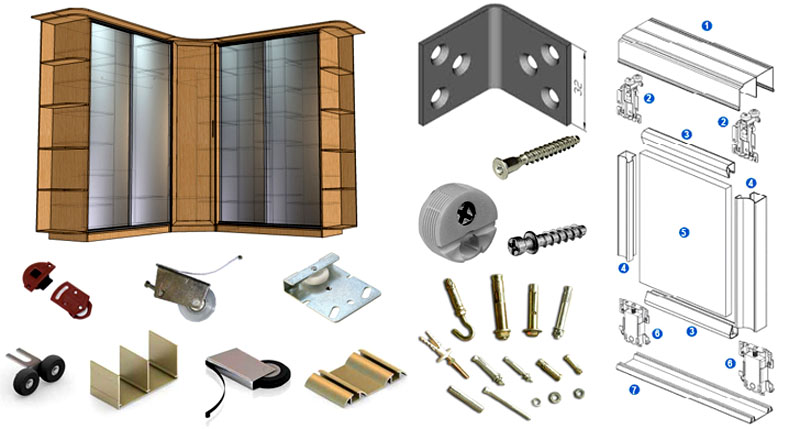
The integrity of each individual structural element must be checked even at the acceptance stage.
So, if the necessary tool is prepared, the completeness is checked, you can start assembling.
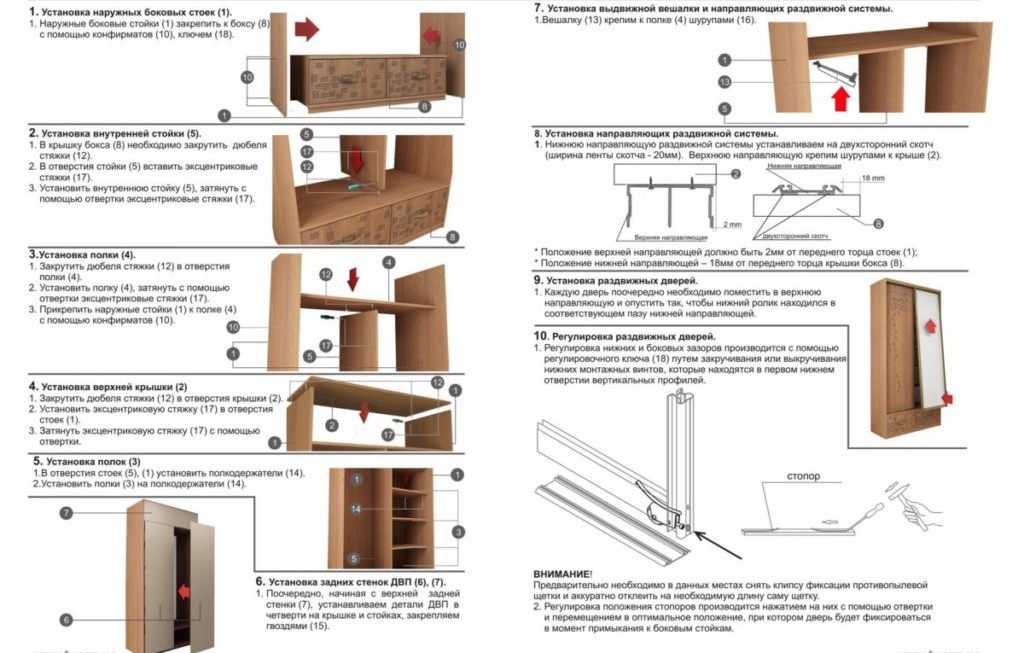
Assembly instructions for sliding wardrobes
It is very important not to deviate from the order in which the wardrobe is assembled, because in case of improper installation, especially when it comes to internal elements, a complete analysis of the entire structure may be required.
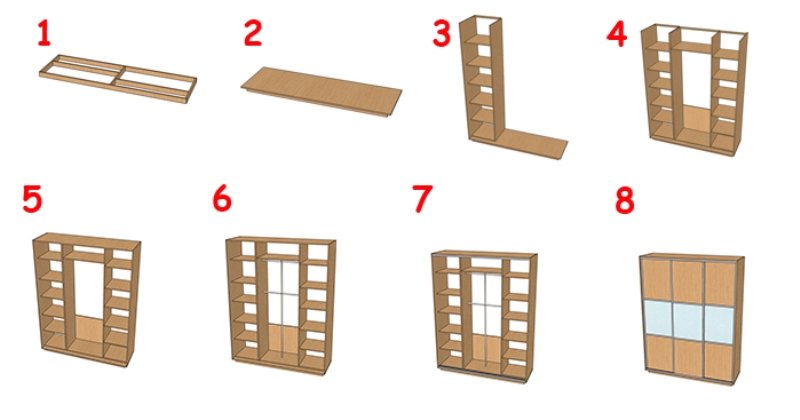
The wardrobe is assembled in the following order:
- Base / plinth.
- Frame.
- Back wall.
- Installation of internal elements and door guides.
- Door installation.
Let's consider each item separately.
Plinth
The plinth is installed in cases where the sliding wardrobe stands on legs, and is used more to ensure an aesthetic appearance.
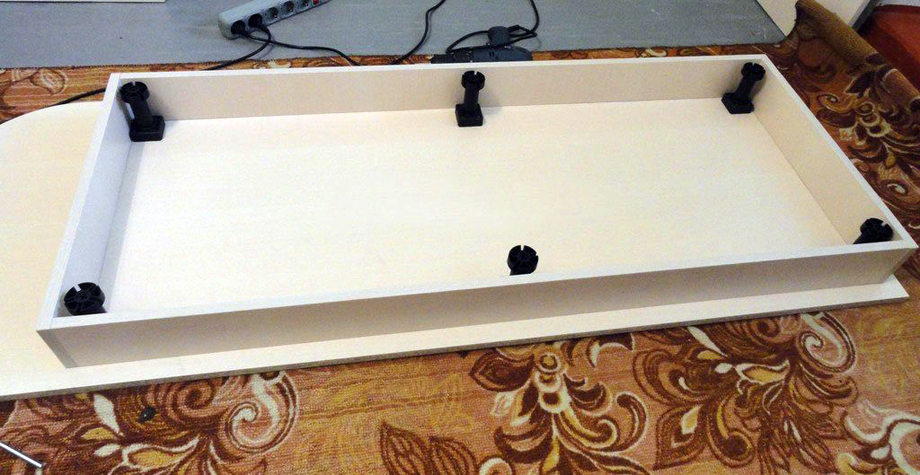
Important! It is recommended to install the legs at a distance of about 80cm from each other to ensure the stability of the entire cabinet structure.
The plinth can be installed both on top of the lower level of our cabinet, and below it. Both options are often used at the same time, and the final choice of the most suitable one remains with the cabinet manufacturer.
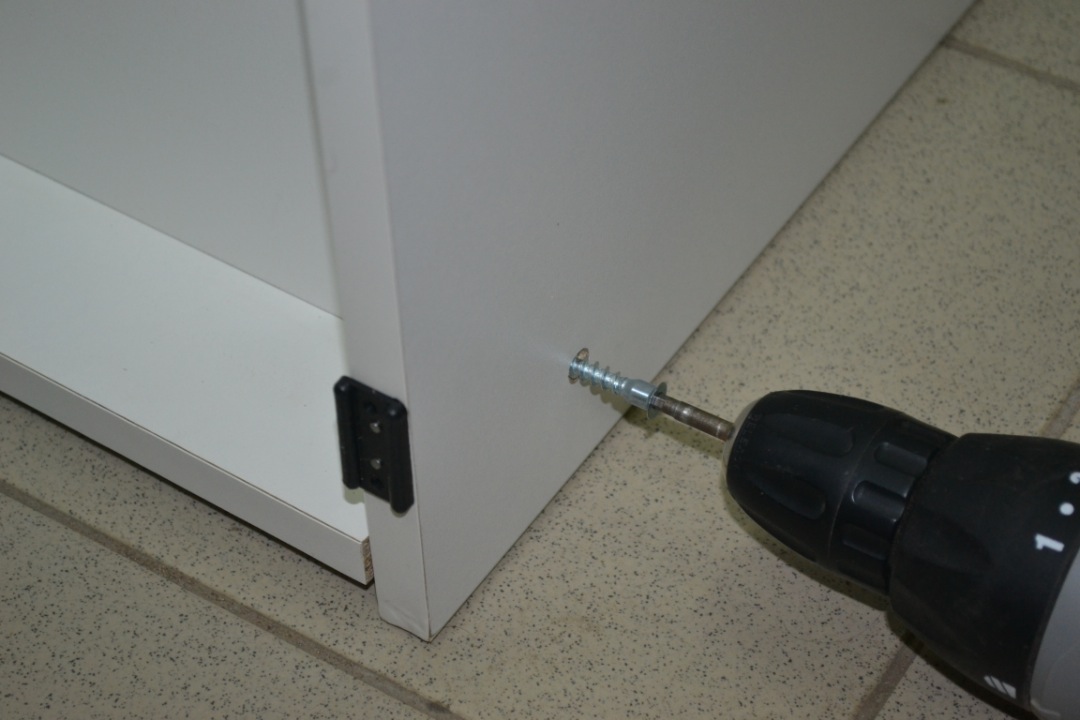
Both in the front and in the lower version, it is recommended to fasten the plinth to furniture screws for secure fixation.
Frame
Having fastened the honey legs, a detail of the lower base and a plinth, you can proceed to the collection of the main "skeleton" of our cabinet - the case.
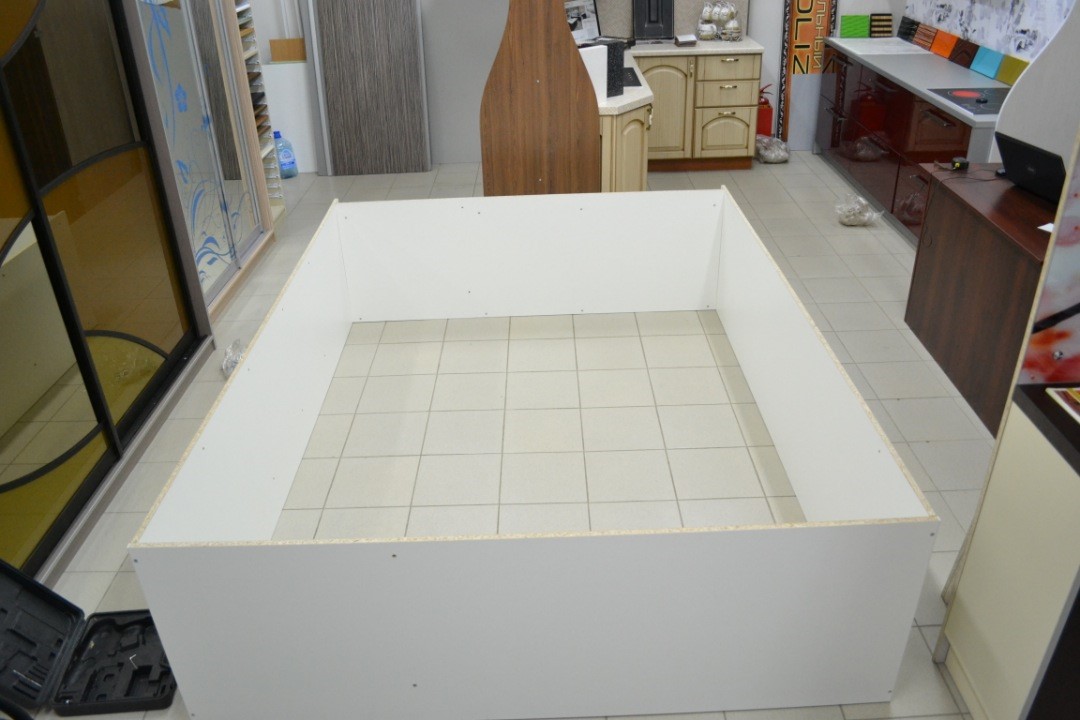
Note! Before starting the assembly of the enclosure, it is important to make sure, using a spirit level, that the base of the enclosure is level with the floor surface.
The correct sequence for assembling the case is as follows:
- Right side;
- left-hand side;
- middle;
- lid.
You can start assembling from the left side, but the general rule is that the side racks are assembled first, then the middle, then the cover. Therefore, it is recommended to carry out installation together in order to be able to control the entire structure from disintegration in different directions.
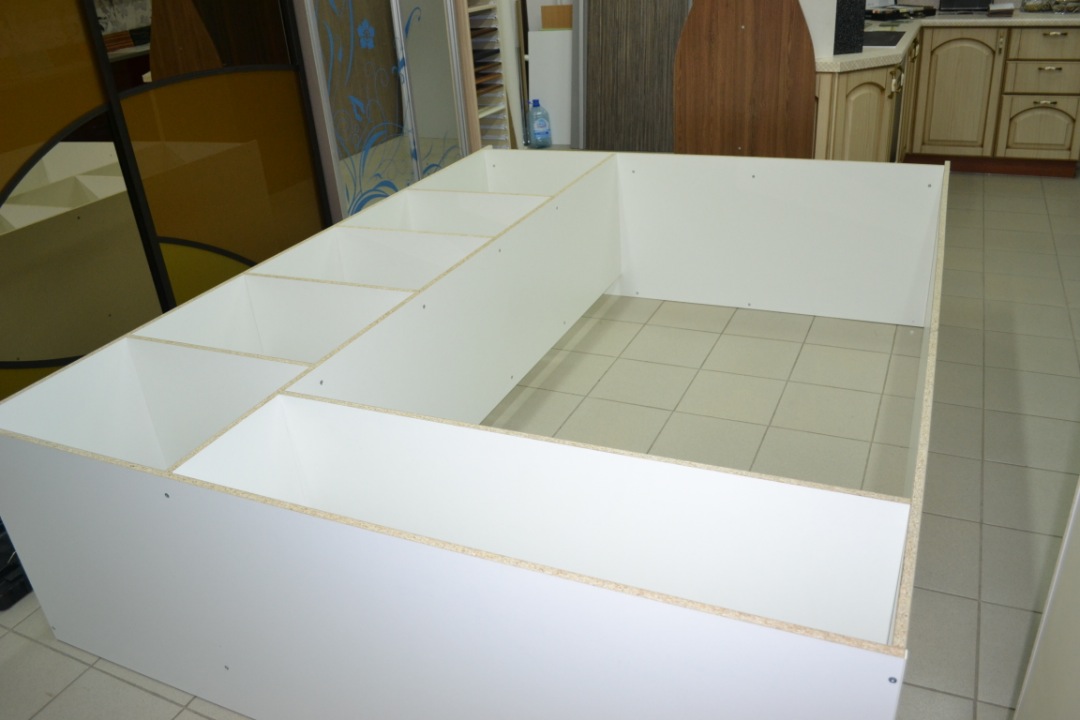
Important! To make it convenient to screw on the lid, it is recommended to leave a free space of 100 mm or more from the ceiling level.
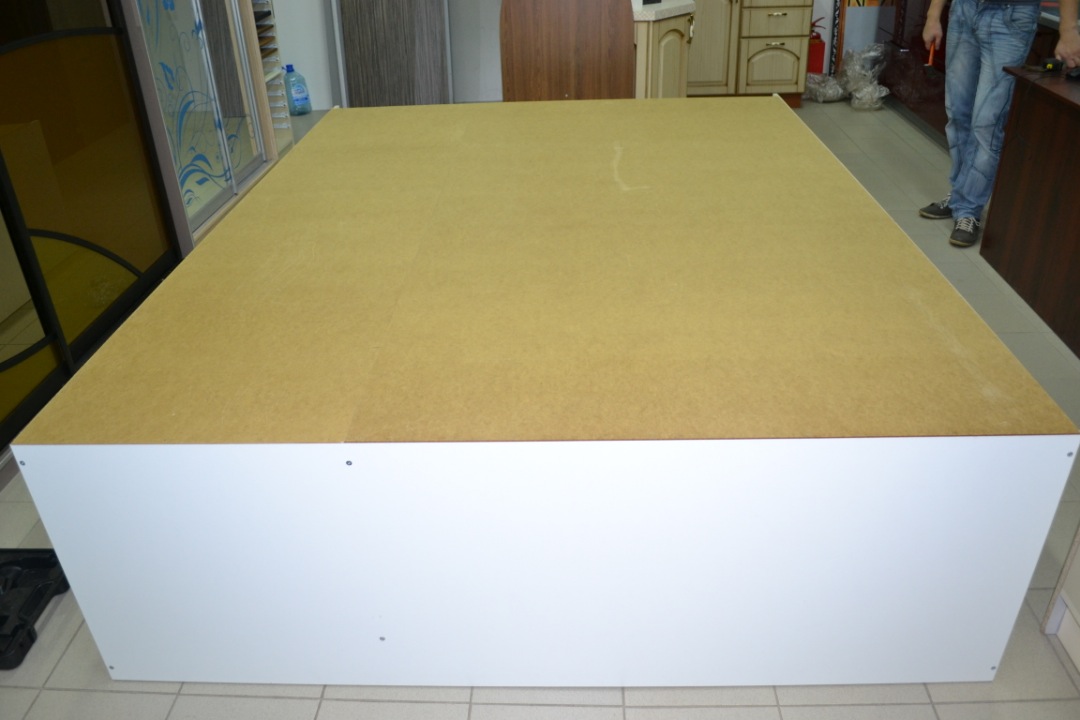
After collecting the "skeleton" of furniture, proceed to the installation of the back wall.
Rear wall installation
Since Soviet times, it has been customary to nail back furniture walls, and nowadays many manufacturers still use this method. It is better to avoid it by purchasing a sufficient number of small diameter furniture screws. This will allow you to forever forget about the risk of damaging the fastening of the back wall to the base.
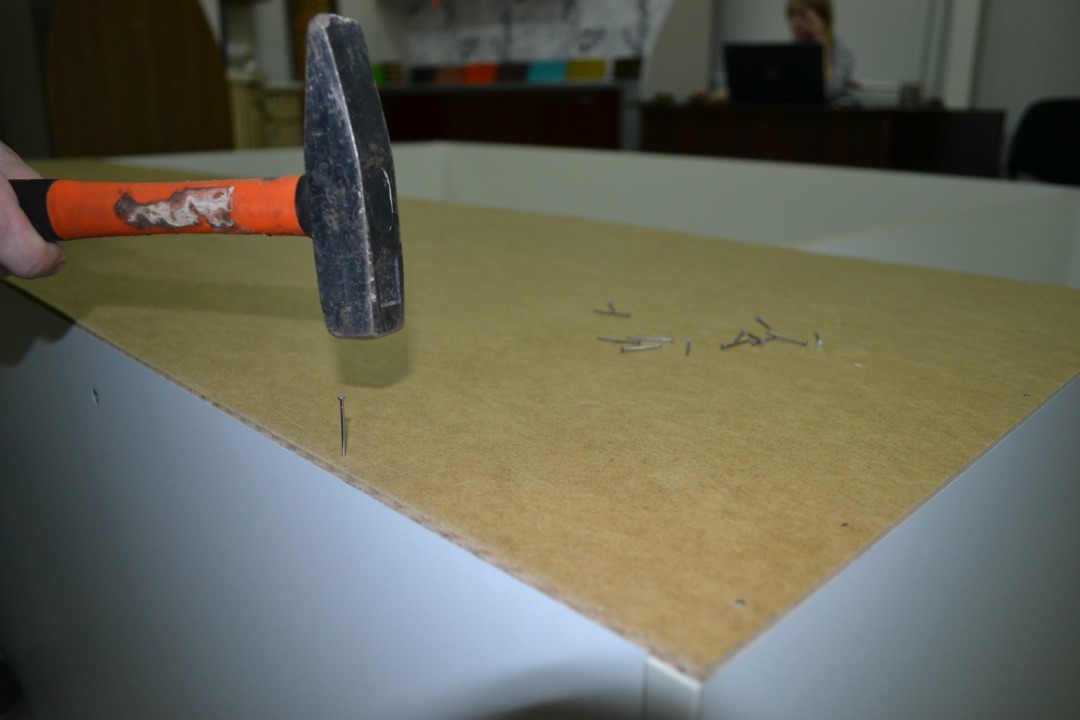
If it is inconvenient to mount the wall to the cabinet in a standing position, this can be done by laying the case on the floor - in the assembled state, the cabinet geometry can no longer be disturbed.
In some cases, especially when mounting the cabinet in a niche, the installation of the back wall is replaced by painting the wall surface with paint that does not leave marks after drying.
Installation of shelves and rails
Having completed the main front of assembly work, you can proceed to the formation of the internal equipment. According to the available assembly instructions, moving from one edge to the other, we install the shelves. They can be attached to the body with screws, or installed on metal shelf supports, which, in turn, are preliminarily fixed in holes specially prepared for them.
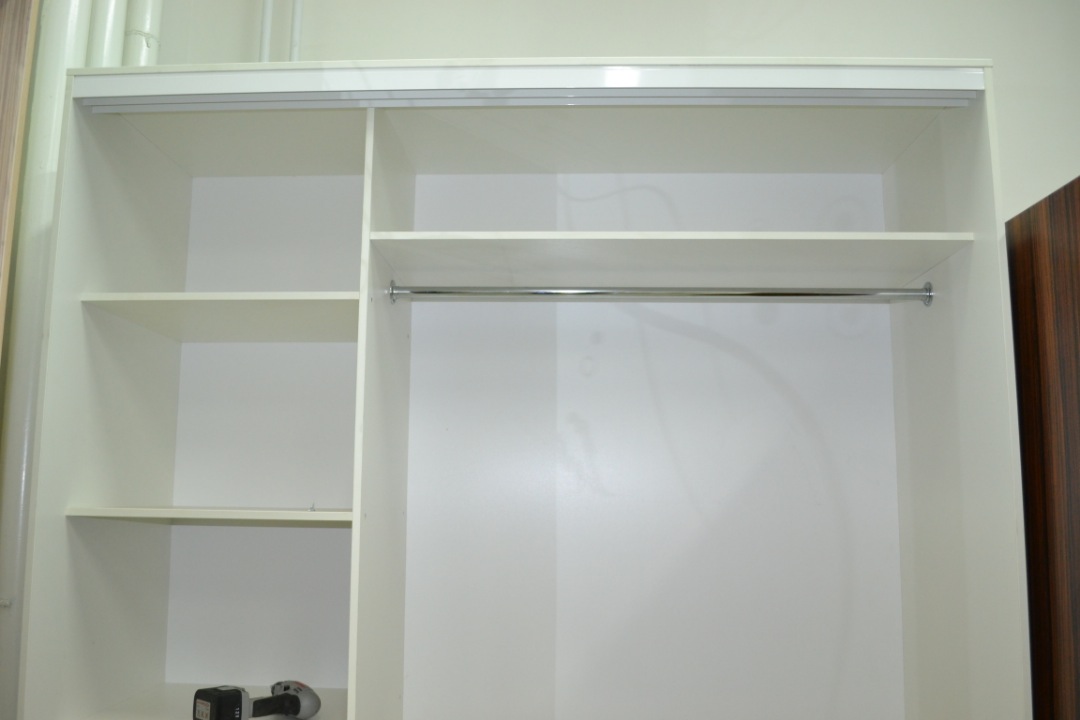
The rods for clothes hangers are inserted into the flanges that come with the kit.
Important! The depth and height of both flanges must be exactly the same.
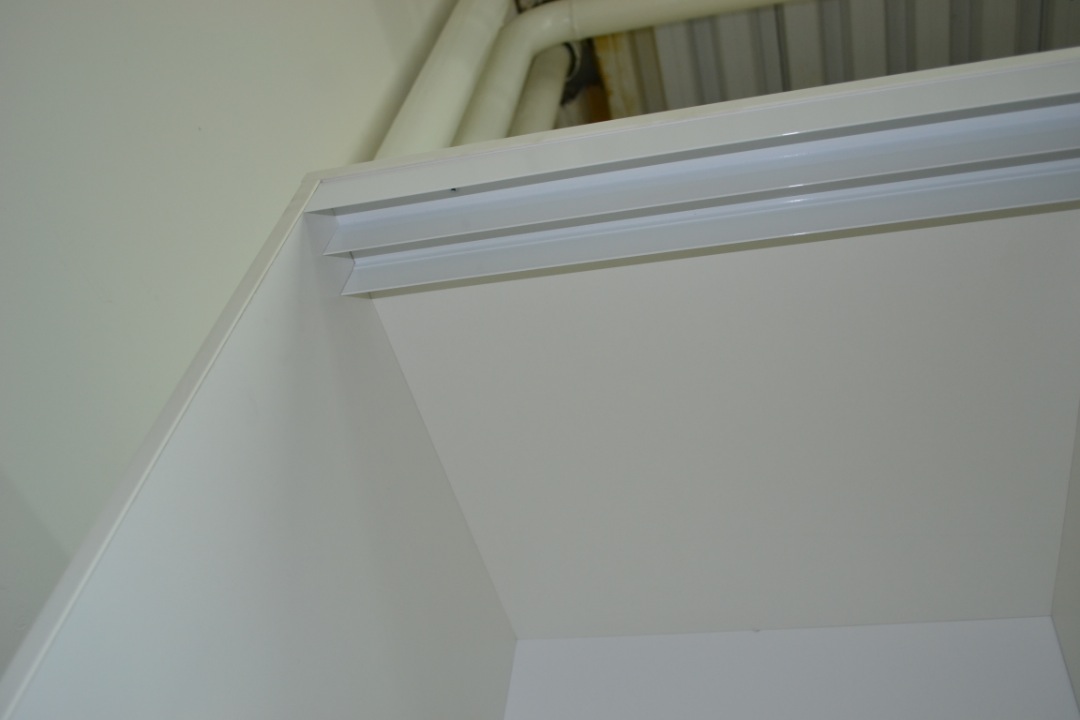
To install sliding cabinets, we pre-fasten their guides to its walls; here it is also important to observe the same level of mounting of both parts.
Door installation
Having completely assembled the frame of the cabinet and its insides, we proceed to the finish line - to the installation of doors. The first step is to install the guides for them.
We install them according to the instructions, or if there are no manufacturer's requirements in this regard, the upper tier of the guides is mounted flush with the edge, the lower one - retreating from its edge by 8-15mm. The main requirement is to ensure the doors are strictly perpendicular to the plane of the cabinet base.
Note! It is critical to mount the rails at the correct distance from each other.
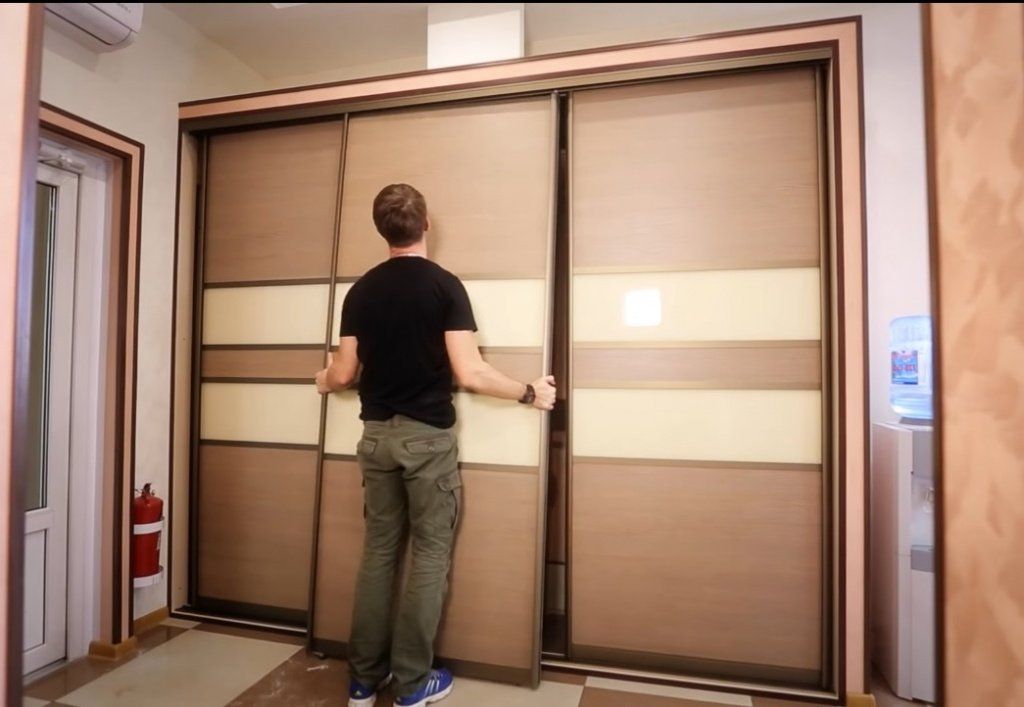
Further, if the door frames of our cabinet are already assembled, we simply install the doors in their place. Or we mount the frame - three sides are attached to each other, except for the side. The material of the door panel is inserted into the free space, then the structure is completed by installing the fourth side.
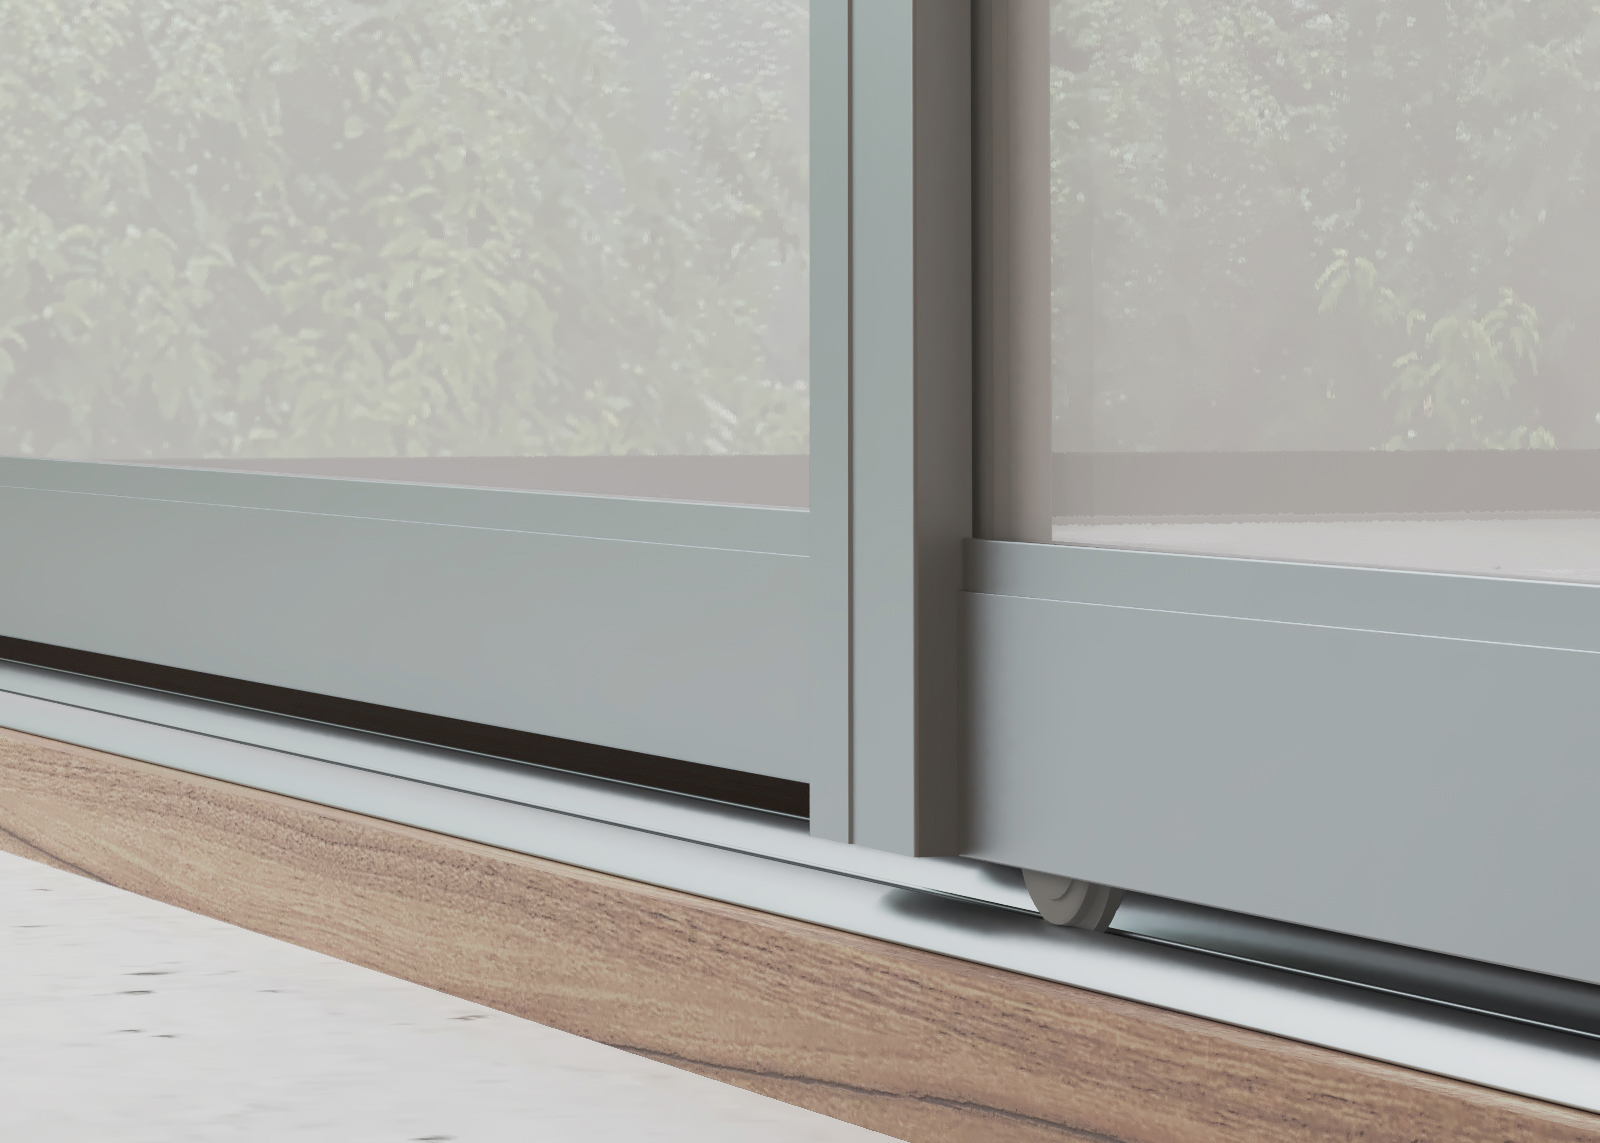
Do not forget about the need to glue the damper tape to the side surface of the door.
When the door is ready for installation, we drive it as deep as possible into the upper rail and insert it into the lower one.
The final stage is to check the lightness and smoothness of the door movement along the guides.
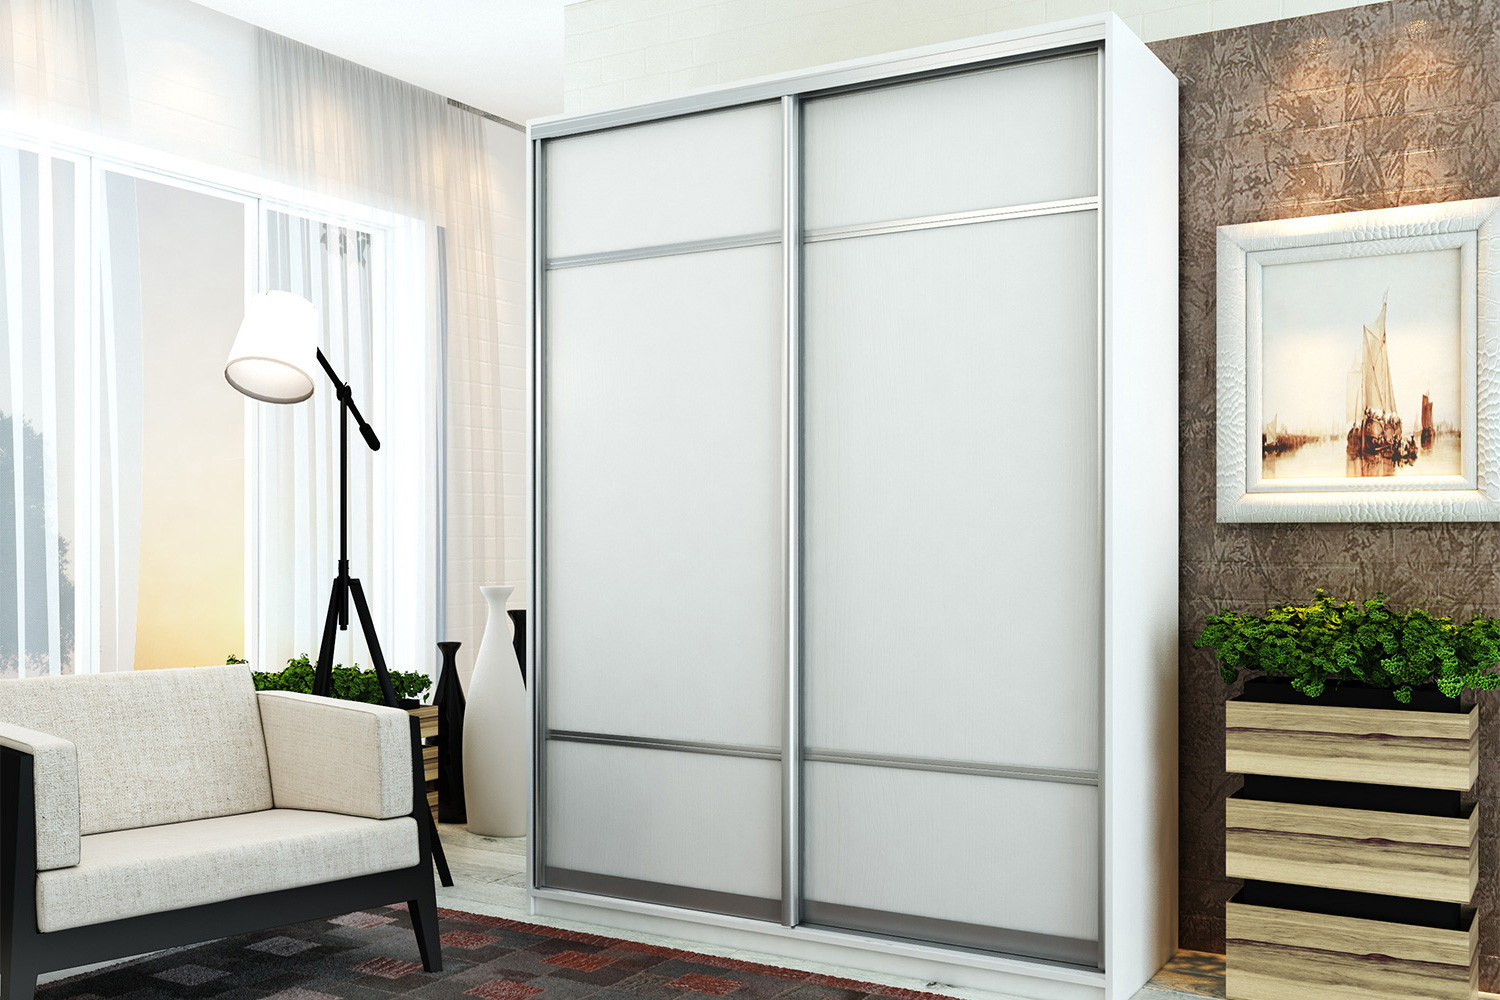
Where can I put the closet
Having carefully studied the proposed detailed instructions for assembling a wardrobe, many often wonder where it is best to install your wardrobe.
The coupe looks as functional as possible in the following cases:
- when installed in a wall niche in a hallway;
- when used in a room opposite a sleeping bed;
- as an independent storage space in the living room.
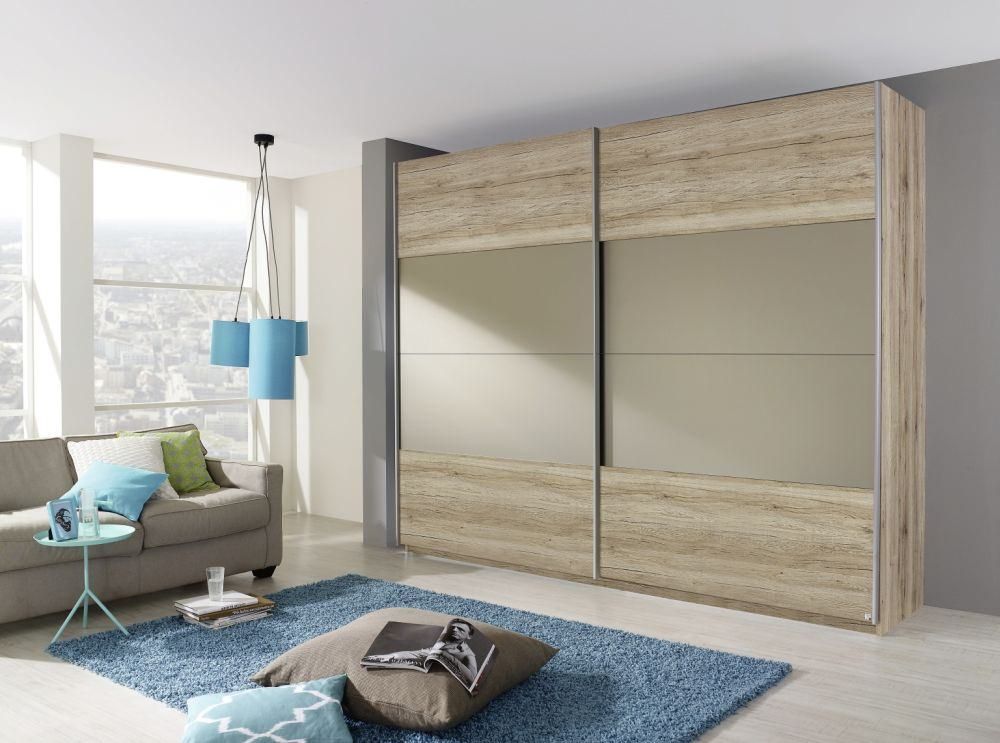
In all cases, the sliding wardrobe will be an excellent solution for the ergonomic placement of a great variety of personal items and accessories. And thanks to its attractive appearance, such furniture will also become a stylish piece of any interior.
After going through all the stages of the wardrobe assembly scheme, you can become the owner of multifunctional furniture, which, with due regard, will last for more than one year.
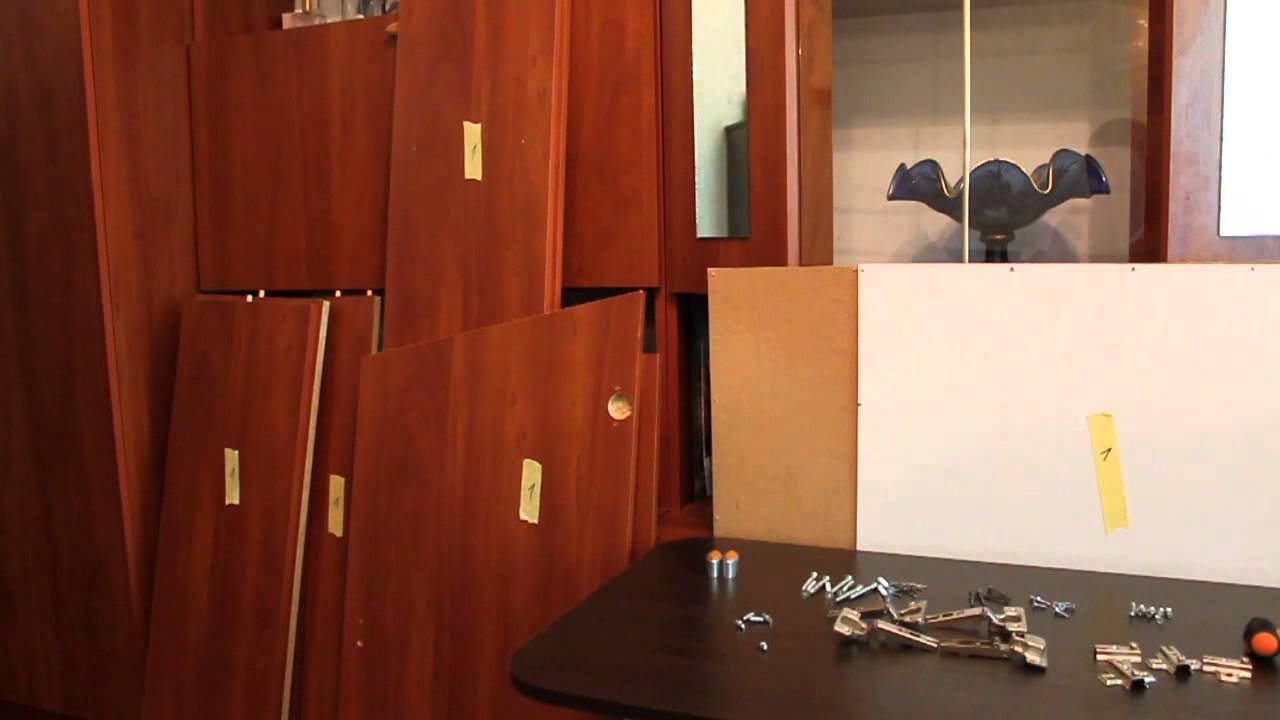
Video: instructions for assembling a wardrobe
