Making a drywall cabinet
Do you want to make a wardrobe with your own hands? Then you need to know that the best manufacturing method is installation from plasterboard sheets. This material is easy to process, does not bristle, and has a long service life. Making a drywall cabinet means having a quality piece of home furnishings once and for a long time.
Advantages and disadvantages
To understand the advantages and disadvantages of a wardrobe made of drywall, you need to understand the basic properties of this material.
Let's get to know them.
The obvious advantages include:
- GCR is easy to process;
- has a relatively low weight;
- environmentally friendly and safe for children;
- have a long service life;
- using GKL it turns out to realize the most daring ideas.
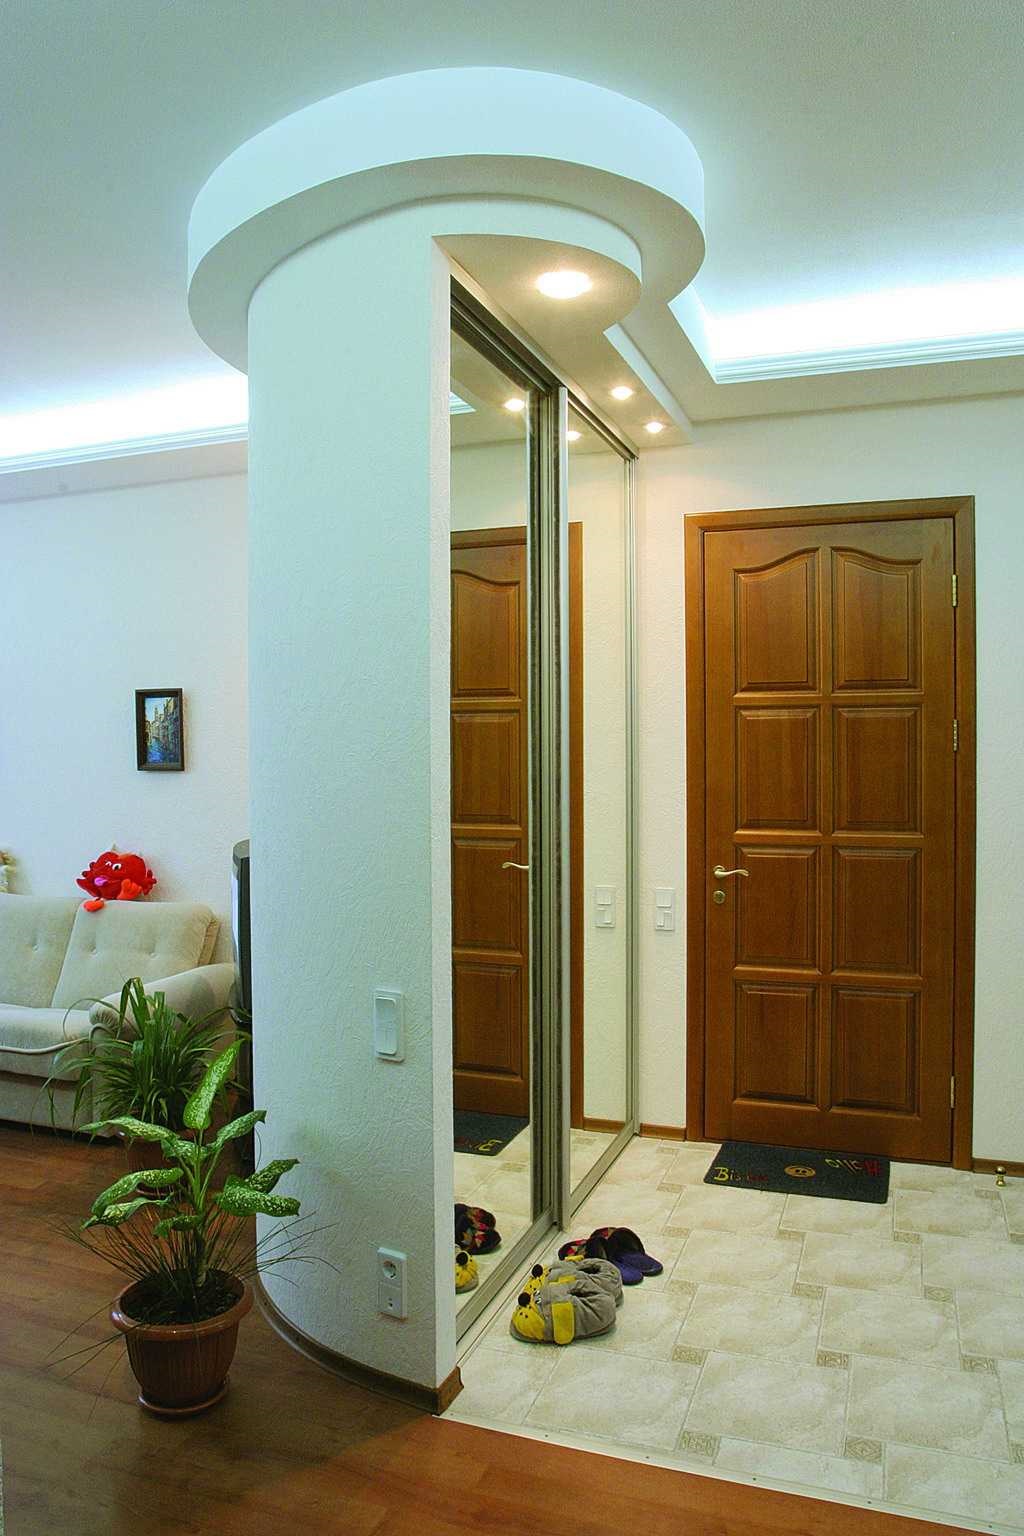
Due to the flexibility, properties of this material, it turns out to produce structures of almost any shape, difficulty, beauty. It is enough to moisten the surface, make cuts with a knife or a special roller, and you will have an exclusive small-radius arch.
Due to the low price, availability of material, its components, tools for processing, installation of a wardrobe is not difficult. And the presence of special inexpensive GKL fasteners greatly simplifies the installation process.
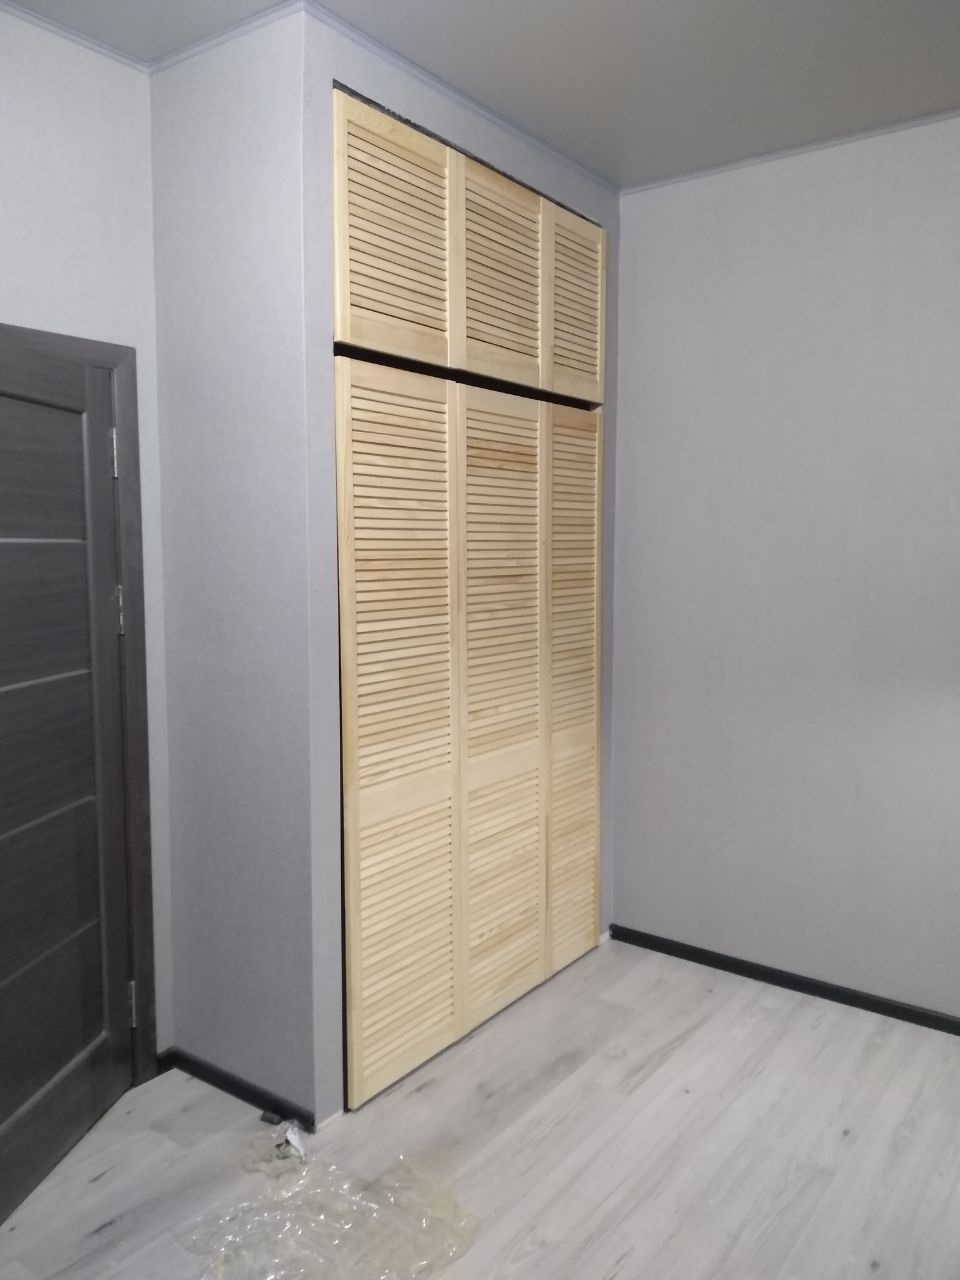
Modern manufacturers produce gypsum plasterboards for various purposes. This is how gypsum boards are sold for general needs, moisture-resistant, fire-resistant, fire-moisture resistant, arched. Thanks to a wide range of products, using this material, it will be possible to make a wardrobe in any room of an apartment or house, regardless of the presence of extraneous factors (high humidity in the room, the presence of sources of open fire).
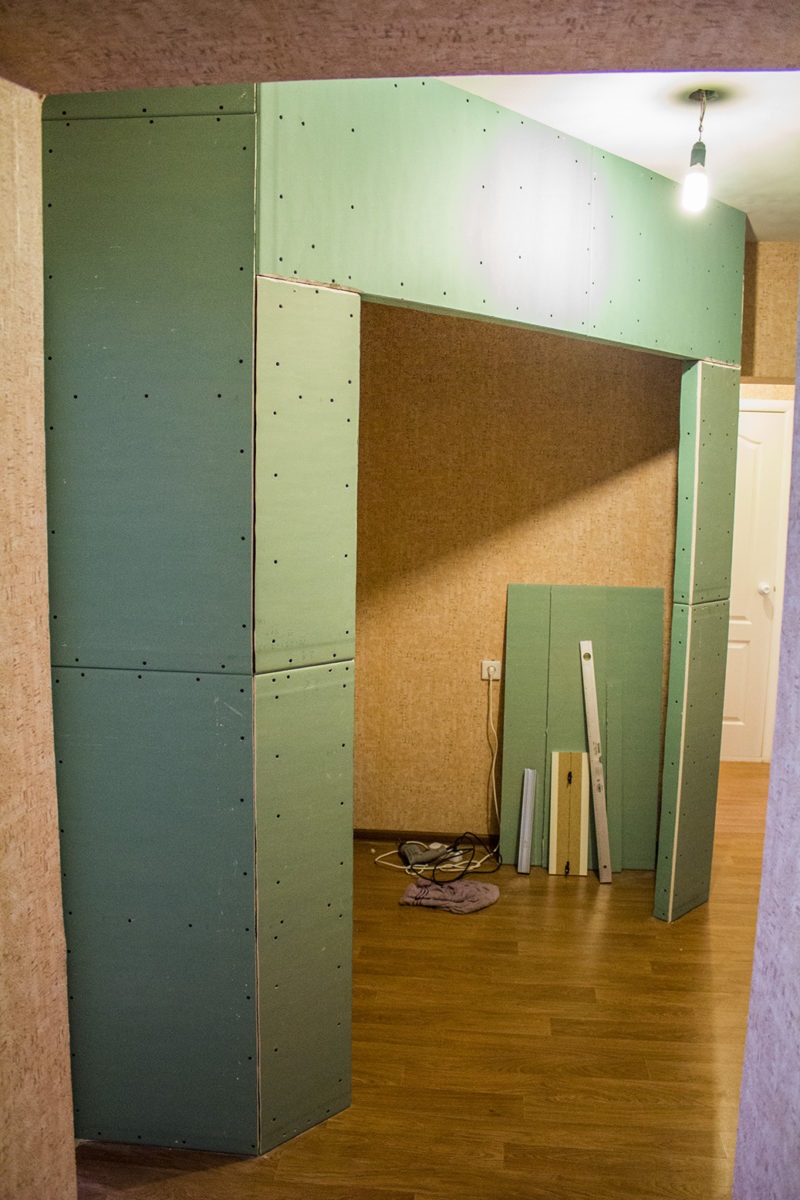
The disadvantages include the fragility of drywall. Without the manufacture of a special structure, it cannot be used in places where a large load on the surface is expected. Special conditions of installation and processing, because of which it is necessary to use special methods that are not always known to beginners.
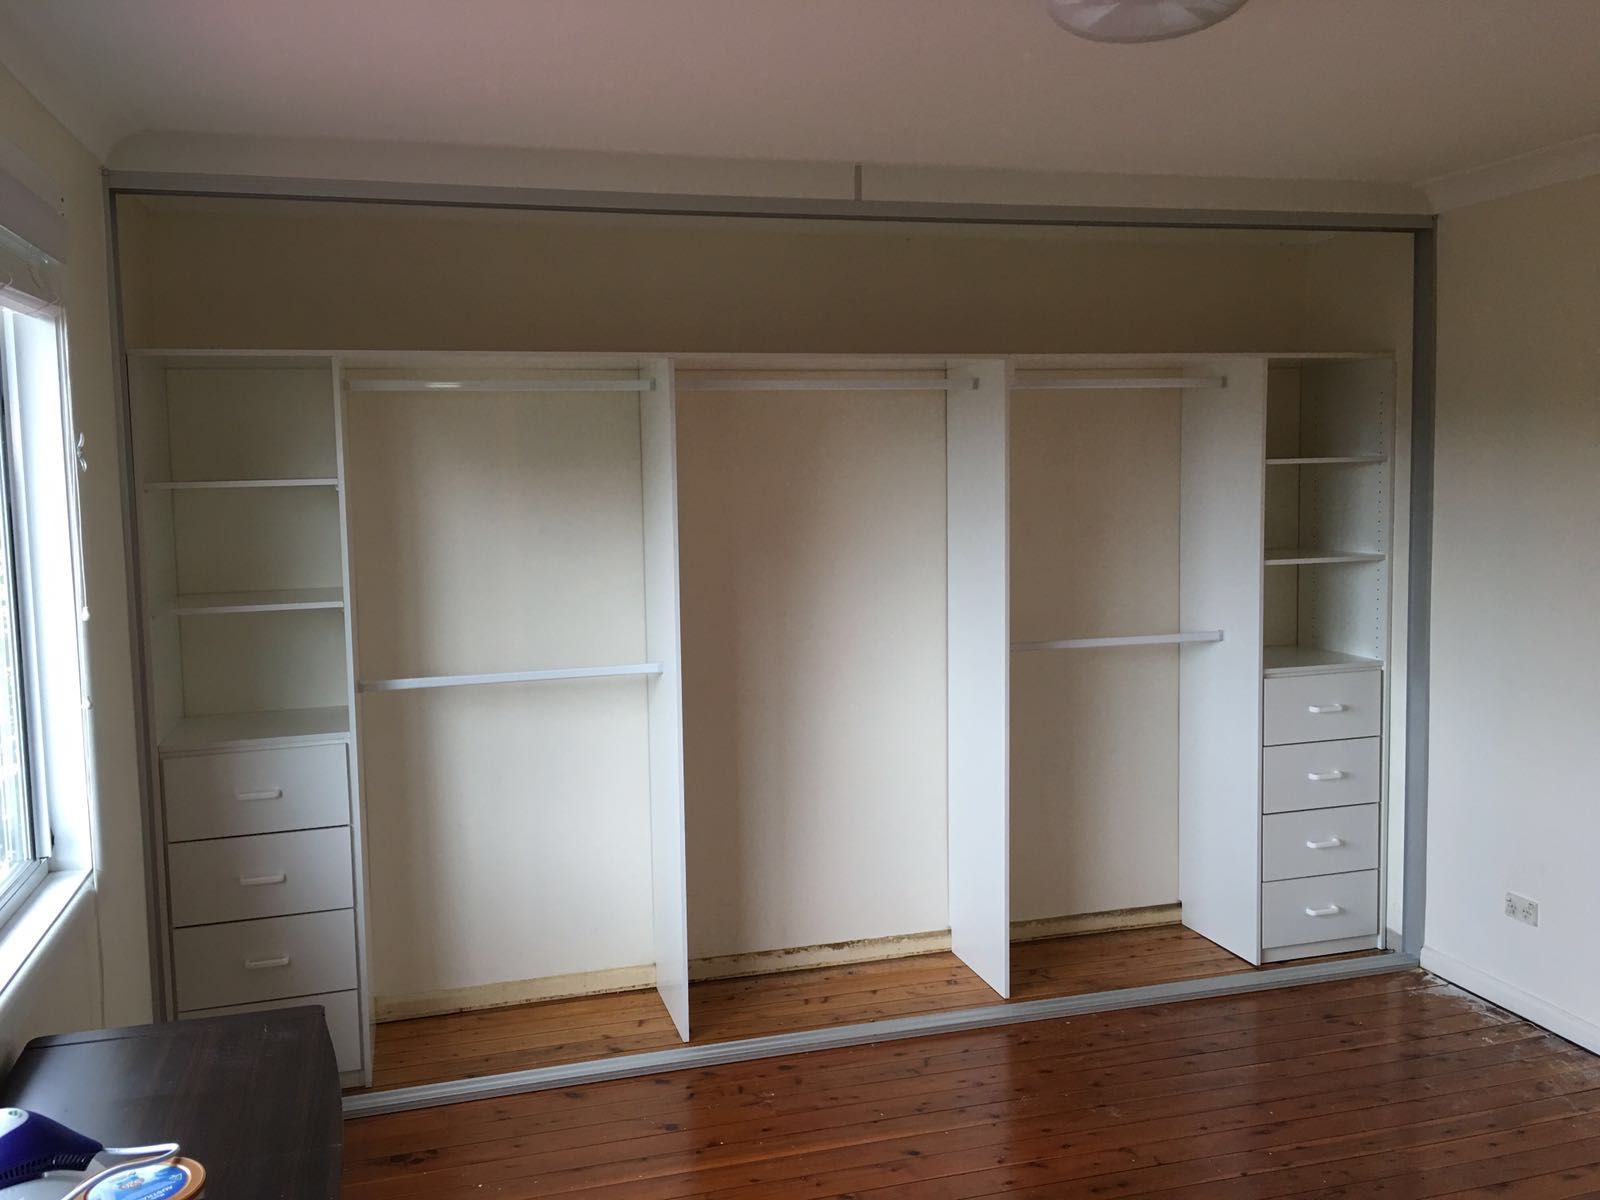
Construction experts recommend using drywall sheets as the main material when installing a home wardrobe.
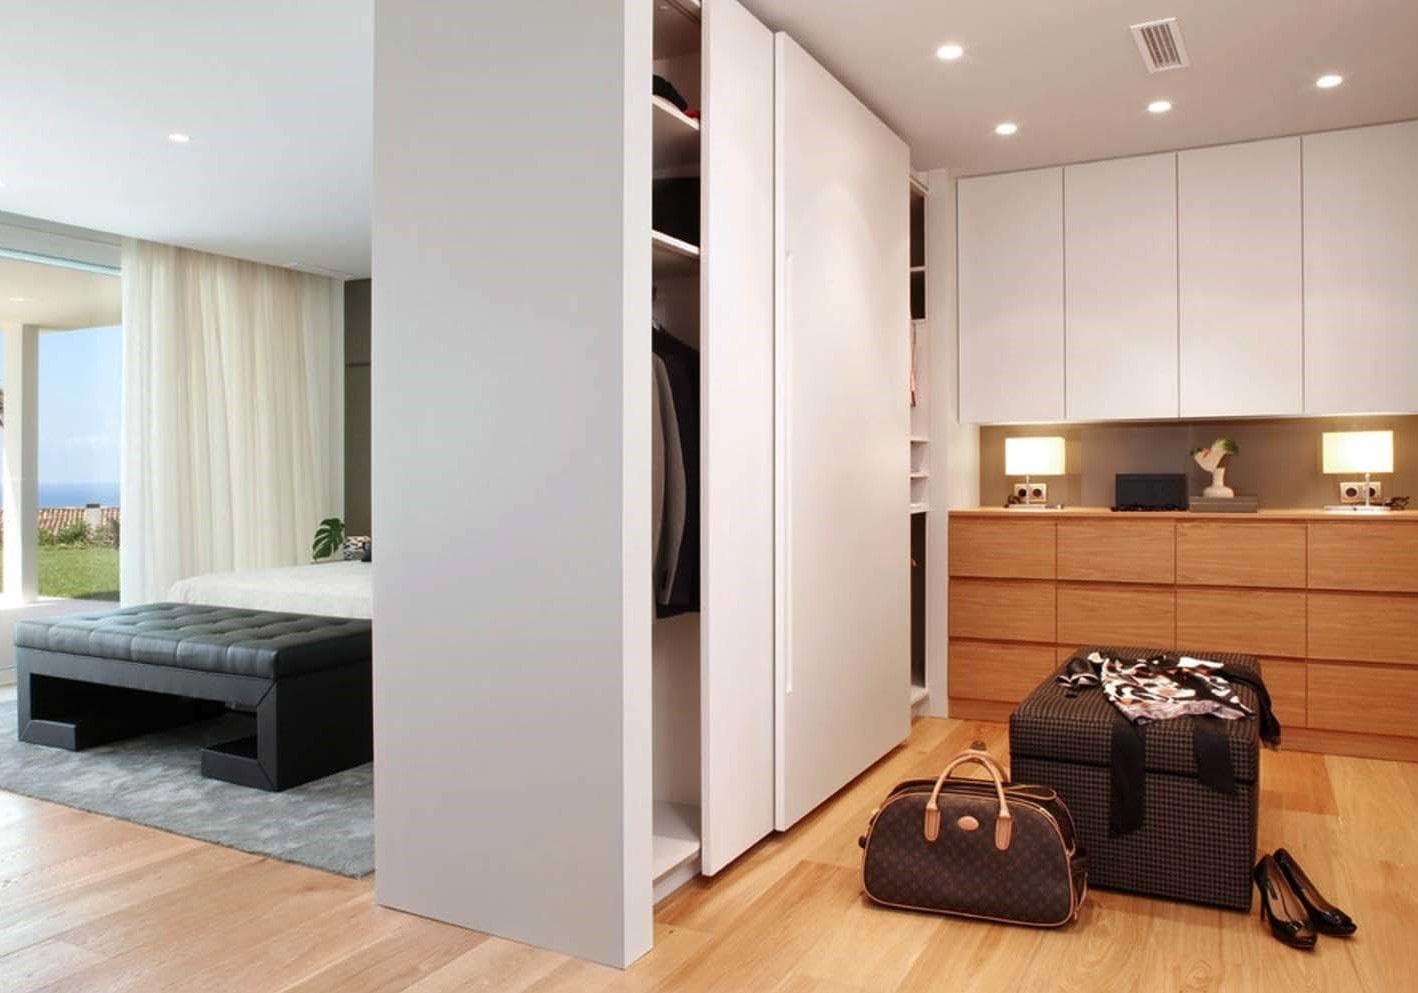
In addition, excellent wall partitions, built-in wardrobes, zonal elements of the interior decoration of the living quarters are designed from gypsum plasterboard.
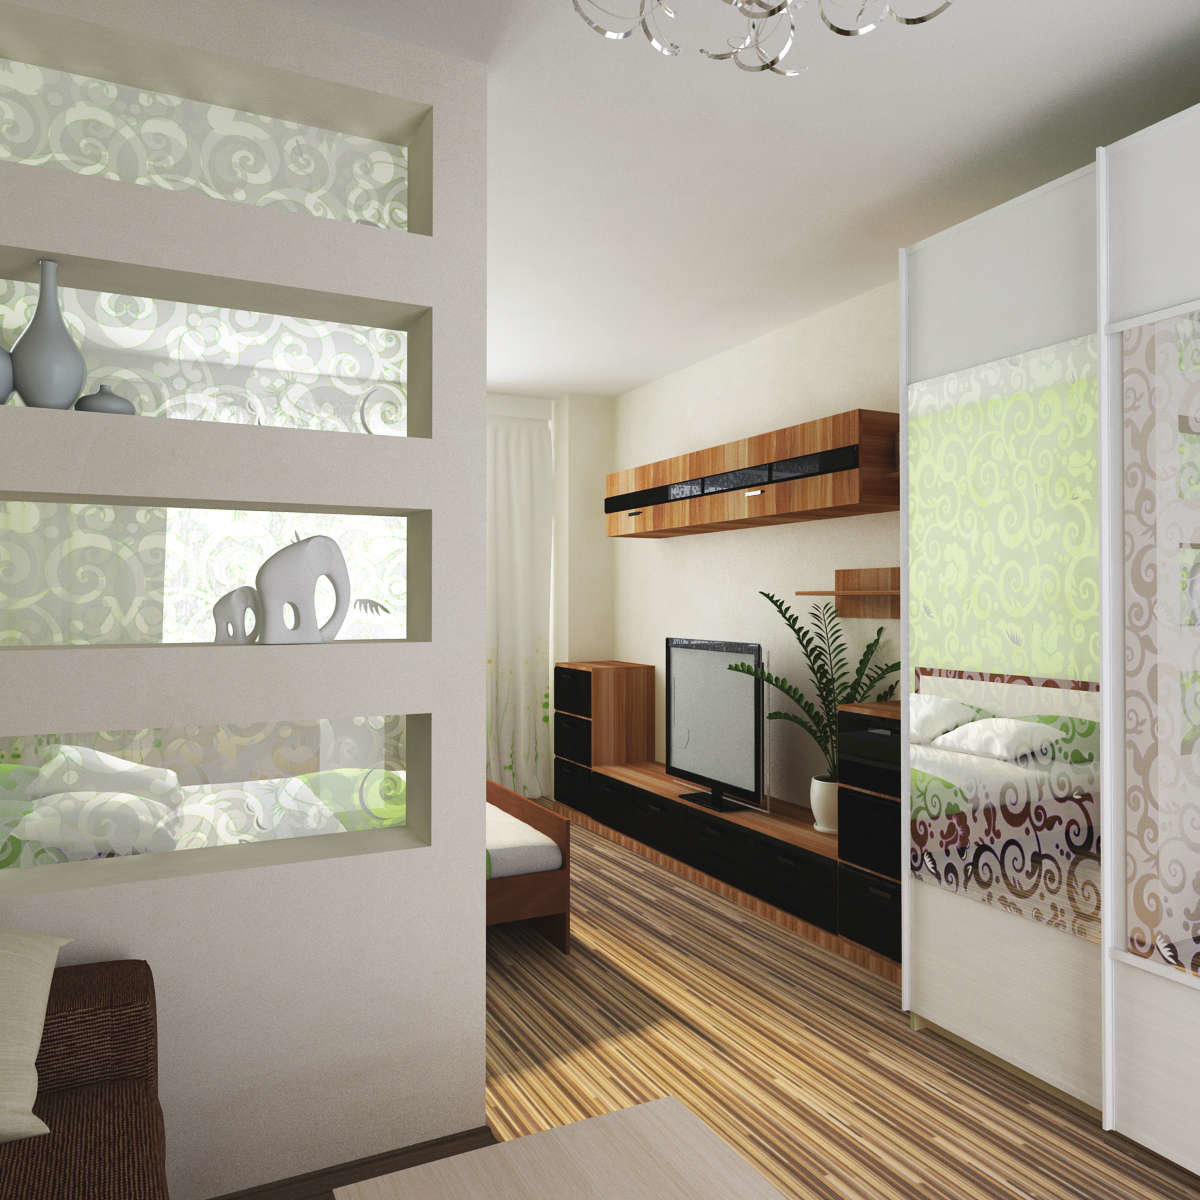
How to make a wardrobe with your own hands
For the competent manufacture and installation of the cabinet, construction experts advise adhering to the following work plan.
Survey of the site of the planned installation. Be sure to check the walls, floor and ceiling in the places where the product will stand. It is important to establish the presence of irregularities, defects, bottlenecks and other factors that can interfere with, complicate the process of performing work.
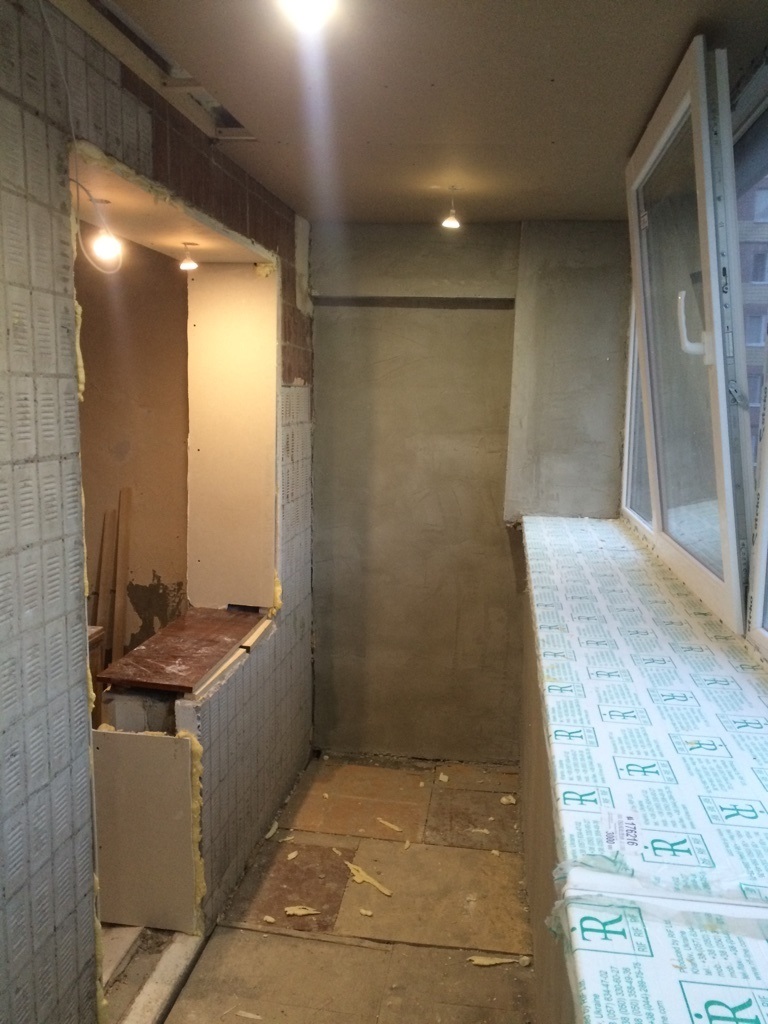
Taking measurements of the room.Absolutely nothing will come of it without dimensions. Remove the main dimensions, check if the future structure will interfere with the passage or darken the room, interrupting the flow of natural rays of light from the window. It is important to correctly approach this step.
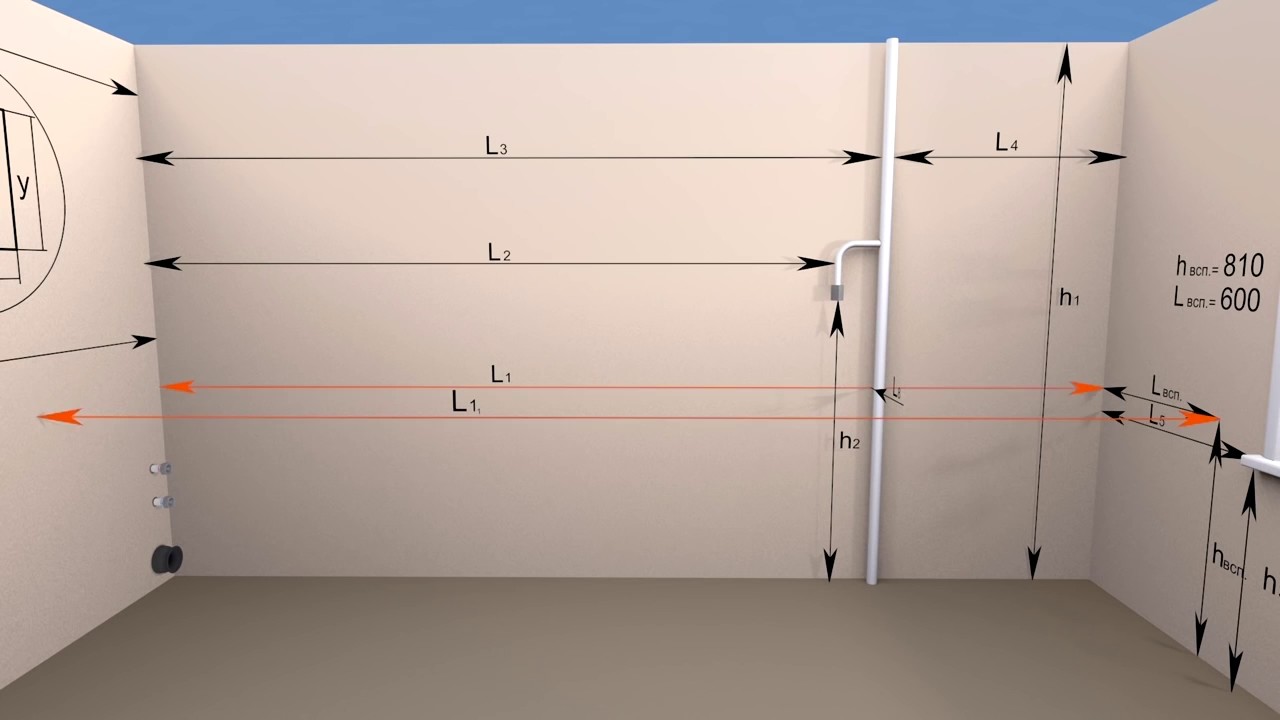
Multi-family houses, like private houses, can have uneven walls near the floor and ceiling. To correctly count the required materials, measure the length and width at both the base and the ceiling.
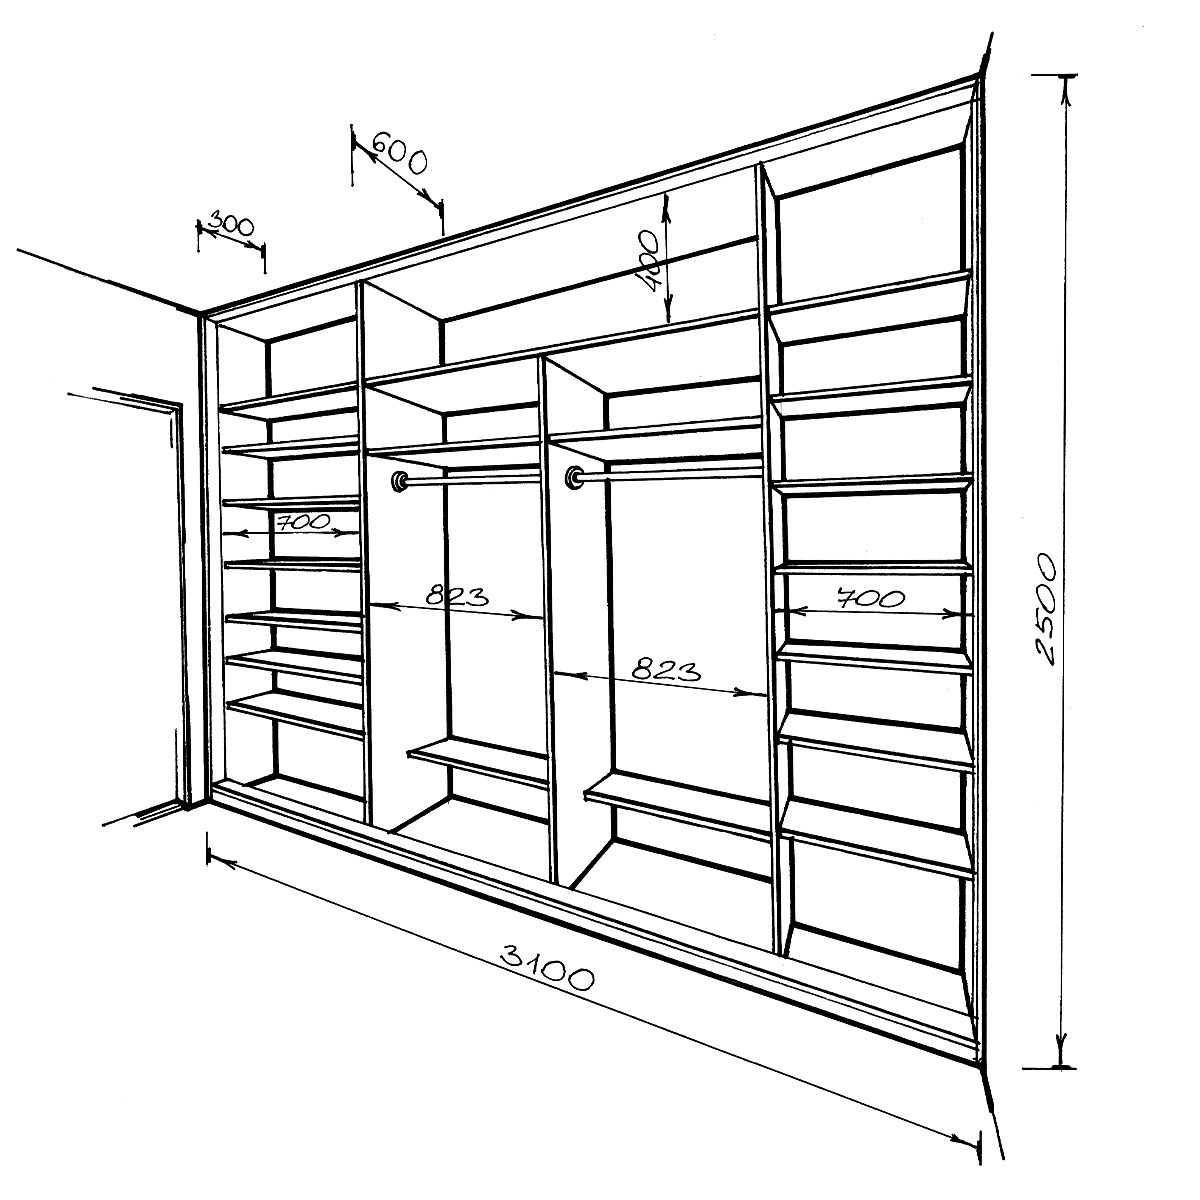
Drawing up a drawing. This includes measurements of the basic geometric parameters of the place where the structure will stand, the internal arrangement of shelves, partitions, awnings for installing clothing rails.
Drawing up a scheme for cutting sheets. Allows you to save money on no surplus.
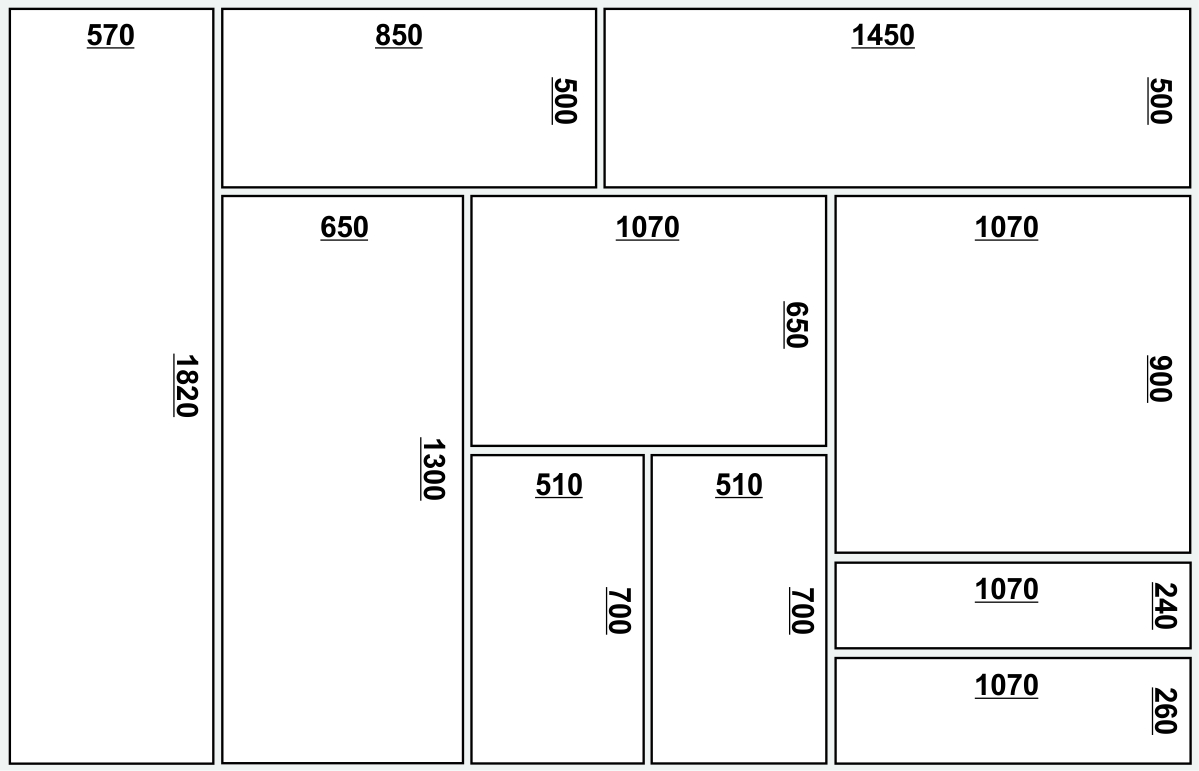
Purchase and delivery of components. It is important to choose the right profile for the frame, fasteners, screws and dowels. Saving at this stage is unacceptable.
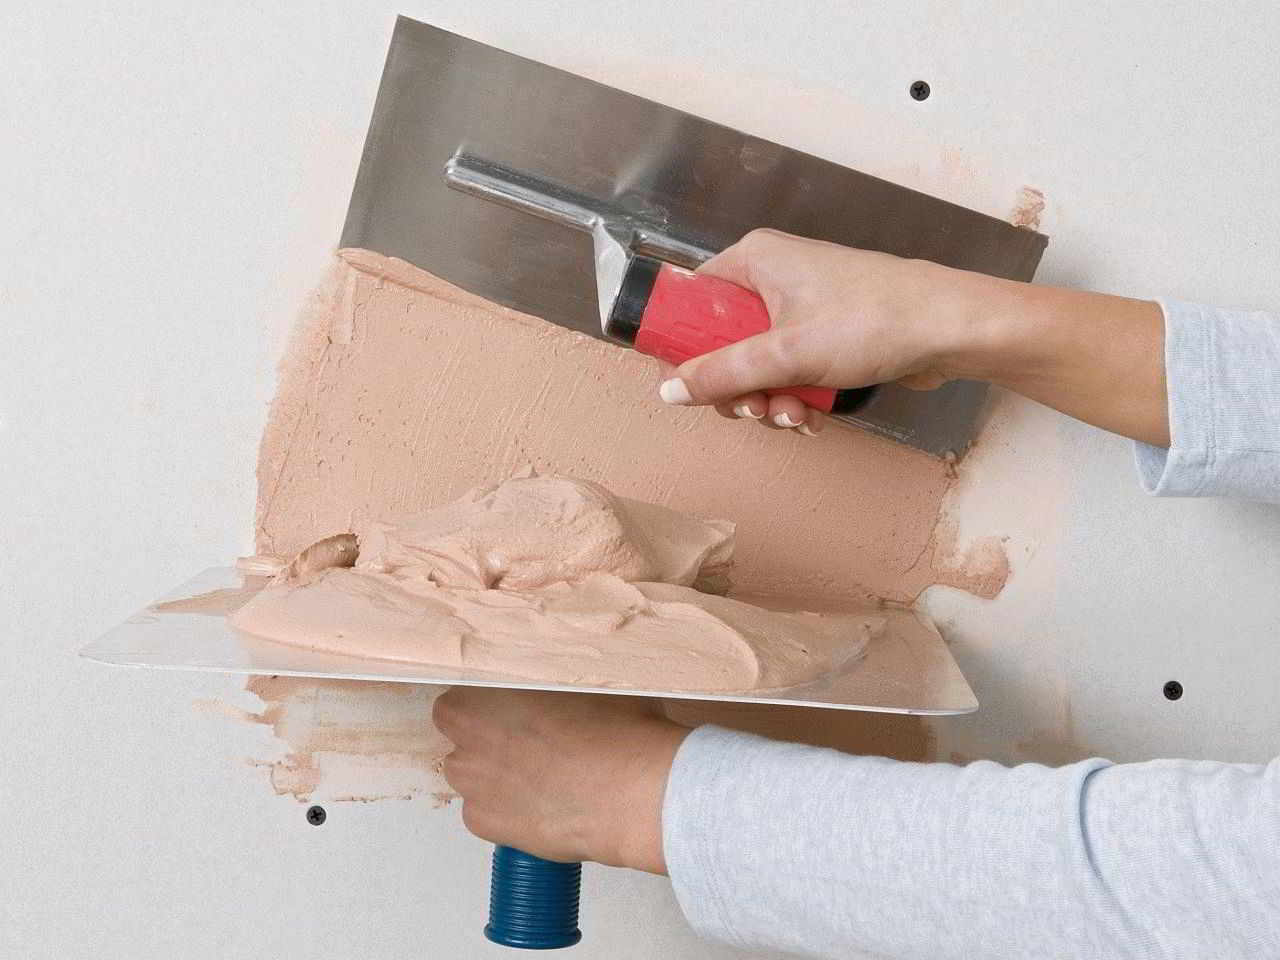
Selection and purchase of cosmetic formulations. The choice of starting and finishing filler plays a significant role. The final result depends on this.
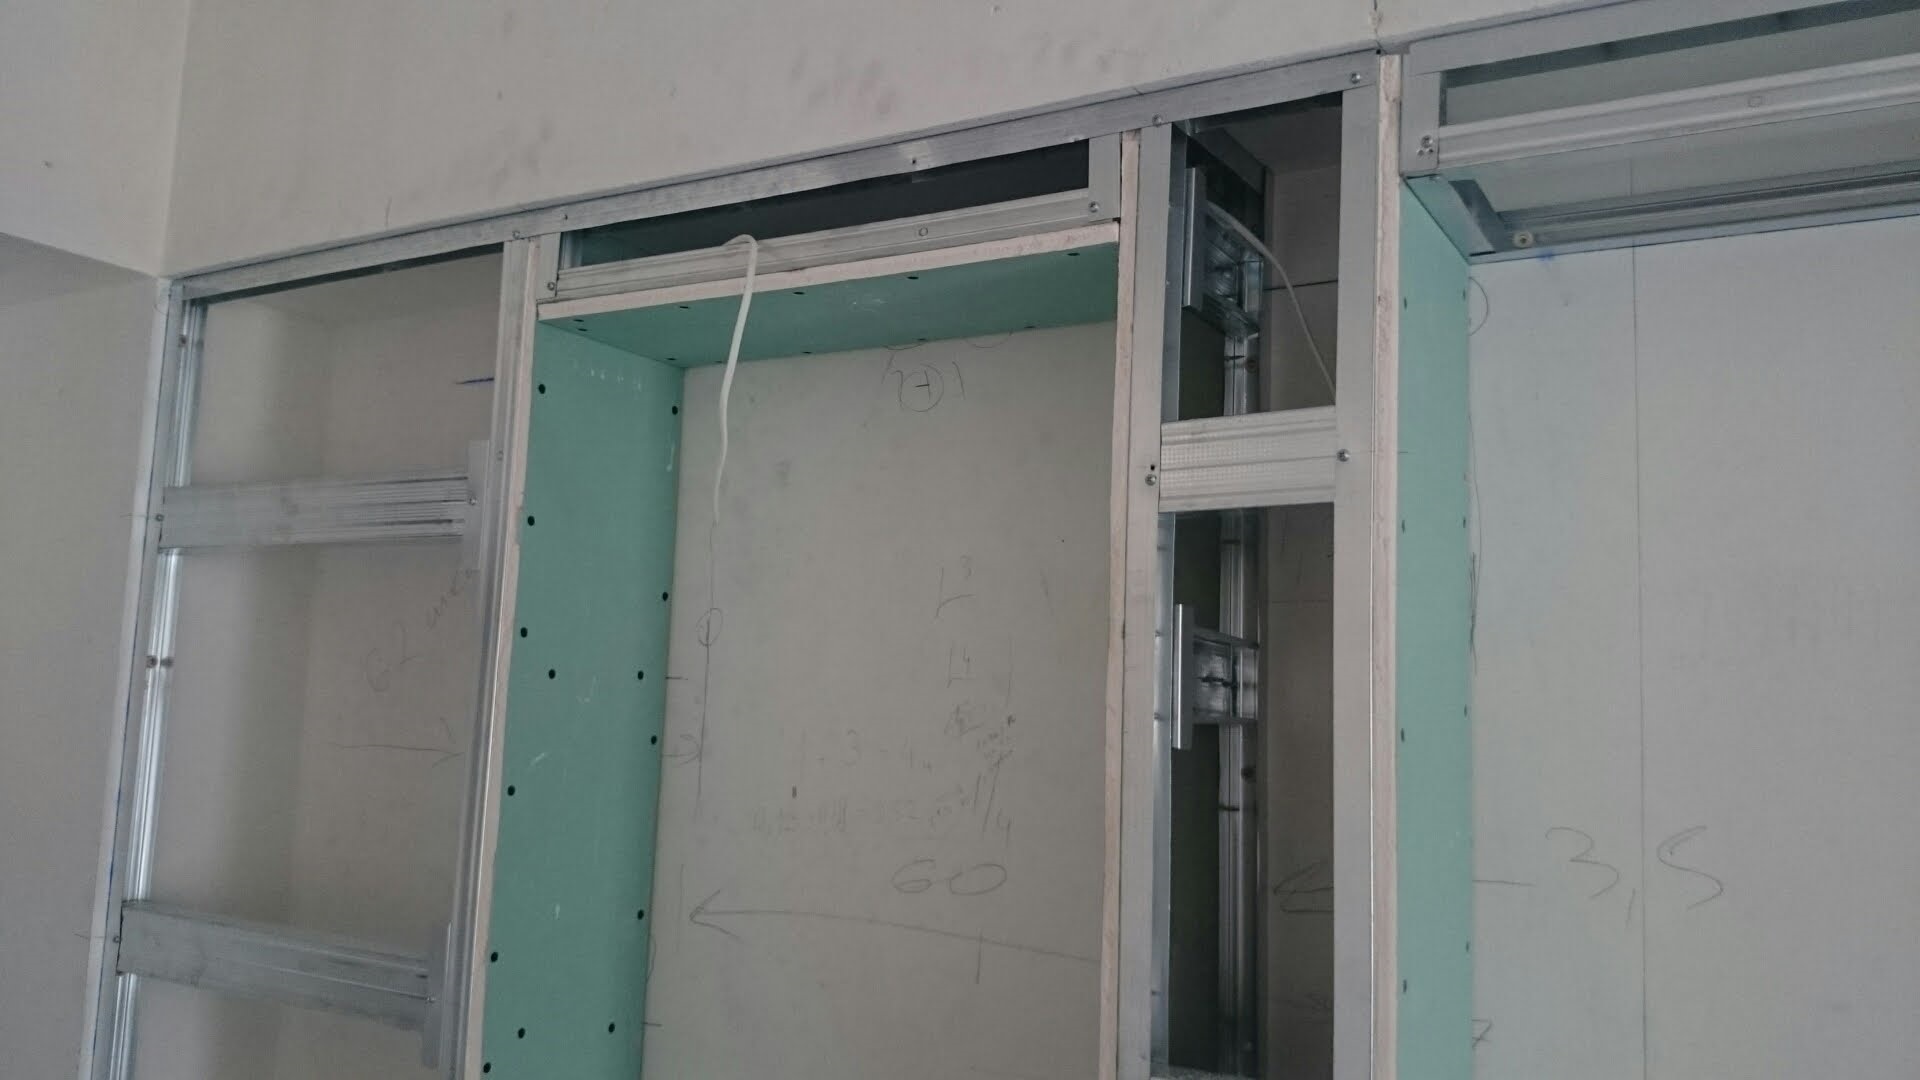
Final work on the installation of sheets. All joints are sealed, external and internal corners are processed, holes are drilled for lamps and other decorative structural elements.
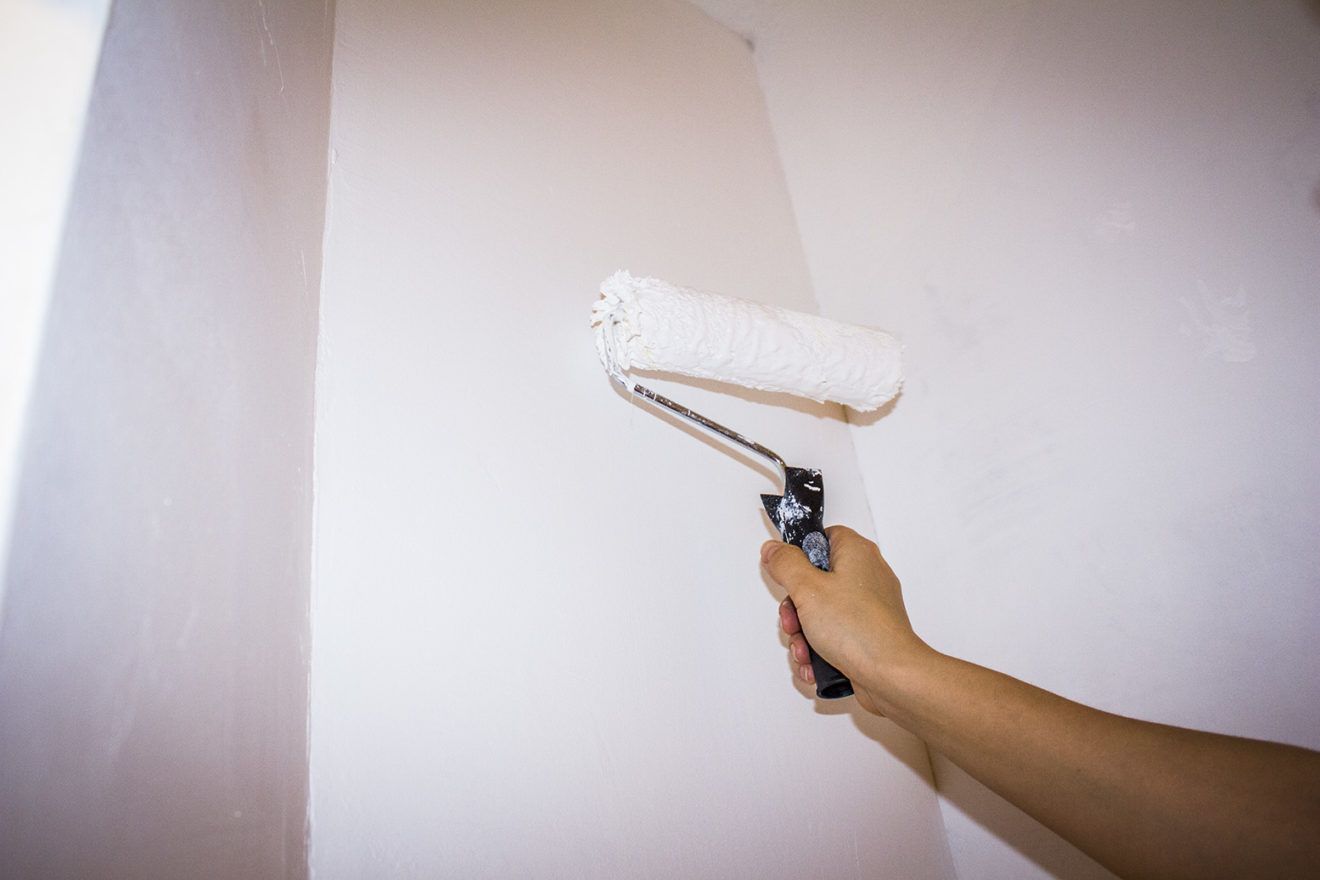
Surface painting. The final result, the visual perception of the structure, depends on the correct execution of this stage.
Installation of sliding doors. An equally important step towards the realization of the idea.
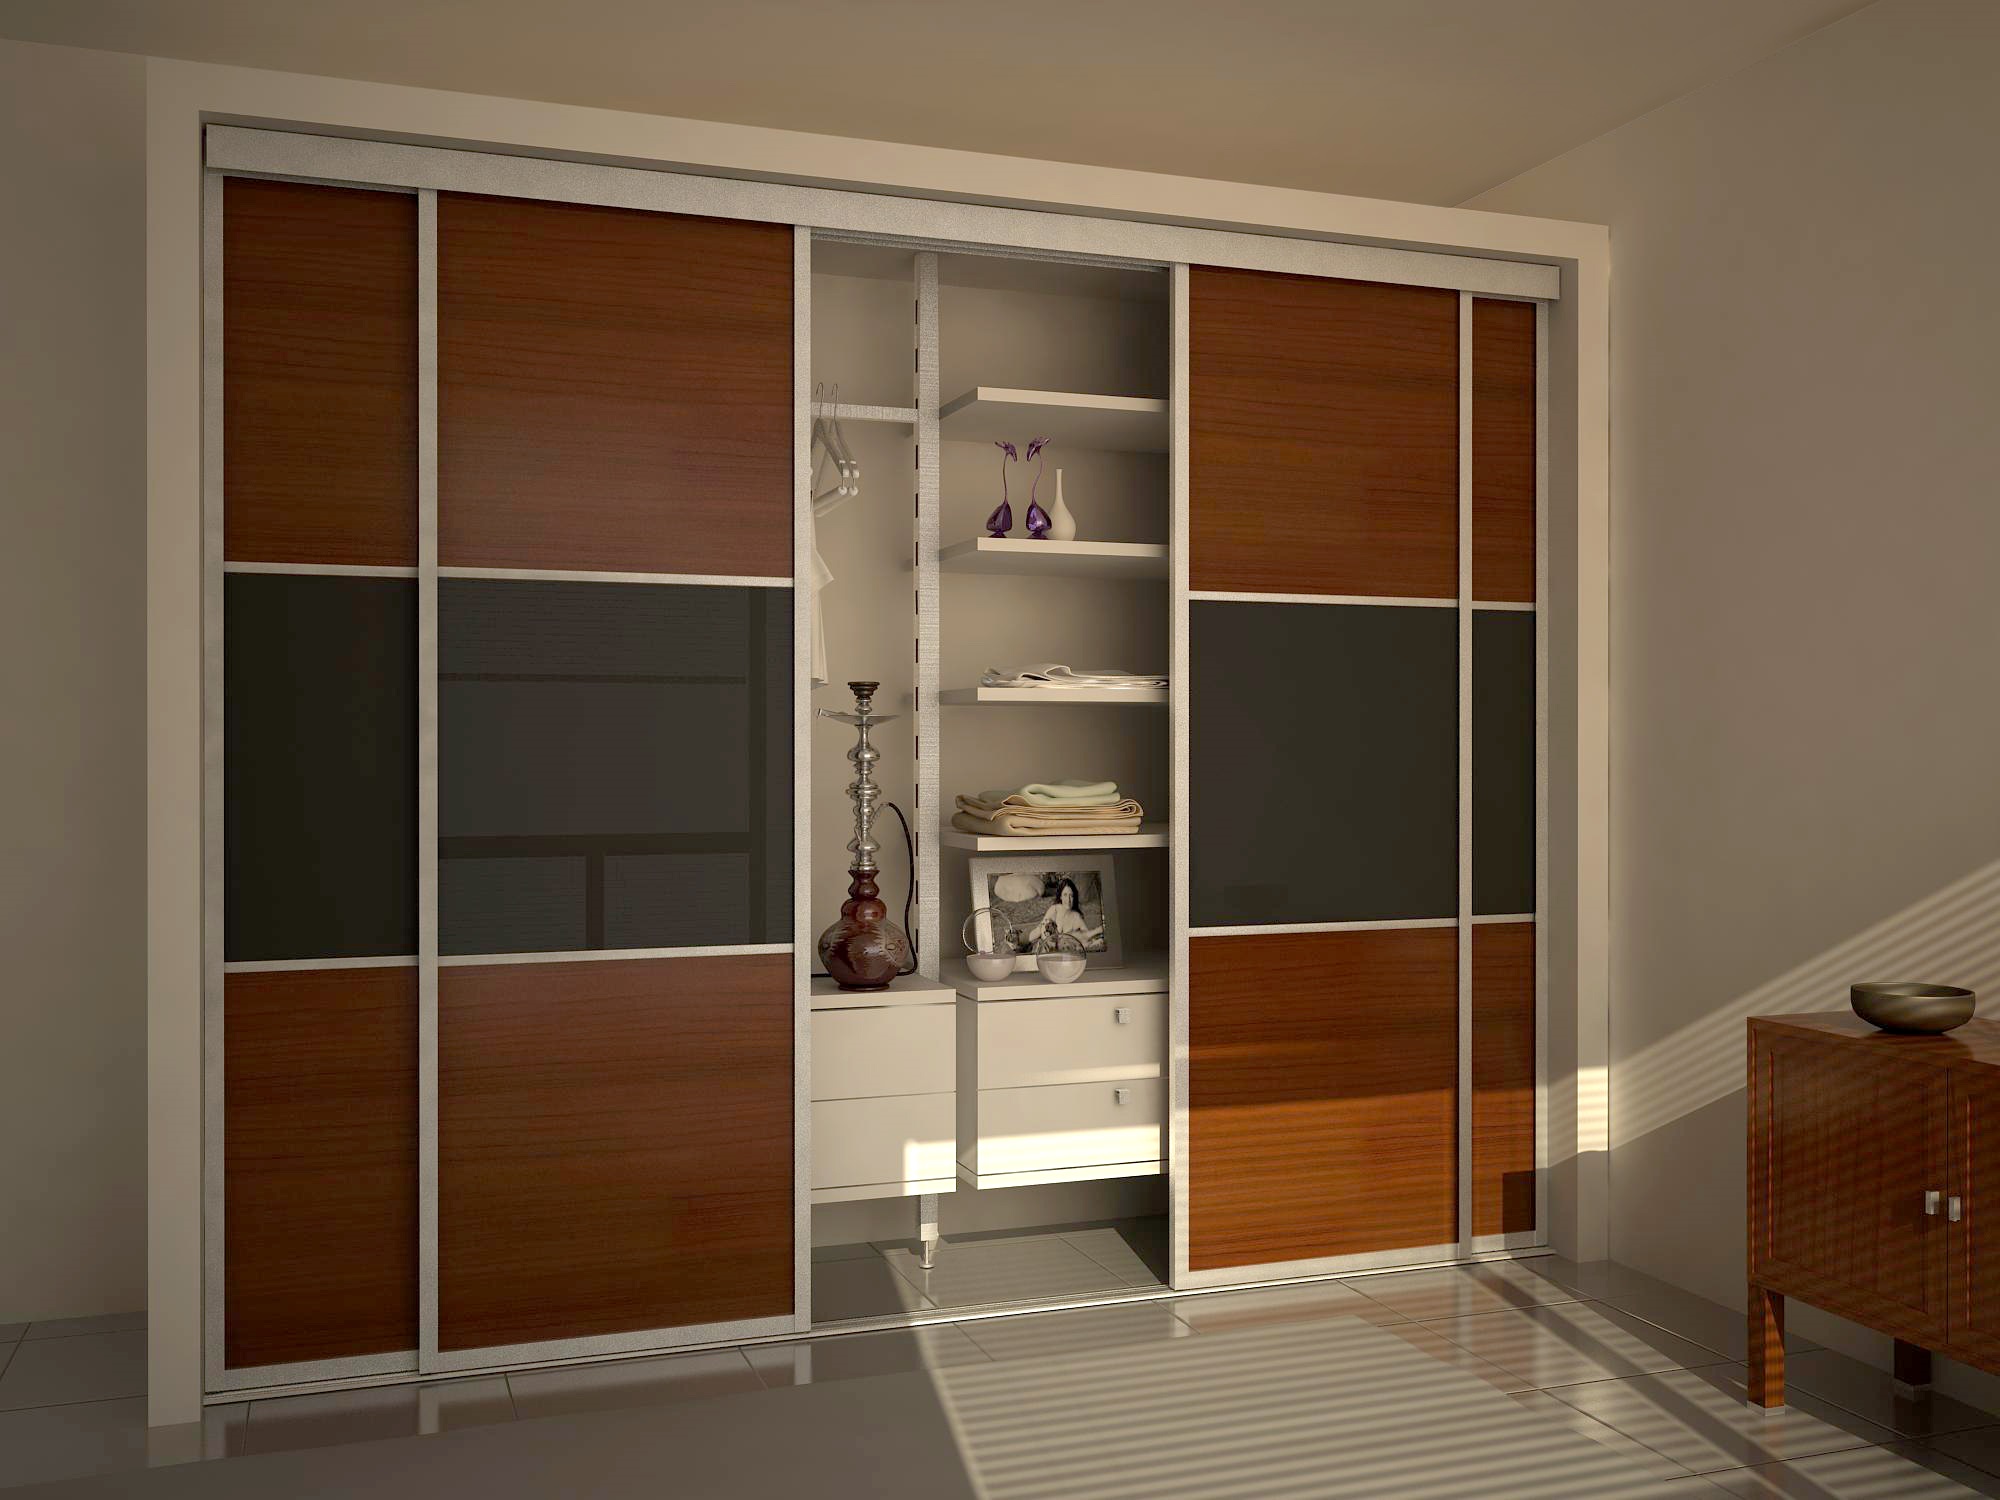
Observing the step-by-step instructions for making a drywall wardrobe with your own hands, it is easy to install it yourself.
Preparation of material and tools
Take your time on the first day, after purchasing all the materials, proceed with the installation. GKL sheets should lie for at least a day in the room where the work is planned to be carried out. The drywall must pick up the humidity of the room, so that, after mounting on the guides, it does not lead due to thermal expansion.
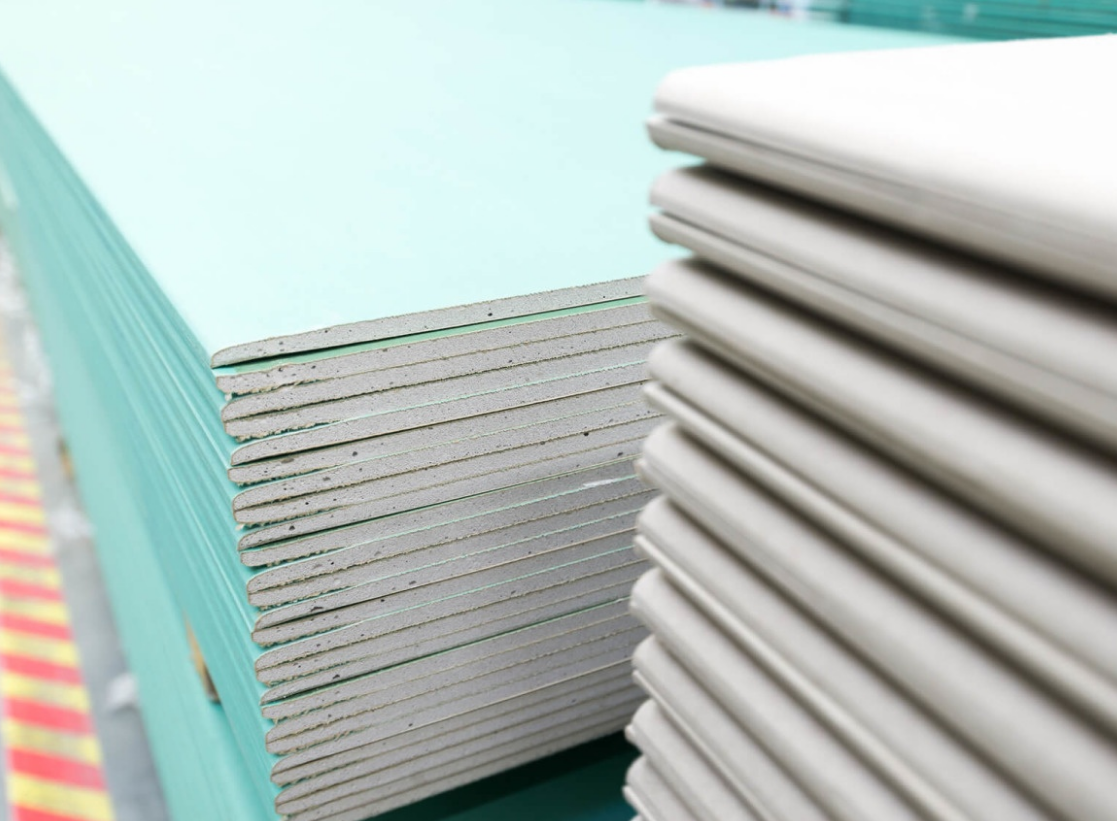
Prepare immediately the required amount of gypsum board, guide profile, fasteners and tools.
And here's what you need from the materials:
- GKL, 12.5 mm thick;
- guide profile with shelf 65 mm;
- rack-mount profile, with a shelf of 65 mm;
- fasteners "crab";
- hanging tape;
- damper self-adhesive tape;
- dowel-nails for installation on a monolithic wall;
- self-tapping screws for metal (bugs), 10 mm long;
- ordinary self-tapping screws for metal, with a countersunk head, 30 mm long;
- finishing and starting putty;
- primer;
- serpyanka;
- external and internal corners for reinforcement;
- water-based paint;
- sliding doors from MDF or chipboard;
- furniture fittings for wardrobes;
- lighting elements.
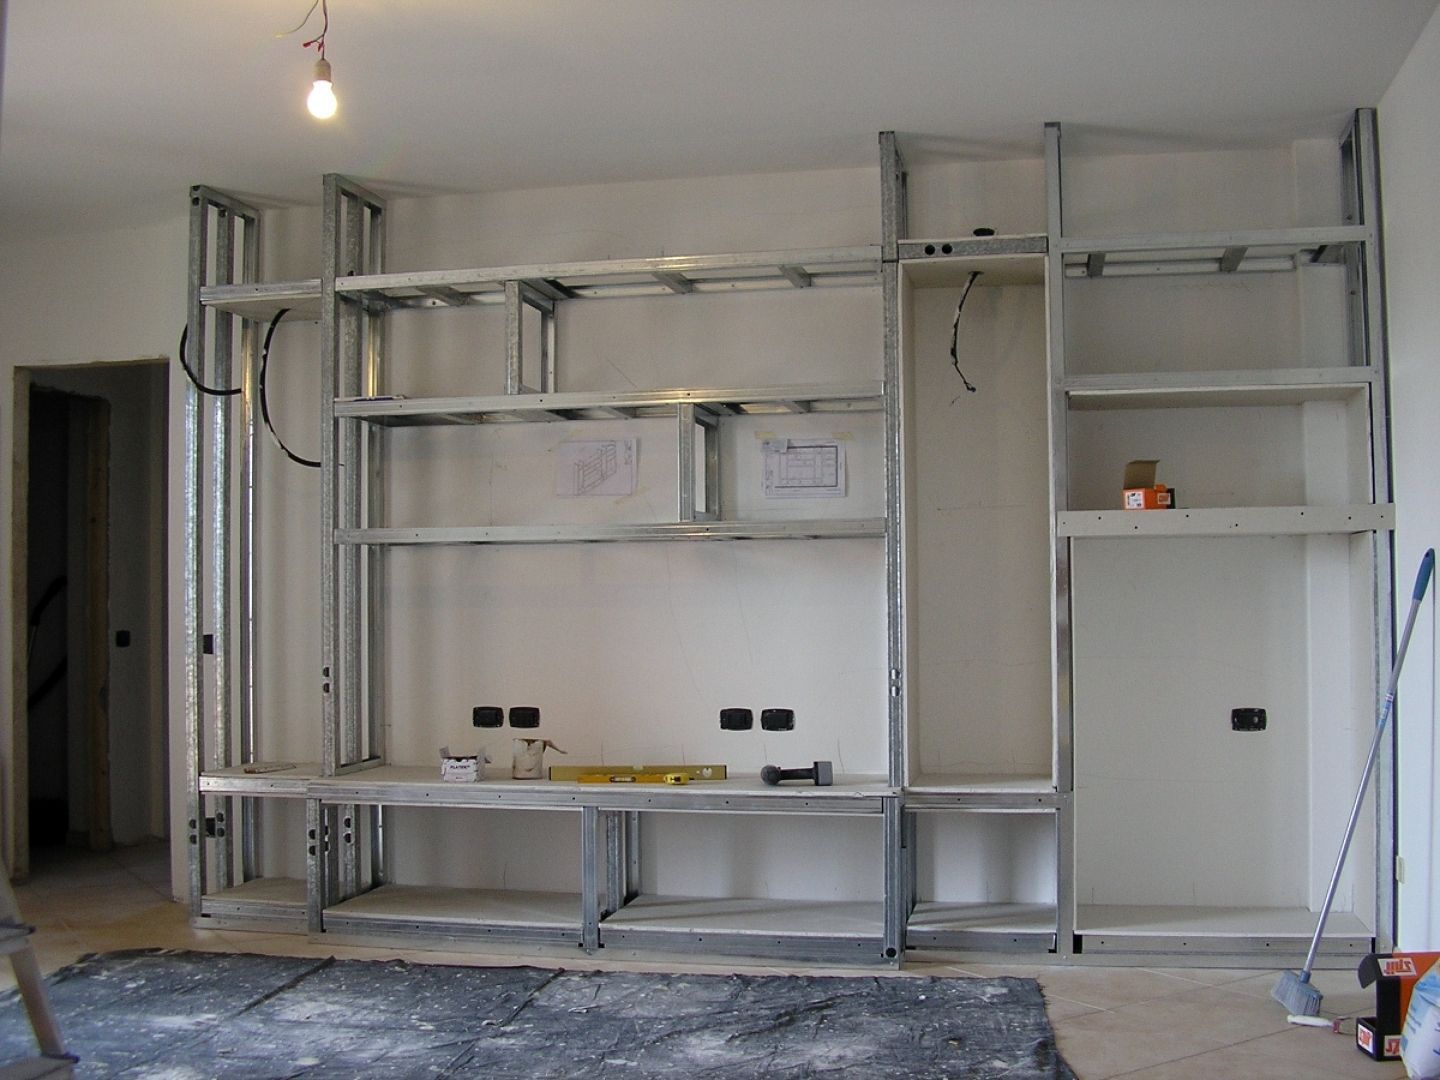
The list is long. It is important that all these materials are purchased before the start of the work. This will save time and speed up the assembly process.
But what tools will be needed:
- measuring instruments, building rule;
- plumb line, building level (laser or bubble);
- knife;
- planer for processing ends;
- electric jigsaw for cutting shaped holes;
- putty knife;
- drawing and marking supplies;
- cutter;
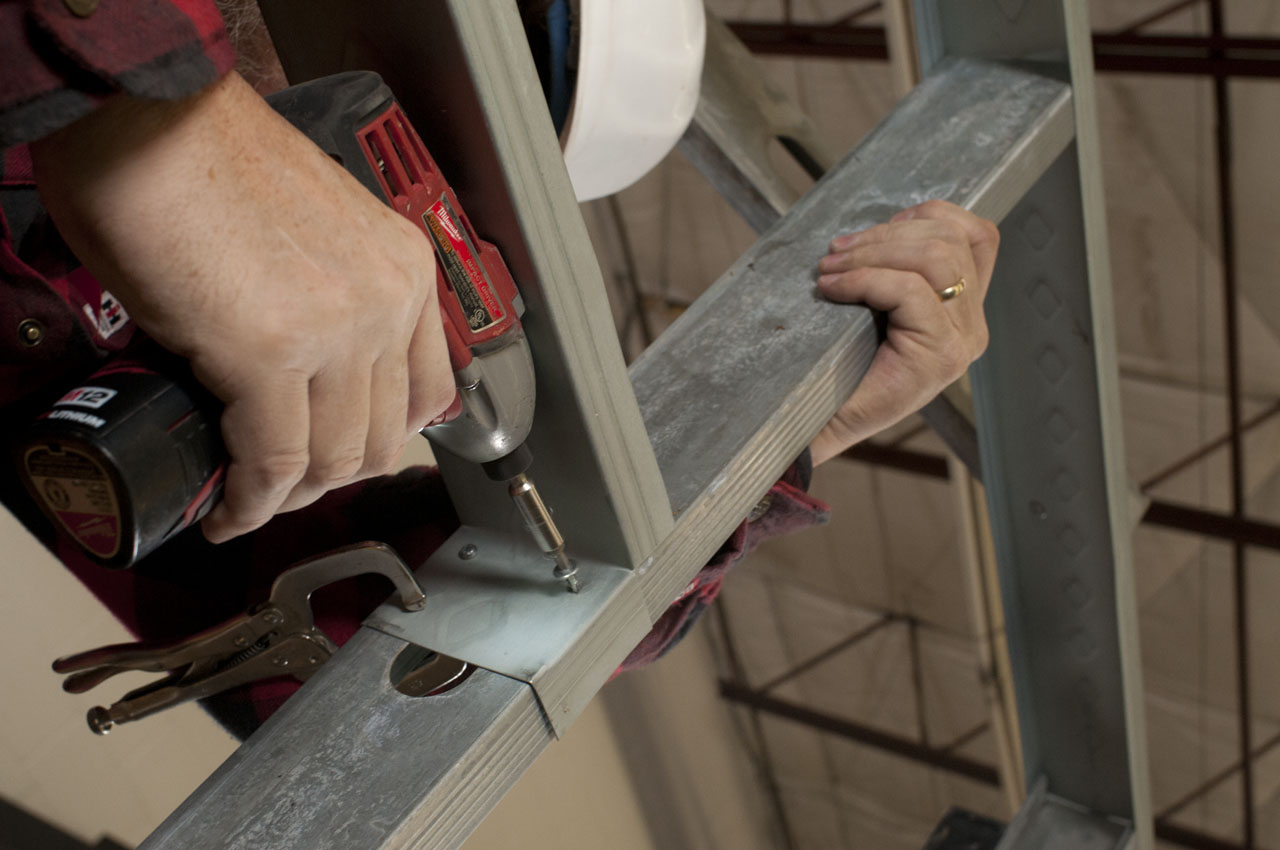
- screwdriver, puncher.
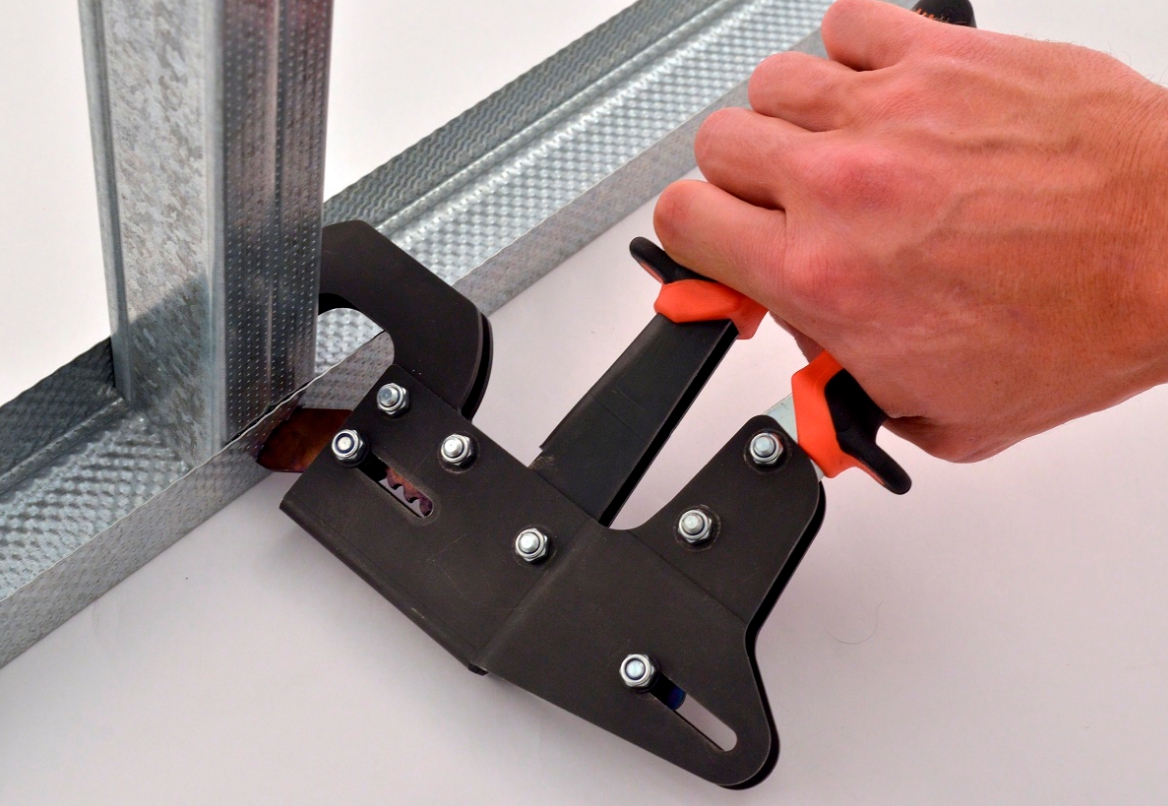
A cutter is a tool that allows you to connect the elements of a profile frame, without using self-tapping screws.
Before starting work, it is necessary to prepare the walls by leveling out all significant irregularities, removing old plaster or resorting to other measures.
Assembly and finishing
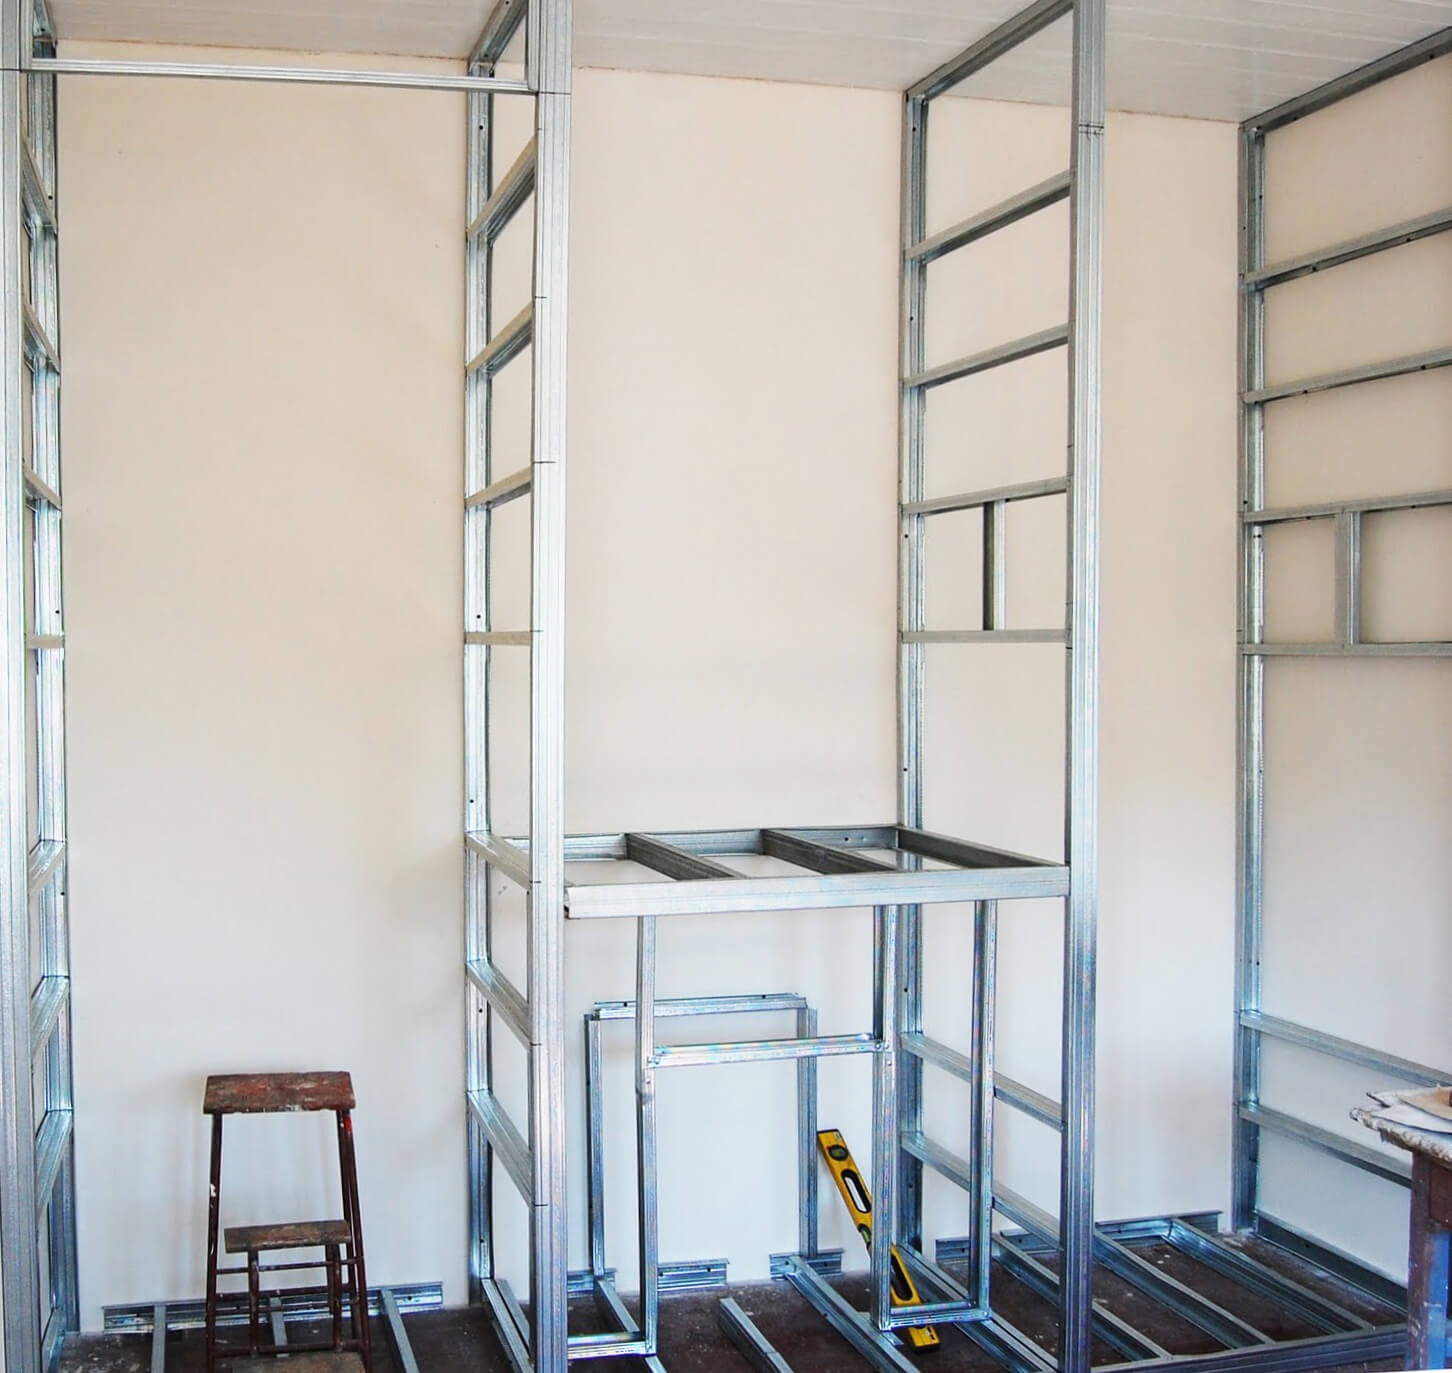
After preparing the walls for the cabinet, install the guide and rack profile. It is attached to the wall with dowel nails.
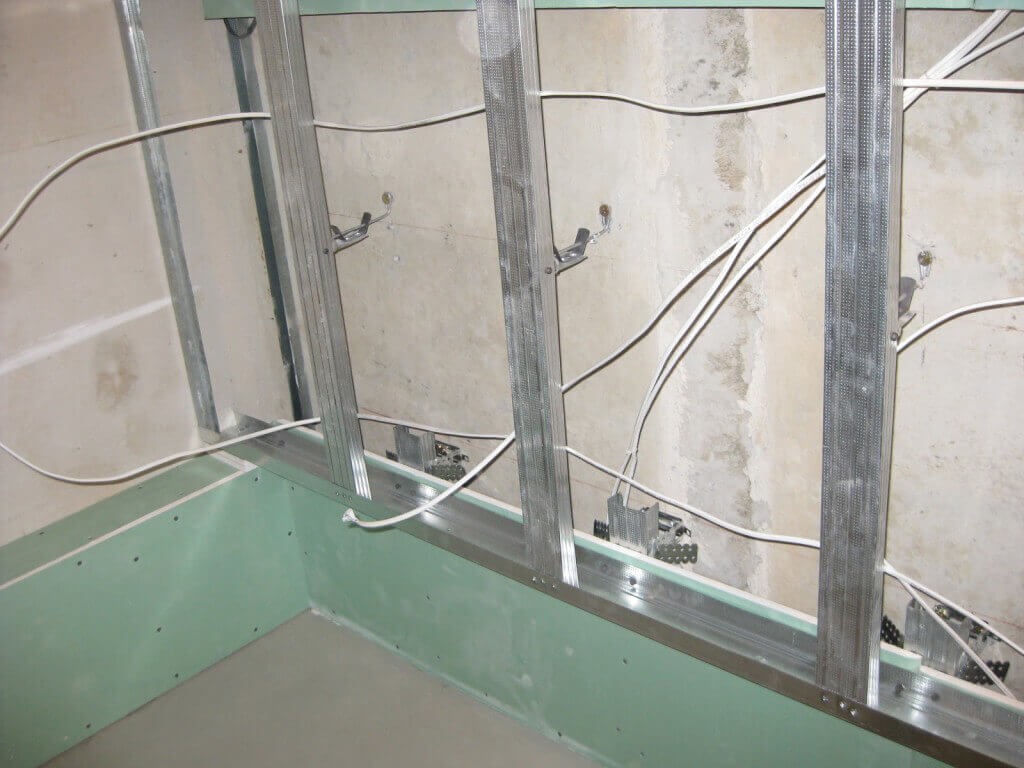
Next, horizontal jumpers are made. The same rack-mount profile is suitable as a connecting material. If the load on the cabinet is planned to be small, the ceiling profile will do. The guides are fastened to each other with self-tapping screws or using a cutter.
Next, the sheets are cut according to the cutting scheme.
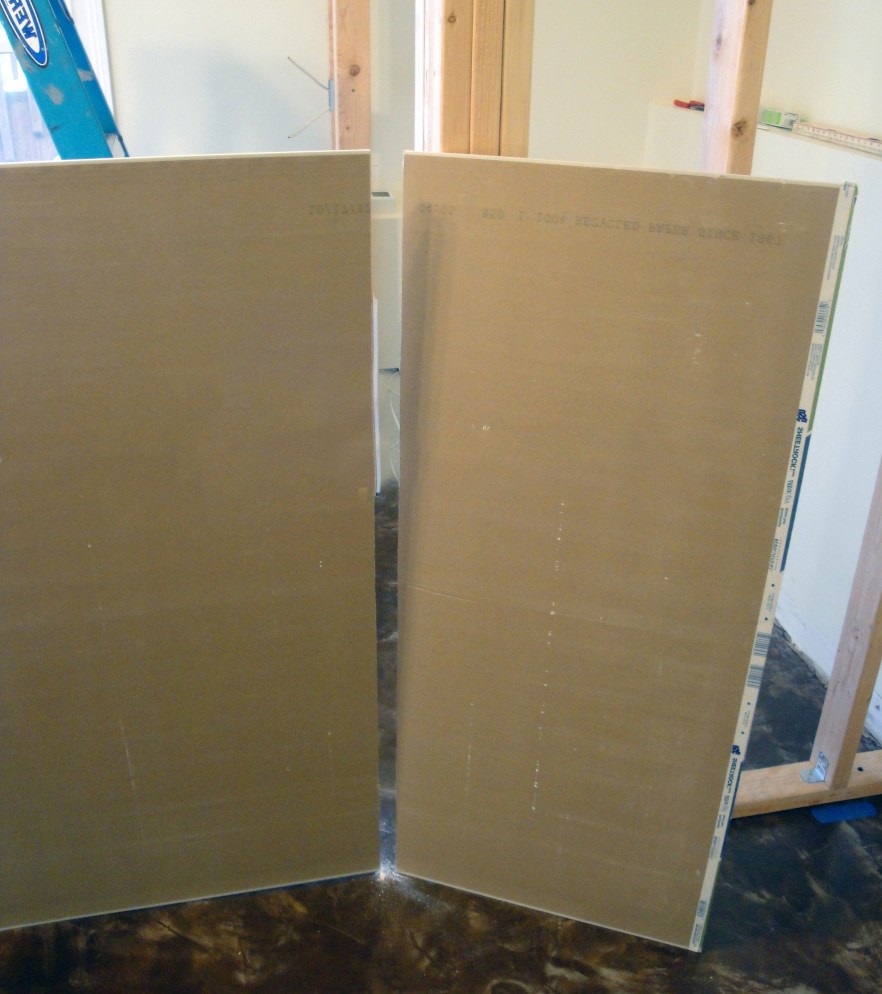
Installation along the guides is carried out in two layers with fastening every 40-50 cm.
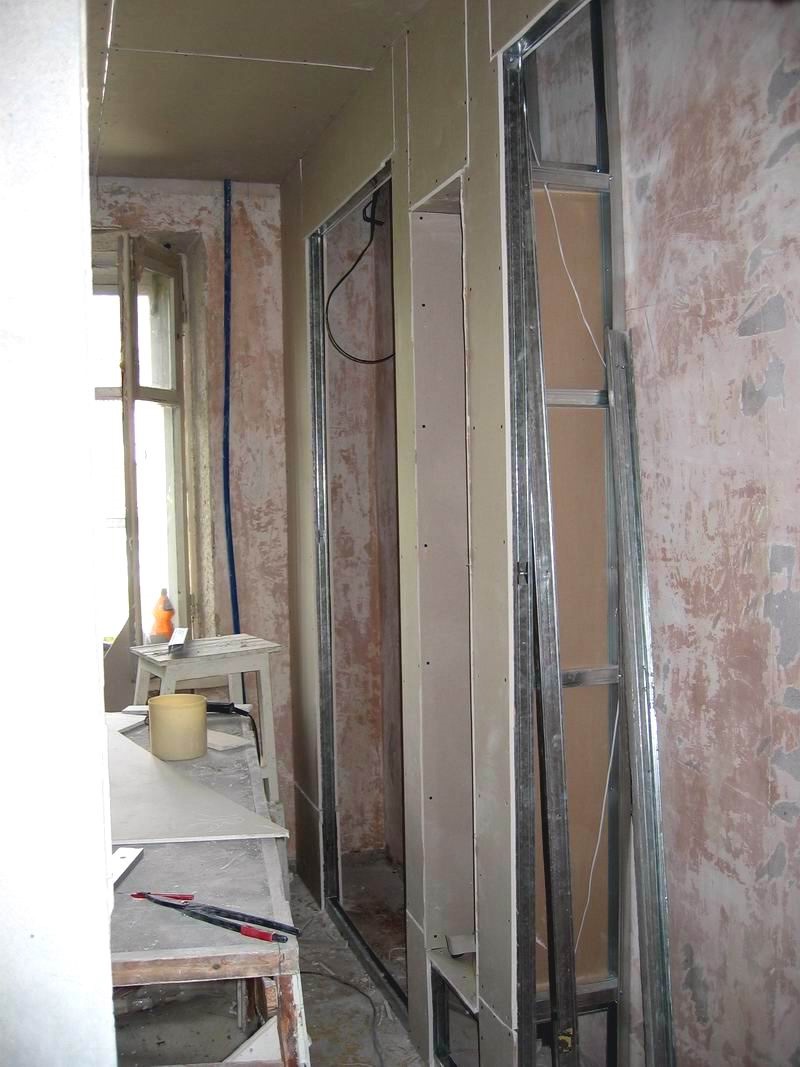
After installing drywall sheets, the stage of cosmetic finishing begins. The seams are glued with a serpentine, reinforcements of the corners are installed, a primer and putty are made. Next, we move on to painting.
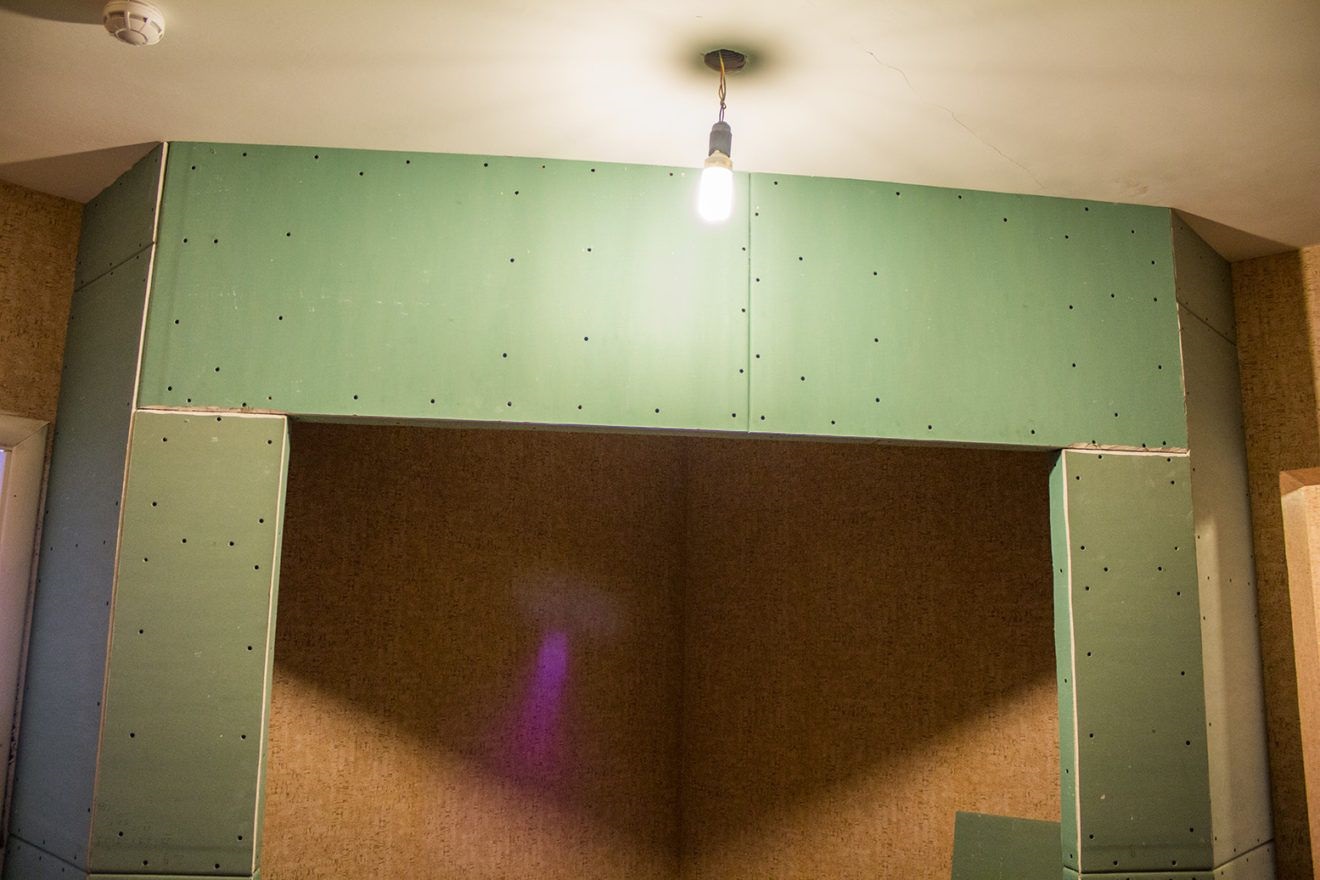
Sliding wardrobe doors are installed last. For this, special furniture fasteners and guides are used. It is worth noting that in the places where sliding doors are installed, the profile structure is reinforced.
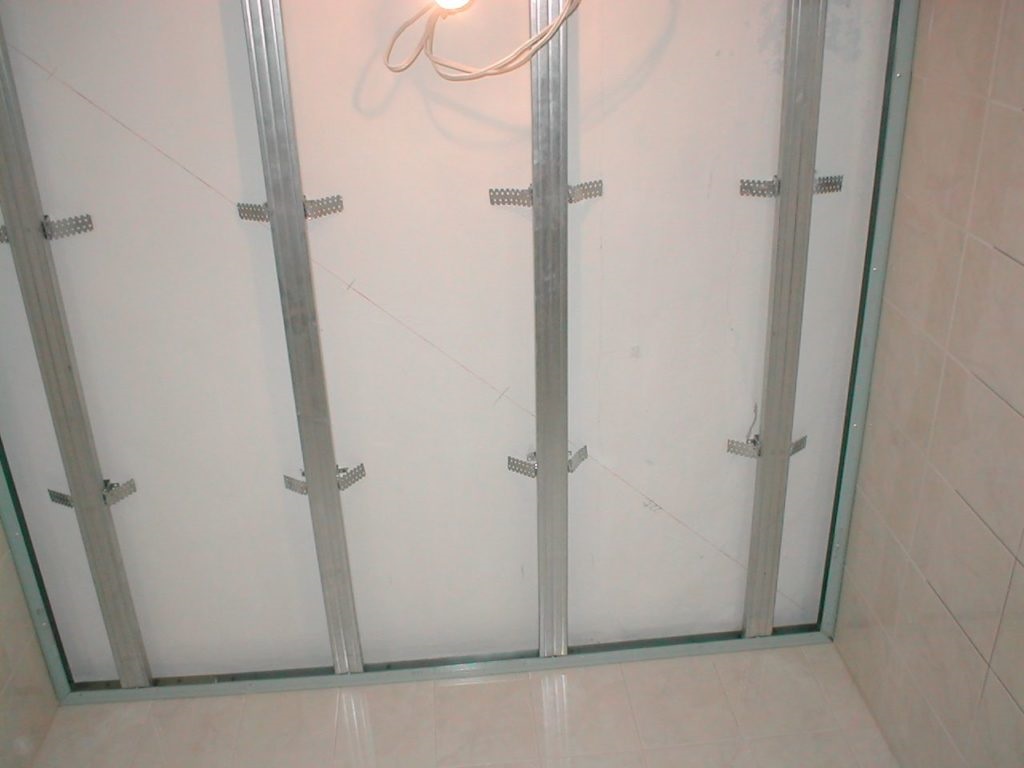
At the last stage, finishing is done. Lamps are installed, wallpaper is glued, ceramic tiles are laid.
Video: stages of creating a drywall cabinet
