How to assemble a wardrobe on your own
Buying a wardrobe will be the right decision for those who want to have functional furniture at home that saves space. At the same time, things are always stored neatly in one place. Sometimes, when ordering such a product, some are faced with a dilemma of how to assemble the wardrobe by yourself. The process is simple, the main thing is to follow the instructions, armed with a set of tools.
- Preparation of all parts of the wardrobe
- Assembling the cabinet frame
- Installation of walls
- Installation of internal partitions
- We fix the shelves
- Rear wall installation
- Install guides
- Installation of a rod and fittings
- Door assembly
- Summarizing
- Video: instructions for assembling a wardrobe
- Photo 50 design options for wardrobes in the interior
Preparation of all parts of the wardrobe
After determining the room in which the installation of this furniture is planned, the place should be prepared. There should be free space to accommodate all parts and tools. Furniture should be unpacked carefully, taking care not to deform parts.
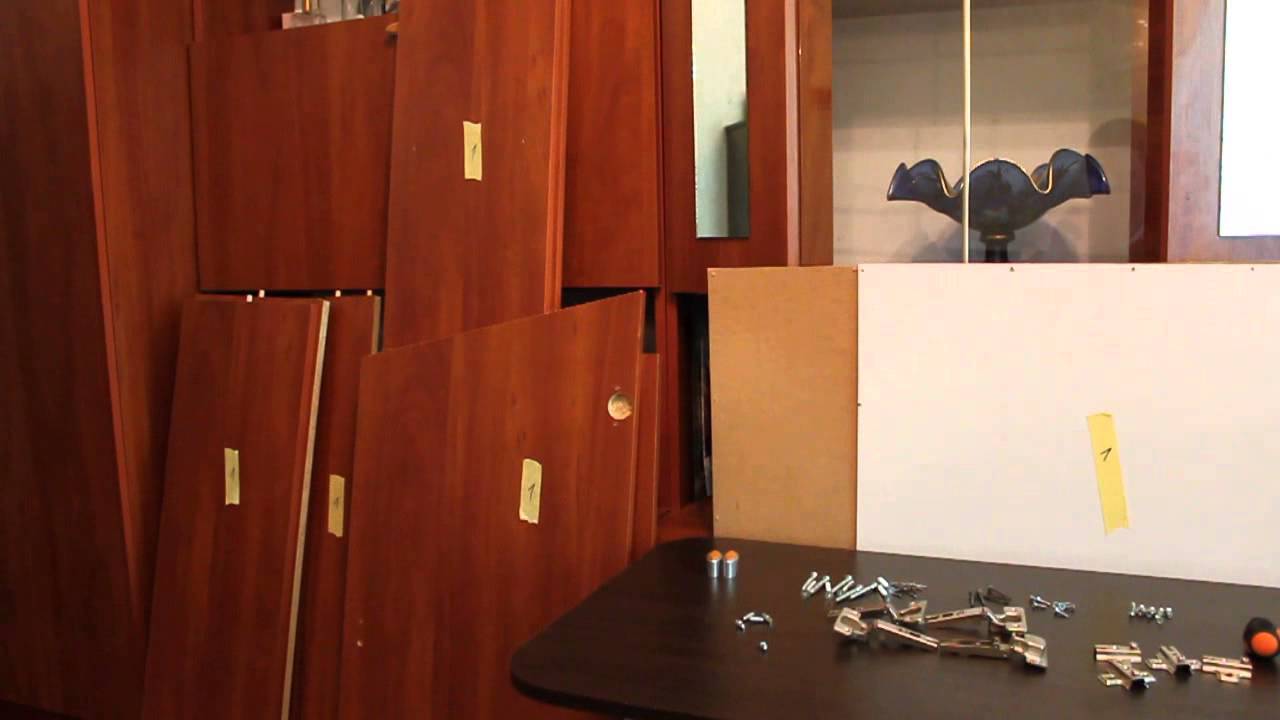
To prevent scratches on the cabinet itself and the floor, you can lay packing material or any fabric on the floor. Next, you need to find the assembly instructions. Each piece of furniture and fittings is marked by the manufacturer. In the schematic illustration, the numbers correspond to the elements of the cabinet.
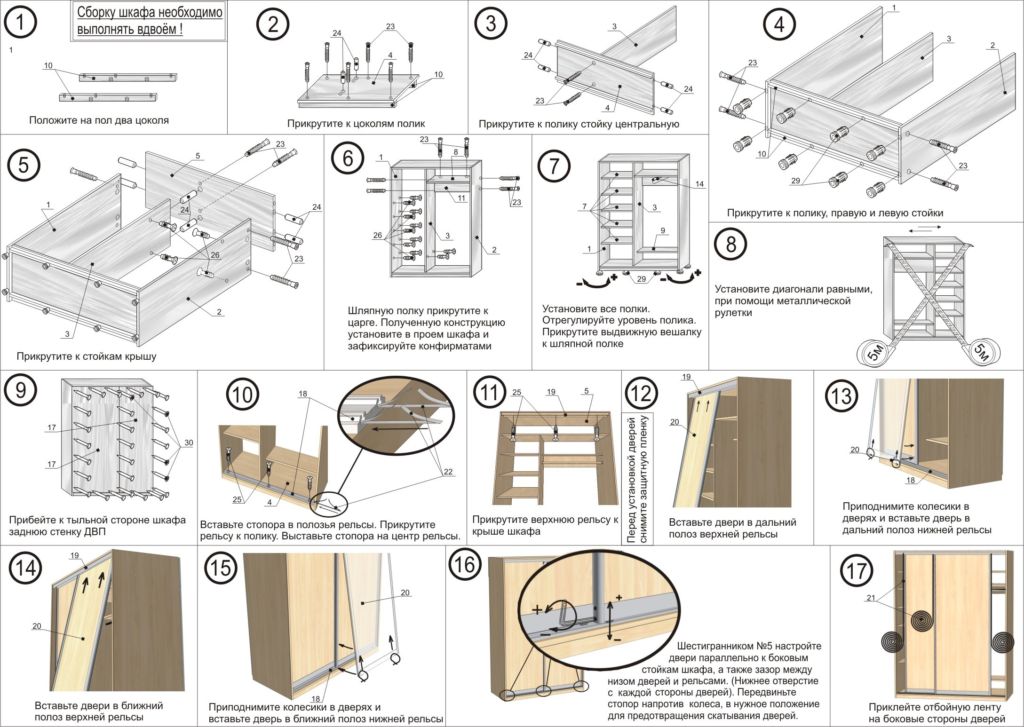
The main thing is to follow the assembly sequence, otherwise you will have to disassemble what was done wrong and start the process over again. After unpacking:
- Inspection for the presence of all components. Furniture must be intact, fully comply with the manufacturer's declared parameters;
- The details are laid out in the order in which they will be assembled. Externally, some parts are similar, so it is important not to confuse them. This applies to the top and bottom, back and front;
- Small parts, namely screws and fittings, should be placed separately in the box.
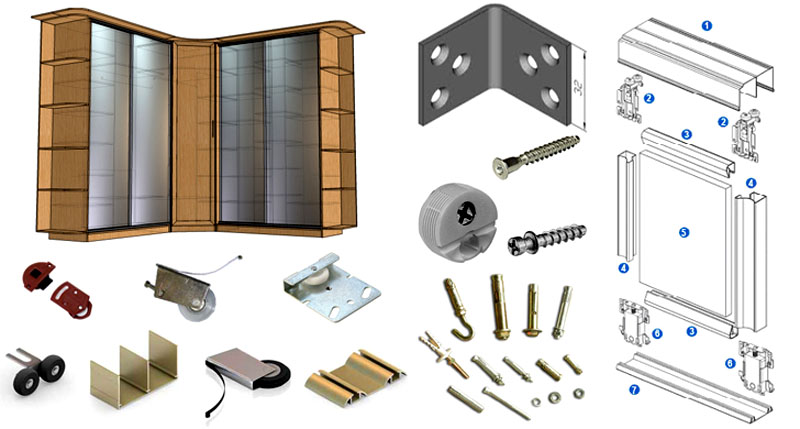
During the assembly activities, nothing should interfere. All unnecessary, if possible, it is better to move to another room.
Note! The cabinet is assembled in a lying state, so free space is required.
Assembling the cabinet frame
The first step is to install the base. The board must be attached to a support that runs along the longest part of the furniture. This is done with the help of euro screws. Then you need to place the internal partitions correctly. At the bottom there are special holes in which the dowels should be mounted.
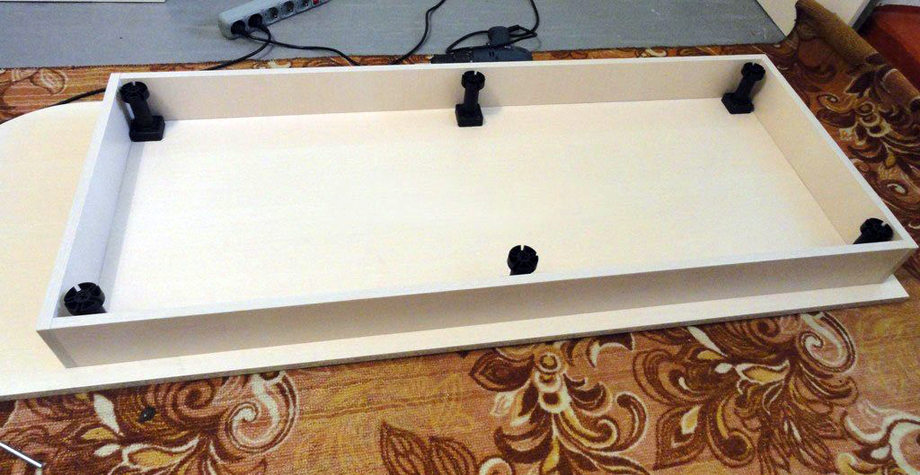
At the bottom of the podium there are non-through openings provided for such rods. Next, you need to connect them by placing them in the holes. For the stability of the structure, it is necessary to fix the shelves acting as stiffeners. For this, confirmations are used. The main thing is to tighten everything firmly at this stage.
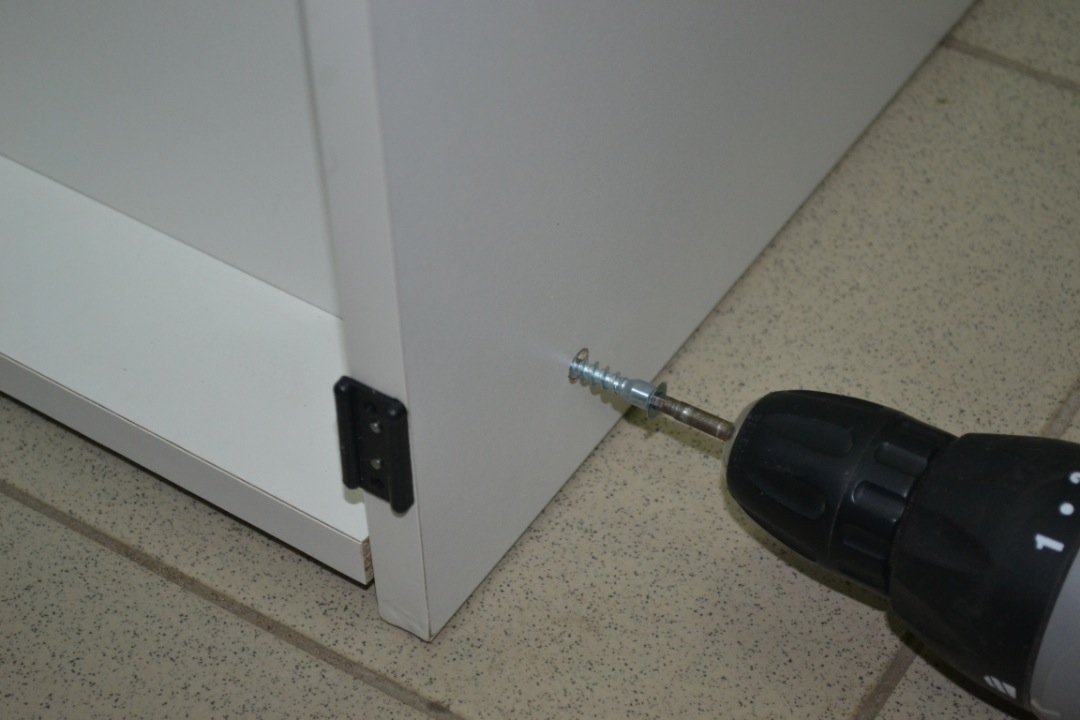
At the end of the assembly of the frame, you need to install the side parts and the top. These elements are mounted immediately, since the features of the entire system will depend on the quality of these works.
Installation of walls
On the sides, it is worth pre-trimming the edges, ensuring an unobstructed and snug fit to the back wall. It is advisable to grind the ends of the walls. Using a level, it will turn out to perfectly align the side parts.
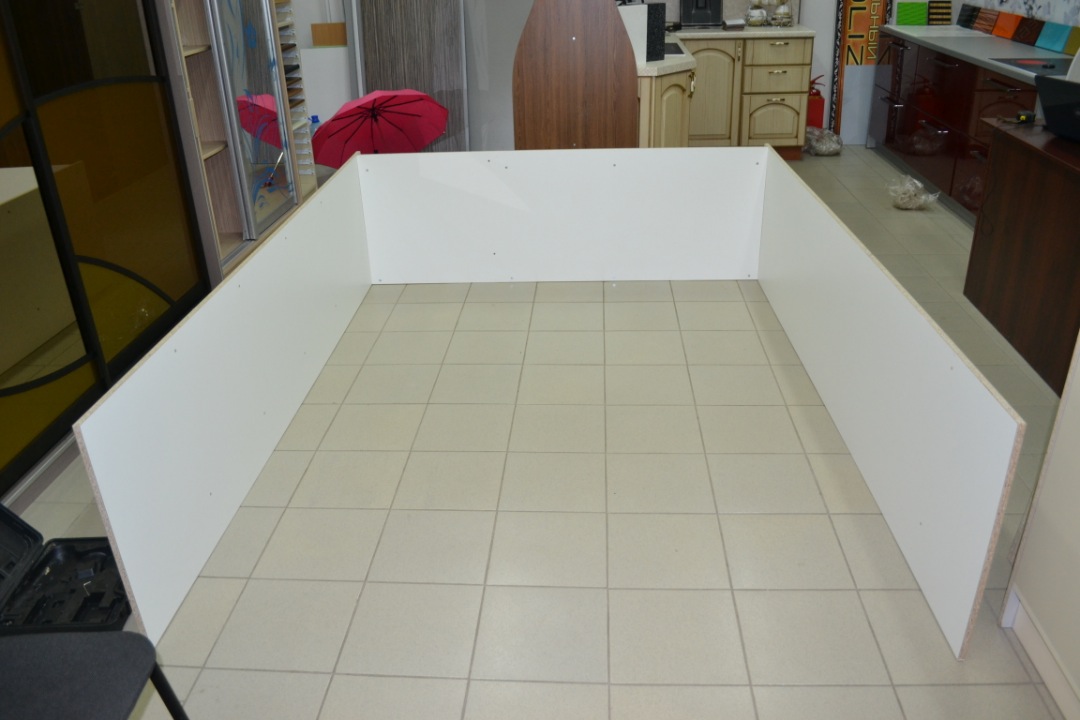
Sometimes the cabinet model is sold without side elements, assuming placement between the walls. In this case, you will have to mark in such a way as to attach the shelves under the mark. Next, you need to work with a puncher to make holes in the walls just below the level markings. Then the fasteners are inserted and the corners are fixed. Shelves will be placed on them. According to their level, it is necessary to install the rear pillars.
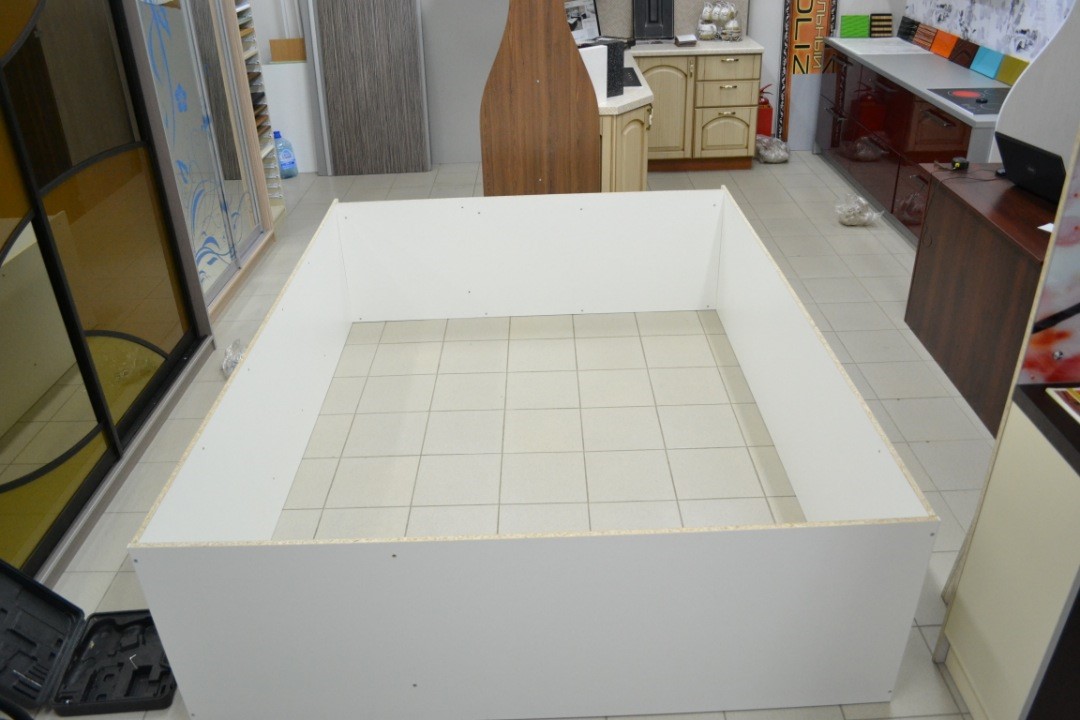
Installation of internal partitions
There are small holes along the edges of the furniture partitions; chopiks need to be placed in them, strengthening the wooden joints. Then you need to align the dowels with the holes in the base. Thus, the vertical partitions are put in place.
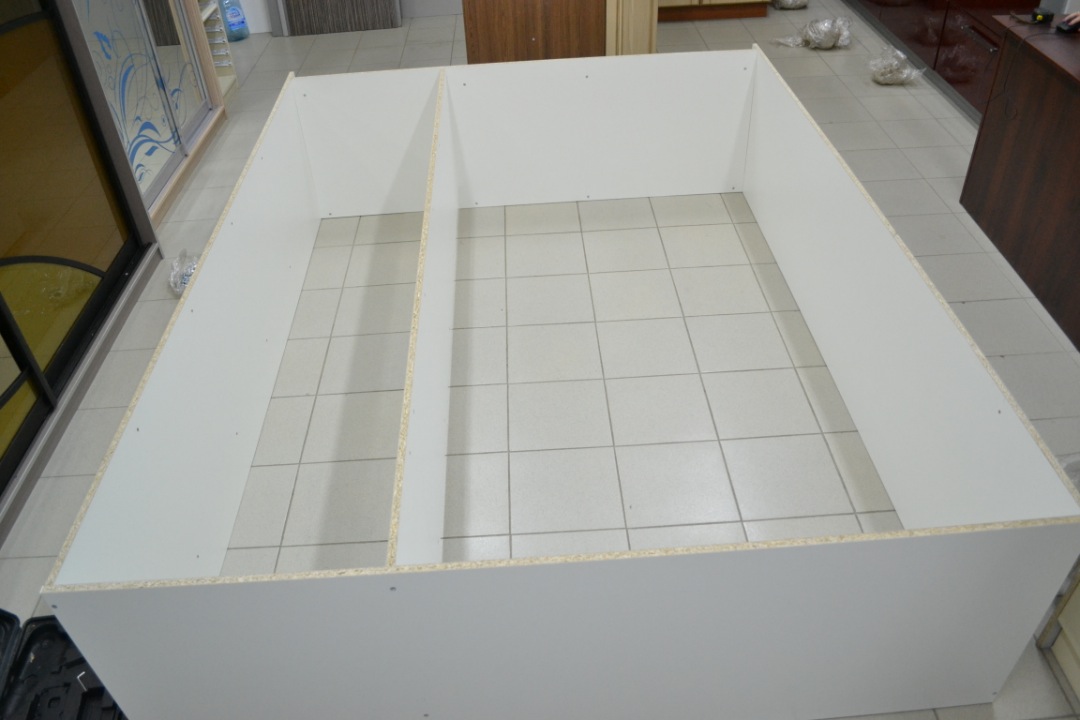
It is important that the attached partitions do not tilt while the cabinet is not fully assembled. To stiffen the system, you need to fix the parts with screws or self-tapping screws. Insertion into grooves is also allowed.
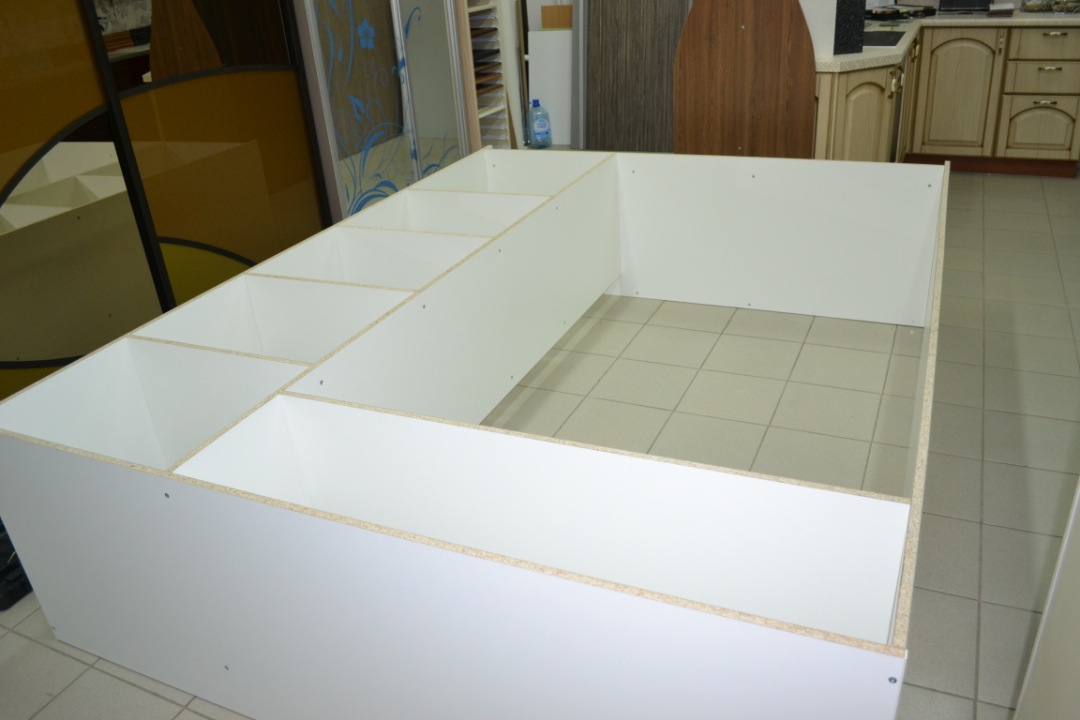
It is recommended to install parts during the assembly of the structure strictly according to the drawing, horizontally or vertically. At every stage, it is important to ensure that the fittings are not skewed. In a room with low ceilings, work is best done vertically. Since the finished cabinet will not need to be lifted.
We fix the shelves
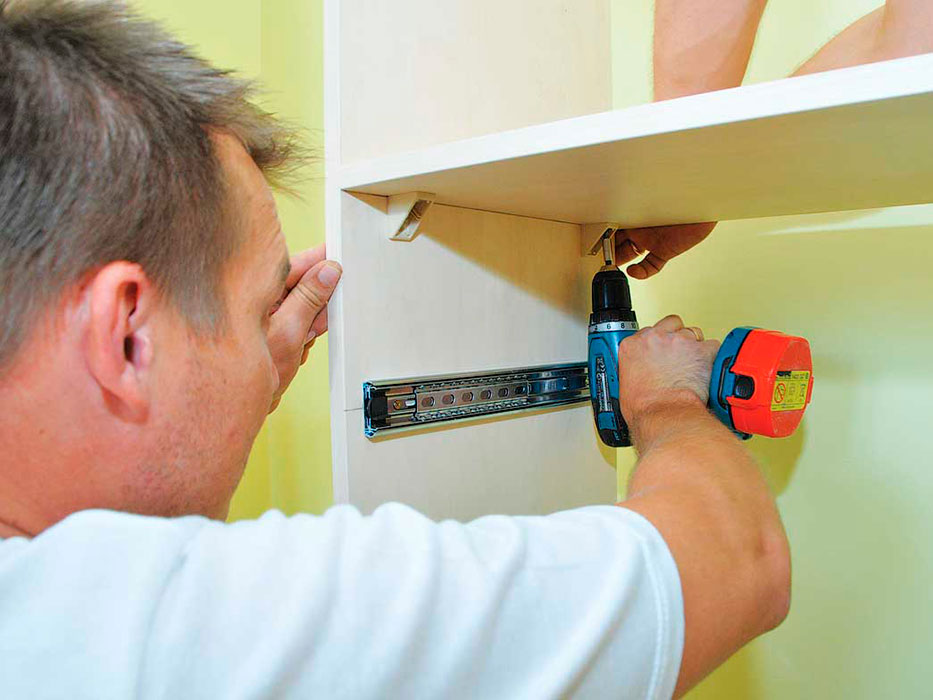
First you need to place the shelf supports and guides in the frame, then insert the shelves. Fasteners will not be difficult, horizontal levels must be observed. Otherwise, uneven distribution will result in stress on one fixture than on the other. Which will cause the shelf itself to fall and deform the cabinet wall.
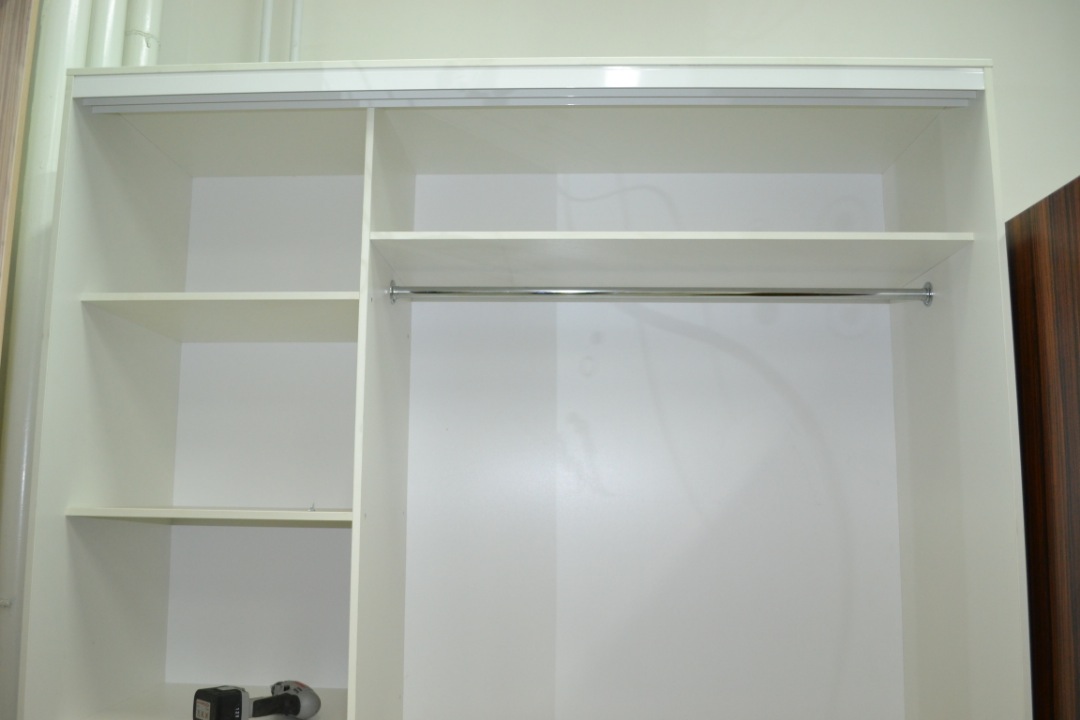
The easiest option is how to assemble a wardrobe, fix the shelves using self-tapping screws. You can choose any, for example, with countersunk heads or press washers. To install the shelves, you will need a screwdriver and a screwdriver. Carefully make the mounting holes on the product to prevent cracks.
Euro screws are popular for installing shelves. The most common dimensions are fifty and seventy-five millimeters.
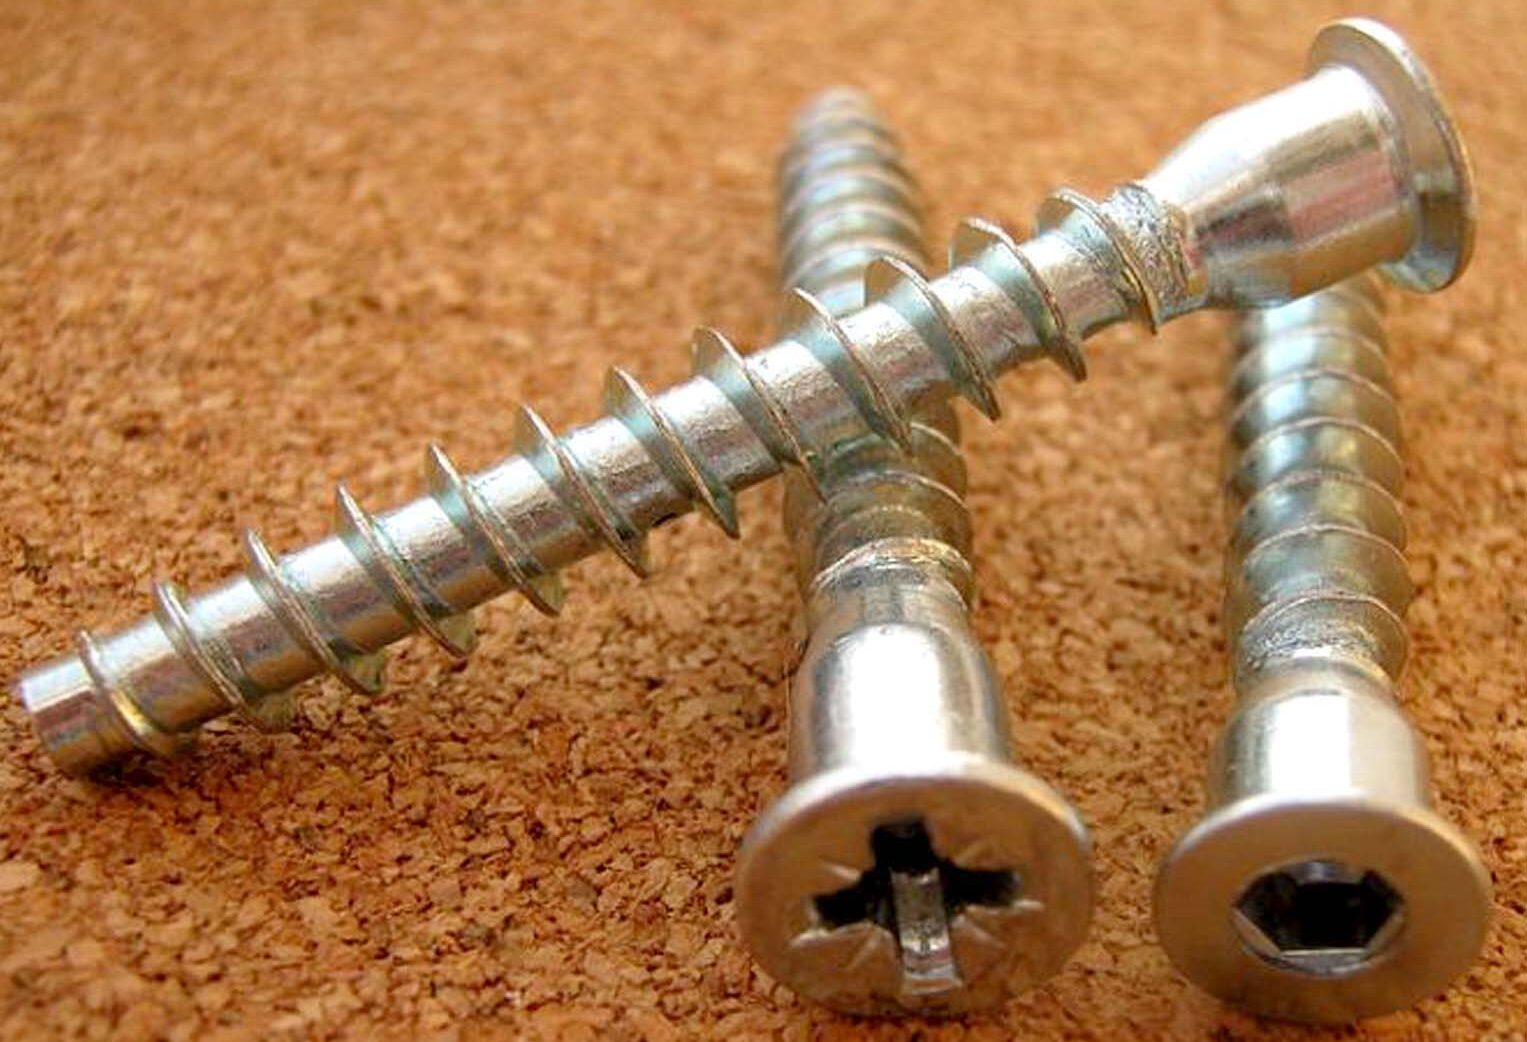
It is better to install the shelves using a hexagon, a confirmatory drill. This will allow you to simultaneously drill both parts under the head and screw threads. The advantage of this fastening method for Euro screws is:
- the possibility of screed elements;
- sufficient fixation;
- looks much more aesthetically pleasing compared to self-tapping screws.
Rear wall installation
Further assembly steps will be the installation of sheets with fixing them to the back wall of the furniture. The canvases essentially act as a solid wall, firmly holding the entire system throughout the entire period of operation.
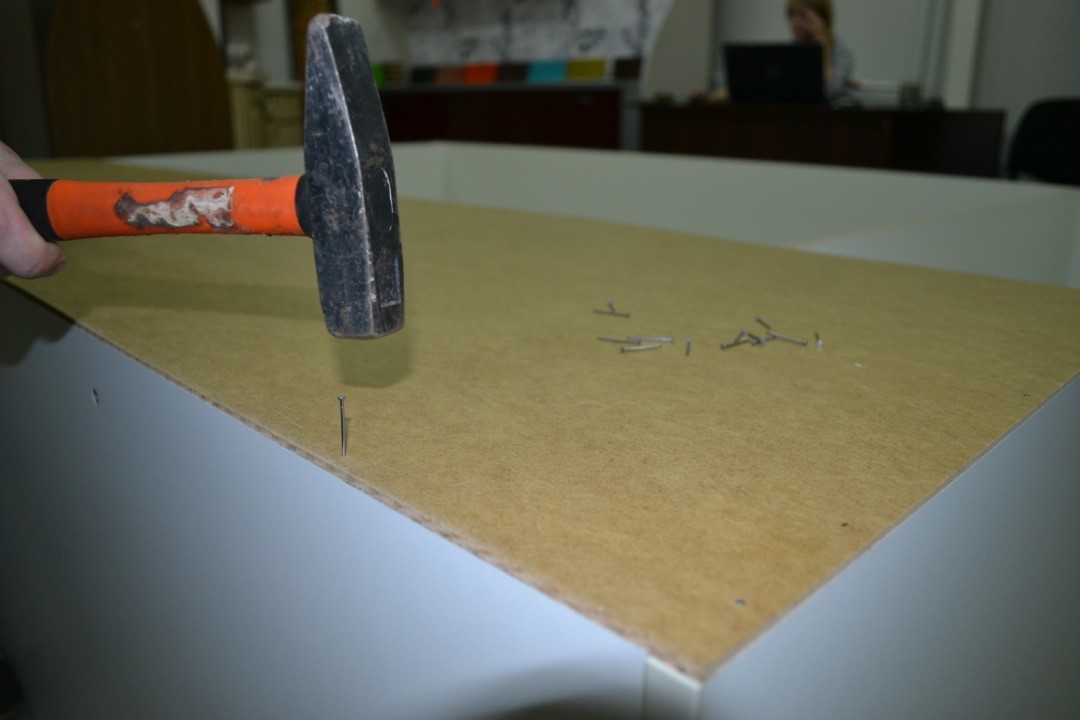
Often on sheets, the front side is decorated with colored surface lamination. The fixation is done with miniature studs. They must be carefully hammered into the ends of the shelves, internal partitions.
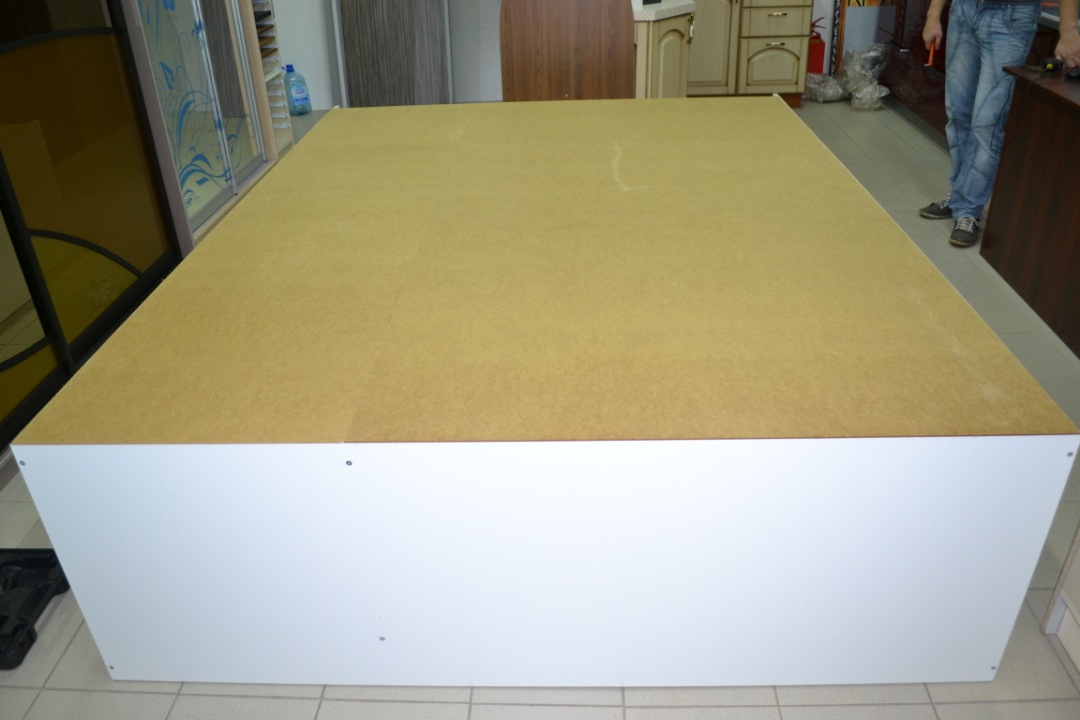
The main thing is to accurately determine the nailing area. Due to the fact that the cabinet elements are not visible on the back side, but if damaged from the wrong choice, the product may lose its appearance. The back wall is usually screwed onto self-tapping screws. This is much more convenient than just nailing.
Install guides
One of the crucial moments in the assembly process is the installation of door rails. The lower part is equipped with two grooves to ensure smooth movement of the rollers. There are also two compartments at the top of the part. The first step is to drill the compartments for the screws, which will serve as fasteners to the base.
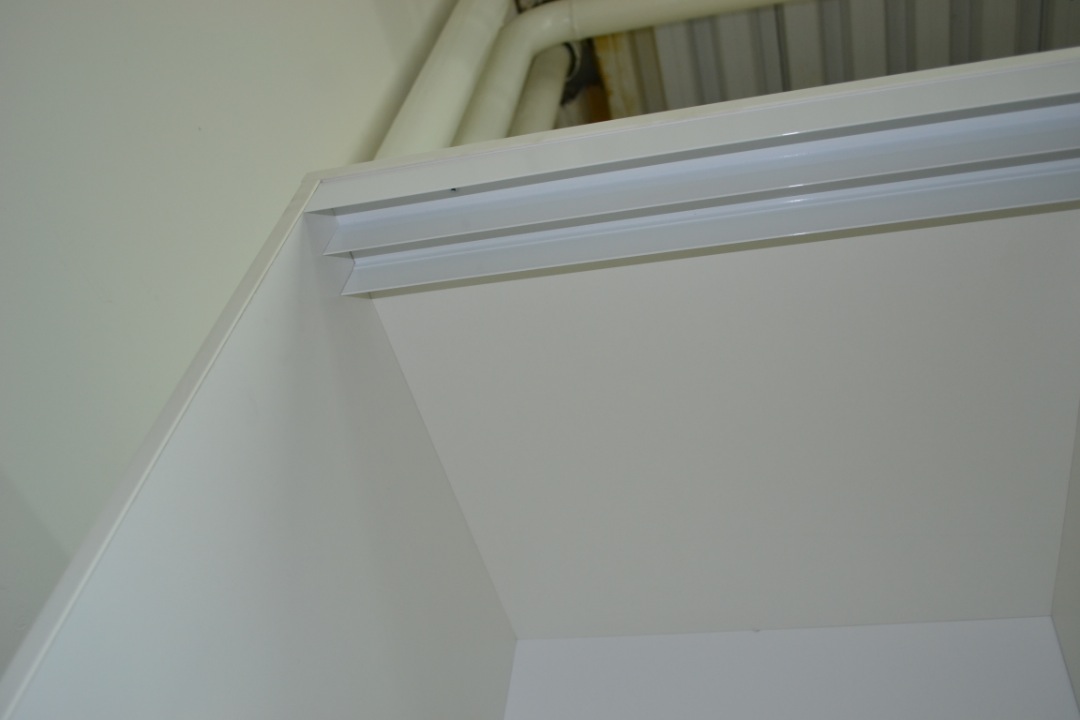
It is imperative that when creating such holes, a chamfer is made, intended for screwing in a screw. Four holes in each plank will be enough. Further actions include:
- fixing the lower rail with preliminary marking of the fastening points;
- leave two and a half centimeters from the edge of the pedestal to the front rail;
- in order to avoid jamming of doors and their uniform movement, the cabinet should be placed horizontally;
- the top rail is mounted identically. The only thing is that the holes are made in a staggered manner.
The fixing elements are the screws that come with the furniture product.
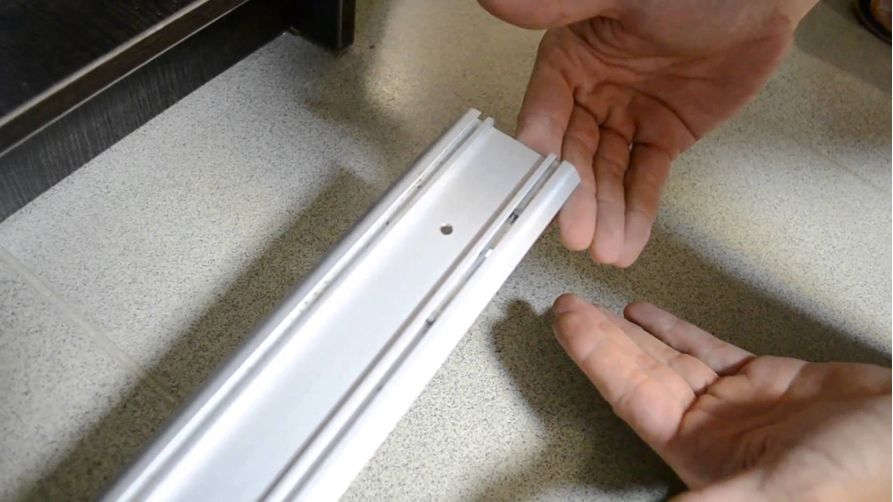
Note! The segment from the edge of the rail to the front of the cover must be at least two millimeters.
Installation of a rod and fittings
This stage of the assembly process involves placing the rod for easy distribution of the wardrobe. Thanks to these details, things do not wrinkle, while the interior space is used to the fullest.
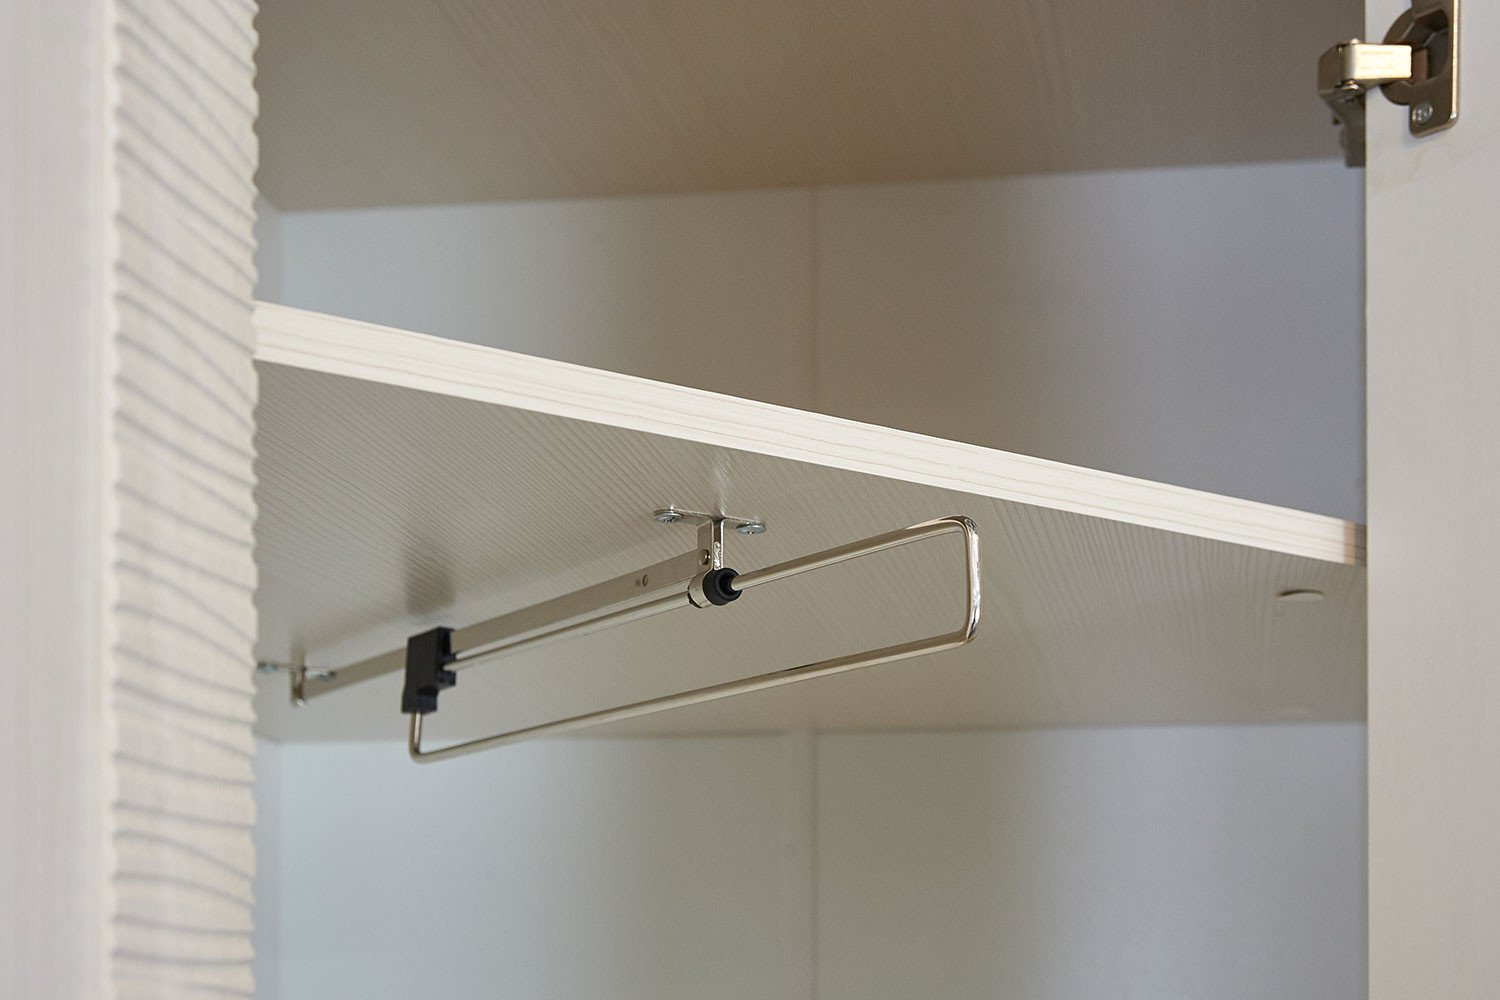
The moment is taken into account that the rod must fully fit on the support plane of the holder. In the case of the oval version, the length is equal to the distance, which is equal to the side walls of the opening. If the product is round, it should be slightly less than the distance between the walls.
The holder is fixed to the base using suitable screws. The first step is to determine the fixing areas for the first bracket. It is secured with three screws. You need to drill the grooves, then tighten the screws firmly.
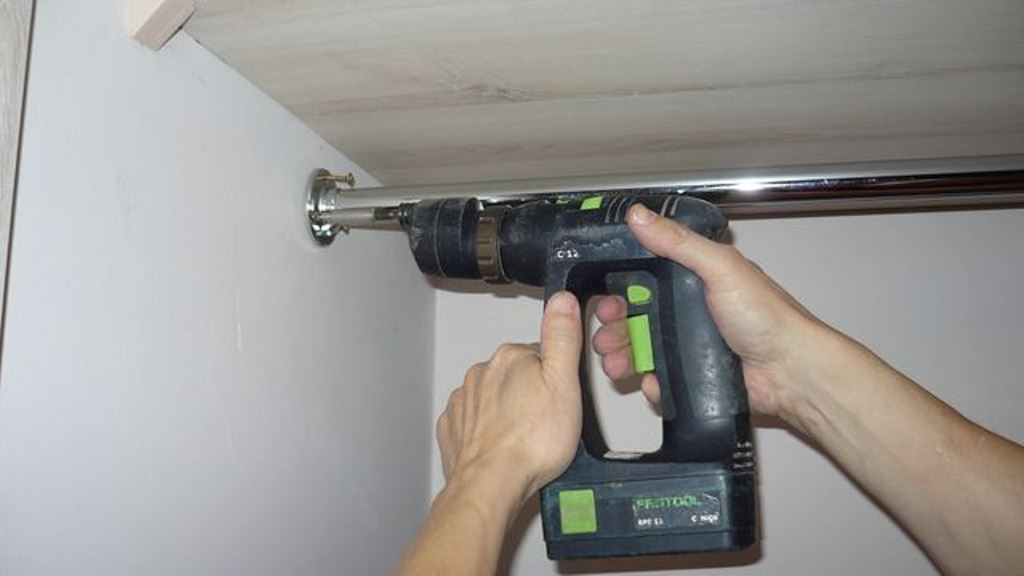
The complete structure must be tried on and aligned horizontally. Then you can make notes and attach with self-tapping screws.
Door assembly
Initially, the grooves located in the lower strip are inspected. They must be clean and free of debris. Otherwise, the rollers will not move well. It is better to once again check all the connecting elements for strength. Next, the door is placed in the upper rail, with the end rollers in the lower groove correctly positioned.
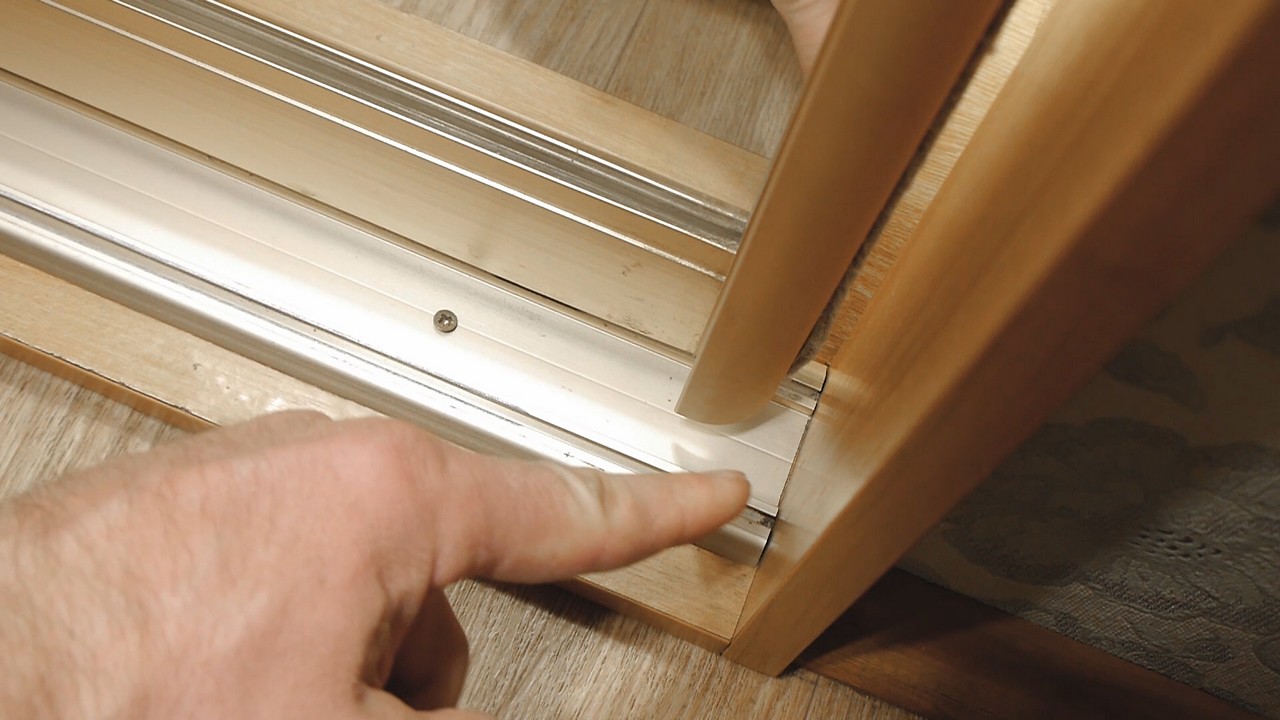
The rest of the canvases are installed in the same way. Everything is described in the instructions supplied with the product, so you should adhere to the schematic images and descriptions.
A point worth paying special attention to:
- first screw on the upper guide, leaving the lower part intact;
- then you need to insert the doors, stepping back from the lower guide.
The canvases should be level, only then can the bottom be screwed on. When the doors are inserted, the upper part is started first, followed by the lower one. Using the hexagon, be sure to correctly adjust the tilt of the doors.
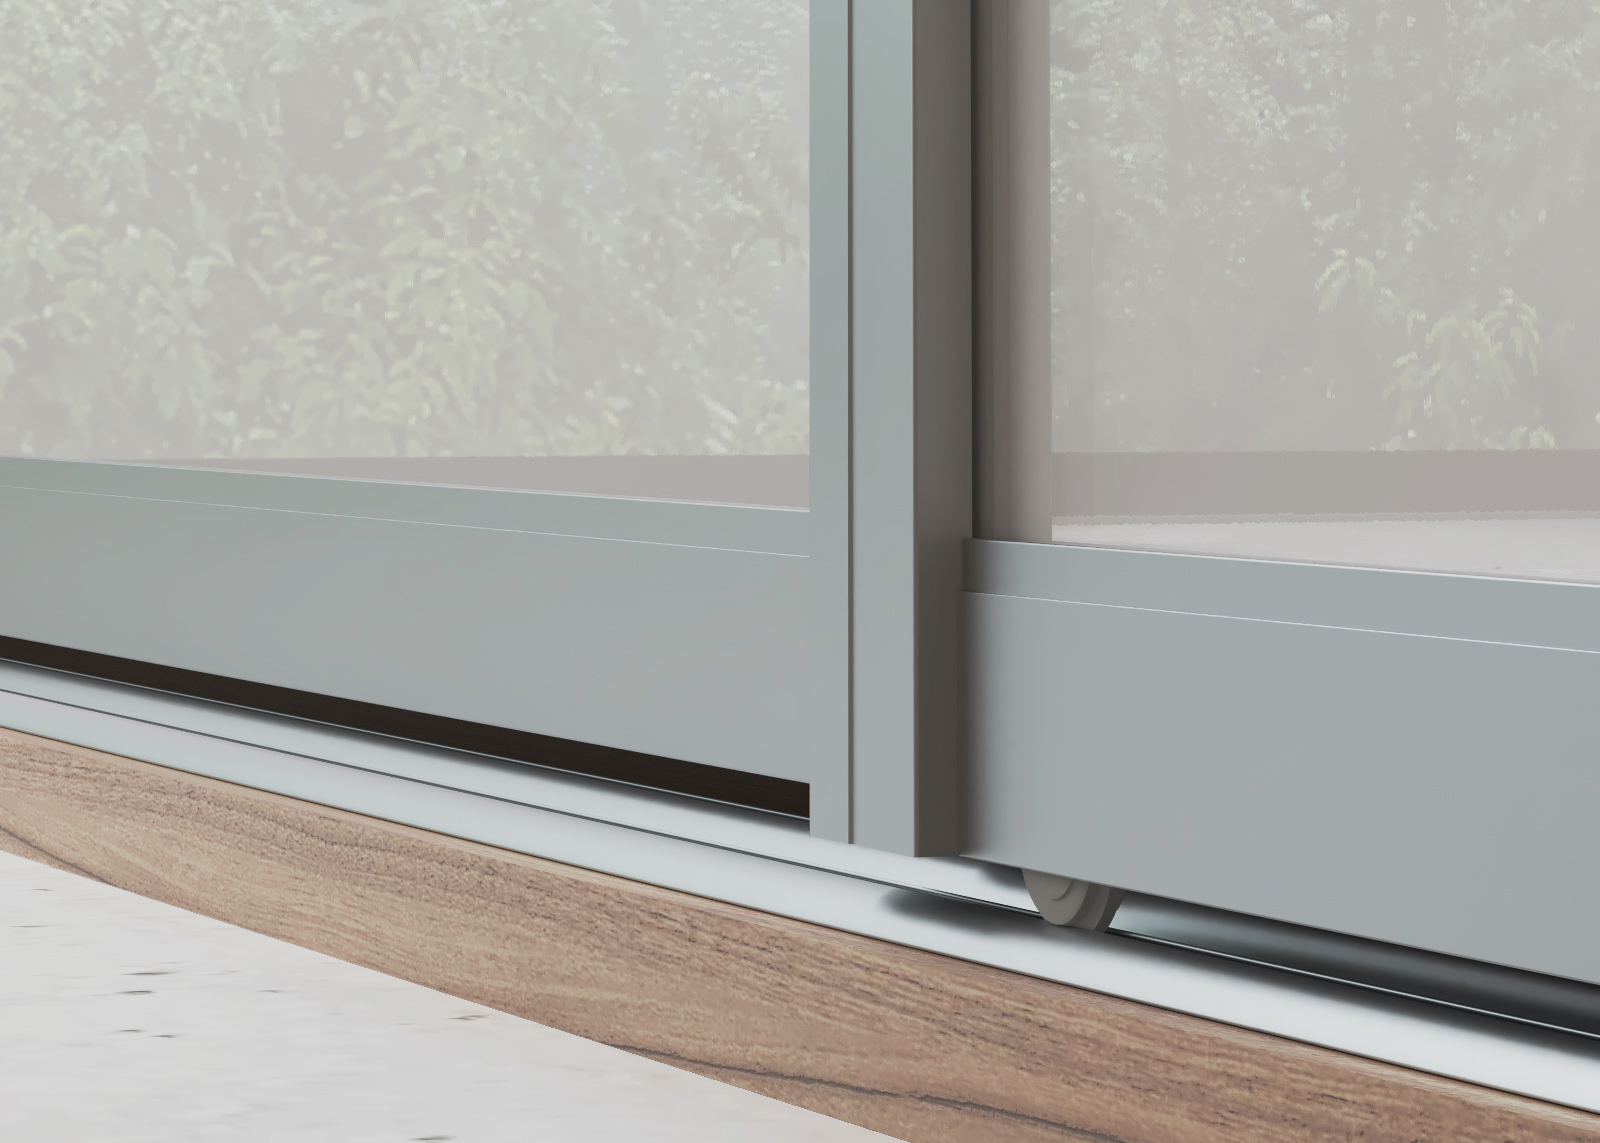
After making sure that the doors are installed correctly, you can start equipping the furniture with special sealing brushes. It is better not to touch the pasting area, otherwise the fasteners will not give the desired result. Usually, when purchasing a sliding wardrobe, the doors are already assembled by the manufacturer of this product. Of course, it also happens that you have to study additional instructions on how to assemble a wardrobe on your own.
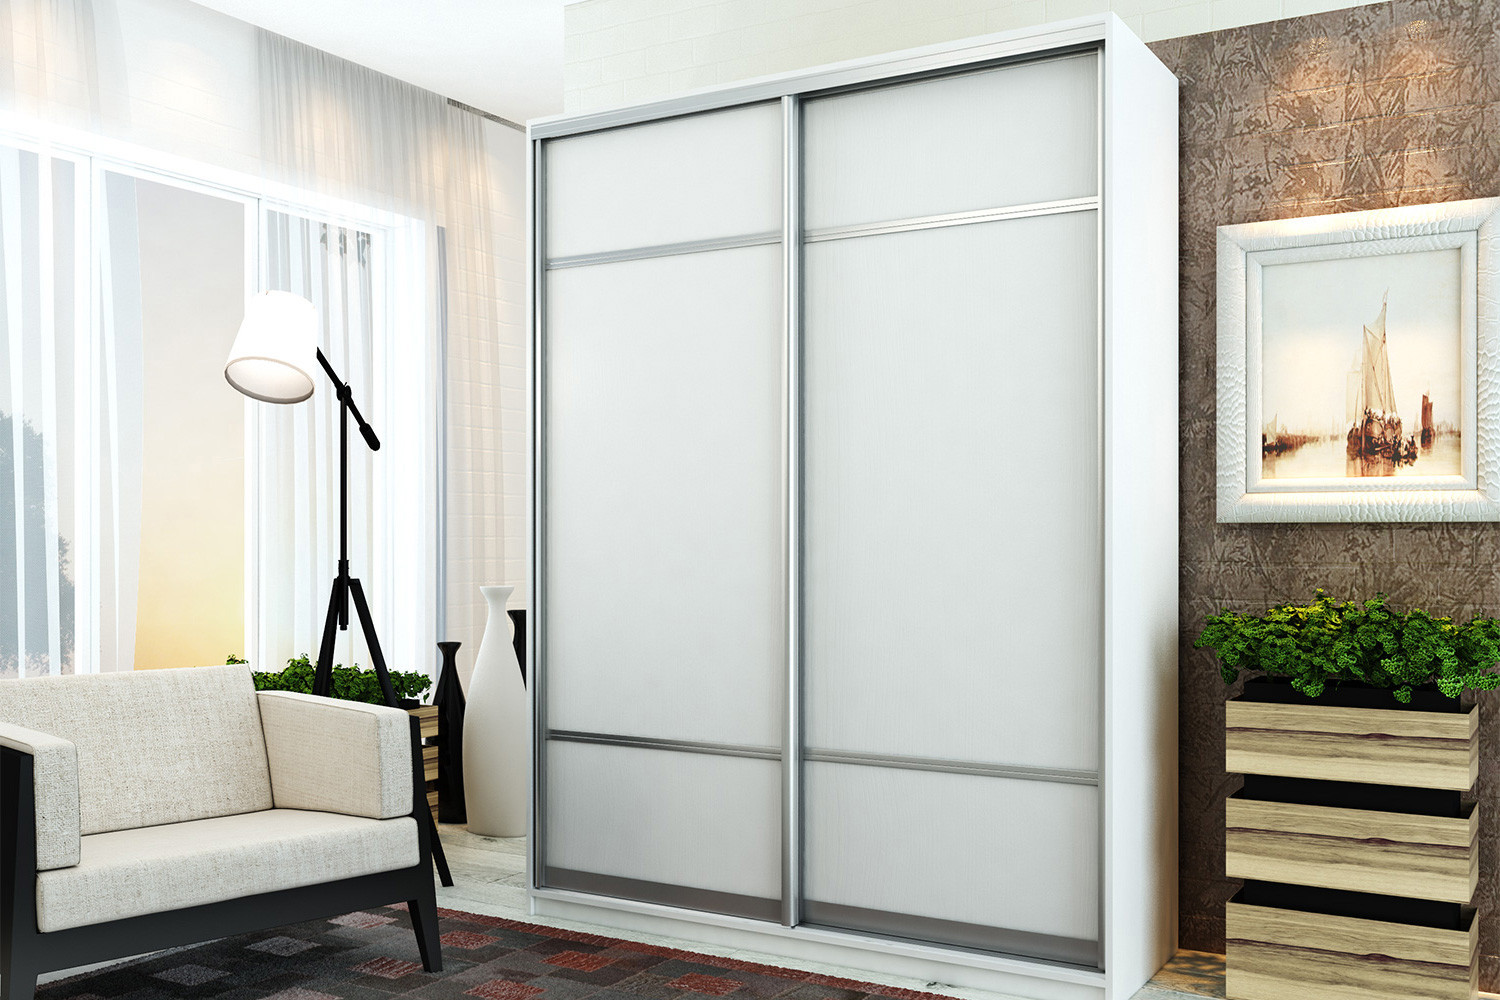
Completion of the work will be the placement of external hooks on the sides of the panels, if provided by the modification. You also need to remove the place for collecting the cabinet. After that, you can safely lay out things in the compartment, assembled with your own hands.
Summarizing
As you can see from the described assembly process of the wardrobe, the process is not complicated. To resolve this issue, you will need a desire, an elementary set of screwdrivers, a tool and a tape measure. Further, already following the step-by-step instructions, even a beginner in this business will cope one hundred percent.
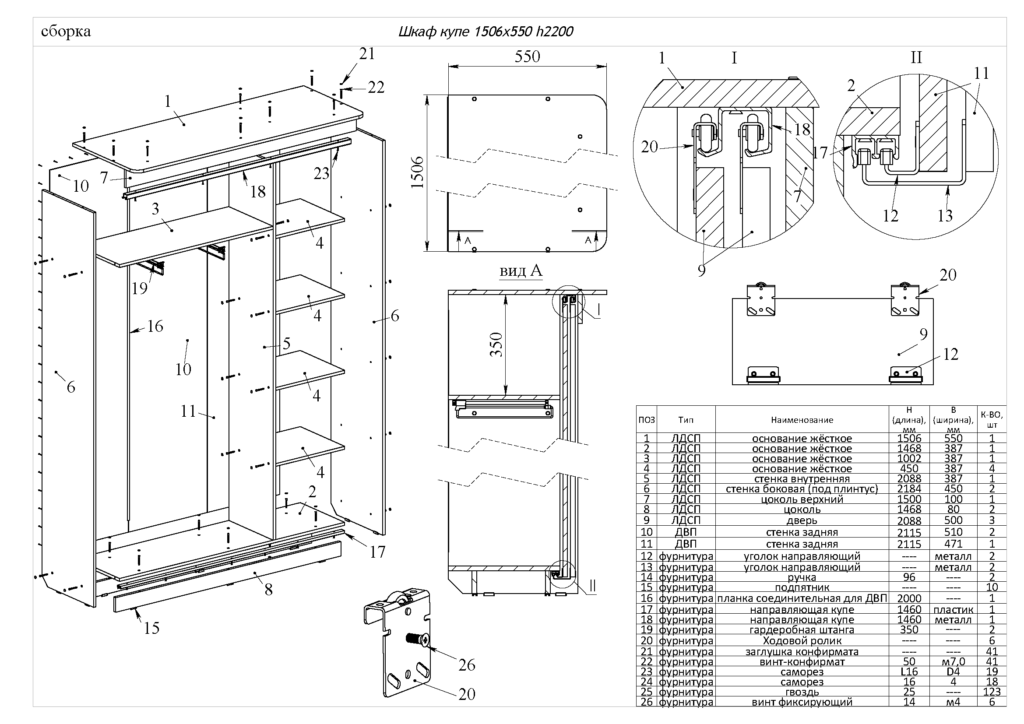
The first steps in assembling the cabinet will be to prepare the parts after unpacking. Here it is important to put everything in its place, it is better to select the box for small elements right away. Then you can start tinkering with the frame. Shelves, internal partitions, fittings and guides will then be placed on it.
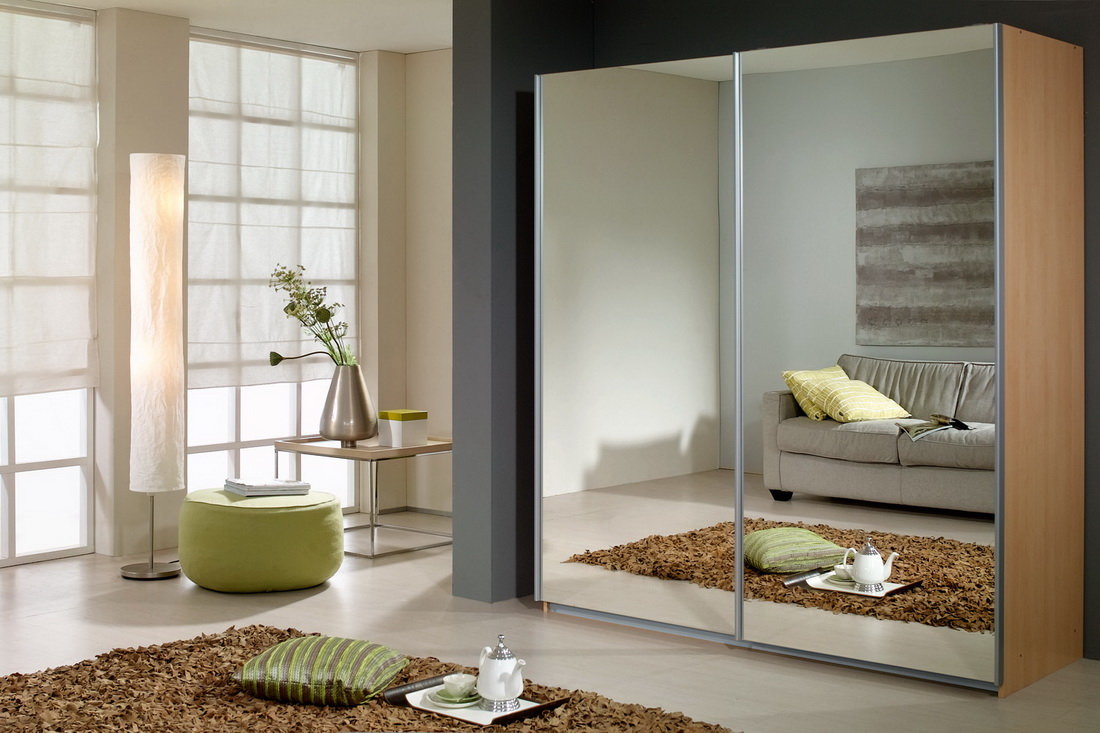
If you have doubts about the correctness of all the steps, you can periodically check with the drawing, which will help to do everything properly. In addition, there are many video tutorials on the net.
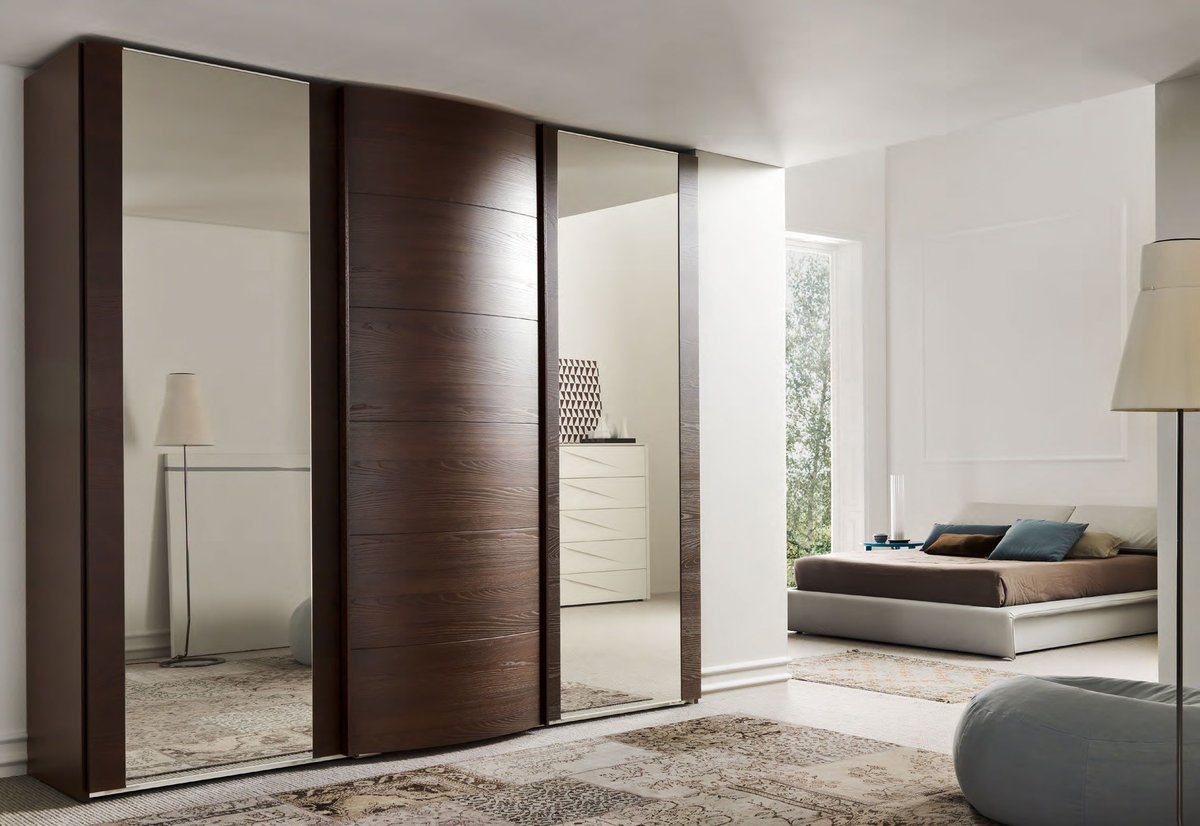
Video: instructions for assembling a wardrobe


