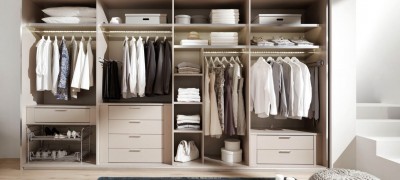
How to make a wardrobe on the balcony with your own hands
Did you know that your apartment has a lot of free space? Probably already guessed. This is a balcony. There, among the endless mountains of various "necessary" junk, there is a place perfect for installing a spacious locker. This topic is especially relevant for the owners of small Khrushchev houses. For the owners of such apartments, finding additional space for storing things, tools and other equipment is an important necessity.
From this overview, you will learn:
- how to make a wardrobe on the balcony with your own hands;
- what materials to use;
- what tool can be used to do this.
Further in the article you will find ready-made drawings for making a locker.
Cabinet advantages
Let's see what the advantages and disadvantages are present in the manufacture and use of the cabinet.
Let's start with the disadvantages. They simply do not exist. You will be able to free up space for pickles for the winter, storage of vegetables and other household utensils.
But there are a lot of advantages here. Thanks to the competent distribution of free space, preparation for work, making drawings, you will be able to equip your balcony at the highest level. And if you also take the time to choose a design, appearance, colors and style, the balcony space will be transformed many times over.
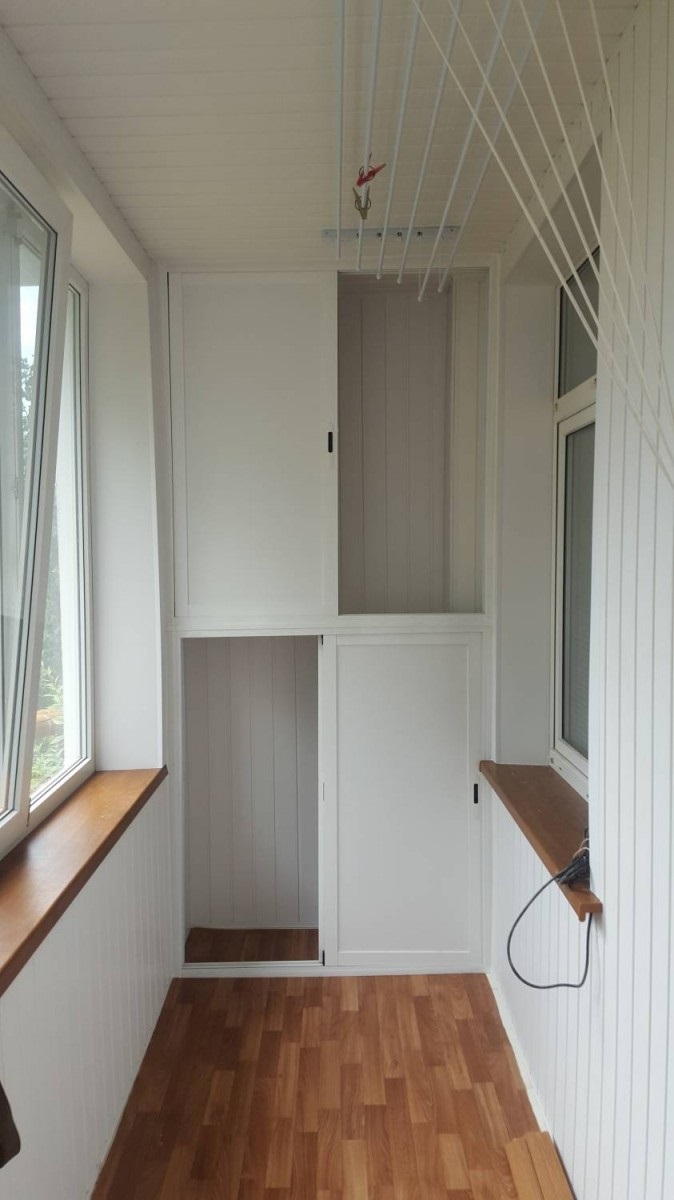
To carry out the idea correctly, ideally and without errors, it is imperative to pay attention to the design stage.
Advice. Make blueprints. Consider all relevant distances, tolerances and allowances. If you wish, you can use the ready-made advice of our specialists provided at the end of the article.
For a favorable location of the cabinet, preserving free space and maximizing the use of available space, it is important to choose the right type and method of placement.
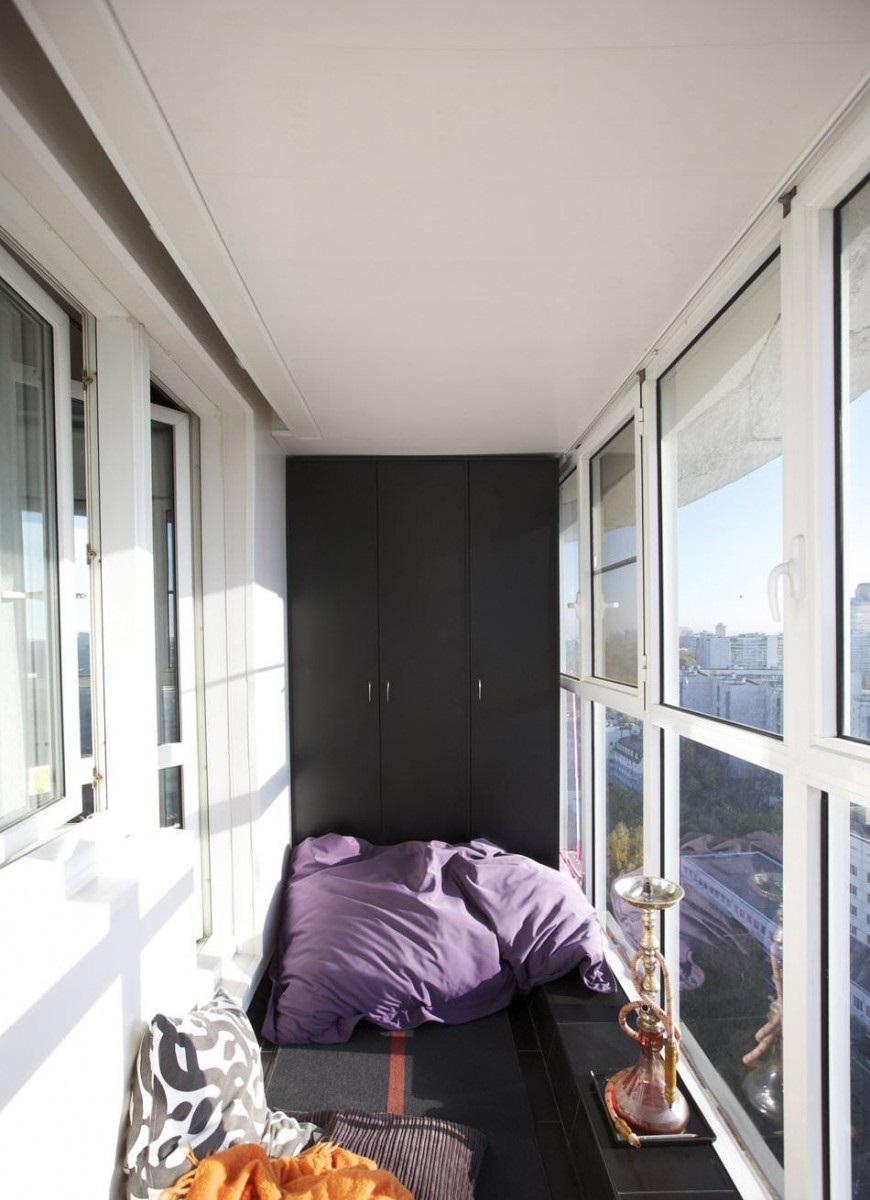
Varieties
There are different types of cabinets for a specific type of balcony. This is due to local circumstances, location and size of the room. Let's get acquainted with the most common ones.
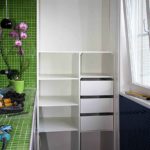
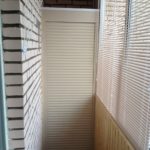
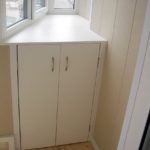
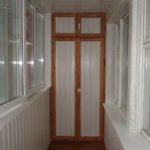
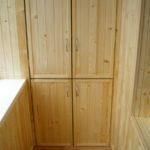
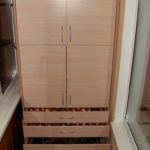
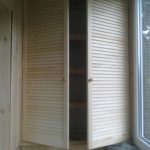
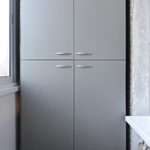
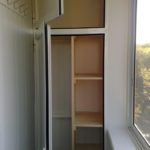
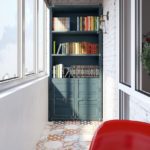
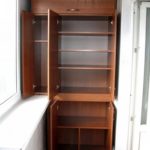
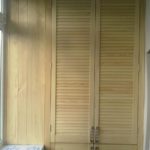
- Straight. Placed at the end of one of the walls of the balcony. It can be full height to the ceiling, or half the wall. The choice depends on personal preference.
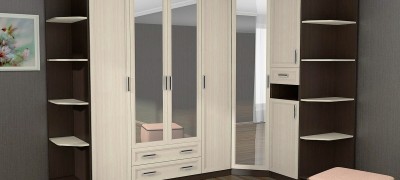
A straight cabinet is placed at the end of the balcony. - Angular. This type is arranged on balconies in which width prevails. The advantage here is the maximum use of free space, spaciousness, ease of use.
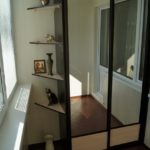
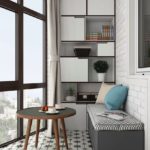
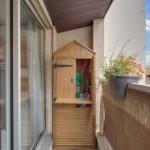
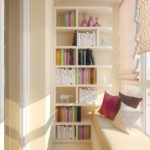
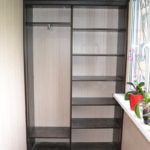
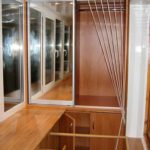
The corner cabinet is spacious and saves space. - Open. It is made in the form of longitudinal shelves. A good solution for small spaces. The only drawback is that the visual qualities are lame.
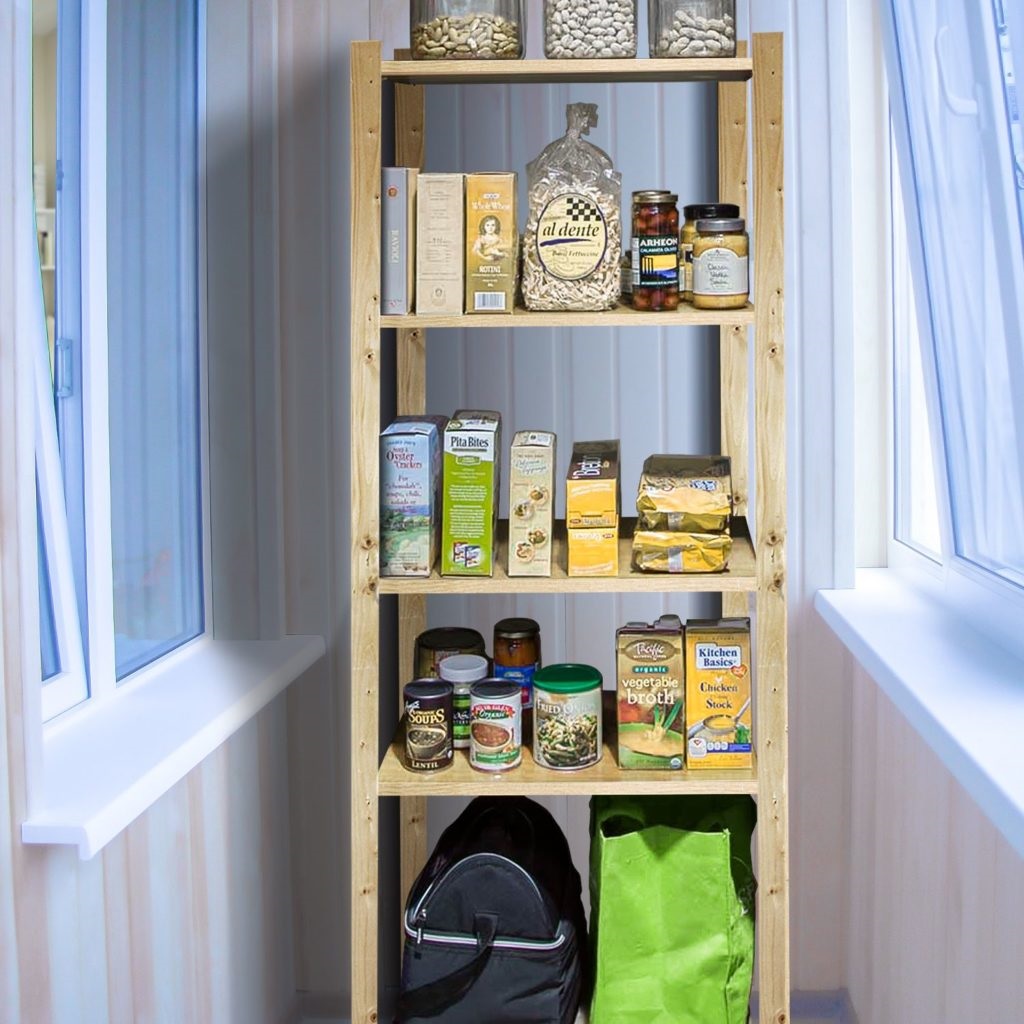
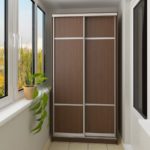
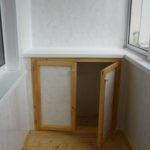
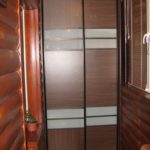
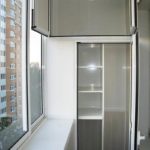
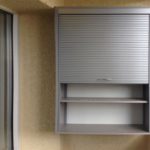
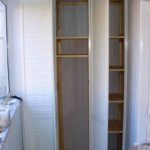
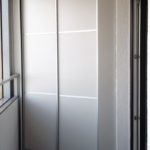
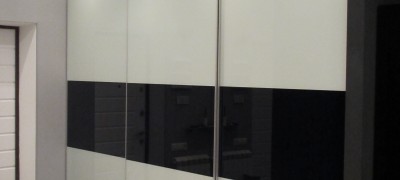
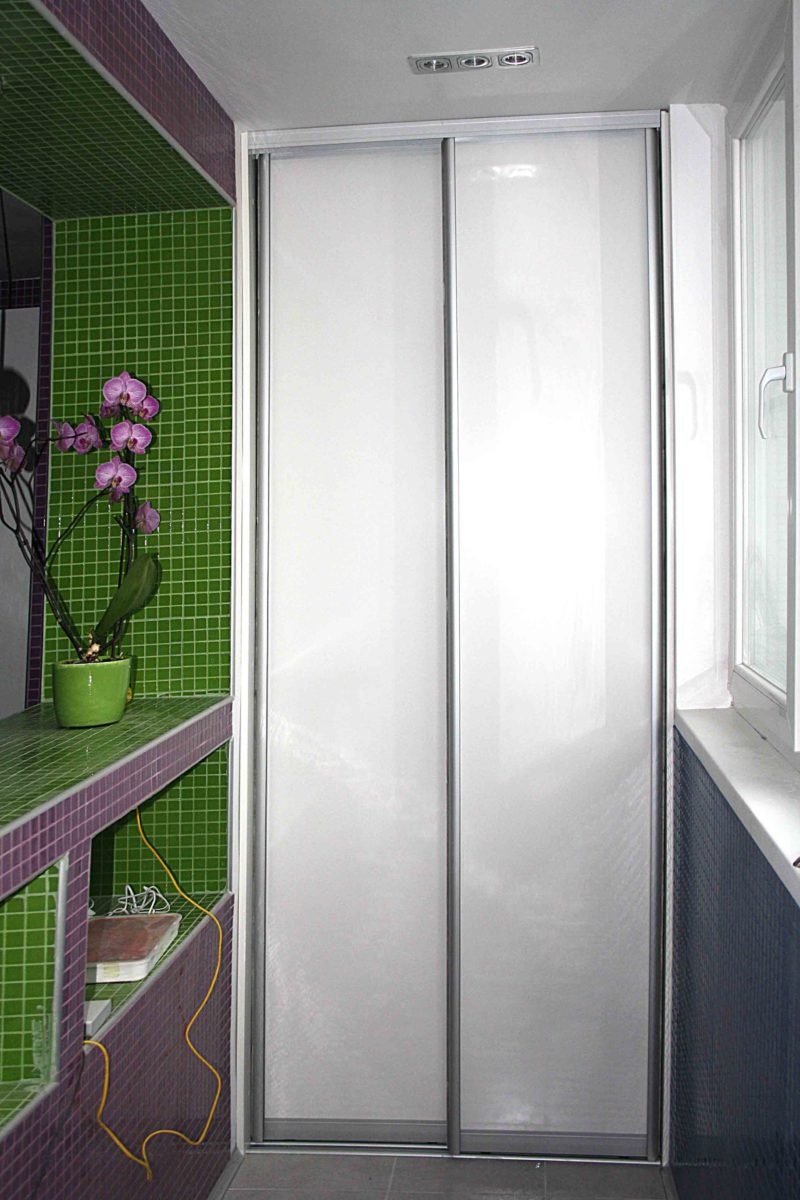
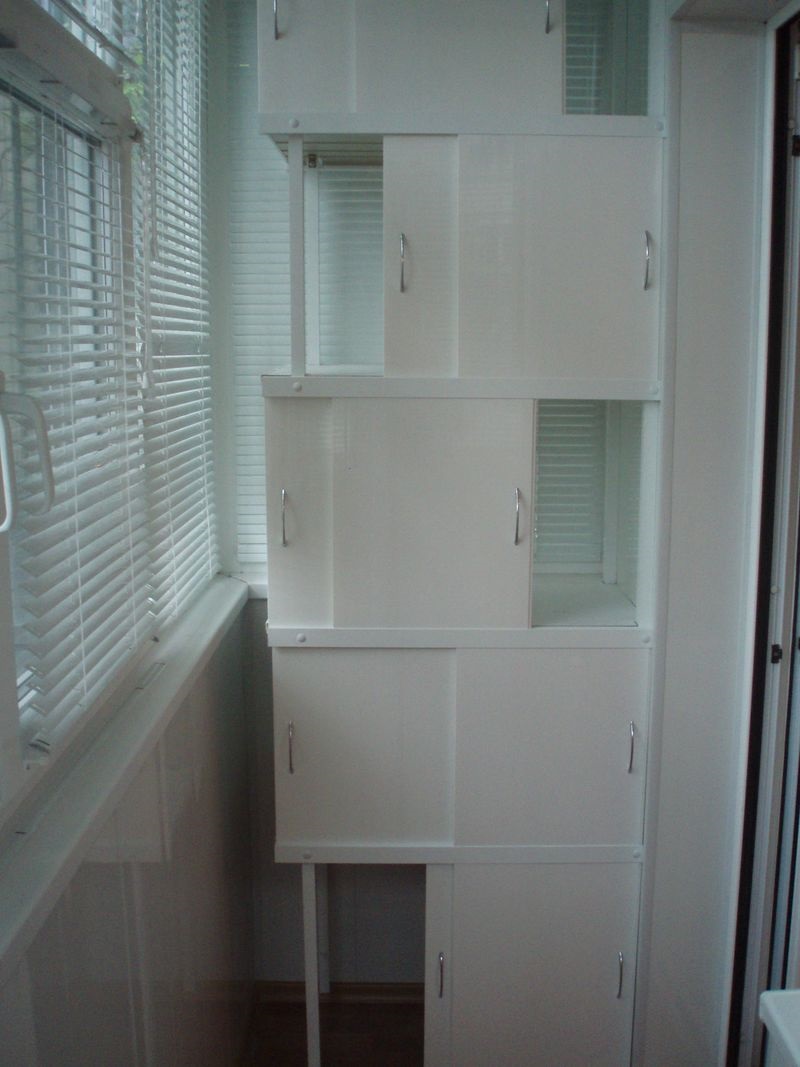
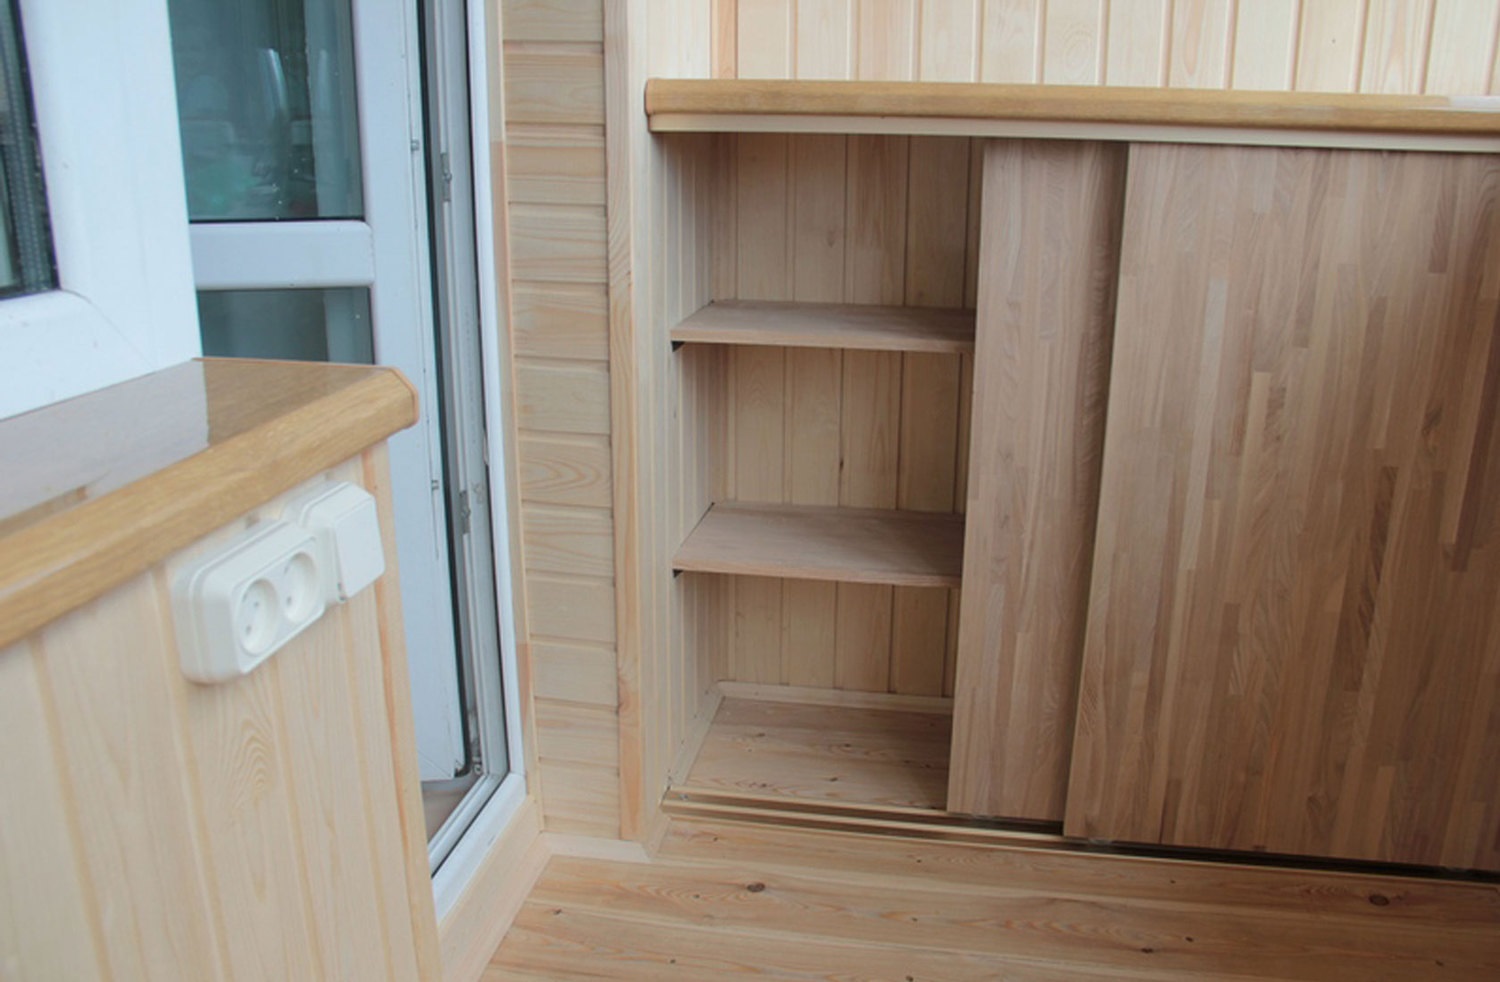
An open cabinet is convenient, but does not look very aesthetically pleasing. - Closed. It can be with the installation of conventional doors, or a compartment. The second option allows you to save free space by reducing the door travel.
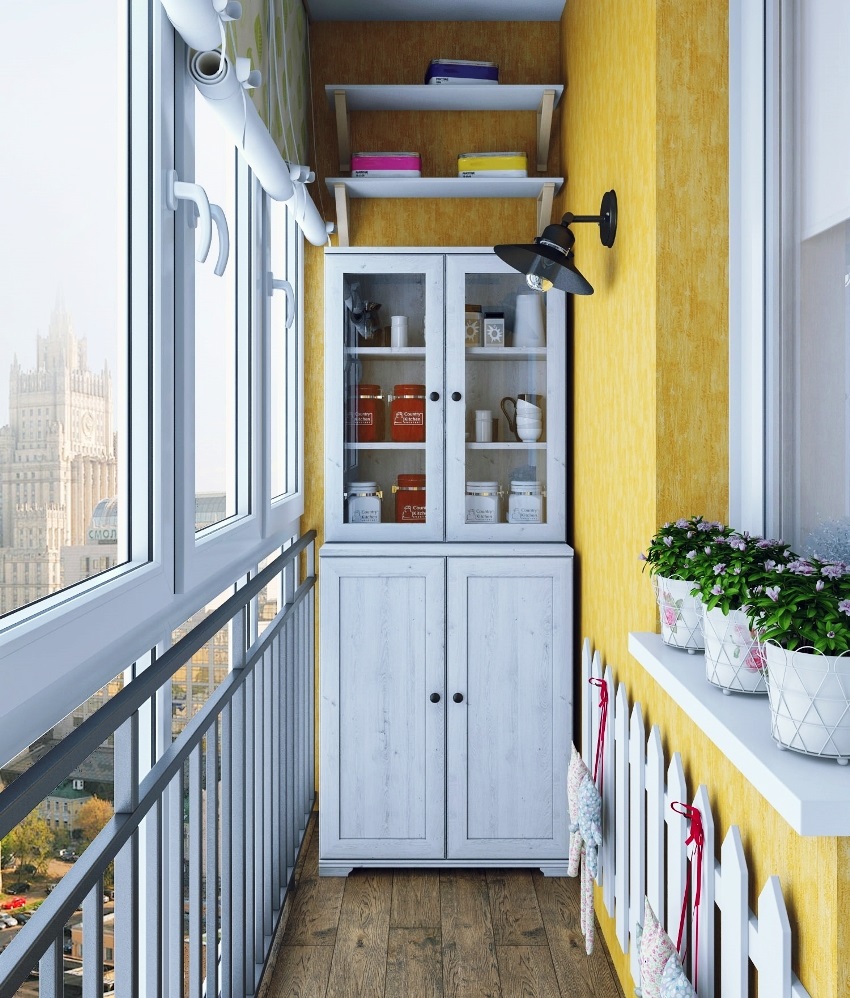
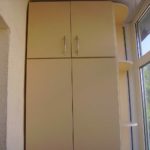
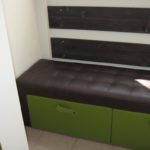
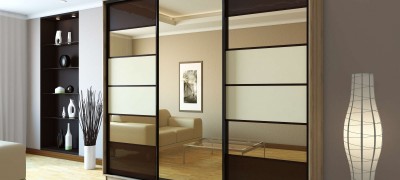
A closed cabinet can be with conventional or sliding doors.
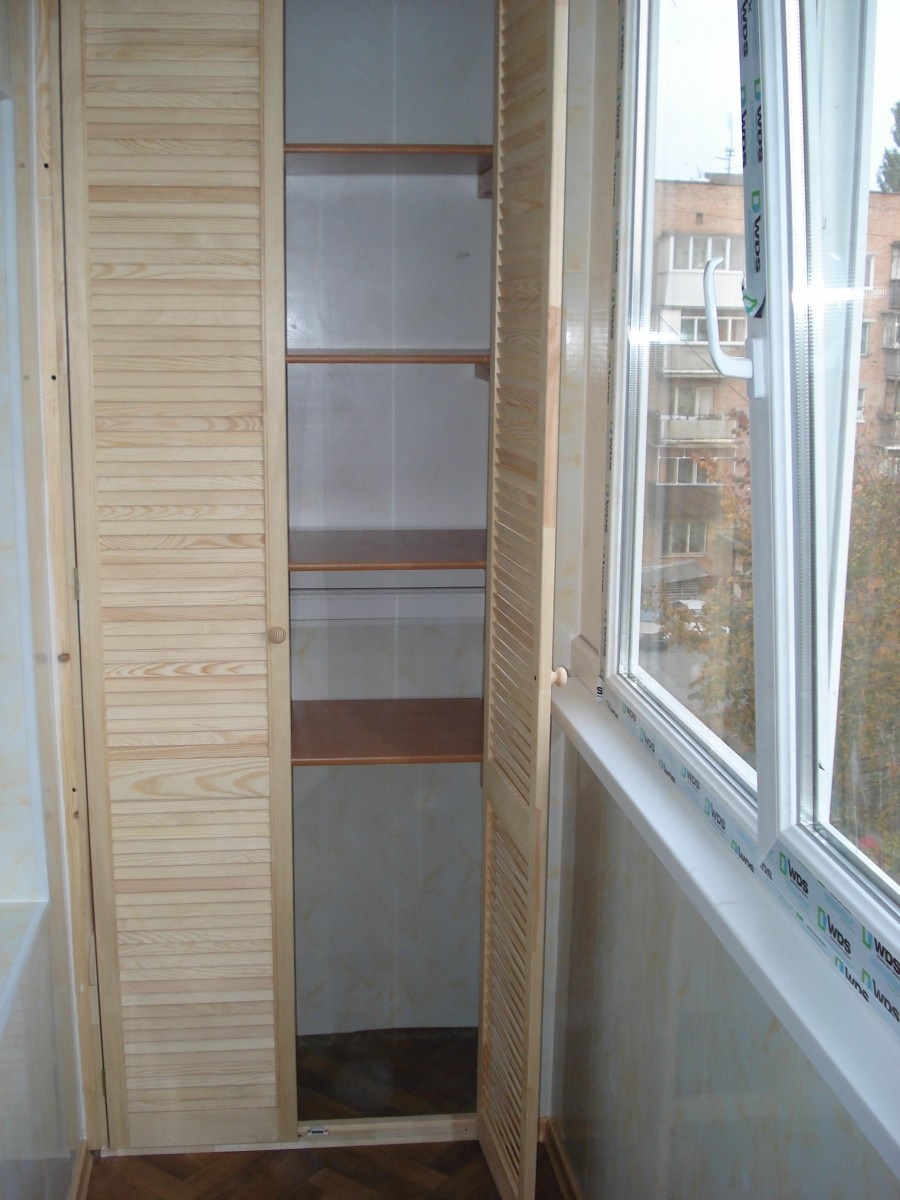
Also, balcony cabinets are made from different materials. Mostly wood and plastic are used.
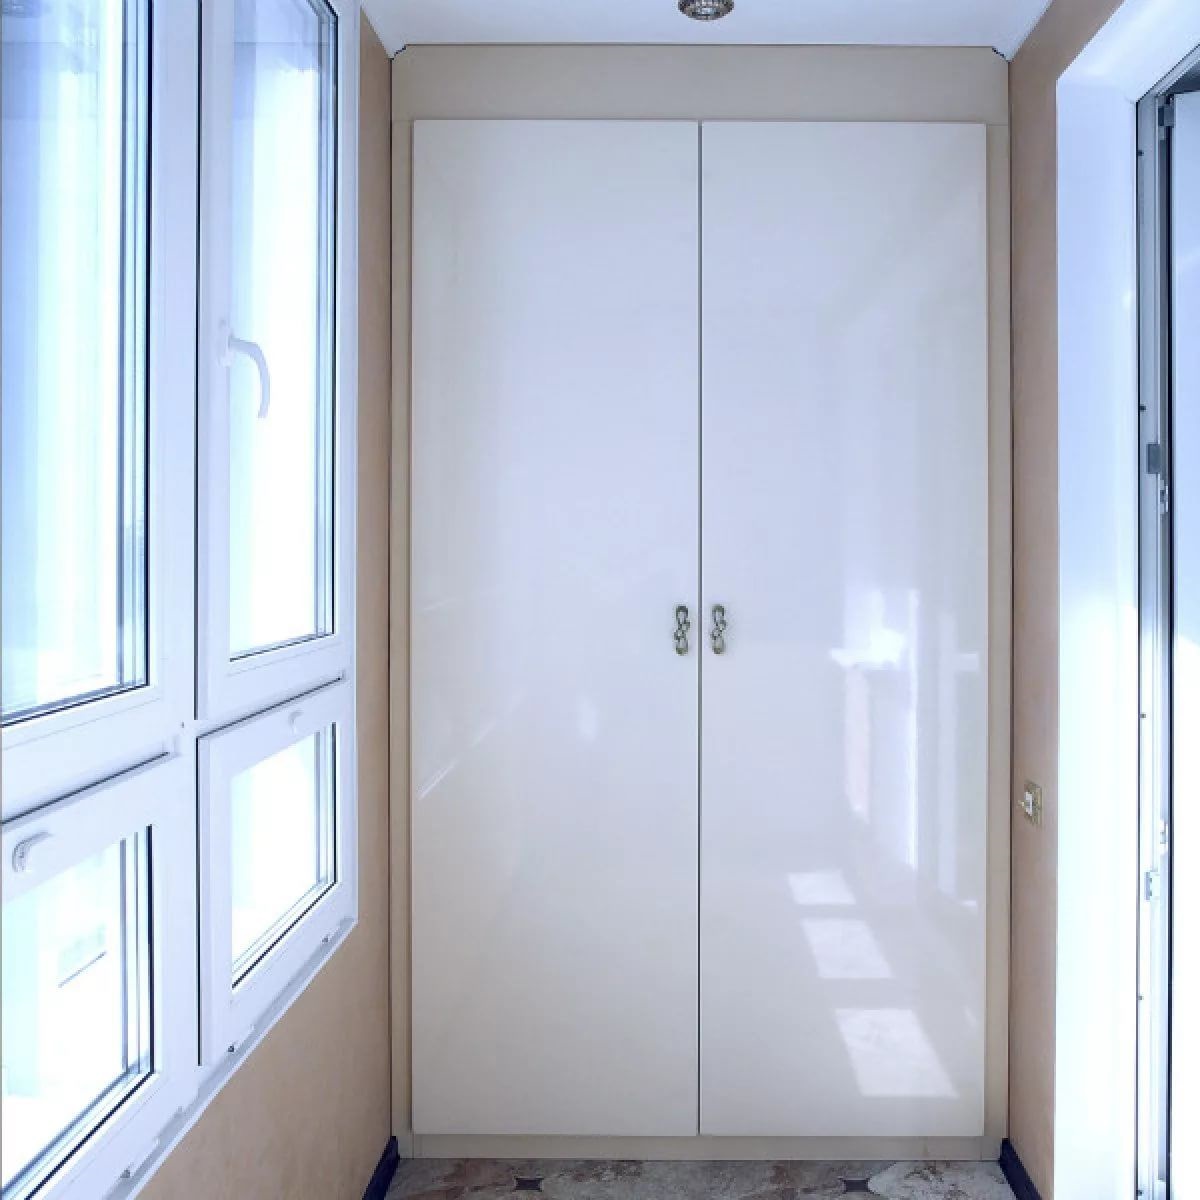
Particleboard and MDF are ideal.These materials are easy to process, have a beautiful appearance and are protected from moisture. In some cases, metal chrome surfaces are used. This design combines unimaginable brilliance and reliability.
Drawings and diagrams
Before making a cheap and beautiful wardrobe on the balcony with your own hands, it is imperative to make drawings. The further success of the business started depends on the correct implementation of this stage.
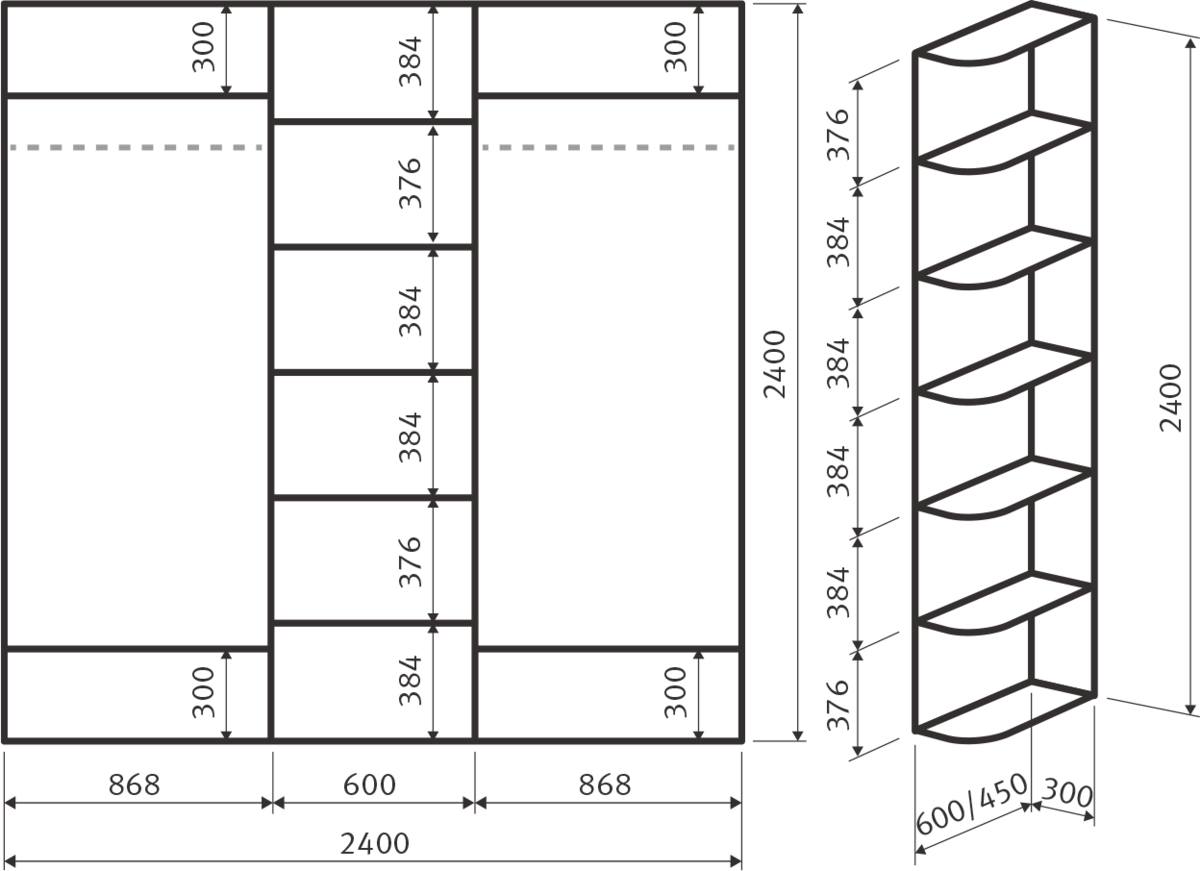
Before drawing a diagram, it is imperative to take measurements in the room. Here's what to measure:
- the distance from floor to ceiling (if you plan to make a full-length cabinet);
- the width of the wall;
- the depth of the proposed structure.
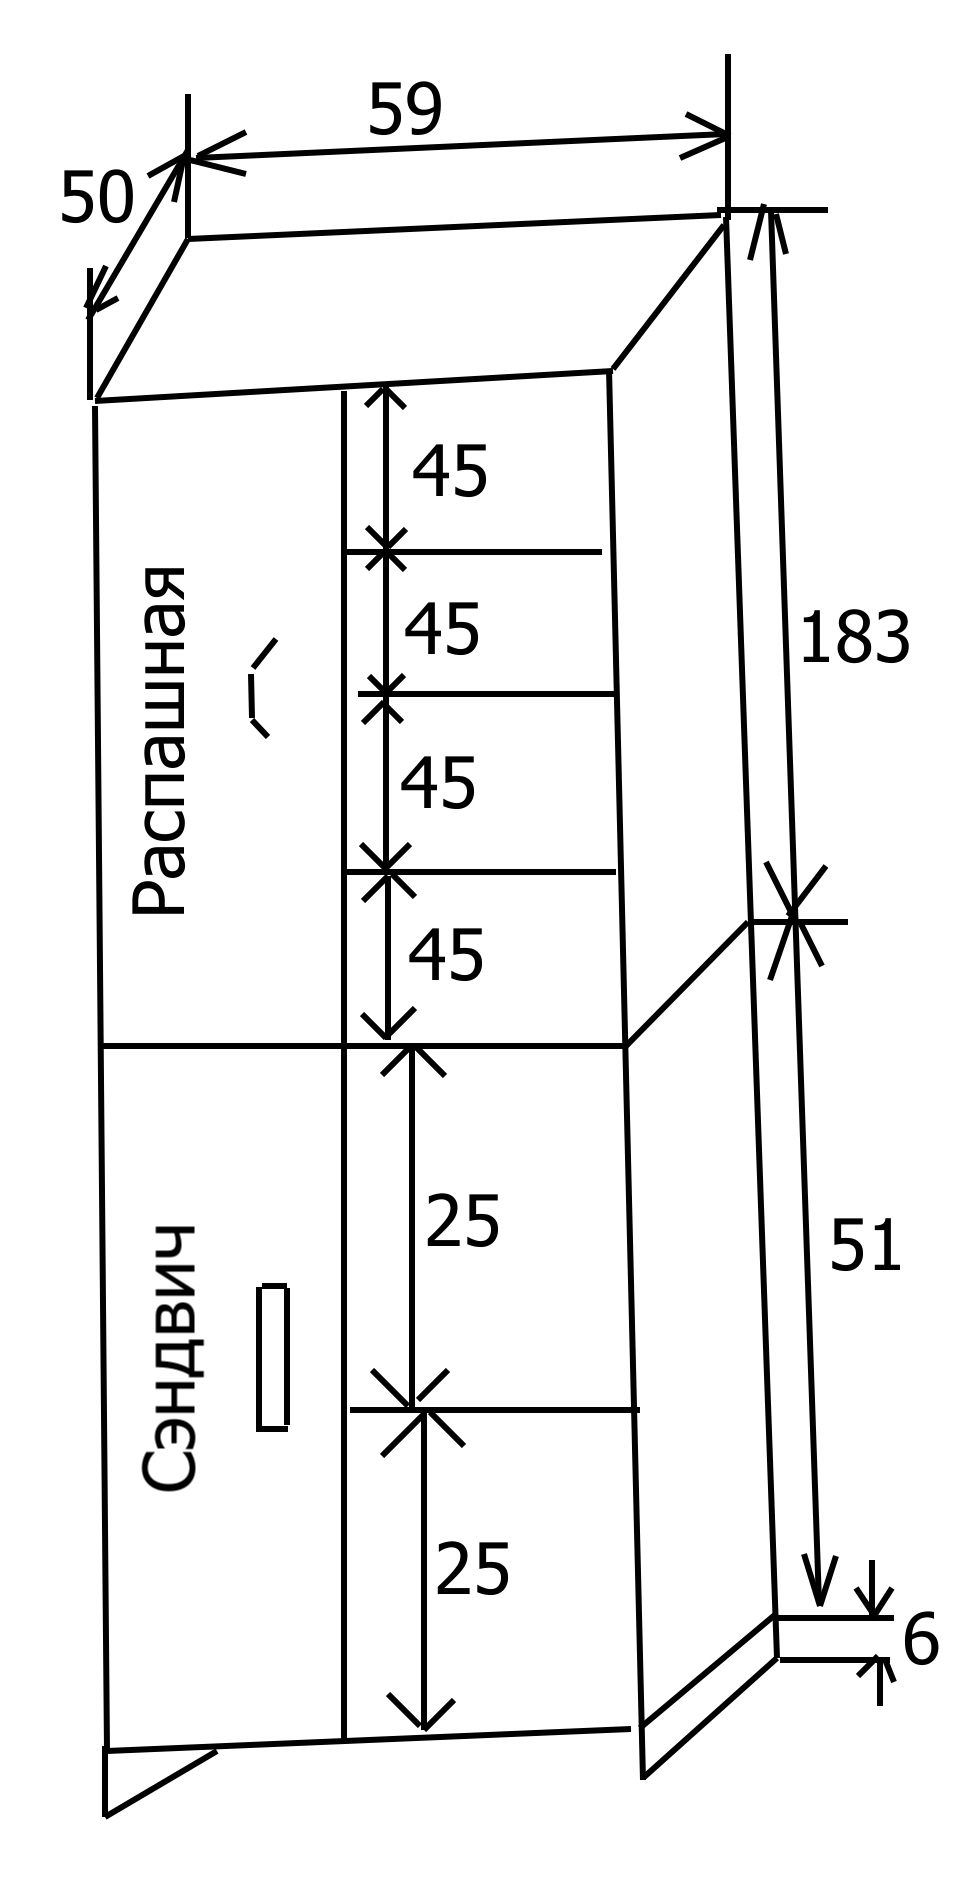
Next, you need to mark the places of future partitions, indicate on the walls the location of the shelves and the places of fastening the doors.
It is necessary to apply dimensions to the drawing in accordance with the proportions. Thus, you will see the future structure on the diagram with your own eyes.
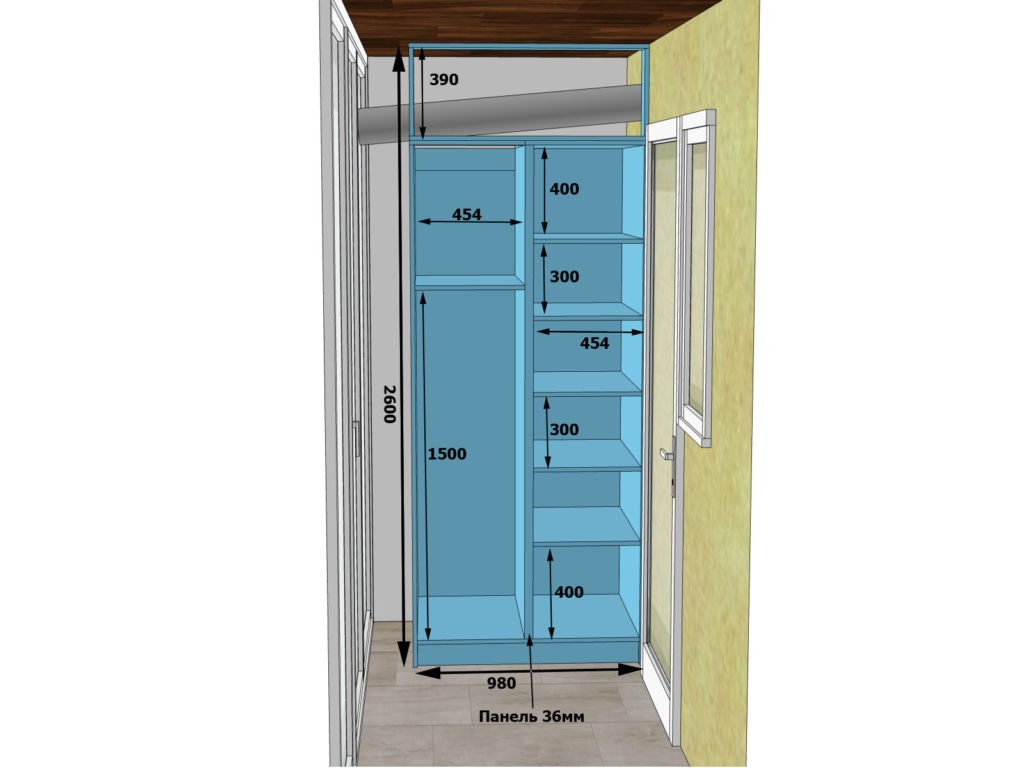
Comment. Be sure to consider allowances, material thickness in the partition and shelves. For example, if you are going to assemble a product from wood, the thickness of the board is taken from 20 to 30 mm. This value should be taken into account in the total length and width of the structure.
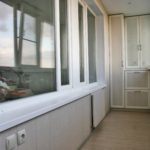
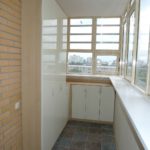
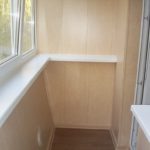
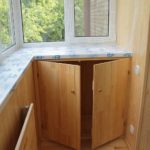
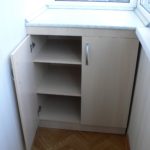
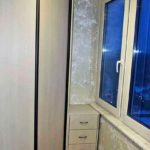
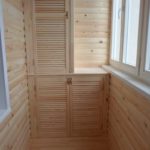
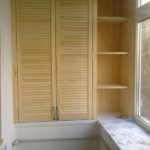
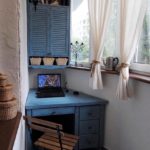
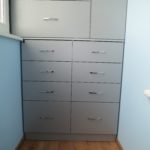
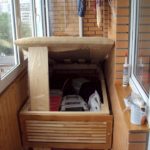
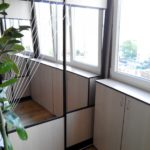
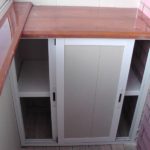
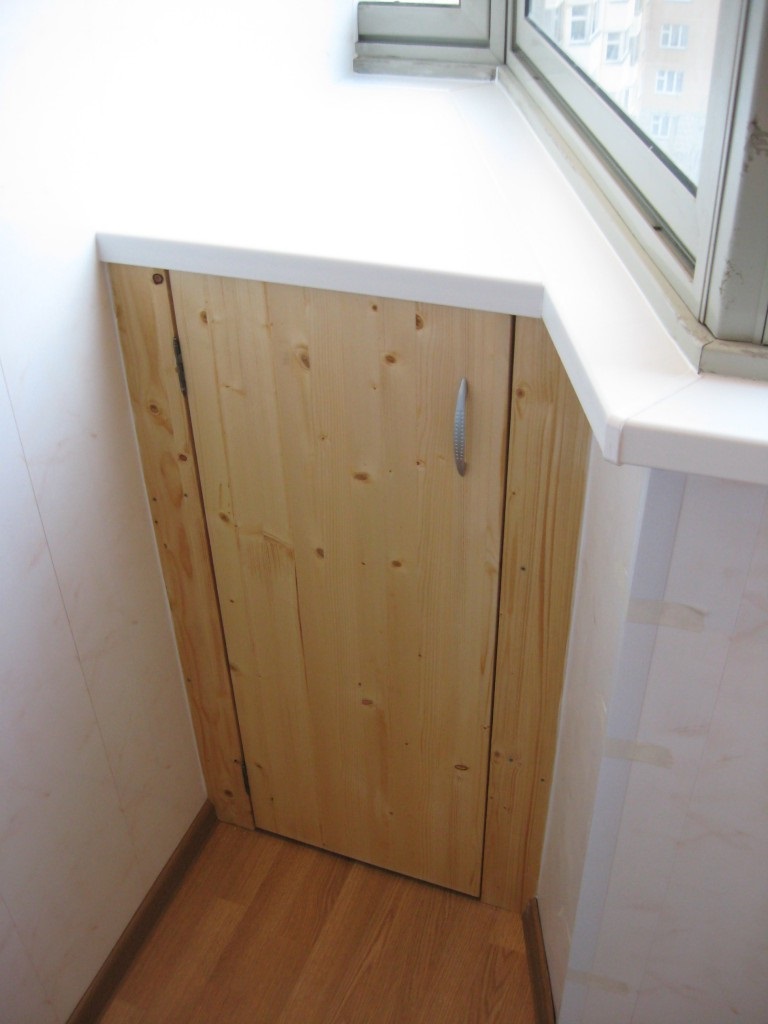
Be sure to consider making a cabinet under the windowsill. There is no need to outline the assembly along the entire length - leave room for access to the window. When using this option, it is advisable to make the top cover of the cabinet a continuation of the window sill.
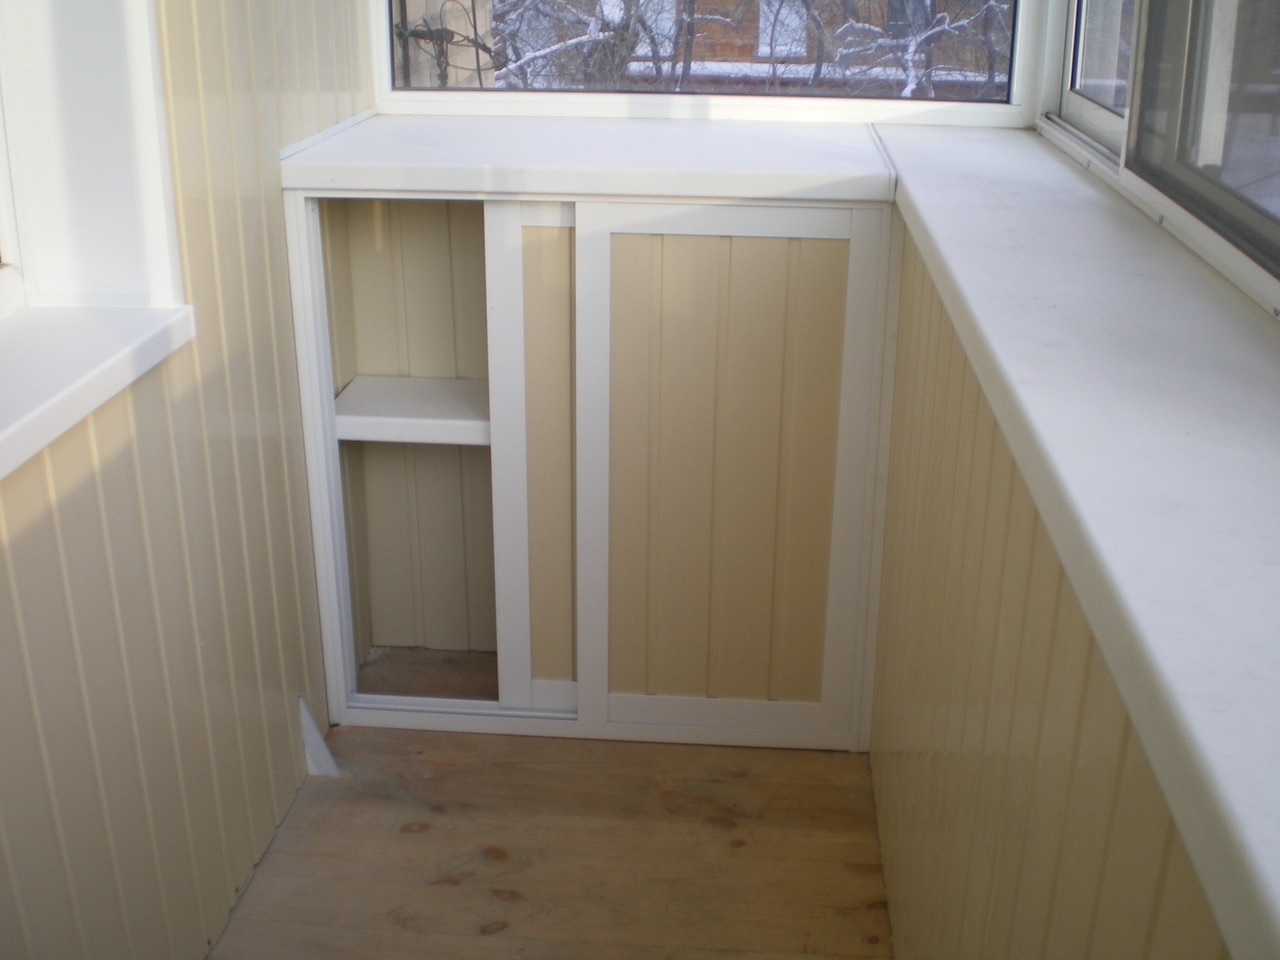
When making a wardrobe with your own hands, it turns out great to save space. The doors will conveniently retract to the side without taking up additional space in the open position. This installation method is advantageous to use in small rooms.
After drawing the basic dimensions on the drawing, go to the marks of the partitions, shelves, doors. Consider additional space for doors in the open position. This is especially important when installing the corner version.
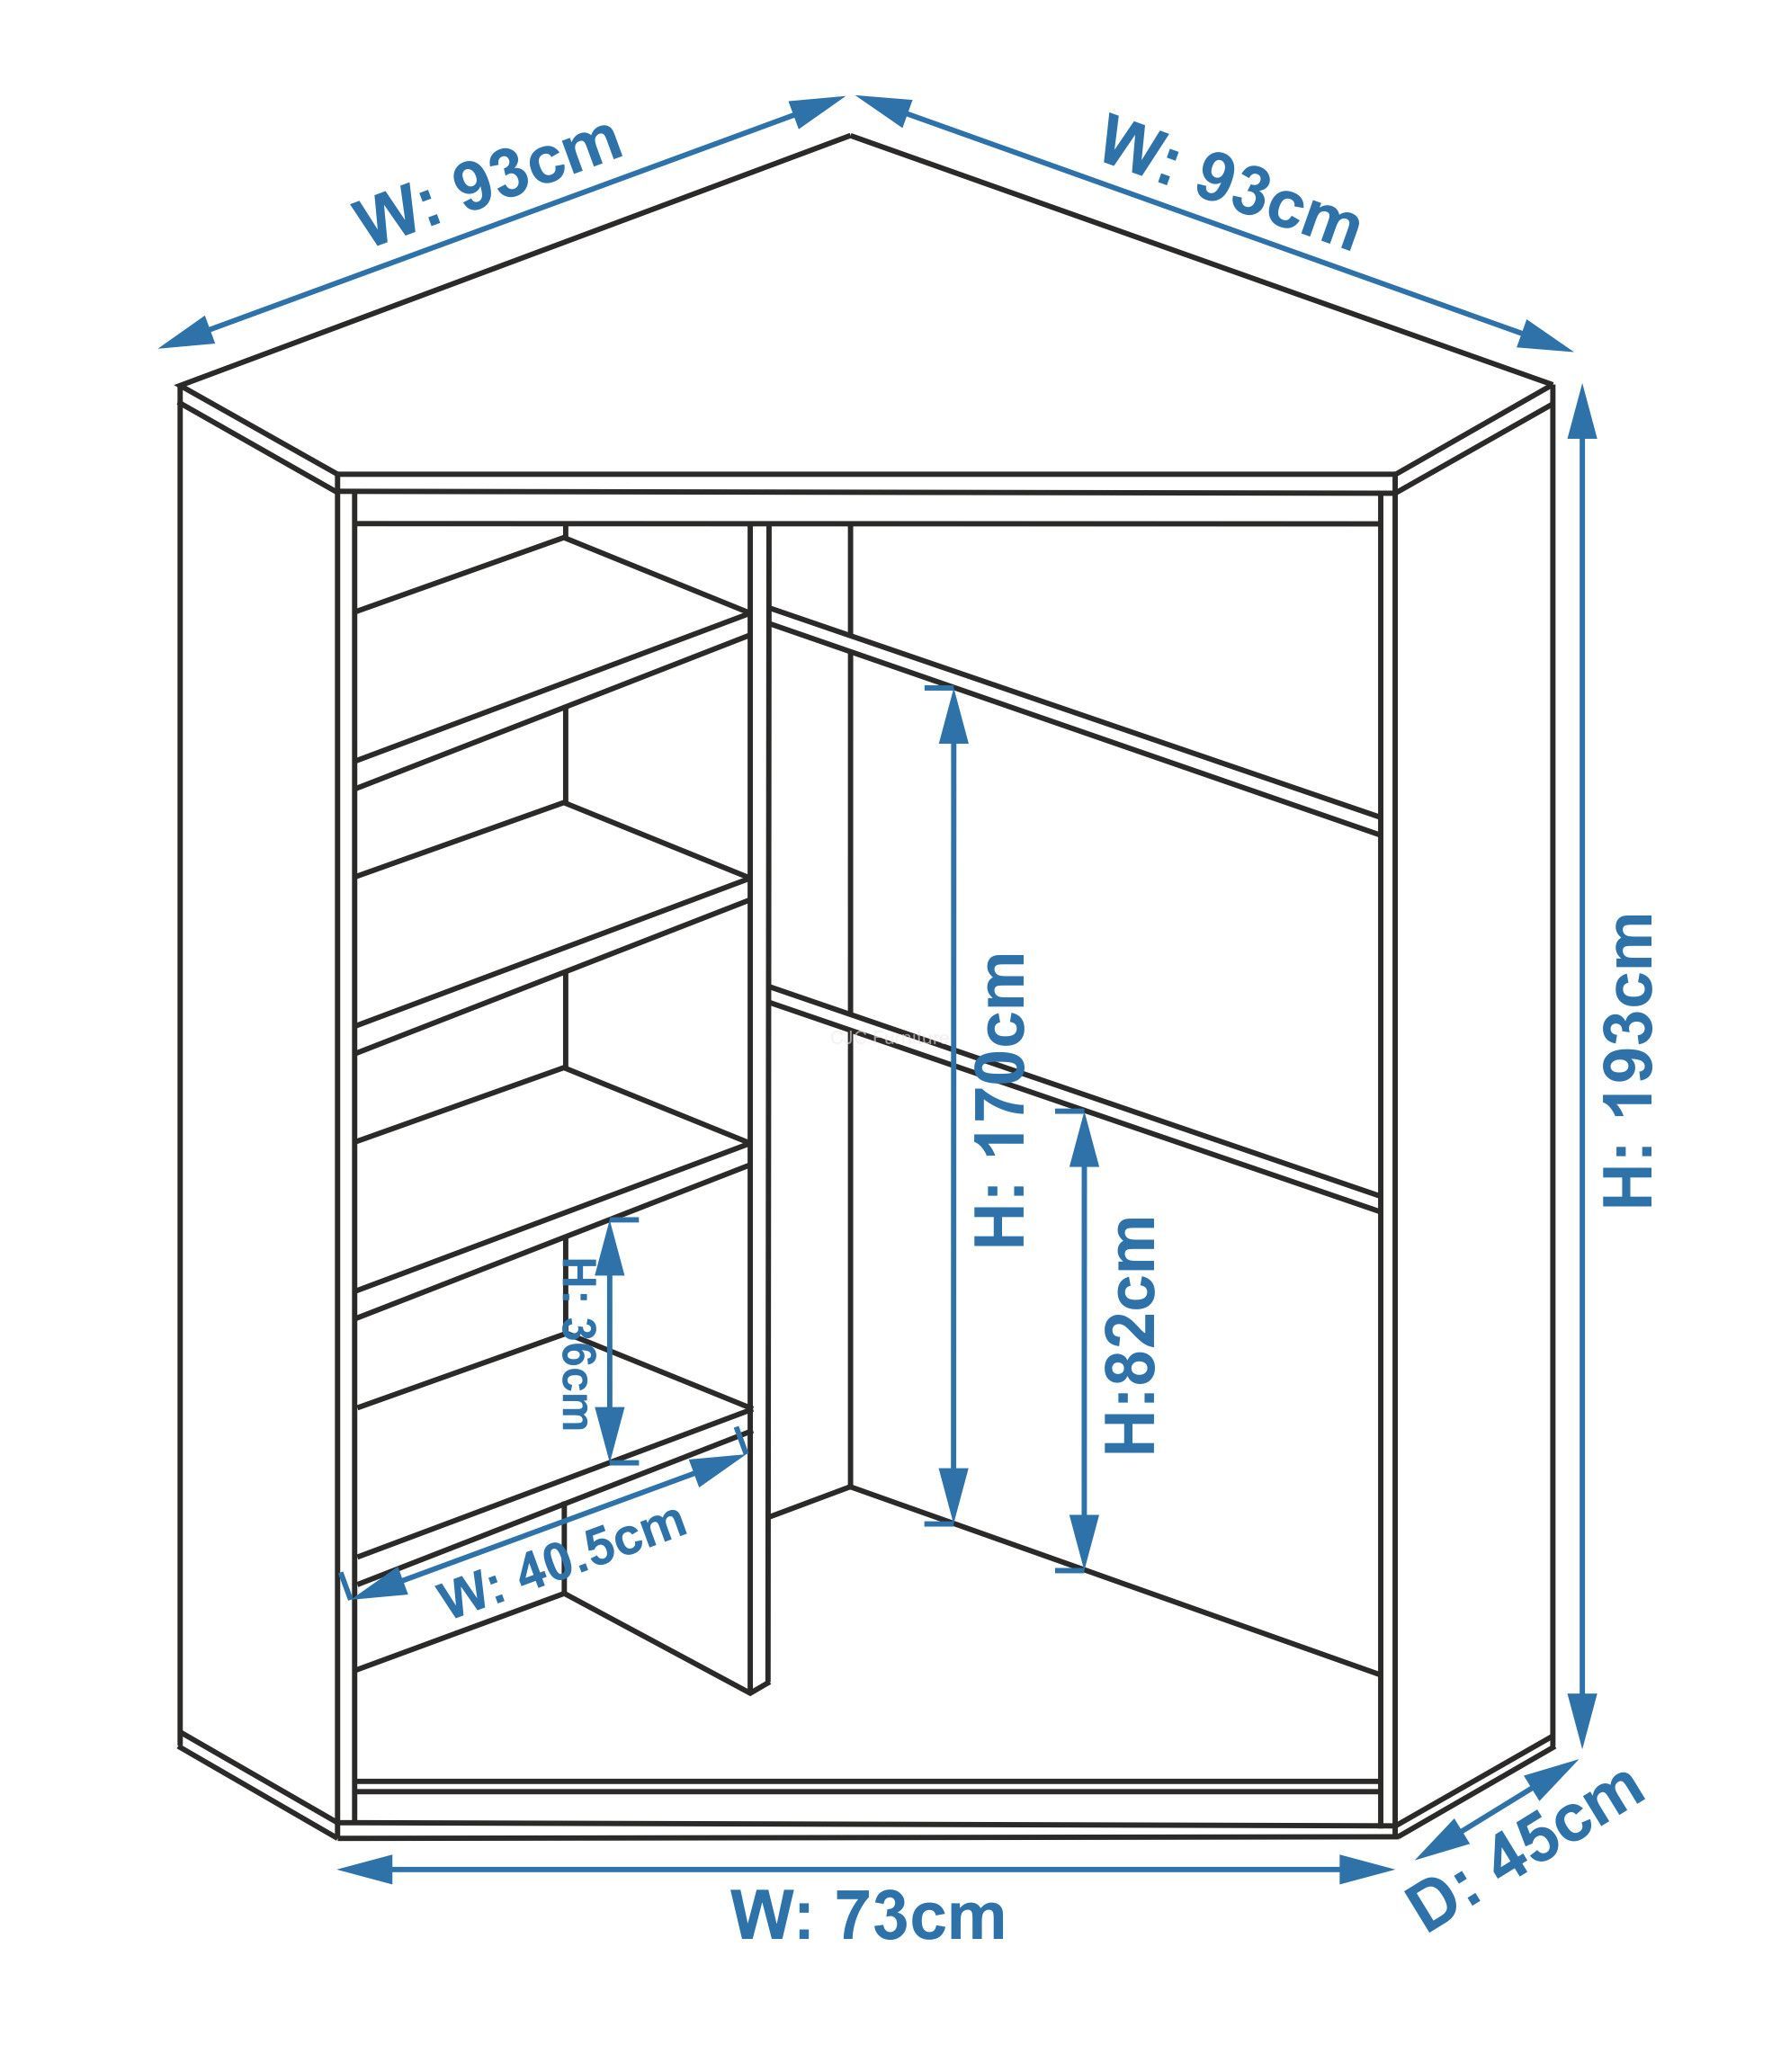
A correctly drawn diagram will allow you to easily cut the workpieces from a wooden board to size, which will minimize material consumption and speed up the manufacturing process.
Materials (edit)
A high-quality cabinet will be made of natural wood. Subject to the cutting scheme, it will be possible to save money, use this material correctly.
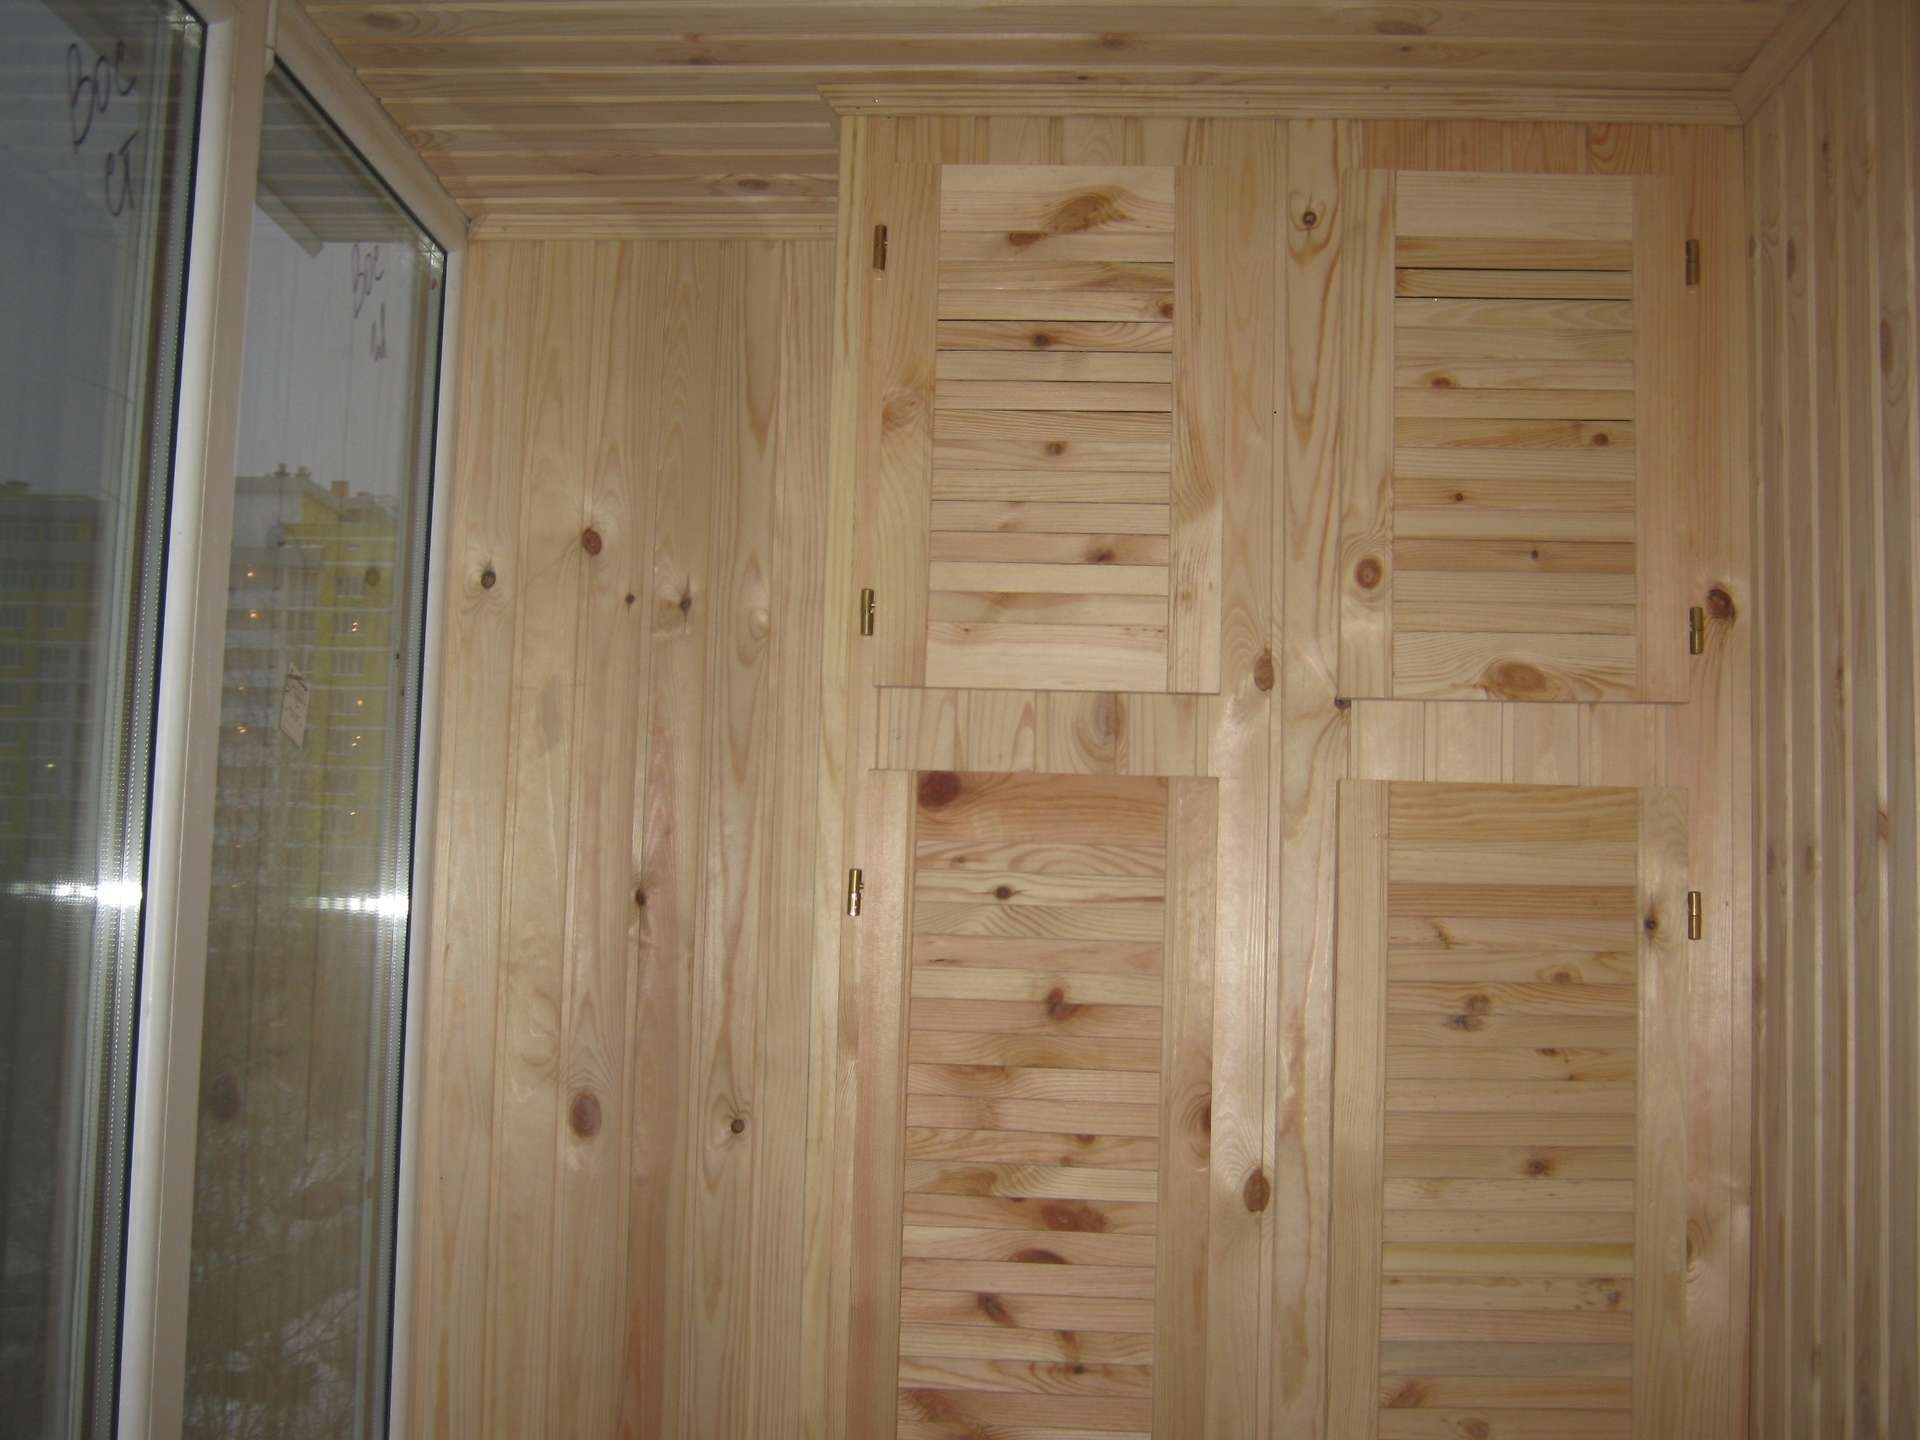
The following types of wood are suitable for assembly:
- Pine;
- Christmas tree;
- ash;
- Birch;
- oak;
- beech;
- hornbeam.
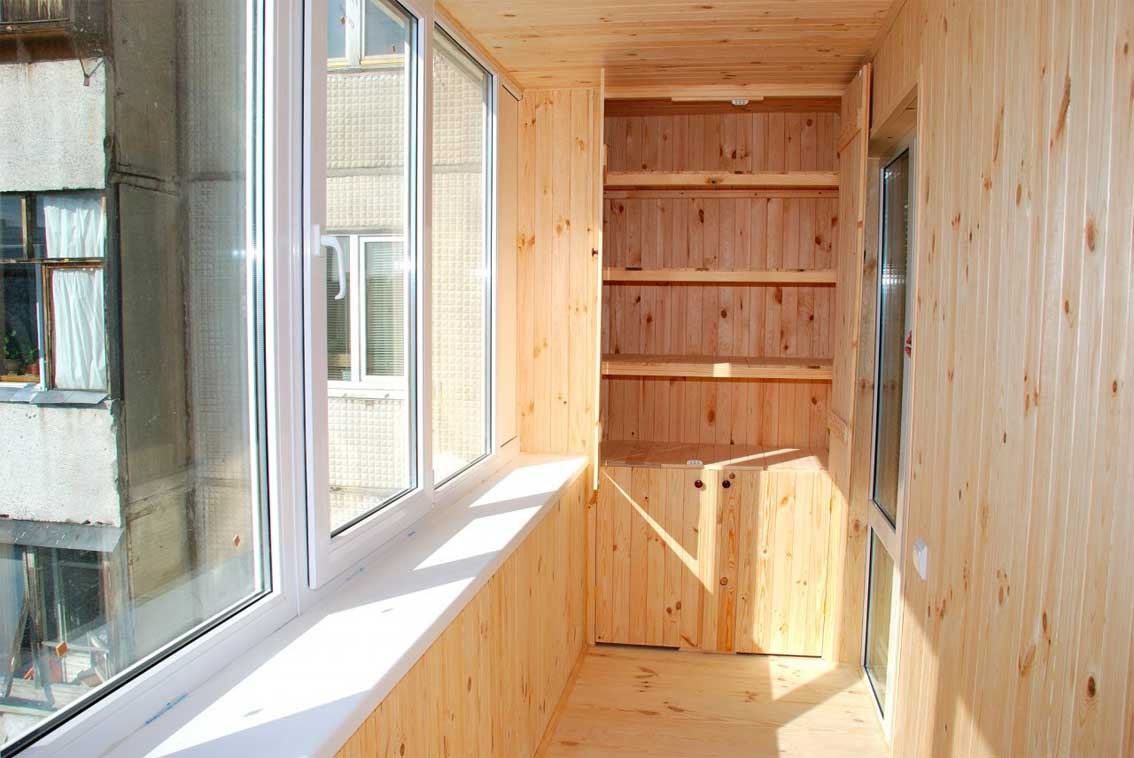
Pine and Christmas tree lend themselves well to processing due to their soft structure. The varied texture of natural annual rings will look beautiful in the reflections of the sun's rays.
But birch has a calm structure. The tree has a light shade without the obvious presence of annual rings. Also, birch lends itself to cracking, warping, twisting when dry. In the production of furniture, this wood is used only for the installation of internal partitions.
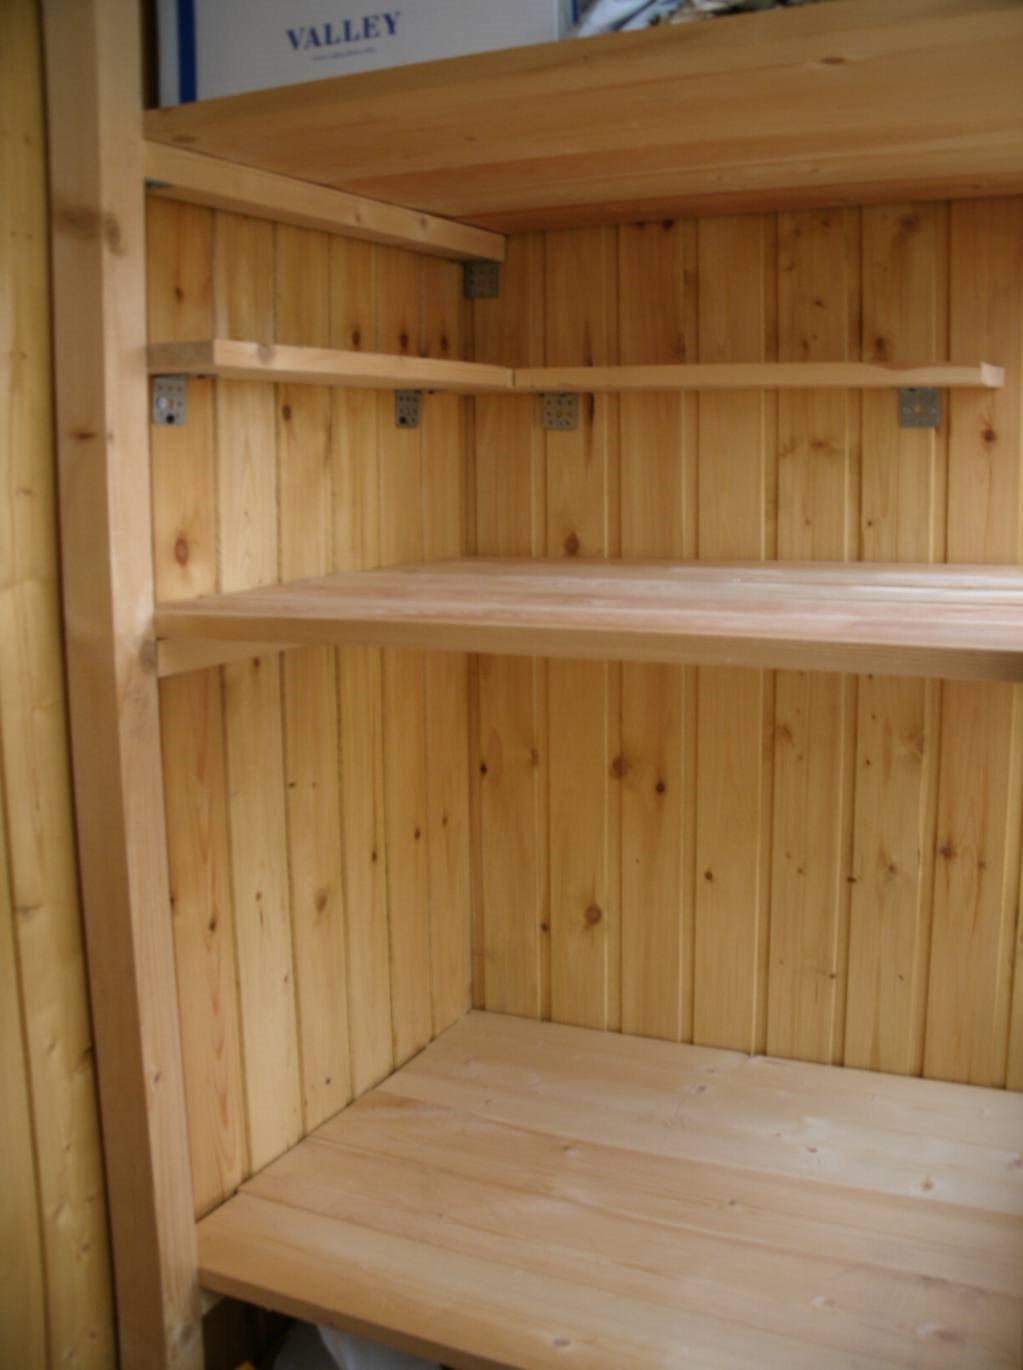
More expensive and beautiful types of wood that are used in furniture assembly are ash, oak, beech. Such wood is difficult to process due to its hard structure. A completed shelf or cabinet made of these rocks will serve you for a long time, so the difficulties and costs are worth the money spent.
If you need to save time, money and effort, choose materials derived from the woodworking industry. These are chipboard, fiberboard, MDF, plywood. Let's take a closer look at each material.
Chipboard
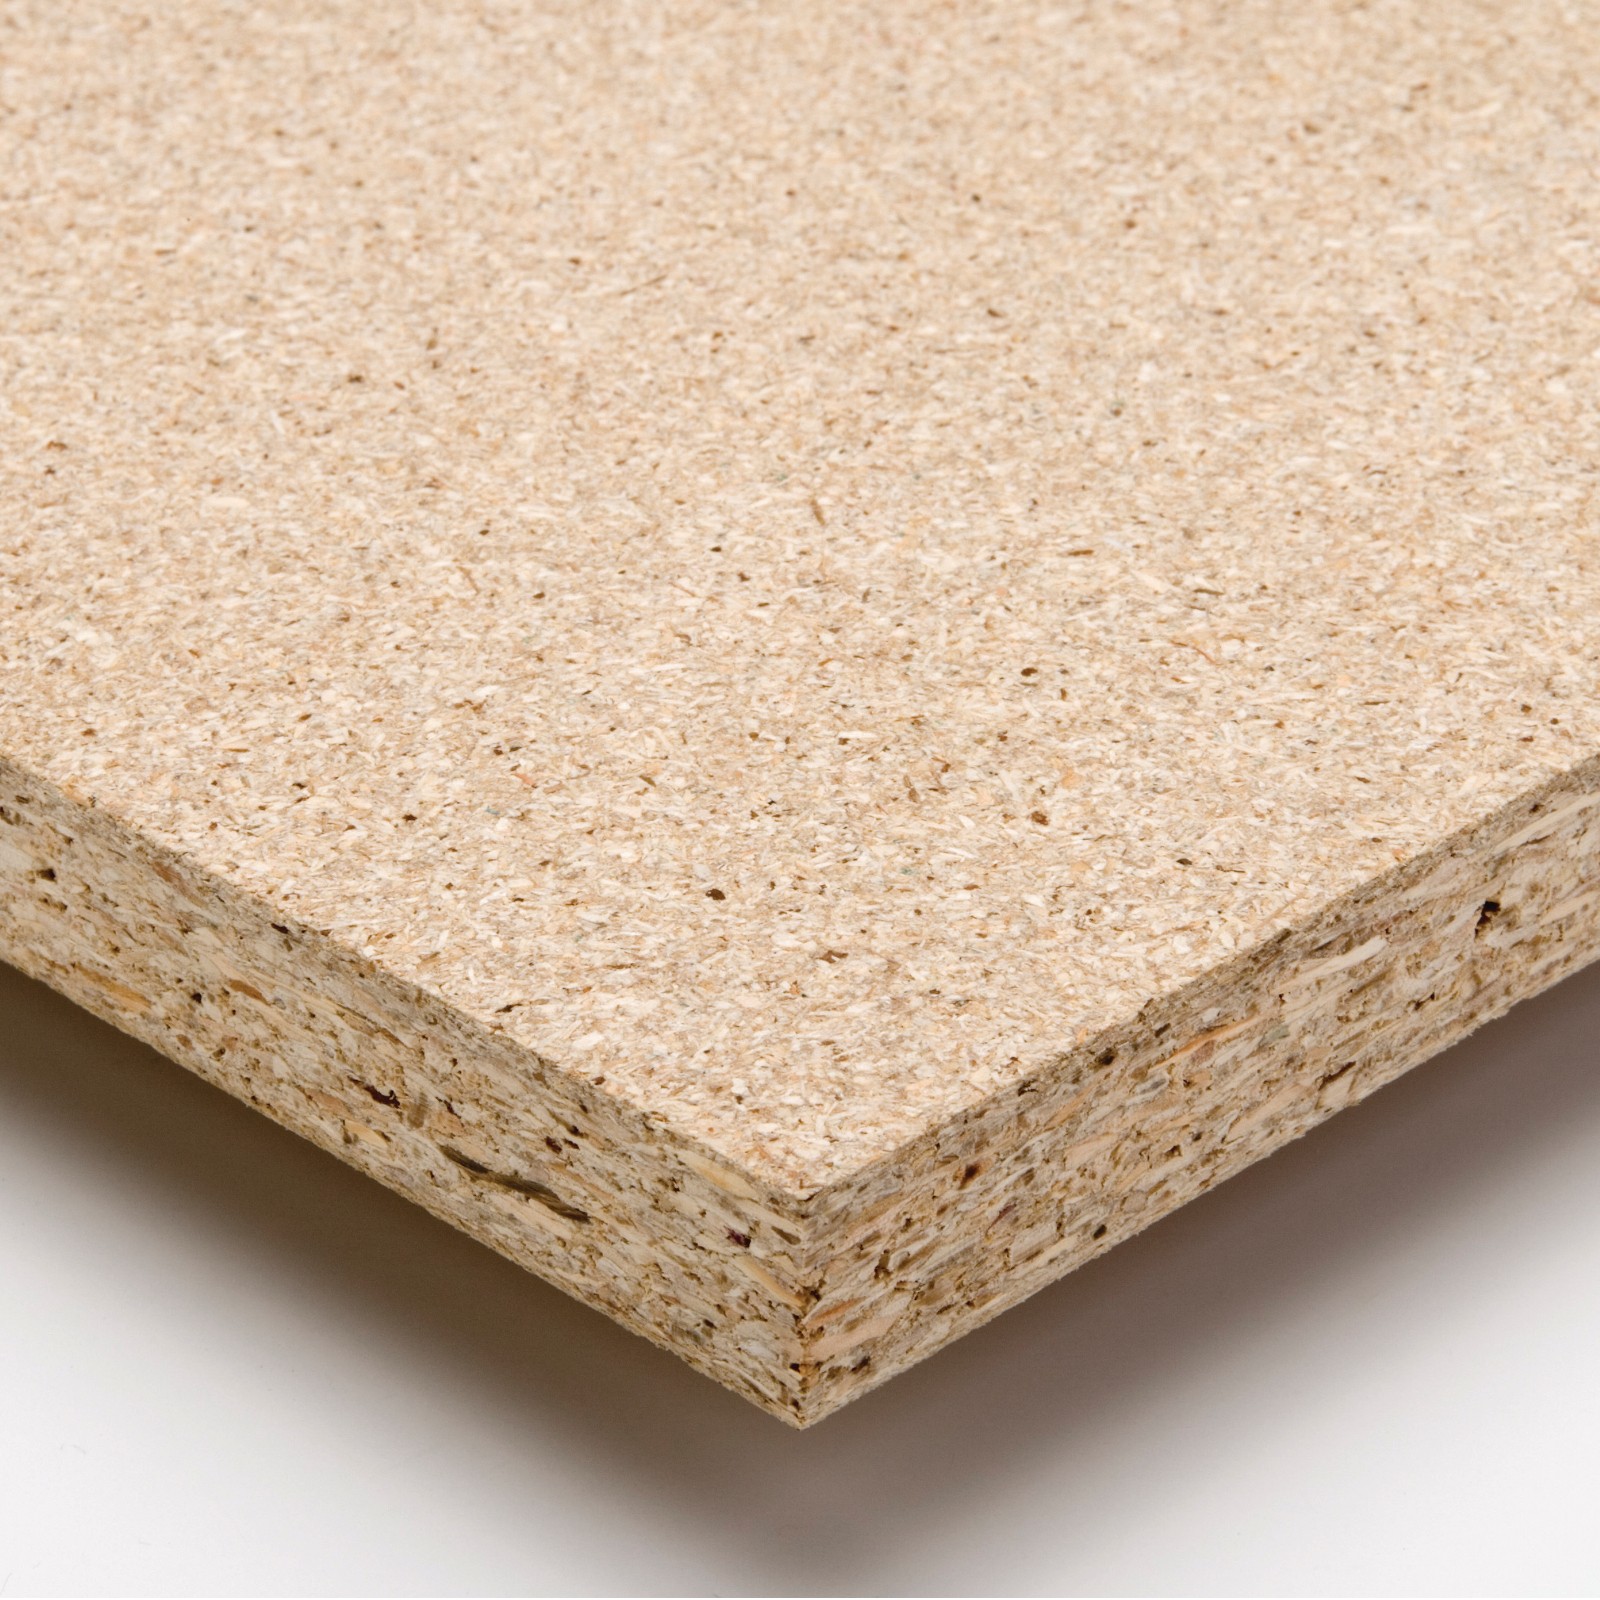
Chipboard (abbreviated as chipboard), made of fine shavings, sawdust, pressed on special equipment (pressing machines). Adhesive, resins, and other connecting substances are added to the composition.
To give a beautiful appearance, the plates are pasted over with plastic or craft paper impregnated with resins. Thanks to a wide choice of cladding, chipboard gives almost any texture. Options for natural varieties of wood are on sale.
Fiberboard
Fiberboard (abbreviated as fiberboard) is produced in a similar way as fiberboard. The difference is the use of a different material in the production process (wood fibers). Such plates are used mainly for partitions and rear walls, since they are not more than 5 mm thick.
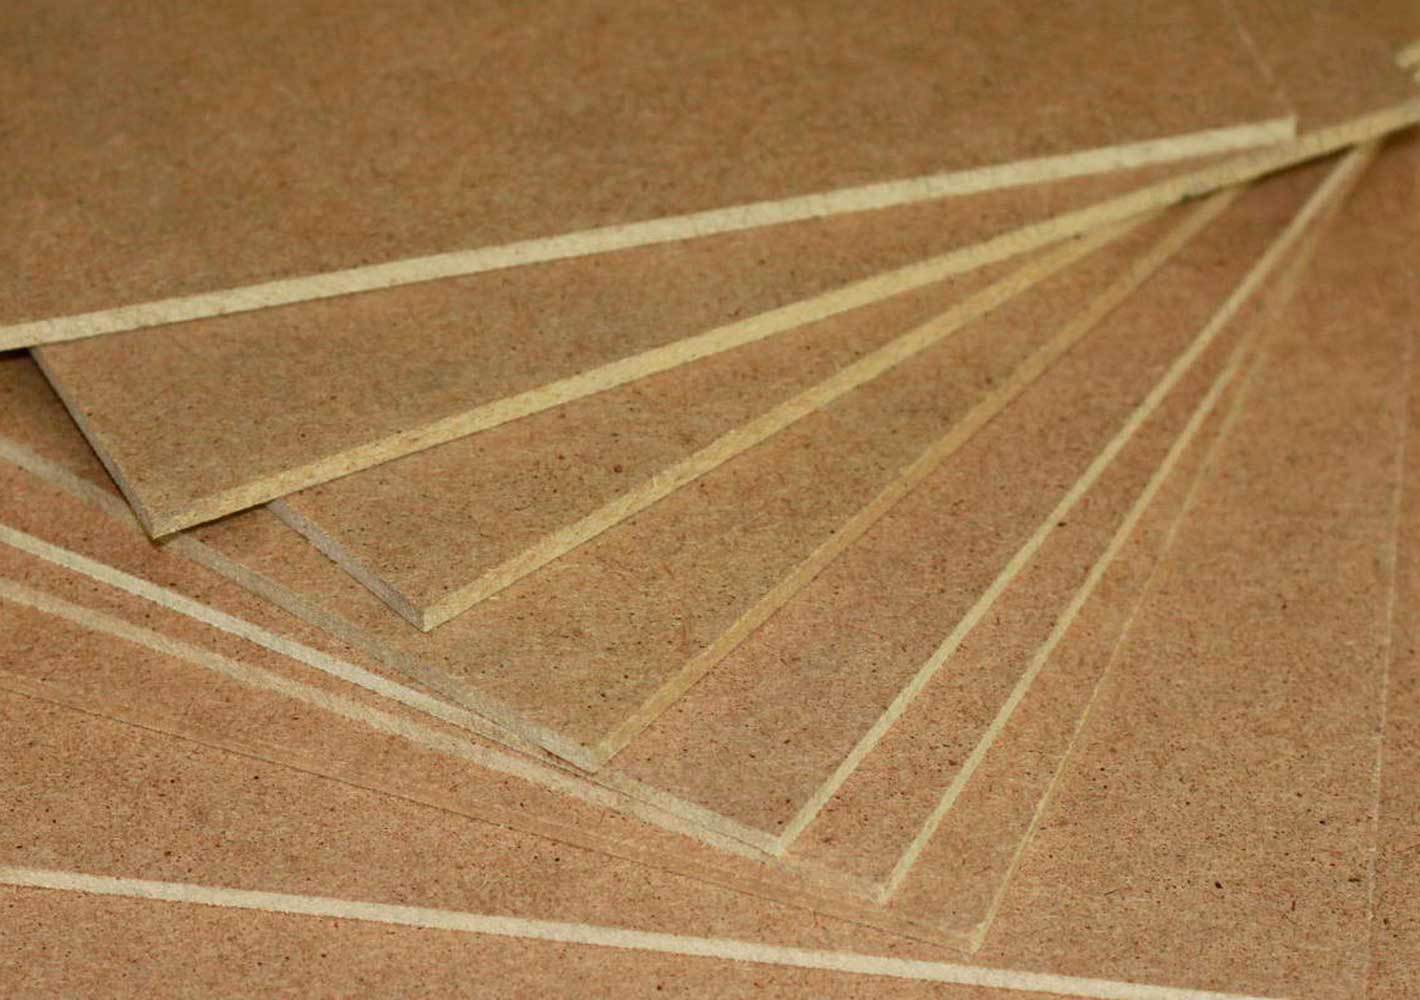
MDF
The fine fraction, compressed under high pressure, covered with colored plastic is MDF. Like a chipboard, it is produced in the format of large sheets, which allows it to be conveniently cut to the desired size. MDF has a more reliable, strong base than chipboard.
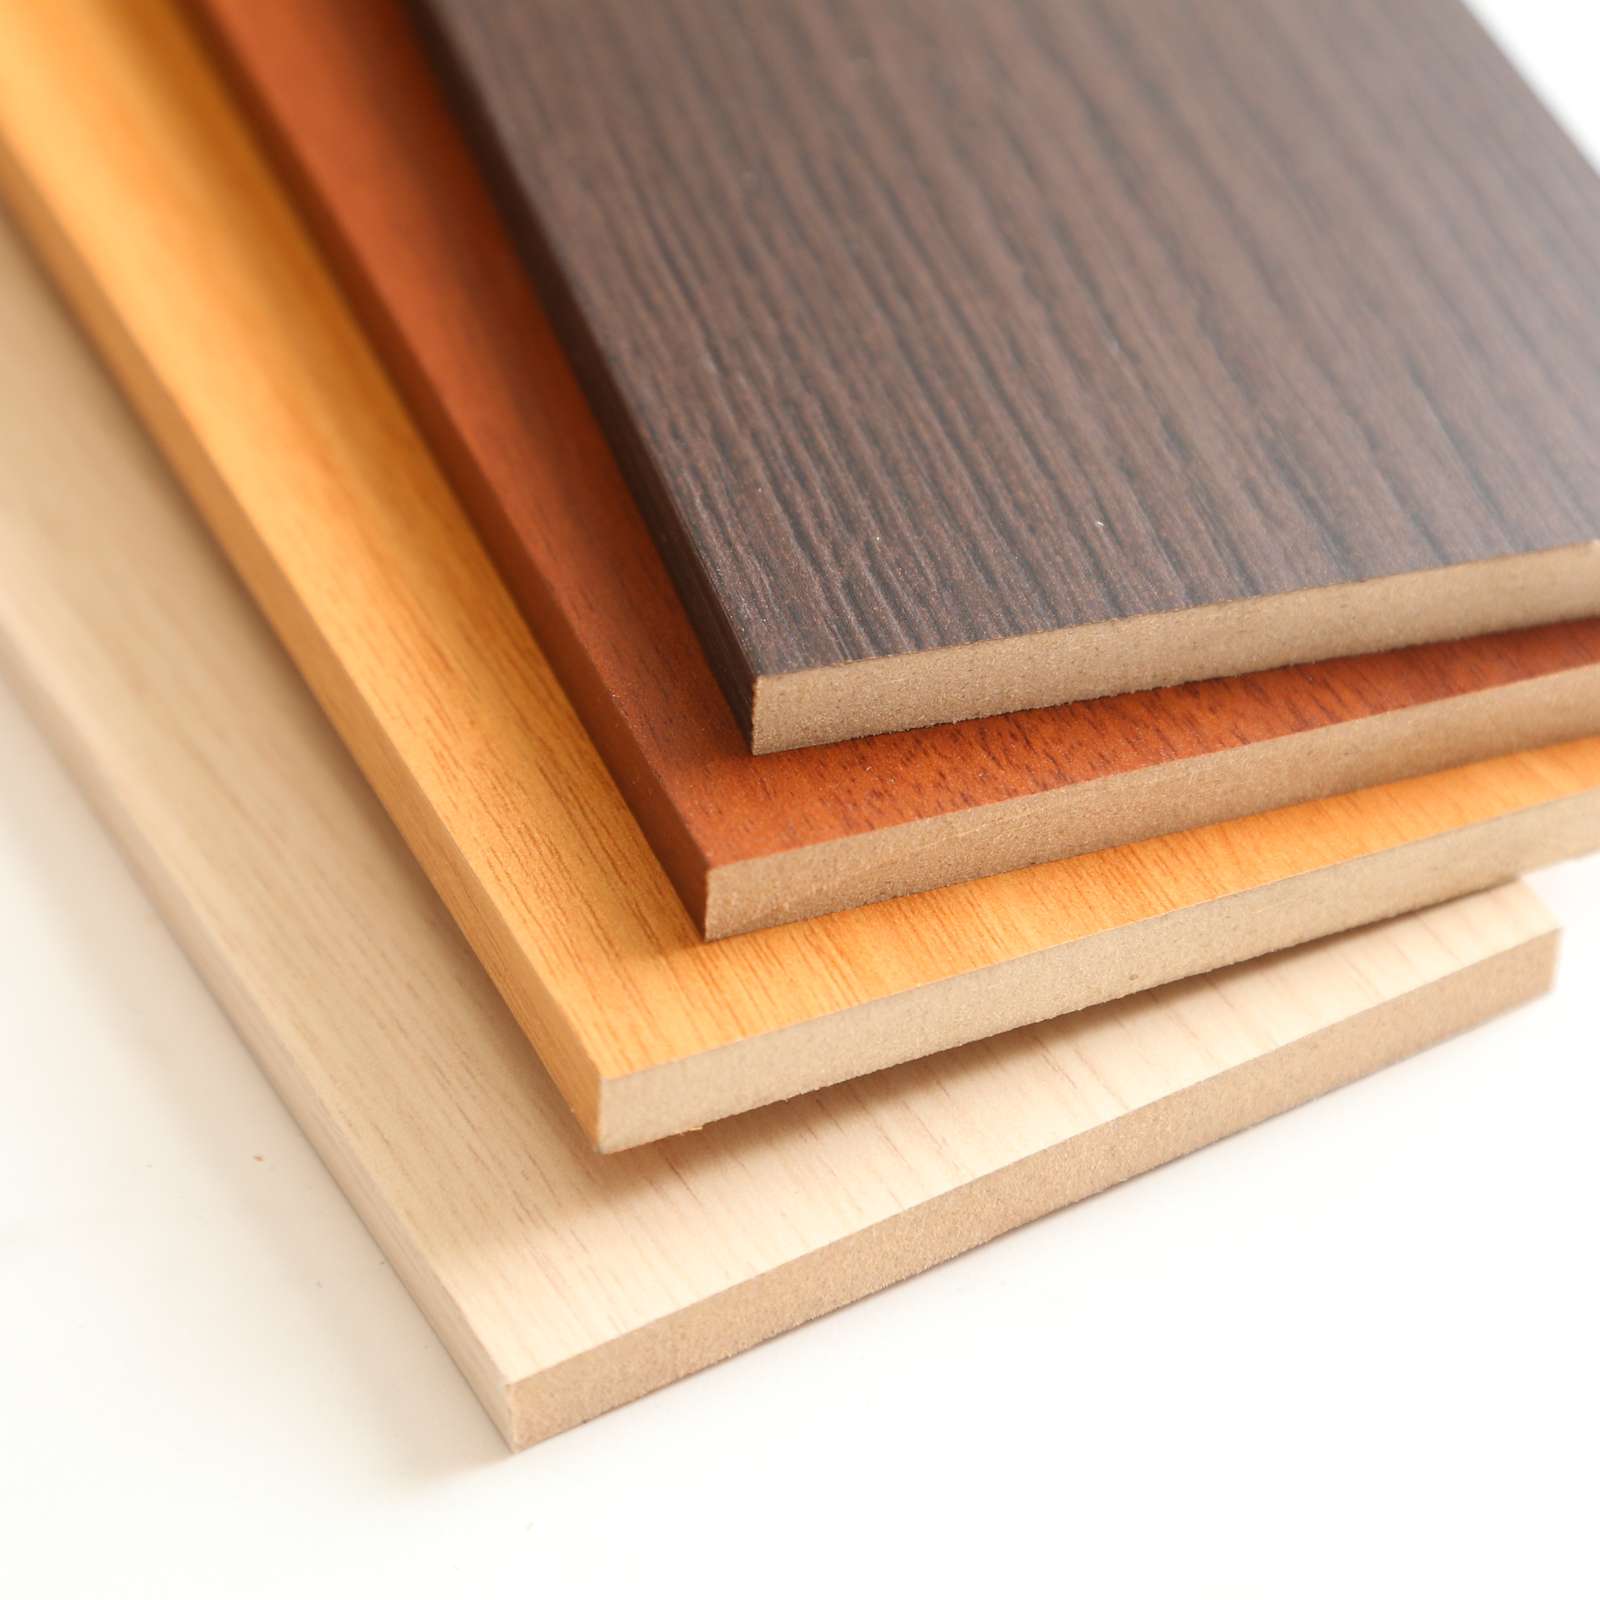
Plywood
The plywood manufacturing process is similar to the chipboard and MDF manufacturing process. It is glued together under the influence of the press. But the basis is different. It uses a cut veneer made from a solid wood trunk. For the price, plywood is more expensive, since natural materials are used. There is film faced plywood.
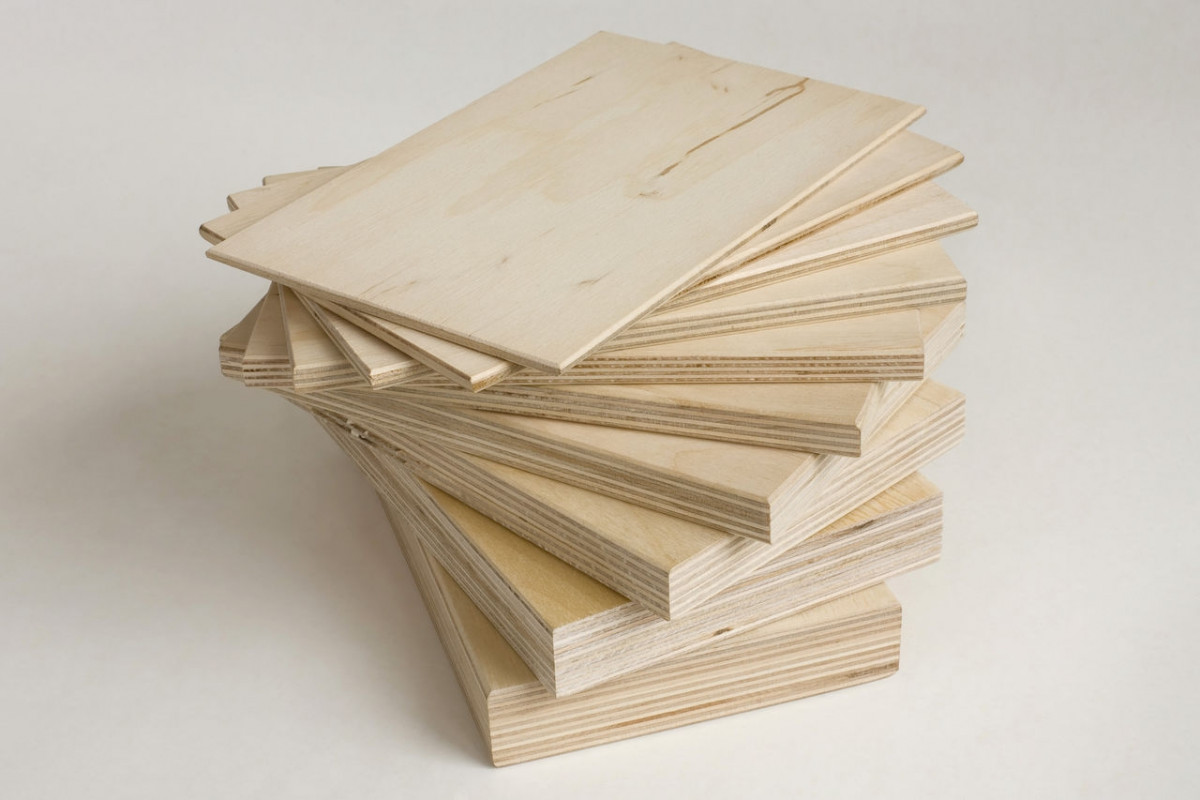
To assemble the cabinet on the balcony, it is best to use chipboard or MDF. Undoubtedly, natural wood works best.
DIY assembly process
For convenient work you will need:
- screwdriver, screwdriver;
- jigsaw;
- sander or sandpaper;
- rule;
- roulette;
- construction pencil;
- bubble or laser level.
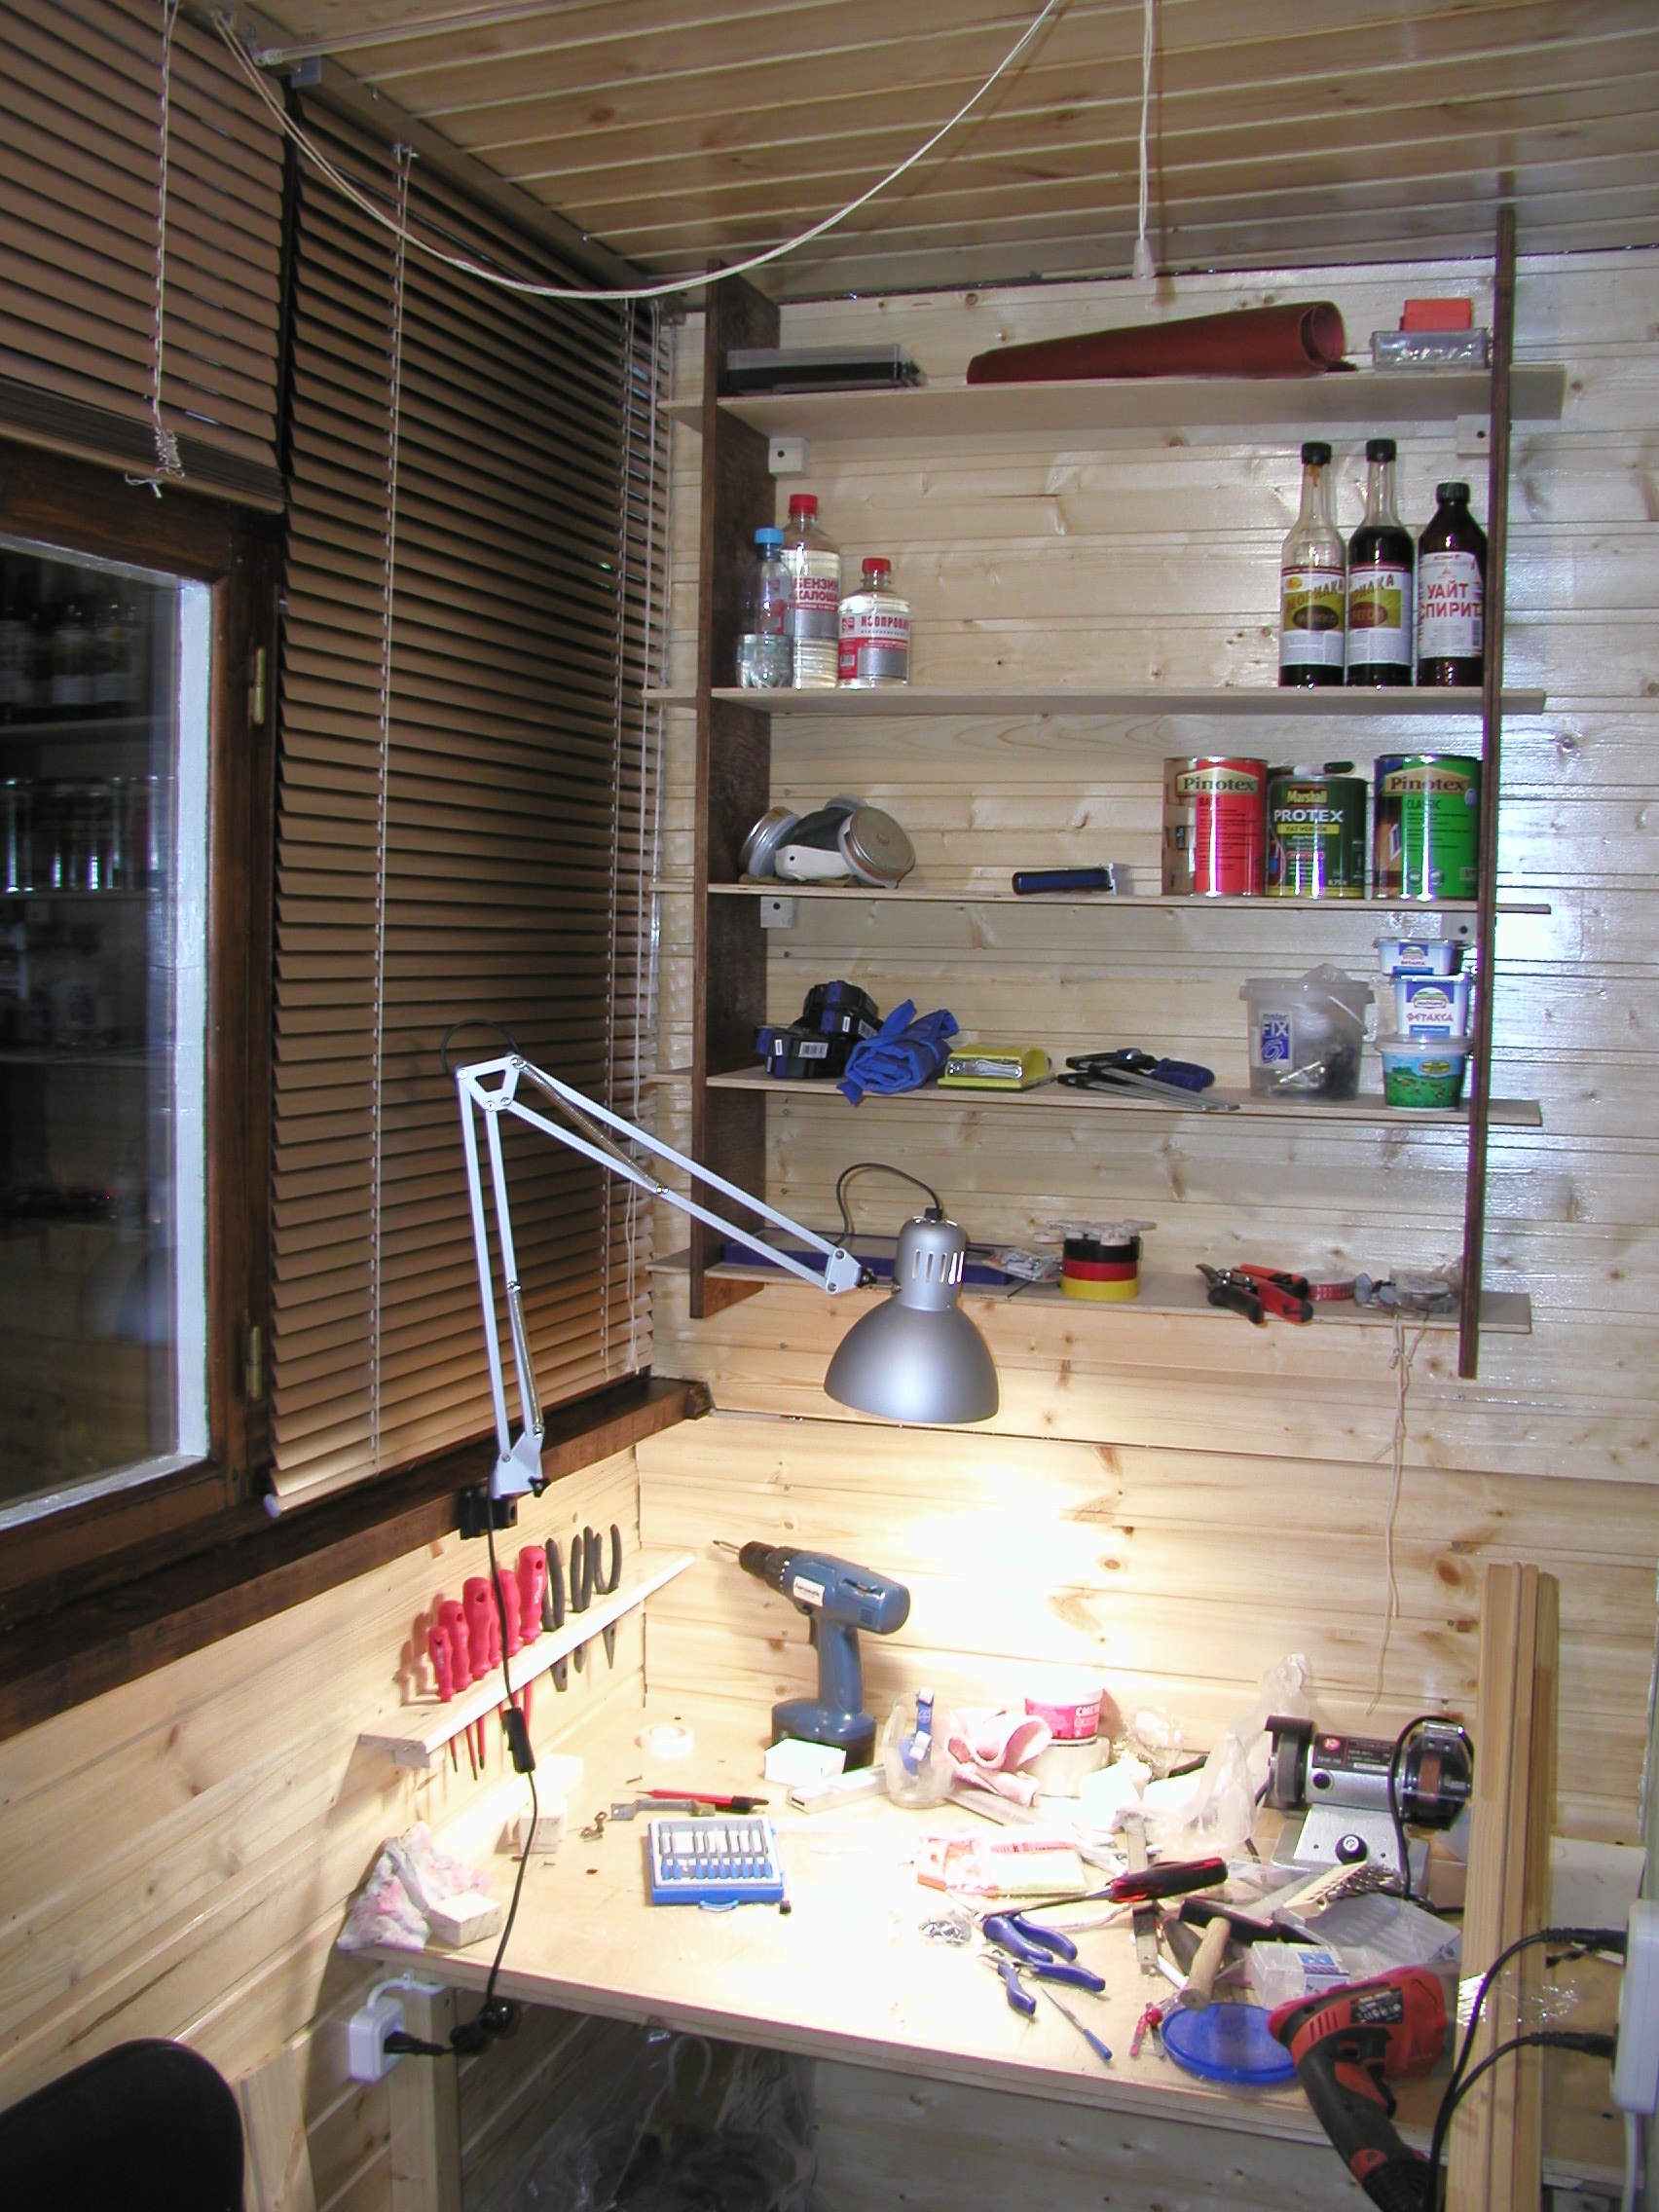
When installing a MDF cabinet, the use of a sander is not necessary. It is necessary for processing natural wood.
First, the dimensions of future doors and partitions are applied on a sheet of MDF or plywood (whichever you choose). Next, they are cut. For this, a rule is used as a guide and a jigsaw. Be sure to allow for the thickness of the jigsaw blade. It is needed for precise fitting of component parts.
When cutting with a jigsaw, do not apply strong pressure. Smooth running must be observed. This will prevent the saw blade from sliding to the side.
After cutting, installation is performed. Use dowel nails as fasteners. Depending on the type of wall, select the appropriate dowels.
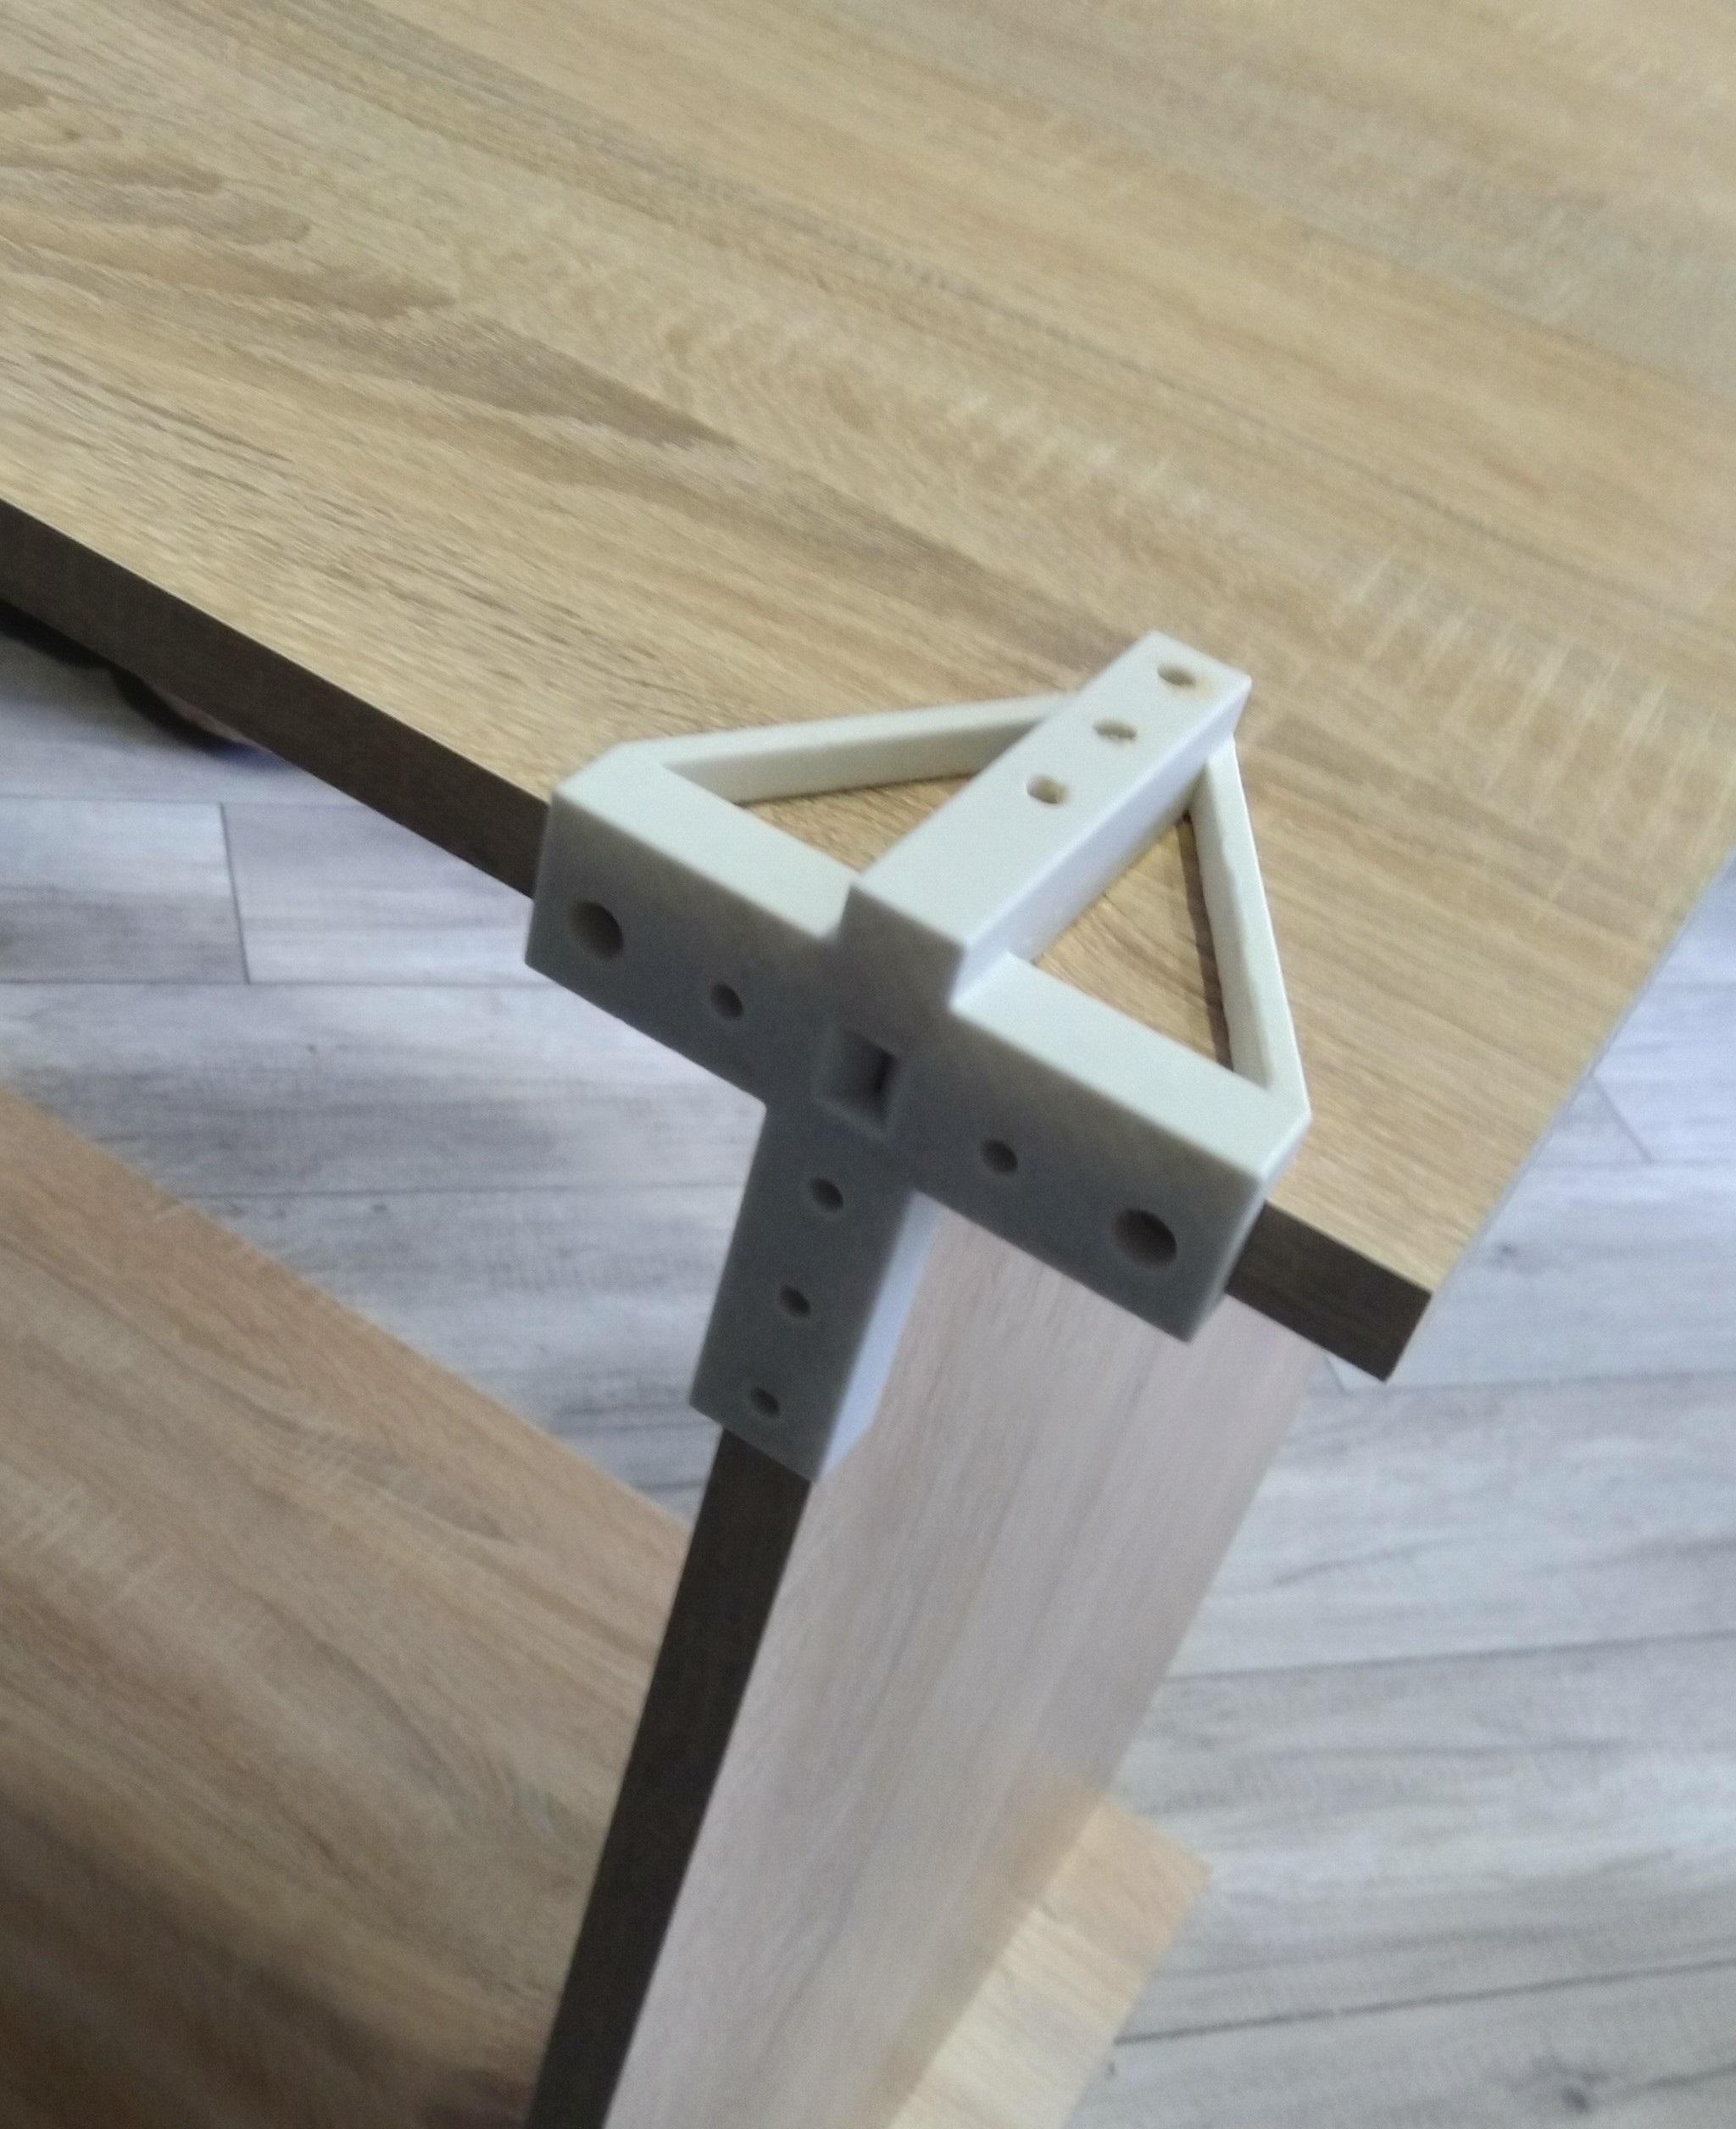
The first step is to install the supporting parts. When making a cabinet from a wood board, the load-bearing must be made of coniferous wood. To complete the cabinet, purchase a special edge banding tape for pasting MDF ends. Following the attached instructions, such work will not be difficult.
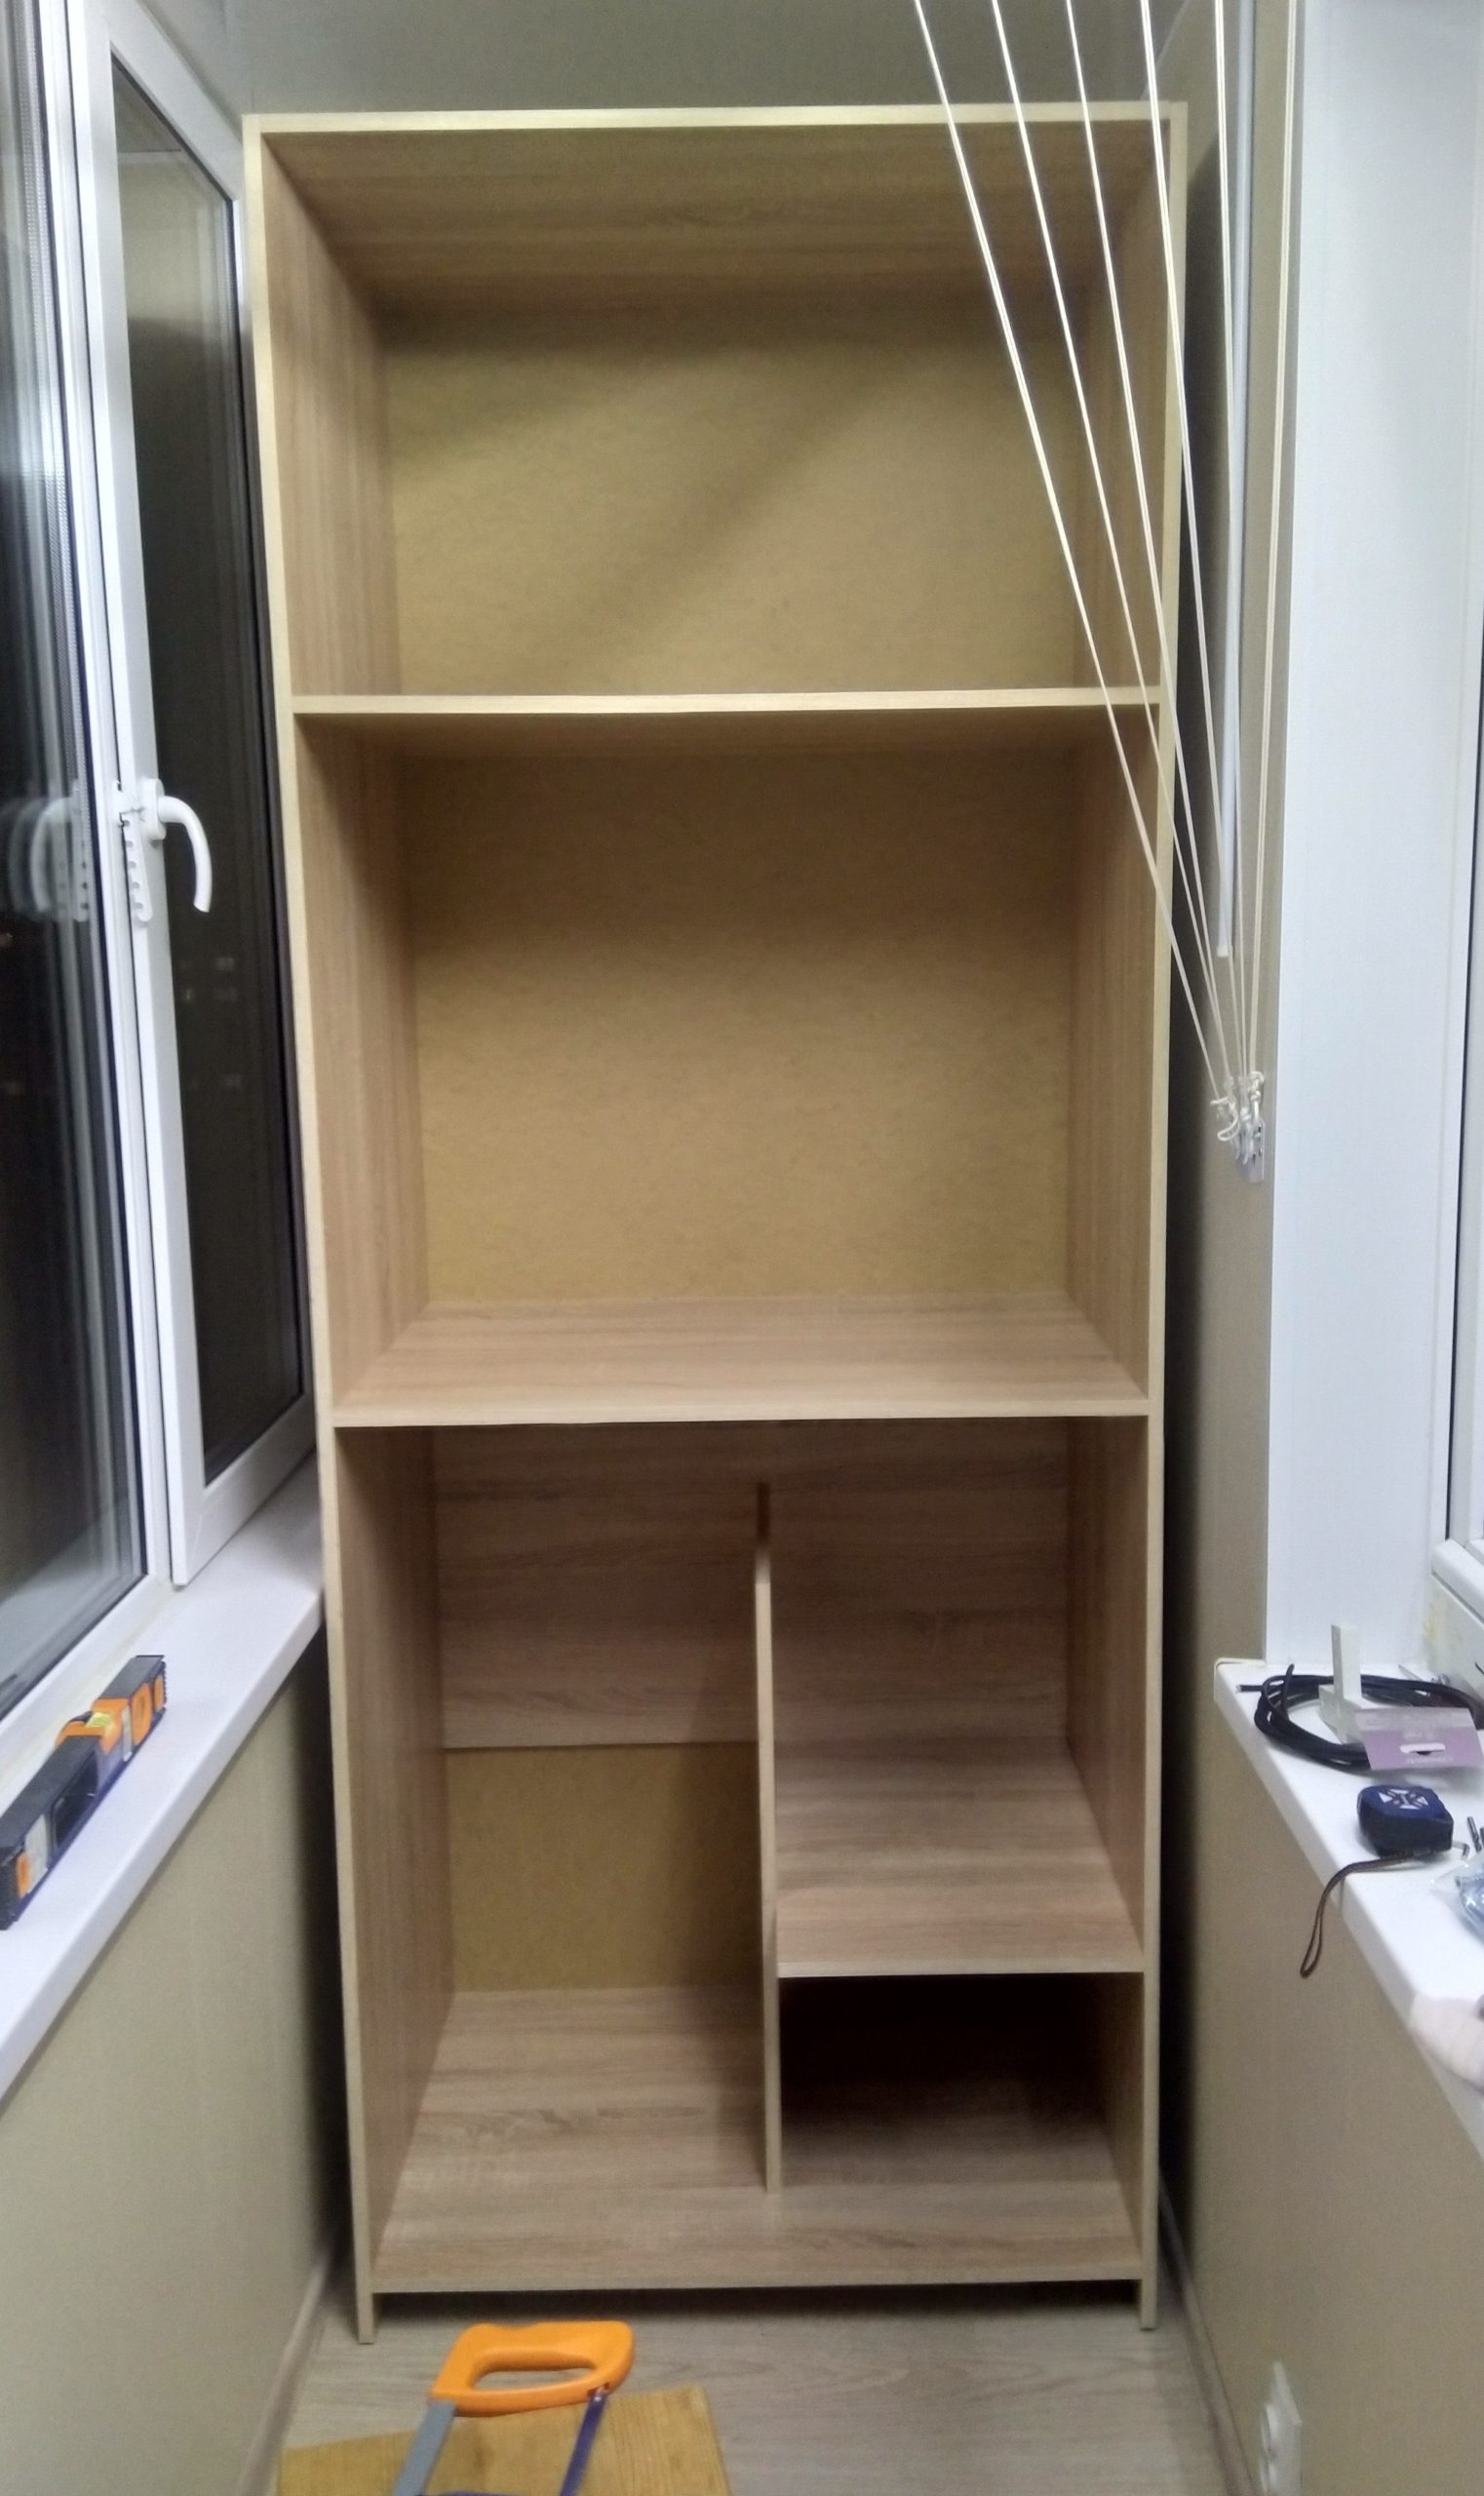
Do-it-yourself installation of a cabinet on the balcony is a great idea. Thus, you will save money, independently think over ergonomics and design. Go to a hardware store, buy everything you need, get to work. You will have a great wardrobe on the balcony.
Video: making a cabinet on the balcony with your own hands
