How to assemble a wardrobe with your own hands
Buying new furniture is a pleasant experience. But before you can enjoy its convenience and functionality, you need to do the main thing: to assemble all the parts into a finished structure. How to do it? You will be prompted by the instructions that come with the furniture. And we will tell you the main stages by which the assembly of the sliding wardrobe is carried out with your own hands, so that in the process of work there are fewer difficulties.

Where to start the assembly
The most important thing is to study the instructions. To make it easier to understand the hardware, it should be disassembled into separate groups. For small components, an organizer or several plastic containers are suitable. It is better to count all the small details in advance and check their quantity with the one indicated in the manual. Structural elements must be checked for chips, color uniformity.

It is difficult to assemble a wardrobe alone, so it is better to call 1-2 companions.
If everything is in order, there are no missing parts or damage, you can start assembling.
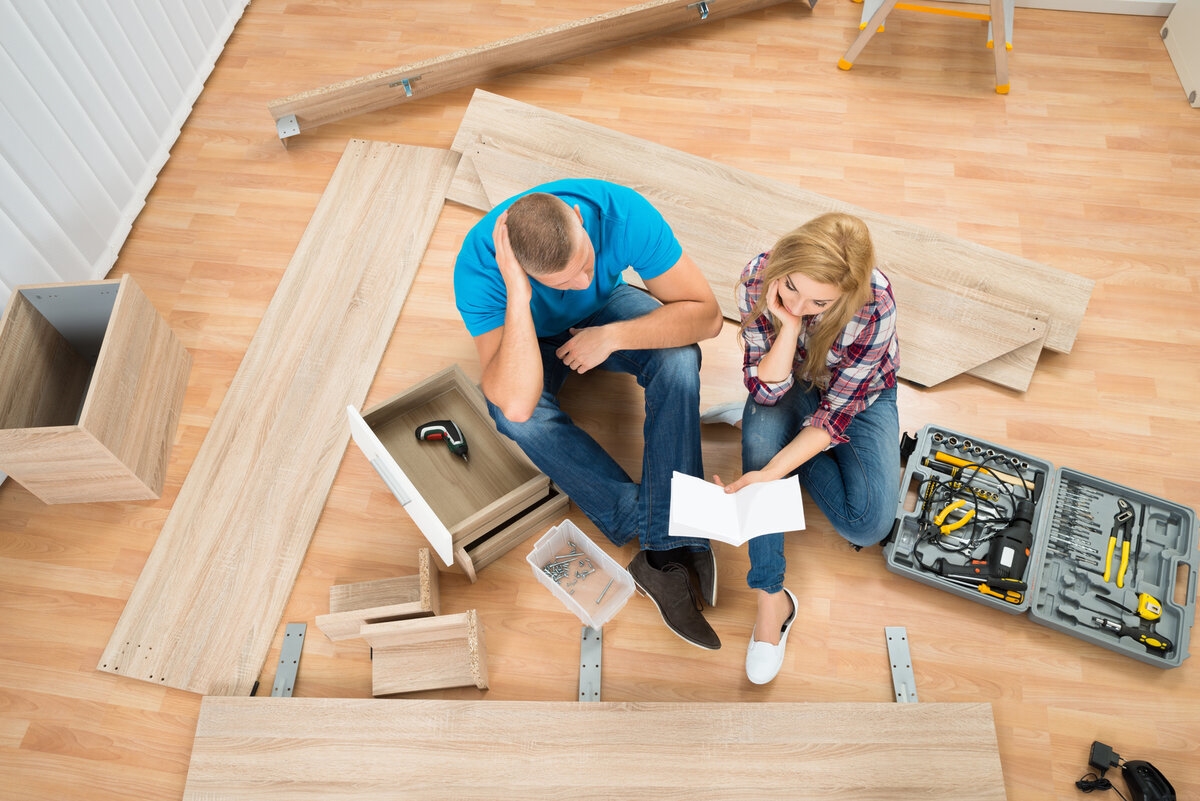
Preparation of all materials for assembly
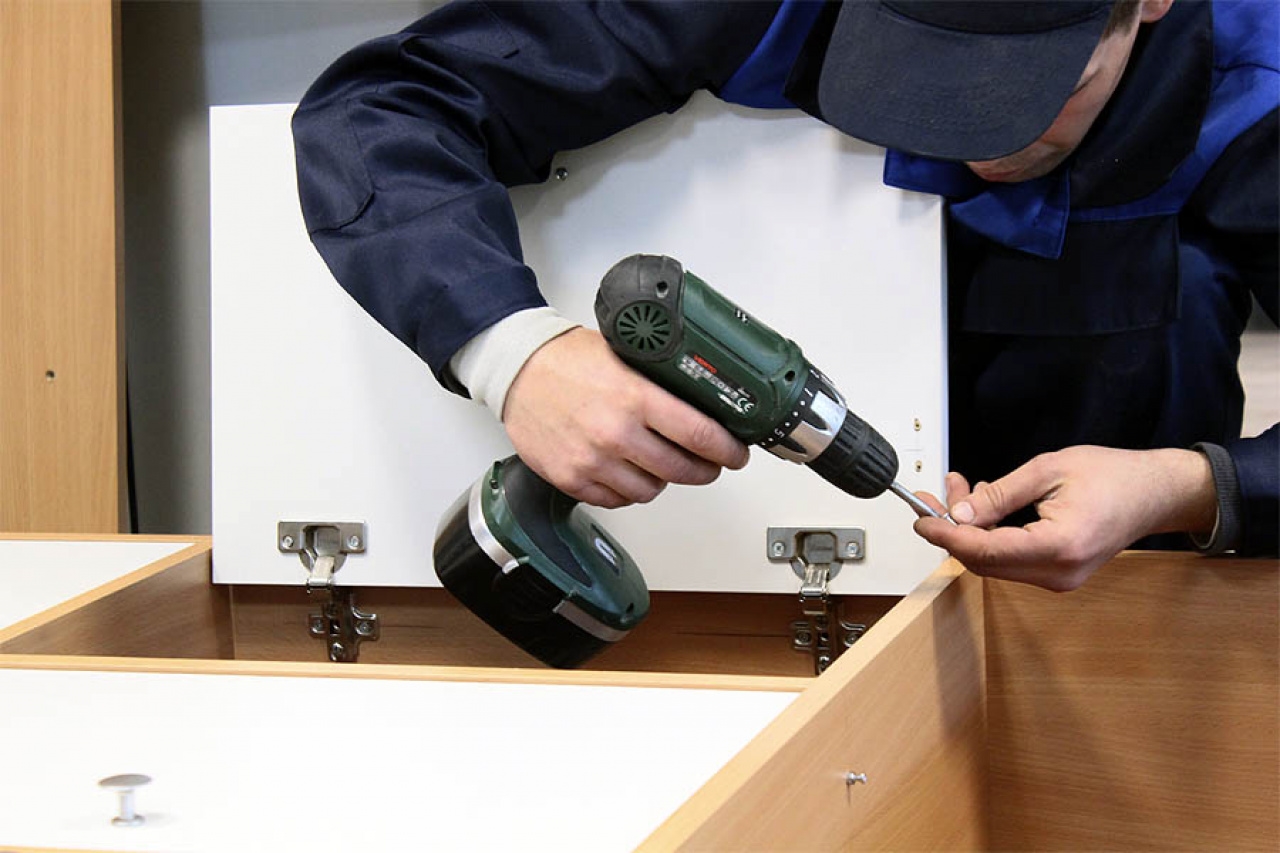
In advance, you need to prepare the tools that you may need. Usually a minimum is required: keys, a screwdriver or screwdriver, a hammer (rubber and regular), a pencil, a ruler, a tape measure. It is also advisable to use a building level to check how evenly the cabinet is assembled relative to the floor.
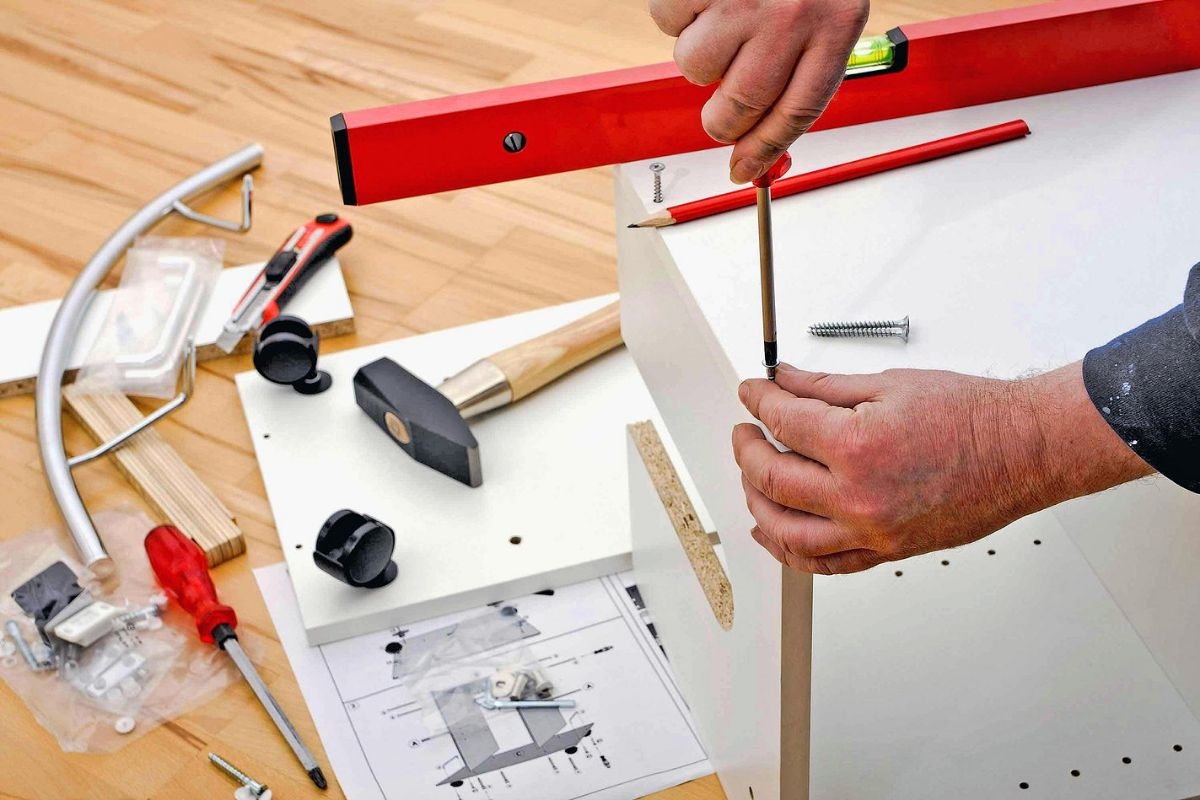
Advice. Parts should not be removed from the packaging immediately. After inspection, it is better to put them in boxes so as not to accidentally damage them.
The order of assembly of the wardrobe
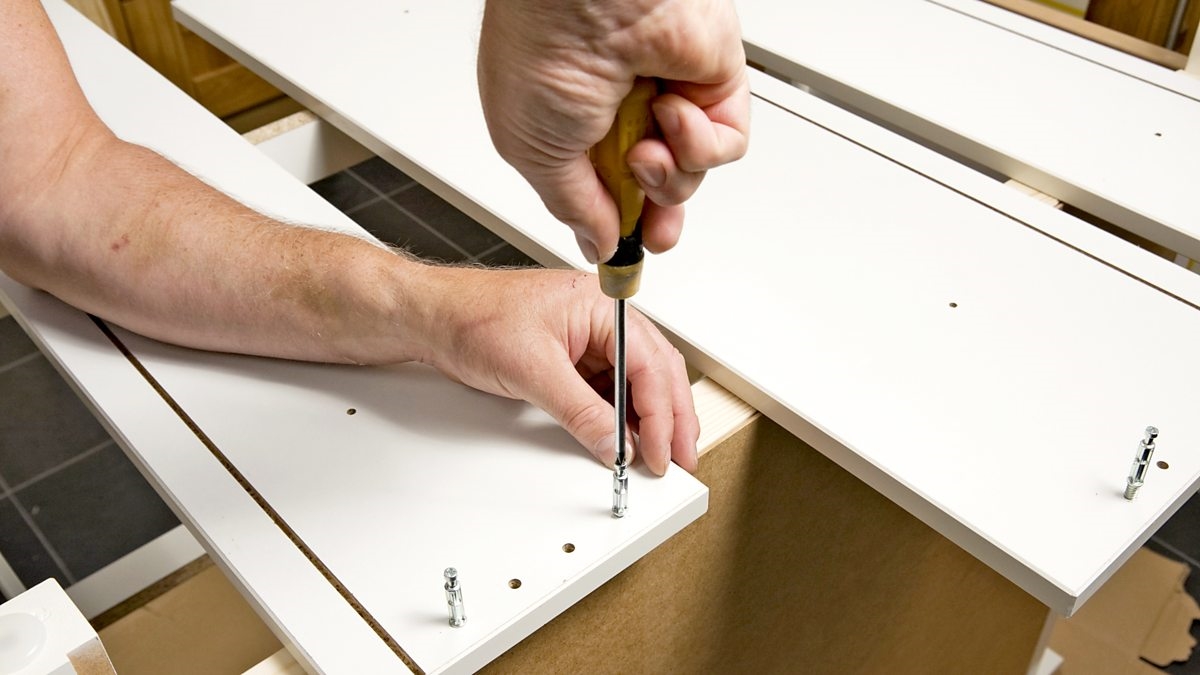
The first step is to install the base. Usually the slab is attached to stands that are located along the long side. It is mounted using Euro screws - fasteners with a recess in the hat for a hex key.
The next step in the order of assembling the wardrobe is the installation of the case. These are load-bearing parts.
Next, the back wall is attached. Shelves, hanger bars, that is, all internal filling are installed in the finished case.
Lastly, doors are mounted to the cabinet.
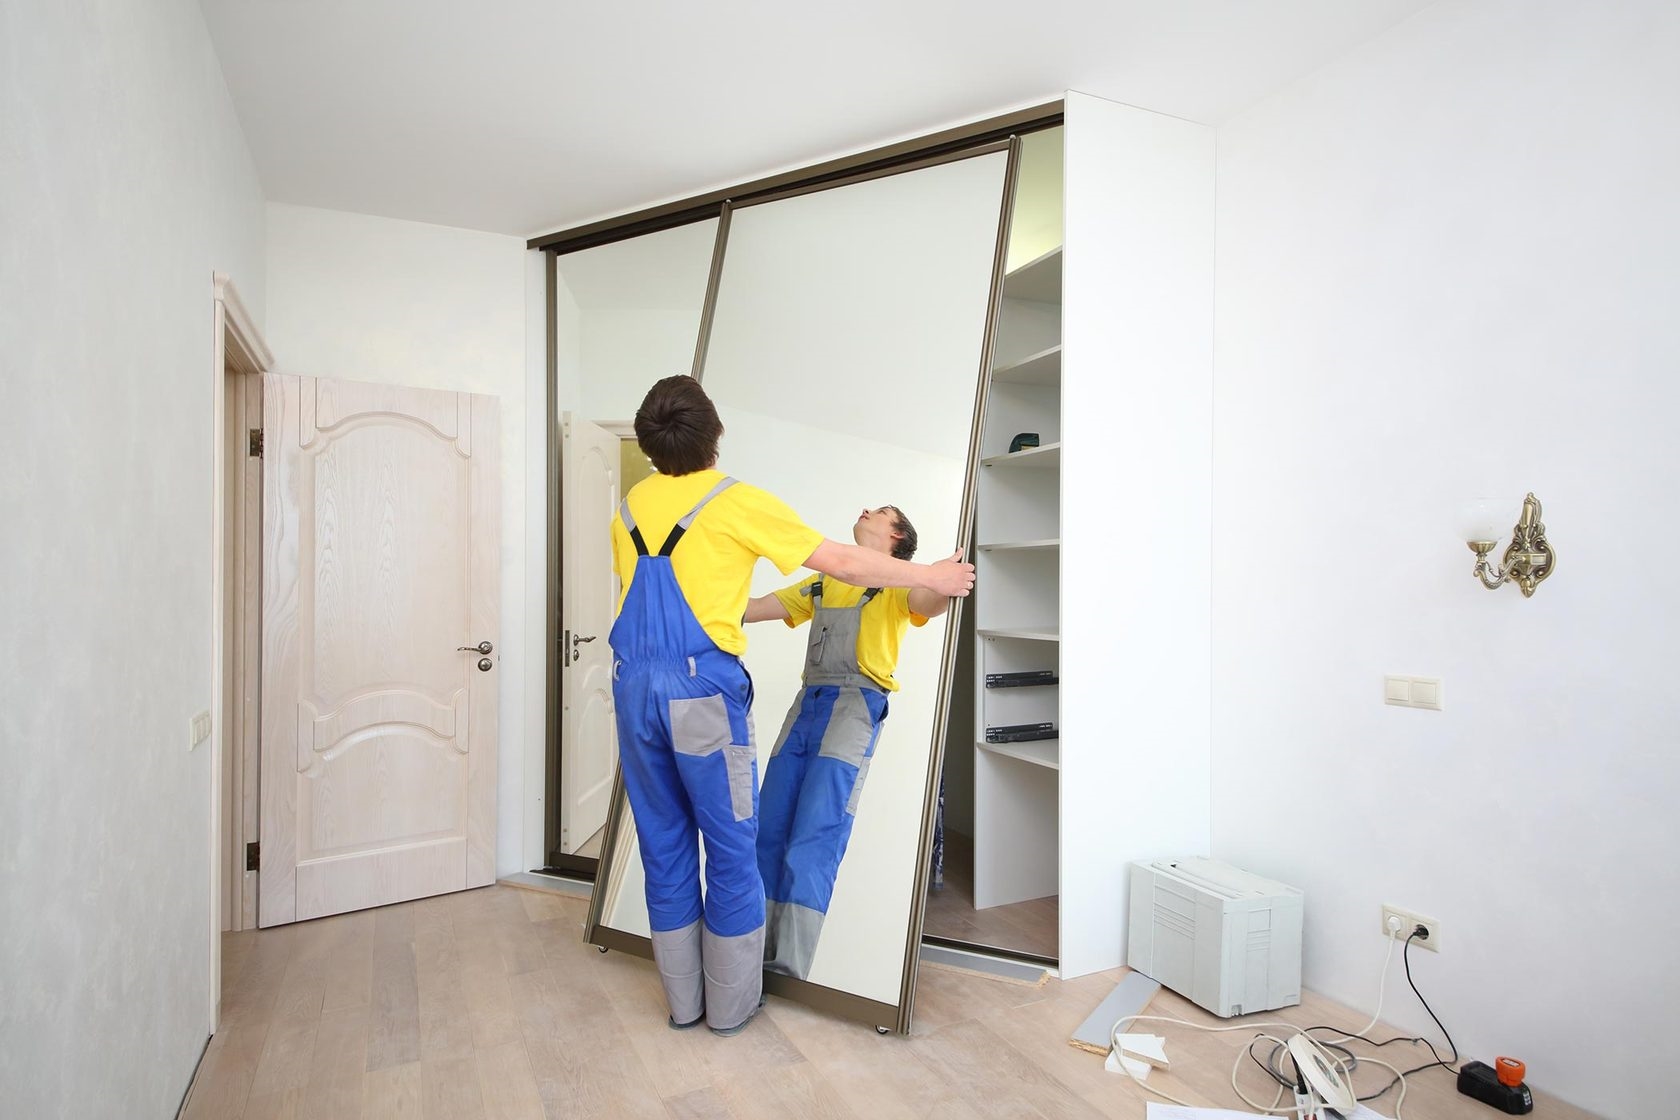
Advice. If the model is with mirrors, it is fixed to a fully assembled cabinet.
Assigning materials and panels
During operation, the main load falls on the base or stand. Therefore, it is important to check the strength of the part and place it on the most level surface.
Body parts are necessary to protect things from the external environment, and they also serve as load-bearing elements to which all shelves are attached.
The back plate is usually made of thin sheet material; the part does not bear the body load.
Important! So that smooth movement mechanisms are installed on the drawers.
When assembling the base, it is necessary to outline the place of attachment of the slats or adjustable legs. Long cabinets require at least 6 supports. The crossbars are attached to the bottom of the cabinet with corners and self-tapping screws.

Before starting the installation of the case, it is advisable to check the evenness of the floor with a level. If it is uneven, it is better to choose a model with adjustable legs that can be adjusted in height.
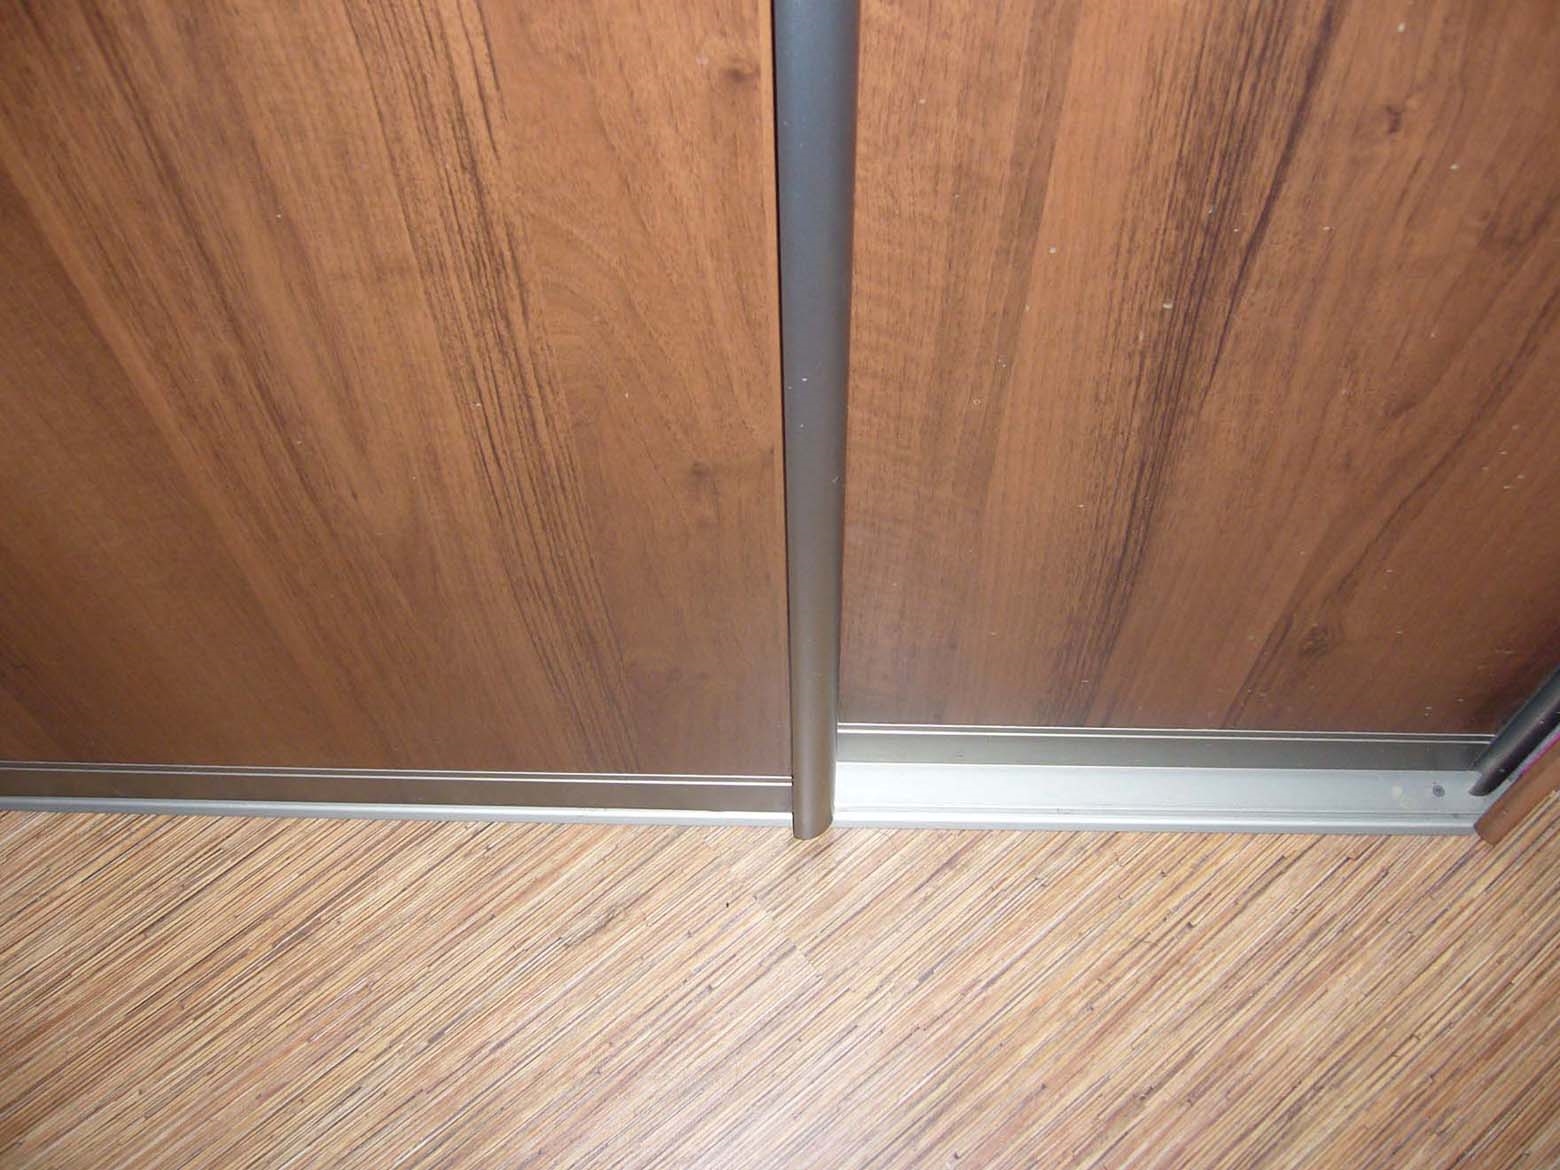
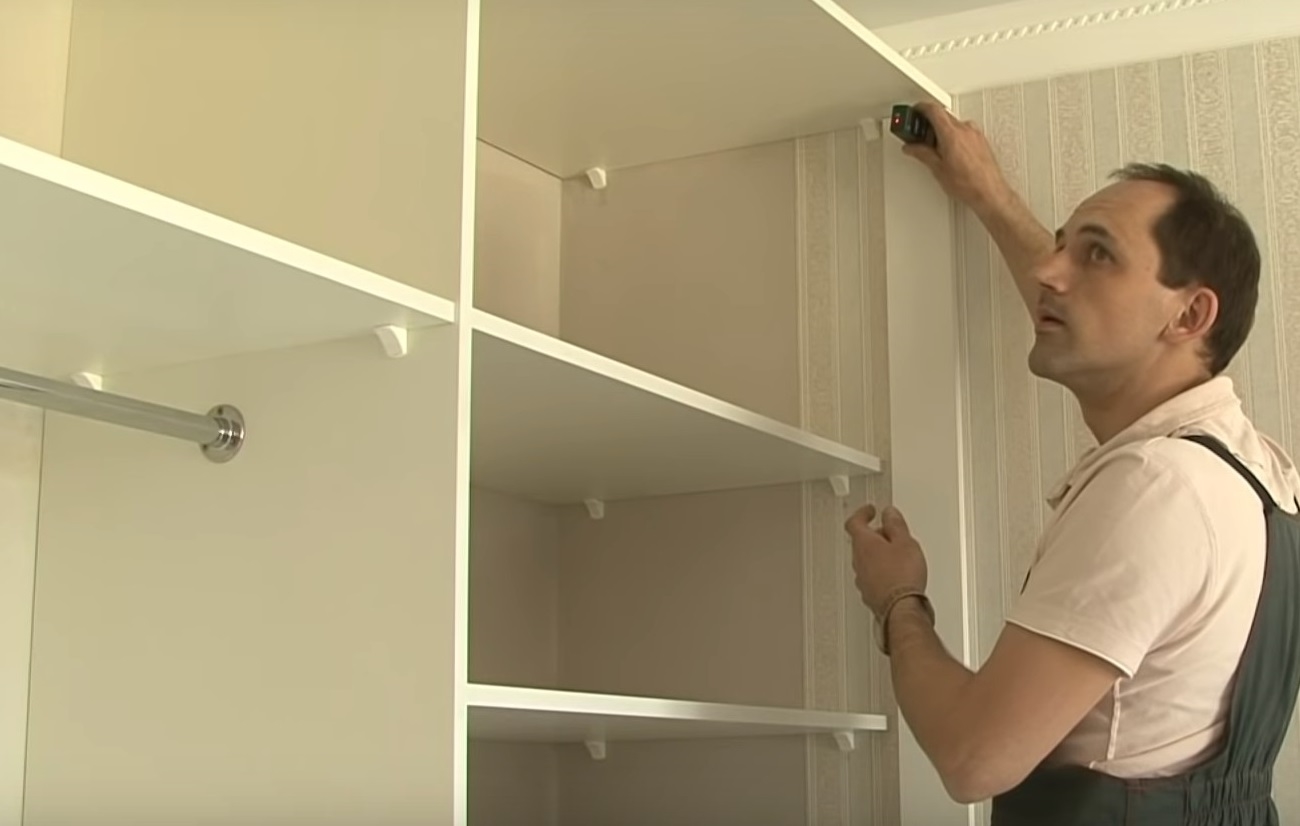
Important! After assembling the main parts of the structure, it is necessary to align it. First, measure one diagonal with a tape measure, then the other. In this way, they check how even the corners are. By calculating the difference in values, you can determine in which direction you need to move the top of the furniture.

It is necessary to align the cabinet geometry so that there are no problems with the installation of the doors.
Installation of hardware
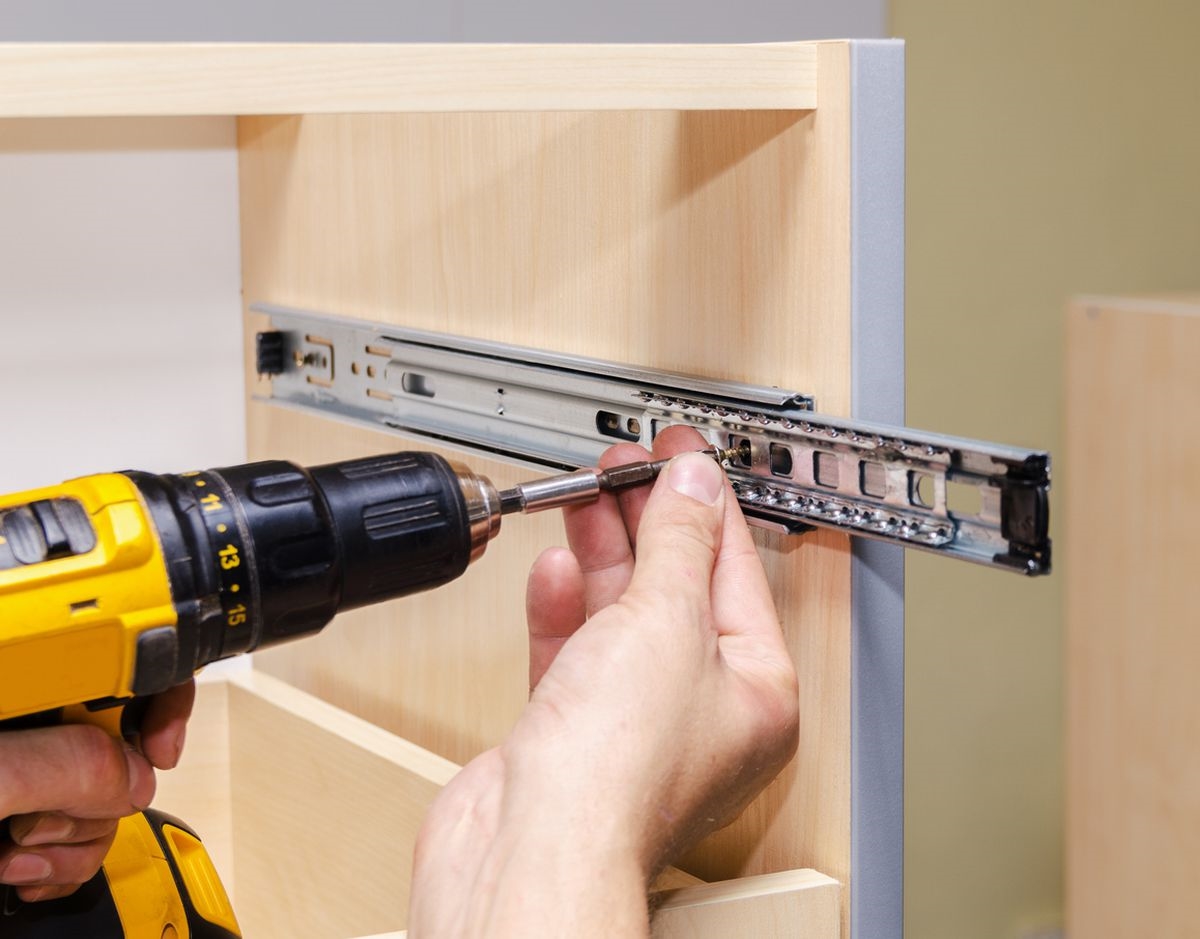
It is necessary to pre-drill several holes on the lower plank and insert anchors onto which the rack planks will be attached.
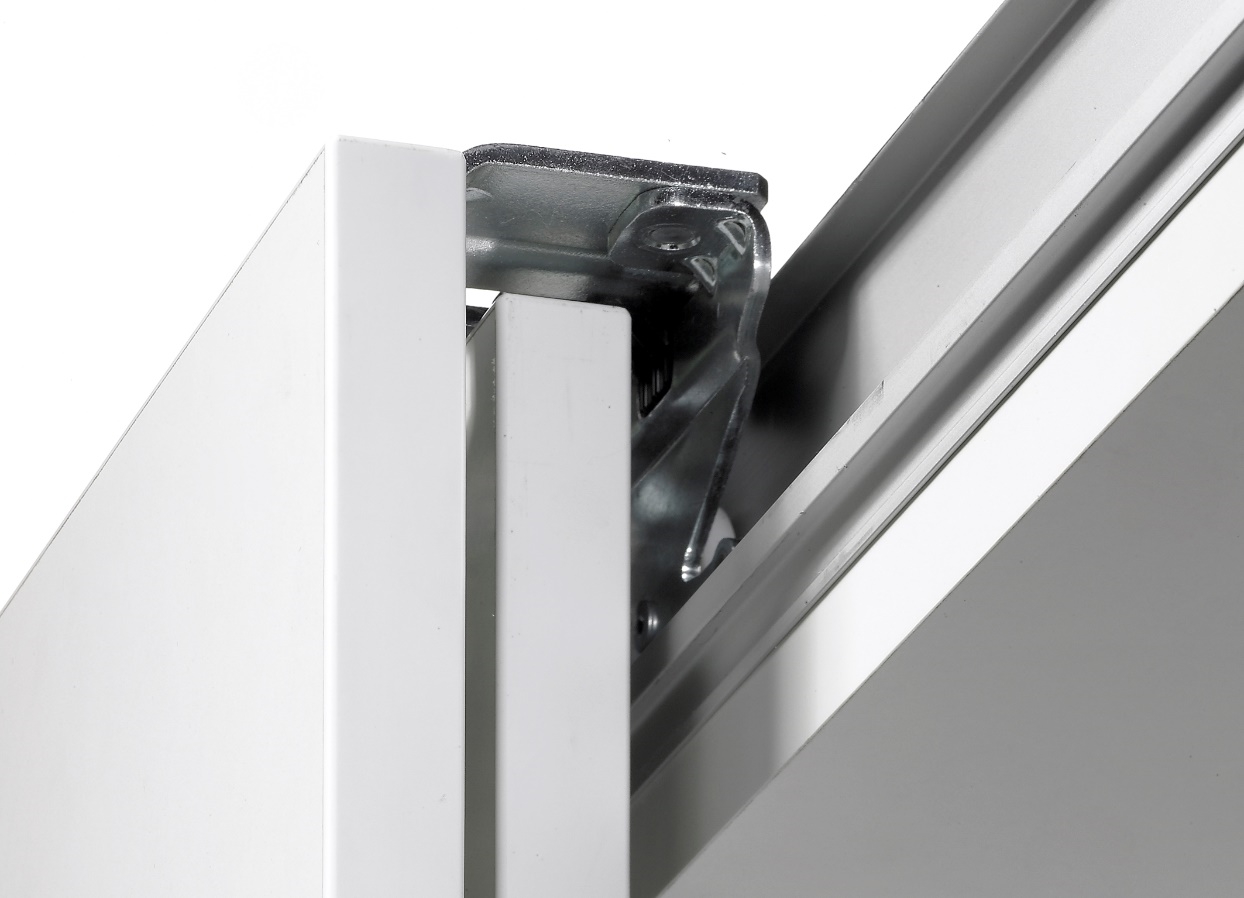
The first step is to mount the side strips, if there is a middle rack, it is installed after.
The upper bar is attached with corners and self-tapping screws or confirmations.
Advice. It is better to assemble the cabinet in a standing position, since it is problematic to fit the parts lying down. To install the roof, a minimum of 10 cm must be left.
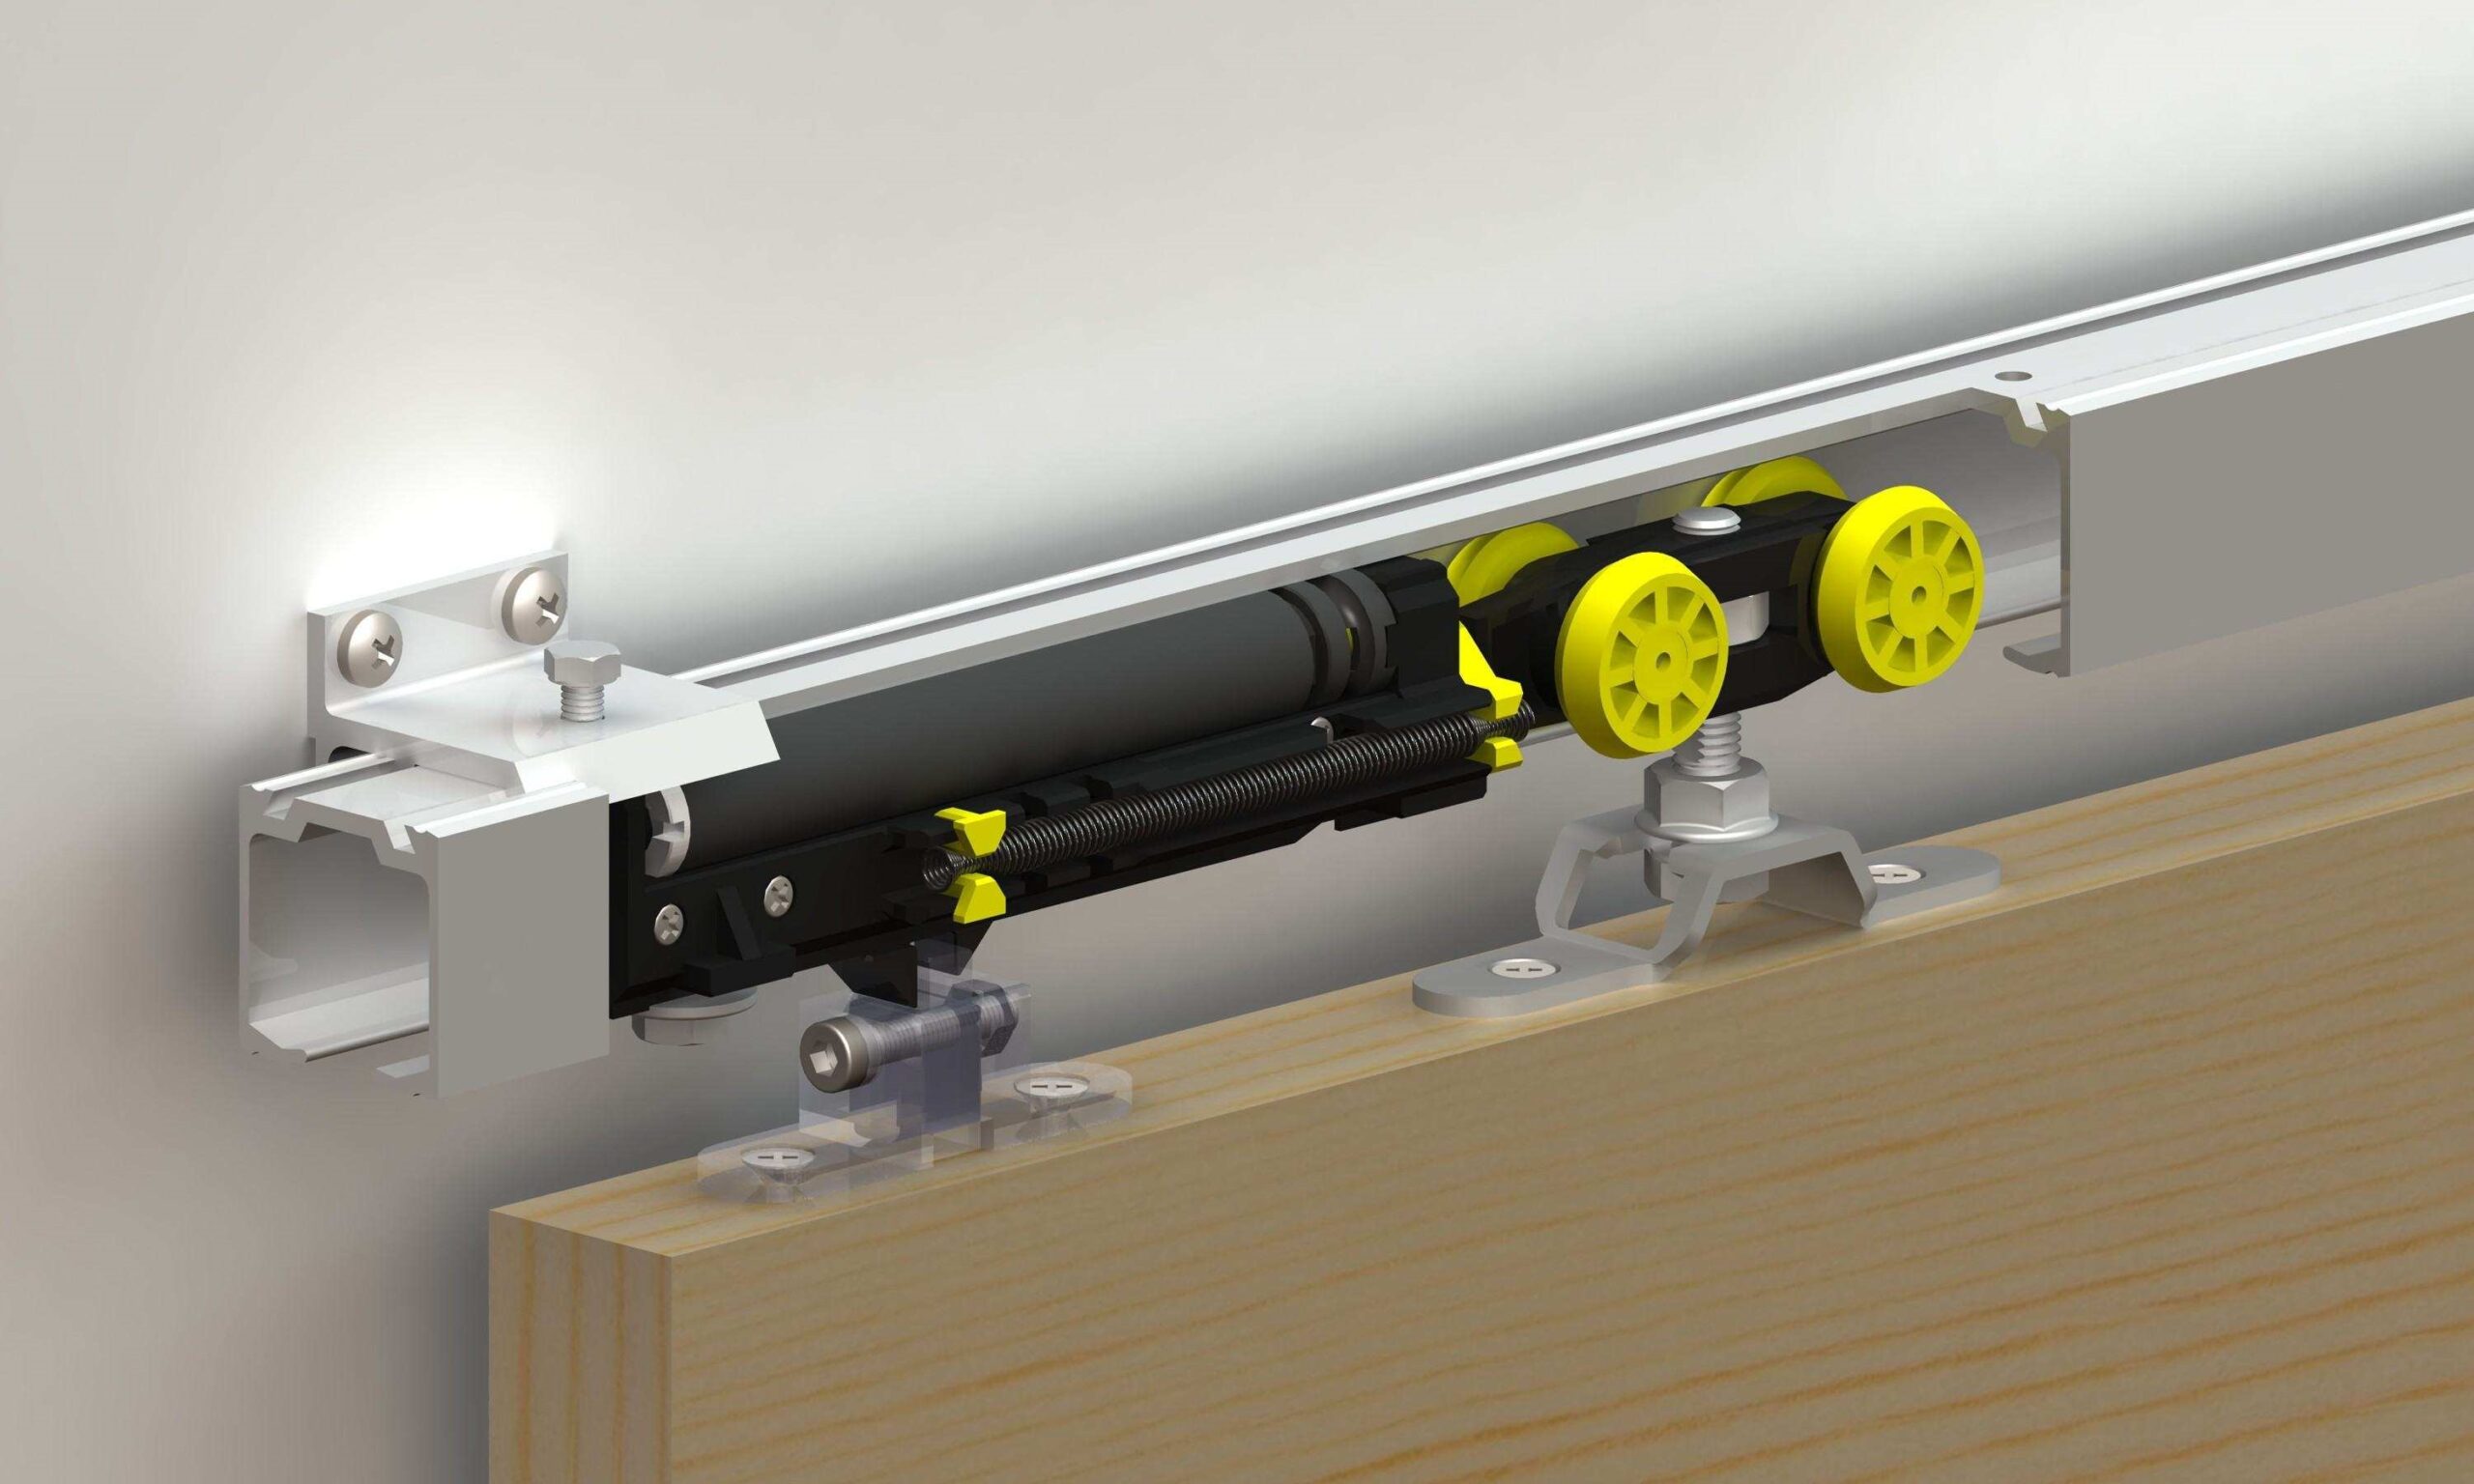
We nail the back wall
If you choose suitable fasteners for a fiberboard panel (the back wall is most often made from this material), then over time it will move away from the structure. It is best to fasten it with self-tapping screws.
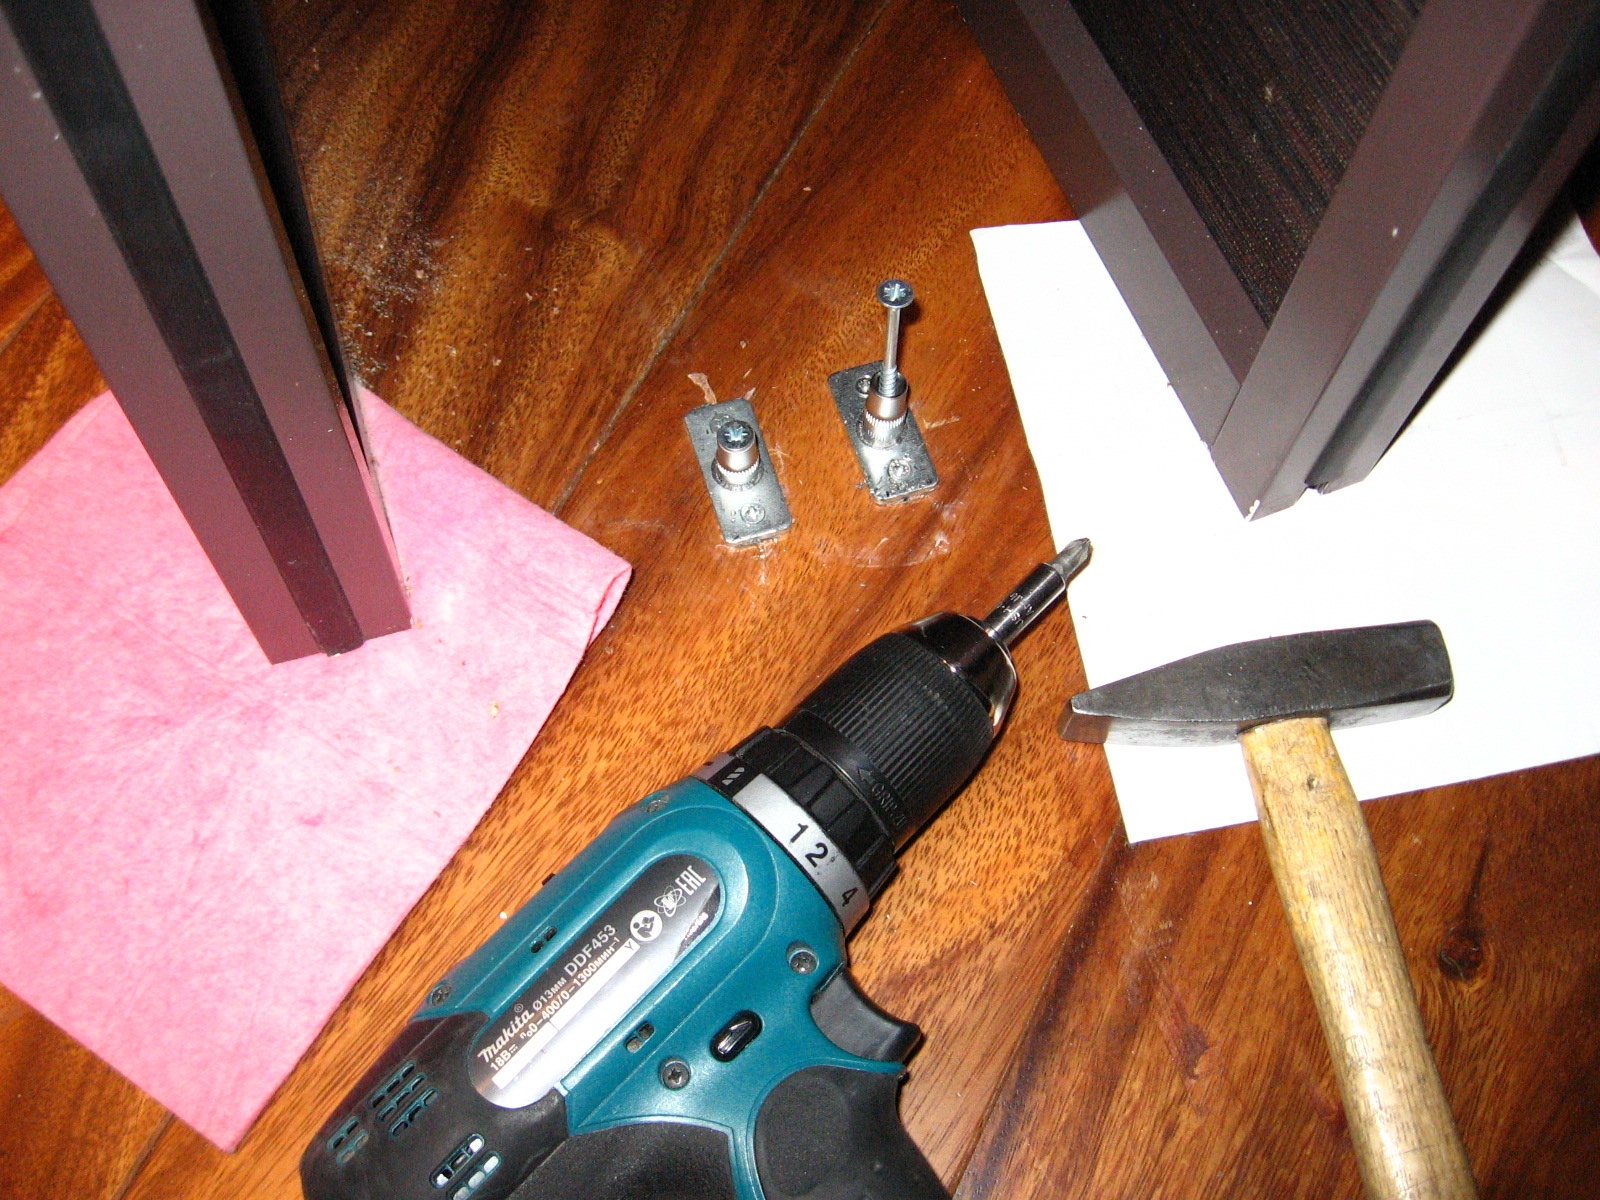
The panel is wound up behind the cabinet, and then screwed, holding the bulk of the wall. Self-tapping screws are inserted in steps of 10-20 cm.
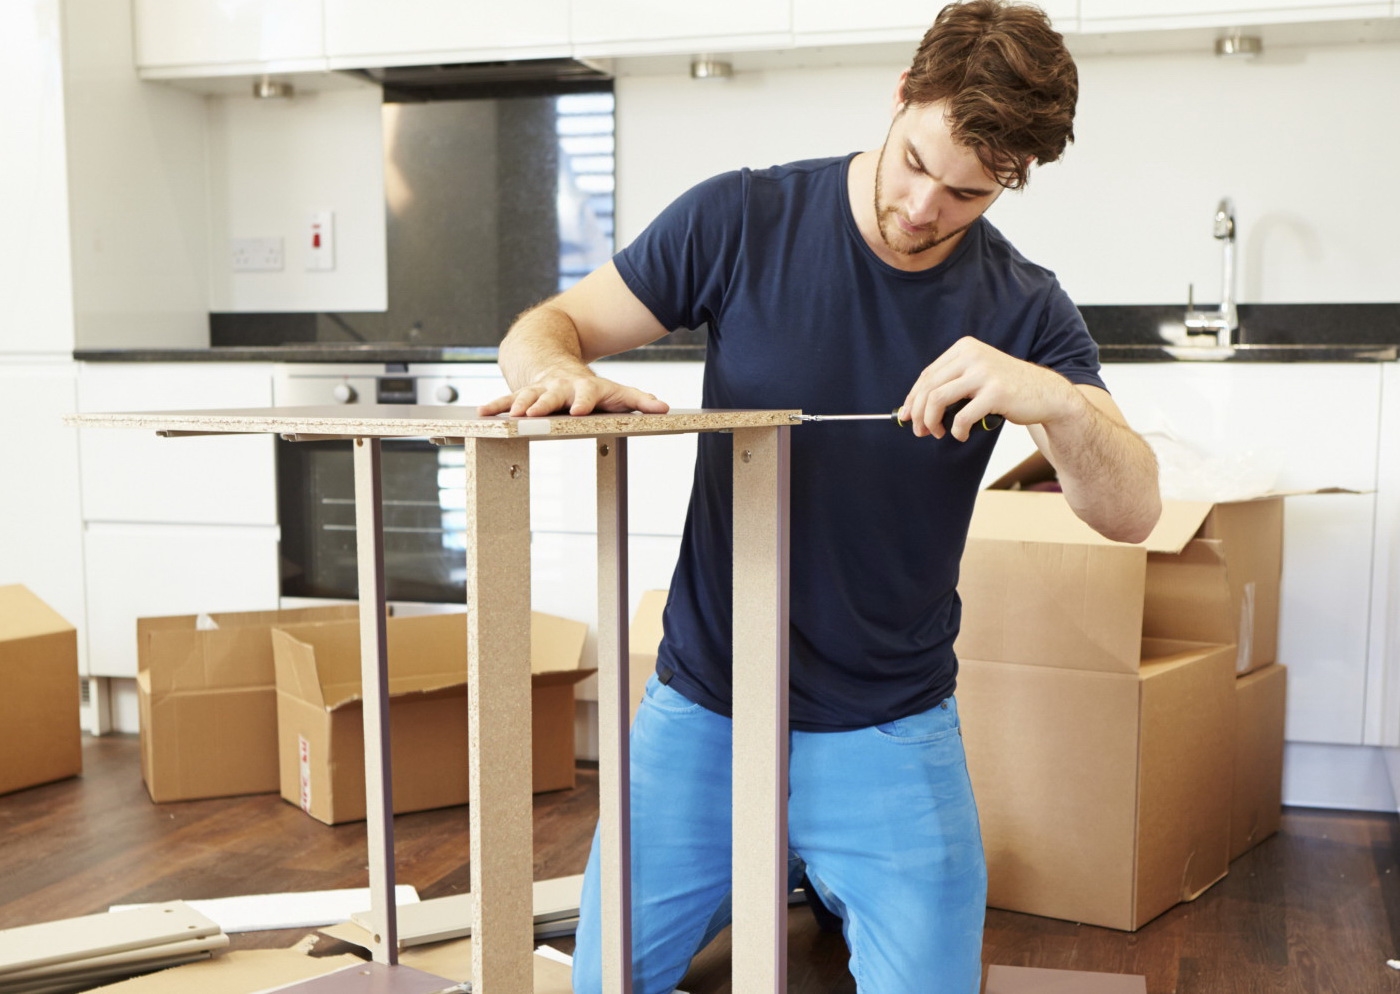
Advice. If there are several back slats, they are pre-fastened with butt ties.
Installing additional materials
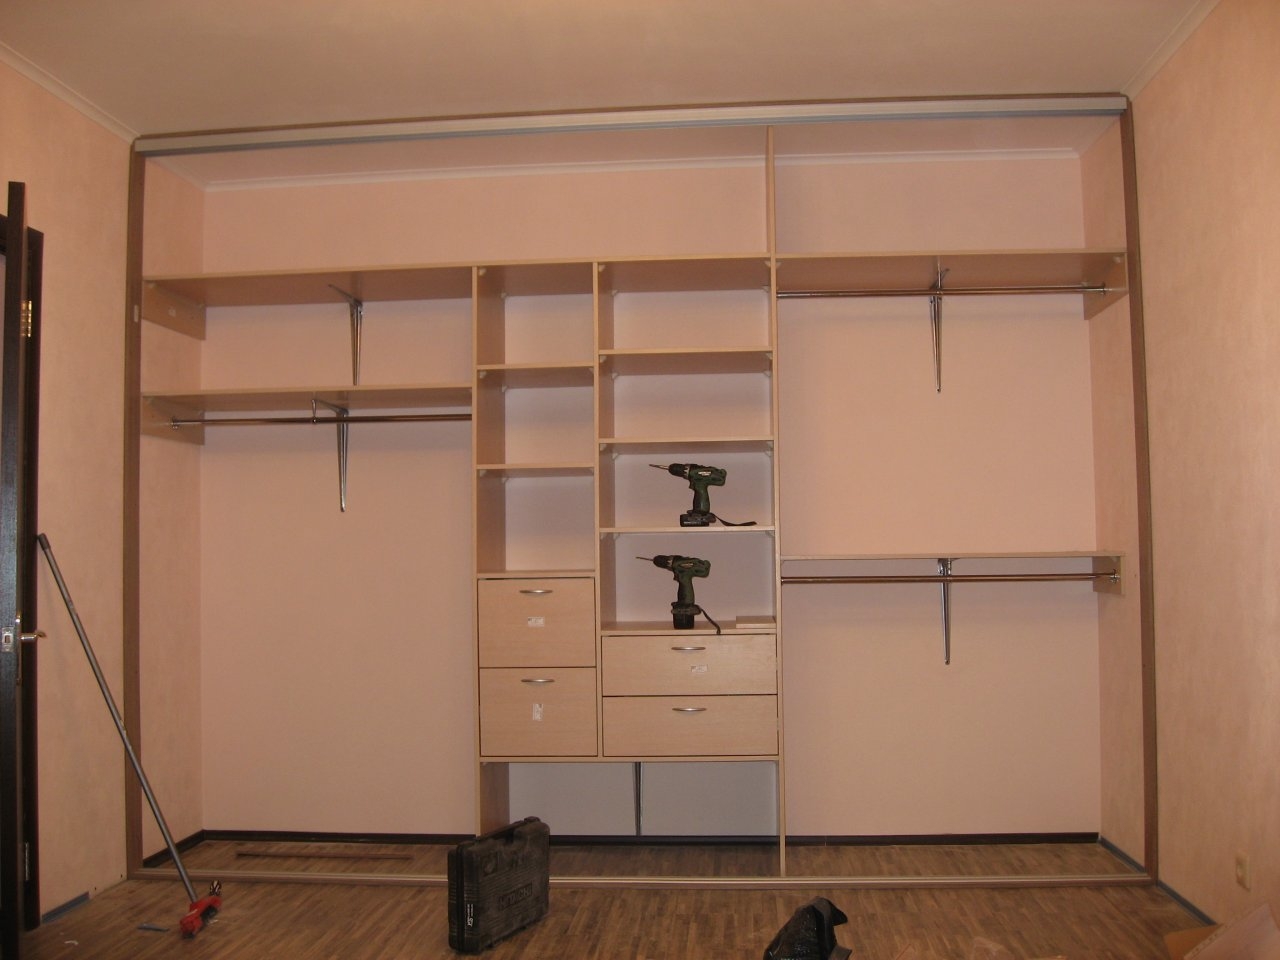
Usually the shelves are fastened with corners and self-tapping screws. Manufacturers pre-drill holes for hardware on these parts. It remains only to measure and determine the optimal distance between the shelves and screw them to the side and center strips.
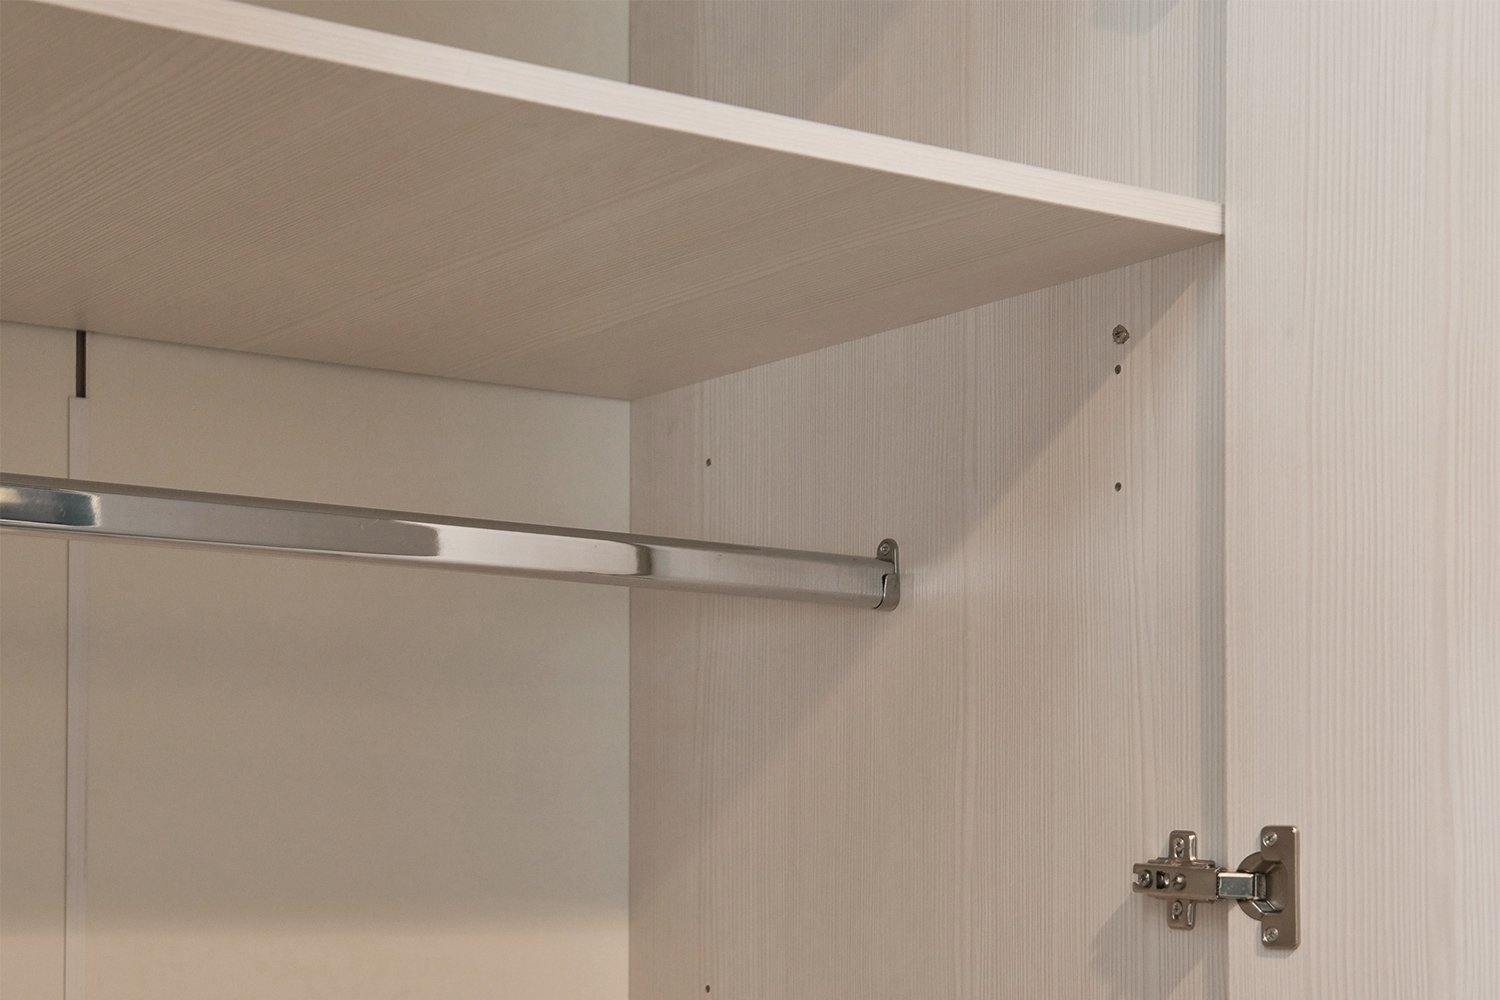
The hanger bar is mounted on the flanges that come with it. If necessary, the pipe can be shortened with a metal hacksaw.
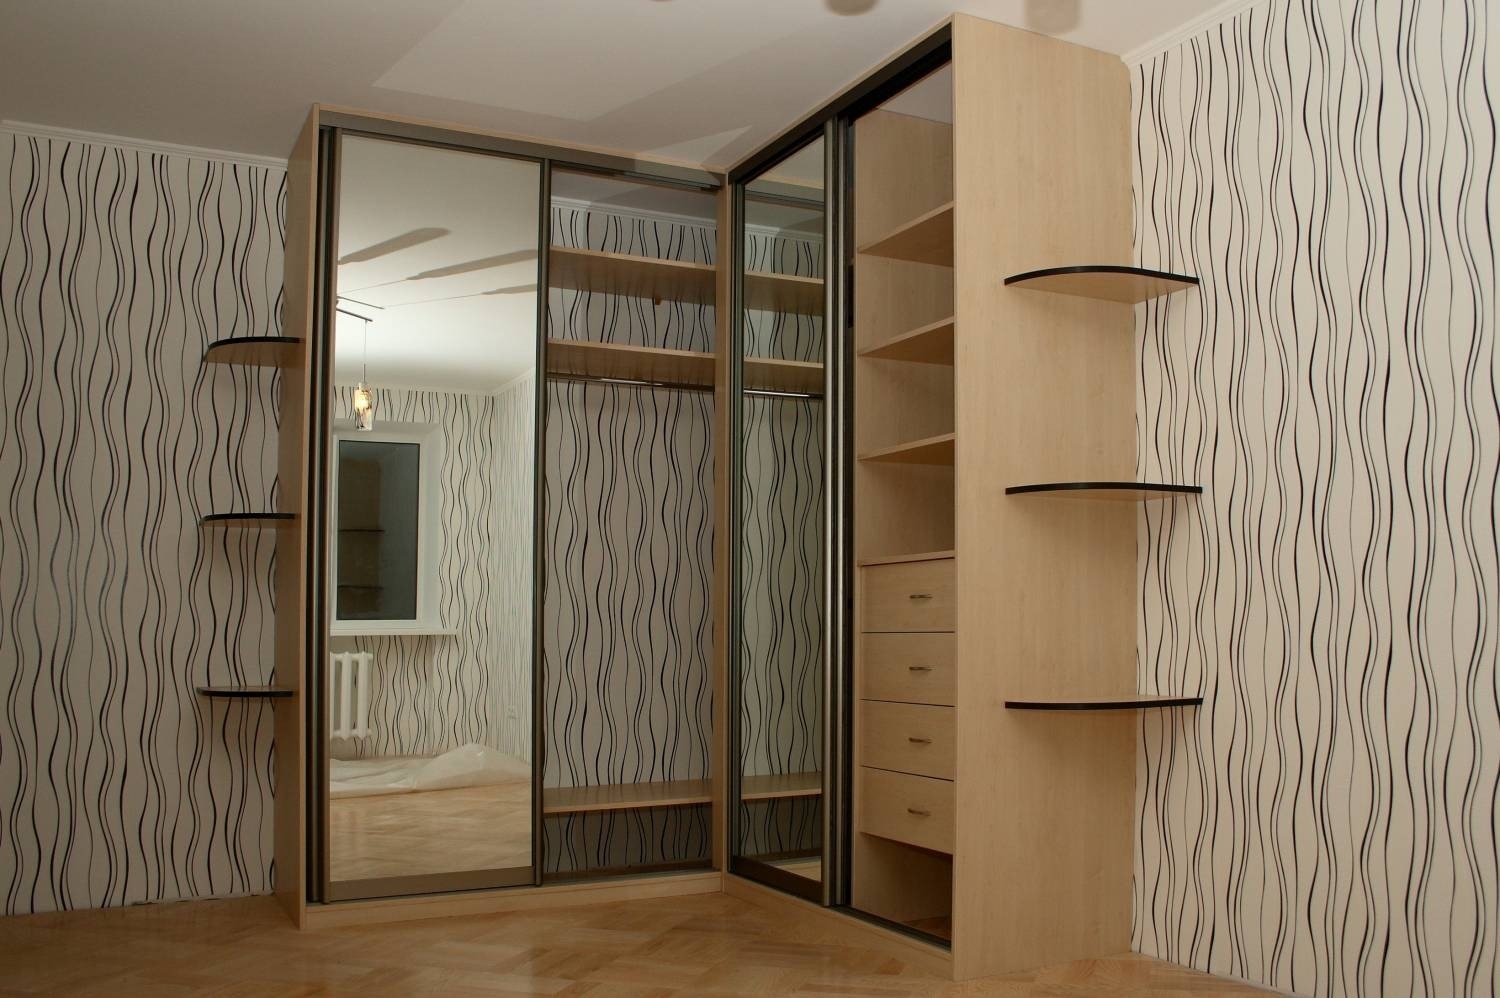
To install the drawers, you first need to secure the mechanisms to the rack bars. It is very important to install them parallel to each other at the same height. Then there will be no problems with retractable mechanisms.
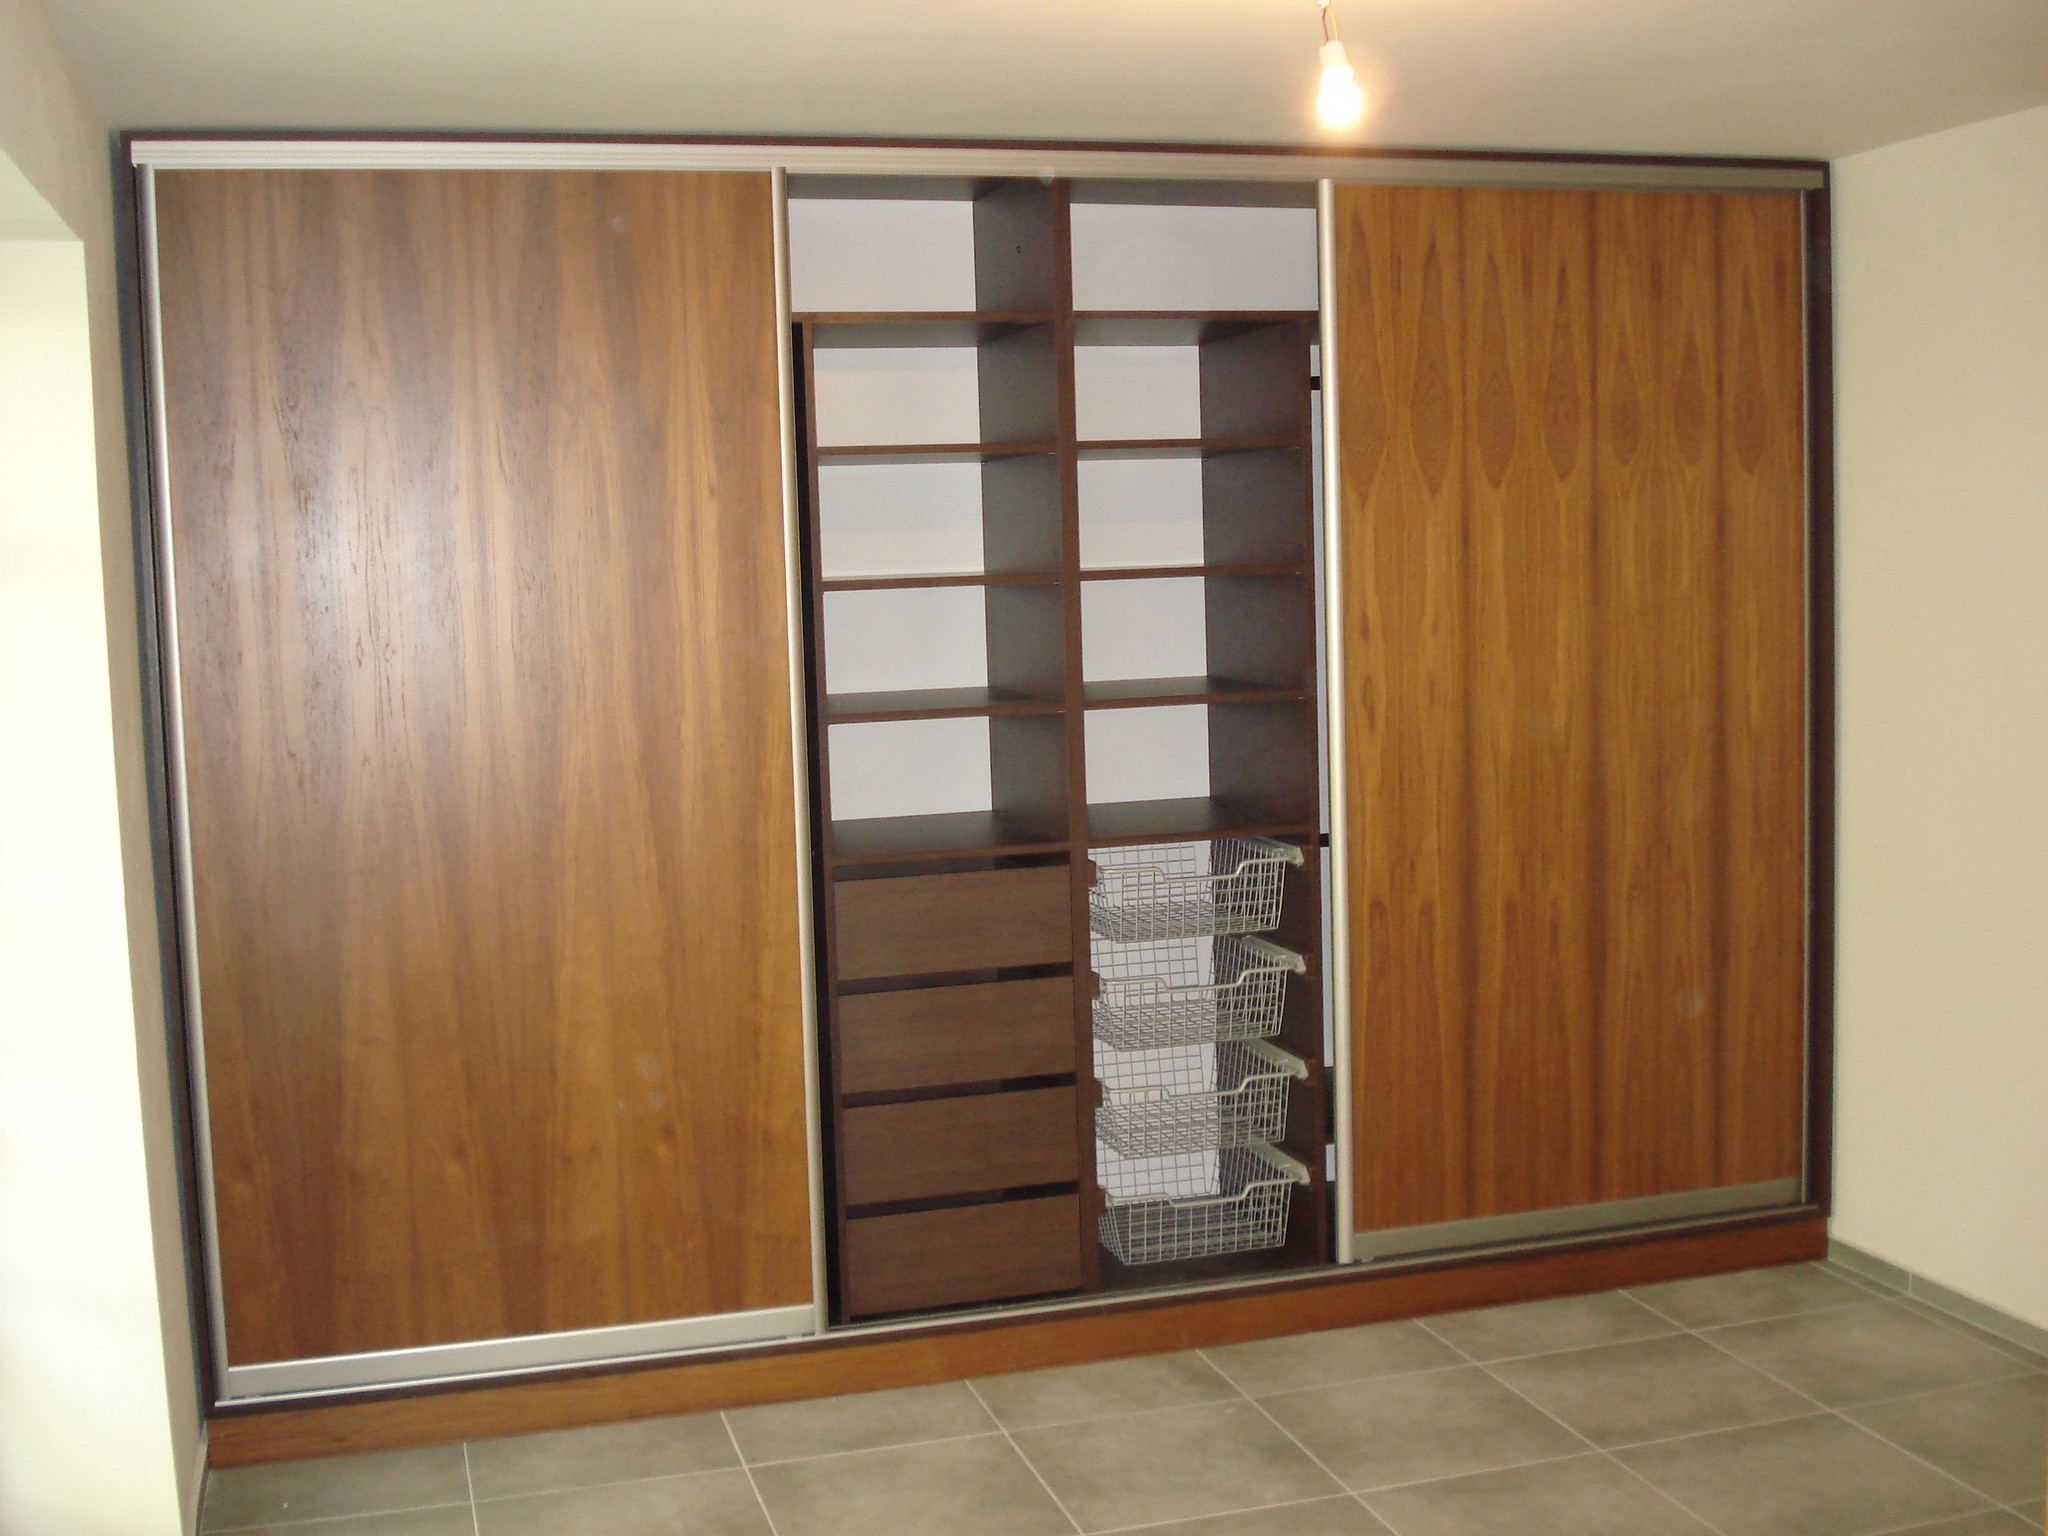
Door installation
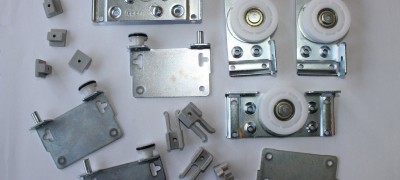
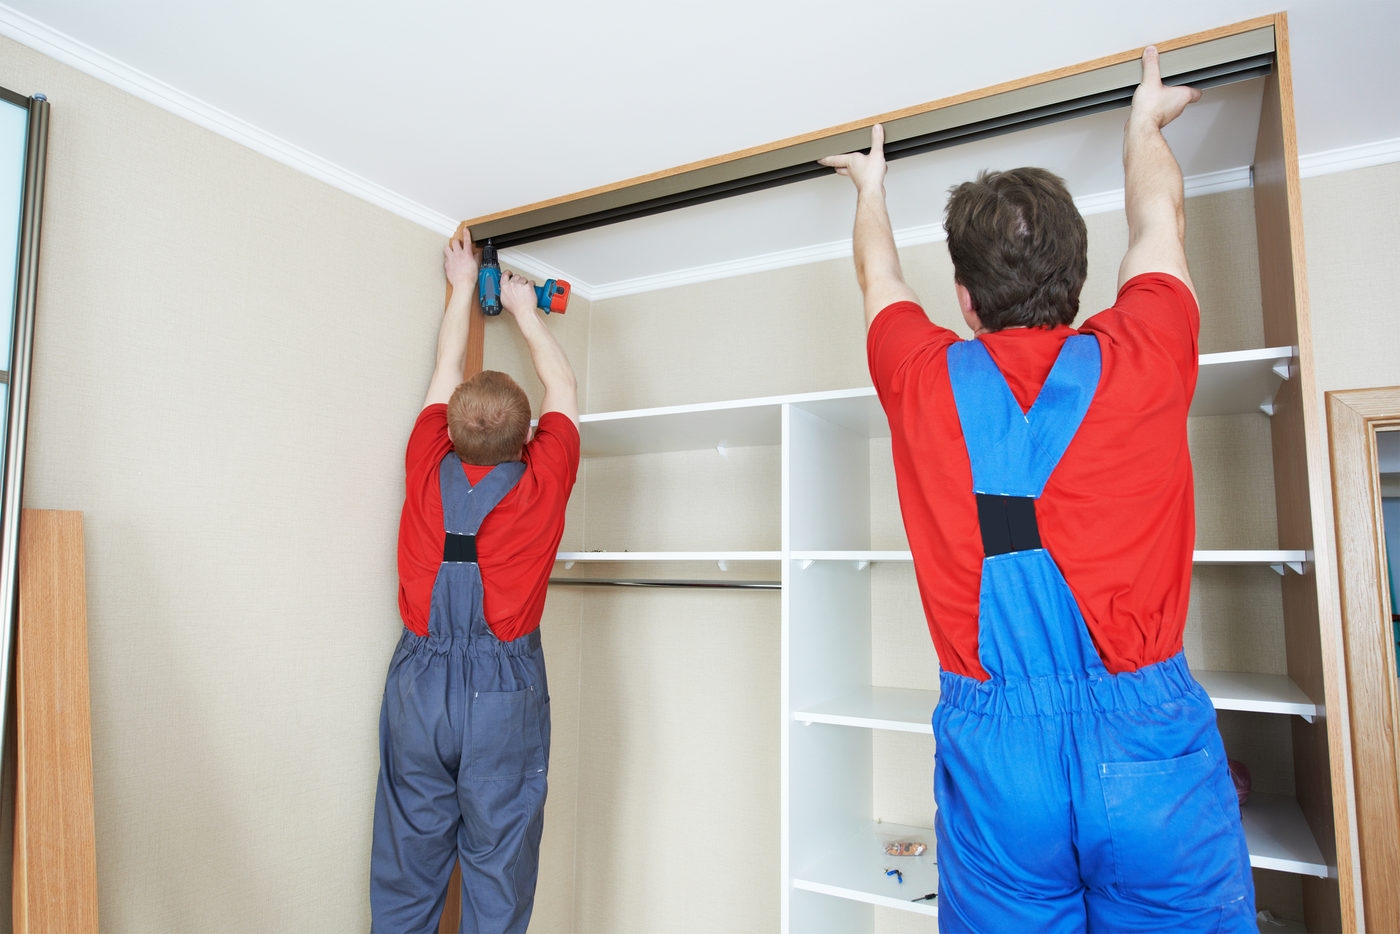
Before installing the doors, it is necessary to install the guides, strictly observing a straight line. The upper rails are screwed first, and then the lower ones.

The upper guides are fastened flush with the side edge, and the lower ones with an offset of 8-15 mm. Mounting holes are drilled staggered on both lines.
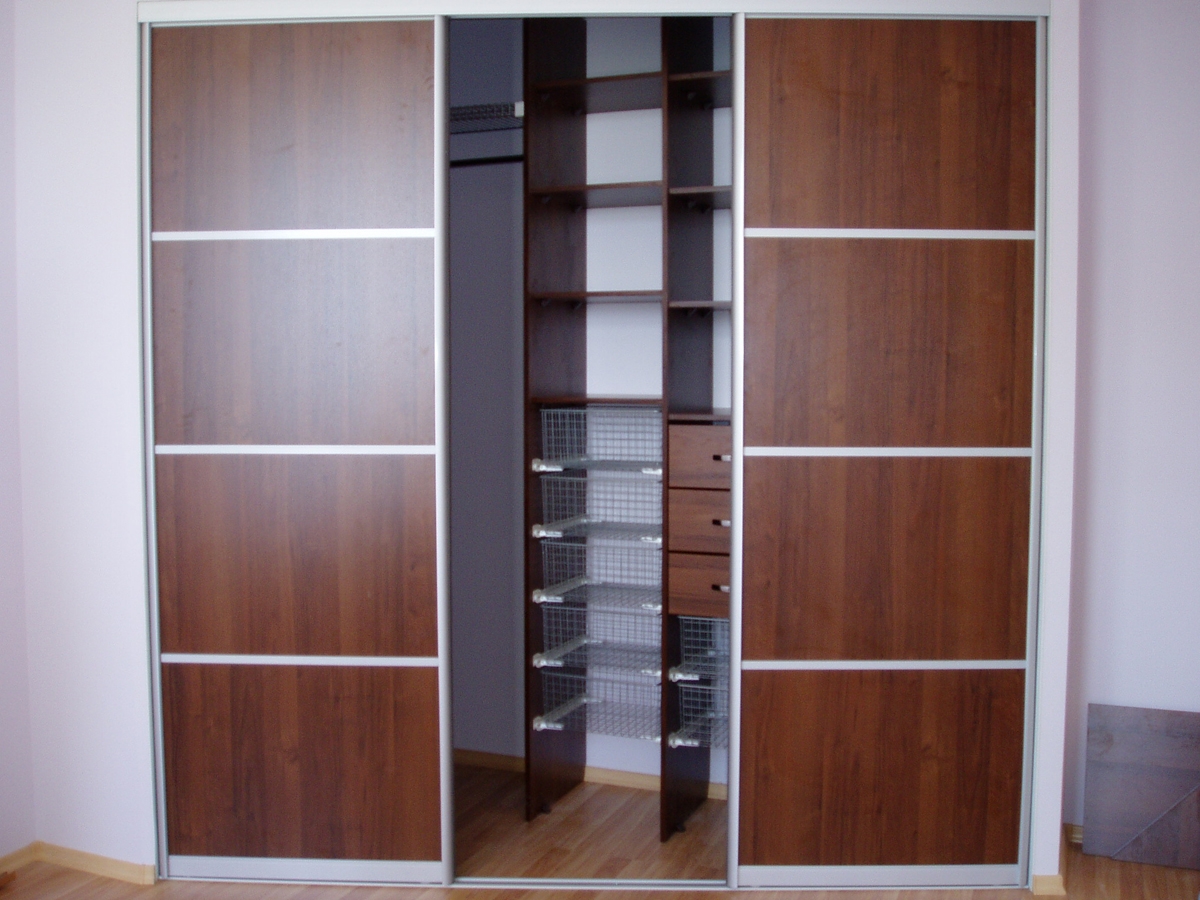
2 doors
Before installing the doors, check and clean the bottom rail of debris. If foreign particles enter the roller mechanism, the door will jam.
The first door is installed, which will walk on the far rail. First, the door is inserted into the upper rail and then the end rollers are positioned in the lower groove.
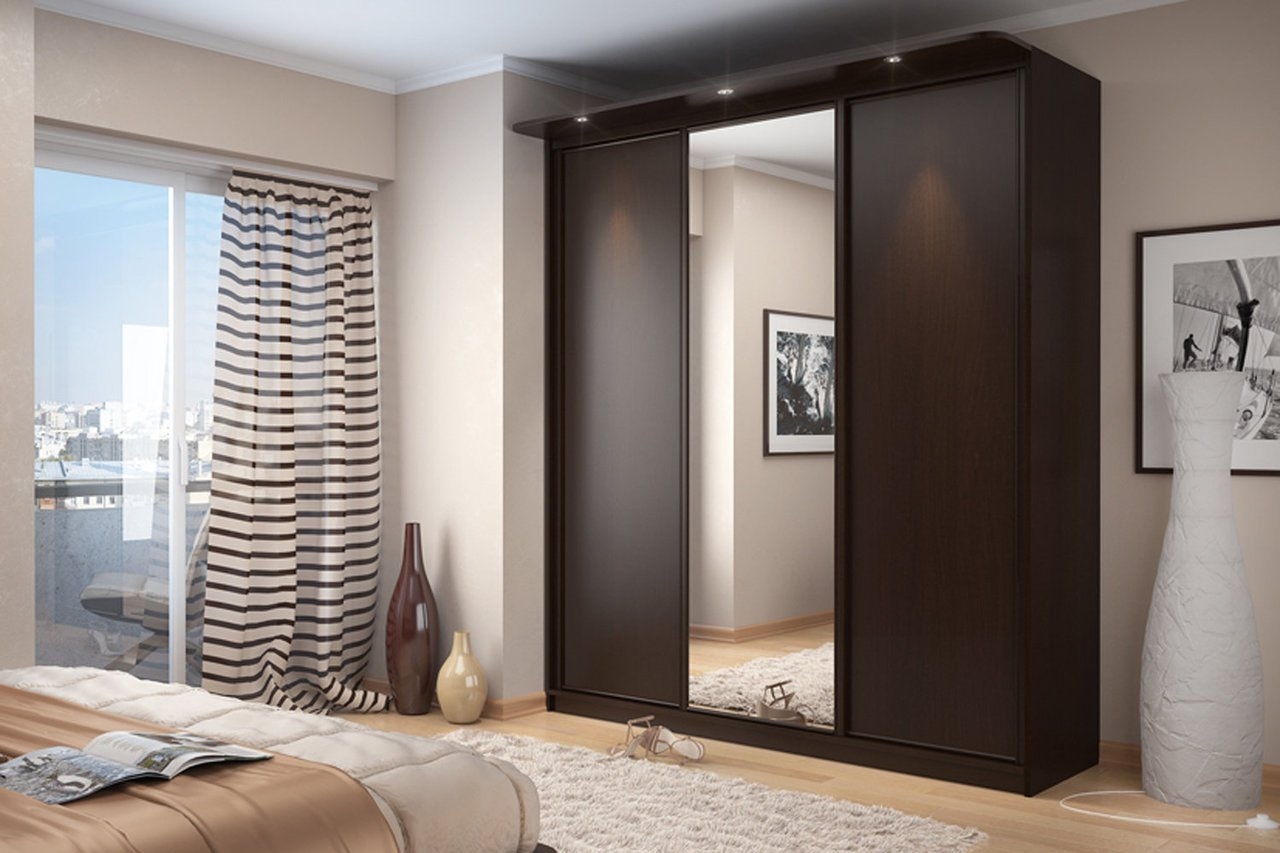
3 doors
To install 3 doors on a wardrobe, two doors are first installed that will walk on the rear rail. They are also mounted: first in the upper rail, then in the lower one. After installing the doors, stoppers are mounted that will prevent the doors from colliding.
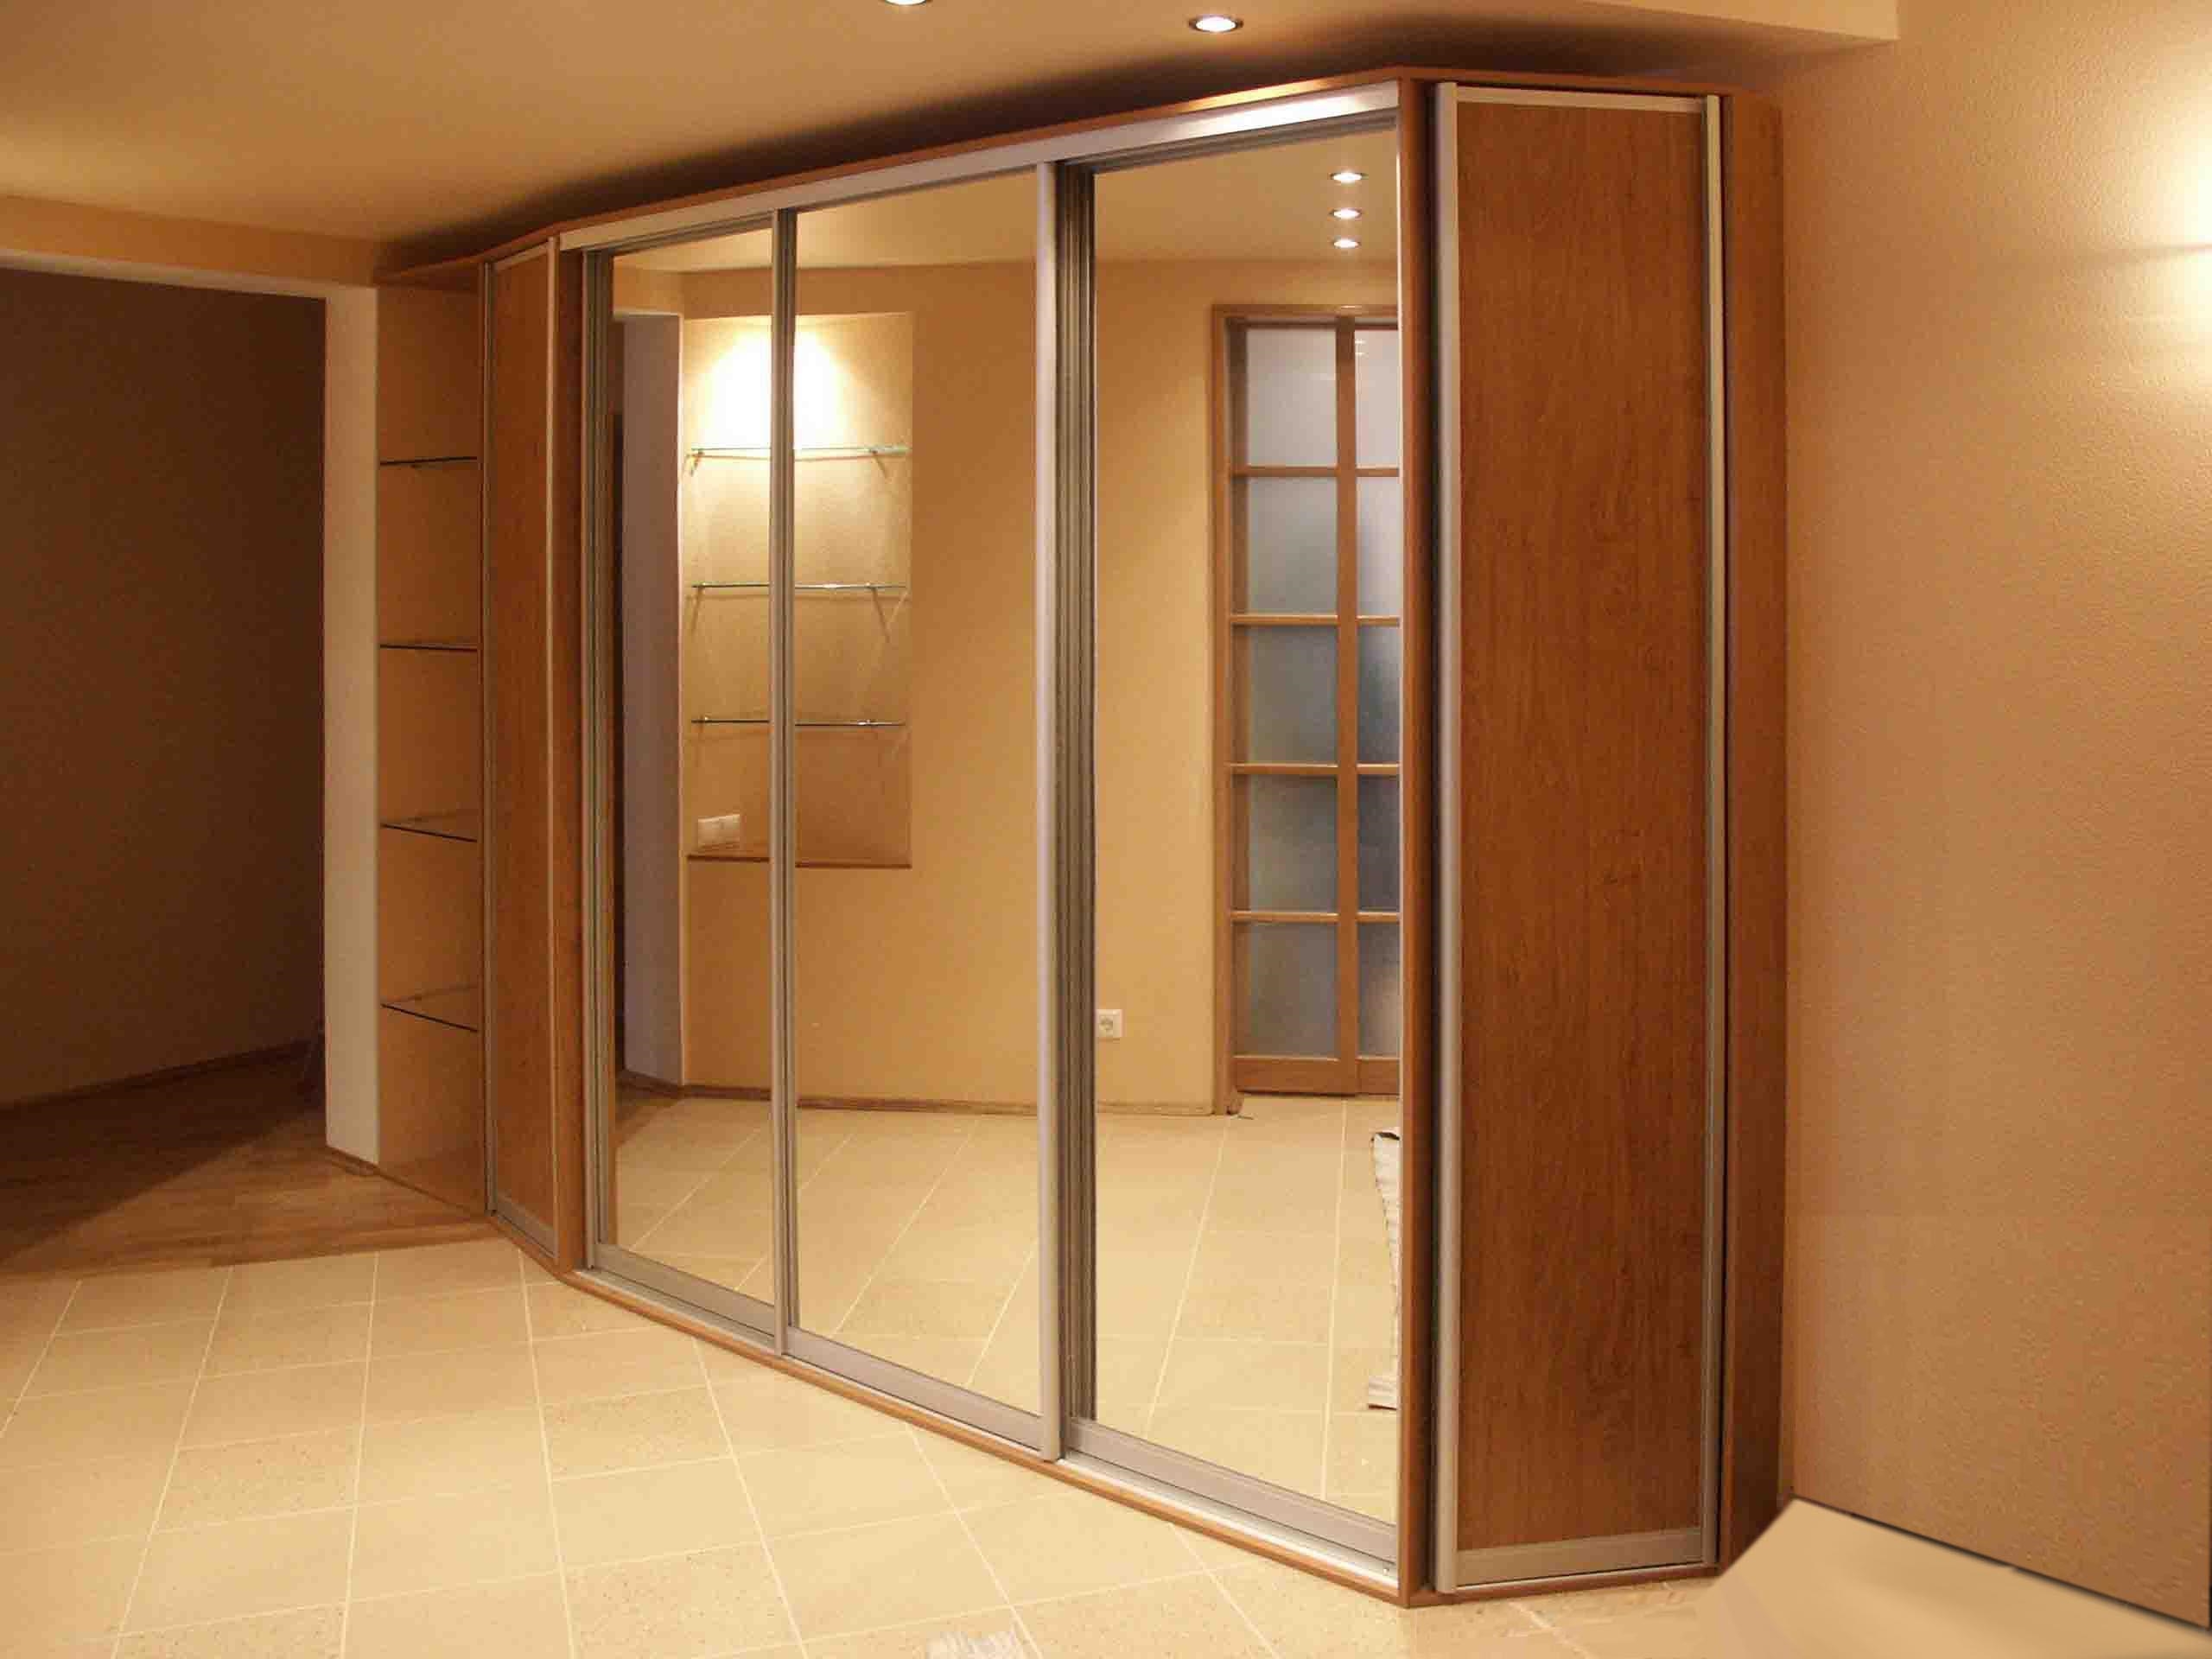
Lastly, the door is mounted, which will walk along the front rail. A mirror is usually attached to it. It is very important that the doors are installed evenly, otherwise they can fly out of the grooves, which is not safe to use.
Video on how to install a wardrobe at home
