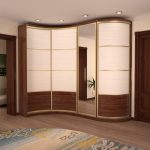
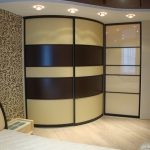
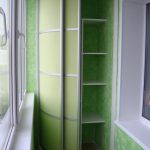
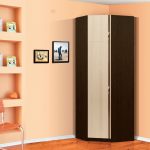
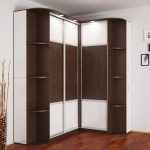
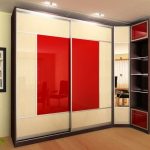
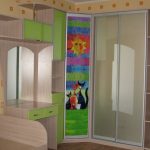
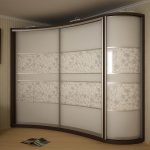
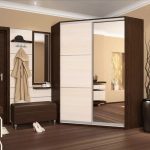
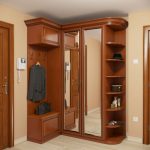
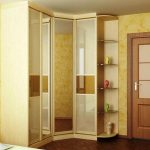
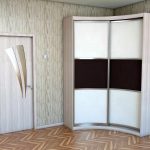
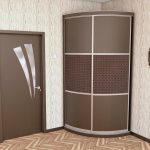
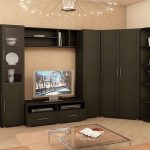
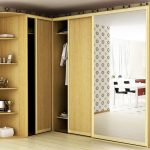
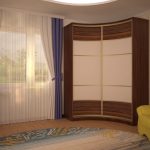
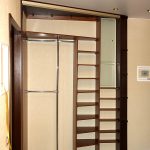
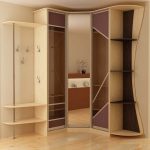
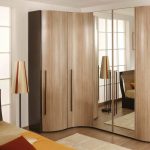
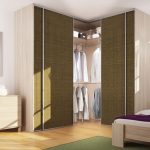
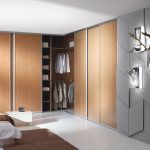
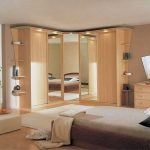
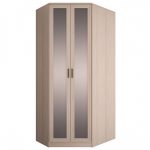
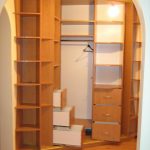
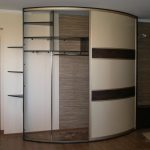
Description of making a corner cabinet with your own hands
Corner wardrobes are one of the most ergonomic models of furniture that combines compactness and spaciousness. However, it is not always possible to find an option, the parameters of which correspond to the existing requests.
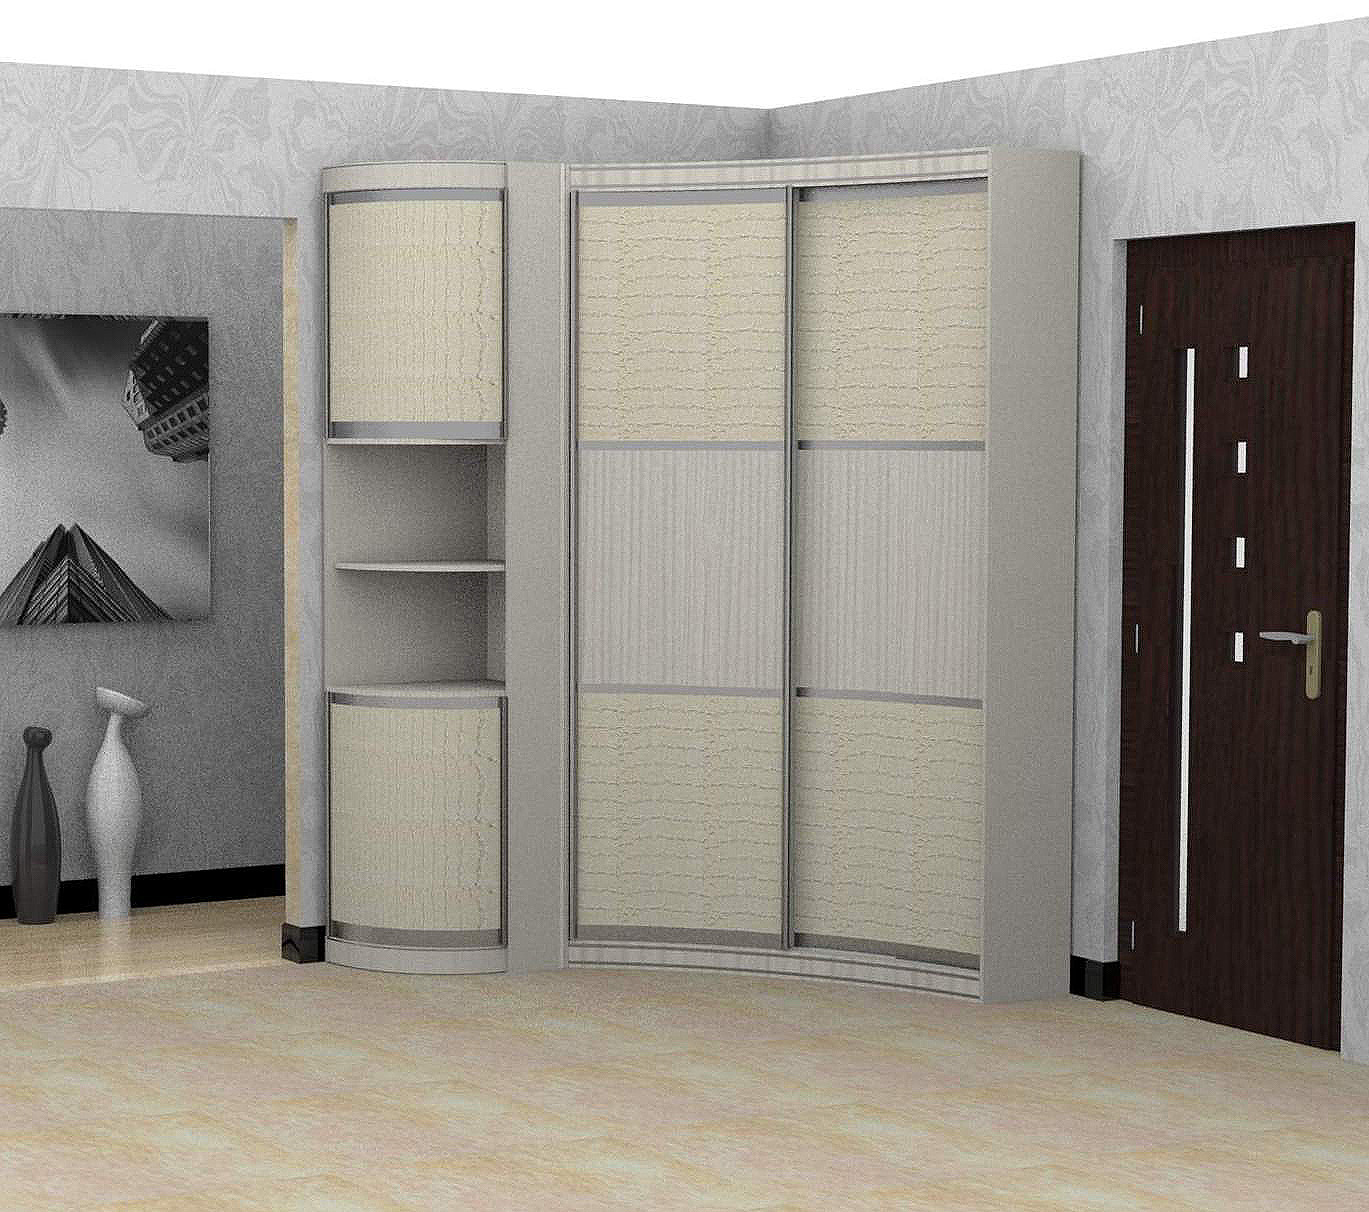
In this case, a good solution would be to make the desired cabinet yourself.
What materials are needed for manufacturing
First you need to decide on the material of manufacture. It can be as follows:
- Natural wood. It is rarely chosen for self-production, since it has a high cost. In addition, even with some skills, working with it is very laborious due to the capriciousness of the material, which will additionally have to be opened with special paints and varnishes.
- Chipboard. These are compressed boards made from wood shavings. They differ in the number of layers, thickness, formaldehyde content and type of cladding. Typically, slabs with a thickness of 16, 18 or 25 mm are used for the cabinet body. They have equal performance characteristics and differ only in their external effect: thicker plates give the product a more solid appearance.
- MDF. These fibreboards are also made from sawdust, but are processed using dry pressing rather than hot pressing. This processing method makes the material environmentally friendly, durable and aesthetic.
- Drywall. This material is inexpensive, easy to use, durable and environmentally friendly. Working with it does not require any special skills.
Note! Chipboard can be covered with a special interior film imitating plastic or wood.
Required tools
To work, you need the following tools:
- main material;
- suspensions;
- profiles for forming the frame;
- glue;
- self-tapping screws;
- fittings;
- sheathing material;
- drill or hammer drill;
- Bulgarian;
- screwdriver;
- stationery knife;
- roulette and level;
- jigsaw or hacksaw;
- hammer.
If you want to make compartment doors, you will also need guides and rollers. Optional use of mirrors.
Various fittings are used to ensure ease of use of the cabinet. It is selected depending on the dimensions of the structure, wall thickness and filling. The following accessories are required for a standard cabinet:
- self-tapping screws;
- shelf holder;
- crossbar or pole;
- furniture hinges;
- adjustable support;
- screws;
- pens;
- nails;
- washers for screws;
- legs.
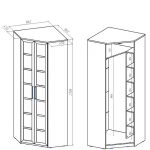
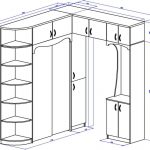
Drawings and diagrams of a corner cabinet with dimensions
There are the following types of corner cabinet designs:
- L-shaped;
- with five walls;
- triangular;
- in the form of a trapezoid.
Cabinets can have perpendicular or diagonally located facades. Also models are:
- with and without mezzanines;
- asymmetrical and symmetrical;
- with external or internal drawers;
- combined or adapted only for shelves or hangers;
- designed for storing clothes or made in the form of open shelves and display cases;
- with a different number of facades (one-, two- and three-door).
Structures with perpendicular sashes usually look like two ordinary cabinets with a slightly modified structure. Less often, models are cast, since with sliding facades this is not very convenient.
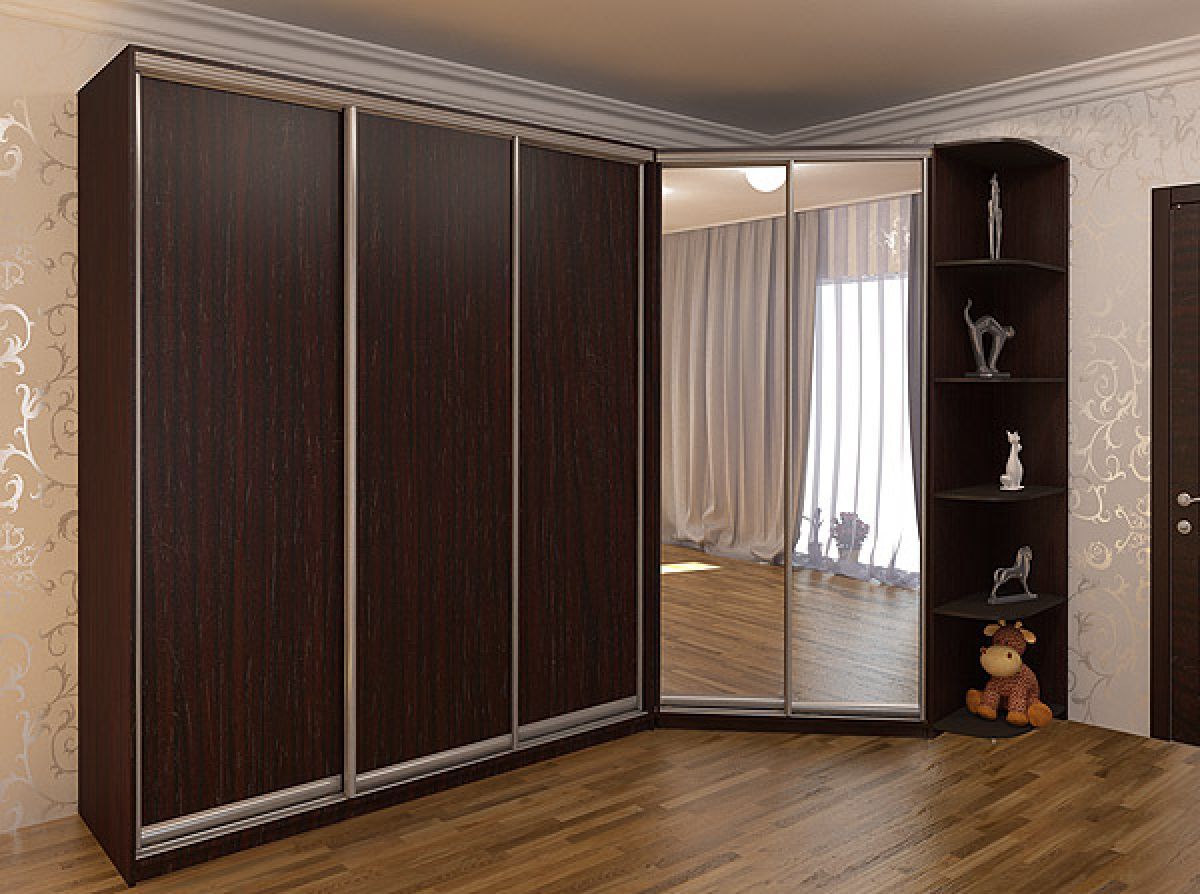
Note! With a shortage of space, it is worth stopping at the trapezoidal structure, since it is the most spacious even with the smallest dimensions.
The dimensions of the cabinet are calculated based on the possibilities of the space. The smallest possible construction is considered to be 600 - 600 mm from the corner. For a sufficient front width (at least 400 mm), the depth of the sidewalls should not exceed 300 mm. Such a miniature wardrobe is comparable in size to a hinged kitchen unit and can only be equipped with clothes hooks and shelves. The bar will no longer fit into it.
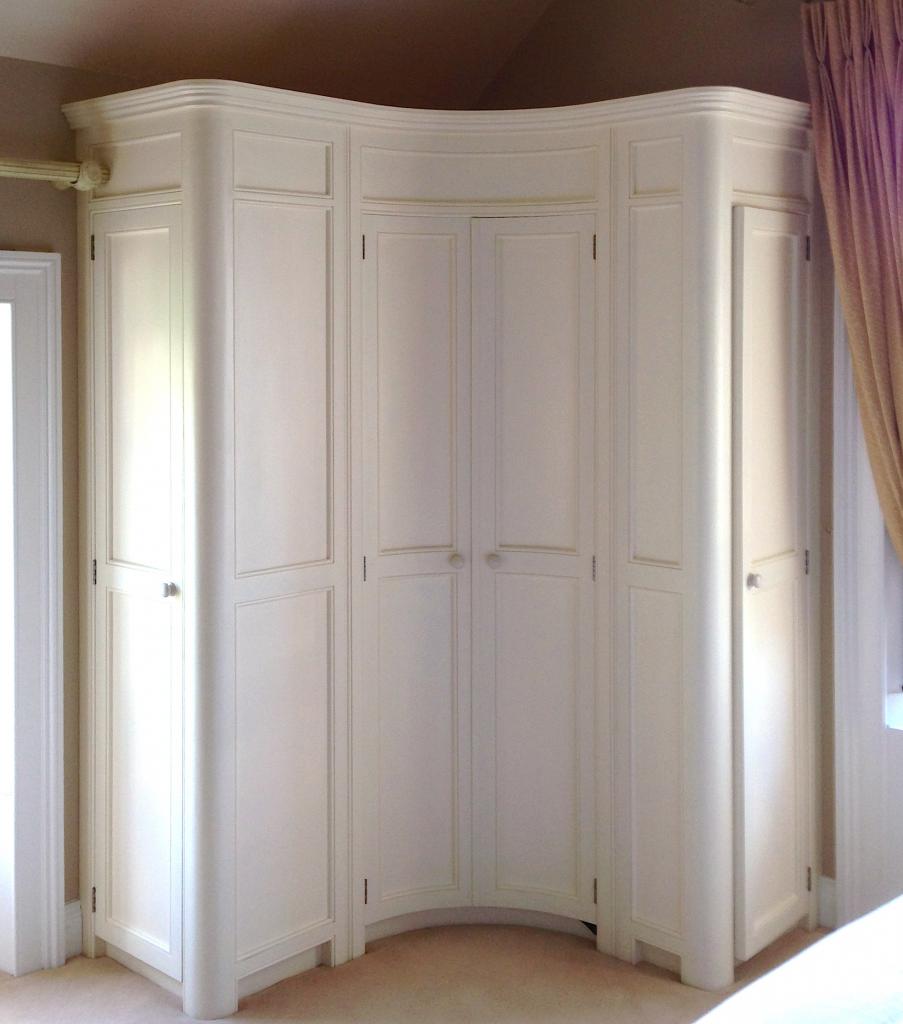
For a cabinet with a compartment for hanging clothes, the distance from the corner must be at least 800 mm. In this case, the depth of the sidewalls should be 450 mm if you plan to store light clothes, and at least 500 mm if the top one. If the cabinet is planned to be asymmetrical, then the dimensions from the corner can be 850˟650 mm, 800˟700 mm, and so on. The main thing is to decide in advance on the desired dimensions in order to correctly draw up a drawing.
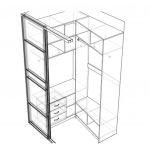
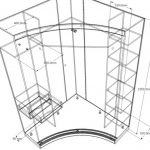
The scheme is performed in two projections: front view and side view. It indicates the external dimensions - the height, width and dimensions of the box, as well as the thickness of the parts used. First, the box of the structure is depicted, then the internal filling.
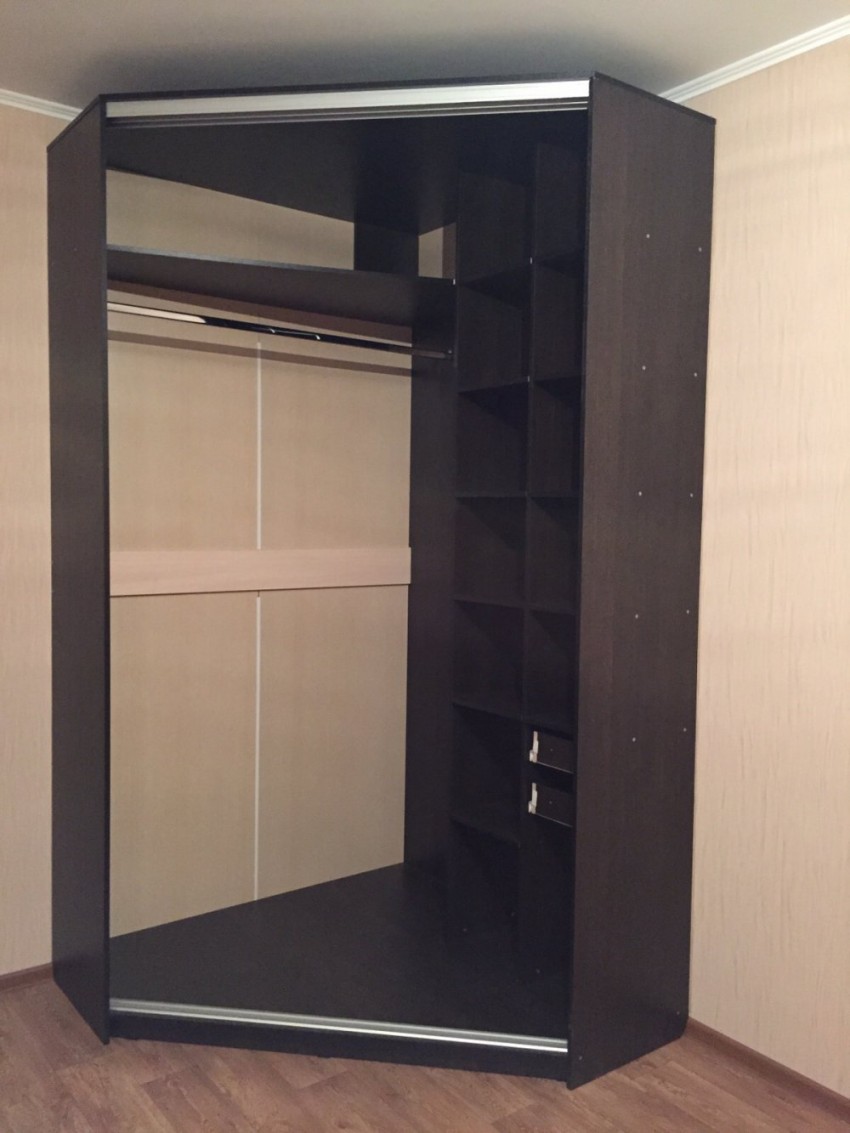
The drawing should include an indication of the distances between the shelves, the width of the sections, the dimensions from the part to the attachment point and the height of the plinth.
Note! For free opening of the facades, it is necessary to leave small gaps located on each side. This should also be reflected in the sketch.
Preparation of all parts
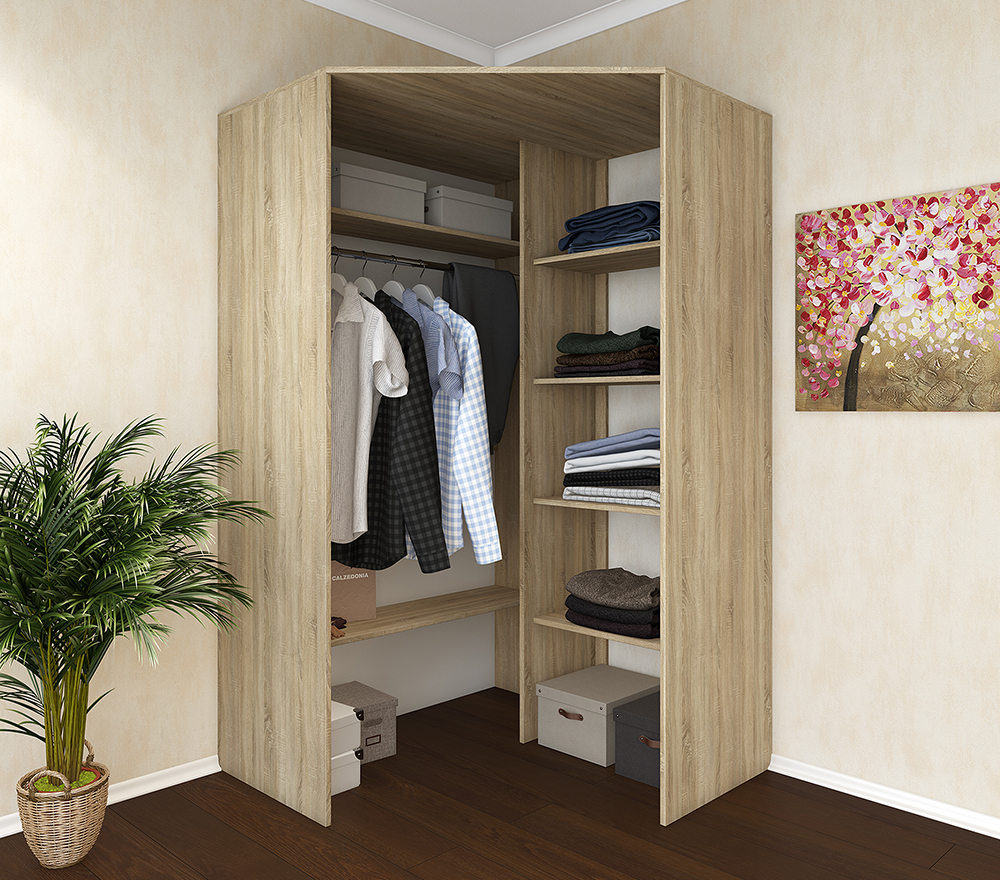
Most often, the cabinet has two compartments: a wide one with a hanger bar and a narrow one with shelves. An open box can be located on one or both sides.
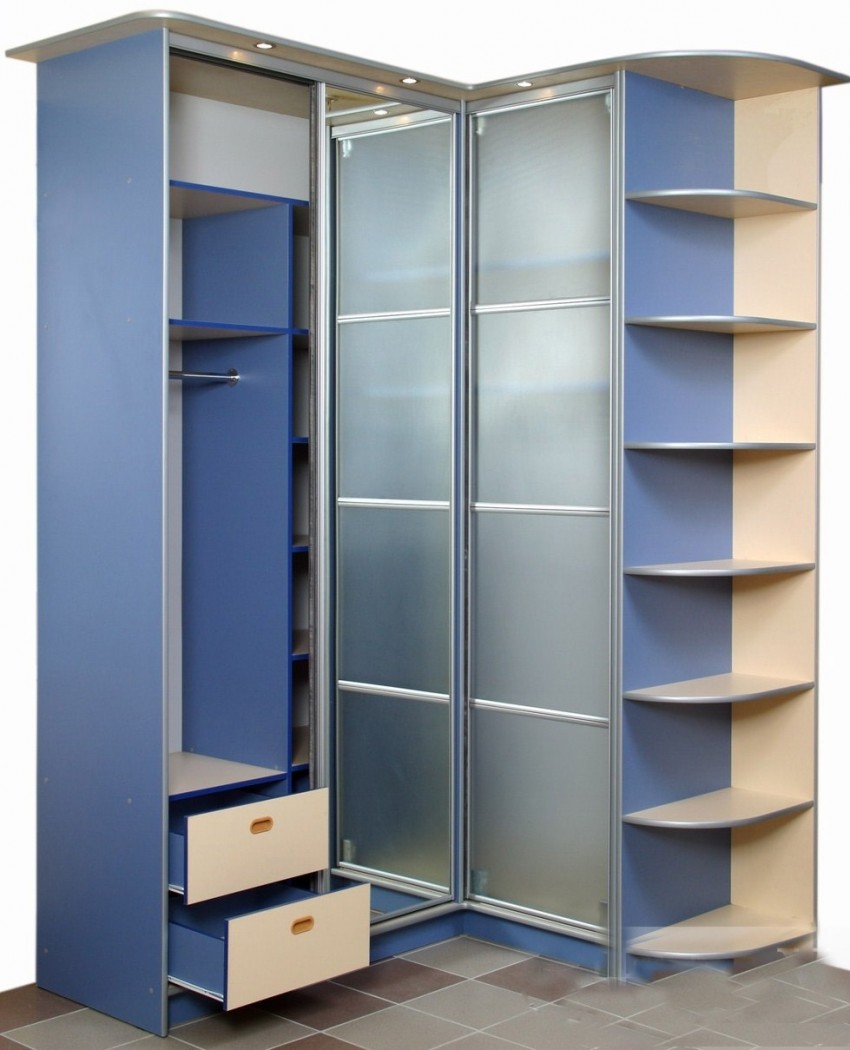
The standard dimensions of the base elements are as follows:
- cabinet height - 180-220 cm;
- the width of the sections is 45-80 cm;
- the distance between the shelves is 30-35 cm;
- width of shelves and drawers - 40-45 cm;
- the depth of the boxes is 25-30 cm.
Note! For the rational use of space, the upper part of the cabinet is equipped with a mezzanine, and the lower one - with a small compartment for shoes.
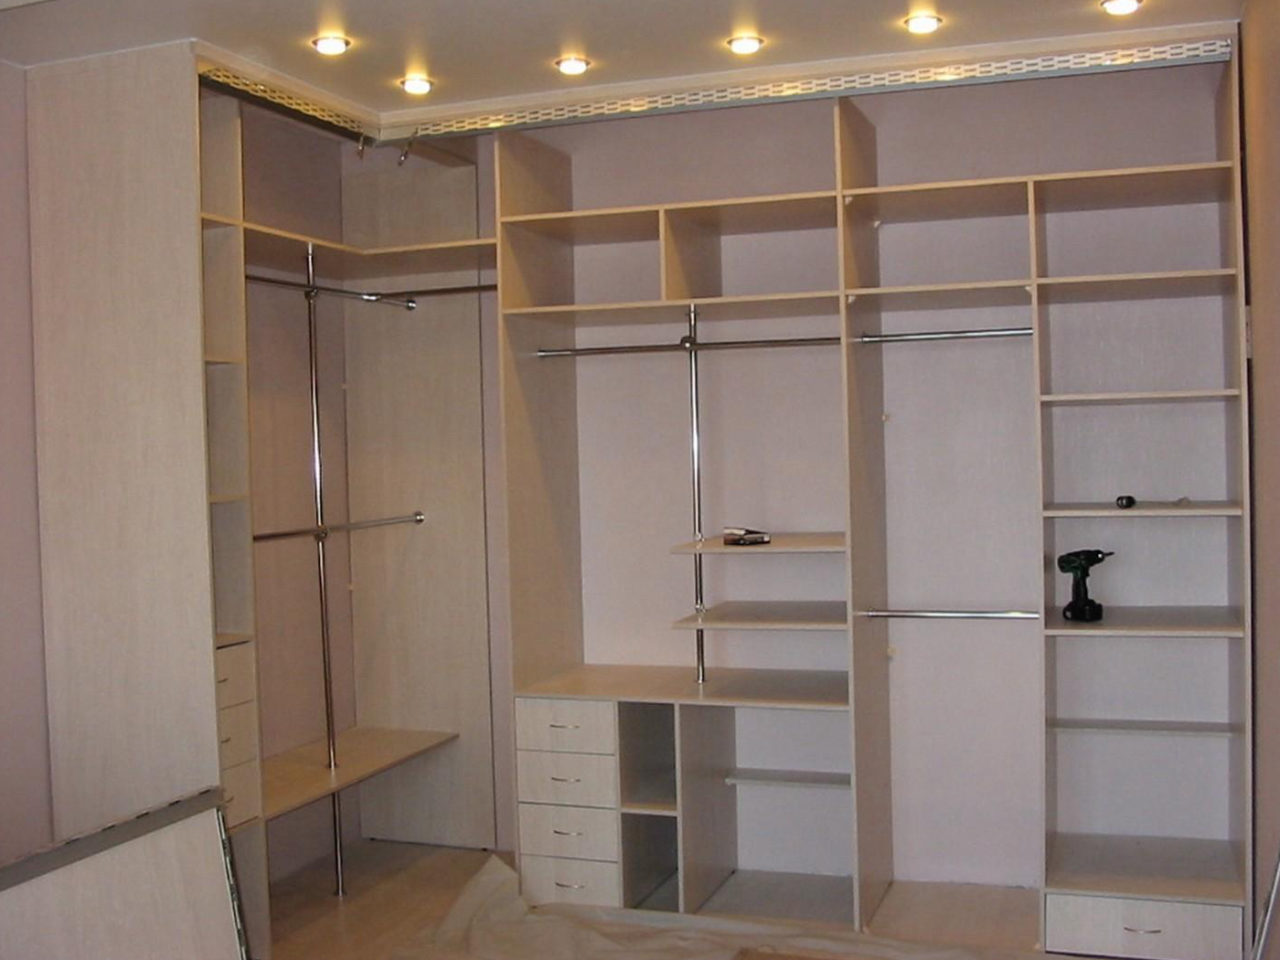
When the drawing is ready, the details are prepared. It consists in cutting the materials into pieces of the required size and stripping the sections. With insufficient experience in such work or lack of suitable equipment, the saw can be cut in the workshop.
Assembling the frame
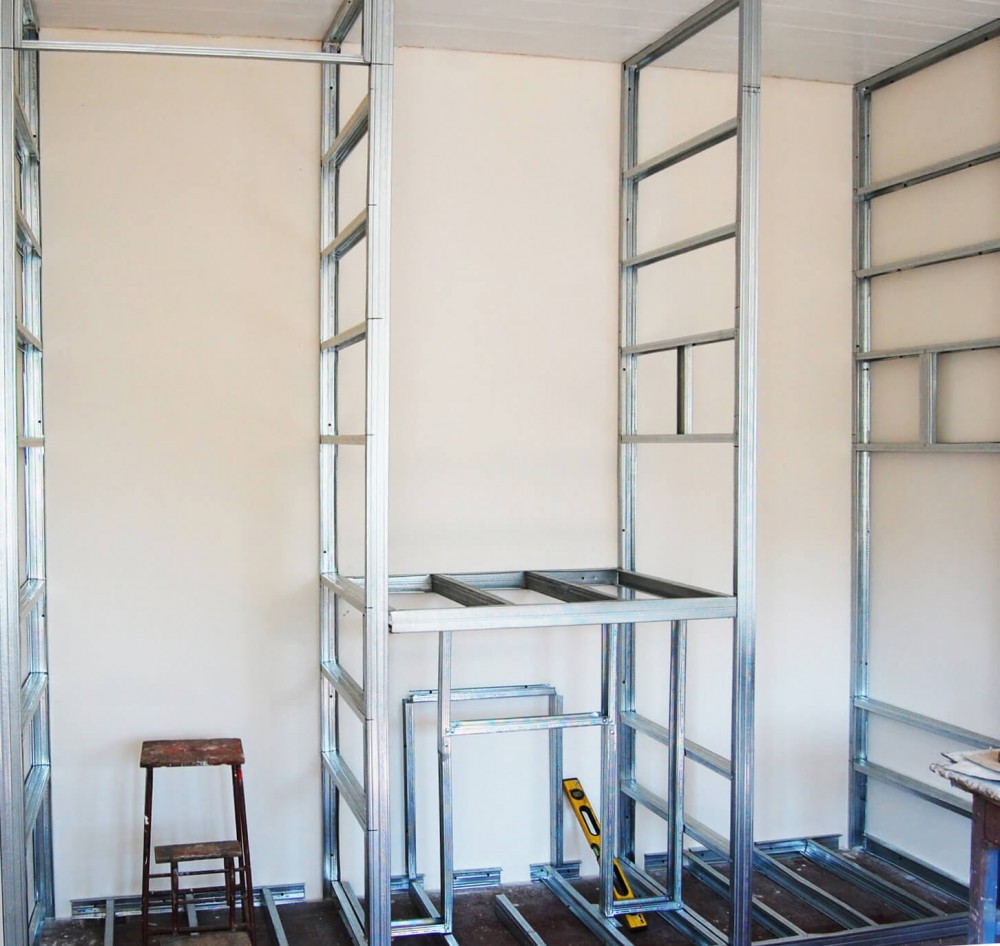
Before starting work, marking is carried out. Most often, built-in cabinets are made (especially from drywall), and therefore the designation of the position of parts and fasteners is applied directly to the wall.
The installation of the frame is carried out as follows:
- Connecting electrical wiring to the fixing point of the fixtures. This is necessary if lighting is planned in the cabinet.
- Bonding rubber insulation to the guide rail. It should be located on the side that will fit on the base of the furniture.
- Fixing the guides along the marking line. For secure fixing, dowels are used.
- Fixation of straight suspensions.
- Installation of fasteners for suspensions. Its choice depends on the base material.Dowels are suitable for concrete or brick, and screws or nails for wood, gas or expanded clay concrete.
- Inserting posts into vertical rails. They must be fixed with hangers in the form of short self-tapping screws with a press washer.
- Installation of stiffeners between the rack profiles. The stability and strength of the structure depends on their number. Most of the ribs should be installed in places where heavy items are stored.
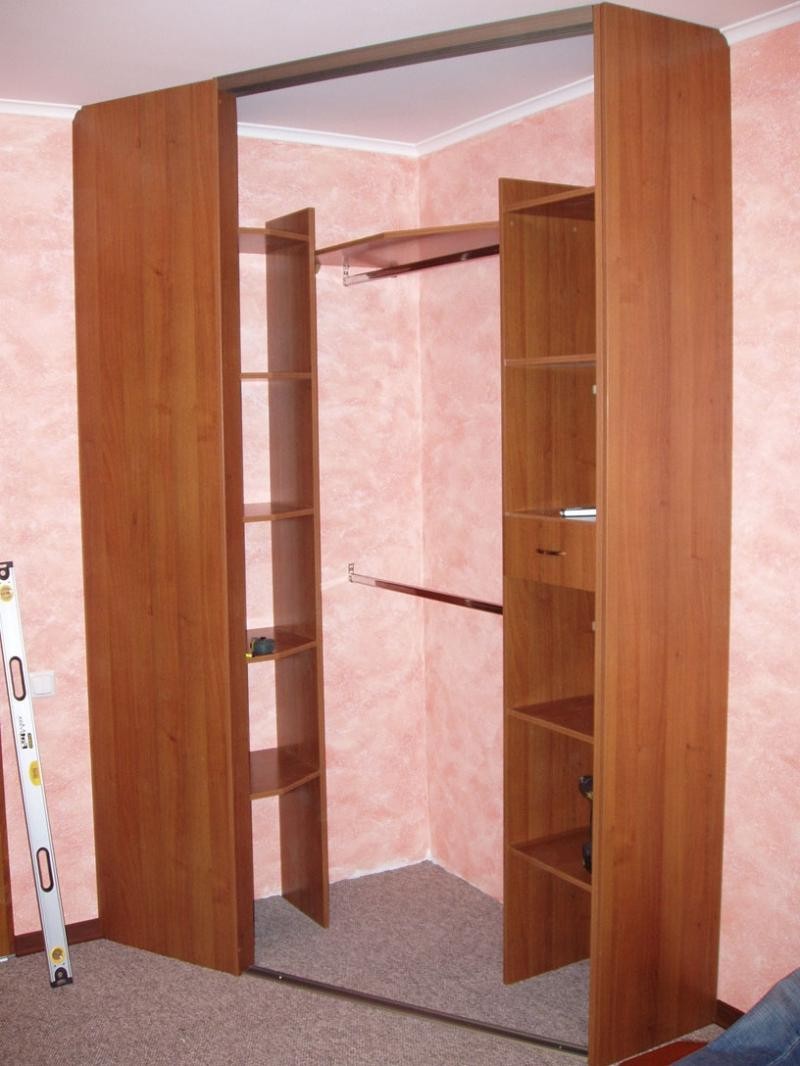
Note! To form the frame, it is worth using a metal profile, since wooden slats are able to dry out and absorb moisture, which will lead to a change in the size of the cabinet, distortions and an increase in fragility.
How to equip a closet inside
For comfortable use, the cabinet must be correctly zoned. This is especially true for a dressing room located in the hallway or bedroom.
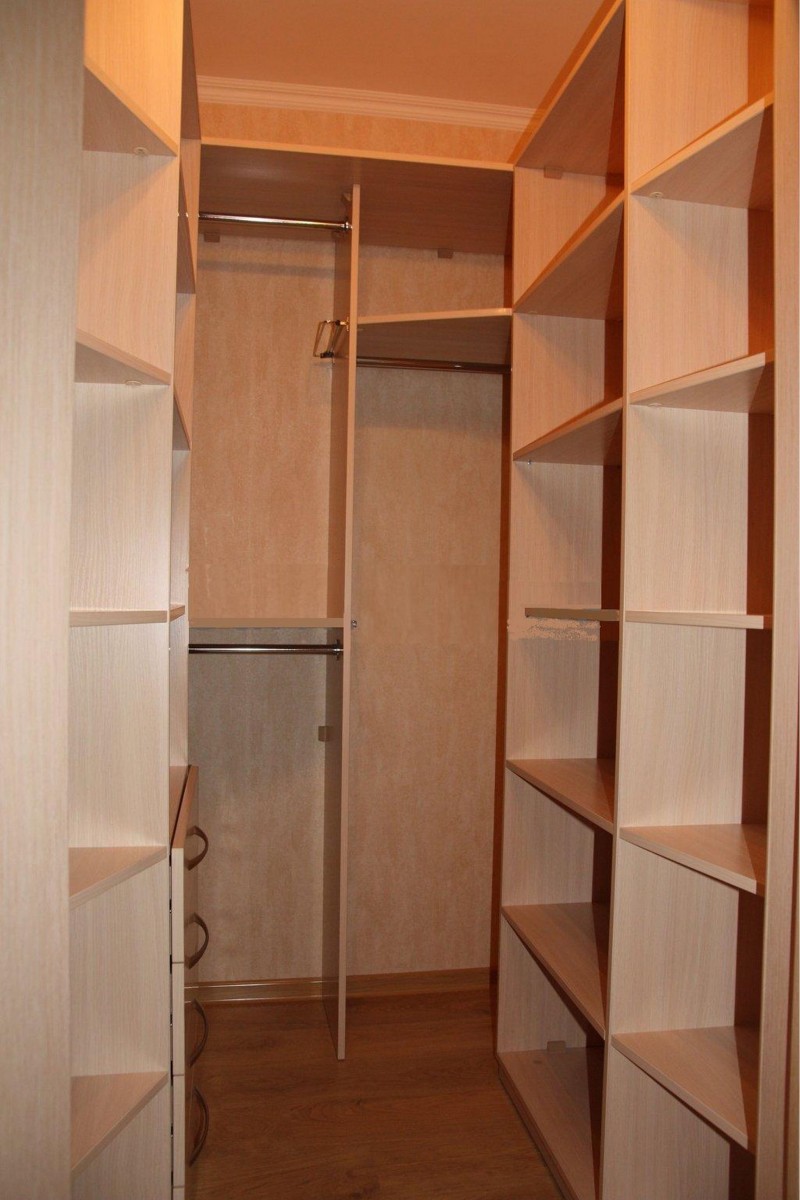
For this, internal content may include:
- shelves, which can be retractable or stationary, half or full depth, solid or ventilated;
- hanger bar;
- hooks;
- shoe shelves;
- drawers;
- hanger for belts;
- trouser;
- tie bar;
- pull-out baskets.
How to make a door
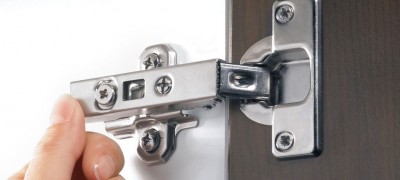
Most often, a corner wardrobe is equipped with a swing door. For it, you need to install two fasteners - above and below. With a large weight of the door, additional fasteners can be used, but not more than five in total.
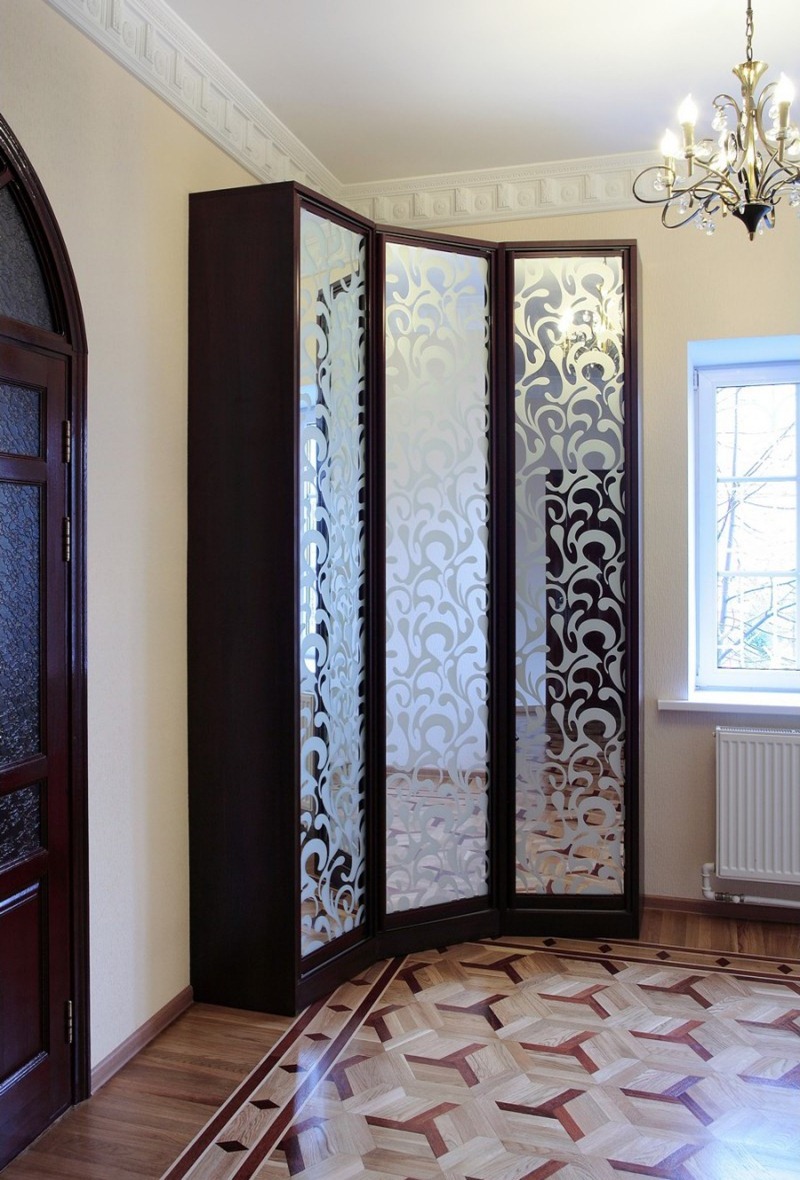
They should be spaced at least ten centimeters from the top and bottom corners to prevent the screws from coming out of the grooves. The step-by-step installation of fasteners is as follows:
- Make a markup. To do this, the doors are tried on to the sidewalls. The length of the indentation from the edge of the sash to the center of the hinge should be about 2.2 cm.
- Drill the holes in the fixed sash required for attaching the cups. The depressions should not exceed 1.2 cm.
- Insert the cups into the holes. They should go straight in. Screw the screws to the door part of the mount.
- Install the fittings. The drill must be held vertically.
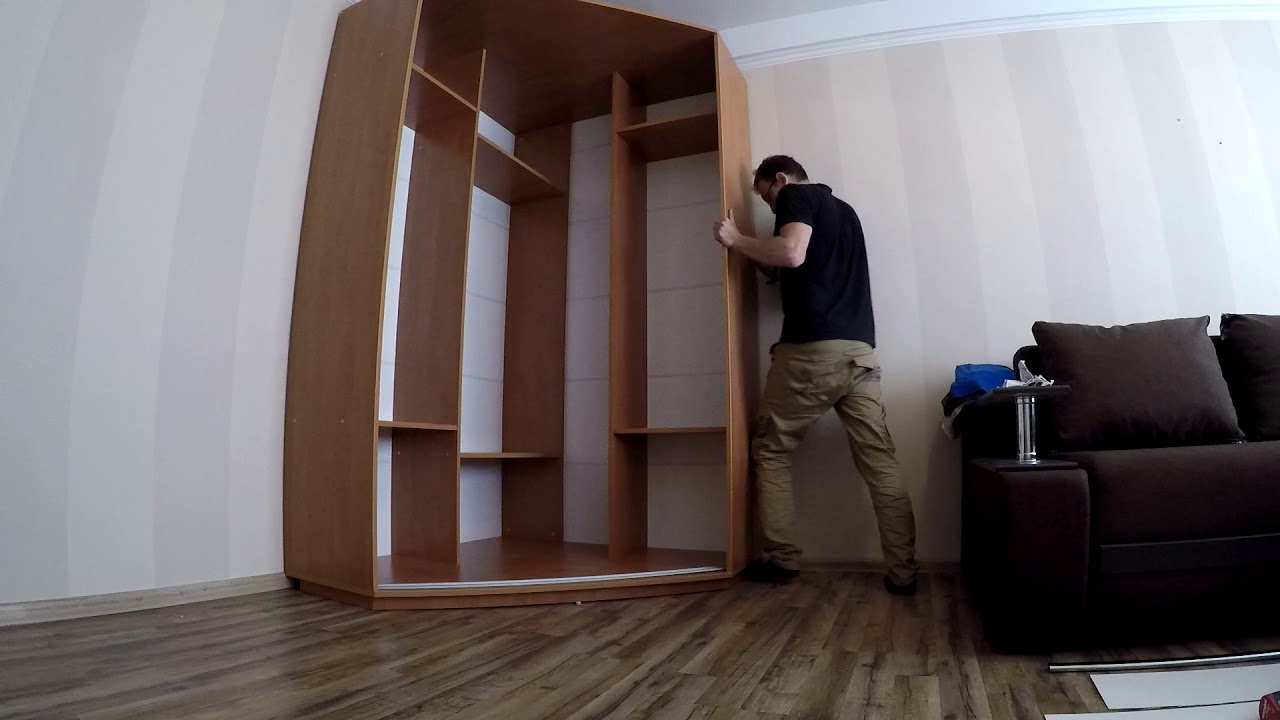
- Connect the sash and side panel. At this stage, you need to use help.
- Lubricate the mechanism with a little oil. Wipe the surface with a good absorbency cloth.
Note! When using overhead parts, they must be made “blind” in order to avoid creep during assembly.
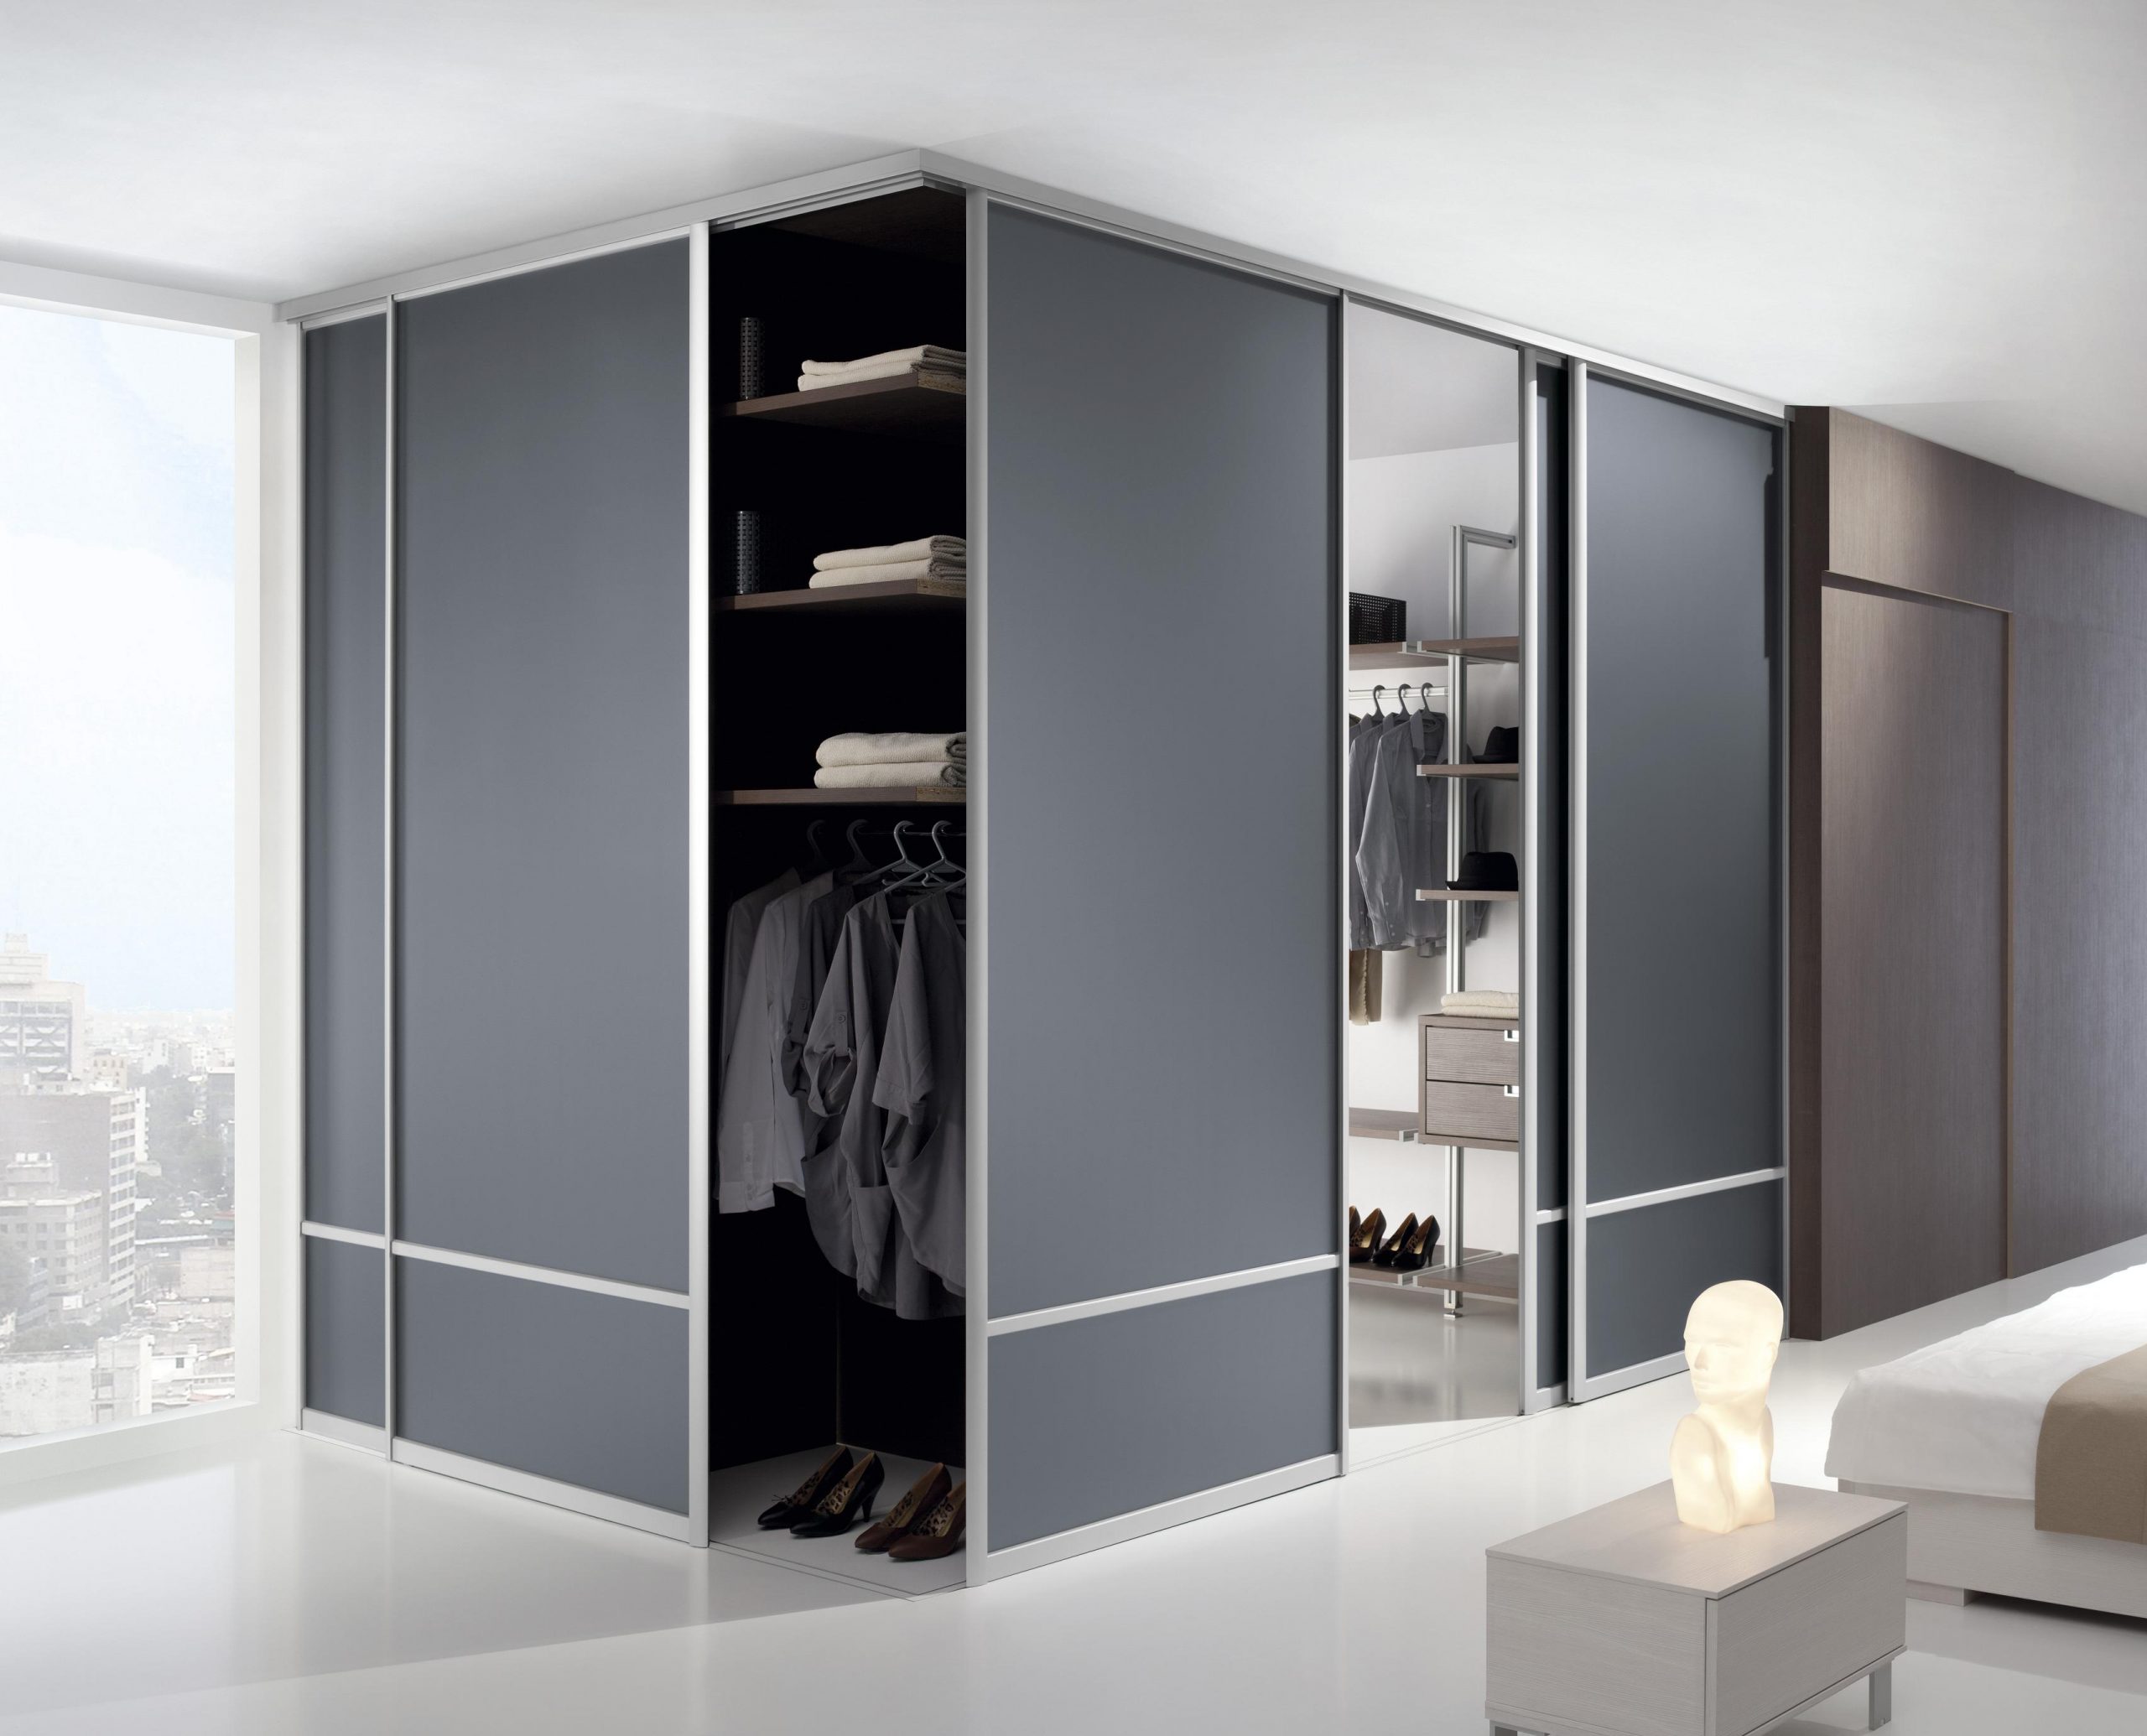
When planning how to make a corner cabinet with your own hands, it is necessary to carefully calculate all the parameters so that the product looks organic. With careful, unhurried work, you can get an attractive design of high quality.
Video: do-it-yourself corner cabinet
