Features of do-it-yourself cabinet decoupage
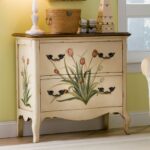
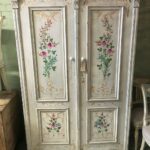
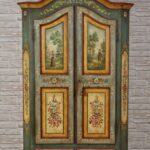
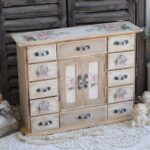
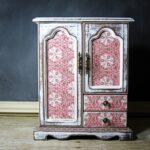
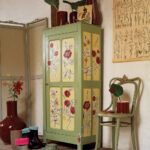
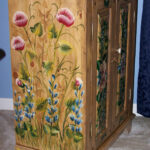
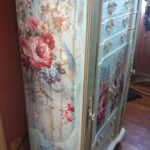
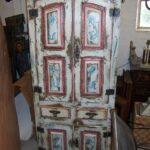
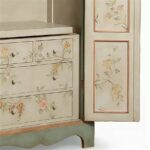
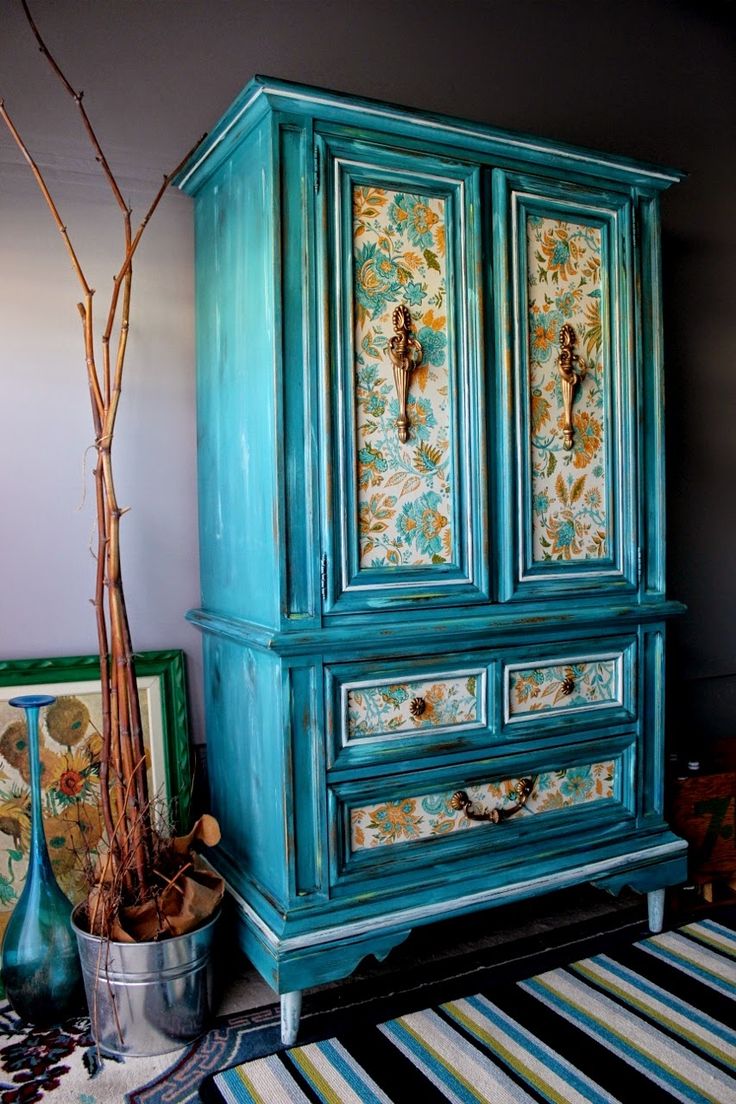
Sometimes it’s a pity to throw out old wooden things, especially if this is a favorite cabinet that has served for many years. Do not despair if the former beauty of the furniture has been lost. You can always reanimate the product using various techniques. The simplest and most common is decoupage of an old cabinet. With the help of decoupage, you can turn any furniture into a real work of art.
- What is decoupage
- Types of decoupage technique
- Features of working with different surfaces
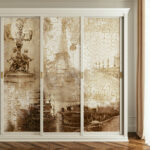
- Decoupage the wardrobe using wallpaper and fabrics at home
- How to transform your kitchen cabinet with napkins, newspapers and printer prints
- Decoupage of an old cabinet with the effect of aging with craquelure and bitumen
- Cabinet Decor Ideas
- Helpful hints and tips
- Video: an example of decorating a cabinet
- Examples of decoupage cabinet in the photo
What is decoupage
Decoupage is an ancient technique for decorating various surfaces. It is used not only for kitchen cabinets. Decoupage patterns can also be found on chairs, beds, caskets, notebooks and much more. Also, in addition to wooden surfaces, any other (glass or leather) can be used, except for metal.
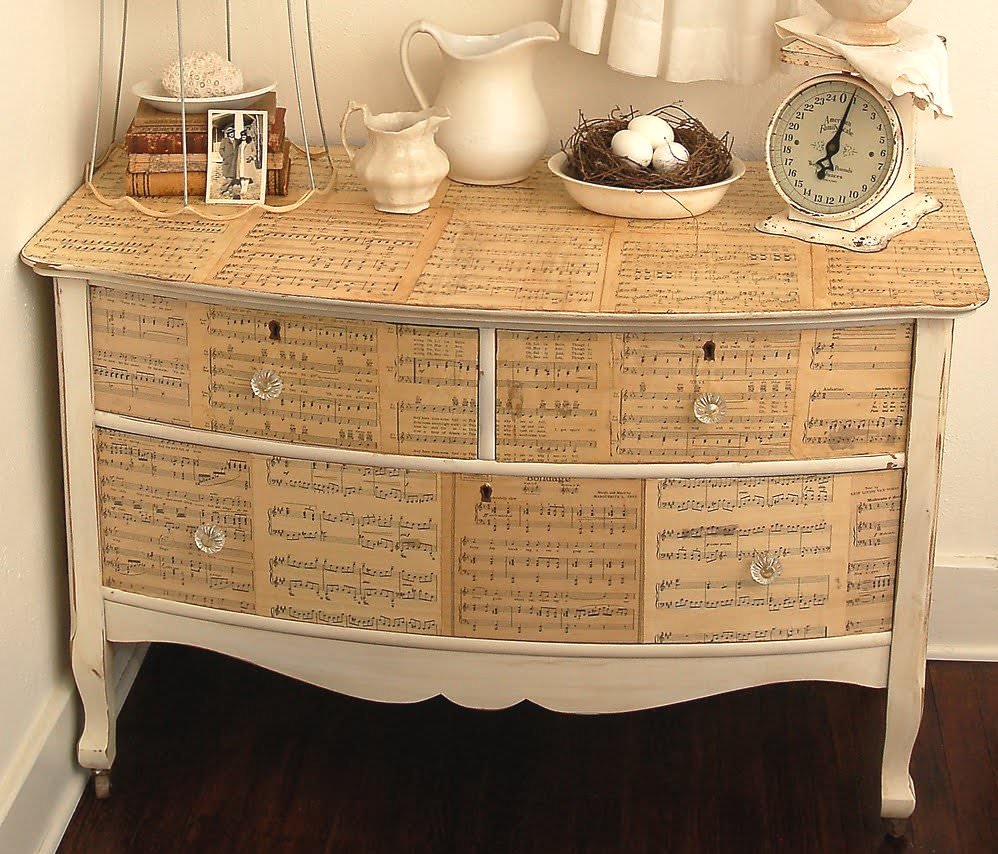
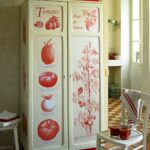
Decoupage is a technique of giving old furniture a new breath, extending its life and prolonging its exploitation. This is done using the simplest way. Various patterns are applied to the surface, which are cut from available tools. This can be paper, cloth, napkins and even wallpaper that was left over from repairs.
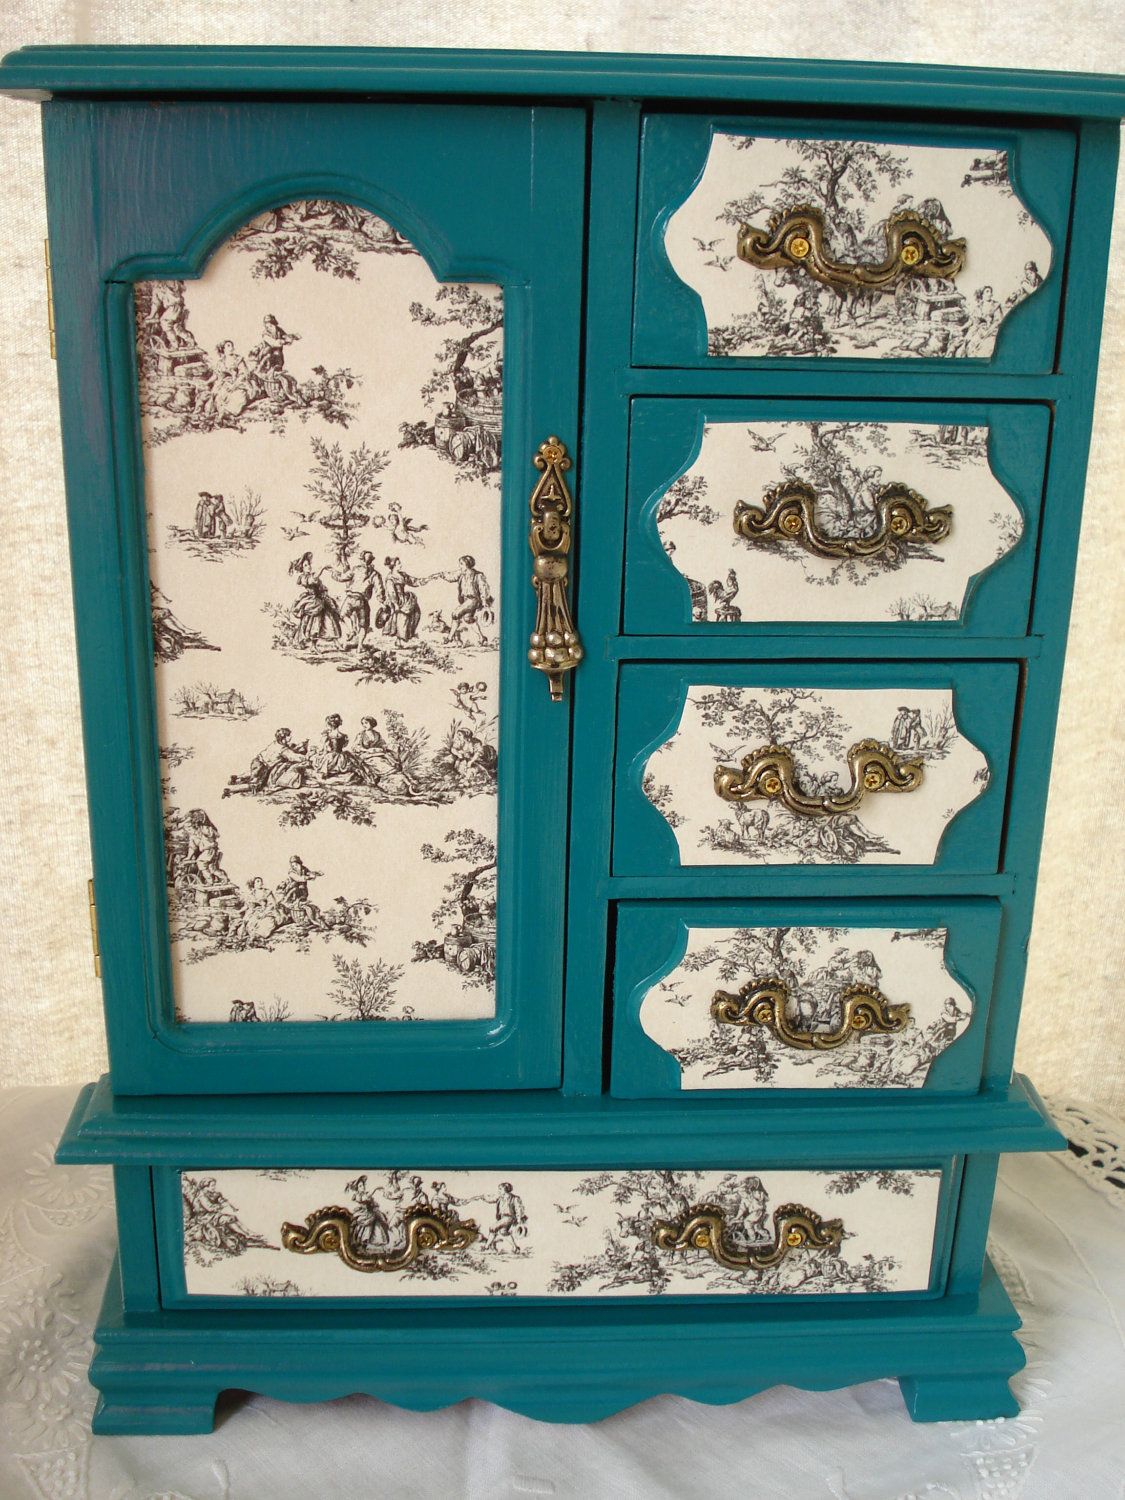
The definition of "decoupage" is originally French. Translated, this means how to cut out of paper. Actually, this is the whole feature of this technique. It is subject even to people who have never restored anything, since it does not imply the use of special materials or the presence of certain knowledge.
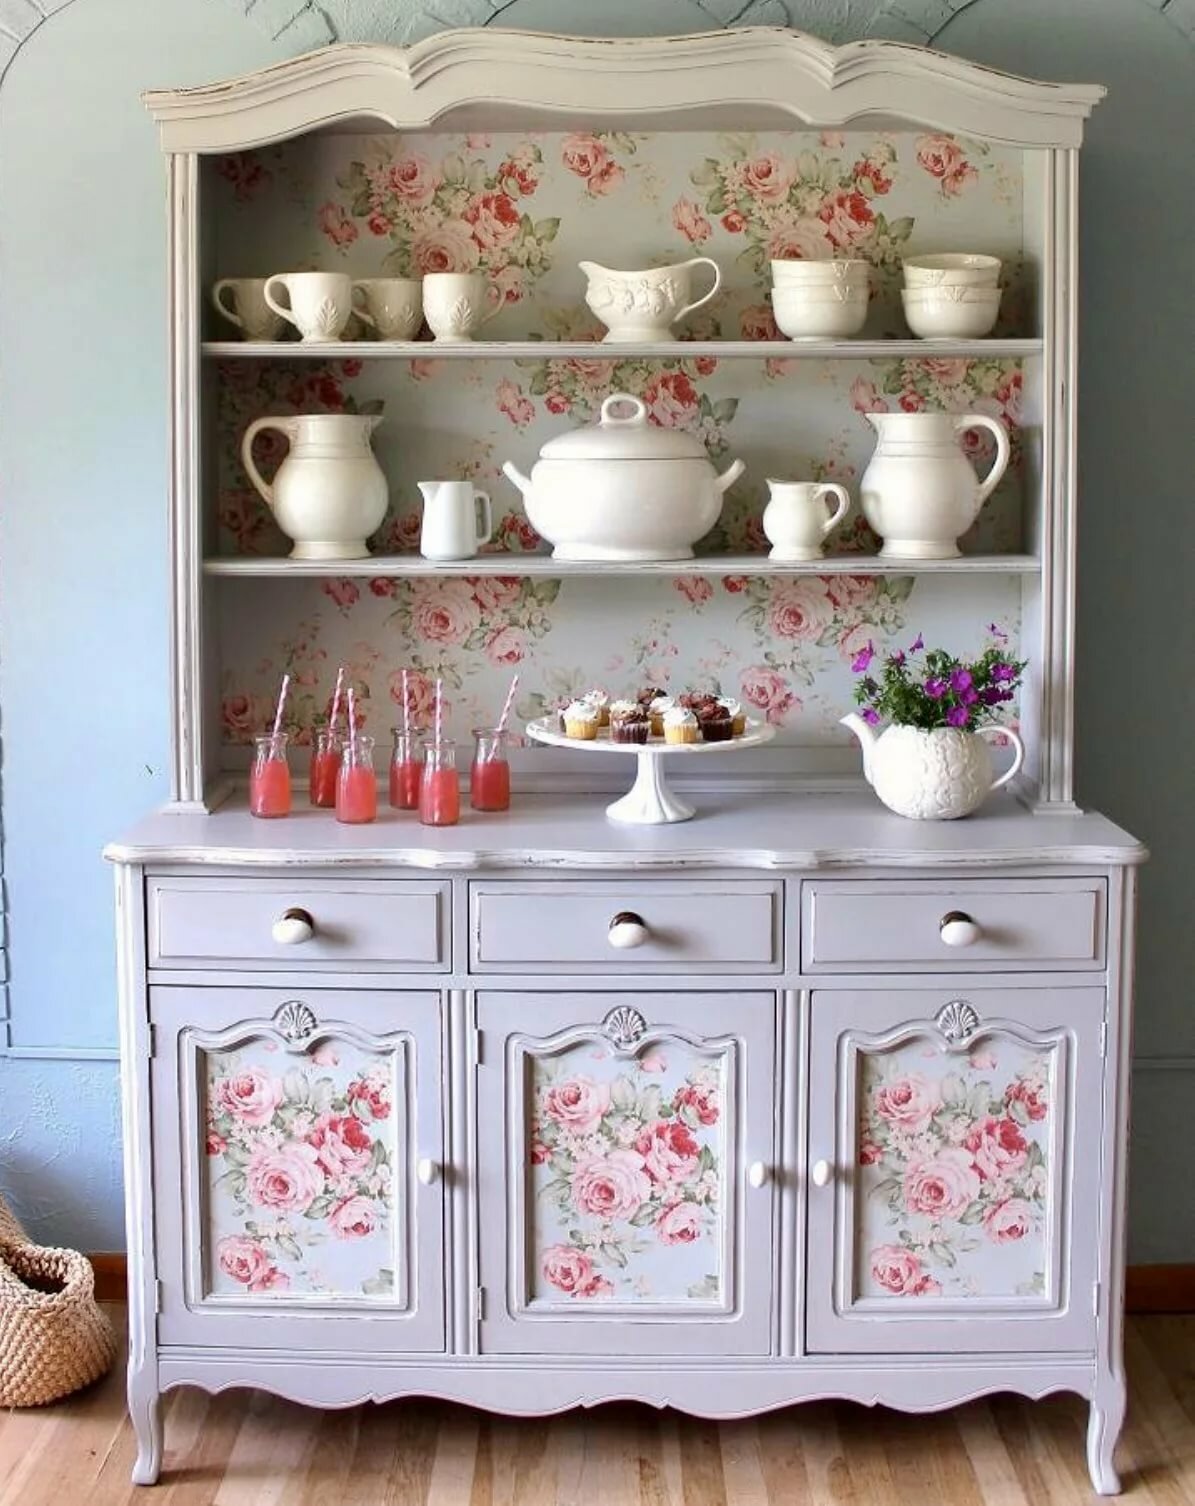
Important! The decoupage technique is applicable to absolutely all products.
Types of decoupage technique
There are several main types of equipment in which decoupage is performed:
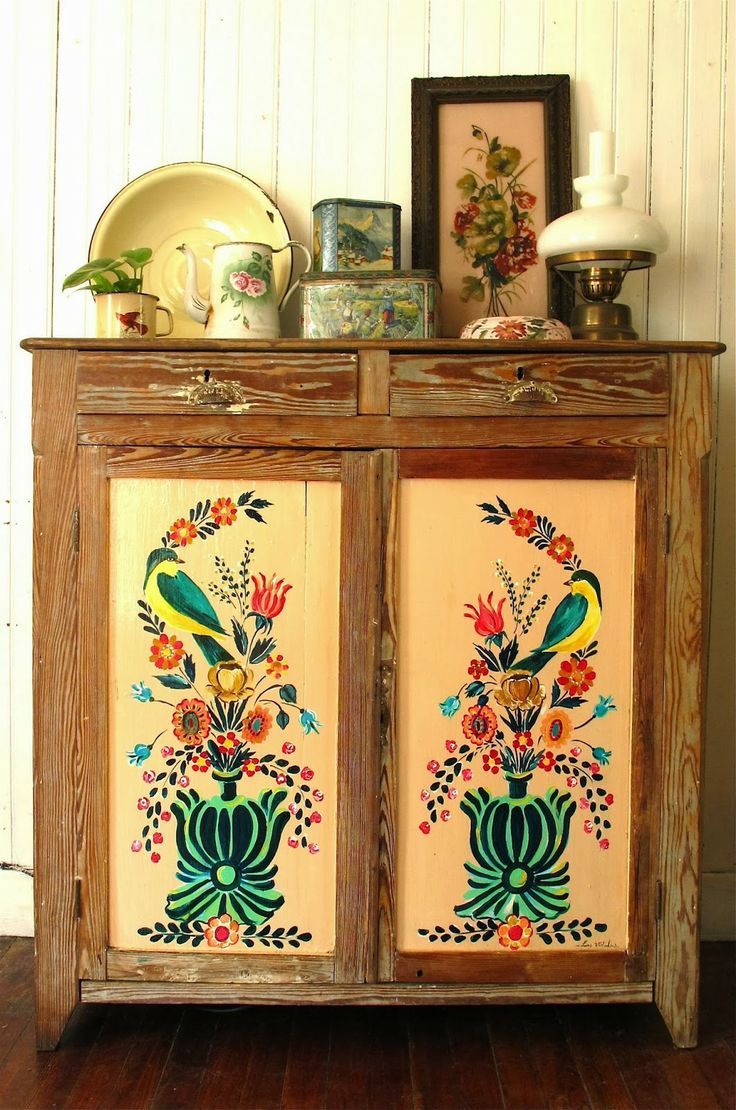
Straight
This is the simplest and most commonly used technique. It consists in the usual attachment of paper patterns to the outside of the surface of the product. In this case, the object can be pre-painted, aged, primed or made in craquelure.
Back
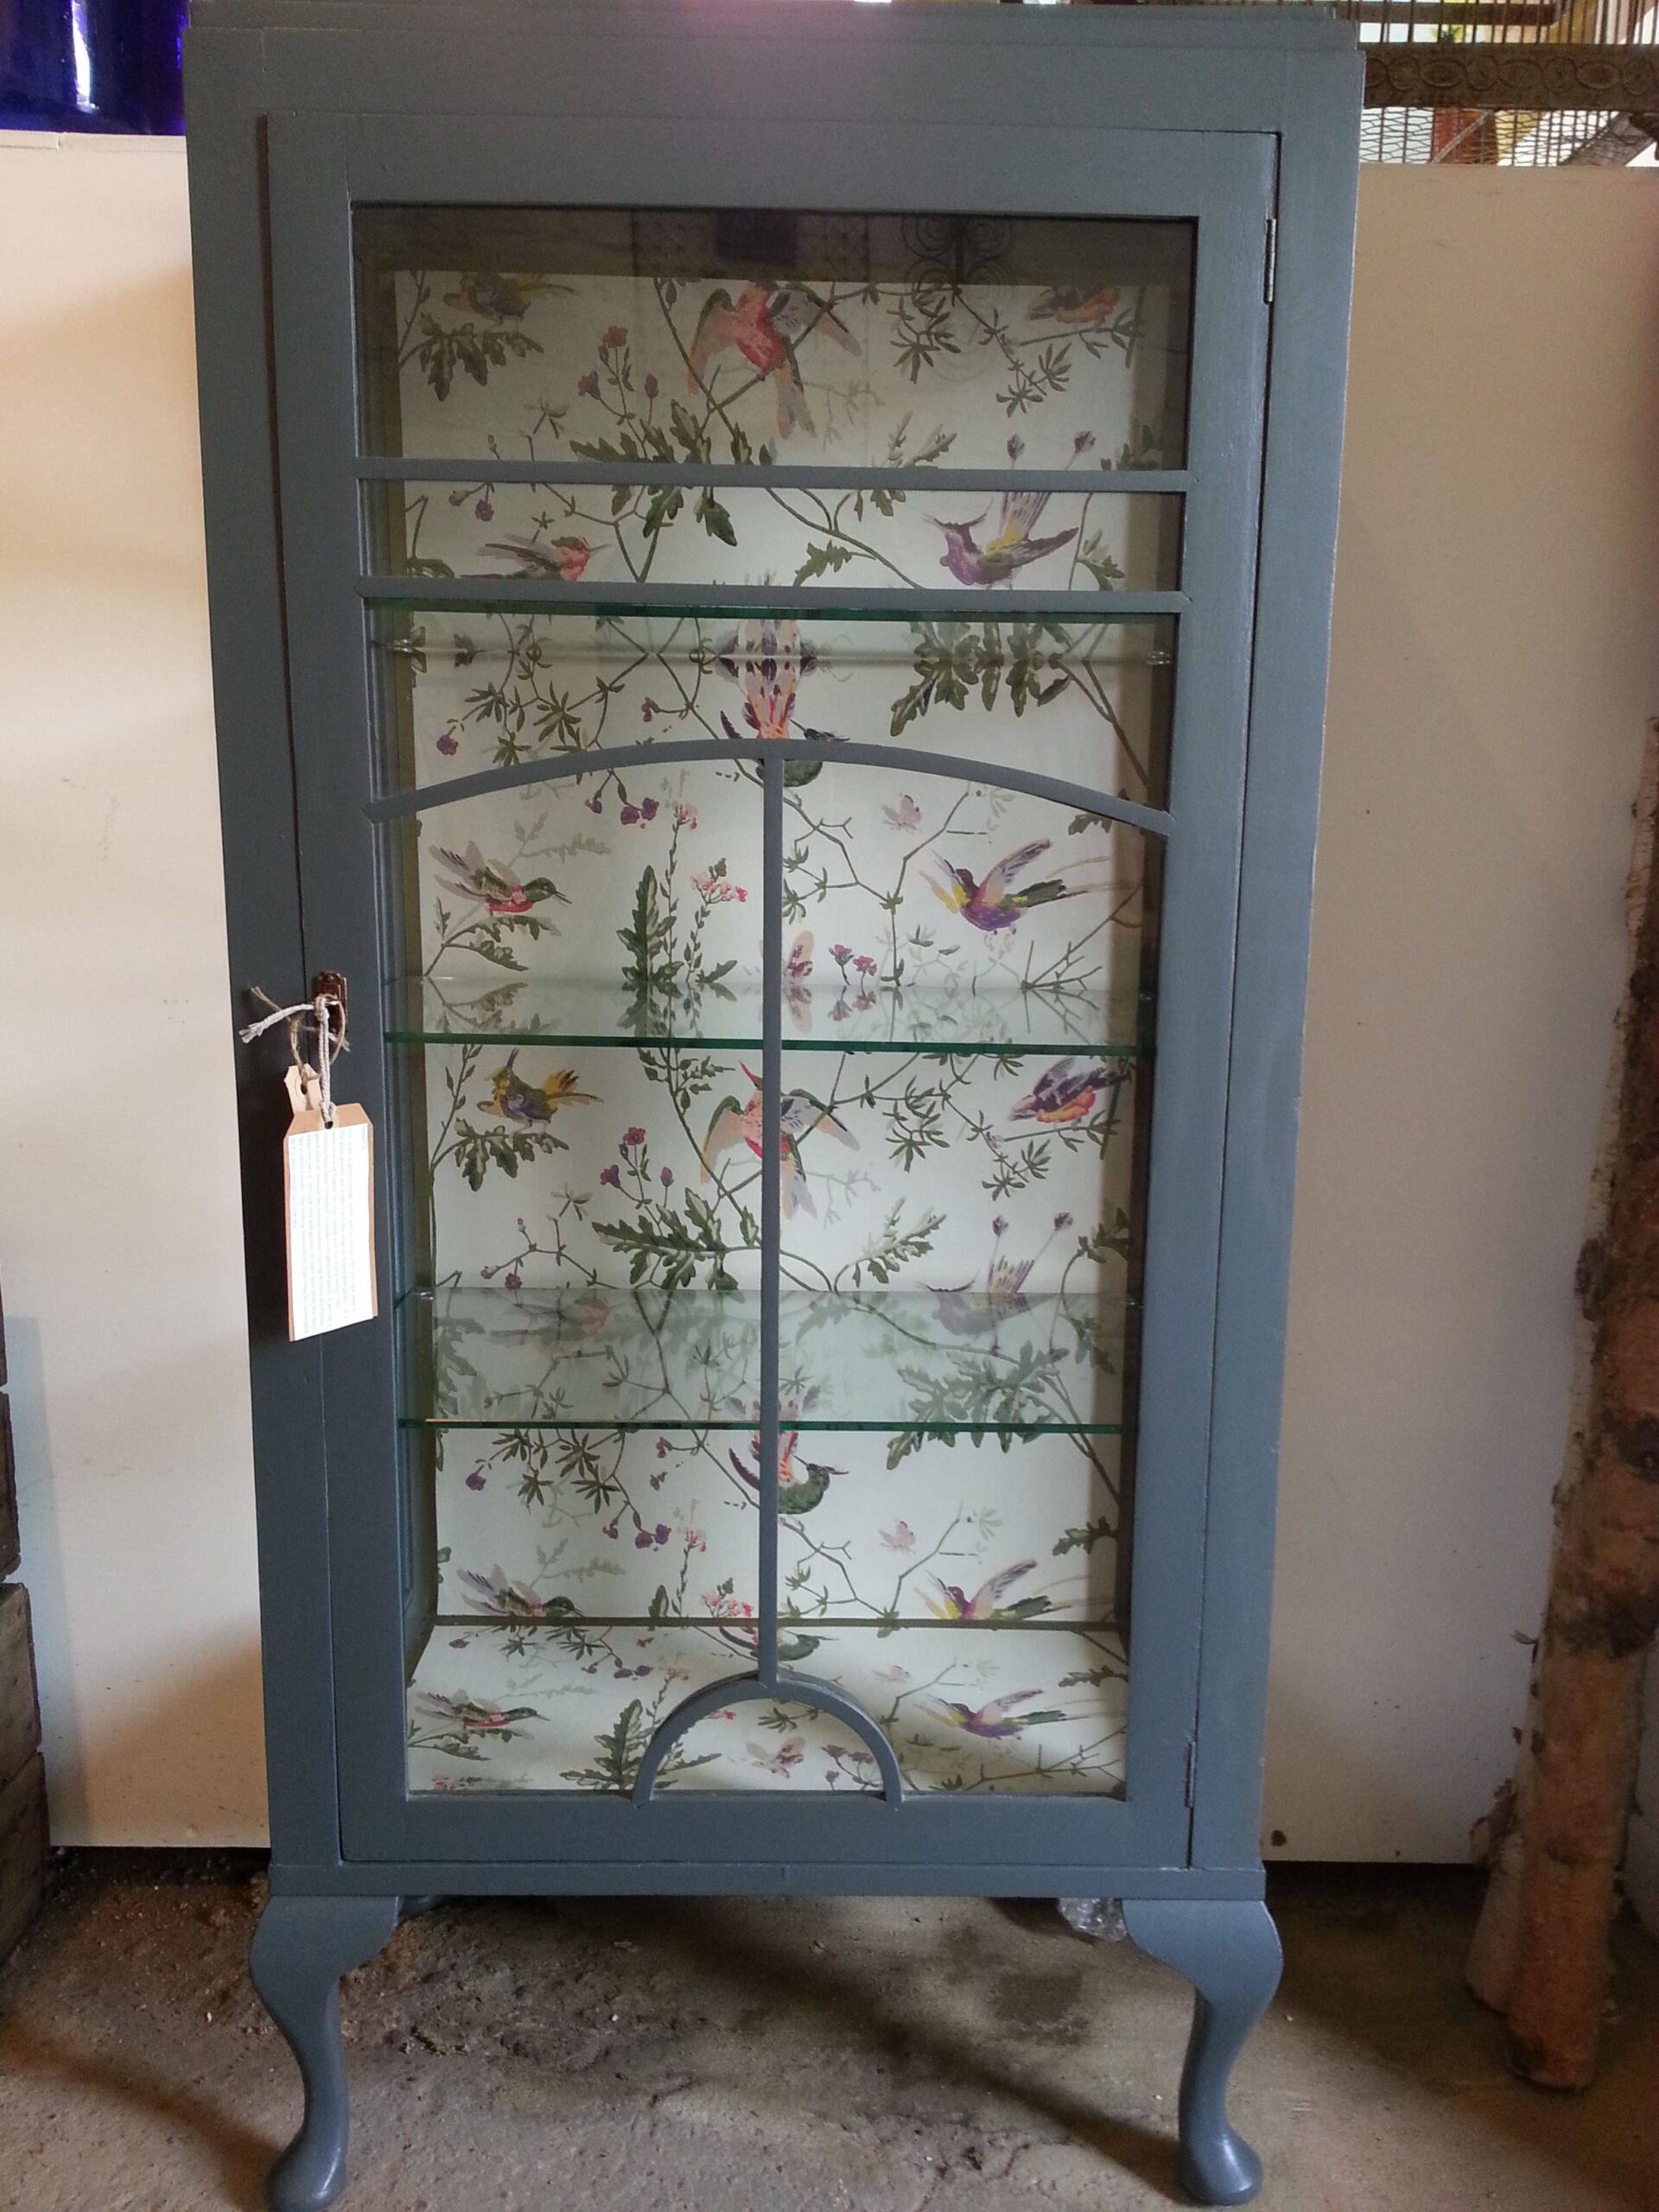
It is used only for decorating transparent glass objects. The decorating process is similar to the direct one. But the main feature is that the picture cut out of paper is glued to the back of the selected object. Only after that is the background design and the imposition of other details done.
Artistic
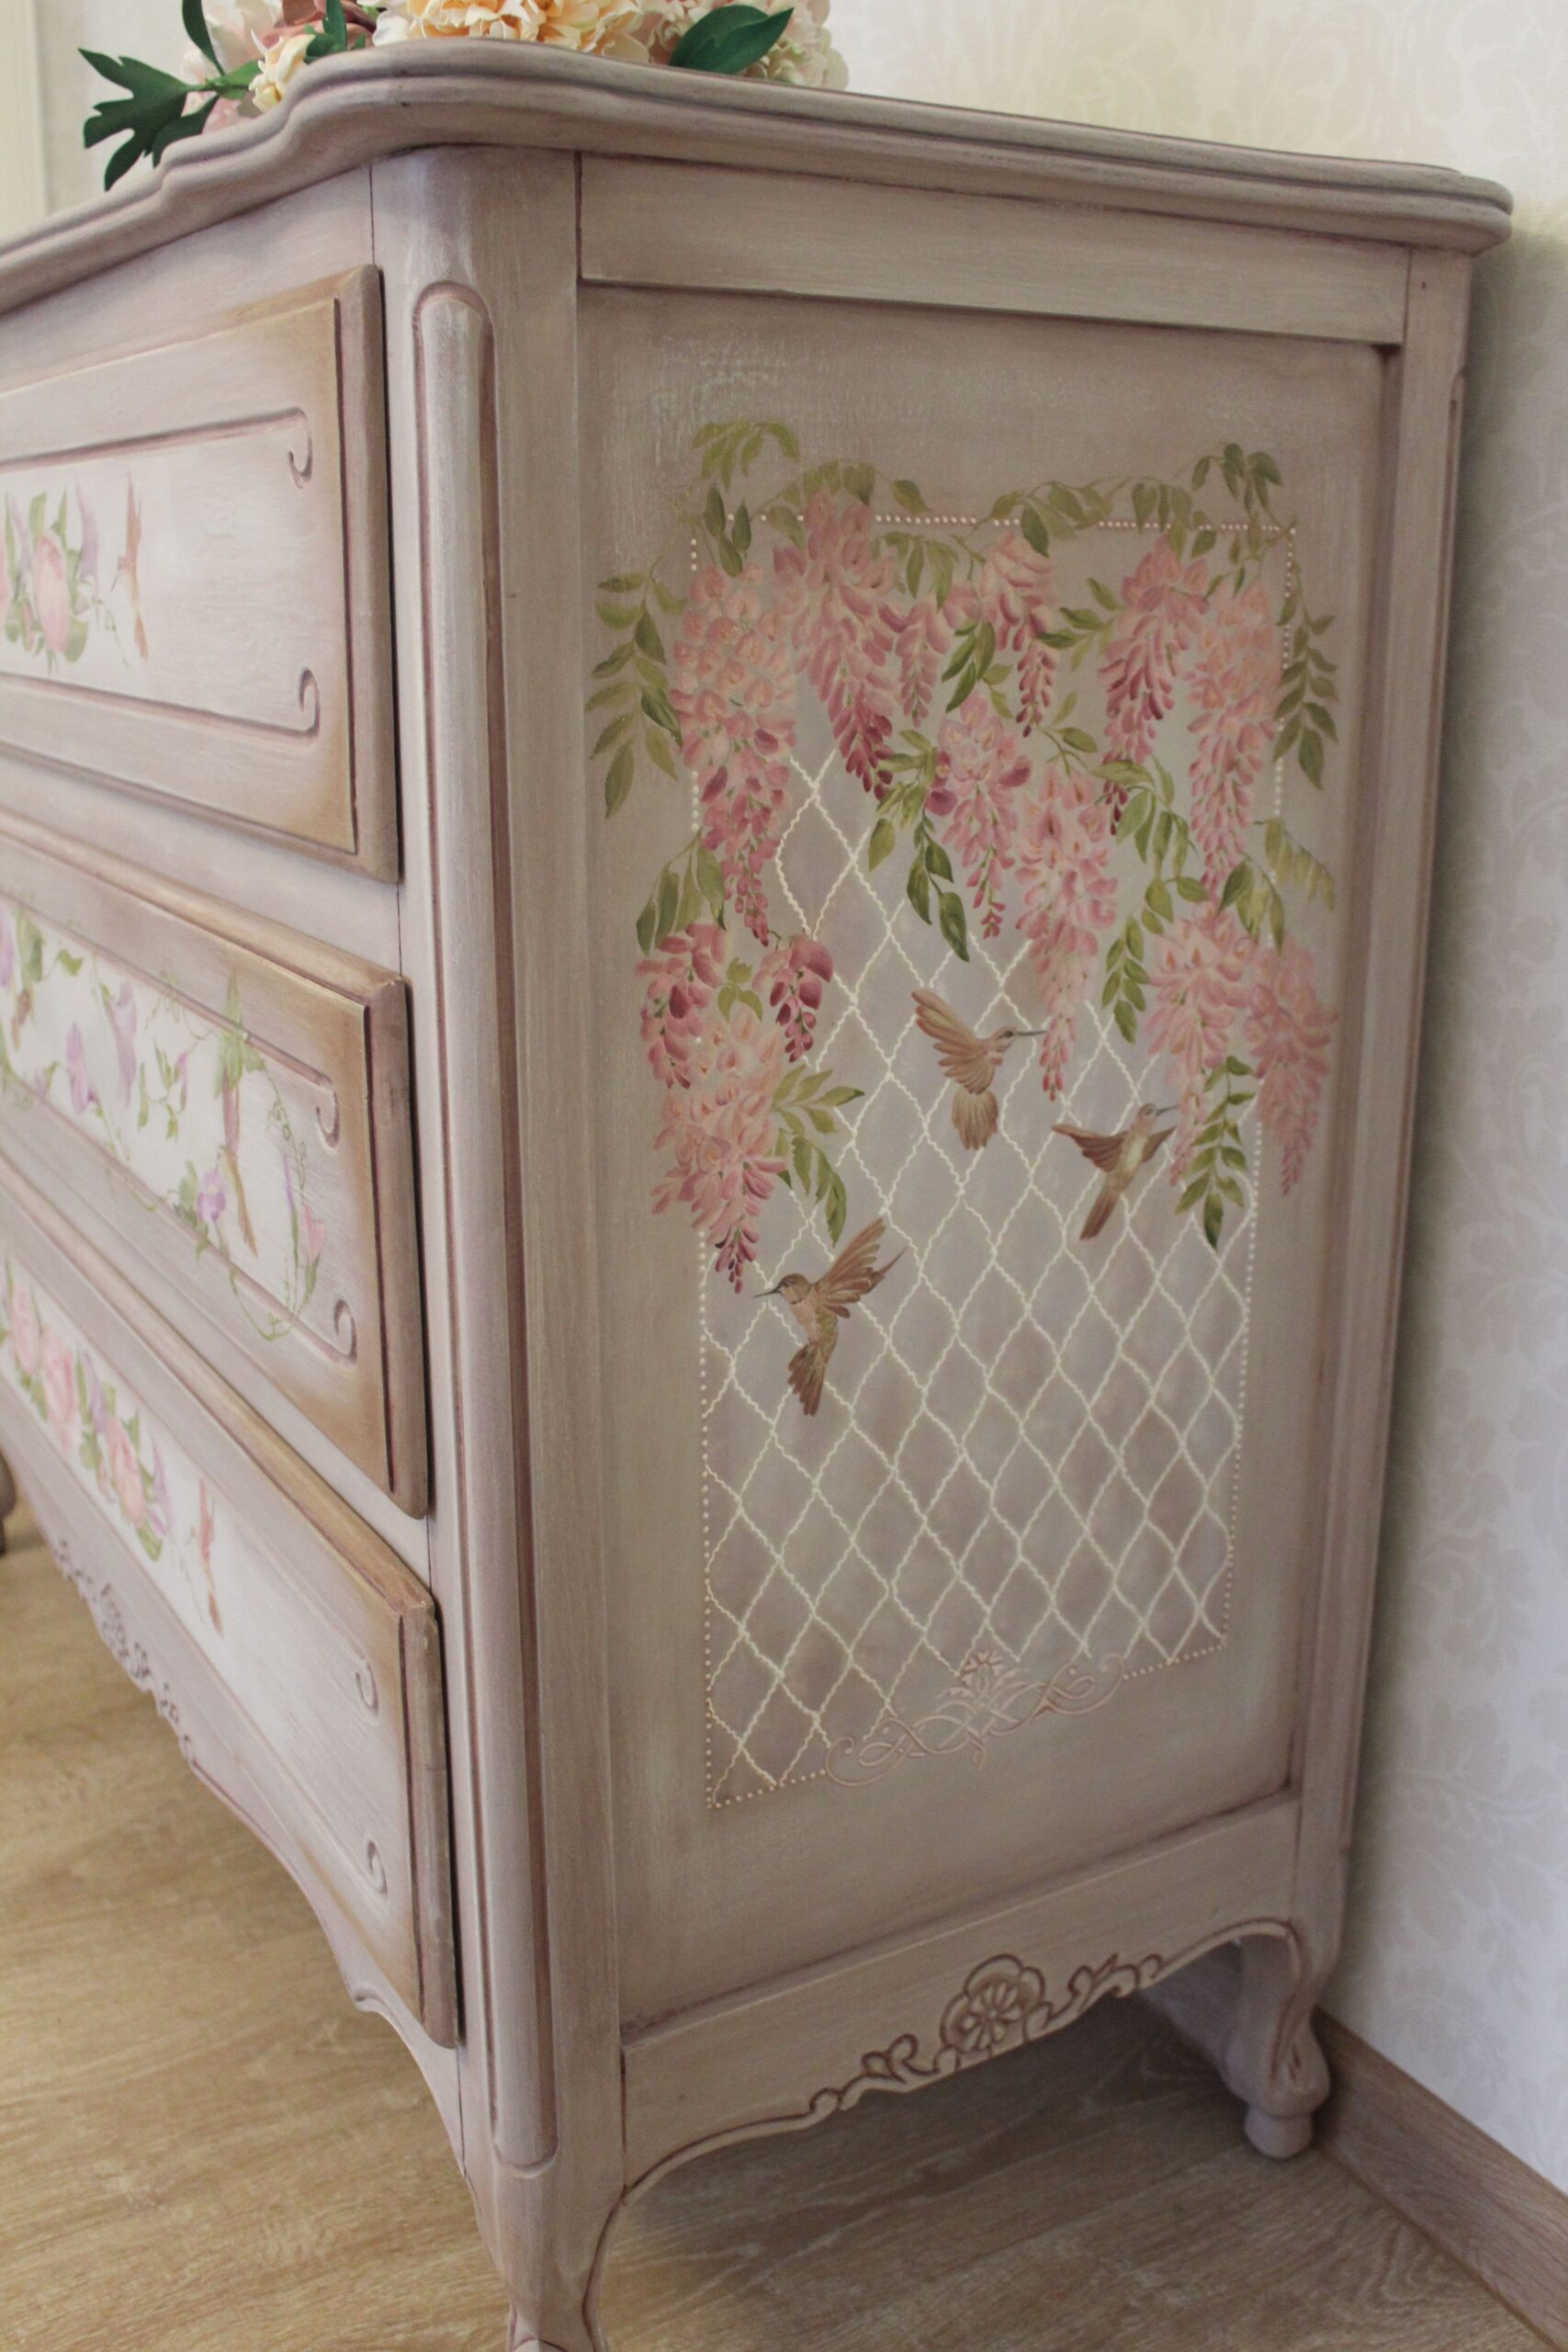
The second name of the technique is smoky. From the visual side, it is very similar to a beautiful painting. This happens due to the fact that, in addition to decoupage design, various elements are also drawn independently.
Decopatch
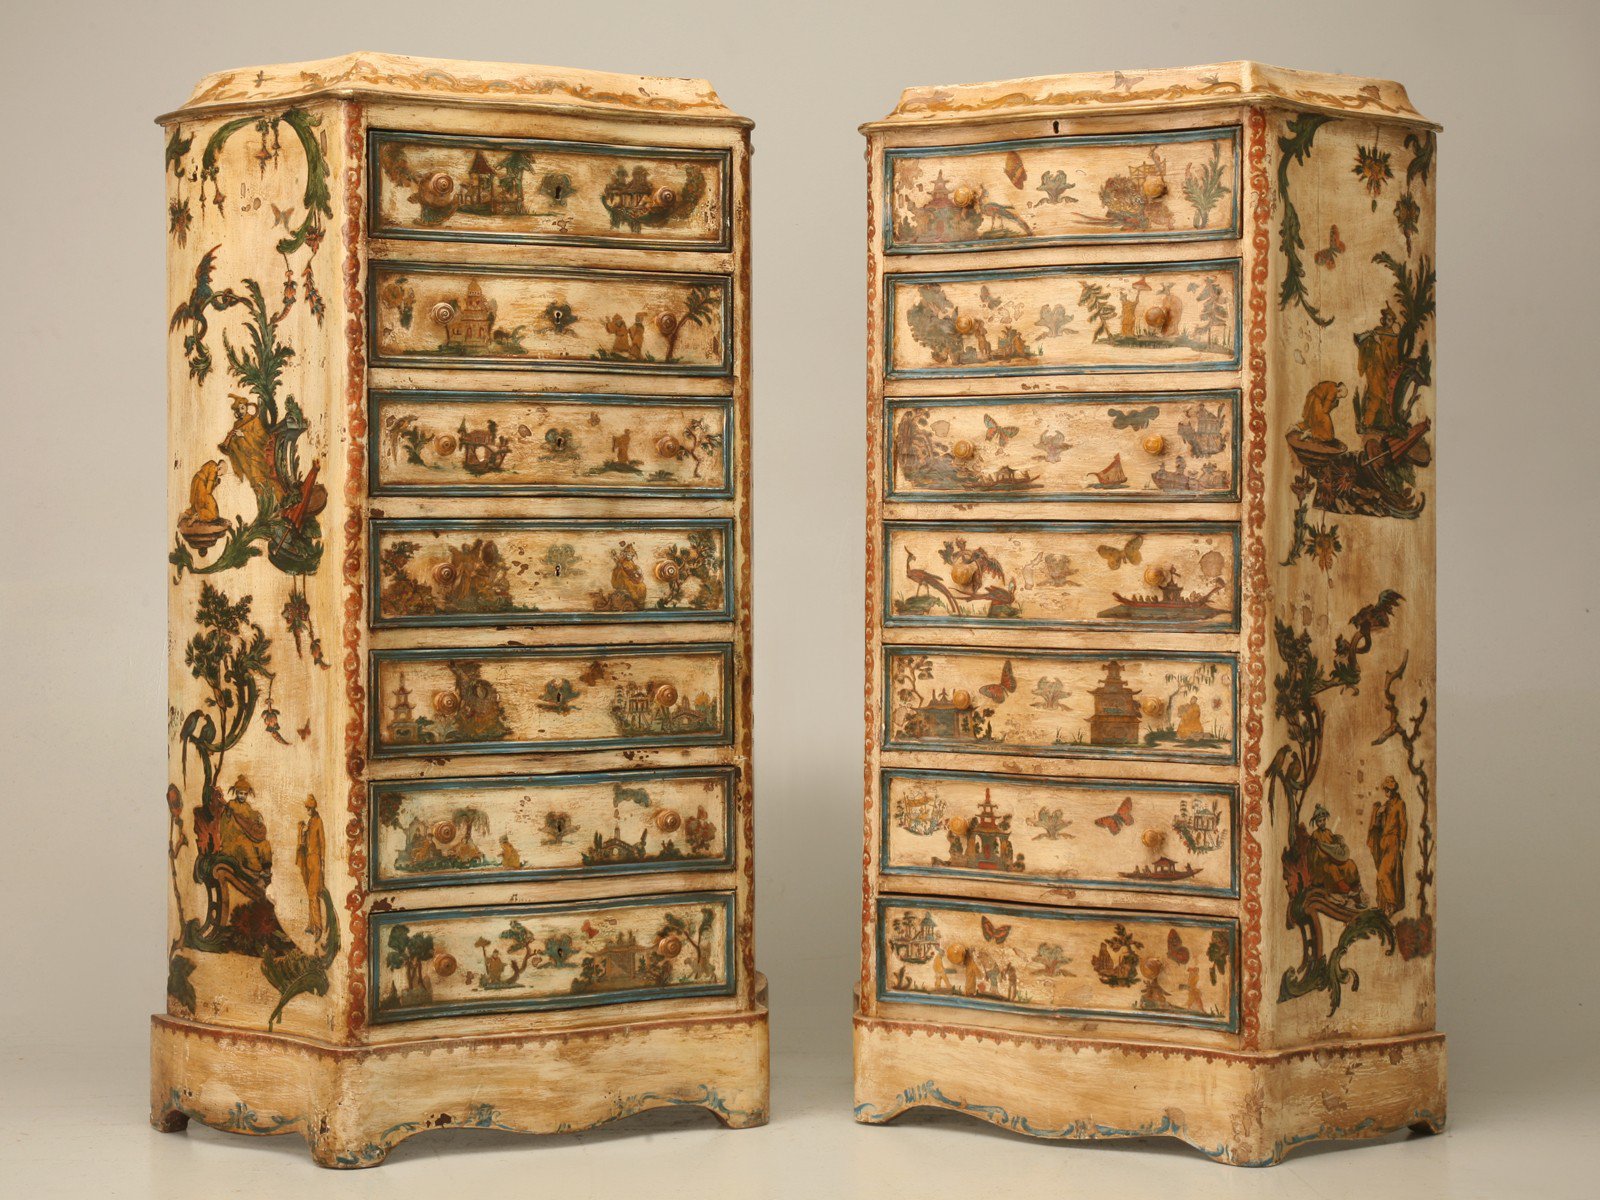
This technique is used when it is necessary to glue the entire surface of the product with a continuous layer.That is, there is no free space, everything is filled with paper patterns. Both separate fragments of the image and whole pieces are used. You can often find this technique not on furniture, but on decorative toys.
Volumetric
This technique involves creating a three-dimensional image. That is, any pattern rises slightly above the rest of the surface and sticks out a little. Visually, it looks very impressive and beautiful. This is done using layering. The required amount of special mass or paste is applied, after which the drawing is attached.
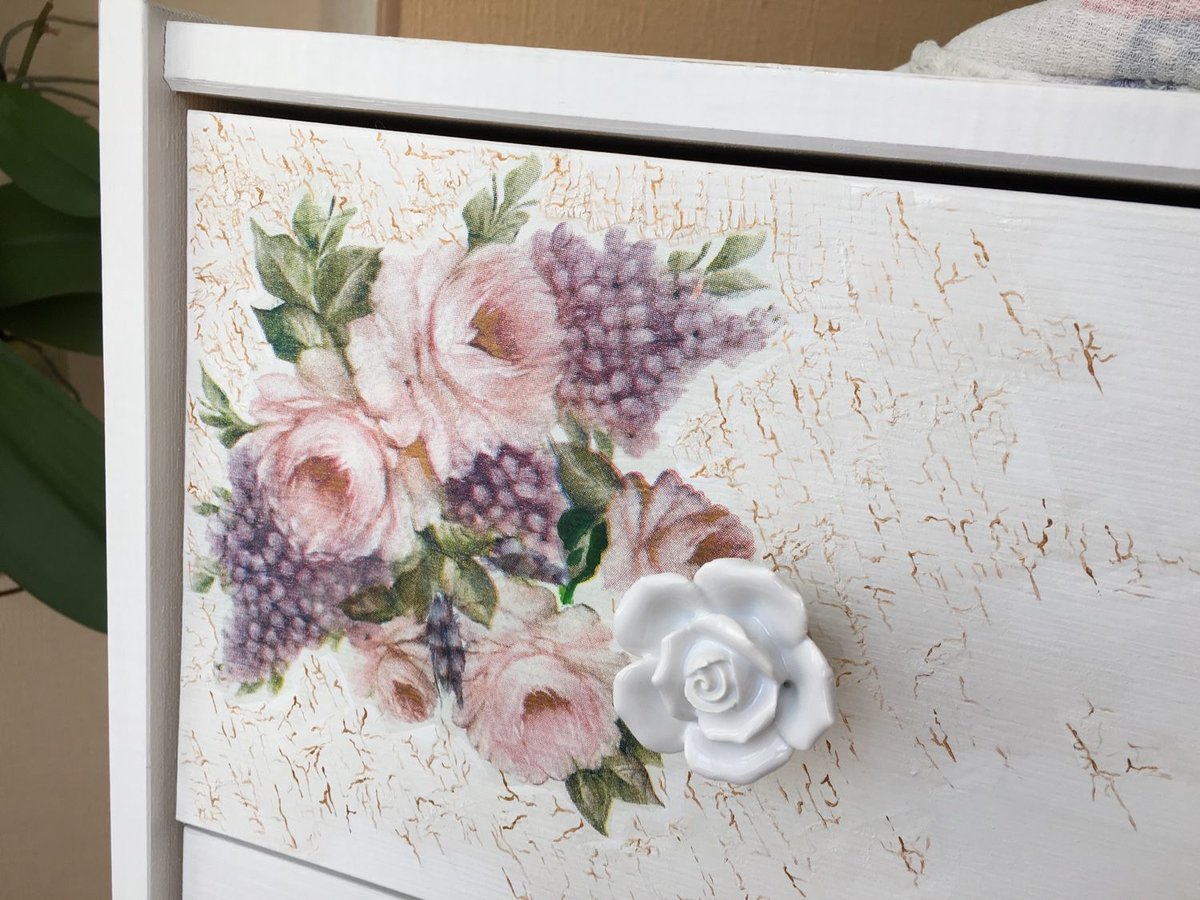
Note! Each technique is beautiful and unique in its own way. A combination of several at once is allowed.
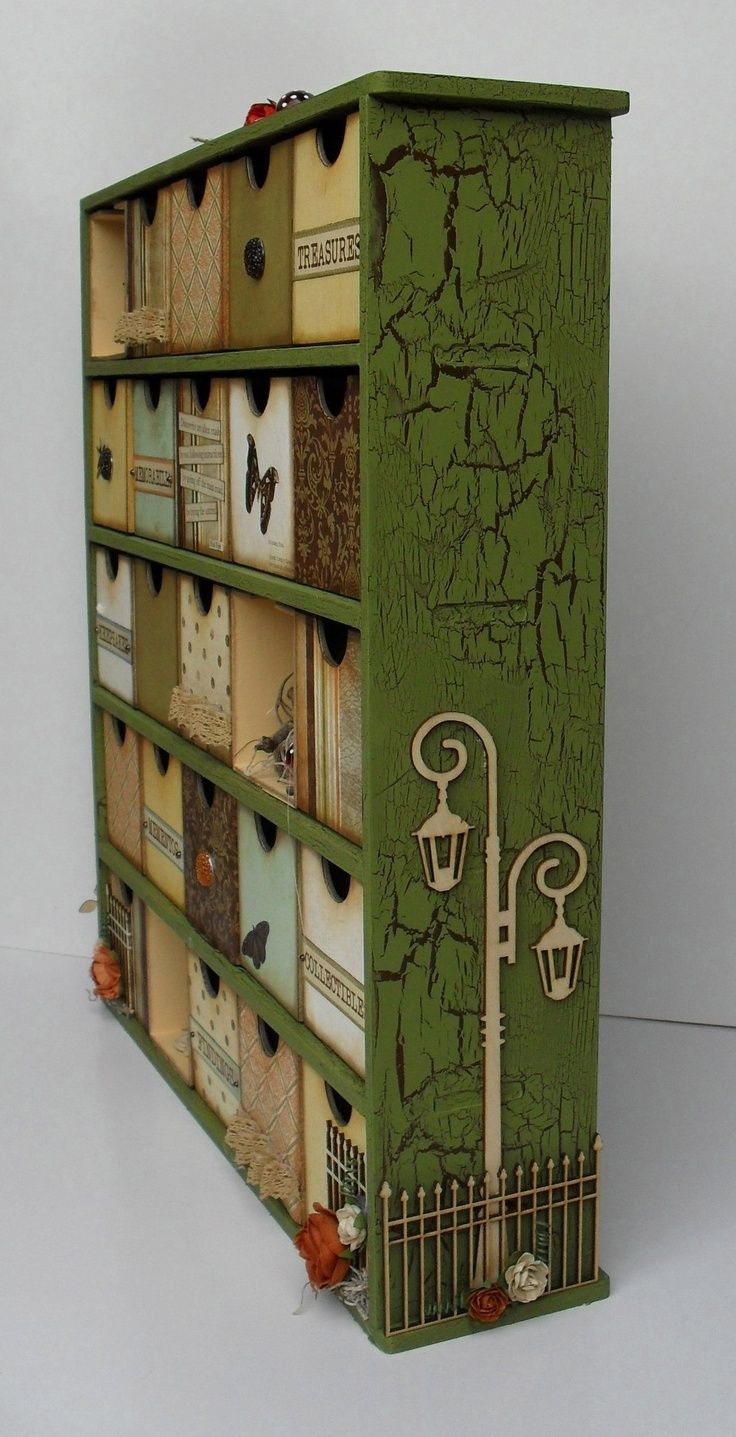
Features of working with different surfaces
Do-it-yourself decoupage of the cabinet can be done on any surface. The easiest way to work with a wooden one, since a paper drawing is easily attached to it. The peculiarity of working with any surface will be its preparation. For each it has its own. The use of technology to decorate the front of the cabinet and the shelves looks beautiful if they are open.
How to prepare the surface
Before you start decorating, you need to prepare the surface so that the drawing is held securely. In order to avoid further detachment, a number of works are carried out. The simplest ones consist of thorough washing and sanding. For those who want to do everything efficiently and conscientiously will have to make a little more effort. To do this, you will have to spend most of it not on decoration, but on preparation.
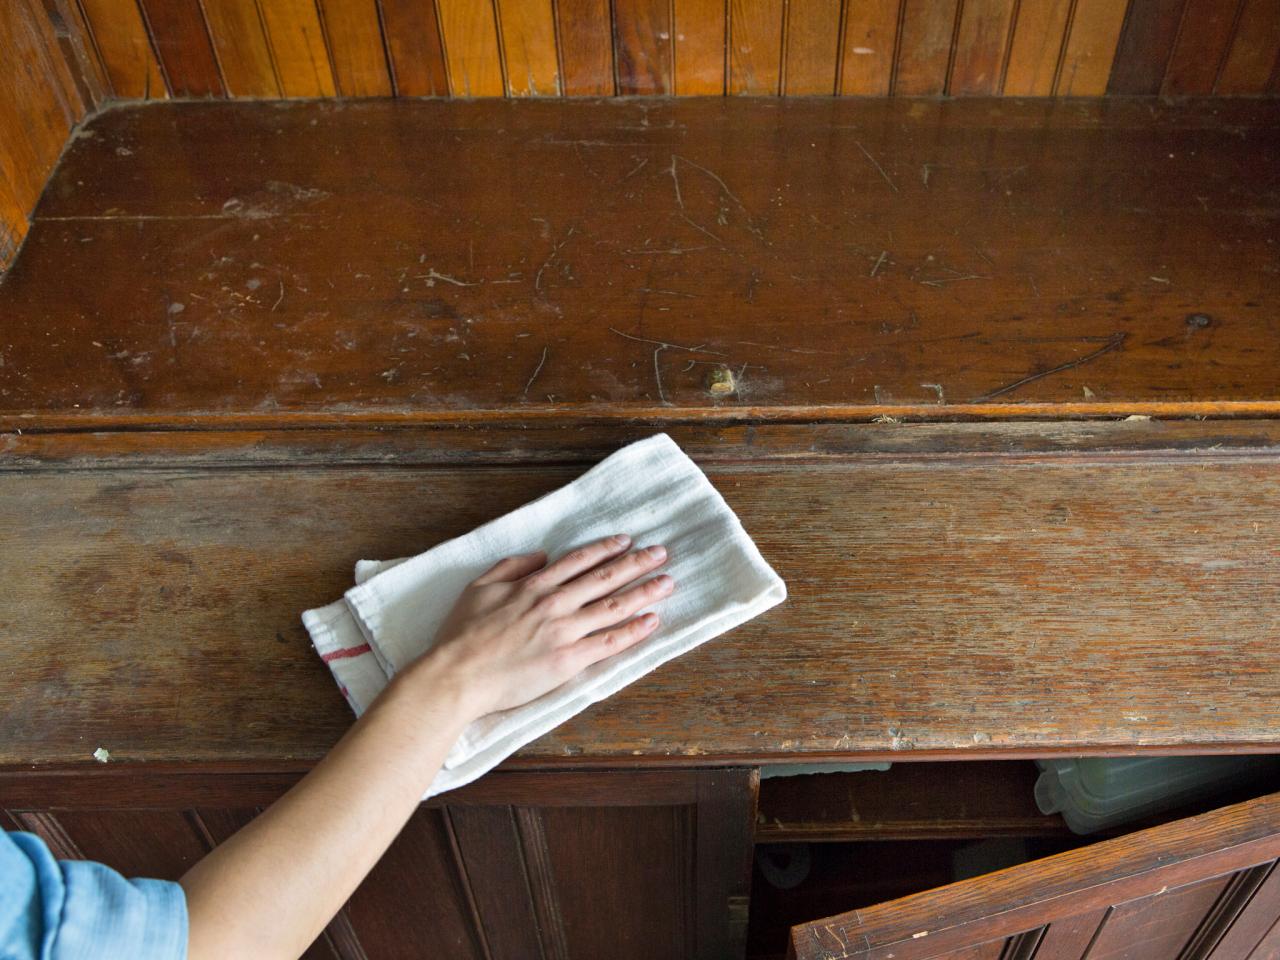
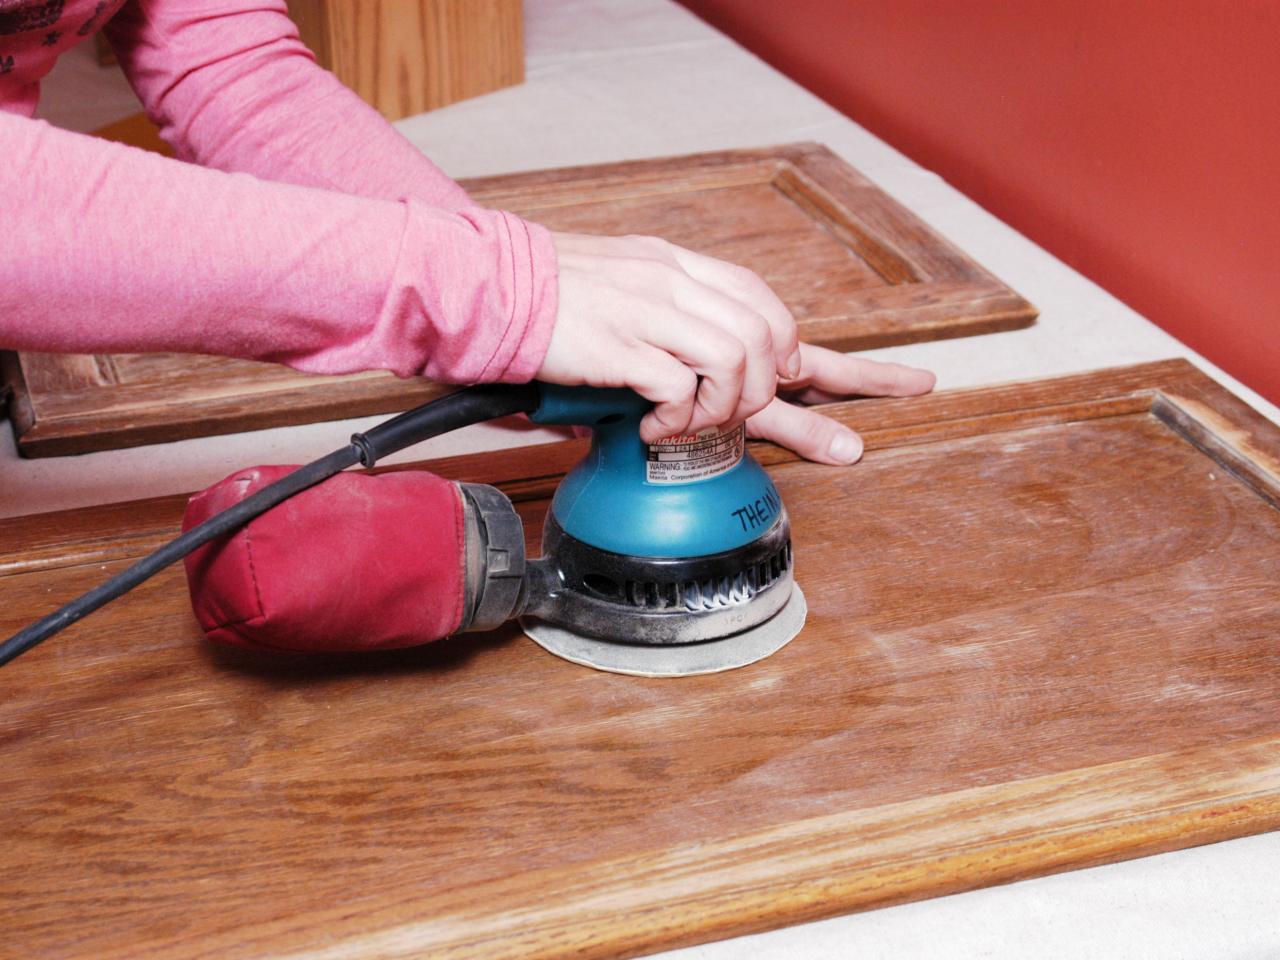
In total, four most important steps are performed to achieve the desired result. The first is sanding the surface with fine-grained emery paper.
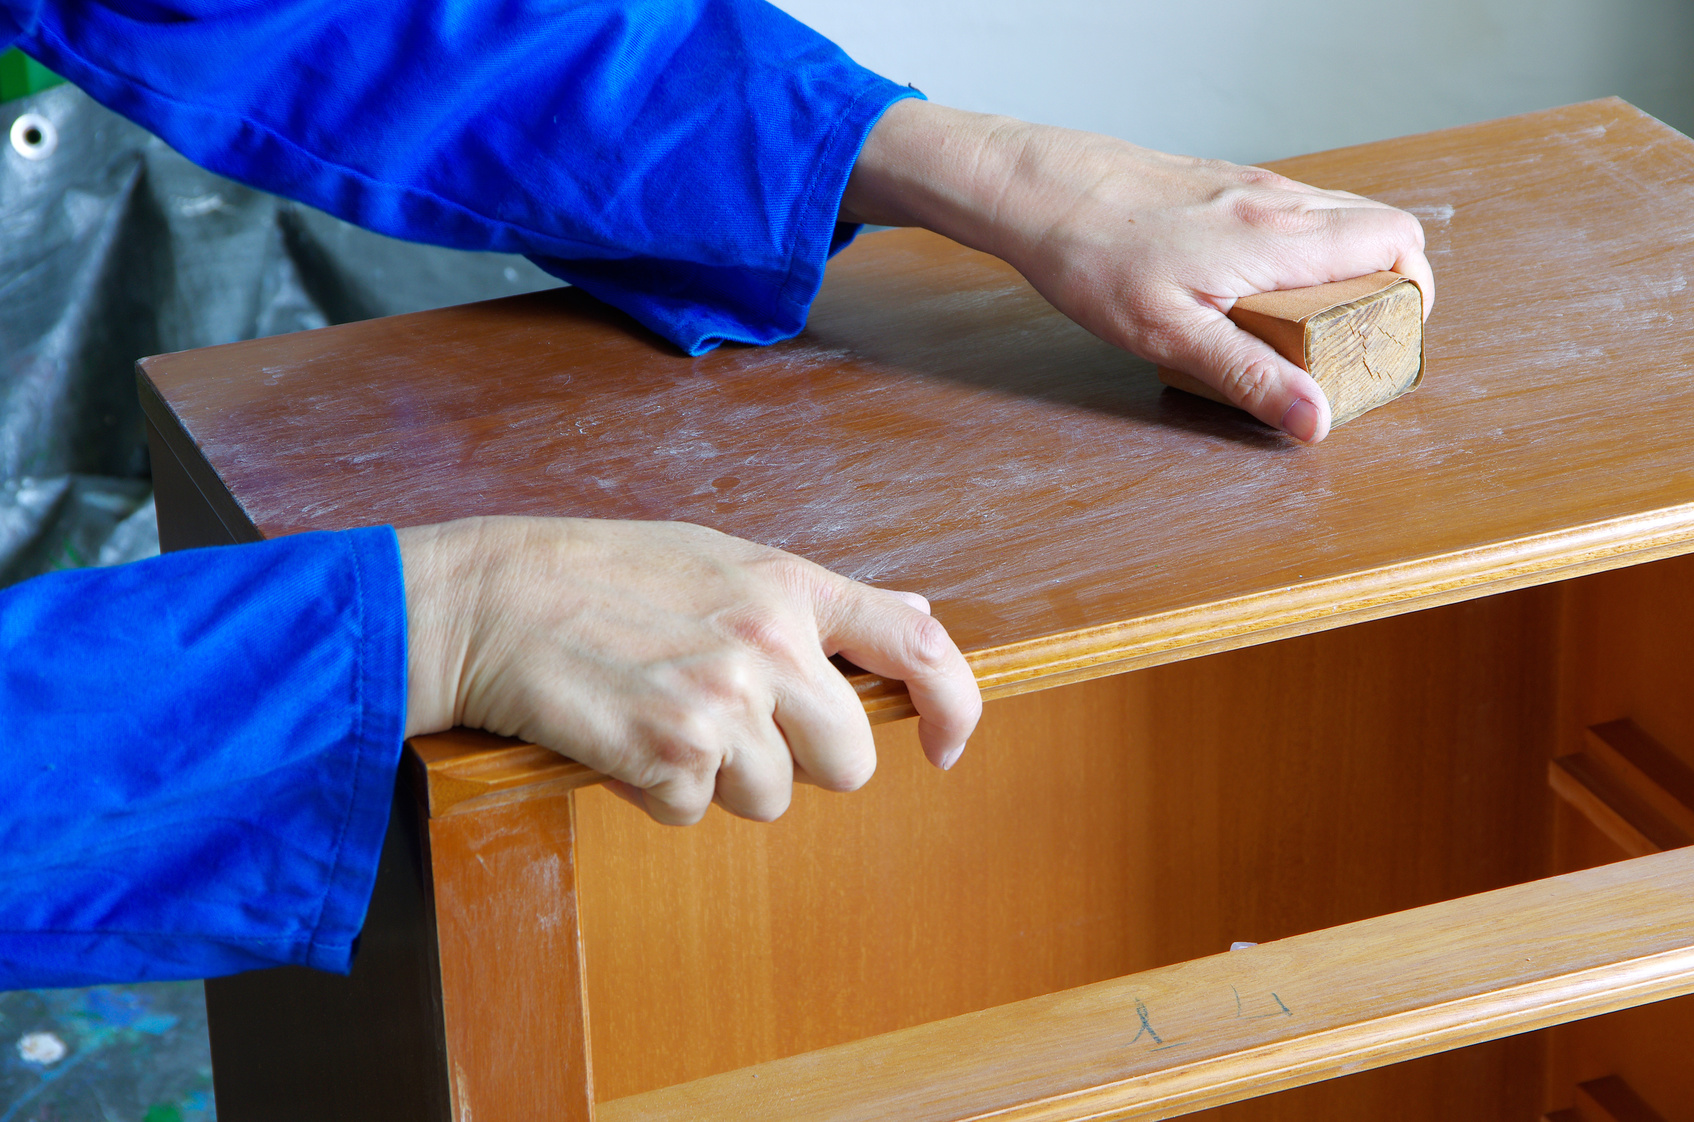
Note! All old paint and any unevenness must be removed. You can remove half of the wood layer if necessary.
The second stage is a single coat of primer. Light paint is selected if you plan to make a cabinet in light shades and dark, if in dark ones. If the need arises, you can level the primer layer by sanding it - this will be the third step.
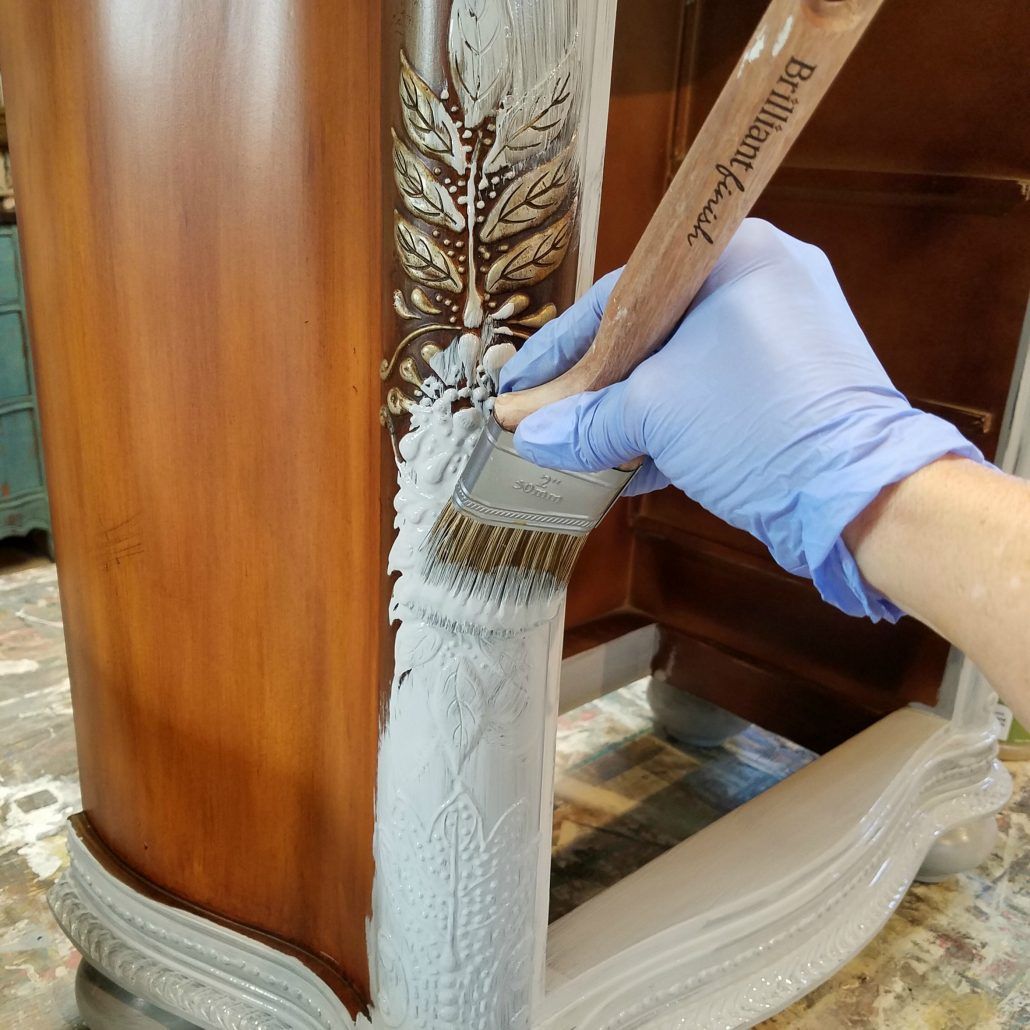
Fourth - the surface is degreased. If the decoration is performed in order to hide any defect, then it is necessary to pre-seal it with putty.
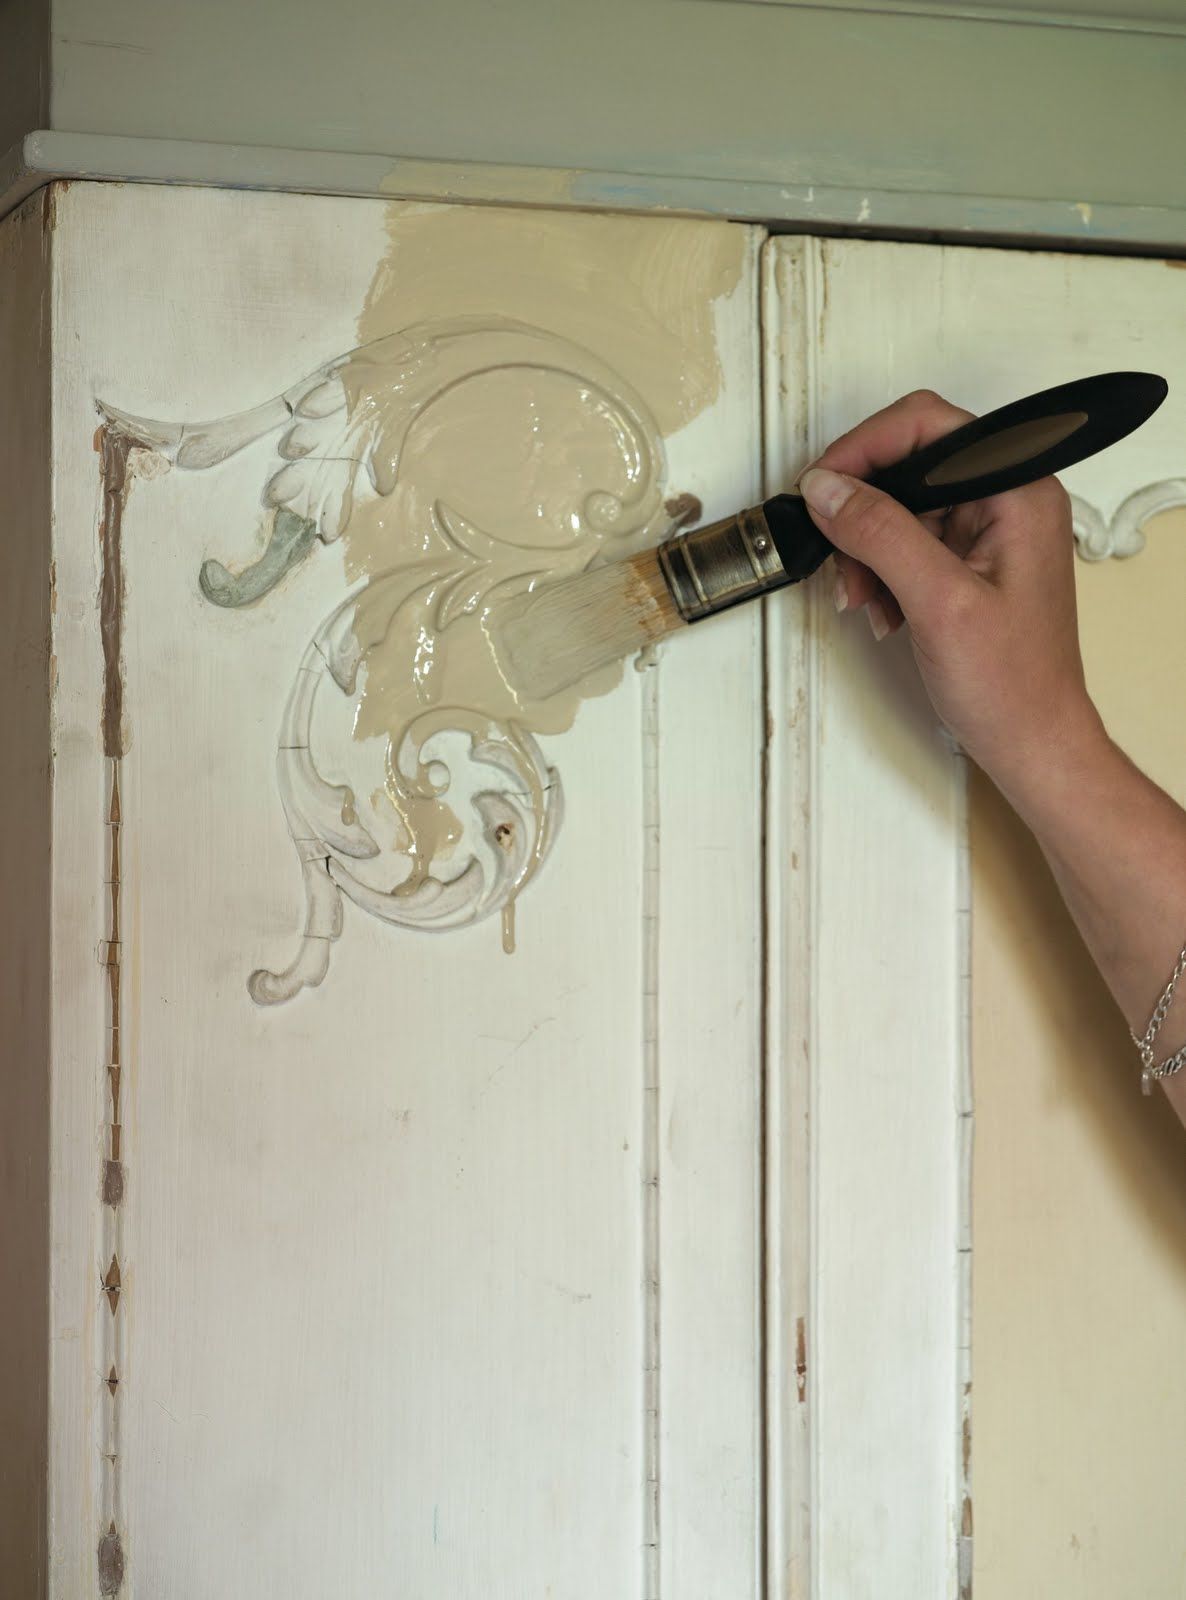
The last step is to apply the base paint color, which will not be similar to the primer.
Required materials and tools
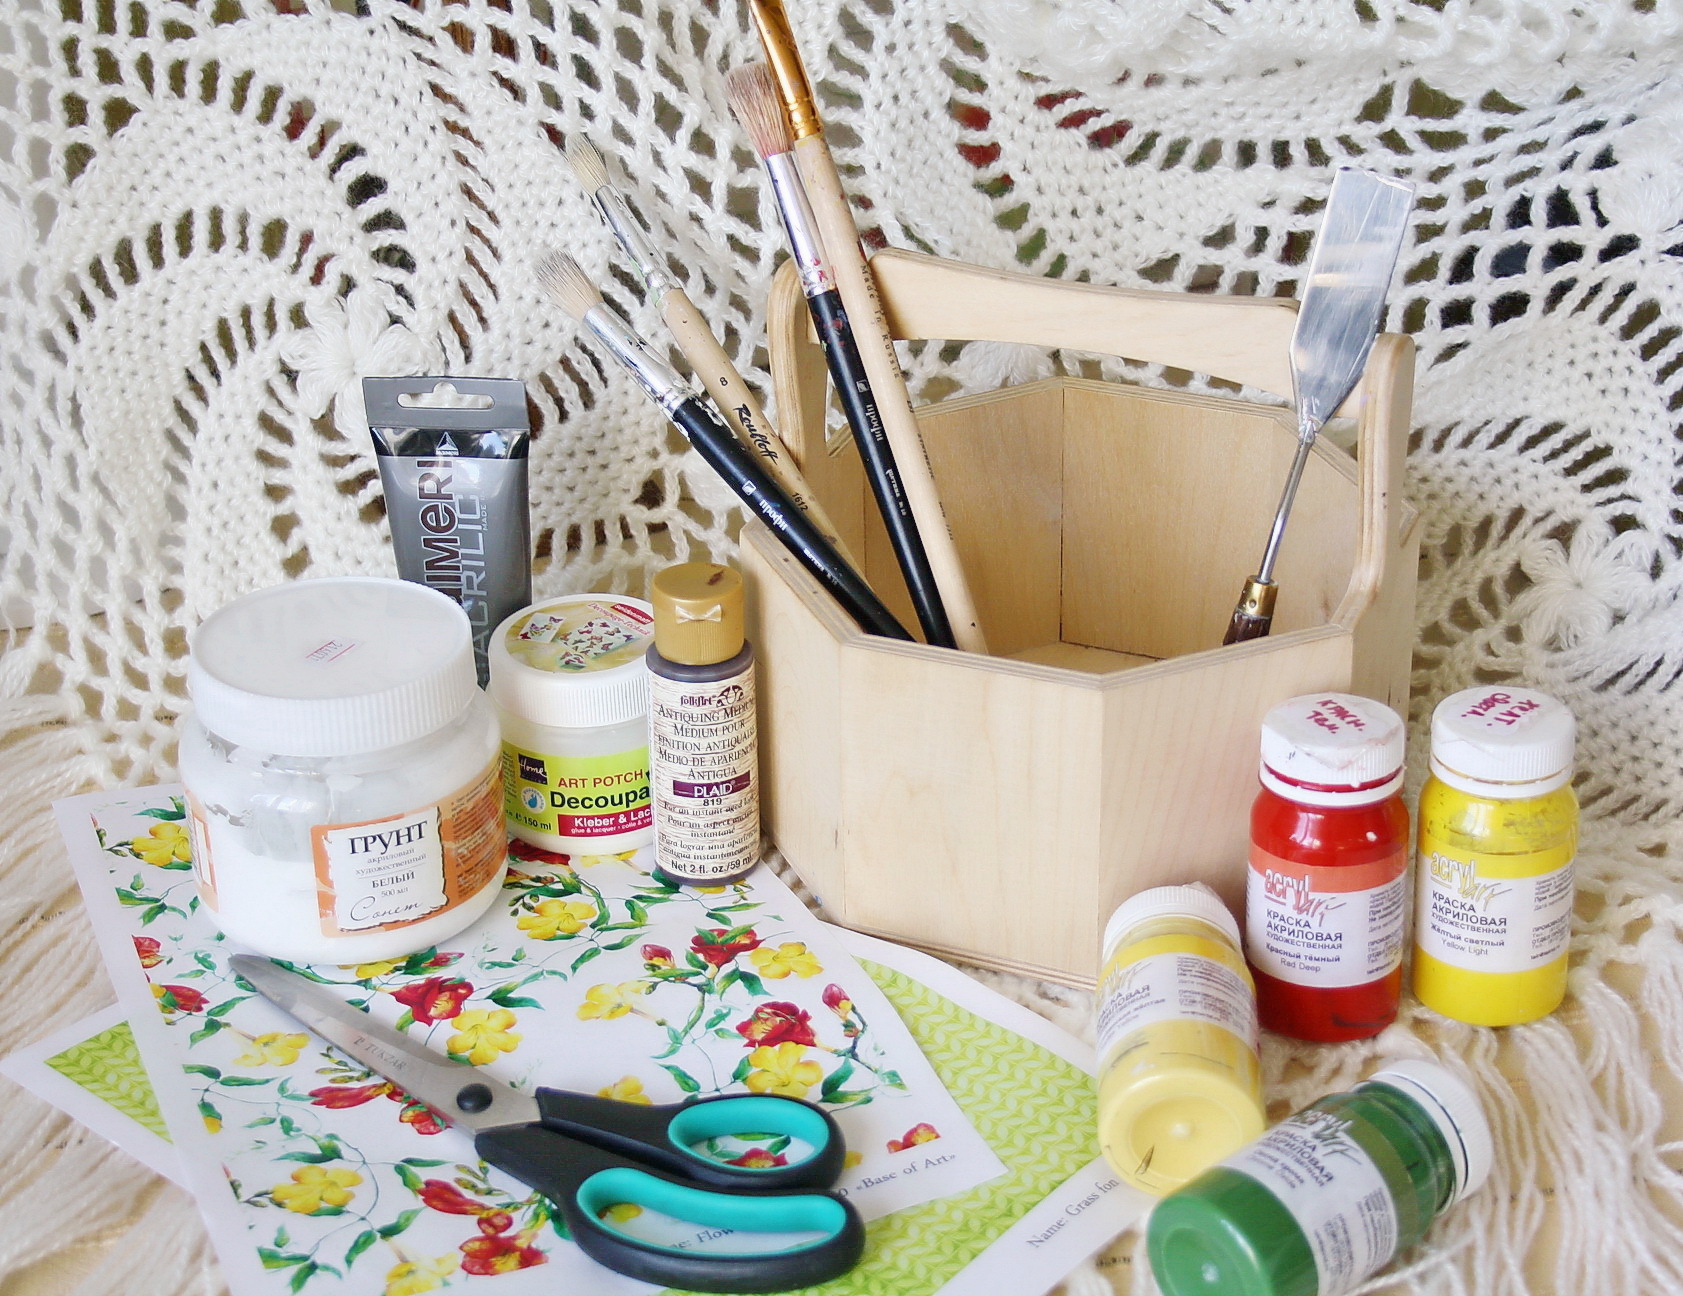
To get the job done, you need a few tools and materials. A good solution would be to prepare everything you need in advance so as not to be distracted in the process. An indicative list consists of:
- Thick napkins with a pattern, wallpaper, clippings from magazines or newspapers, old postcards, posters (you can choose any material, it is better not to combine so that the pattern is uniform)
- Small pieces of suitable fabric or linen for decoration (if such elements are provided).
- Scissors.
- Stationery knife.
- Sandpaper only with a fine-grained surface.
- Measuring instruments (ruler and meter).
- Acrylic based paints.
- Topcoat varnish.
- Polyvinyl acetate adhesive (PVA). Special decoupage or wallpaper. Using a different one is not recommended.
- Brushes of different sizes and shapes.
- Additional decor (beads, crystals, stickers).
- Pencils or felt-tip pens, if the contour of drawings will be drawn in an artistic style.
Decoupage the wardrobe using wallpaper and fabrics at home
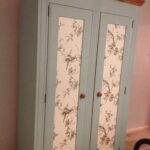
Do-it-yourself decoupage of kitchen cabinets using wallpaper or fabric is done according to the standard scheme.
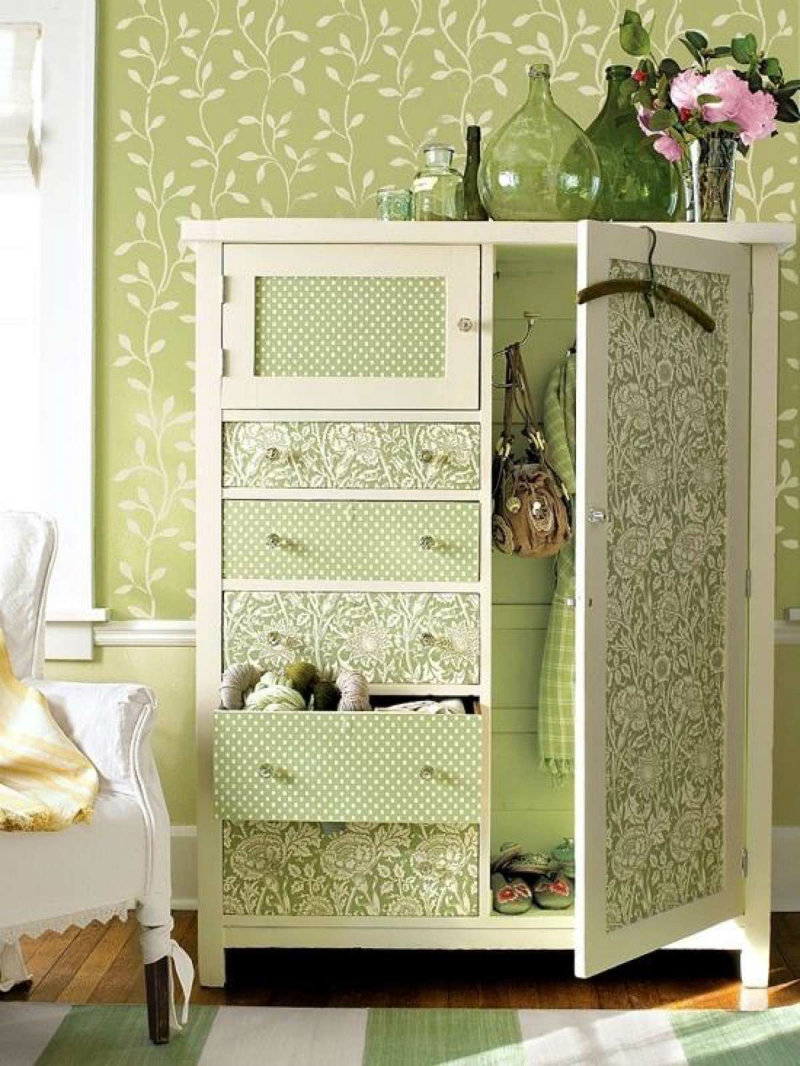
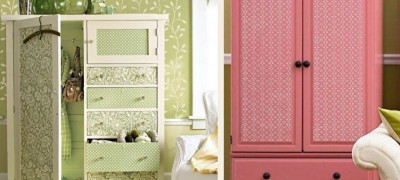
Note! Since the fabric is a dense material, it is better not to use it for decorating large surfaces. For this, it is better to use wallpaper.
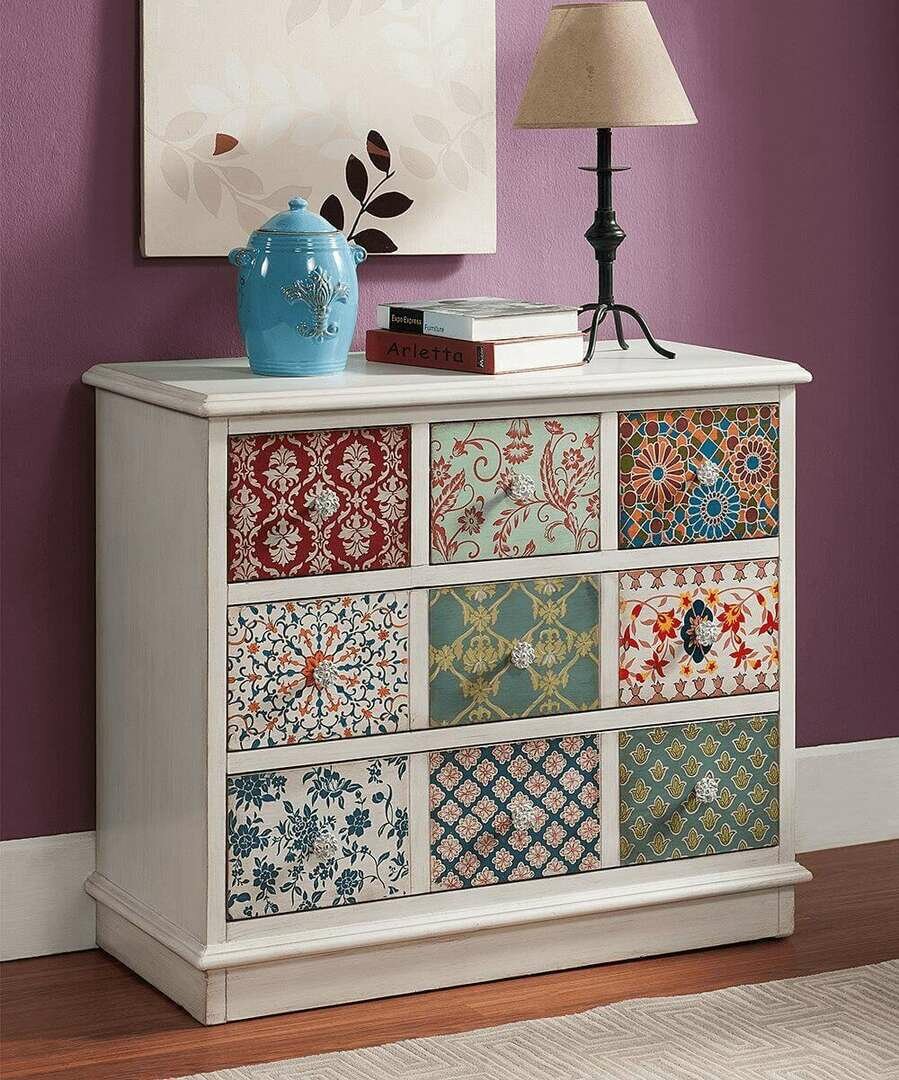
If the preparatory work has been successfully completed, then you can proceed to the very process of decorating the cabinet. It is necessary to choose in advance the places where the patterns will be located. A drawing or a piece of the required size pre-cut along the contour is applied to the selected place.
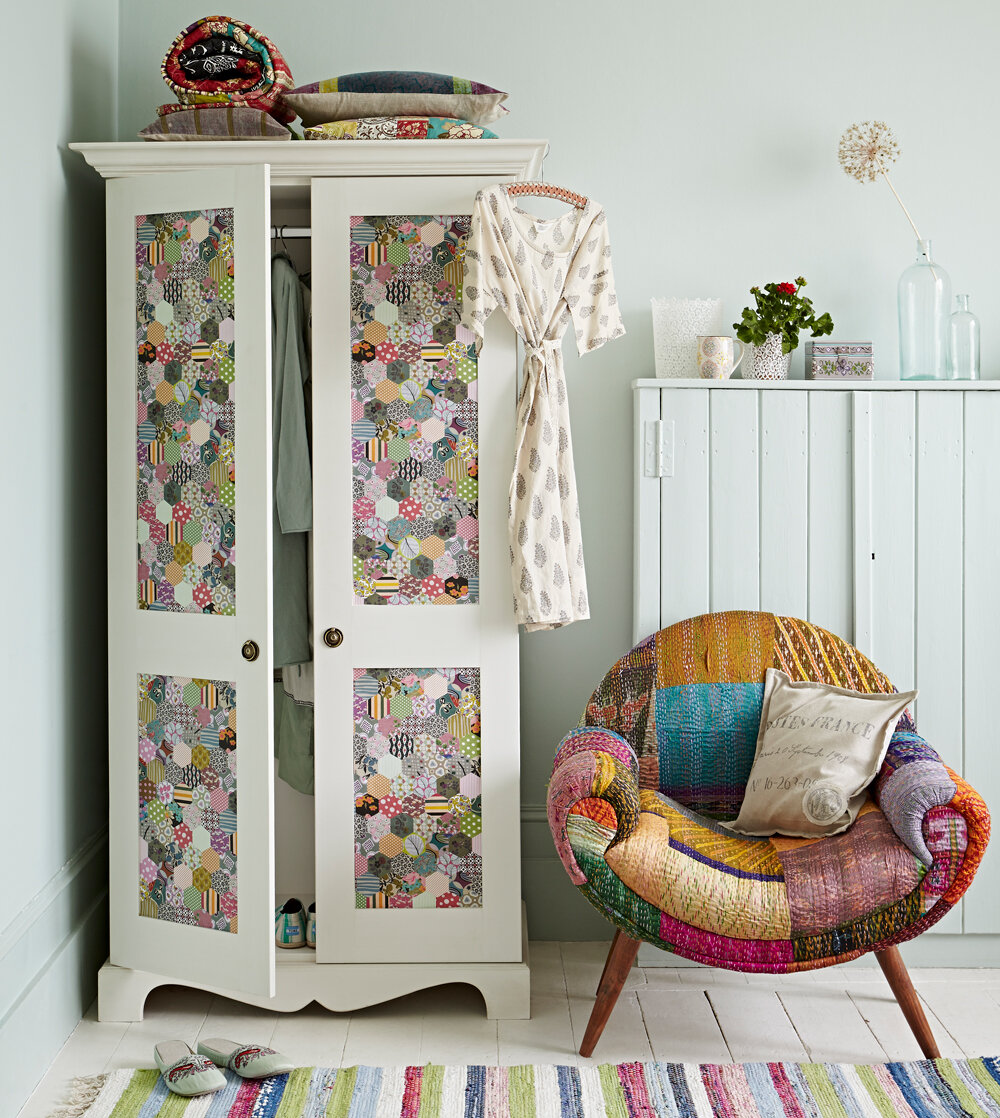
All irregularities are smoothed out. There is no need to rush, it is important to carefully remove all creases and place them so that in the future they do not have a chance to reappear.
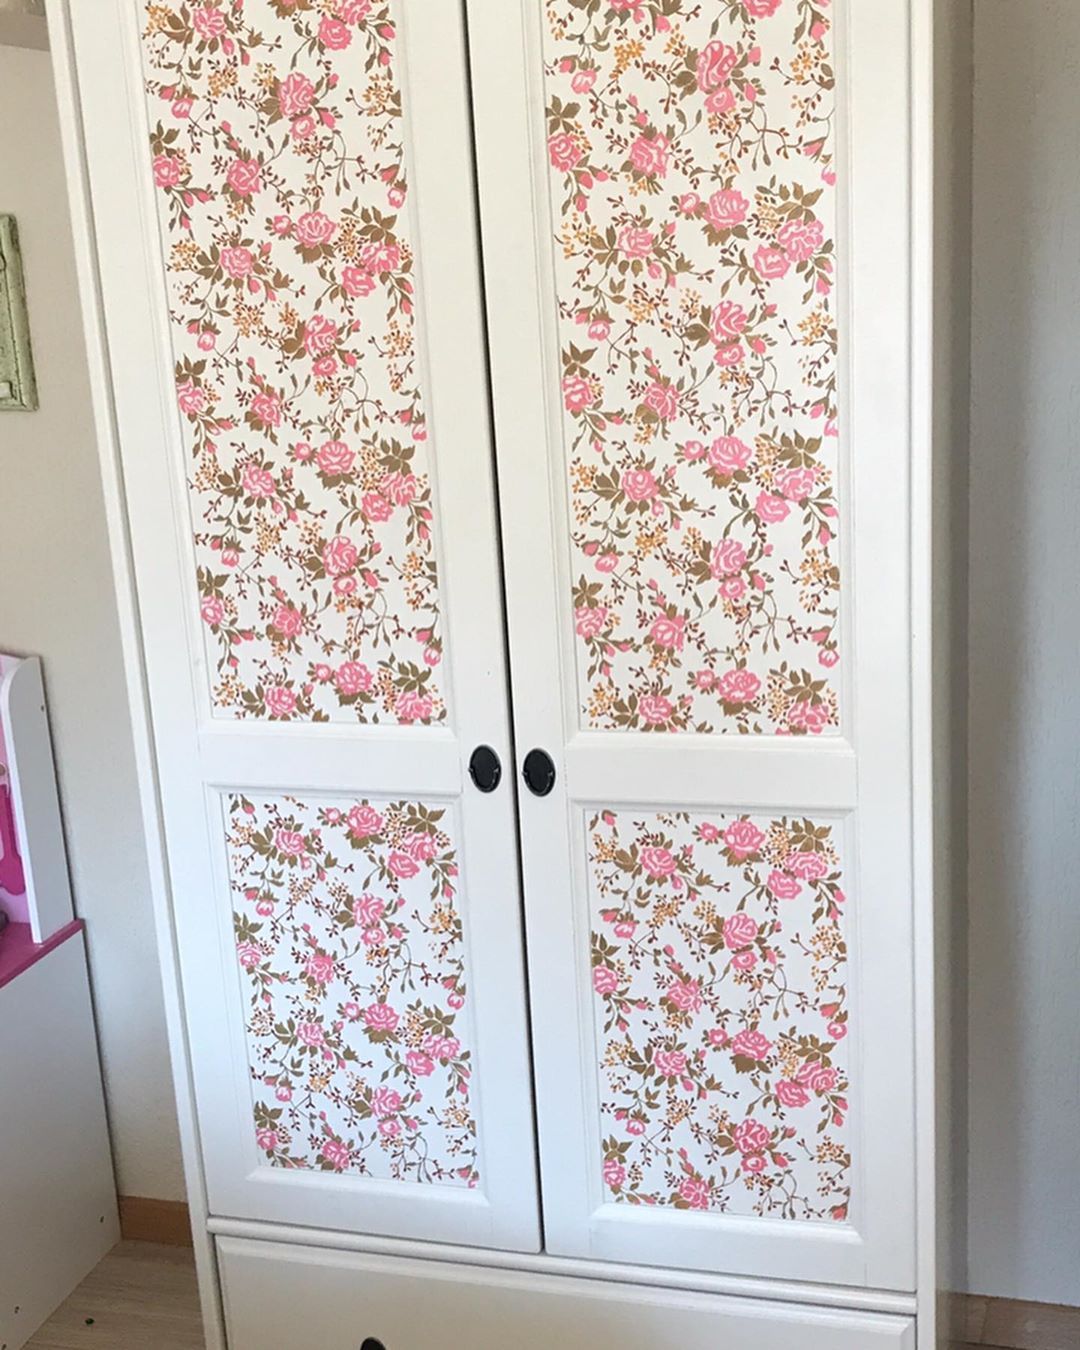
Everything is fixed with an adhesive solution (for fabric and wallpaper, it is better to choose PVA wallpaper). Gradually the whole drawing is covered with a brush. The materials are dense, so you don't have to worry that some part will peel off. 2-3 layers are applied. If the surface is large, a roller may be used for convenience. Each layer should dry out. The last step is to apply varnish. It can also be applied in several layers.
How to transform your kitchen cabinet with napkins, newspapers and printer prints
Important! The process of working with napkins, newspapers or printouts is no different from that described in woven and wallpaper. But still there are some peculiarities.
Previously, the glue is applied not only to the surface, but also to the drawing. It is necessary to apply everything with extreme caution, as the materials can tear, and everything will have to be redone.
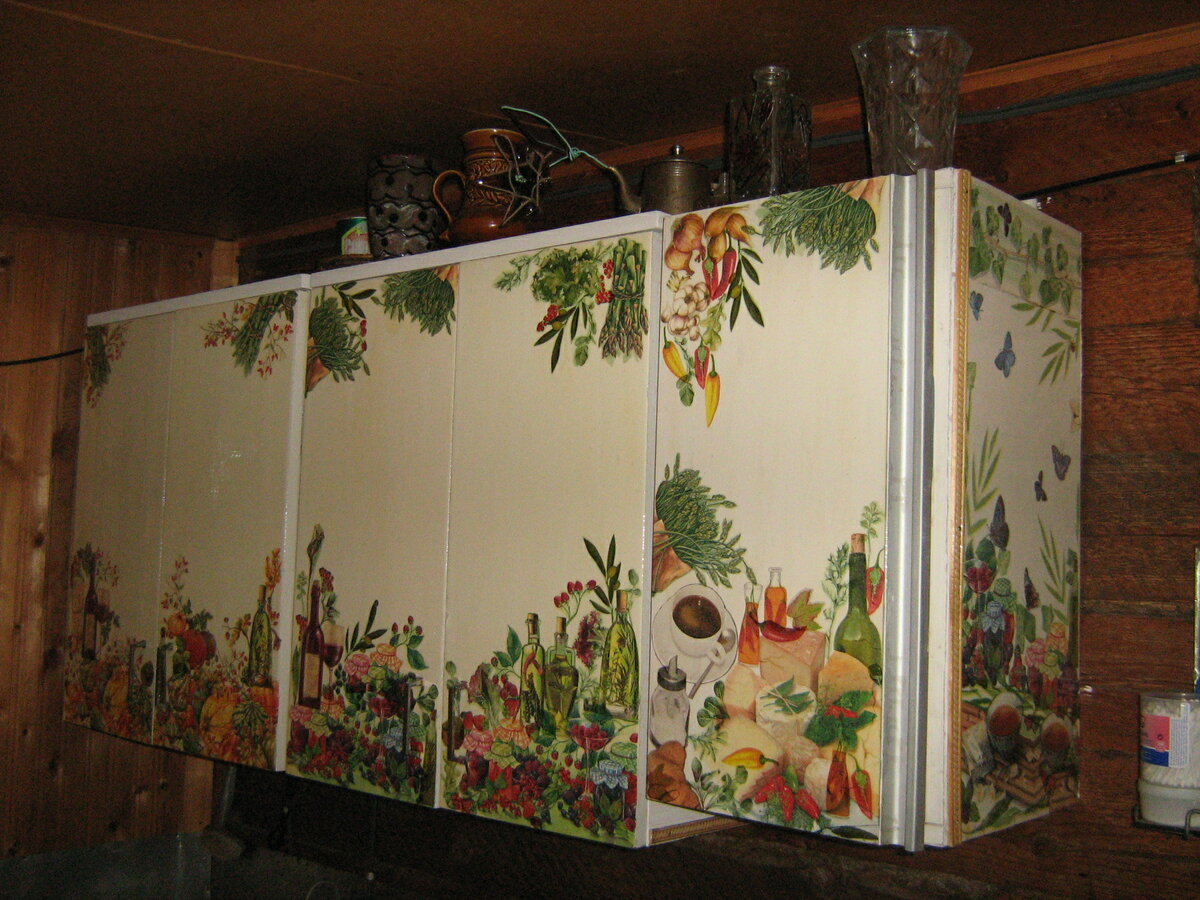
Note! For this method, it is better to prepare spare drawings in advance, because the first time it may not work.
It is possible to smooth out irregularities only with a soft brush, applying light pressure. The glue can be applied in one layer. After it has dried thoroughly, varnish is applied. It is already being used in two layers. Irregularities can be sanded with sandpaper.
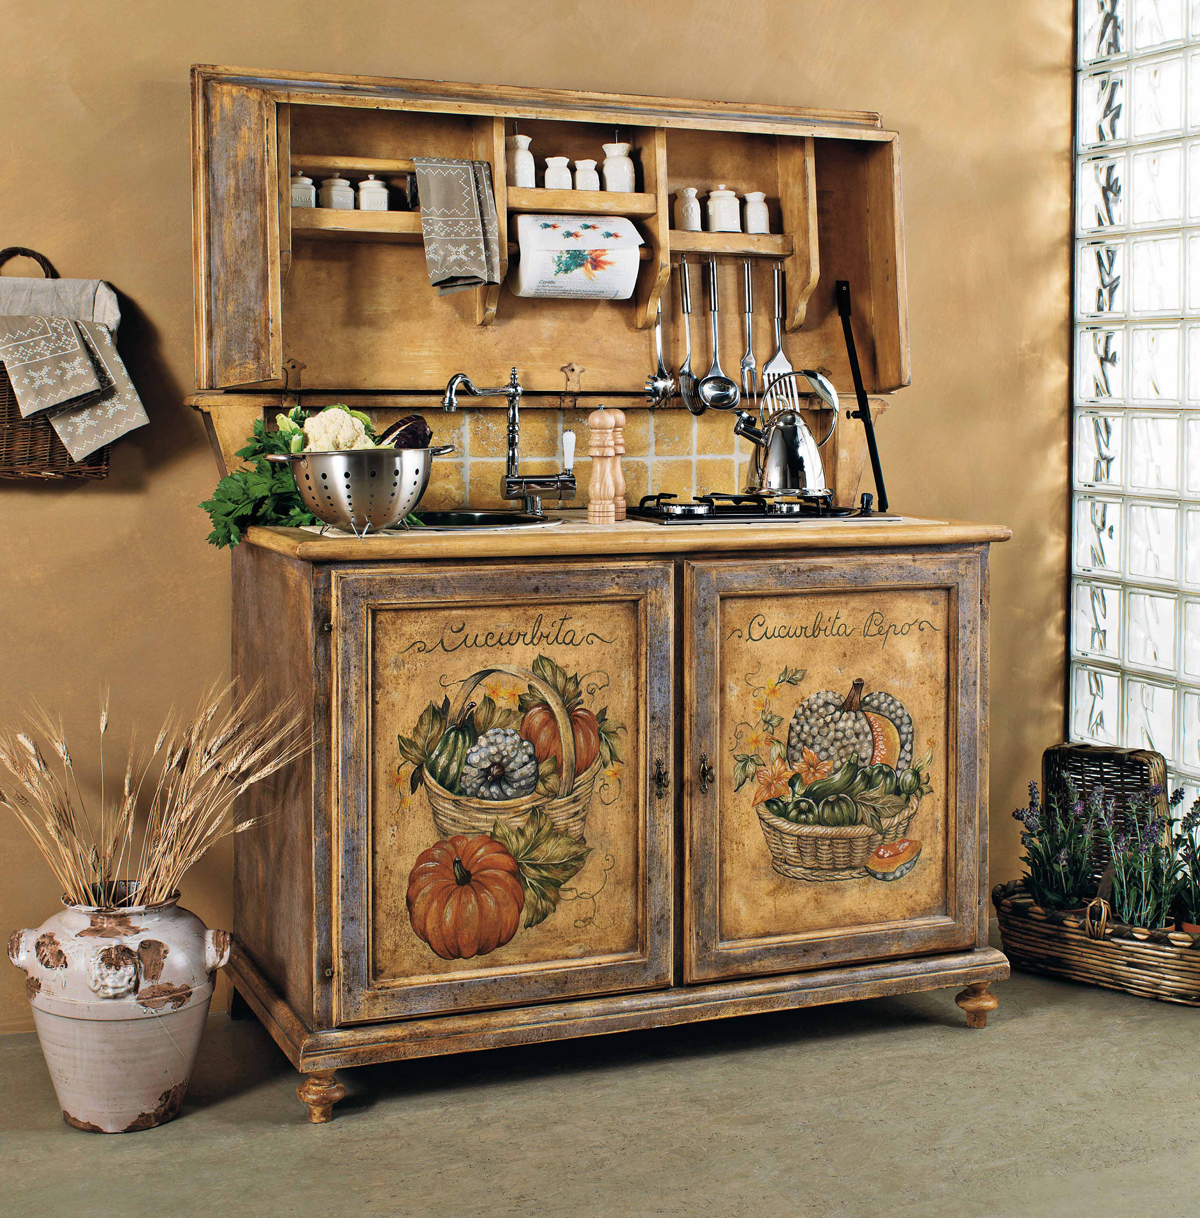
Decoupage of an old cabinet with the effect of aging with craquelure and bitumen
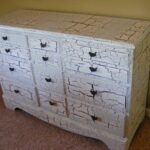
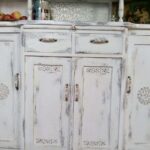
The craquelure effect is one of the simplest, but at the same time it is distinguished by its special beauty. This is the creation of artificial paint cracks. Bitumen is a recreation of the imitation of a wooden surface.
For craquelure, you will need a special craquelure varnish, it is better to use a two-component one. The cabinet must be covered with a patinated varnish and allowed to dry completely. To get a small one, you need to dry it out, and for large ones, do not dry it. After that, the selected places are covered with craquelure varnish. After this layer dries, the cracks will appear on their own.
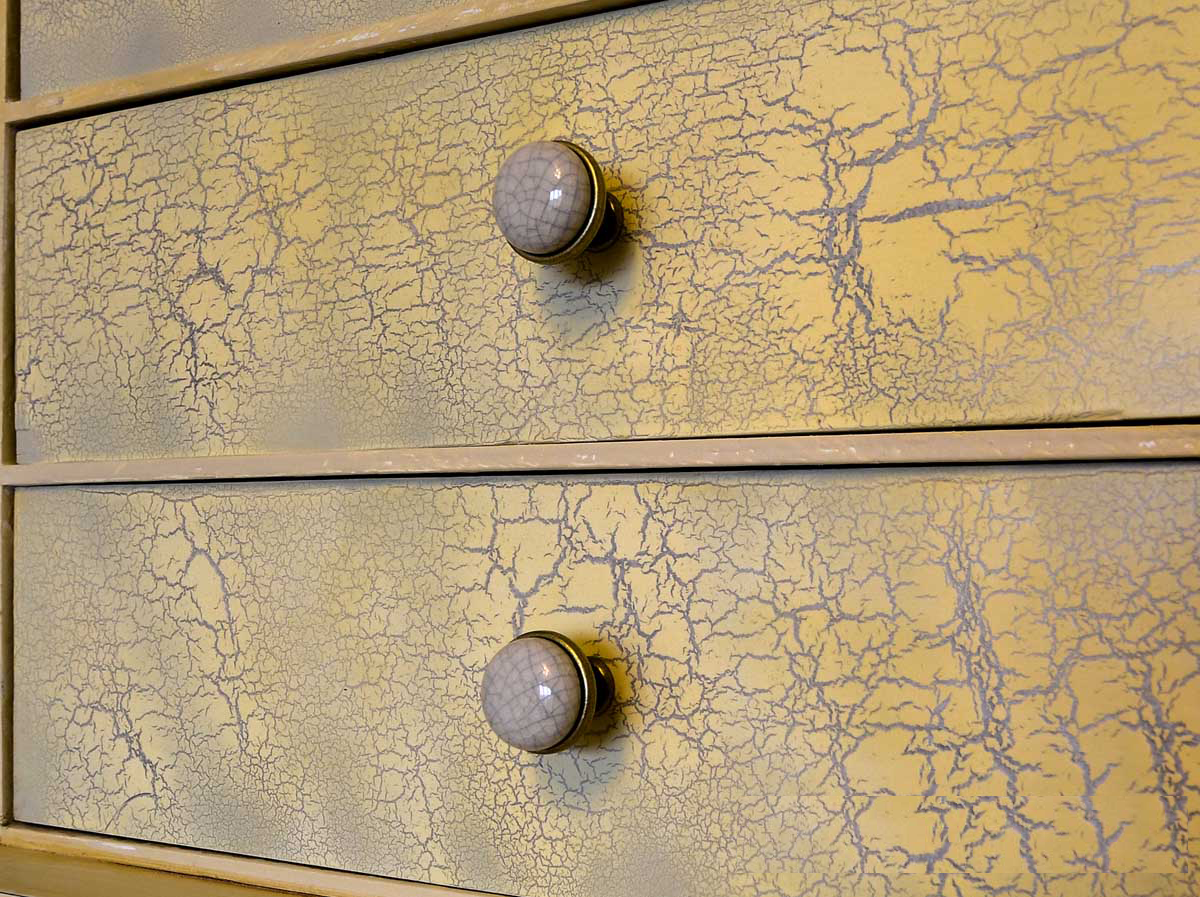
For bitumen, you will need to sand the surface of the cabinet. Cover with acrylic paint imitating wood. You can dry it naturally or with the cold air of a hair dryer. Then a water-based varnish is applied and also dried. Bituminous varnish is applied only with gloves on with a sponge.
The surface will be sliding, so it will be easy to draw an imitation of a solid wood.
Cabinet Decor Ideas
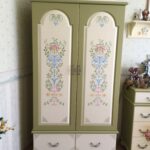
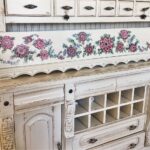
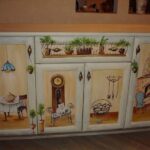
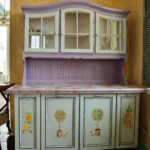
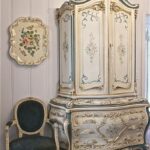
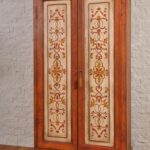
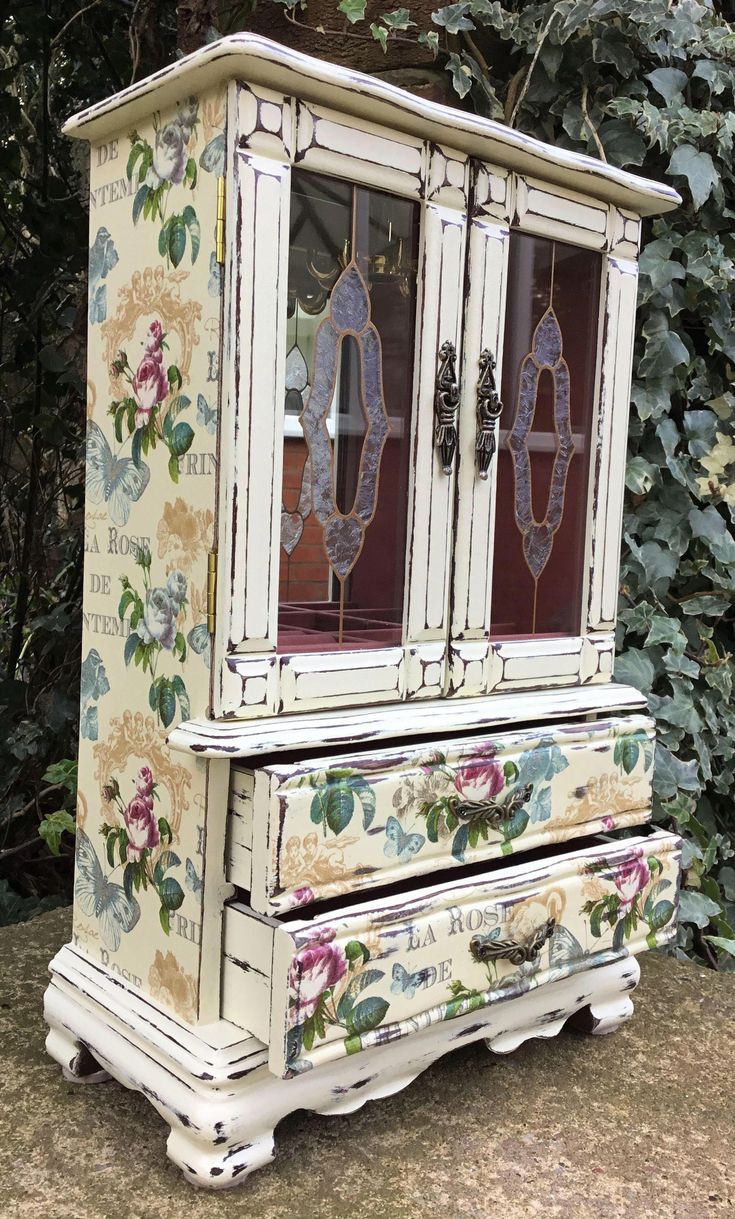
Decoupage creates unique and original things that will be in a single copy from their owner. Most often, such drawings are used for certain styles: shabby chic, Victorian, simple city of Provence and loft. It is better not to mix styles, as a certain one has its own motives.
Helpful hints and tips
It is better for novice craftsmen to train on denser materials and small things. Only after that, start decorating the cabinet. It is important to feel the technique and understand all its nuances in practice. This is exactly how you will achieve the desired result. Each layer of paint and varnish is applied 2-3 times for reliability. This is especially true for cabinets that are often used.
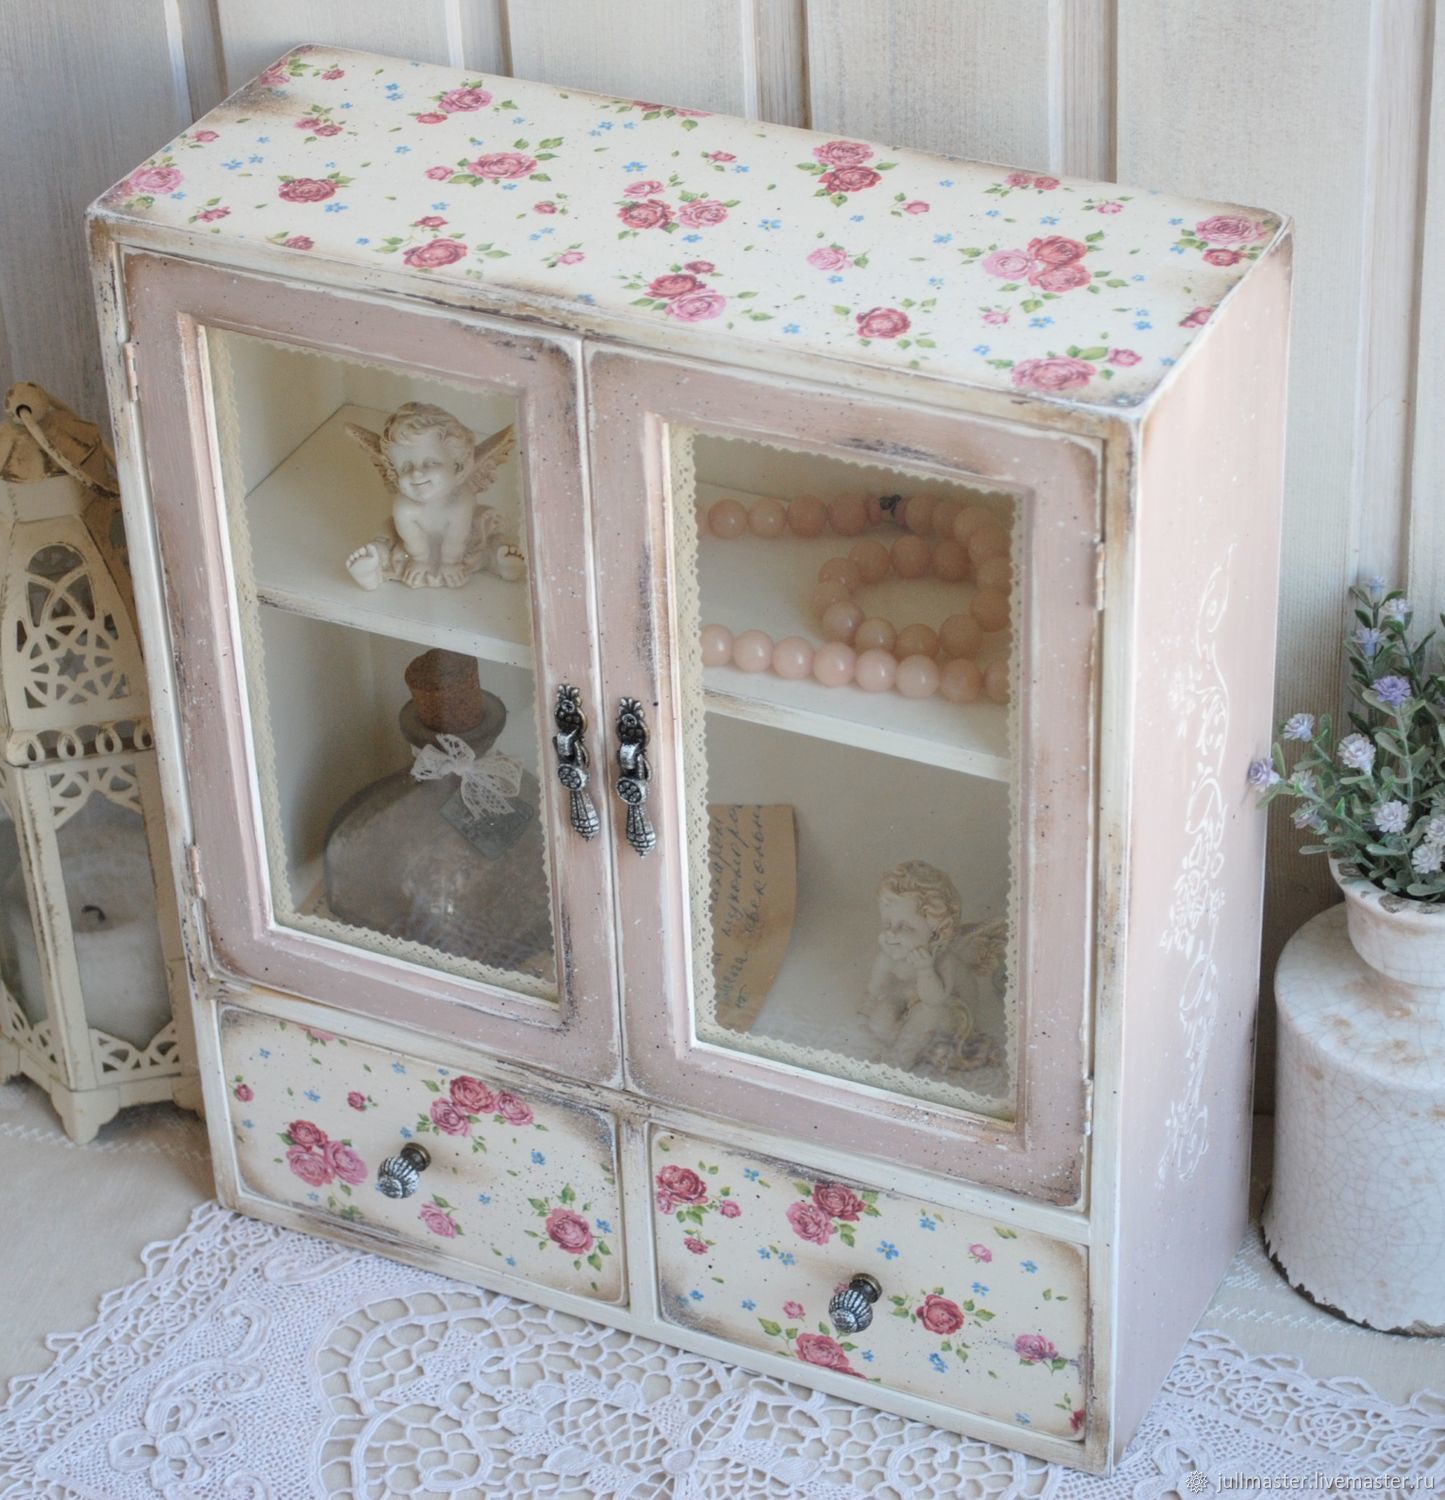
Do-it-yourself decoupage of a cabinet is a very interesting activity. Using this technique, you can create your own unique interior items at no extra cost.
Video: an example of decorating a cabinet
