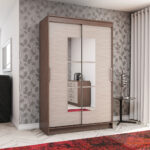
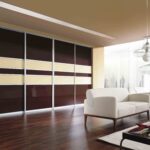
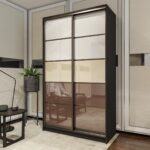
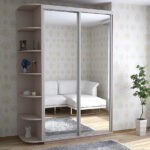
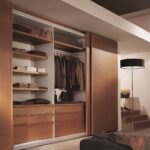
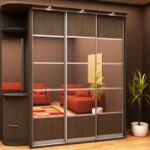
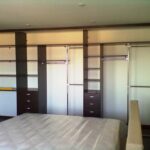
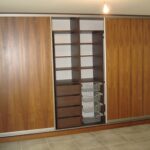
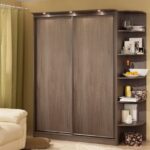
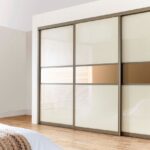
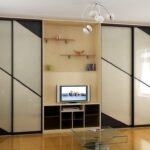
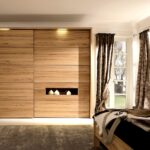
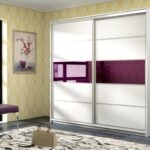
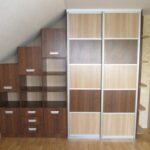
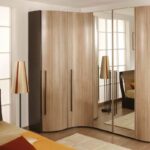
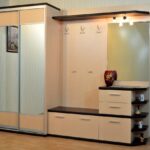
A step-by-step description of making a wardrobe with your own hands
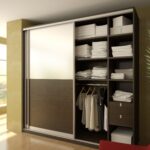
The sliding wardrobe is an extremely popular type of wardrobes due to its spaciousness, compactness and functionality. There are quite a few models of this design on the market, however, if the parameters of the room are non-standard or you want to get a unique product, then the wardrobe can be made independently.
- Definition with the type of wardrobe
- Material selection
- Instrument preparation
- Step-by-step description of the assembly process
- Fittings and sawing
- Fastening the frame and shelves
- Painting and installing a mirror on the door
- Door assembly
- Manufacturing of inner boxes
- Examples of placing a wardrobe in the interior
- Video: do-it-yourself wardrobe
- Photo: design options for wardrobes in the interior
Definition with the type of wardrobe
Structurally, all sliding wardrobes are divided into two types:
-
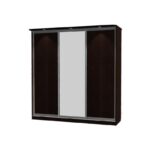
Hull. Such furniture is formed from several elements, therefore its second name is modular. A feature of the cabinet cabinet is the ability to complement the design with a variety of external and internal elements at will. Initially, the product is designed in such a way that all the parts are in harmony with each other and combined with the body.
The body requires a bottom, roof, side and rear walls. All elements can be made in the form of removable horizontal shelves on which things will be placed. The design can be supplemented with a drawer designed for shoes or accessories.
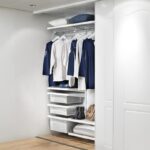
- Built-in. Their distinctive feature is the special ease of hand-made execution with the use of materials at hand. This is possible, since the cabinet is installed in niches or places where it is impossible to place standard furniture. For the construction of such a cabinet, a one-piece body is not needed, and usually it lacks one or more walls, which are replaced by the ceiling, floor or walls of the room. Internal filling elements are made in the same way as cabinet furniture.
Note! A do-it-yourself built-in wardrobe, unlike a cabinet wardrobe, cannot be transported, since it is attached directly to the wall.
Sliding wardrobes differ in shape and can be as follows.
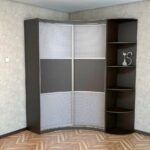
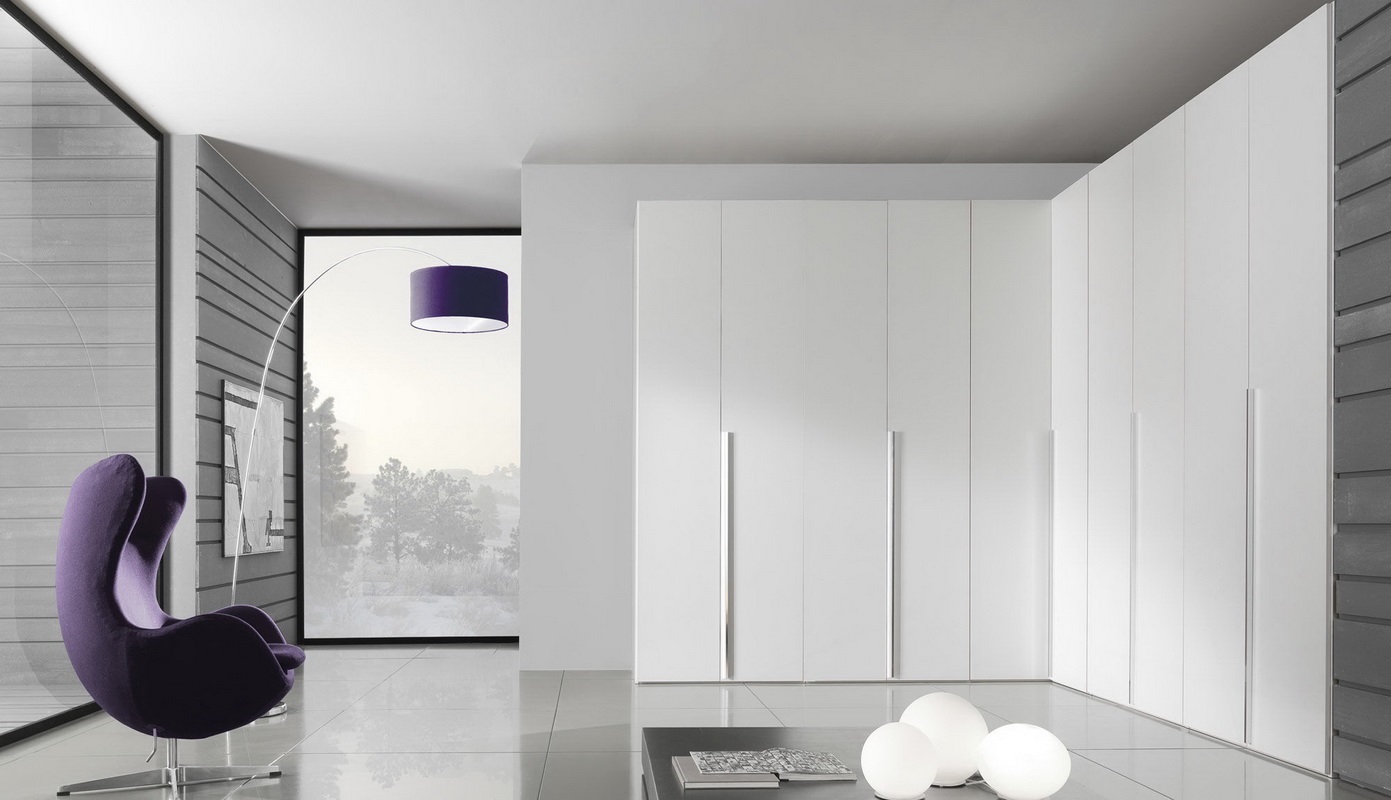
L-shaped
They look like a construction of a pair of separate cabinets located along the walls and connected at right angles in such a way that the letter "G" is formed. These housings can be either equal in size or asymmetrical. L-shaped corner cabinets are the most compact type of furniture, and therefore are optimal for small rooms.
Radial (radial)
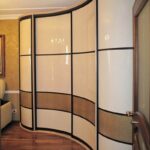
They differ in the facade, which has the shape of a part of a circle, the center of which is displaced into a corner. Such a cabinet may have:
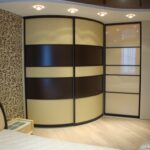
- Concave doors when the radius is inward to avoid cluttering the room.
Note! This design is optimal for arranging deep niches.
- Convex facade, in which the radial surface is brought out, which allows you to create an original appearance, but takes away a significant part of the usable area.
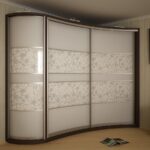
- Combined doors, combining the features of concave and convex facades, resembling a wave outwardly and looking very impressive in the interior.
There are also semicircular corner cabinets.They are entrusted with the role of a miniature dressing room, and therefore they are usually installed in extremely cramped rooms. The main features of radius cabinets are the original appearance and the absence of sharp corners. This allows them to be used in interiors in which smooth lines are not enough, and in children's rooms.
Trapezoidal
This type of wardrobe externally resembles a trapezoid, which can have a different shape - isosceles or rectangular. In this design, fewer doors are provided than in L-shaped models. This, along with other design features, leads to a decrease in the cost of the finished product.
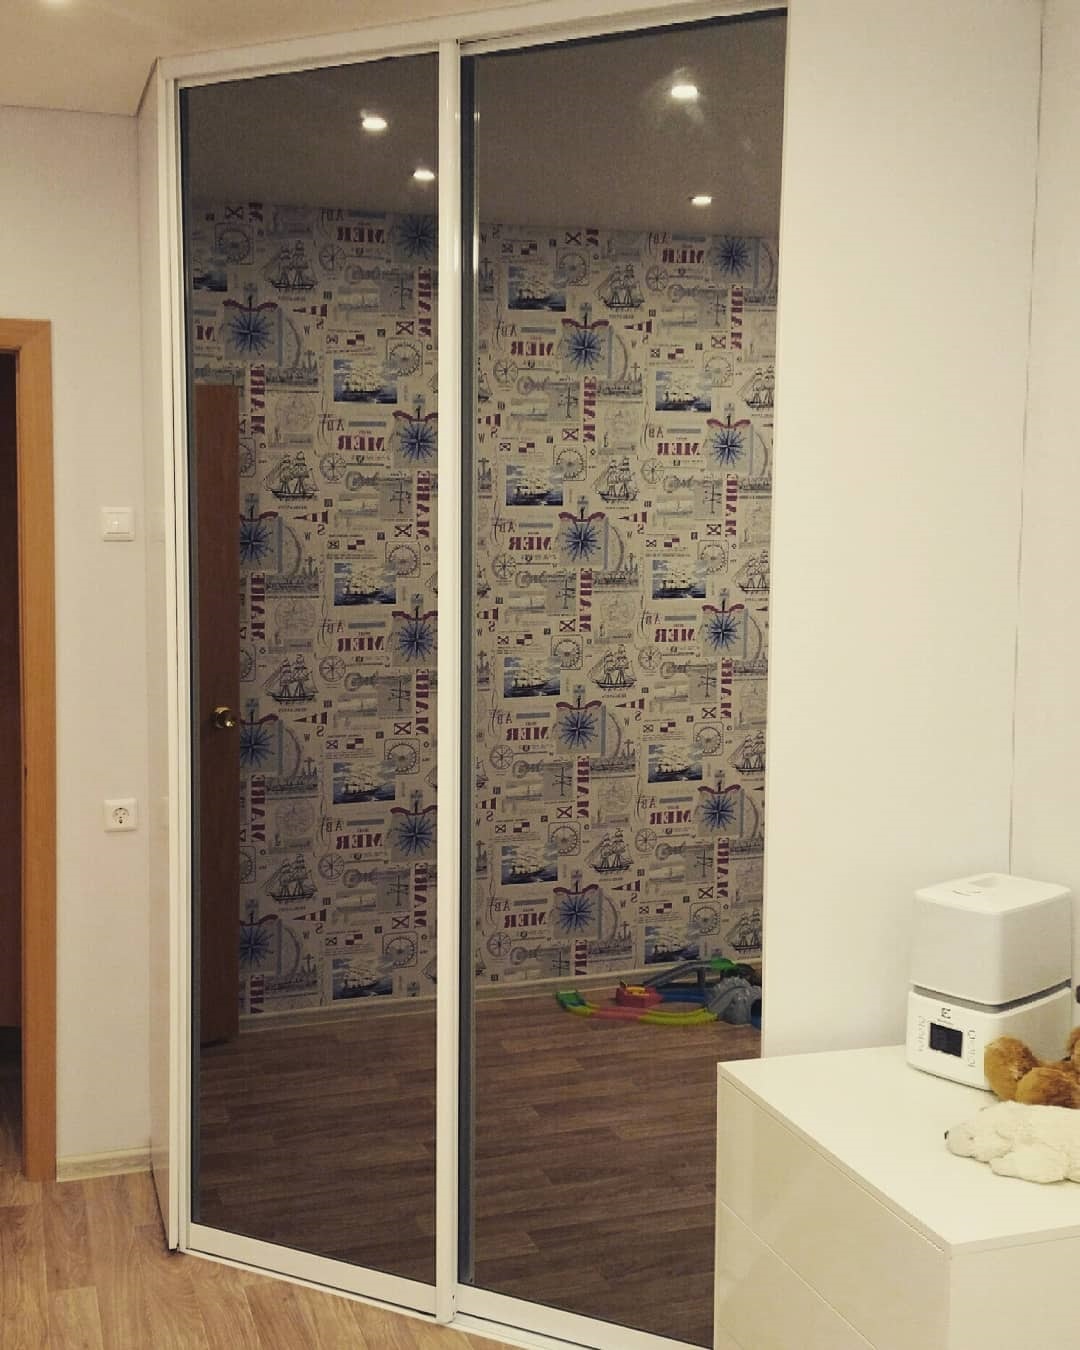
Note! Trapezoidal cabinets occupy a fairly large area, while having a relatively small capacity.
Five-walled (pentagonal)
In shape, the structure resembles an equilateral pentagon. Such a model is similar to a trapezoidal one, but differs in an additional side wall. The five-walled wardrobe is the most massive, very deep and convenient to use. This made it quite popular, especially for placement in the bedroom, because everything from personal belongings to household appliances can be stored in the structure.
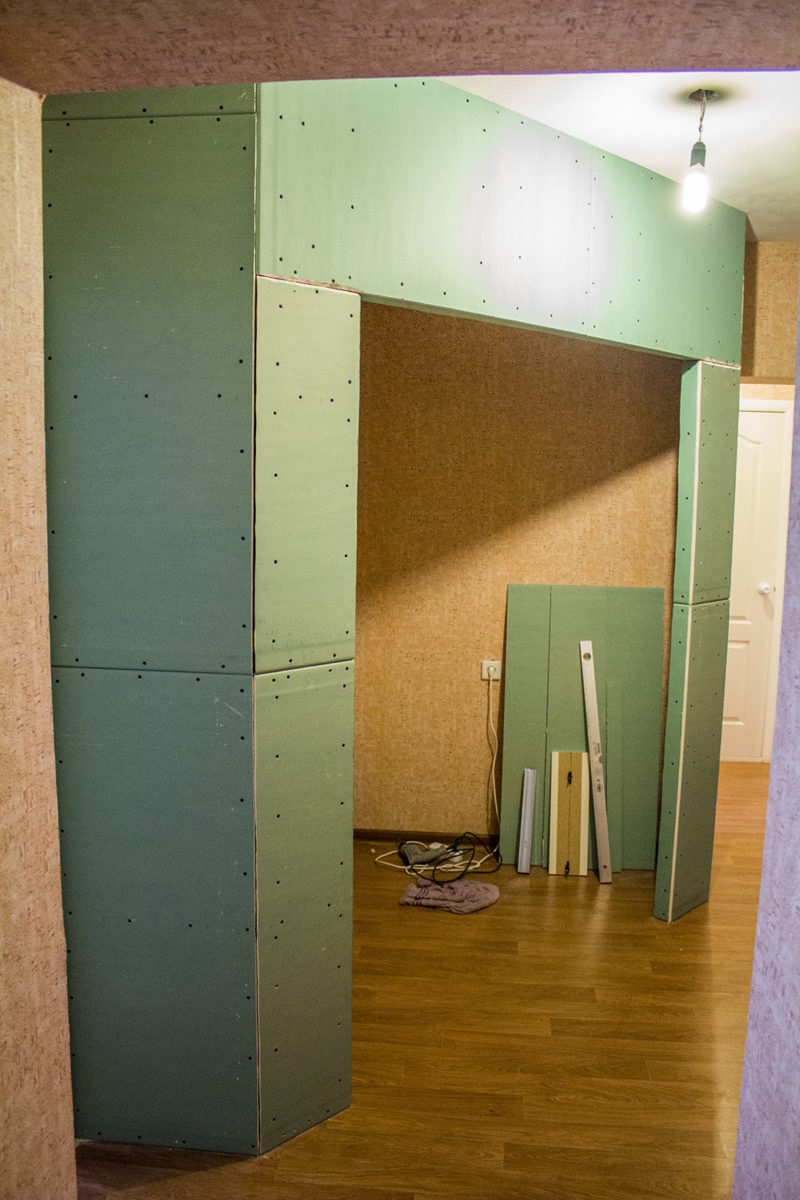
Diagonal (triangular)
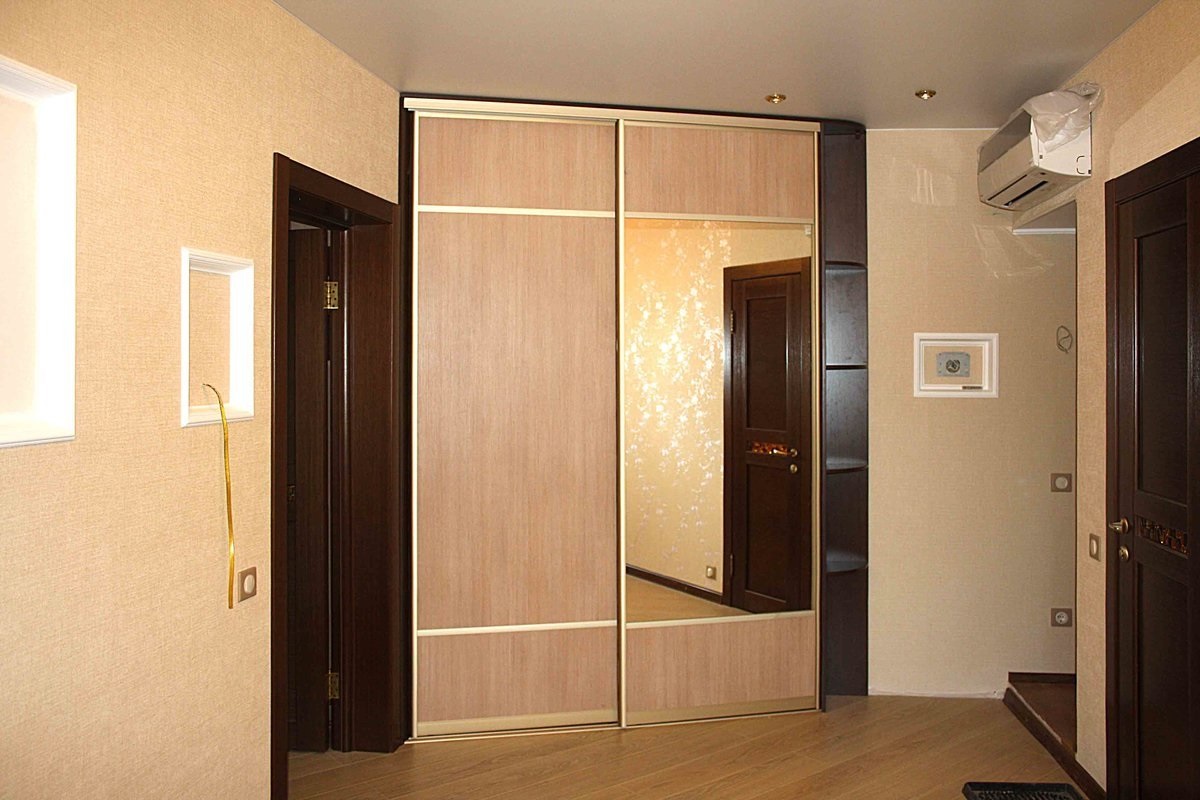
When viewed from above, such a cabinet looks like a triangle. It harmonizes well with the rest of the room's furnishings and holds a fairly large number of things, but at the same time, the diagonal wardrobe takes up a significant amount of space. Because of this, it is recommended to install it in rooms with sufficient dimensions.
Material selection
The choice of material directly determines the technology by which the cabinet will be manufactured. The options can be as follows.
Plywood
It is a multi-layer material characterized by high strength and wear resistance. It is environmentally friendly and therefore harmless to health. Plywood is produced in solid slabs, which simplifies the assembly process.
Chipboard
Sheets of this material are most in demand for creating home furniture. This is due to the fact that chipboard combines good quality and affordable cost. The material is resistant to changes in moisture and temperature, aggressive environmental influences and is characterized by increased strength.
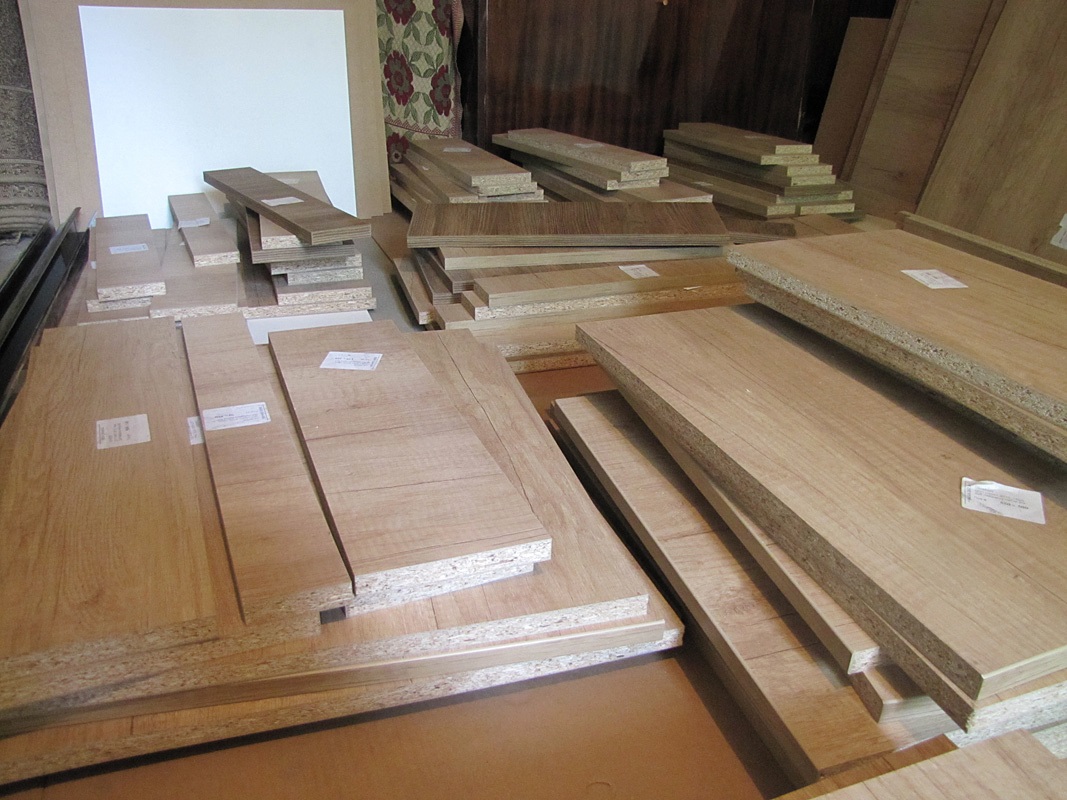
Note! When choosing a chipboard, you should check the safety certificates to exclude the possibility of the release of harmful substances.
Wood
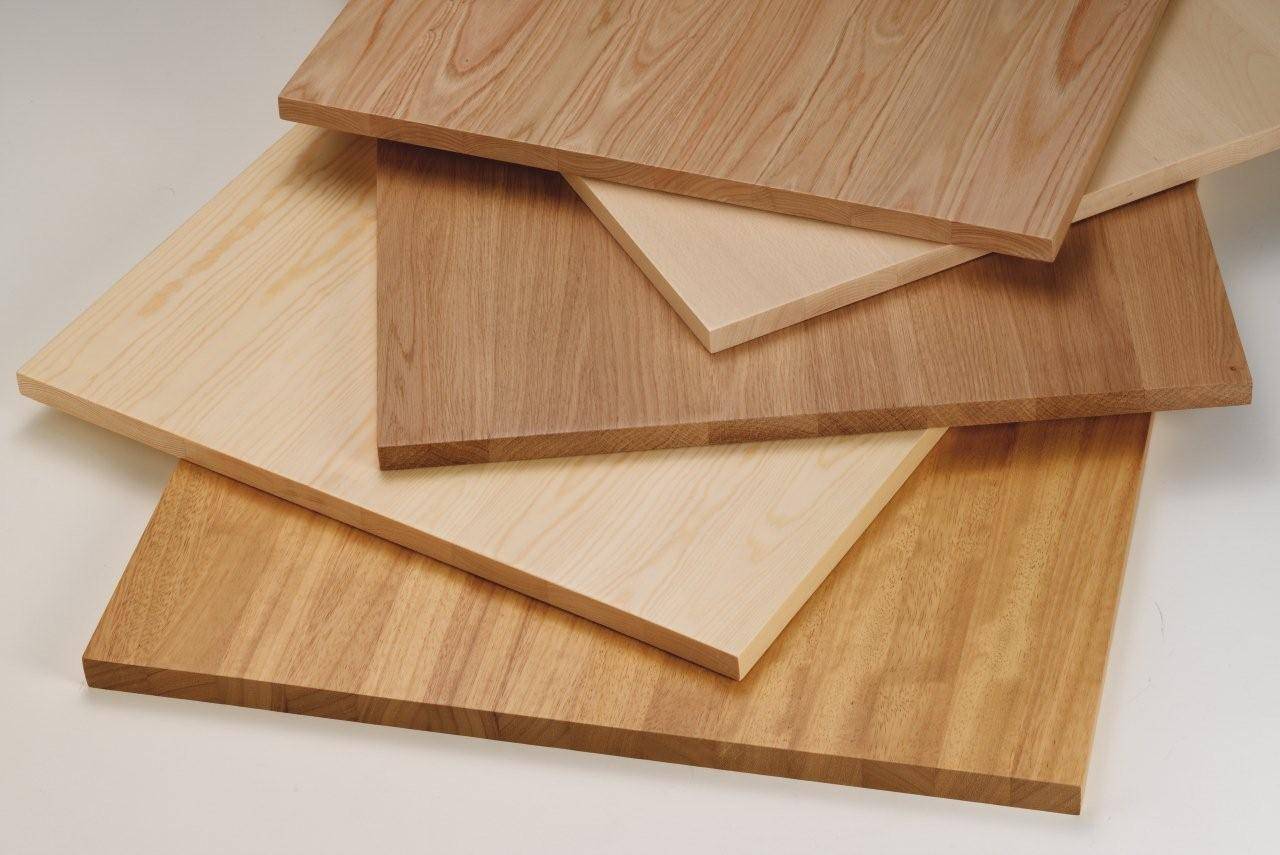
Solid wood planks of various species can be used. They are produced in different size lines, have different processing and quality of joinery. For the construction of the cabinet, planks of birch, pine and oak are considered optimal, since these species are distinguished by their strength and resistance to changes in air humidity and temperature.
Instrument preparation
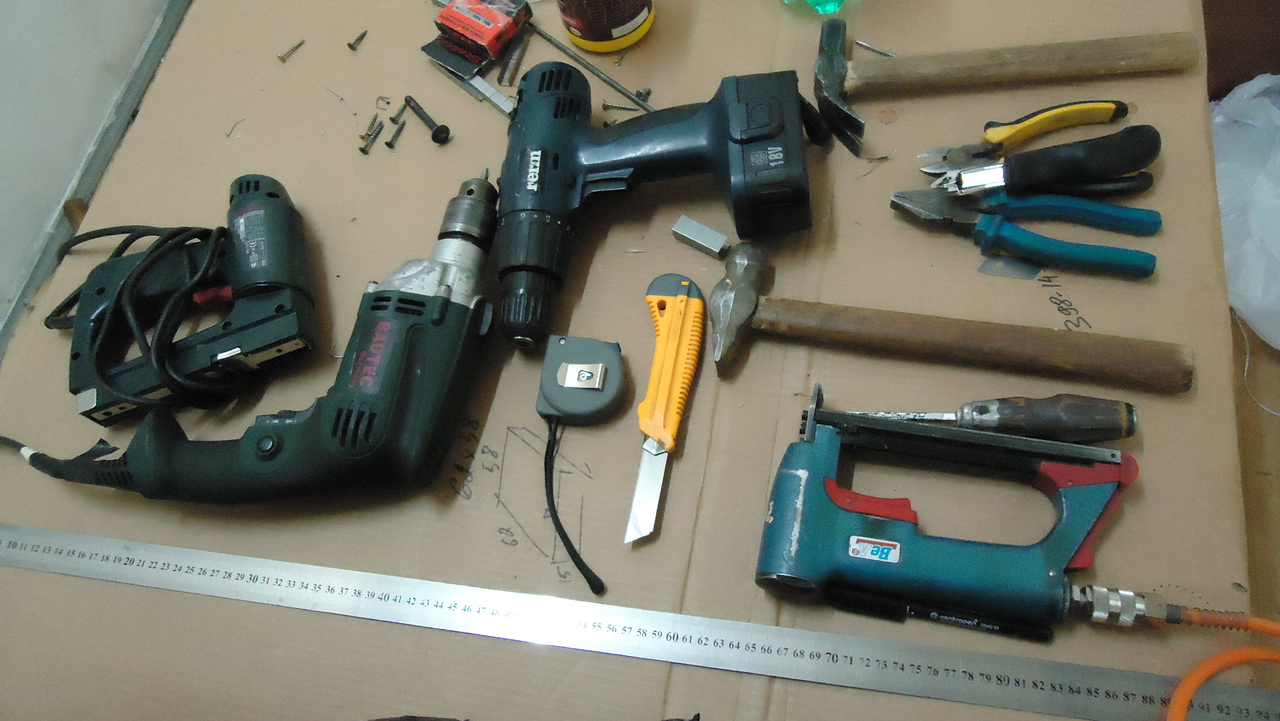
To work, you will need the following tools:
- a sander required to polish the surface of the wood;
- hand saw, with the help of which wood is cut;
- ruler or meter tape required for measurements;
- goniometer used to measure tilt angles;
- metal corners necessary to fasten parts of the structure;
- wooden dowels used for fastening the product and its internal filling;
- mastic, with which the structure is sealed;
- blockboard used to create the shelving;
- water-based acrylic paint that allows you to give the product the desired color.
Step-by-step description of the assembly process
Before you make a built-in wardrobe with your own hands, using step-by-step instructions, you need to mark the location in the room and draw up a drawing. In the diagrams, it is required to take into account the width and height of the structure, therefore, first you should measure the intended place of its installation using a tape measure.
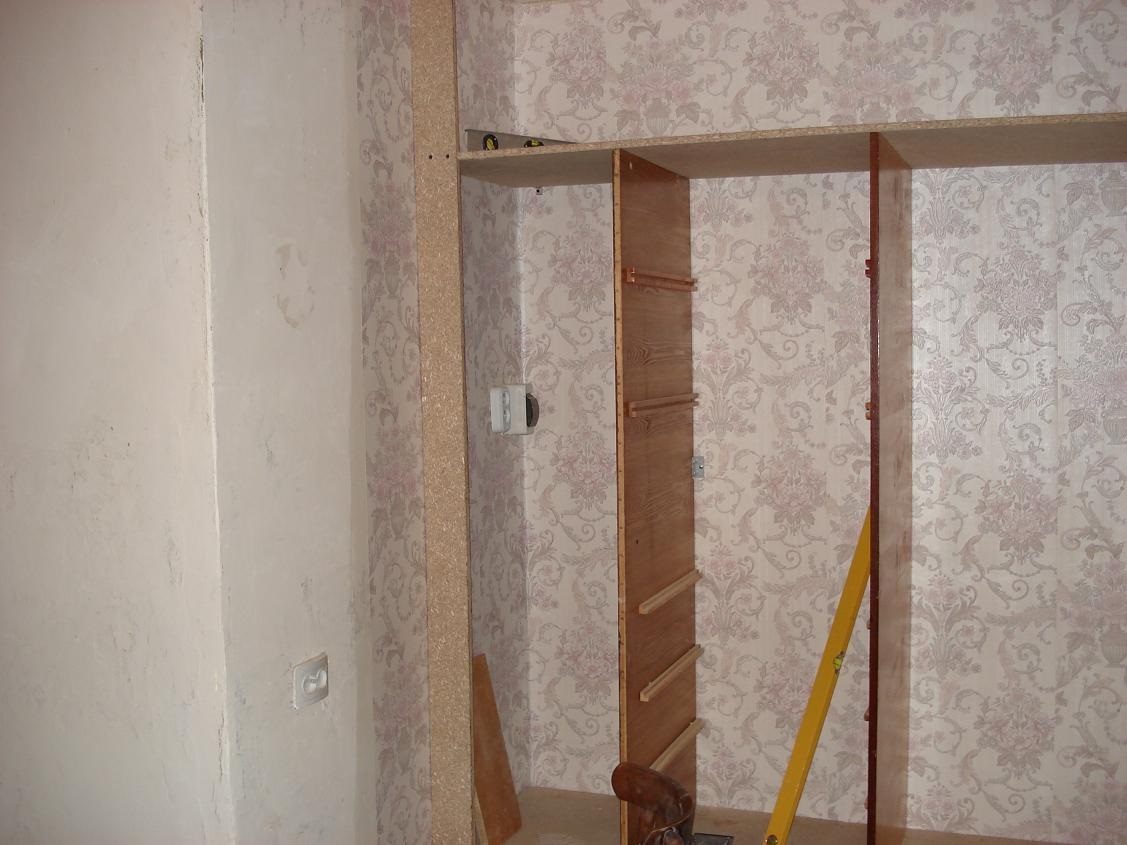
When taking measurements, it is important to take into account the distance from window sills, baseboards, piping and electrical outlets. Ignoring these aspects can lead to the fact that the cabinet will either not fit in the planned place, or will serve as an obstacle when opening doors or approaching an outlet. All the features of the apartment should be taken into account, such as uneven walls, a curved ceiling and floor.
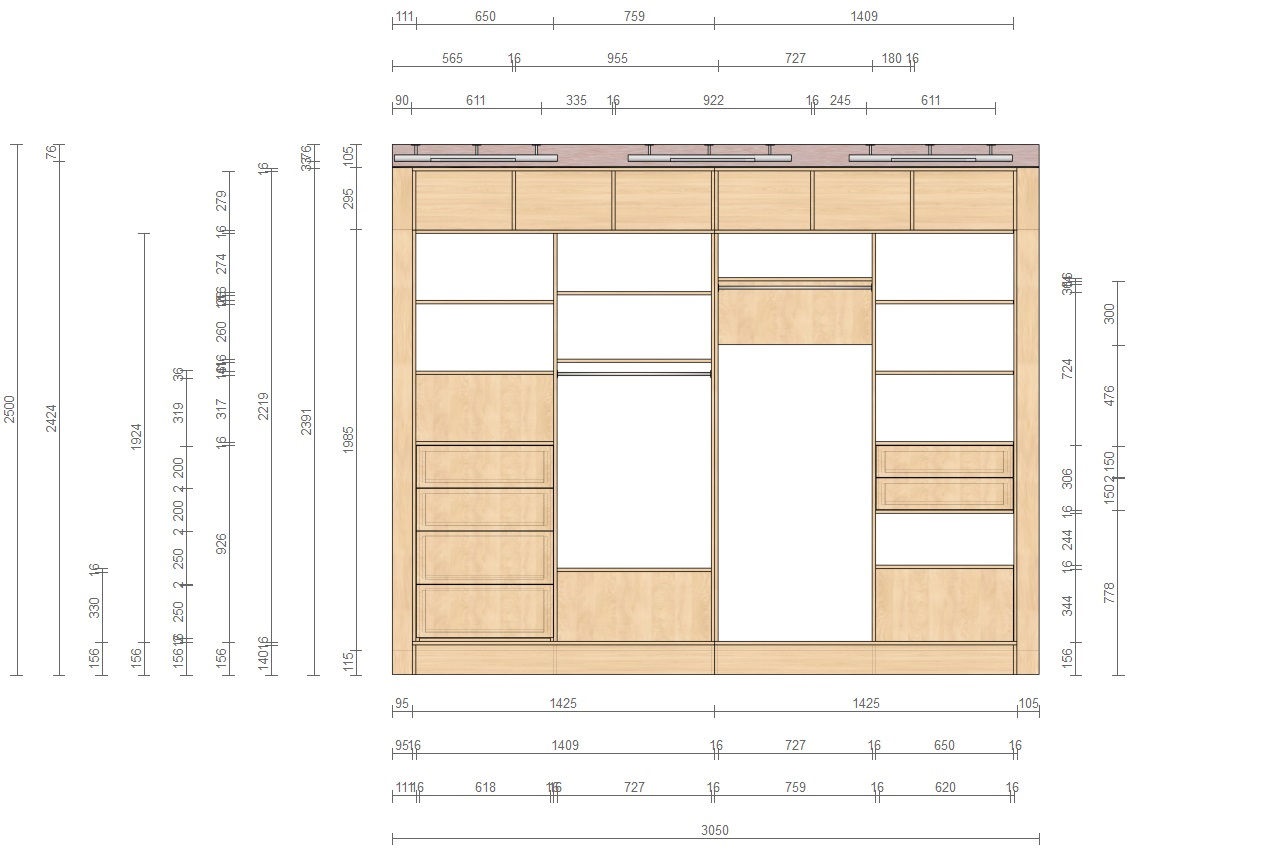
When creating a wardrobe with your own hands, you will need drawings and a description for them. They should include:
- Front view. This sketch includes the height and width of the structure, the size of the sections, the height of the base / plinth, and the distance of the shelves. When drawing up a diagram, it is important to take into account the selected thickness of the walls of the frame and filling. On the sketch, you need to specify all the points at which the shelves and doors will be attached.
- Side and top view. In this projection, you specify the depth of the frame and shelves. When applying the values, it is important to take into account the door fastening.
Note! The shelves should be placed at a distance of 10 cm from the edge of the facade so that the walls of the product do not interfere with the installation of fastening equipment.
Additionally, in the drawing, it is required to specify the rounding of the shelves using the radius.
In addition to the indicated values of the body, it is necessary to fix the dimensions of the elements of the internal filling on the diagram. The shelves can be of various configurations and thicknesses, but must be of the correct size.
Fittings and sawing
After preparing the drawing, structural details should be made. To do this, using a meter and a pencil, the dimensions of the following elements should be transferred to a chipboard sheet:
- top part;
- a pair of side walls;
- bottom;
- back wall;
- shelves.
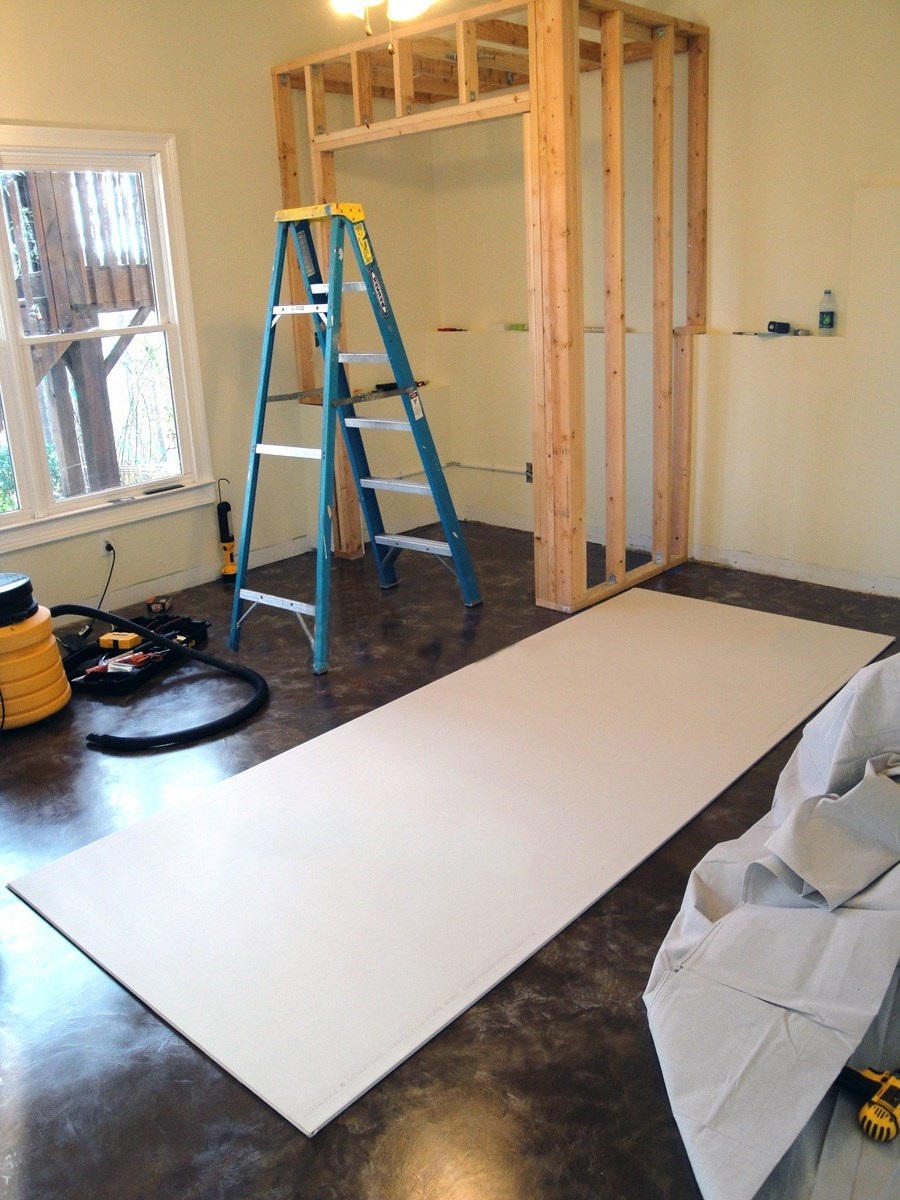
Using a saw, it is necessary to carry out a phased cutting along the marked lines.
Important! When cutting, take into account the thickness of the saw so that the furniture parts do not have a size smaller than expected after completion of work.
After the elements have been prepared, they need to be lined with melamine film. It must be put on the structural elements and heated with an iron or a building hair dryer, and after setting, remove excess residues with a clerical knife.
Fastening the frame and shelves
It is most convenient to assemble the cabinet in a pre-marked place where it is planned to be placed, since this will prevent damage to the walls and floor of the room during the transportation of finished furniture. First, on the marked floor, it is necessary to lay sheets of cardboard on which the structure will be assembled.
The assembly procedure is as follows:
- Place the first side sheet on the floor.
- Fix the fasteners vertically to connect the top and bottom of the cabinet.
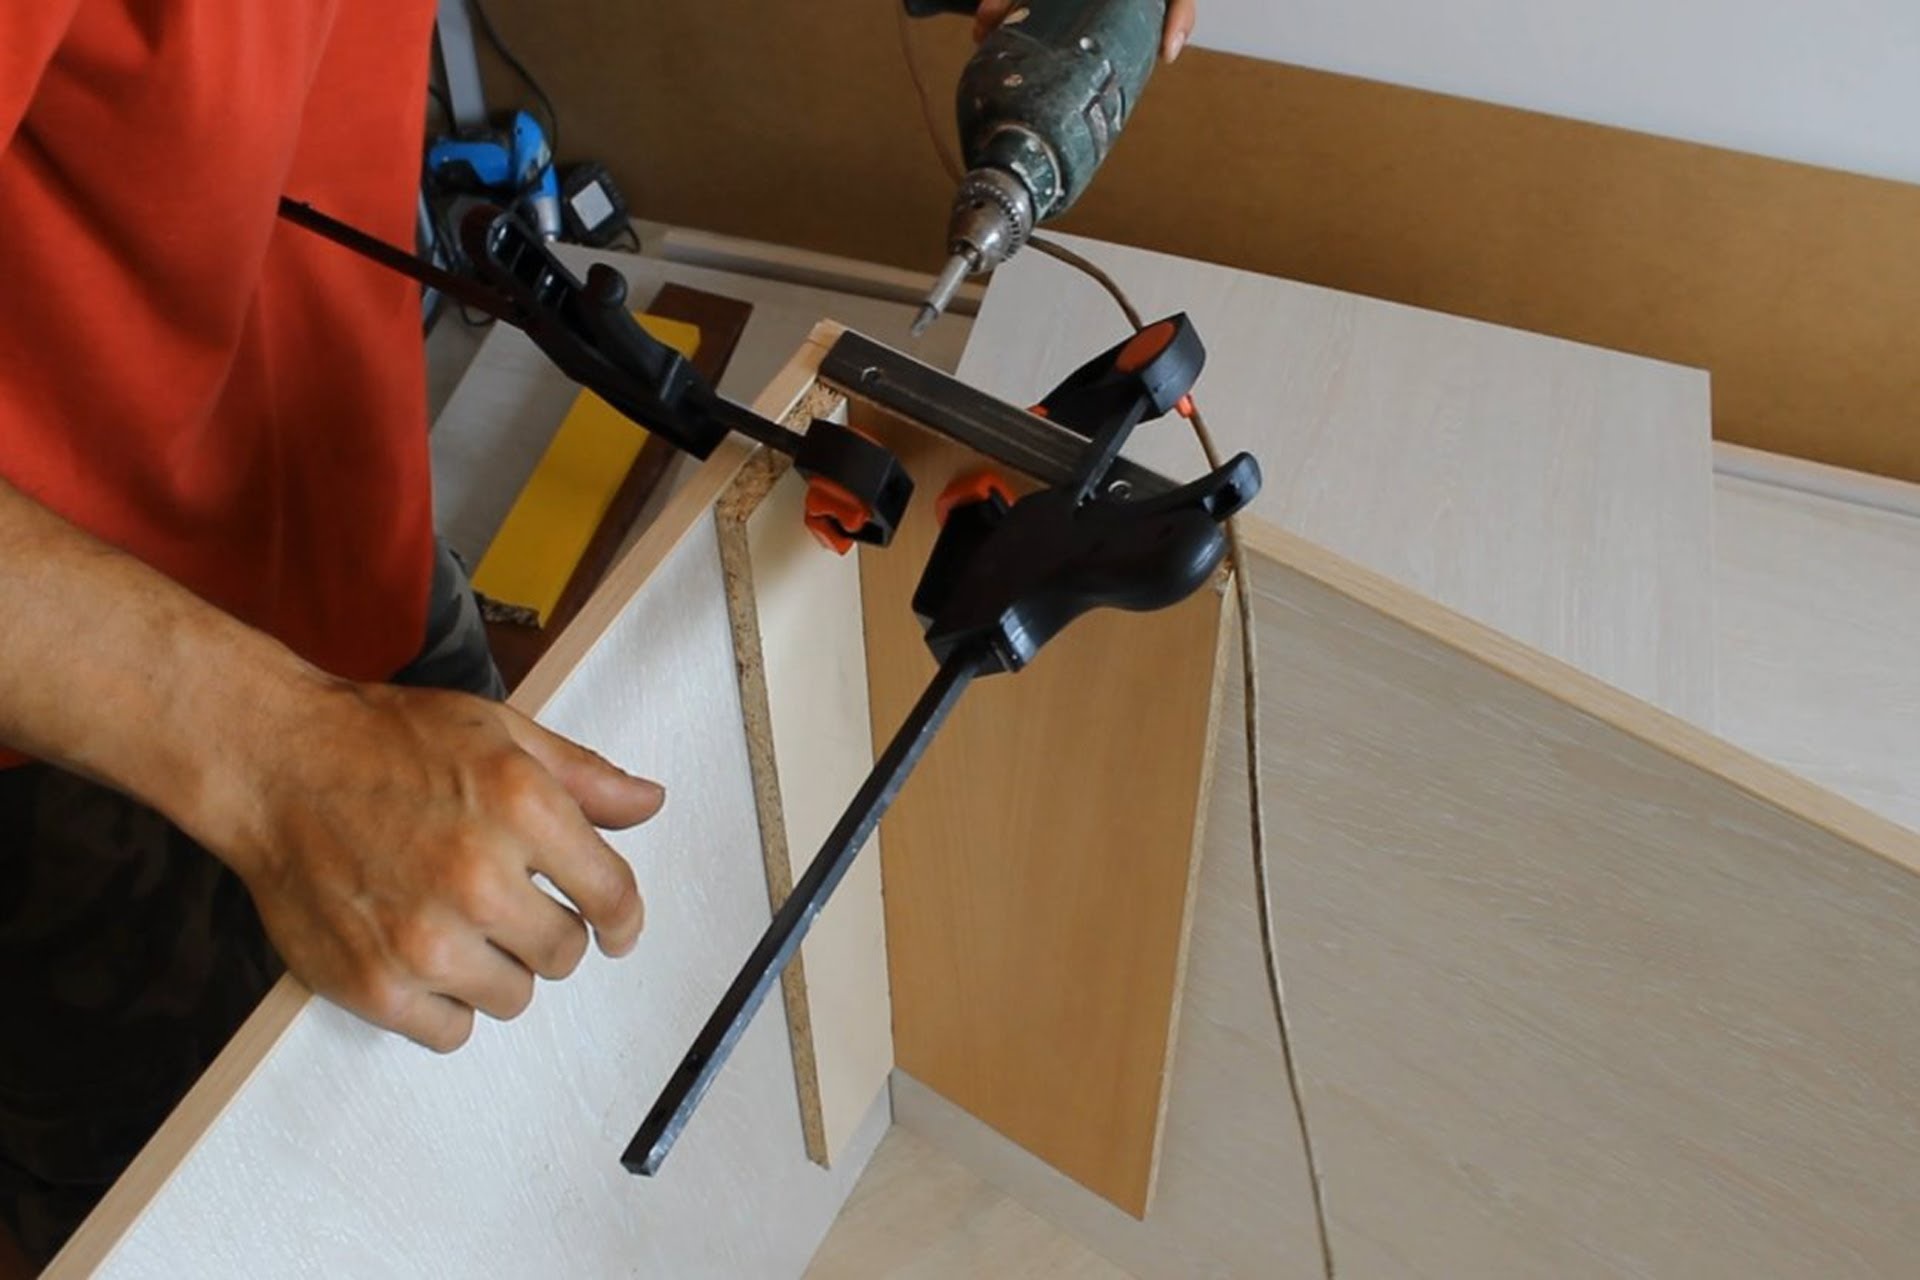
- Install and fix the top and bottom of the structure on the sides.
- Place and secure the second side cabinet sheet from above.
- Check the strength of the fastening elements.
- Turn the cabinet upside down on the floor, then lay and fix the backdrop.
- Lift the cabinet and install it tightly against the wall, in the previously designated places.
- Using a level, achieve an even position of the structure. Next, you need to install the doors and filling.
Painting and installing a mirror on the door
If you plan to paint the cabinet, then this should be done before installing the shelves. This will allow the door leaves to dry out during the installation of the inner filling.For sliding wardrobes, it is optimal to use acrylic enamels, which give a rich color and shine to the surface and are easily washed.
Note! If the structure is coated with linseed oil, then the surface should be primed before painting to ensure even application and good paint adhesion.
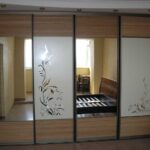
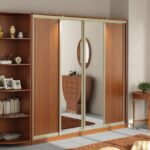
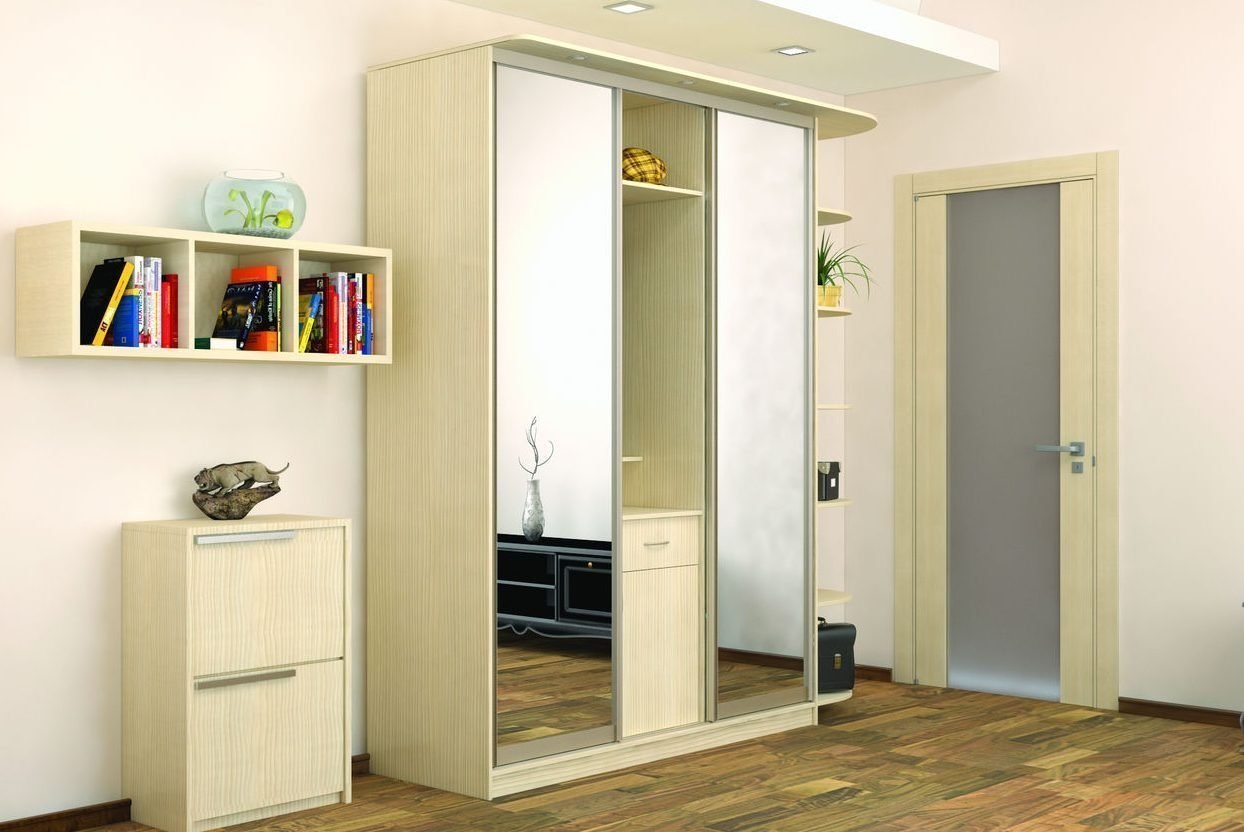
To cover the interior surfaces, you should choose a material that is easy to wash and does not leave marks on clothing. Preference should be given to high-quality options so that you do not have to repaint soon. After painting, if desired, a mirror can be attached to the doors, which can be either full-length or small or fragmentary.
Door assembly
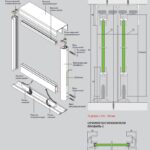
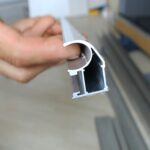
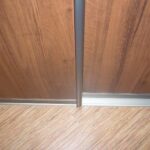
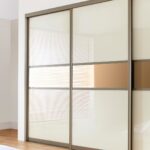
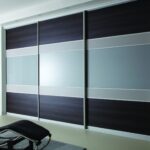
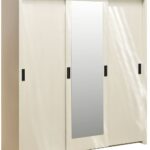
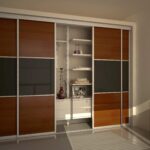
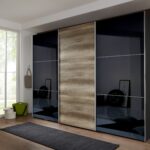
Sliding wardrobes are characterized by the use of sliding doors. They look like a sliding system, in which, when the cabinet is opened, one door slides into the other. For the installation of this type of structure, special skills are required, therefore, before starting the installation, you should familiarize yourself with the complete set of doors and the position of the parts:
- wheels for movement, installed at the bottom and top of the doors;
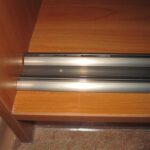
- lower guide structure, the grooves of which are used to move the wheels;
- upper suspended structure for guiding the canvases;
- cassettes designed for the installation of the canvas;
- closer and locks to facilitate door opening.
This design can only be used in cabinet furniture equipped with a threshold. If you plan to install a built-in cabinet, then you do not need to fasten the lower guide elements on the floor.
Manufacturing of inner boxes
To make boxes you need:
- side walls made of wood or chipboard;
- fiberboard bottoms;
- guides.
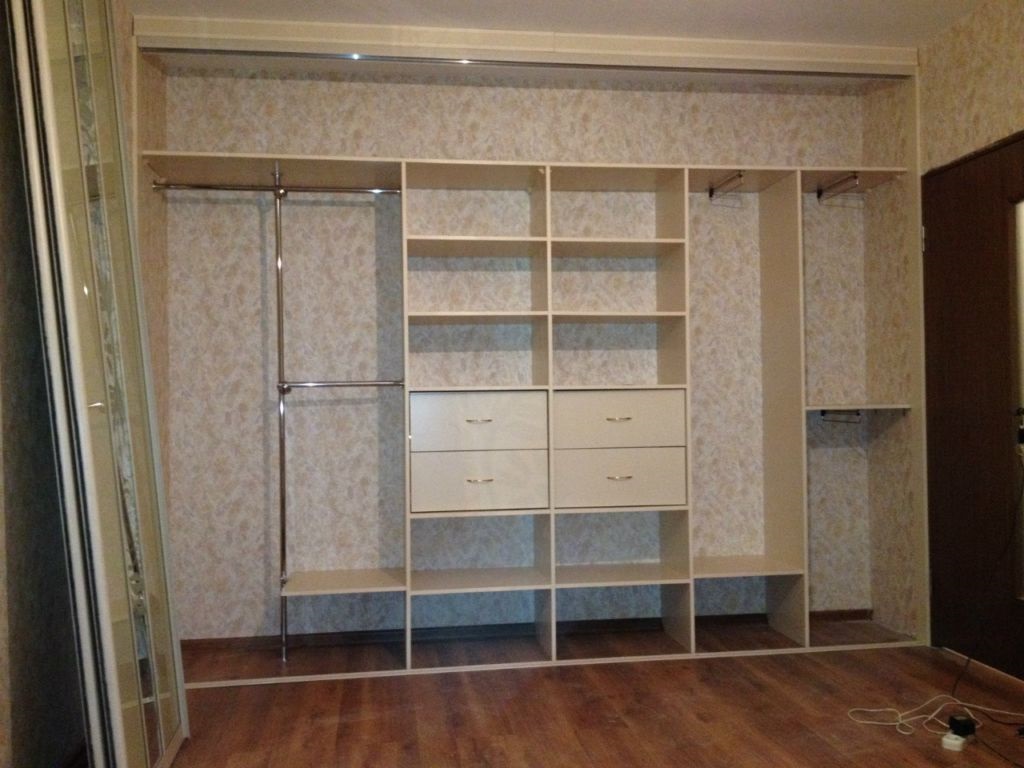
When installing boxes, it is advisable to use cut-in handles. If ordinary ones are used, then the boxes must be moved deeper into the furniture, since otherwise they will interfere with the facade and the cabinet will not be able to fully function.
Examples of placing a wardrobe in the interior
In the hallway or corridor
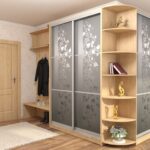
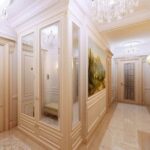
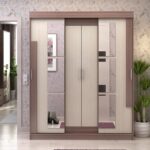
The sliding wardrobe is optimal for placement in the hallway, since it allows you to create a spacious storage space even in a modest space. In such a closet, you can store not only outer and seasonal clothes, but also sports equipment, accessories and toys used by children for walks. The corner design can replace all other bulky storage systems in other rooms.
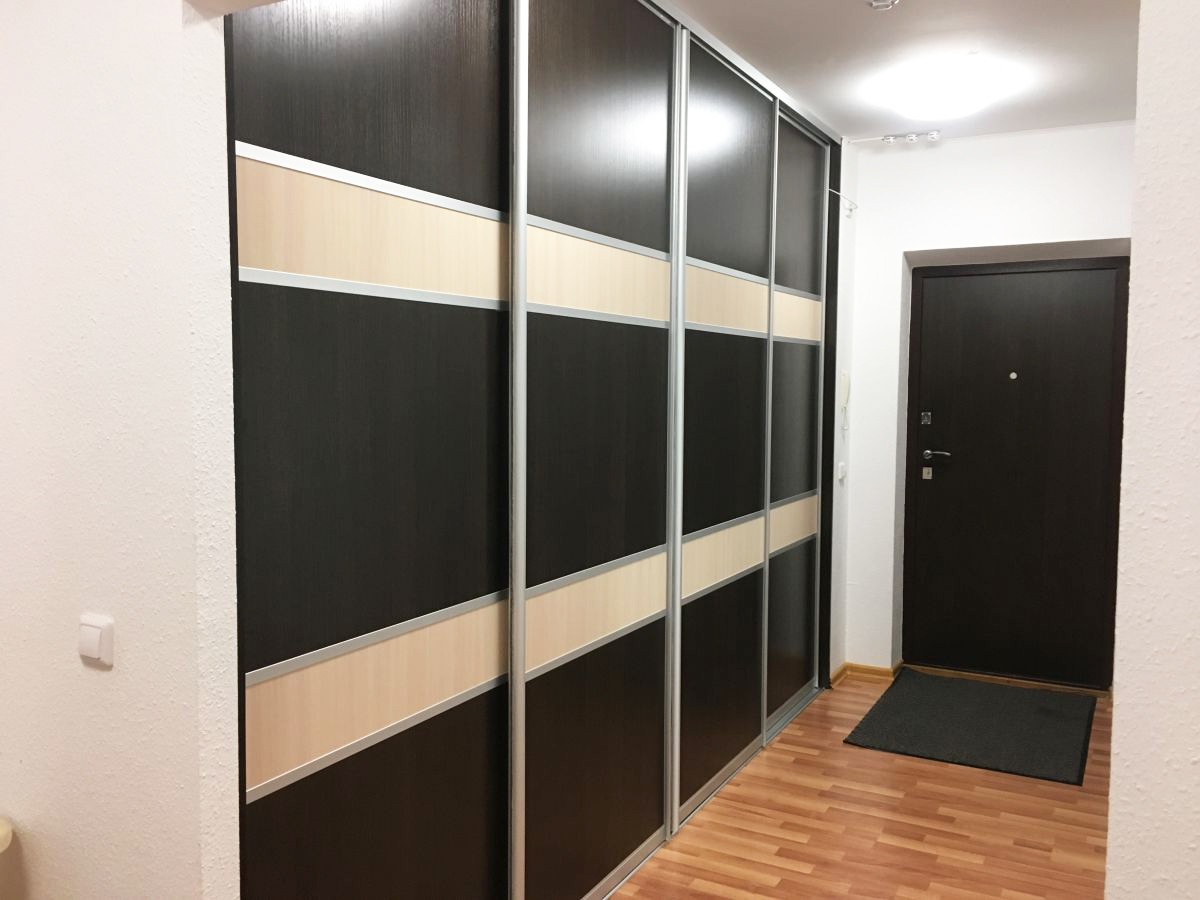
Note! The use of mirror inserts provides not only visual expansion of the space, but also the convenience of examining the appearance before going out.
In the bedroom
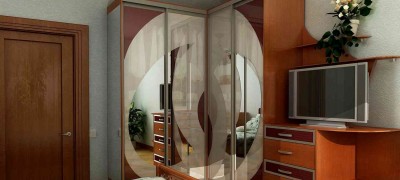
In the bedrooms, sliding wardrobes are installed most often, since they can fully replace the dressing room. To form a harmonious image of the room, you should select a wardrobe, the material of which is similar to other pieces of furniture. For large structures, light colors of the facades and the use of mirrors of various sizes are optimal.
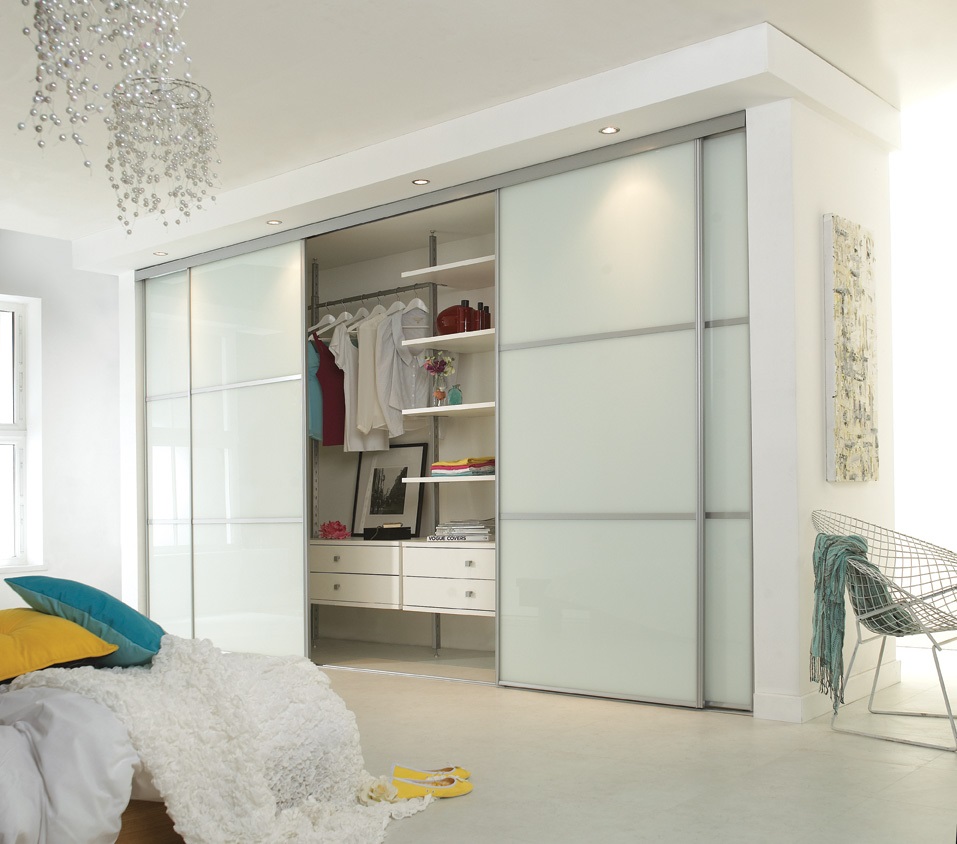
Additionally, the upper part of the cabinet can be decorated with lighting. This will not only allow for better visibility of the contents, but also create a special atmosphere in the room.
In the living room
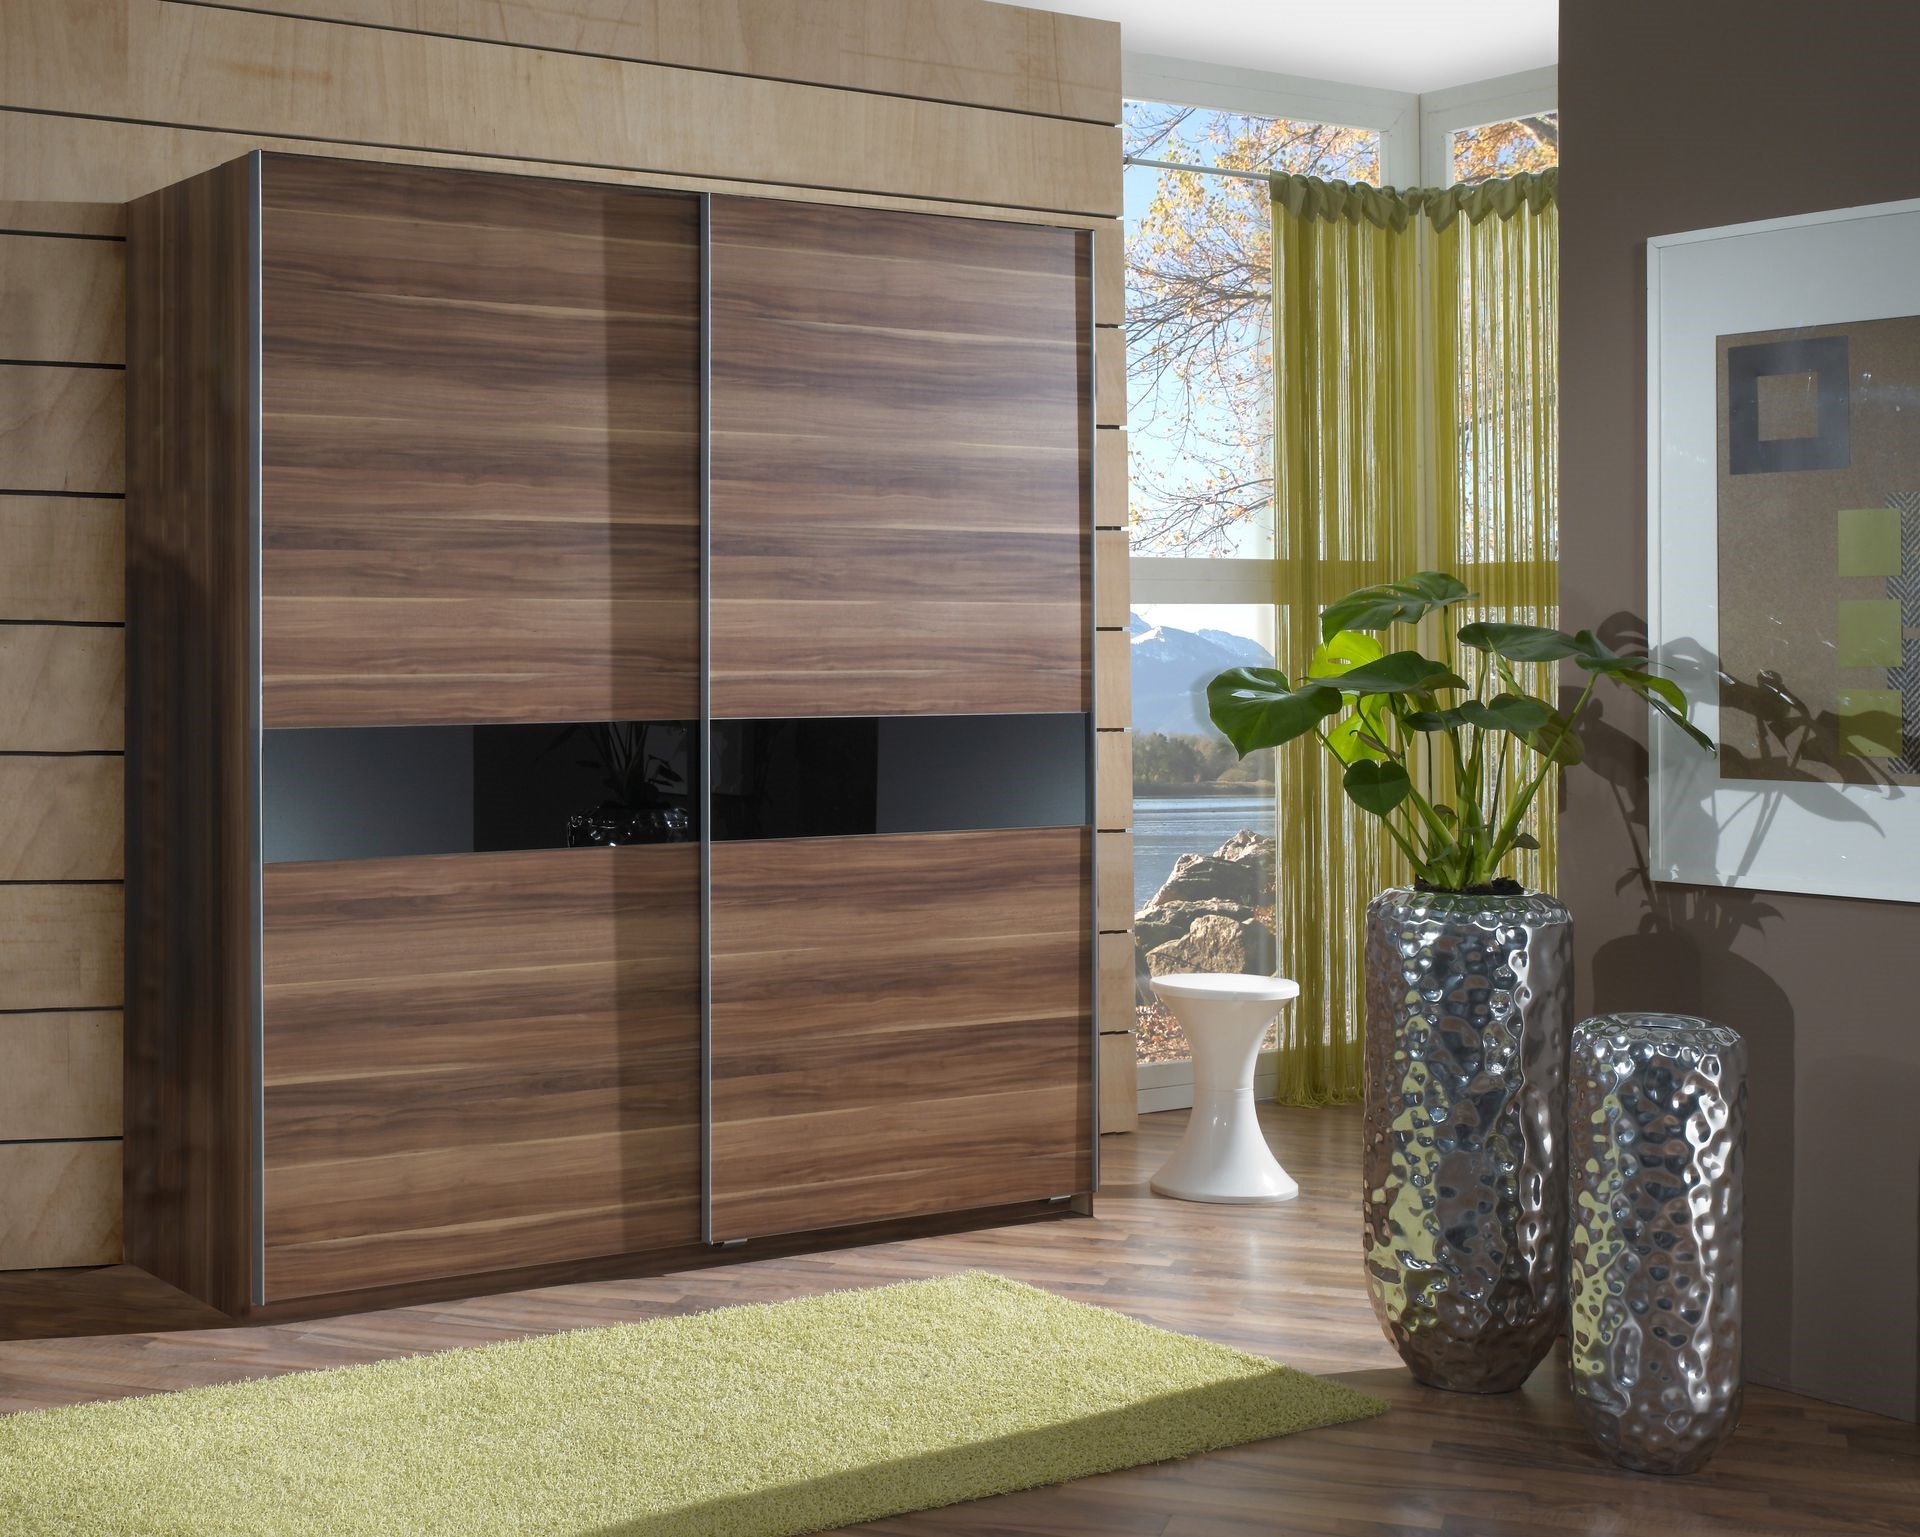
In living rooms, sliding-door wardrobes are rarely used, which is due to the unwillingness to clutter up the room with massive furniture, which is successfully replaced by low modules. However, if the space of the apartment is very limited, then the closet in the living room can become not only a storage system, but also an effective zoning element.
In the children's room
When placed in a children's room, a wardrobe will allow you to conveniently store clothes, bedding, toys, books and stationery.At the same time, the presence of a sliding system will help the child to independently open and close the cabinet without any difficulties.
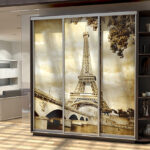
For children, inexpensive chipboard or MDF models are usually chosen, which can have bamboo panels, fabric-covered doors, plastic or tempered glass trim. To create a special mood, the facades can be supplemented with images.
Before you make your own wardrobe yourself, you need to carry out a thorough marking and calculation of all materials. With careful and precise work, you can get a unique design of high quality.
Video: do-it-yourself wardrobe
