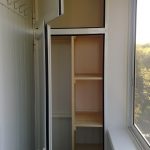
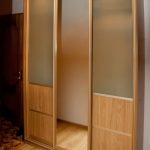
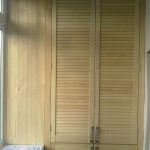
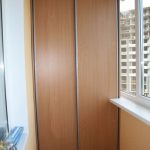
DIY step-by-step instructions for making a plywood cabinet
Few pieces of furniture that do not lend themselves to their own execution. And the plywood cabinet is no exception. Asked the question: "how to do it yourself"? The article is for you. Drawing up drawings without the help of a pro with further stages of production.
Required tools and materials
It is an invariable and indisputable fact that all work begins with a preparatory stage. In the case of a wardrobe, you need to choose a place to work and a part of the room for the room. It is required to take care of all the components of the future cabinet:
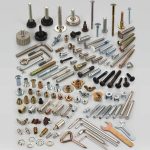
- Fasteners. Pick up various screws and minifixes to look aesthetically pleasing. It will not be superfluous to use more than one type of glue.
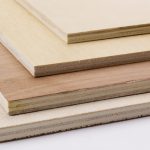
- Plywood sheets.
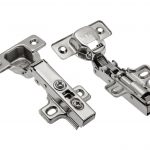
- Fittings. These are closers or hinges.
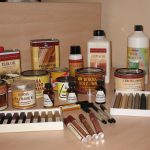
- Decor. What will give a good appearance to the cabinet: adhesive film, putty or stain.
Tools for working with the above details:
- a set of screwdrivers or screwdriver;
- drill with a set of drills;
- chisels and hammer;
- roulette;
- electric jigsaw;
- hacksaw with a plane.
Having collected the entire set of accessories for work, proceed to the next step.
How to choose the right plywood for the job
Plywood is a natural material, composed of several layers of wood and impregnated with glue, used to create furniture items. Some manufacturers suggest considering moisture and water resistant sheets. Any tree is deformed from these 2 factors, for such types of plywood, which has resistance to them, a special type of glue is used.
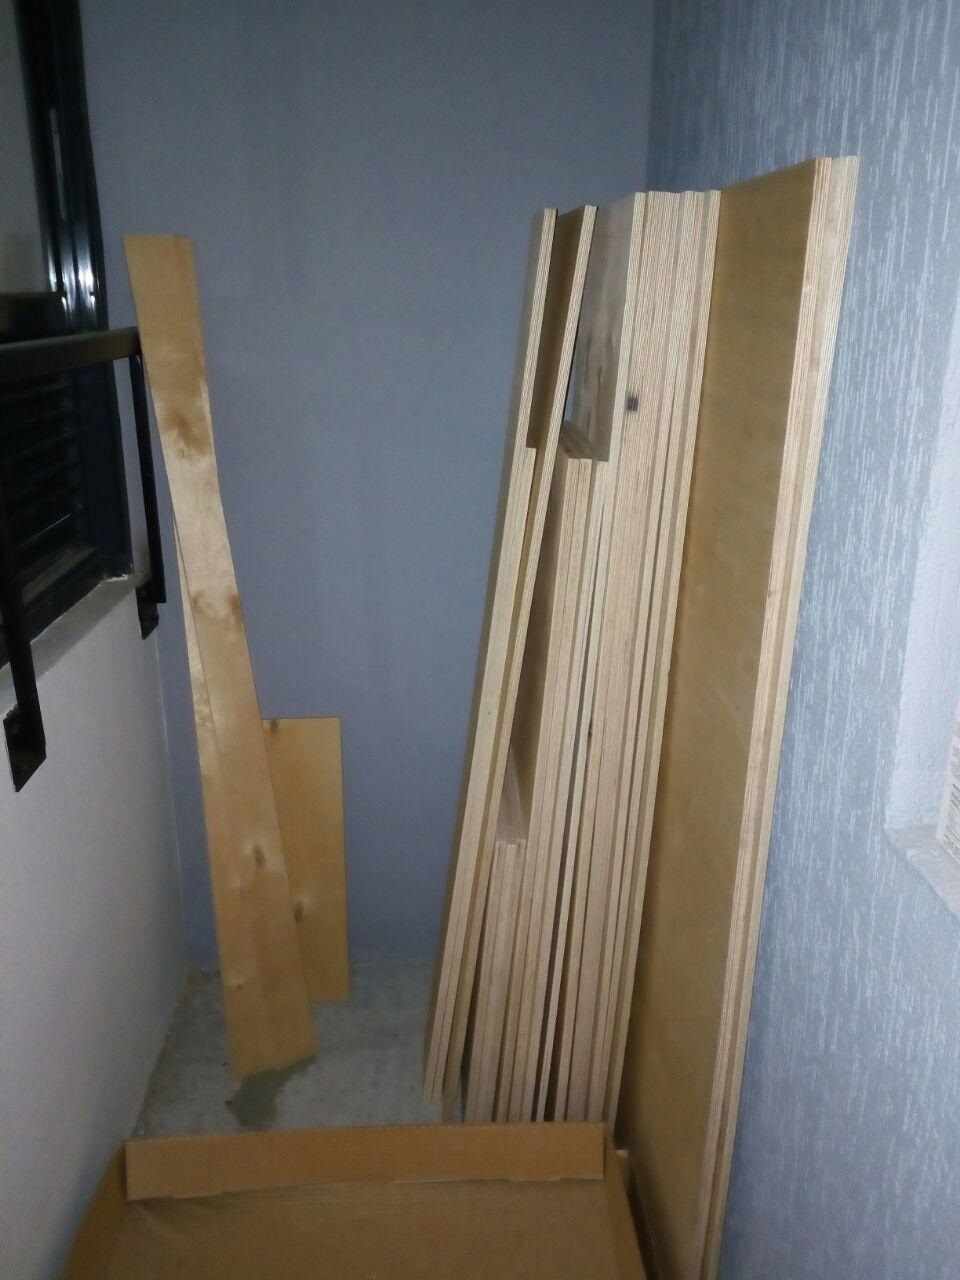
Slightly soluble glue can be of different brands and this becomes a determining factor in the types of plywood. There are 3 of them: FC, FBS and FSF. The first type is best suited for working with furniture and creating interior details. The other two cannot be used in these cases, they are used in auto, aircraft and shipbuilding, as well as in construction.
The parameters used in the work on the cabinet, sheets are selected with different thicknesses depending on the location and purpose of the appointment. A strong case will be if you use a plywood sheet equal to 18 mm. A small width of up to 12 mm is used for the facade.
If a wall cabinet is provided, then it is better to use 6 mm plywood in it, no more. It is important to consider the different widths of the timber in order to balance the size and weight of the structure.
Drawing up drawings
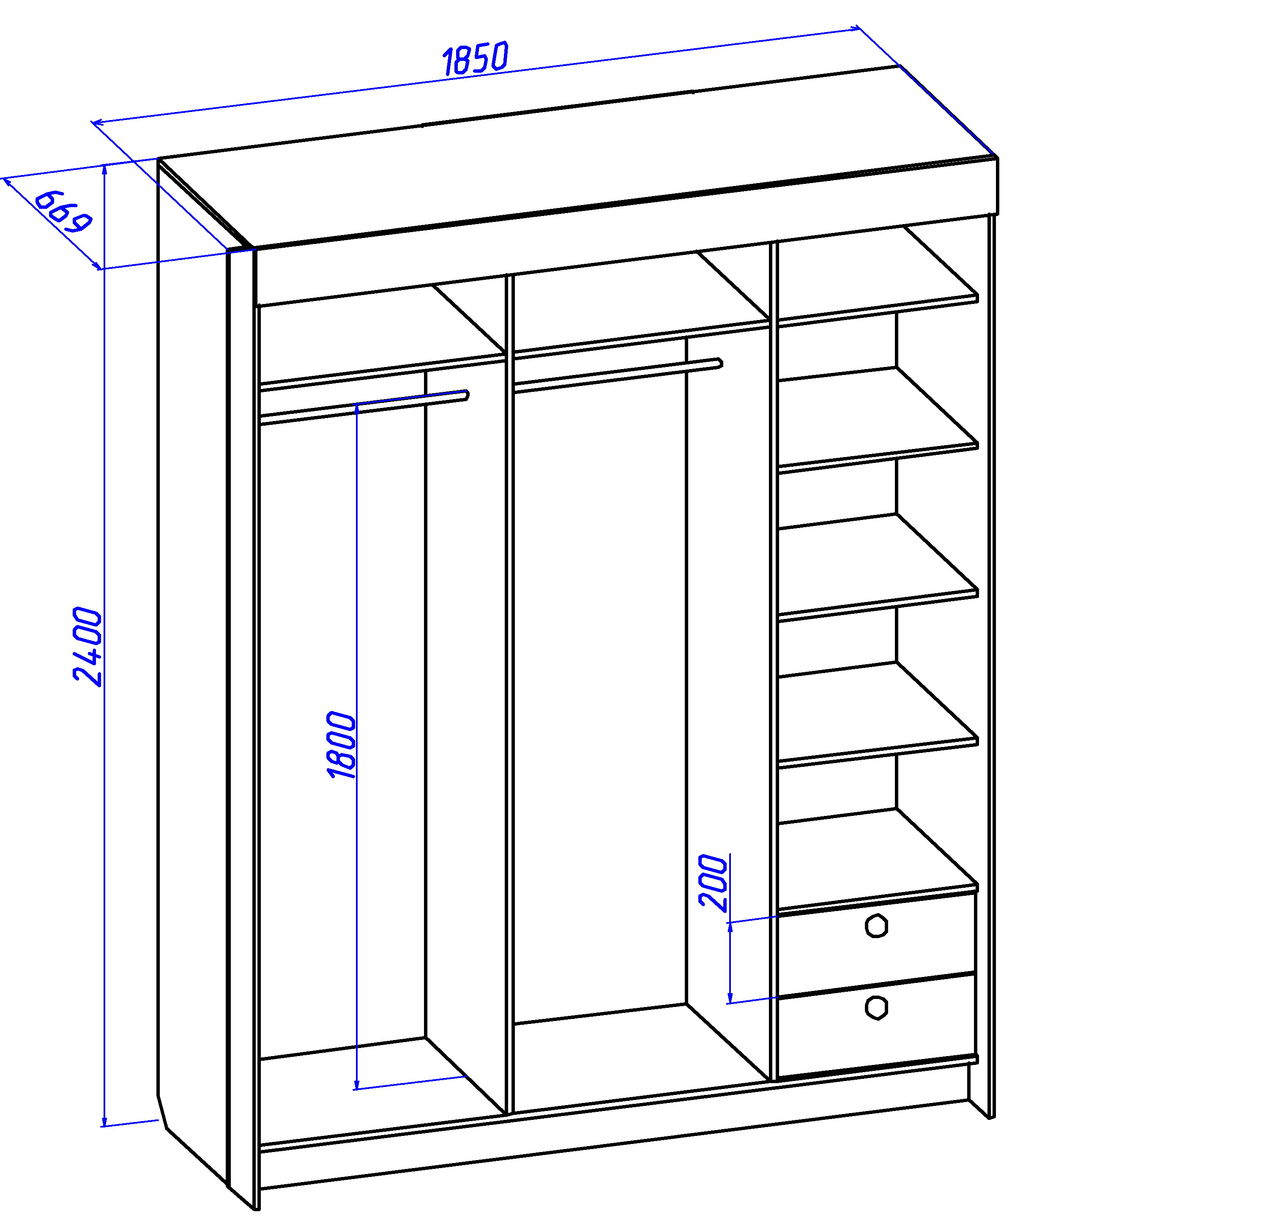
You don't need to be an engineer to create blueprints for furniture. Every person can do it. First, decide what kind of cabinet you need. Perhaps it is classic, or maybe a wardrobe? Absolutely all the details of the future object are drawn on paper, the parameters are written above them.
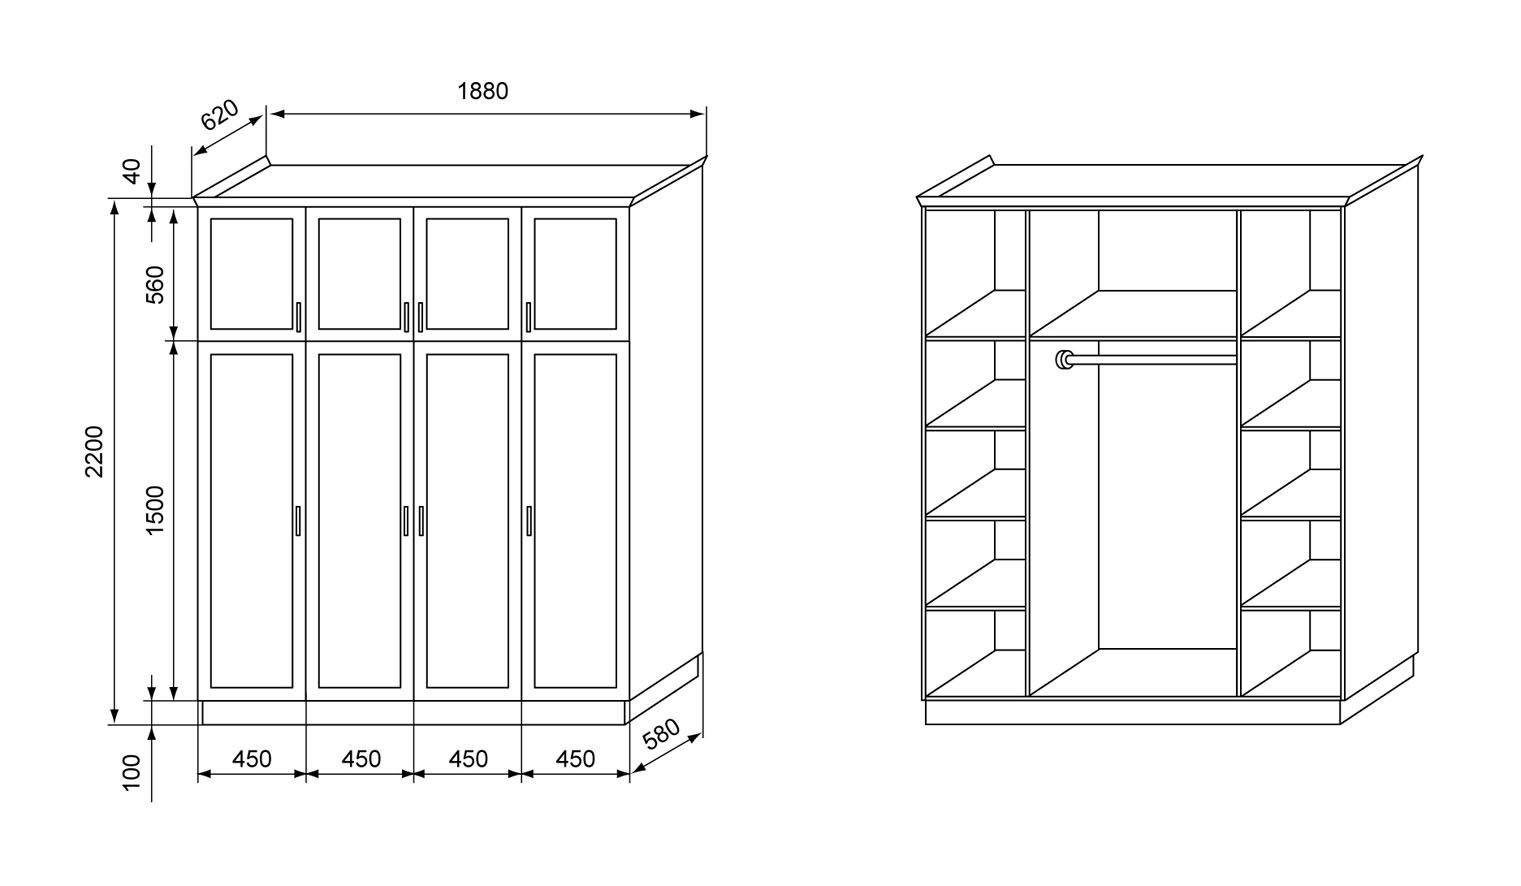
An example is a list of necessary measurements for one door furniture:
- Rear wall and side panels.
- Bottom and shelves.
- Door and lid.
- Brackets for fastening.
- Counter under the door.
- Edge overlay.
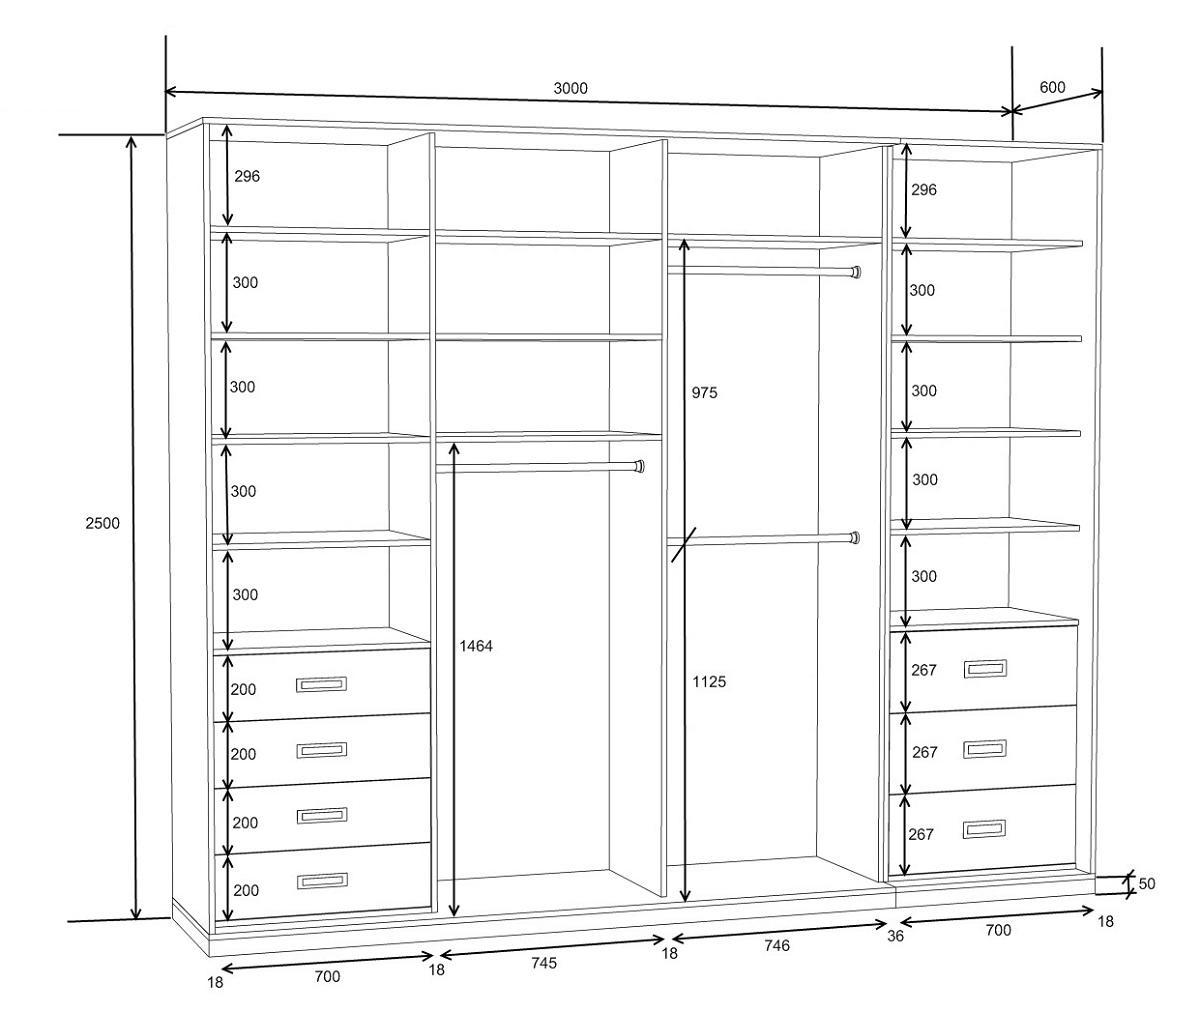
Based on this list, you can find out what needs to be added in the case of 2 or more doors. In addition, at this stage, consider the convenient zoning inside the furniture. And the placement. If this is a hallway, it is worth considering the fact of convenience for placing accessories, umbrellas and shoes there. If this is a bedroom - the convenience of placing dresses, shirts and bed linen in it.
Preparatory stage
All of the above steps are included in the preparation process. They do not change places with subsequent ones.
After creating the blueprints, transfer them to the wood sheets. It is important to keep the lines as thin as possible.
DIY step-by-step instructions for making a plywood cabinet
When you are fully prepared, proceed to the main work. It is difficult for a beginner to decide what to do next and how. The best way is to follow the pre-prepared step-by-step instructions.
Cutting parts
Let's go back to the drawing stage. After applying the parameters to the sheets, they are cut out. The resulting parts are cleaned and polished. In the future, they will serve to shape the furniture.
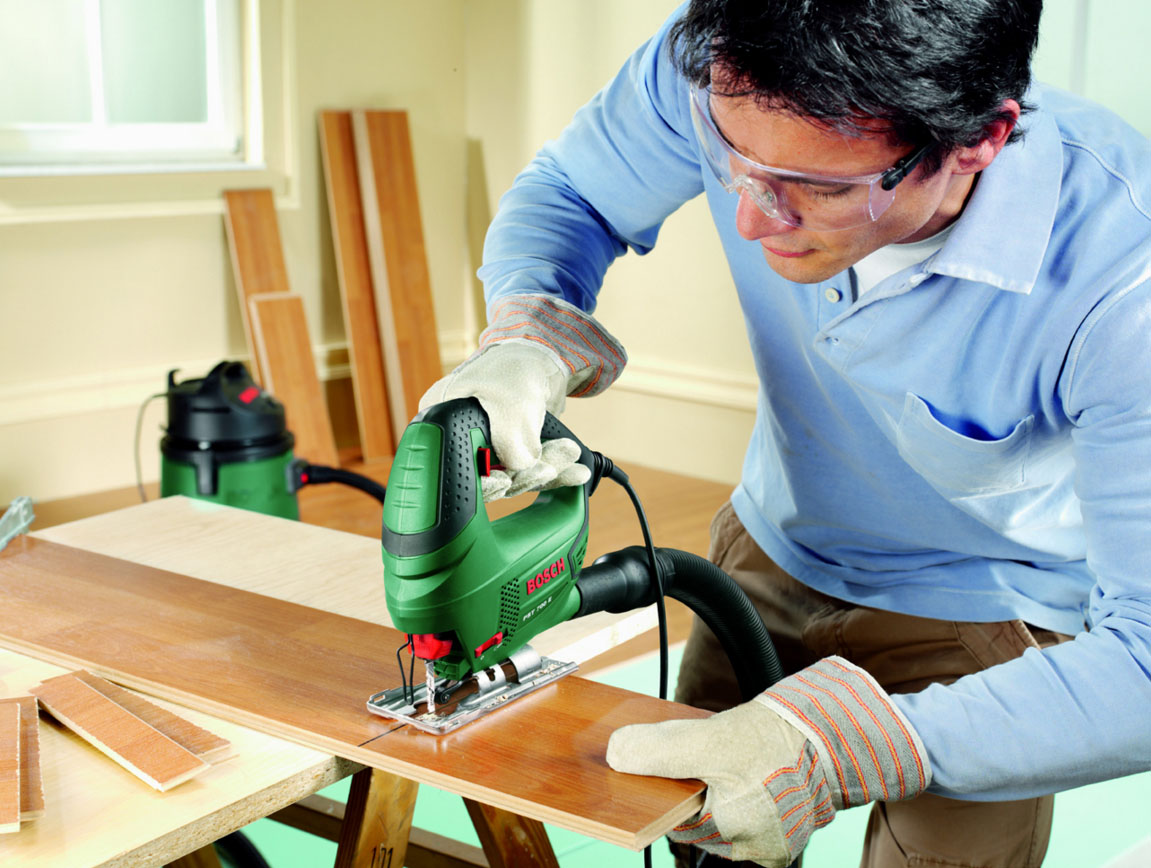
Professionals recommend starting cutting the side pieces. It is important to know that the process is not carried out across the fibers.
Pay attention to practical tips from the pros:
- If 2 doors are planned, they do not need to be cut out in turn, but cut out one large sheet. In this case, spend less time making technical parts, and they will be smoother. Because they are measured and created for two doors at once for 1 measurement.
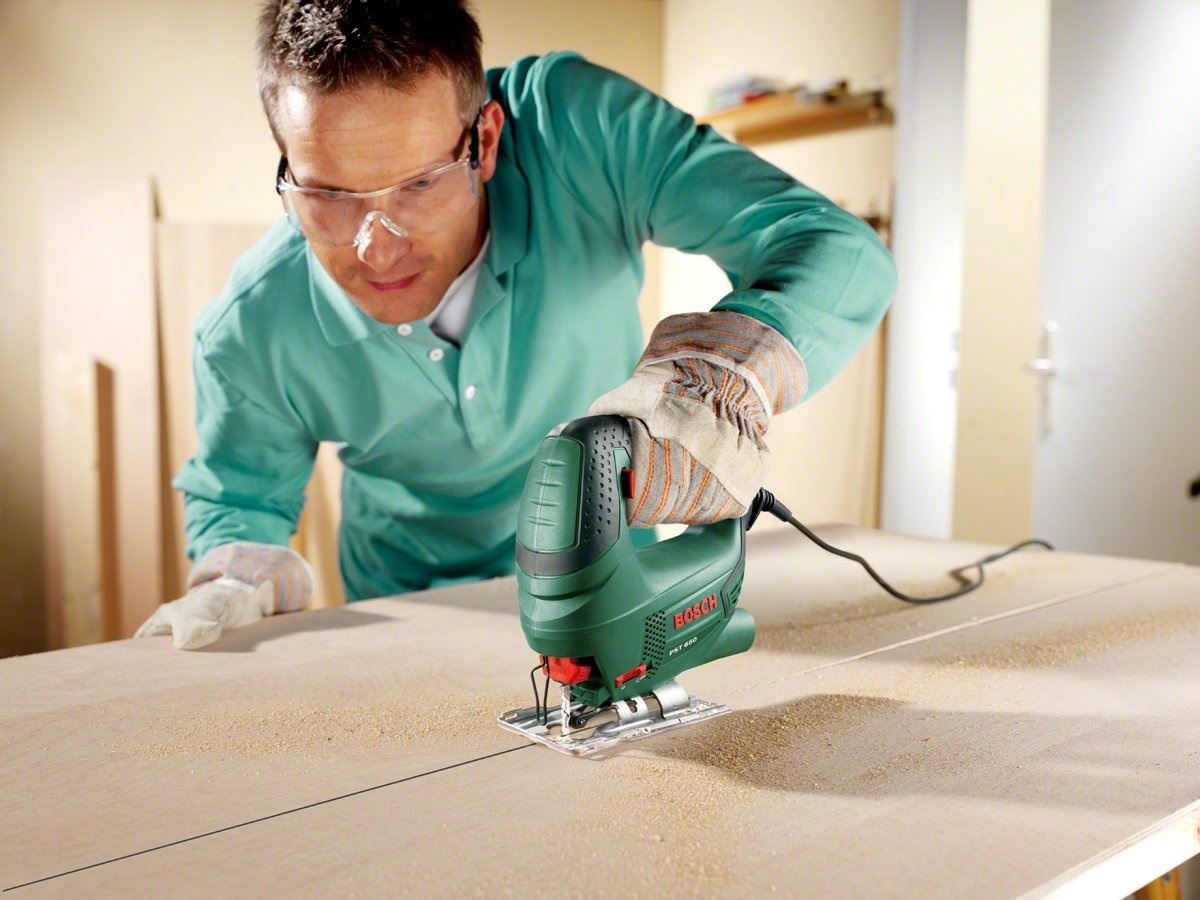
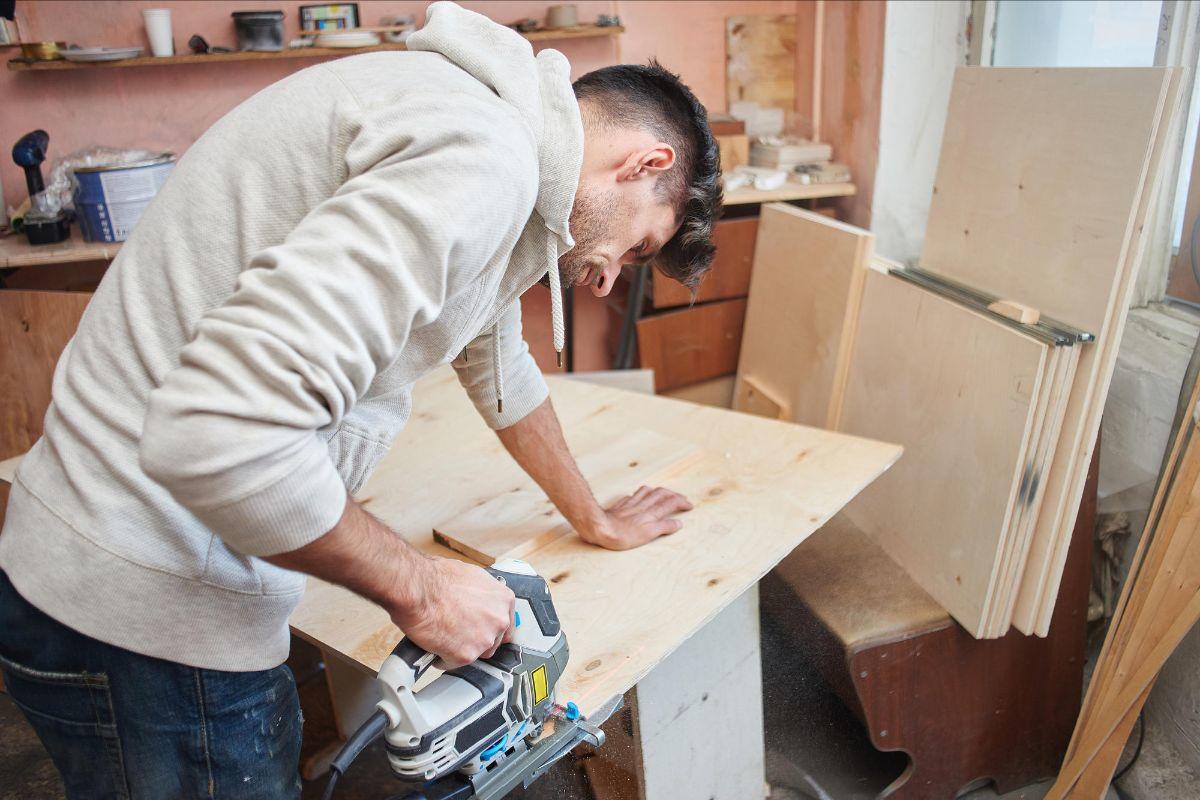
- If cutting is done with a household saw, stick masking tape on the line along which you will cut. An alternative to screwed on thin plywood. Actions are necessary so that the cut line is not "torn", and is achieved by pressing the fibers.
- Thin lines were needed so that when cut, they remained on the finished part.
- If possible, it is better to cut the plywood on a panel saw. Such a gesture allows you to avoid an unpleasant shortage of material and its further purchase.
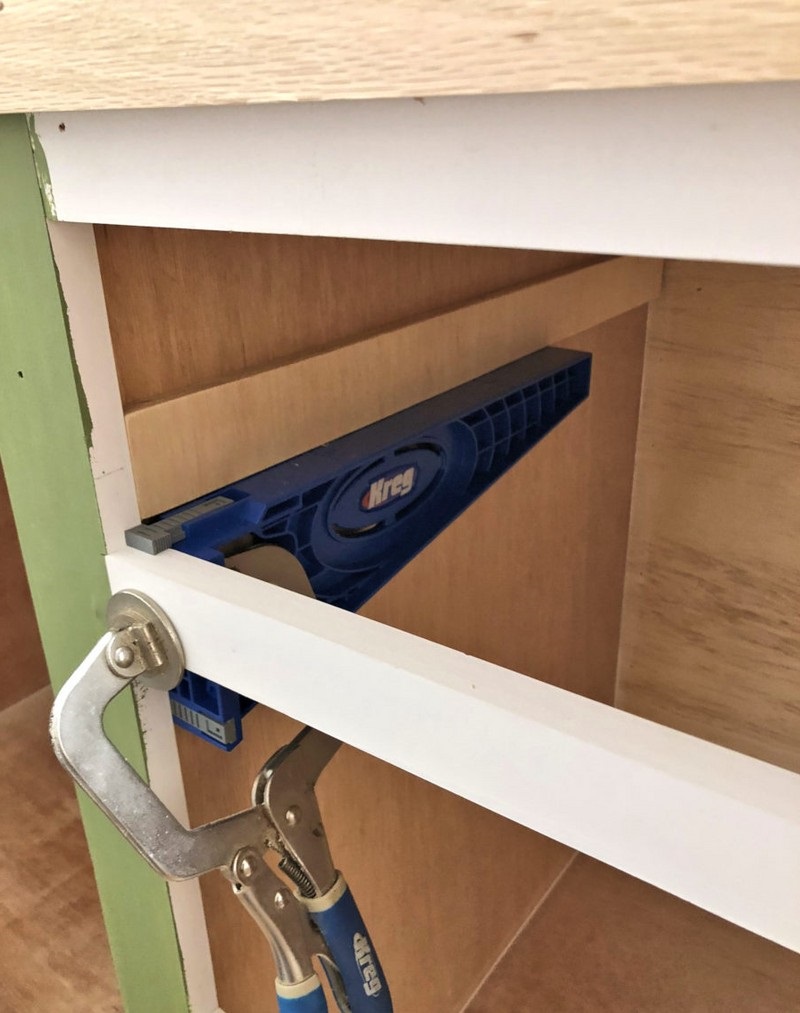
- Connecting "into a thorn" will be appropriate to use a special number machine.
- Wood plugs or anchoring compounds are made on thick pieces at the fasteners. At the end of the place, you need to create a place and drive a dowel into it, which will be pre-lubricated with soft glue. Please note that the space on the plywood is equal to one third of the thickness of the material. This makes it possible to increase the strength at the perpendicular joint. And such a shelf can support a lot of weight.
An important point is that on each workpiece, the ends must be sanded with sanding paper.
Description of the manufacturing process
In addition, after these steps, putty is applied in several layers. The optimal amount is two.
The main process begins after all the parts are made. And then the markings are applied where subsequent holes with screws or confirmations will be made. After that, you can already start creating them. Better to use a stepped drill here. With it, holes can be made either with a thread or without it. An ordinary screw requires countersinking to work on it. It is better to decorate the front side with minifixes, otherwise decorative plugs will be needed.
Please note that a tight connection of all parts is allowed using silicone sealant.
The assembly is done by hanging the doors. Use suitable hinges for the desired opening angle. If these are doors of a different type, pay attention to the correct and reliable fastening for them. Next, the internal functionality is created. It includes: shelves, bedside tables and other items.
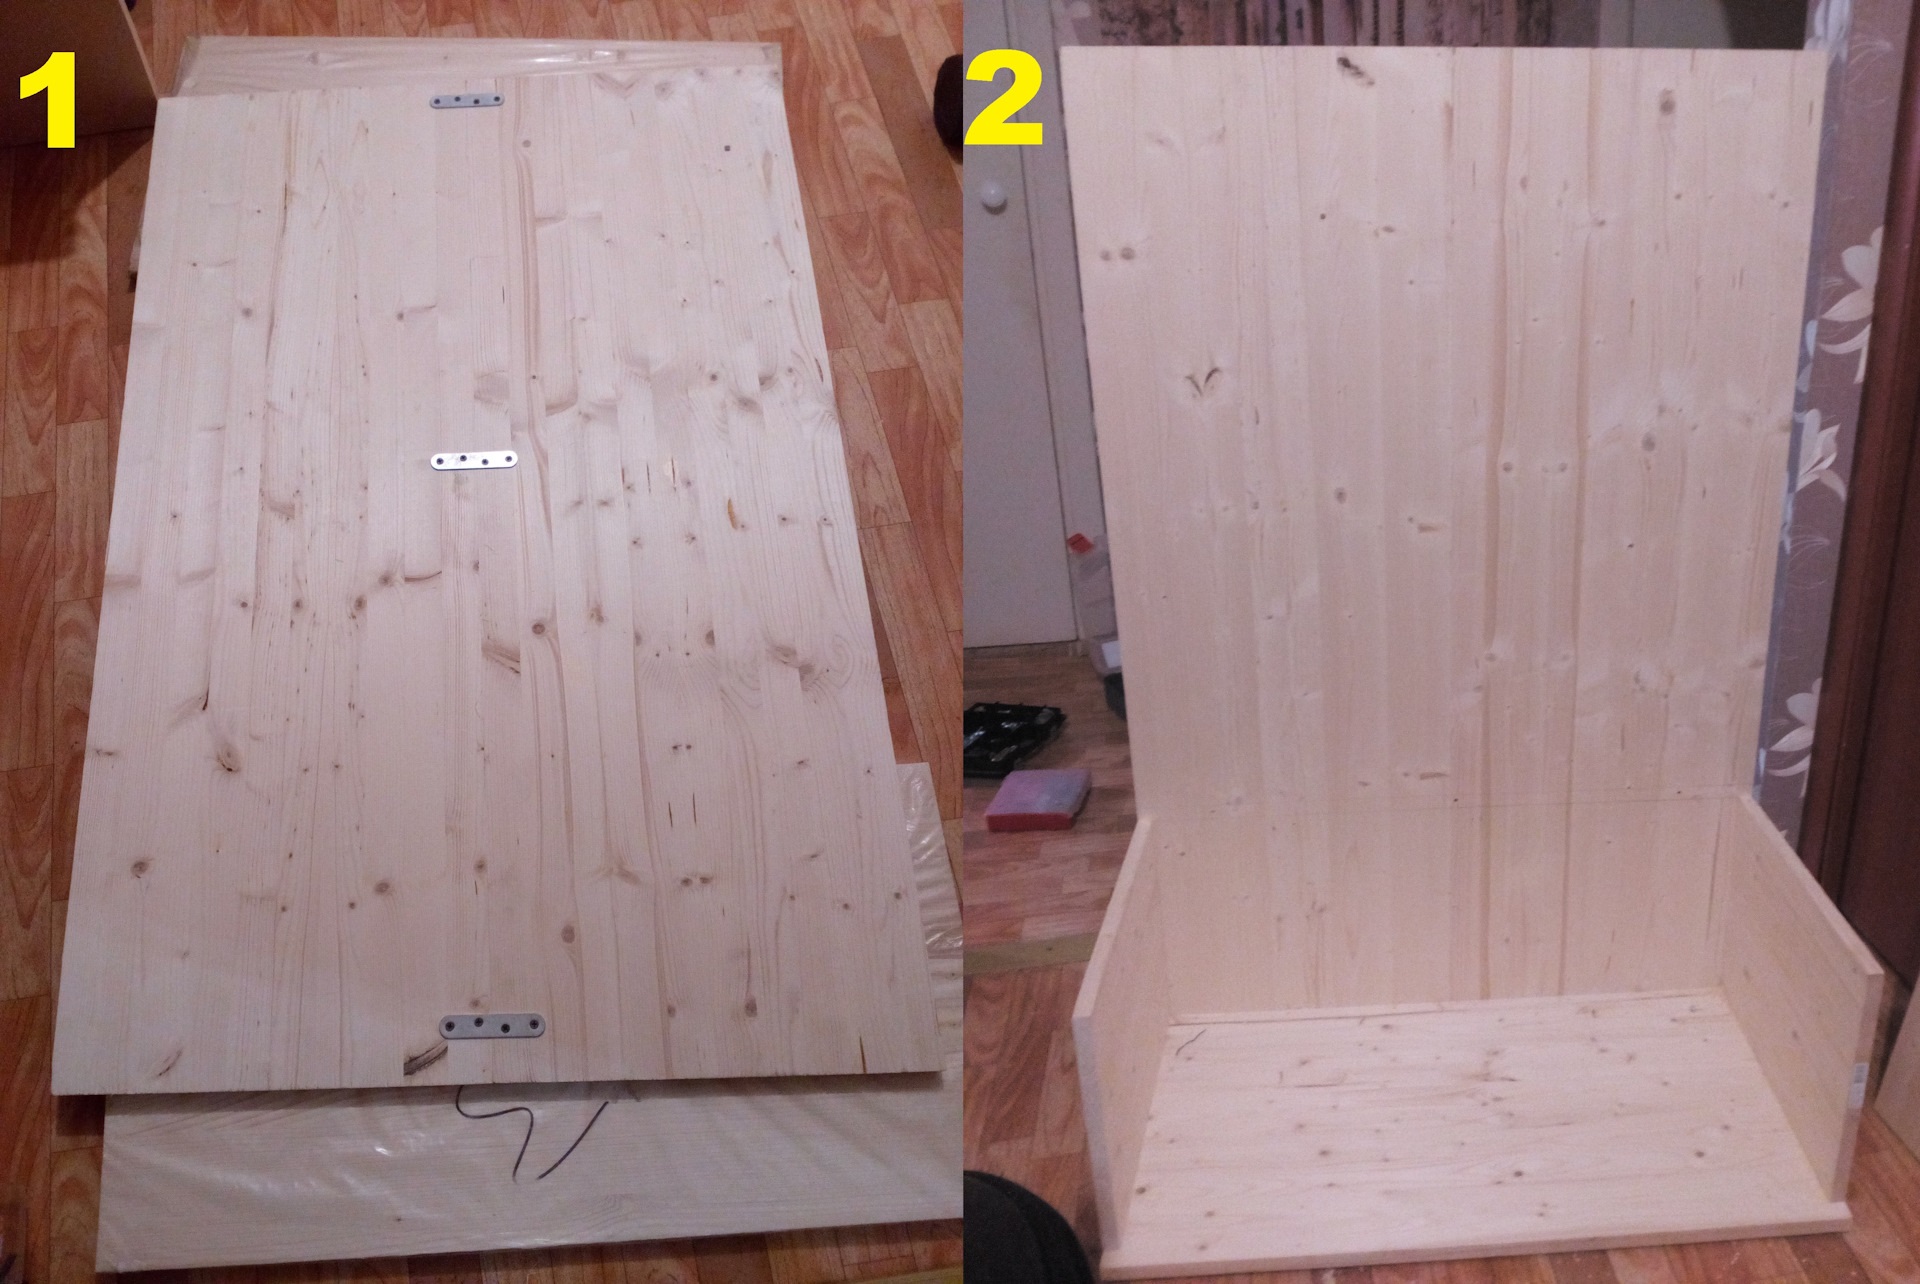
Pay attention that nothing bothers you during assembly. Follow the sequence.
Additional elements to improve functionality
In order to improve the functionality of the cabinet, you need to take into account the moment of its ease of use. For example, position the shelves so that the one you will use most often is within arm's reach. For closed shelves, you can add small handles to make it easier to open them.
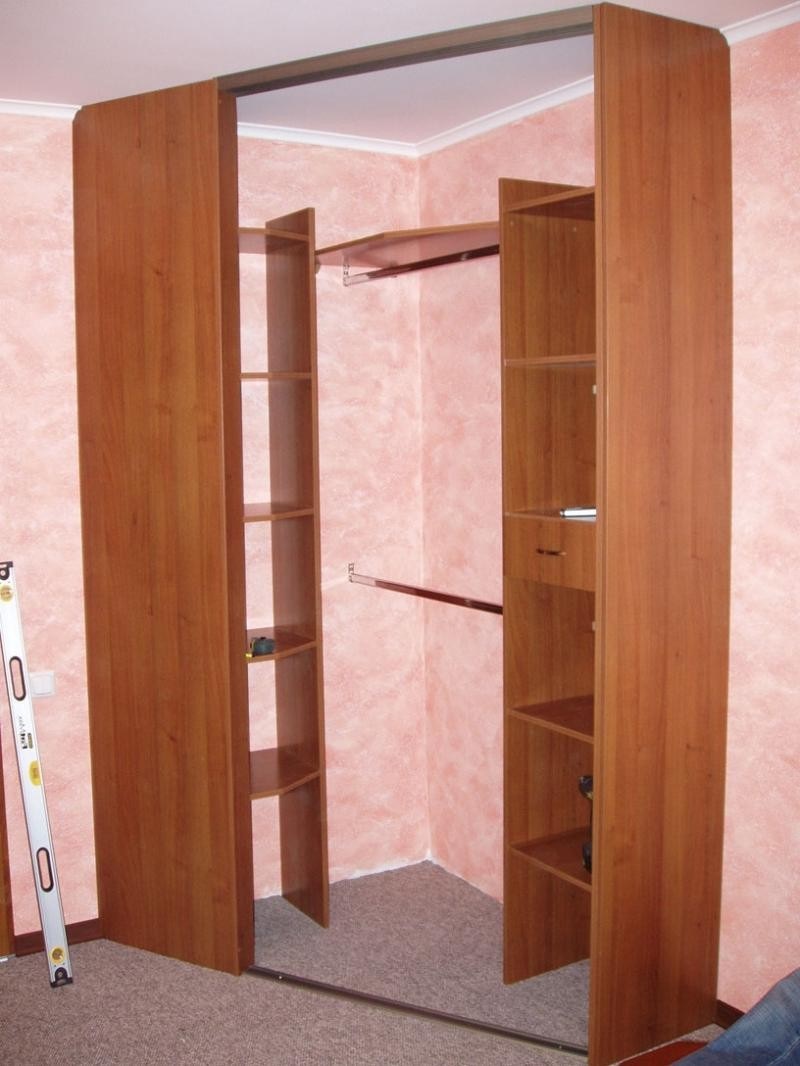
Consider the terrain for which the cabinet is being created. And what you need for your usability. Perhaps you need tubes for things in furniture or special closed shelves? Sliding shelves can also be attributed to them, but for them it is still worth providing a special mount for ease of pulling out.
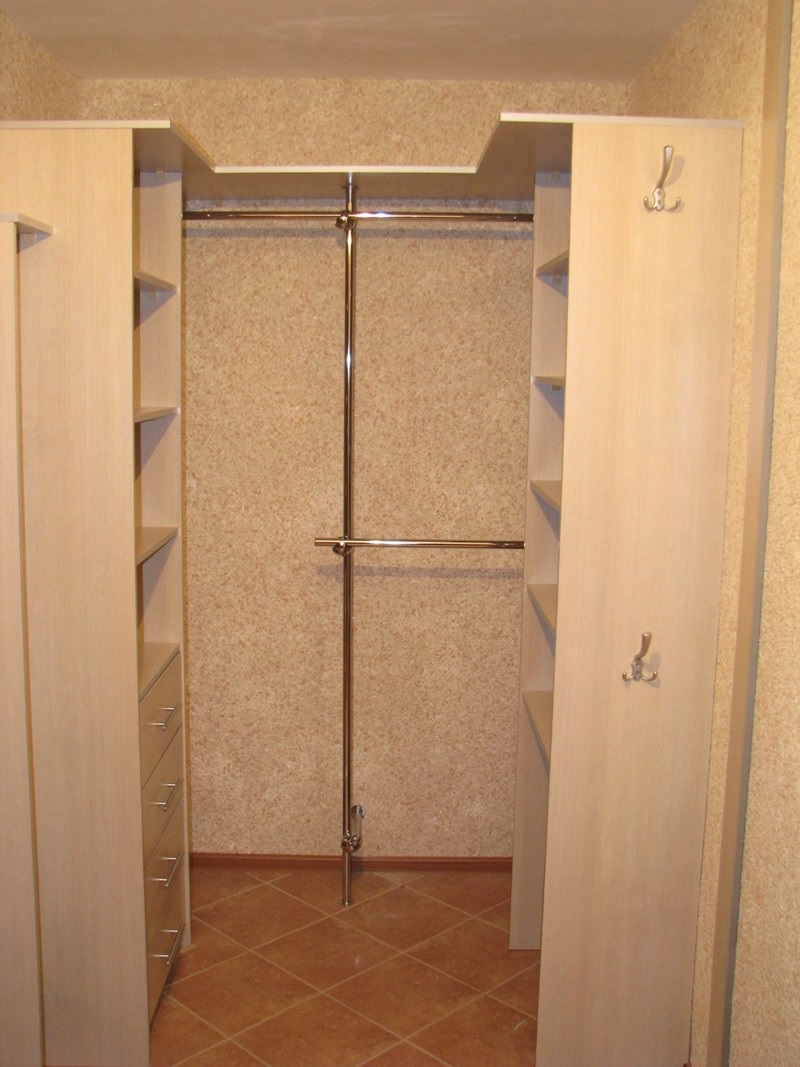
Another important example of complementing a wardrobe will be a mirror on the door; a similar wardrobe can be placed in a bedroom or in a bathroom.
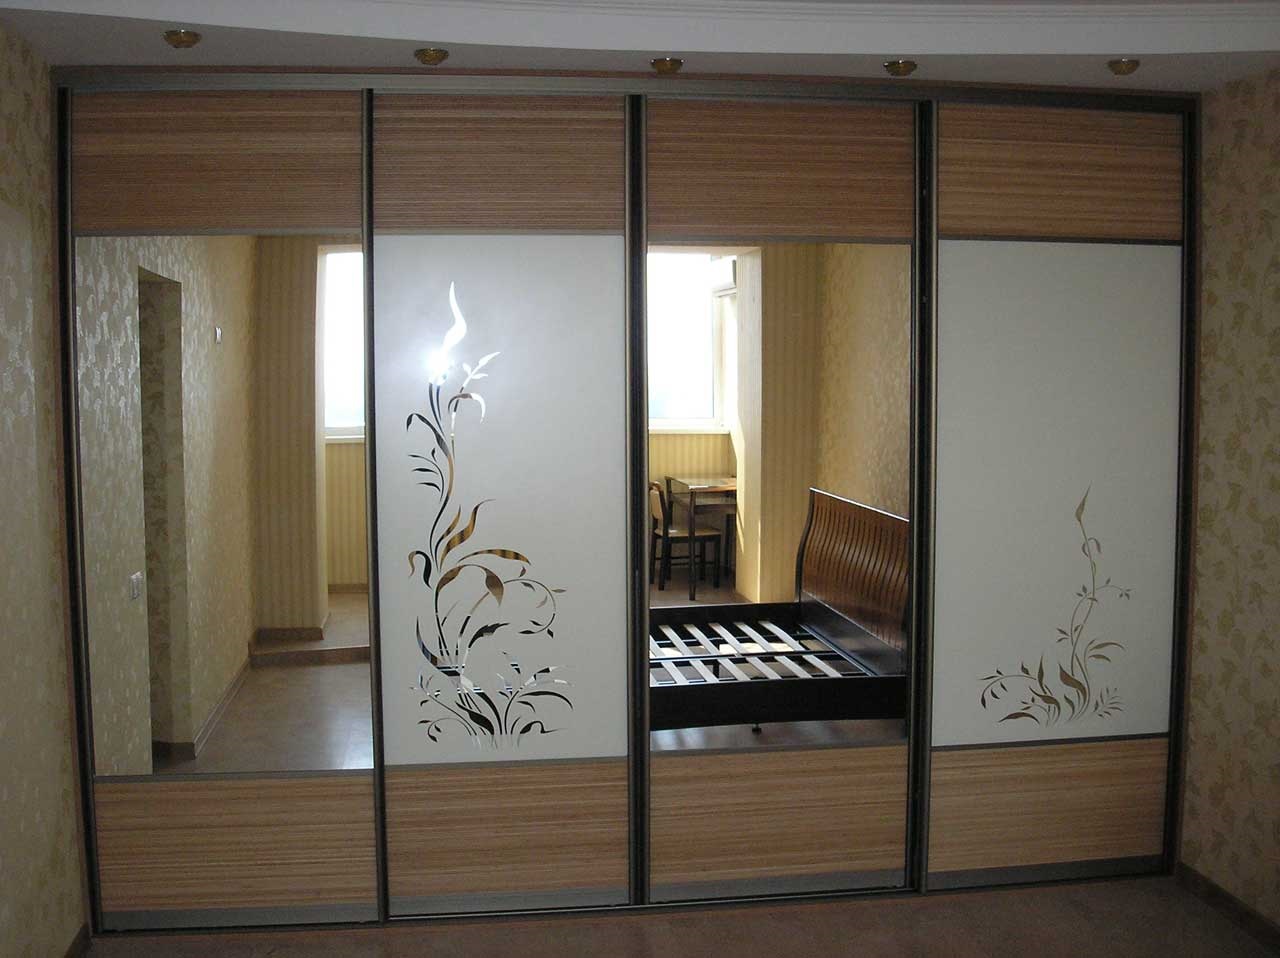
Finishing
For this stage of work, all parts must be separate. Therefore, the cabinet will have to be disassembled and assembled at the end. All of them (parts) will lend themselves to grinding. This can be done:
- Sanding paper.
- Grinding machine.
Manually actions are carried out along the fibers. But if you have a machine, the process will be much simpler and easier. Pay attention to the graininess of the paper. During operation, the graininess should decrease.
At the end of the grinding stage, the surface becomes smooth and can be processed further. Any tree requires high-quality self-care. In the case of plywood, you can use:
- Opaque enamels for wood. Enamel creates a protective film on the surface.
- Oil with wax. Easy to apply, no specific odor. This combination of agents cannot protect against mechanical stress on the tree, and lends itself to damage. But the oil protects against other unpleasant factors. In addition, the oil does not affect the color of the wood.
- Tinted varnish. The appearance does not change, but a beautiful “glossy” shine is created on the surface.
- Combined options. All of the above finishing methods can be combined here.
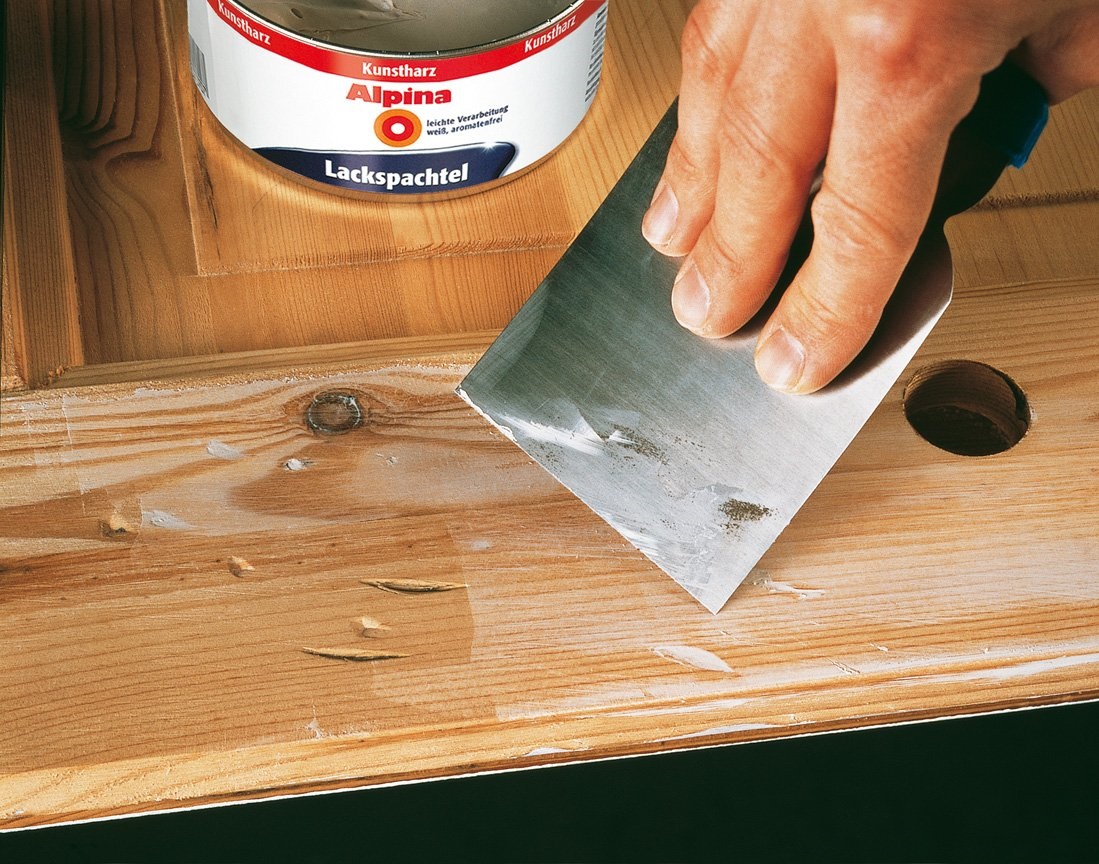
In addition, there is an external effect on wood in almost every room. This is especially important if the cabinet will be on the balcony, in the bathroom or in the kitchen. In these rooms, furniture is exposed to increased exposure to detergents, dirt, dust and moisture.
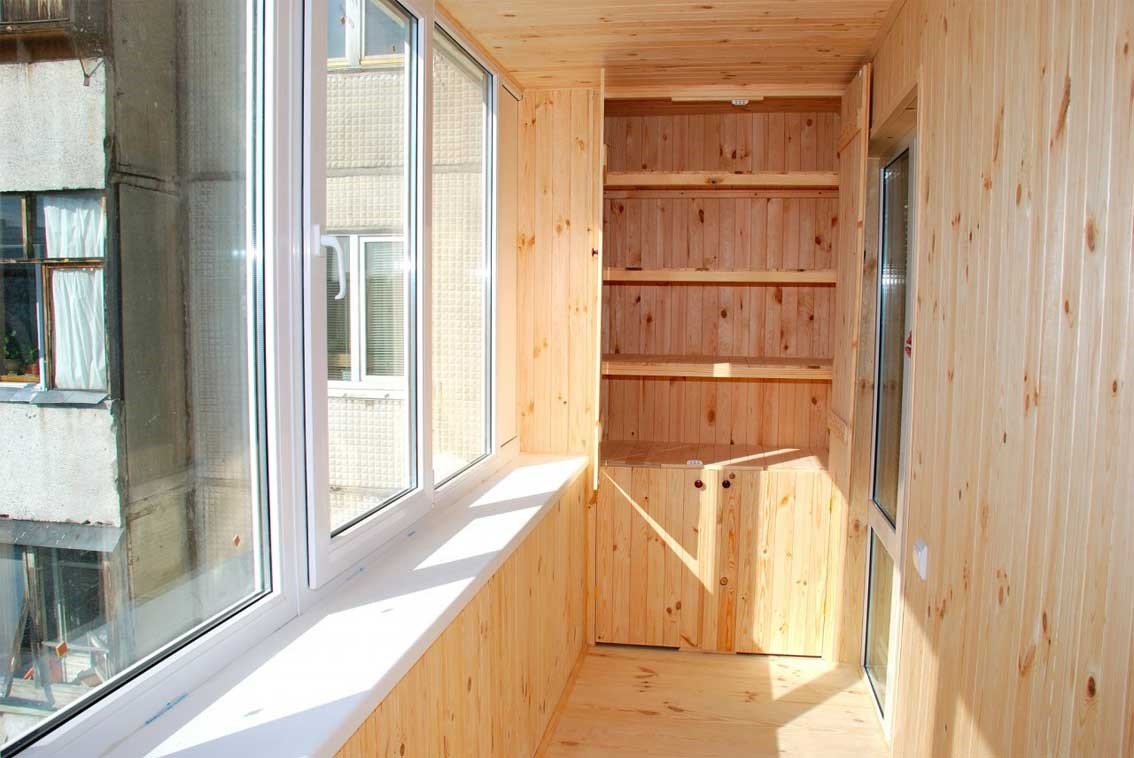
How to make a wardrobe out of plywood
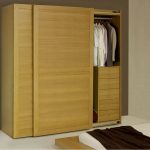
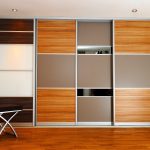
This type of product is much easier to manufacture, since there are different coupes. In some of them, the costs of effort, time and materials will be spent on creating only the insides of shelves, bedside tables. This is also characteristic of a frameless type of wardrobe built from plywood with your own hands, it can also be produced. To work on this type and others, you also cannot skip all the preparatory steps, including the creation of drawings.
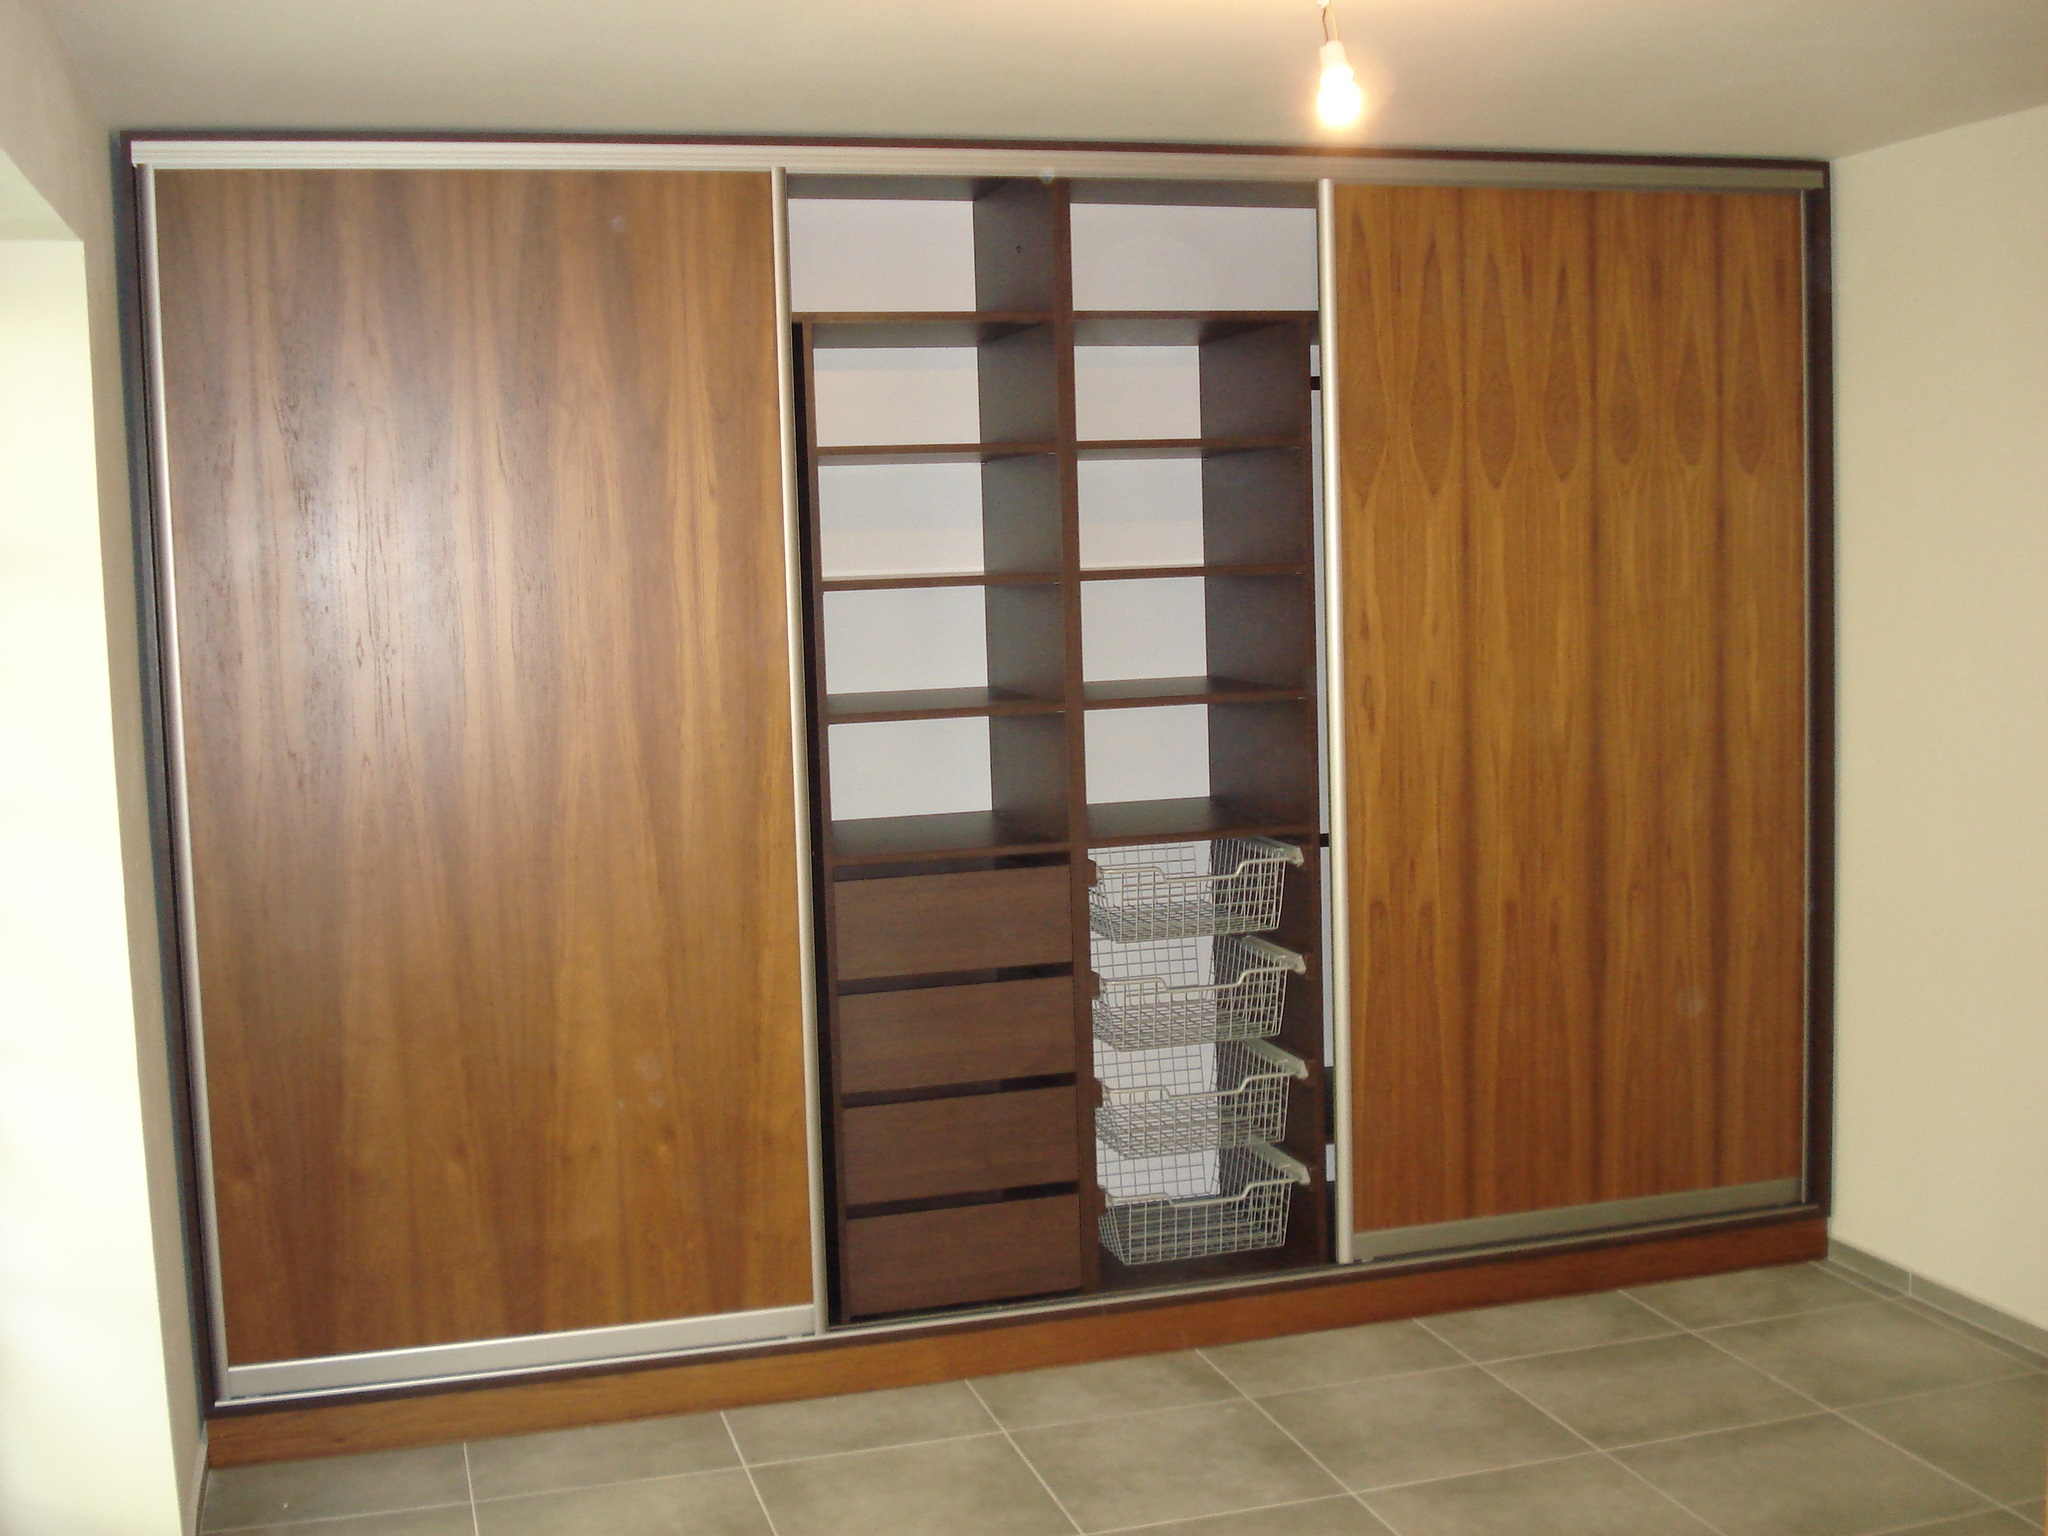
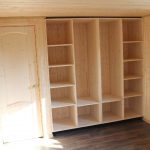
In addition, there are frame products that will be built into a niche in the future. The preparation is similar. High-quality and accurate preparation for getting started is the key to success. The work starts from the bottom, these are the cutouts for the plinth. The uprights on the sides must be fixed in the wall with dowels or metal corners. Close the front edges of the vertical supports with small nails.
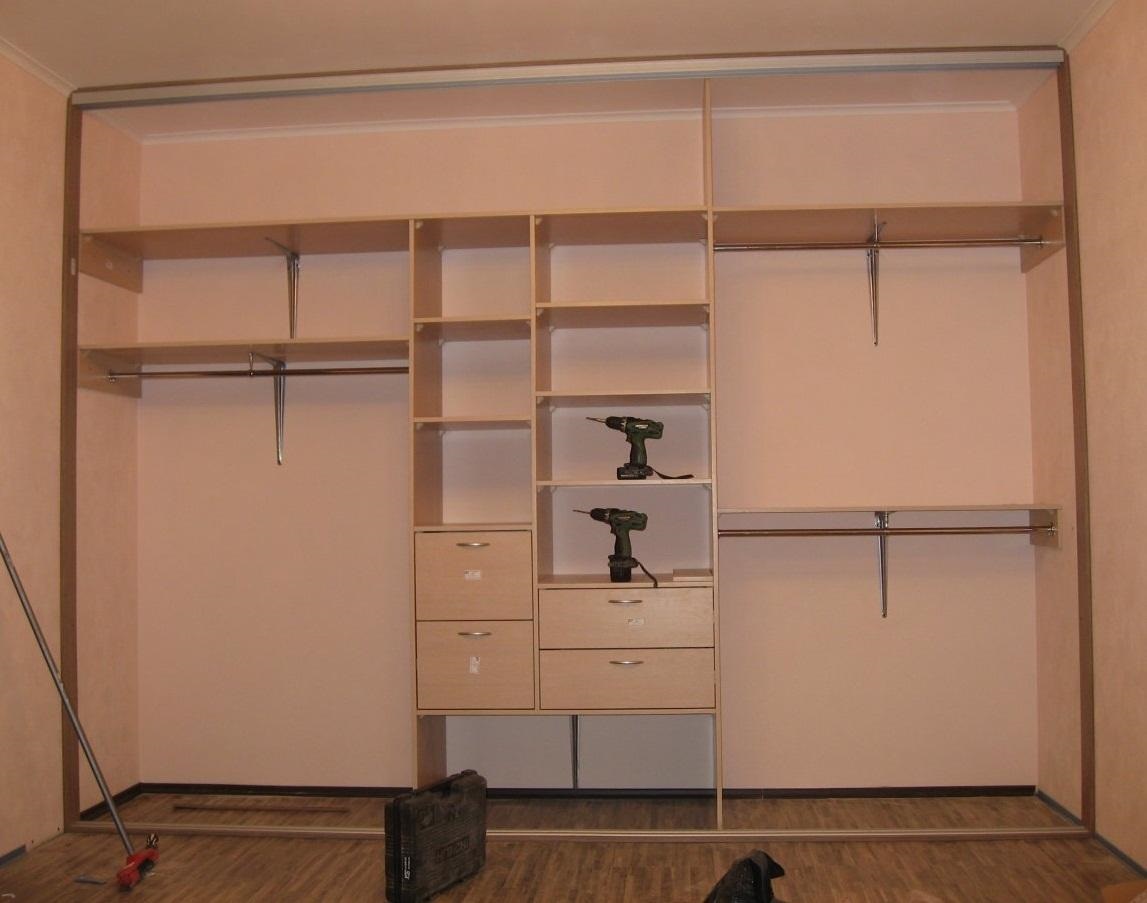
At the end of work with the vertical parts, a wooden shield is applied on top. As a rule, it protrudes slightly beyond the dimensions of the racks. The door system is attached from above, and from below it will be installed after the doors are aligned in parallel.
Product decoration
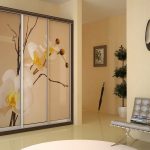
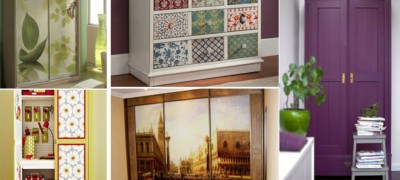
Decor in this case is possible on the facade, that is, on the doors. Plywood can be made with a photo print, this decor is applicable to all types of canvases. It could be a film. And also, mirror inserts, or painting. This is all done in the period prior to installation in the desired location.
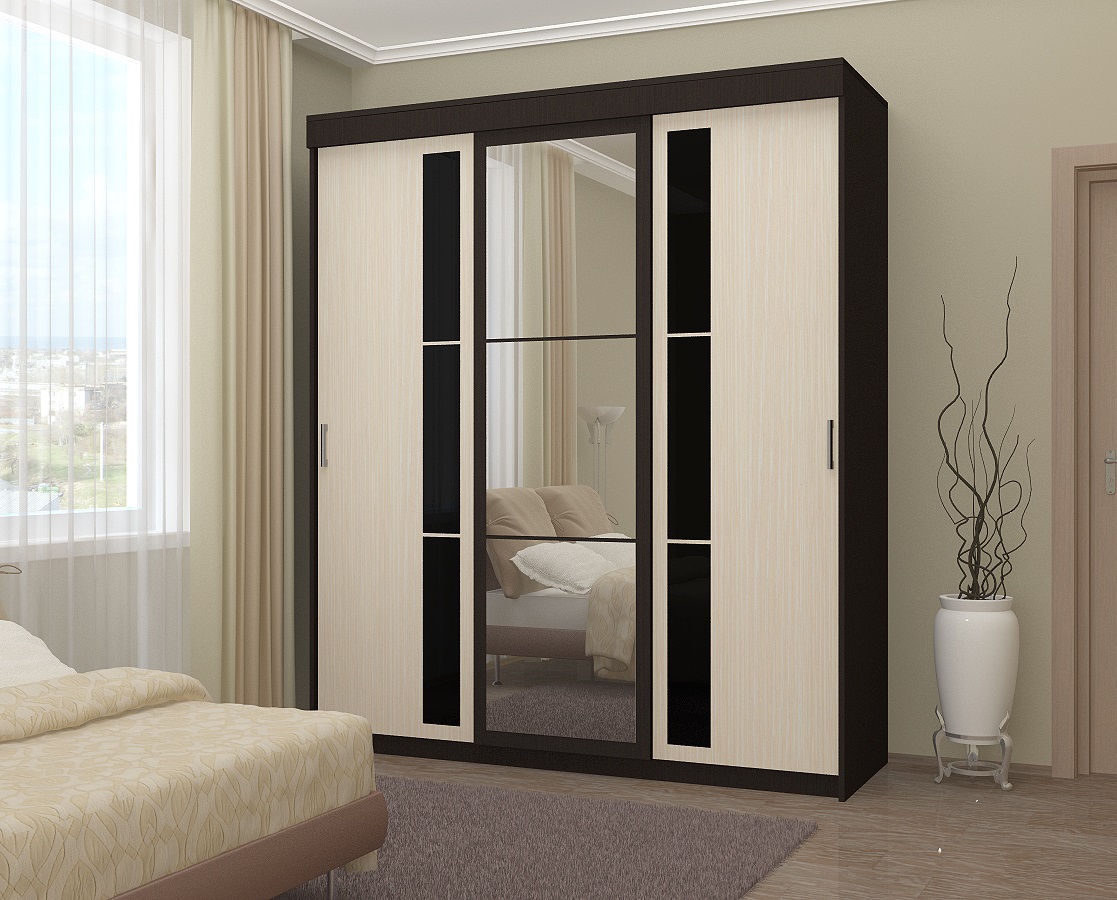
Often in the case of plywood furniture, the appearance can be spoiled by multi-layer ends. In order to close them up and save the appearance of the product, use the following materials:
- Wood-colored adhesive tape.
- U-shaped profiles made of aluminum or plastic.
- Paint.
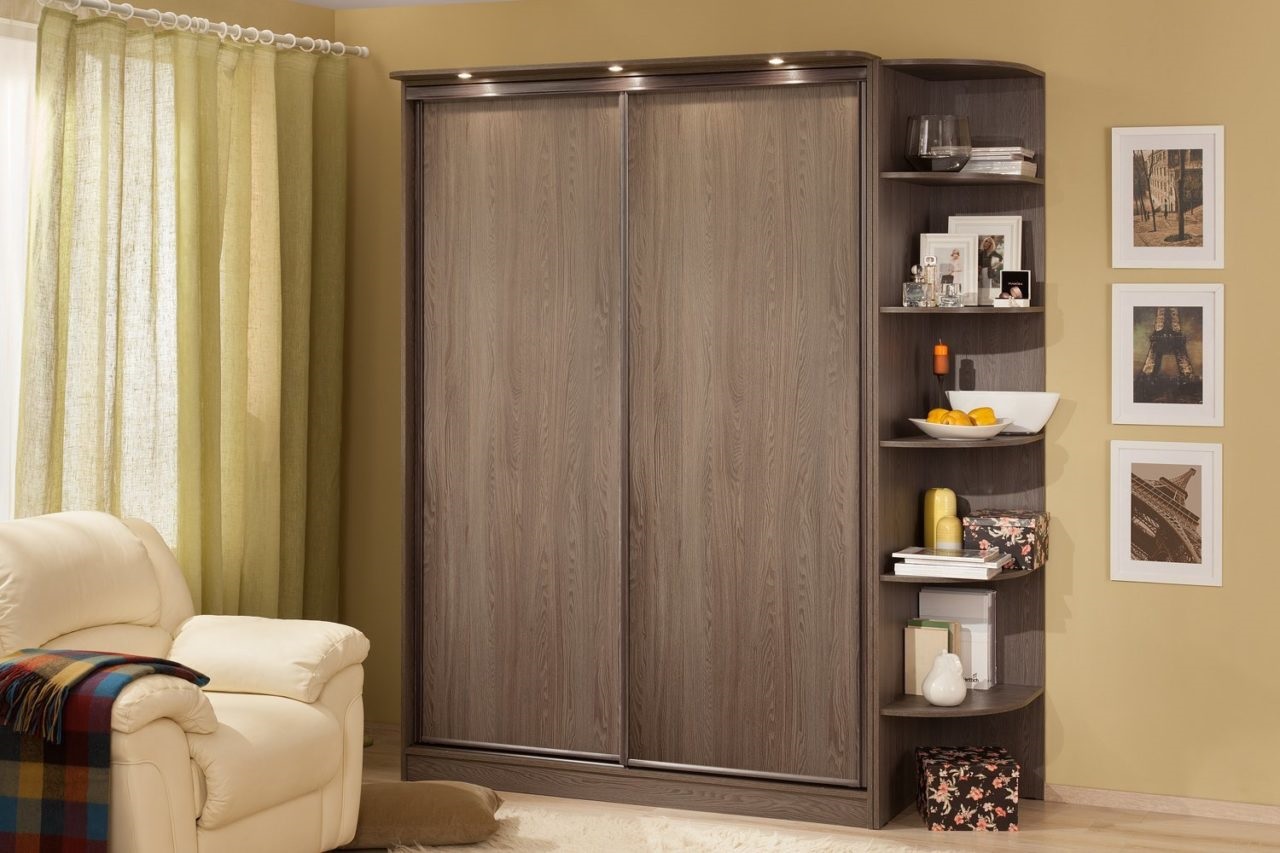
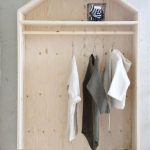
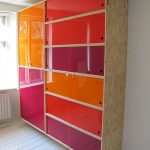
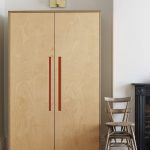
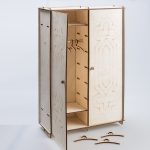
Beautiful DIY examples
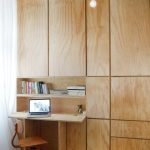
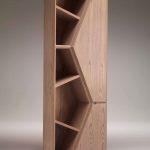
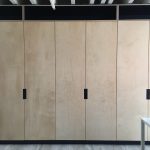
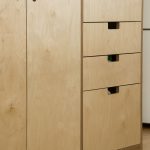
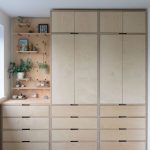
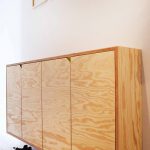
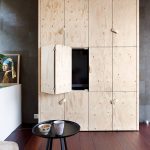
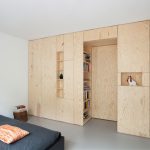
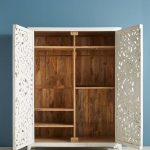
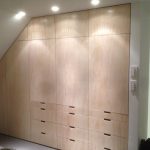
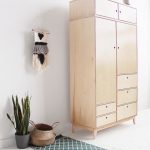
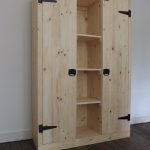
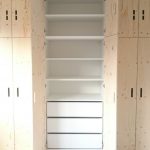
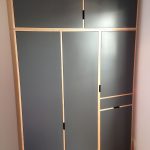
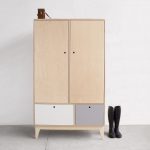
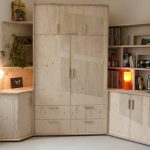
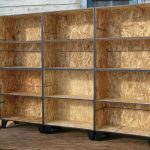
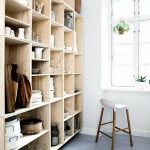
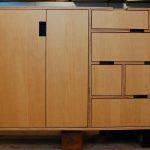
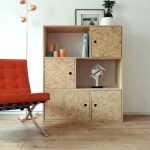
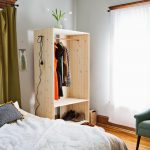
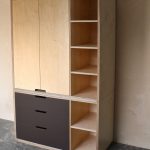
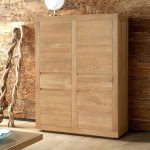
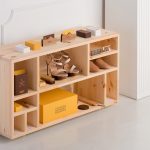
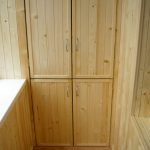
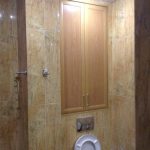
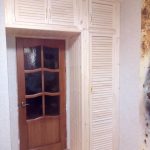
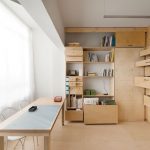
Until recently, plywood was not used for many things. But, its simplicity and elegance, combined with practicality, won the hearts and hands of the masters. Today there are a lot of beautiful plywood cabinets. They are distinguished by their lightness, which does not burden the design of the room.
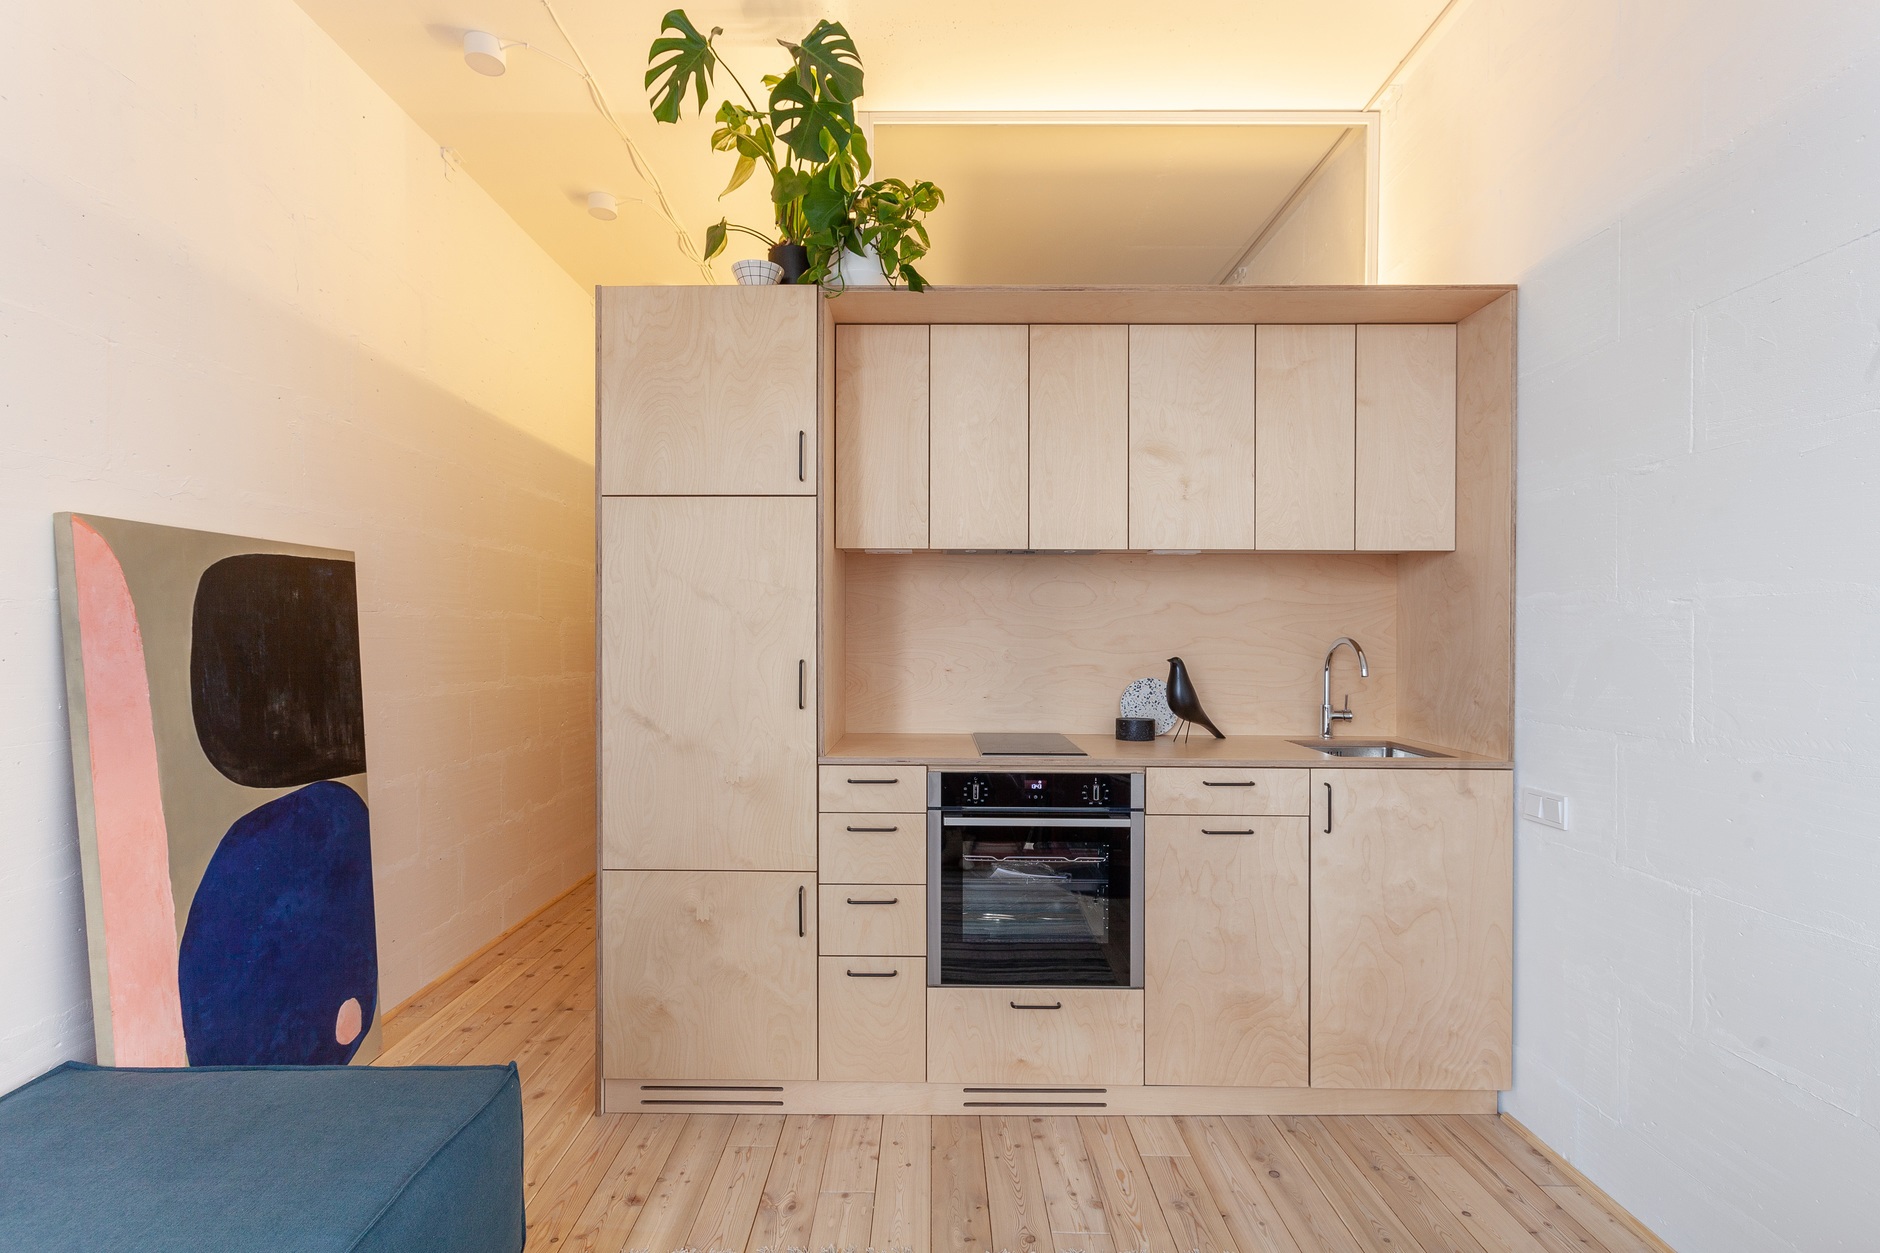
Plywood furniture can be seen in each of the selected designs, and it will be appropriate. The lightness of the material contributes to the creation of various shapes. Therefore, it is easy to work with her.
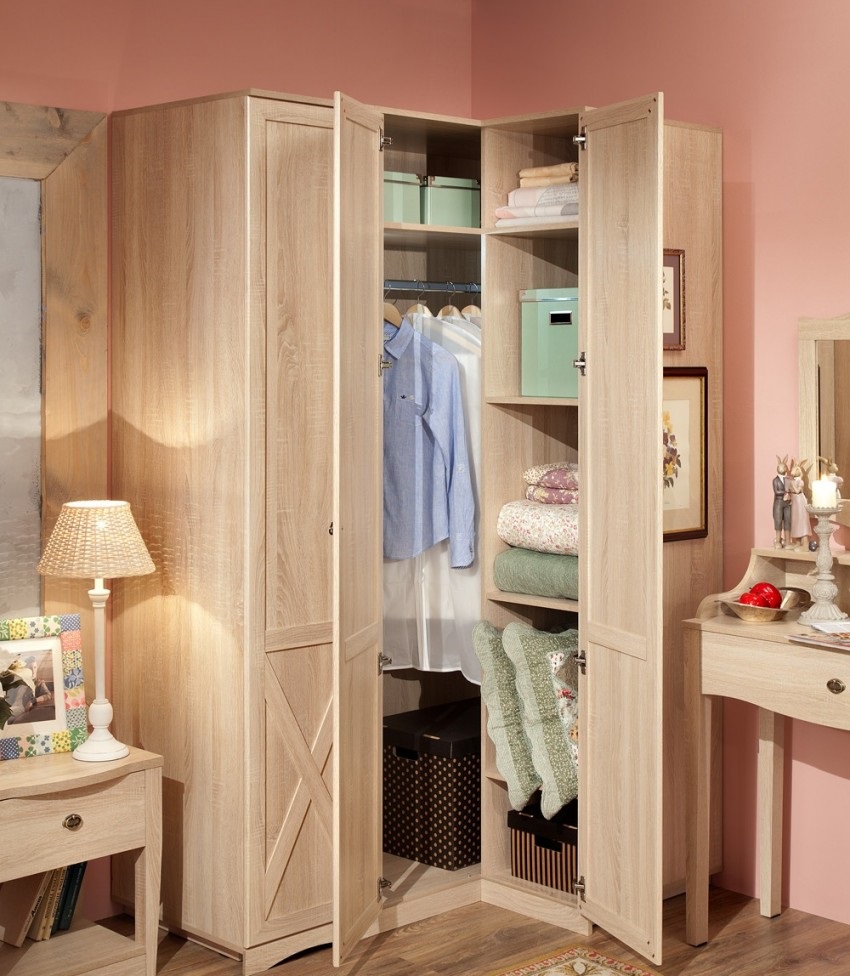
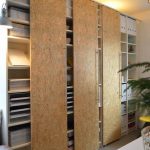
Based on the above text, the conclusion suggests itself that even a beginner is quite capable of working on a plywood cabinet with his own hands. All work takes place step by step. Starting with preparatory work and ending with the final touches and design. Some of the elements will not be superfluous to order from the masters, we include doors for sliding wardrobes to such an order.
Video: DIY plywood cabinet making
