Design and manufacture of wardrobes
A sliding wardrobe is a very convenient piece of furniture, often used in small apartments. However, it is not always possible to find a model that is ideally suited for style and dimensions. In this case, the cabinet can be made by yourself.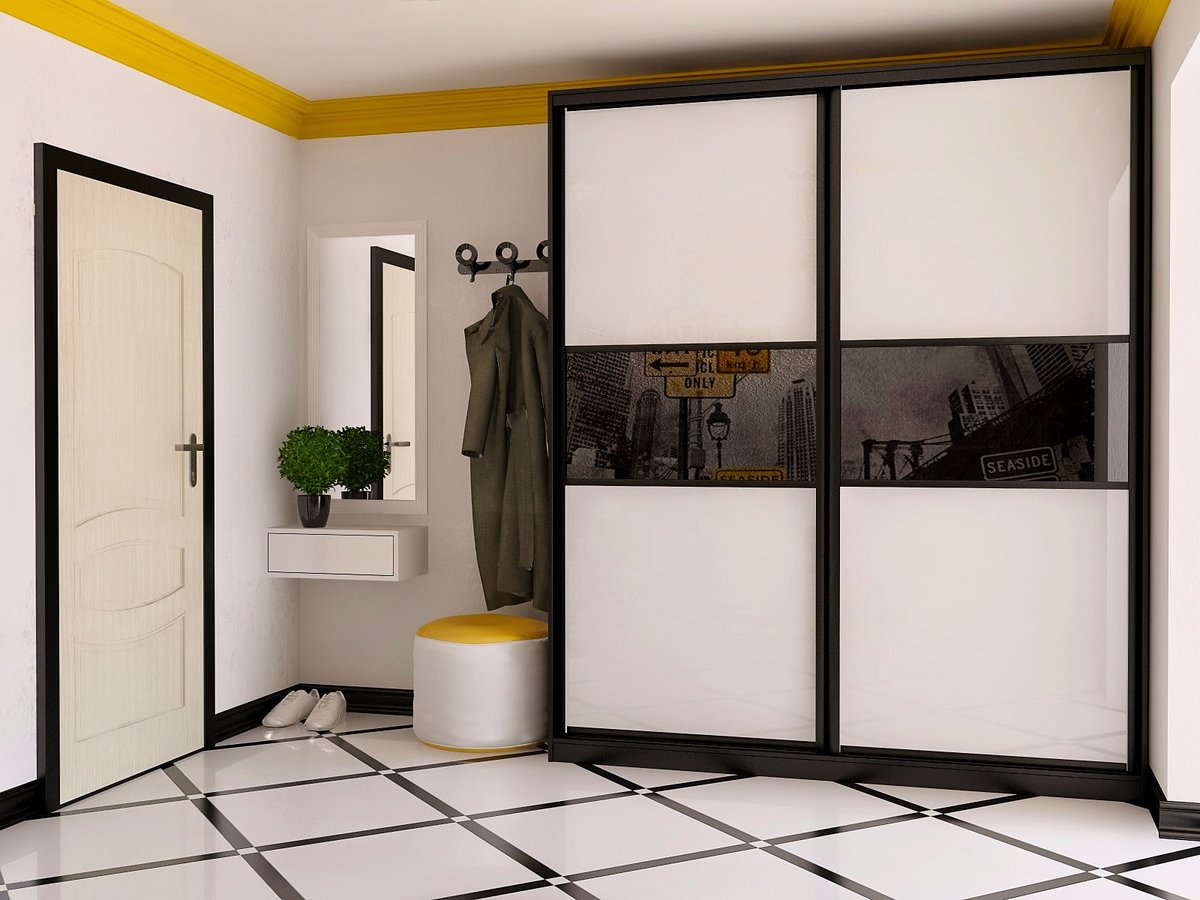
Varieties
The main types of wardrobes include the following:
- Built in. This is a stationary structure that allows you to use the entire usable volume of space in which it is located. Its boundaries are the floor, walls and ceiling of the room. Such cabinets can be built in any place that is rarely used, as well as used to mask communications. However, it cannot be moved without disassembling.
- Semi-built. This design is characterized by the absence of some supporting parts, for example, the rear and side walls. This will allow you to mount the cabinet even in the absence of a niche or opening. At the same time, the frame is attached to the wall, so moving such a cabinet is also problematic.
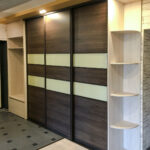
- Corpus. This type of cabinet contains all the necessary elements: supporting frame, back wall, four panels and sliding doors. It is usually placed along the wall.
You can place a wardrobe closet in the center of the room, thereby realizing the zoning of the space.
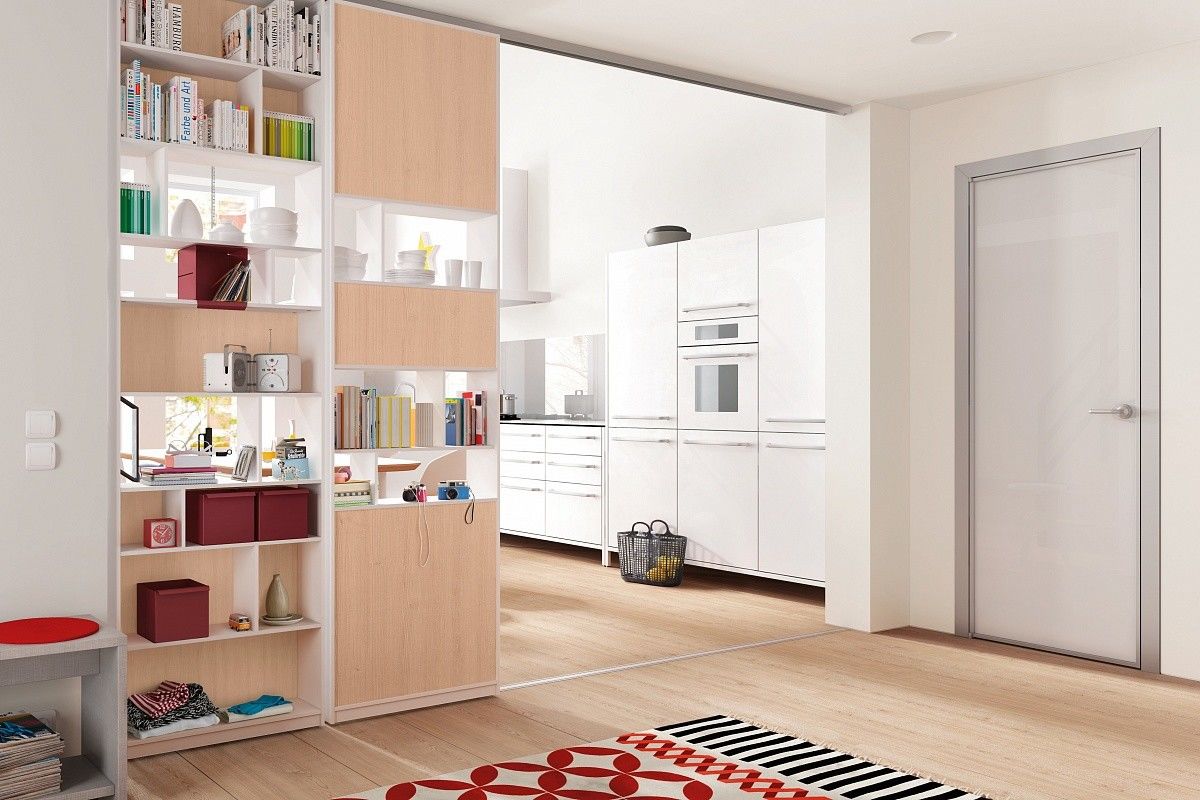
Cabinet cabinets are mobile, and often transportation is carried out assembled. They use less usable space and require more material to manufacture than their built-in counterparts.
Corner wardrobe
This design allows you to rationally use the empty space in the corner of the room. Corner cabinets can be surprisingly roomy with the right interior layouts.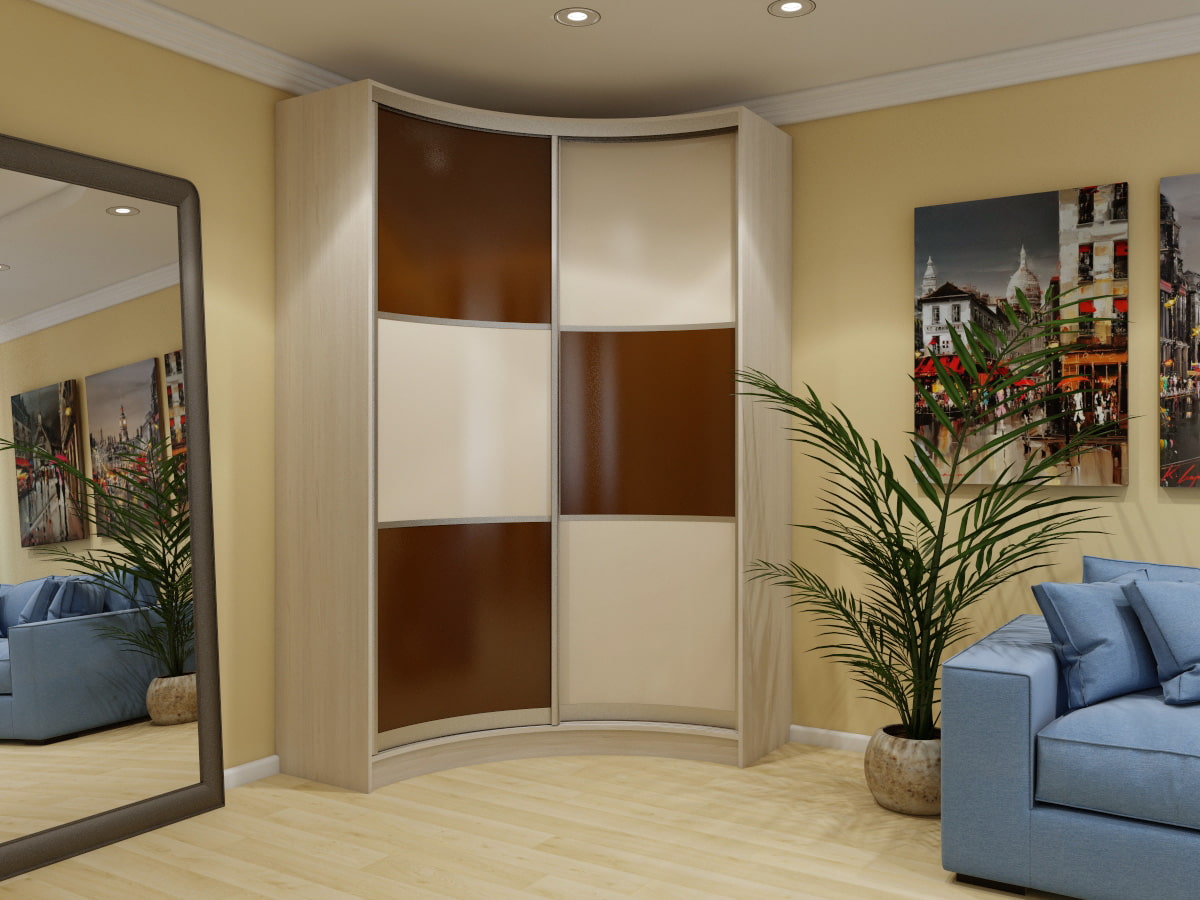
If the corner cabinet is a cabinet cabinet, then during assembly and installation difficulties may arise due to the design features.
Rectangular wardrobe
Such models have a straight and austere facade that will be appropriate in any style direction. They are versatile and have an extremely simple design, including for installation. At the same time, rectangular cabinets do not differ in originality, as they are used everywhere.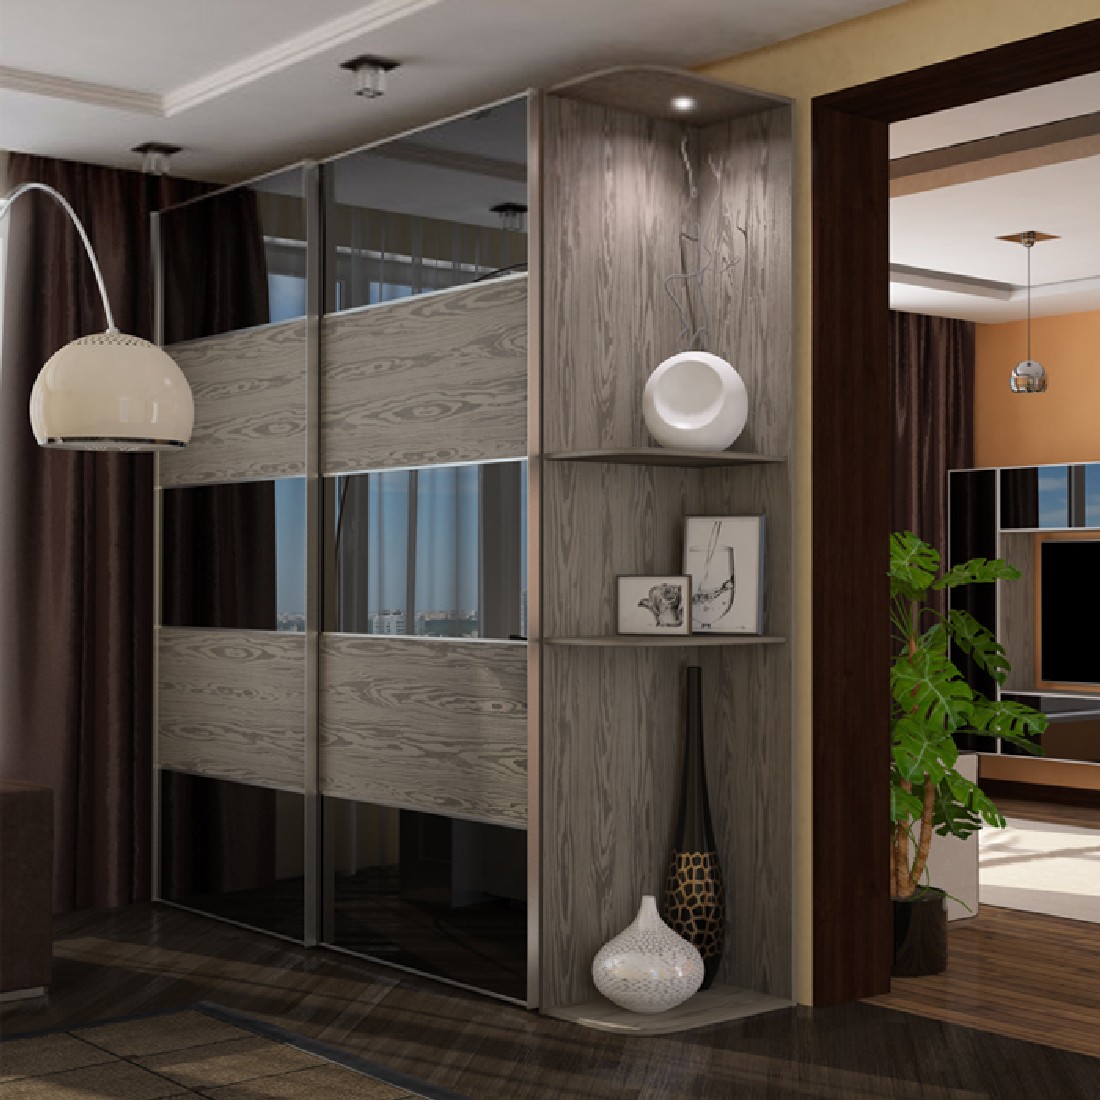
Spherical wardrobe
Sliding wardrobes with a spherical or radius facade came into use relatively recently, but they have become quite popular due to their external originality and practicality. They combine the advantages of other types of cabinets, and also have a complex mechanism, which determines their high cost.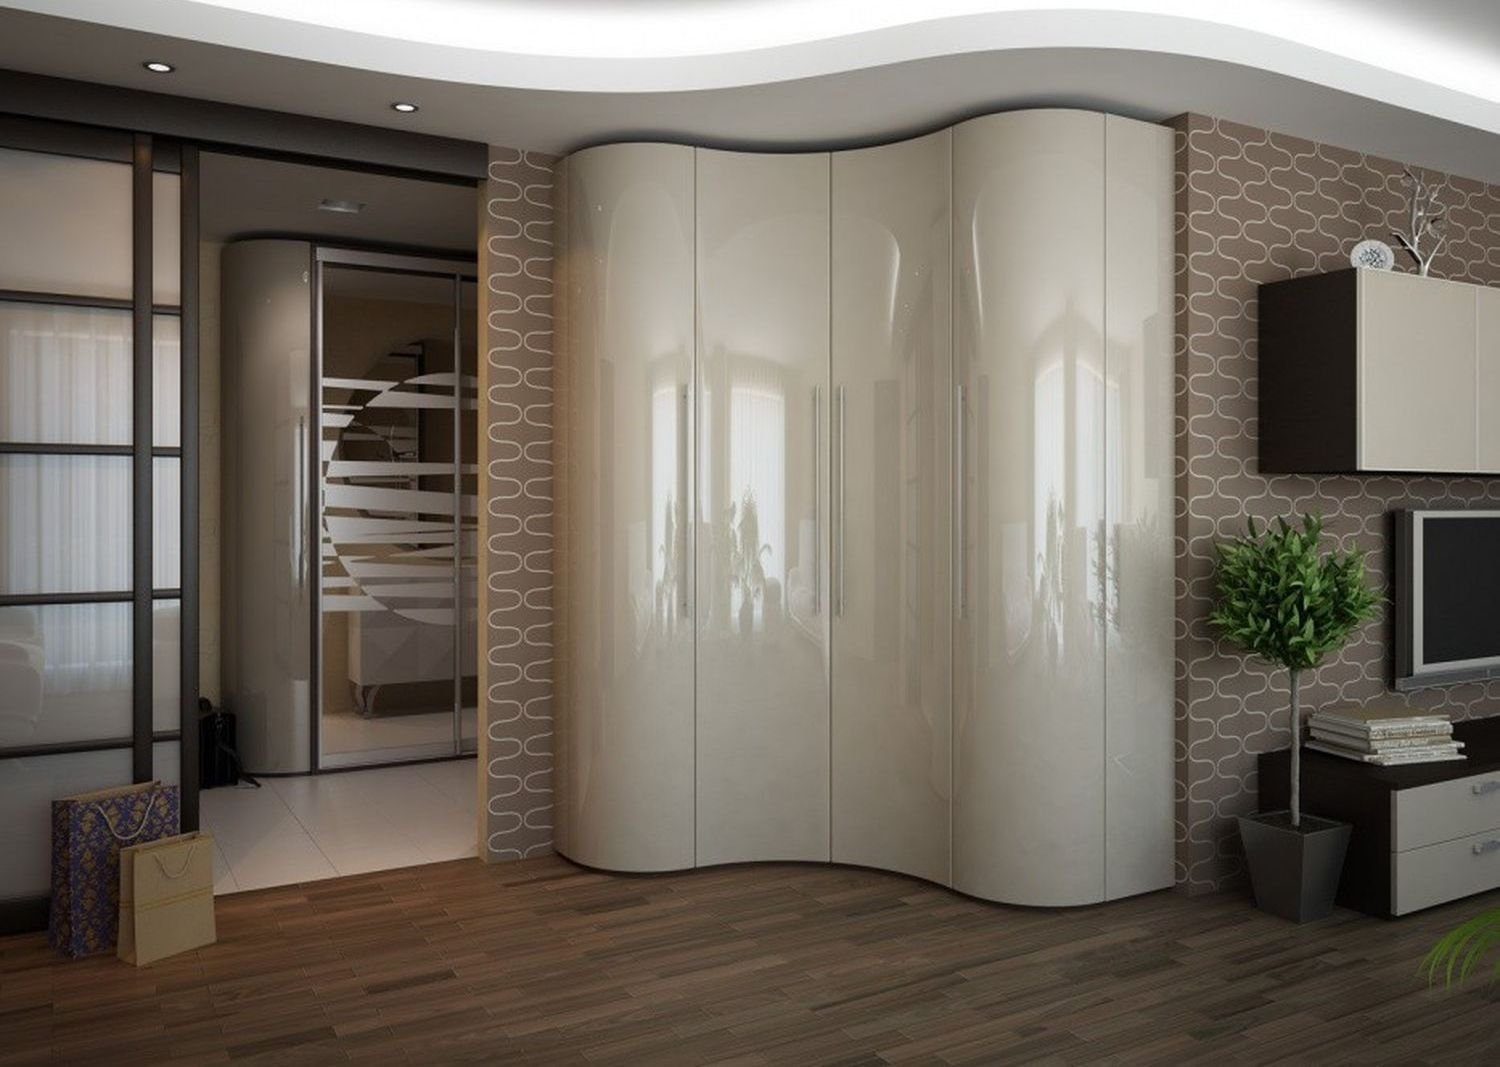
Sliding wardrobe in the form of a square
This is a modular type of cabinet, consisting of several modules in the same style. They are autonomous, which allows you to freely change the configuration of the structure.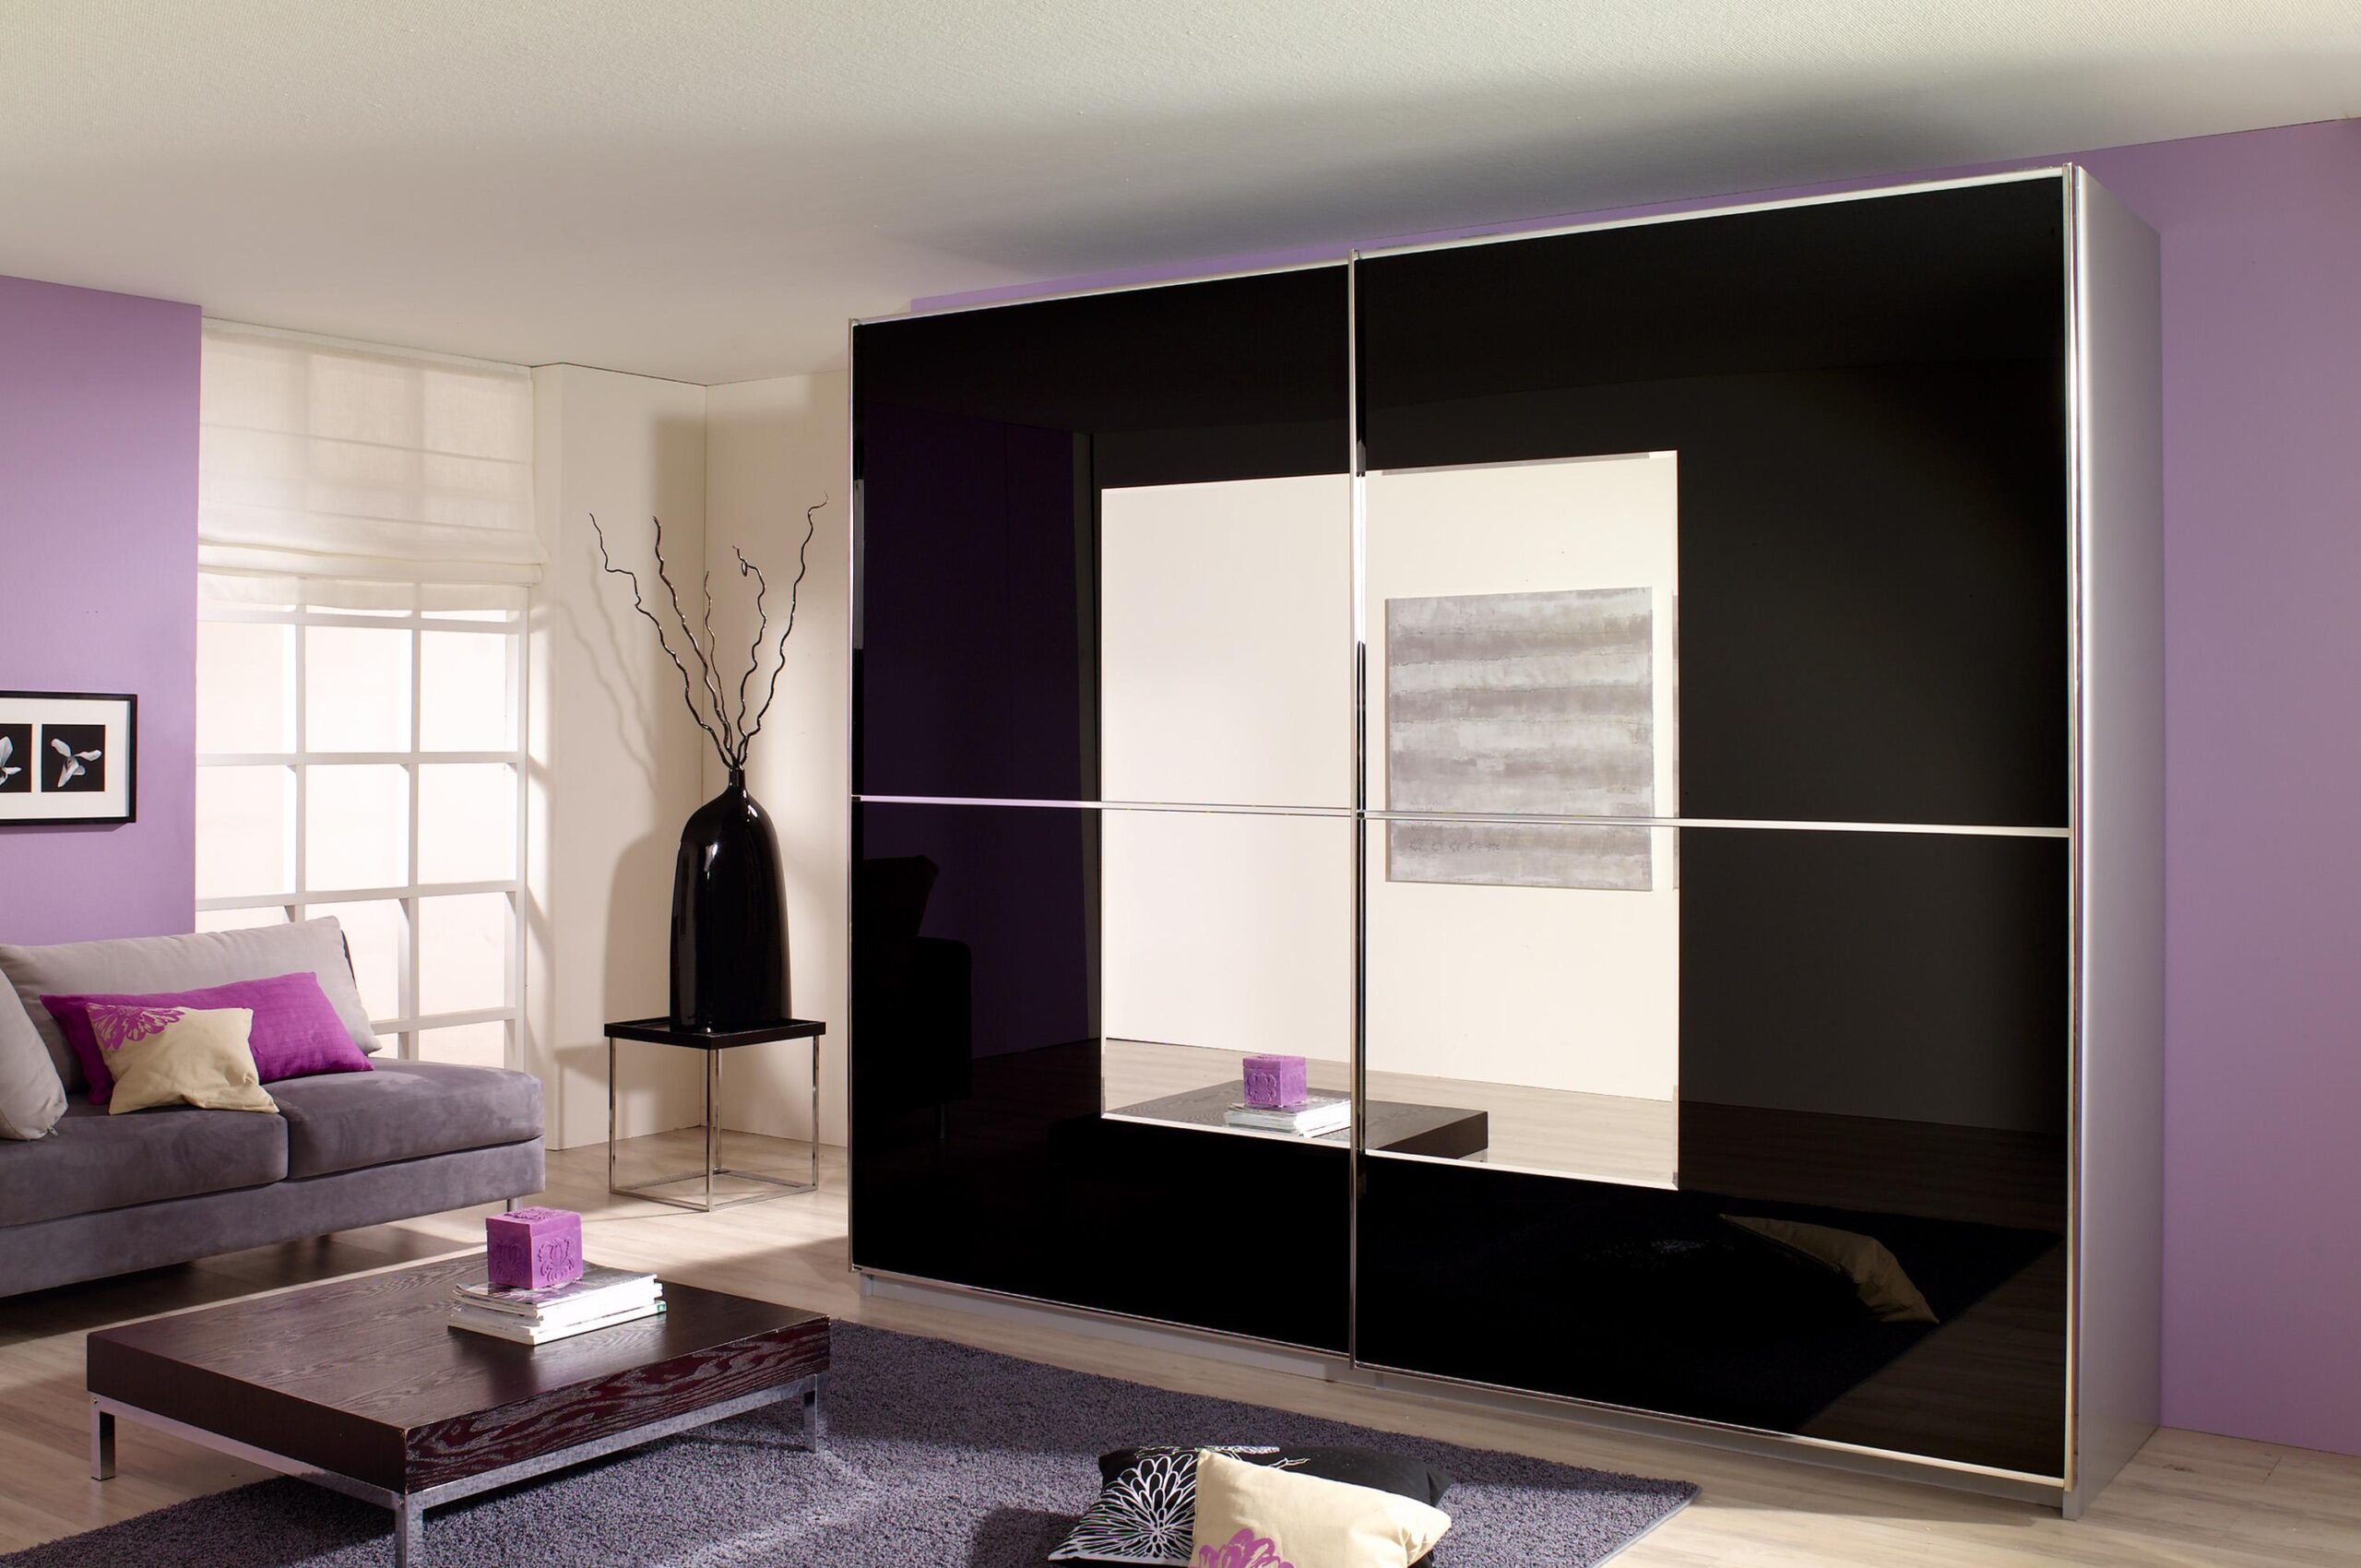
How to make a wardrobe in the hallway
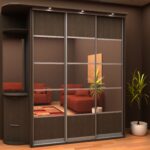
Usually, a wardrobe located in the hallway serves as a container for outerwear. It also contains umbrellas, shoes, bags, scarves and the like. The facade is most often made mirrored.
Drawing
The dimensions for the cabinet project are calculated based on the possibilities of the space. When choosing the width, it should be borne in mind that doors that are too narrow are very unstable, and that too wide are inconvenient to use. The best option would be a door with a width of 900 mm.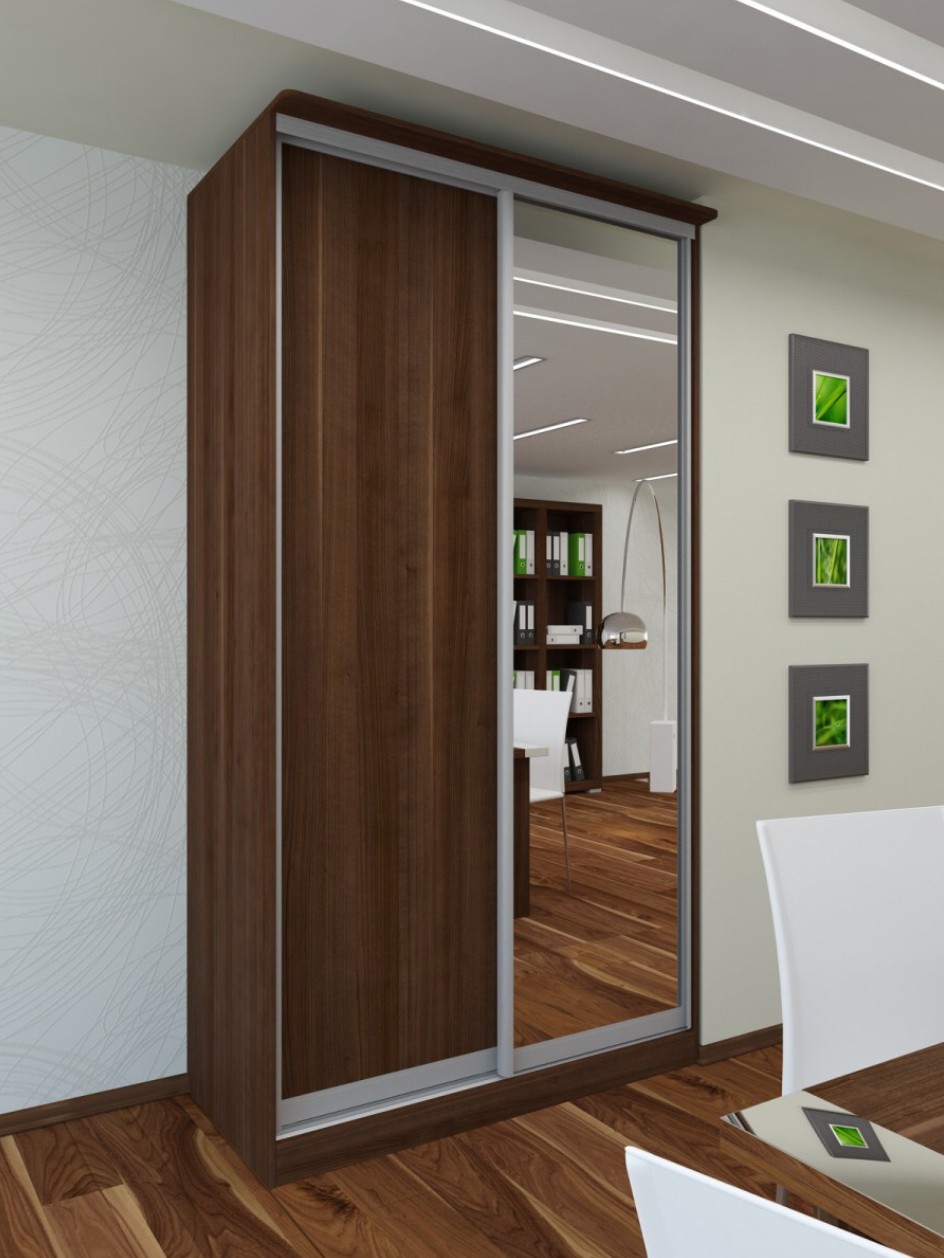
The number of sections should be equal to the number of doors, while the internal partitions should be placed at the level of the door joints.
The ideal cabinet depth is between 600-650 mm. This is due to the average width of the clothes placed on the hangers (550 mm). The sliding doors themselves can take up to 100 mm. If the dimensions of the space do not allow using the cabinet with such a depth, then it can be reduced by using a bar located perpendicular to the back wall.
The main thing is to decide in advance on the desired dimensions in order to correctly draw up a sketch of the wardrobe in the hallway.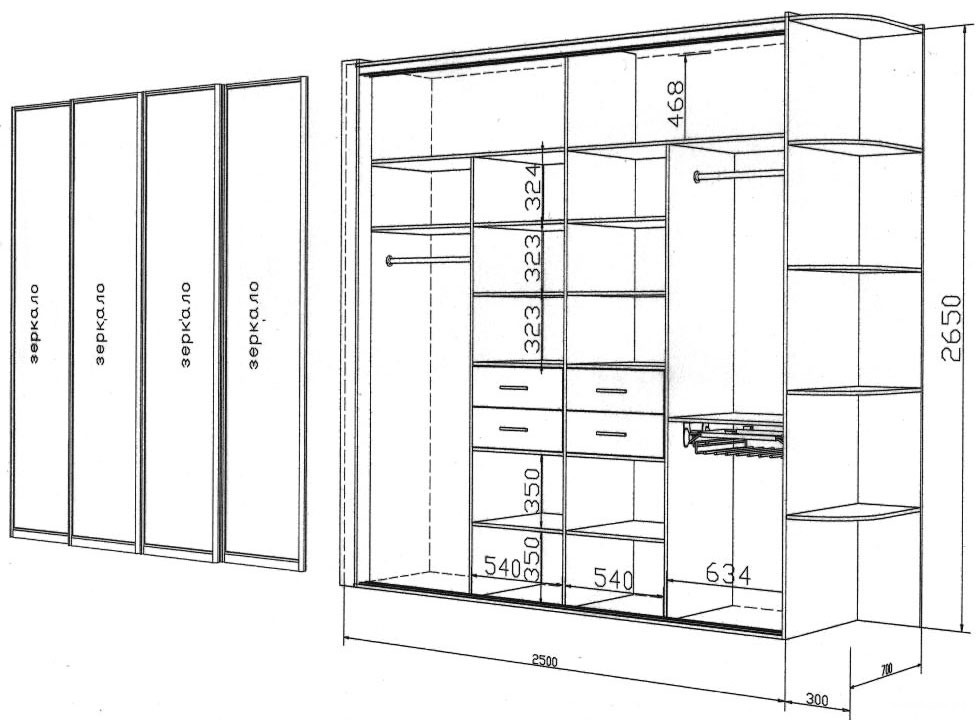
The project scheme is carried out in two versions: front view and side view. It indicates the external dimensions - the height, width and dimensions of the box, as well as the thickness of the parts used. First, the box of the structure is depicted, then the internal filling. The drawing should include an indication of the distances between the shelves, the width of the sections, the dimensions from the part to the attachment point and the height of the plinth.
The width of the internal elements of the structure should be 10 cm less than its depth. This should also be reflected in the sketch of the wardrobe.
Selection of tools
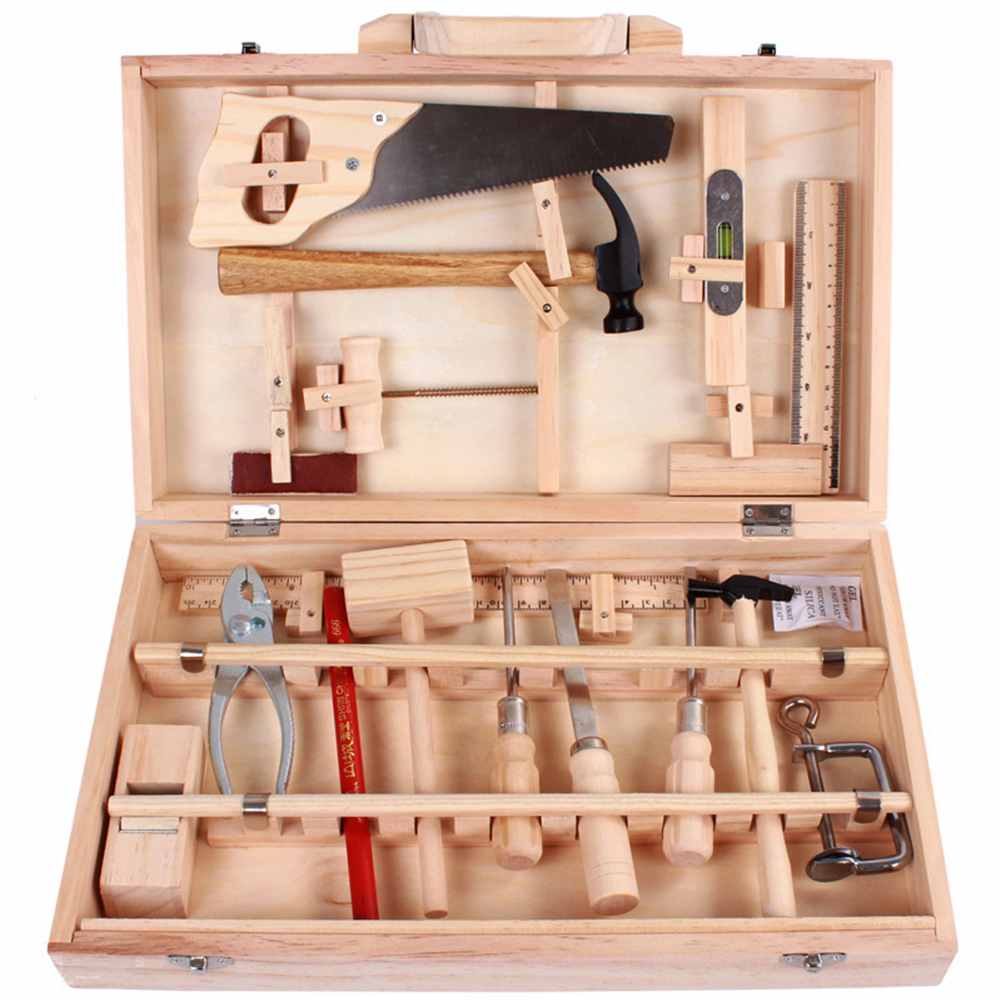
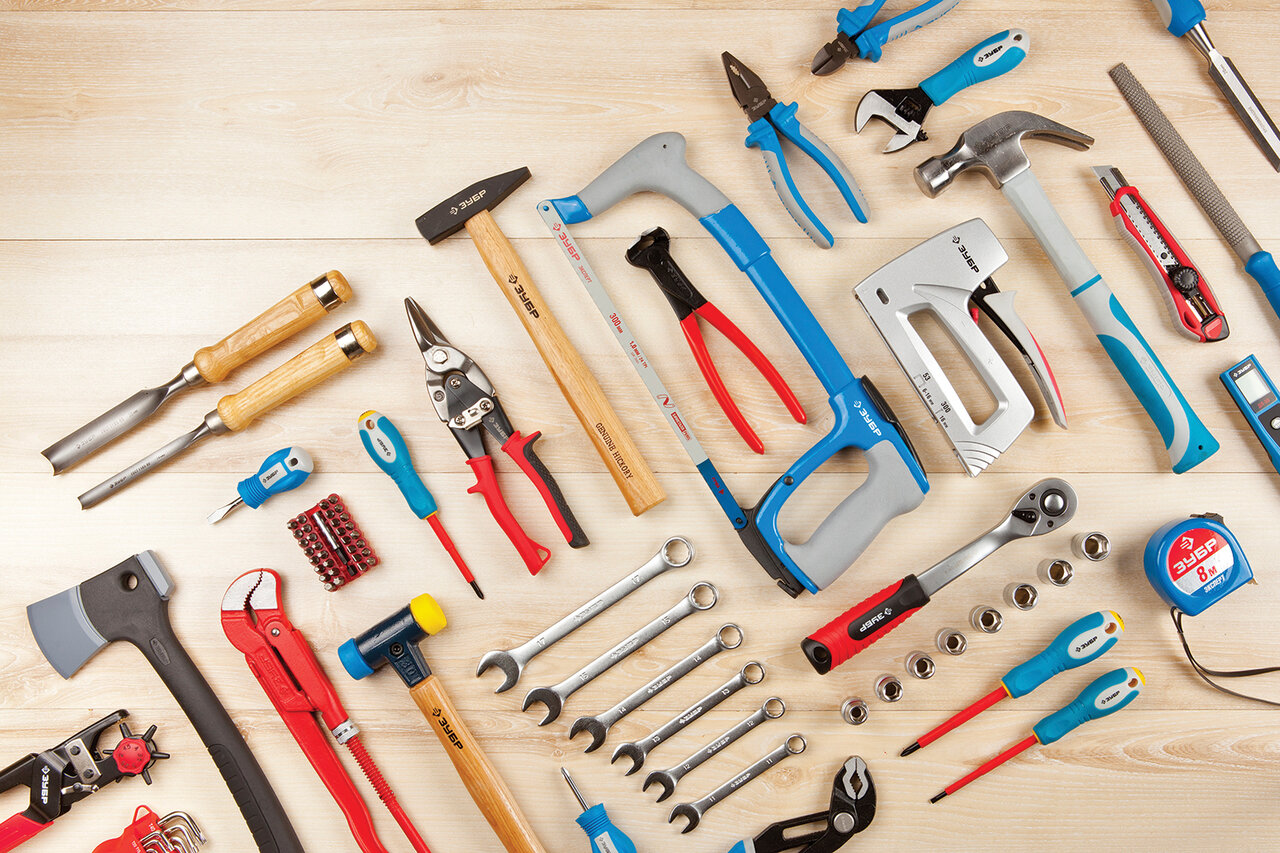
To work, you need the following tools:
- main material;
- suspensions;
- profiles for forming the frame;
- glue;
- self-tapping screws;
- Bulgarian;
- fittings;
- sheathing material;
- drill or hammer drill;
- rollers and guides;
- screwdriver;
- stationery knife;
- roulette and level;
- jigsaw or hacksaw;
- hammer.
To ensure ease of use of the cabinet, various fittings are used. It is selected depending on the dimensions of the structure, wall thickness and filling.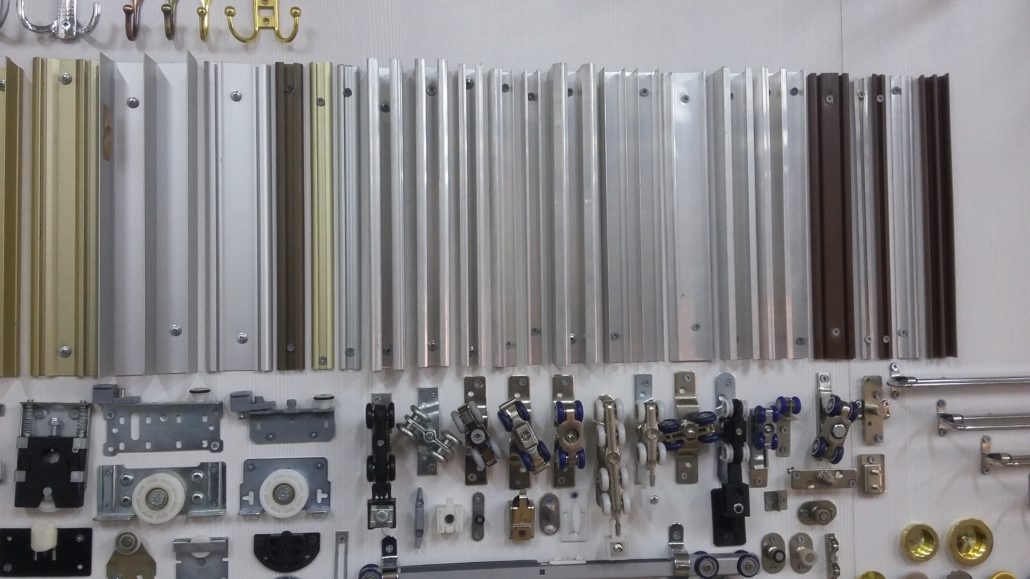
The following accessories are required for a standard cabinet:
- self-tapping screws;
- shelf holder;
- eccentric coupler;
- metal corners;
- confirmation;
- crossbar or pole;
- adjustable support;
- screws;
- pens;
- nails;
- washers for screws;
- legs.
Choice of materials
The material of manufacture can be as follows:
- Natural wood. It is rarely chosen for self-production, since it has a high cost. In addition, even with some skills, working with it is very laborious due to the capriciousness of the material, which will additionally have to be opened with special paints and varnishes.
- Chipboard. These are compressed boards made from wood shavings. They differ in the number of layers, thickness, formaldehyde content and type of cladding. Typically, slabs with a thickness of 16, 18 or 25 mm are used for the cabinet body. They have equal performance characteristics and differ only in the external effect: thicker plates give a more solid appearance to the product.
- MDF. These fibreboards are also made from sawdust, but are processed using dry pressing rather than hot pressing. This processing method makes the material environmentally friendly, durable and aesthetic.
- Drywall. This material is inexpensive, easy to use, durable and environmentally friendly. Working with it does not require any special skills.
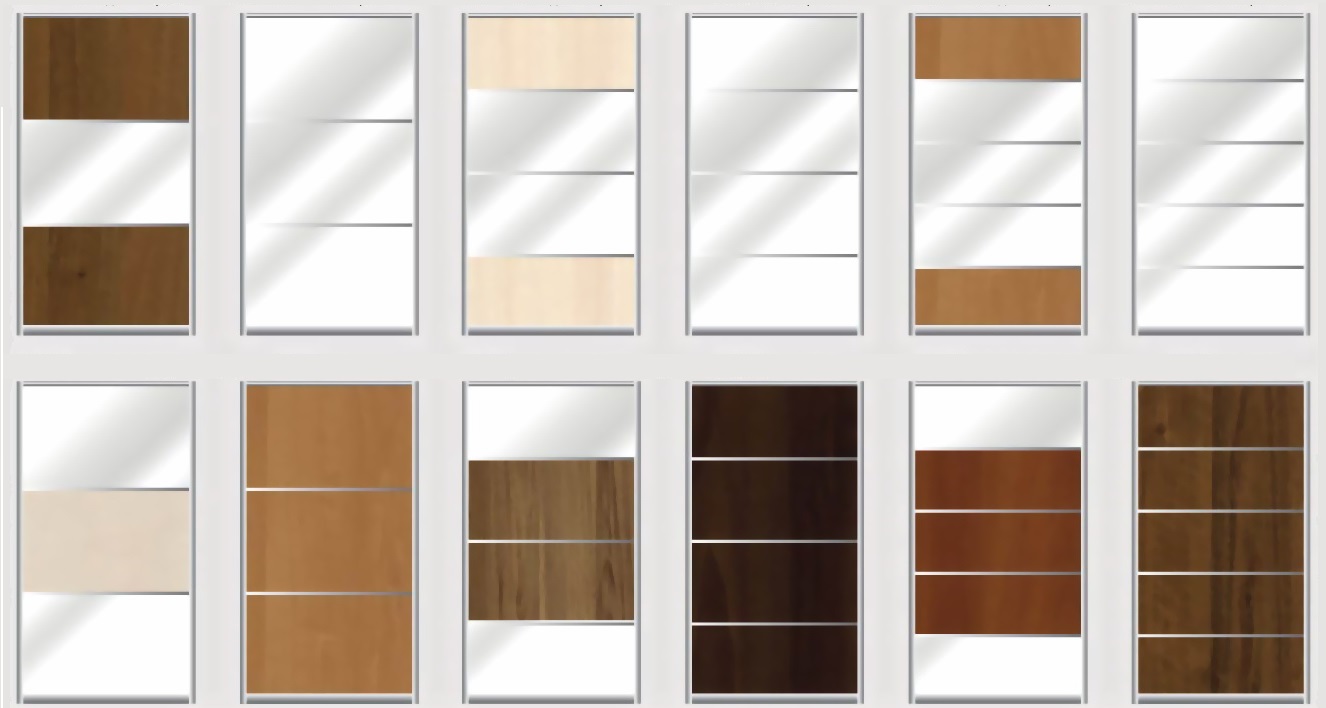
Chipboard can be covered with a special interior film imitating plastic or wood.
Blank cabinet elements
Most often, the cabinet has two compartments: a wide one with a hanger bar and a narrow one with shelves. An open box can be located on one or both sides. The standard dimensions of the base elements are as follows:
- cabinet height - 180-220 cm;
- the width of the sections is 45-80 cm;
- the distance between the shelves is 30-35 cm;
- width of shelves and drawers - 40-45 cm;
- the depth of the boxes is 25-30 cm.
For the rational use of space, the upper part of the cabinet is equipped with a mezzanine, and the lower one - with a small compartment for shoes.
When the drawing is ready, the details are prepared. It consists in cutting the materials into pieces of the required size and stripping the sections. With insufficient experience in such work or lack of suitable equipment, the saw can be cut in the workshop.
Build process
Before starting the assembly, it is necessary to prepare a niche or wall to which the fastening will be carried out. The surface must be leveled, for which it must be cleaned, primed and covered with acrylic enamel.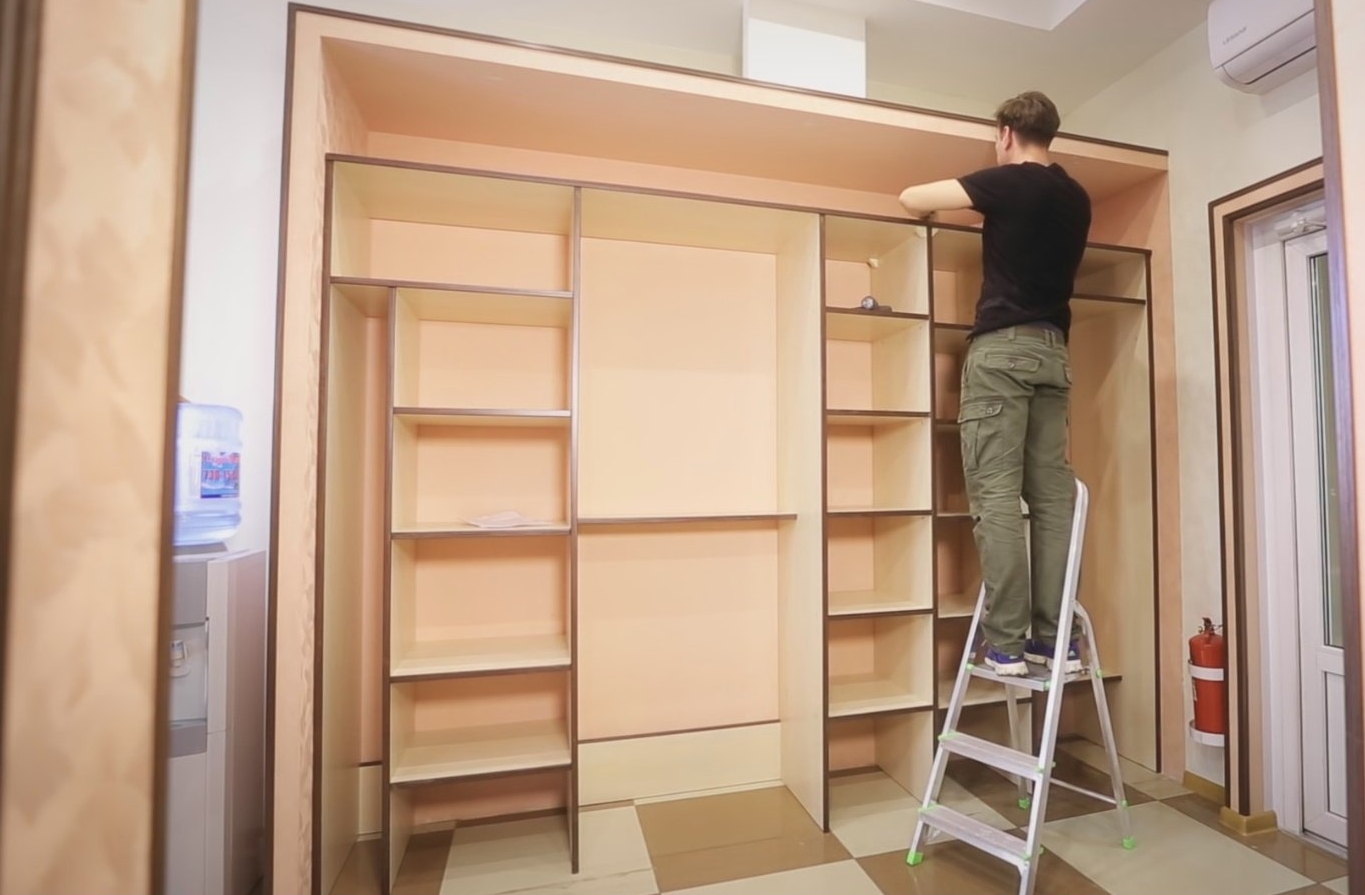
The assembly procedure is as follows:
- Carry out the markup. It is necessary to measure the length of the cabinet from the corner, and also indicate the location of the internal vertical sections and horizontal shelves.
- Install the fasteners. Based on the sketch, it is necessary to drill holes in the attachment points. You need to install dowels in them, put fasteners and fasten with self-tapping screws.
- Install the side panel. First, you should try it on, then fix it.
- Align the spacer posts near the mountings, fix with screws.
- Fasten shelves, hangers and round racks. For the latter, special fasteners are first installed.
- Install the rest of the cabinet walls, fixing them with fasteners.
When assembling, it is worth distinguishing between the types of furniture fasteners and using them for their intended purpose.
Features of door installation
Sash installation is carried out as follows:
- Measure the bottom and top walls of the cabinet and the rails. Trim the latter if necessary.
- Fasten the guides to the walls of the structure.
- Fix the parts of the mechanism on the doors.
- Install the leaves on the rails. The process differs depending on the type of gimbal used.
- Adjust door movement until smooth and quiet running is established.
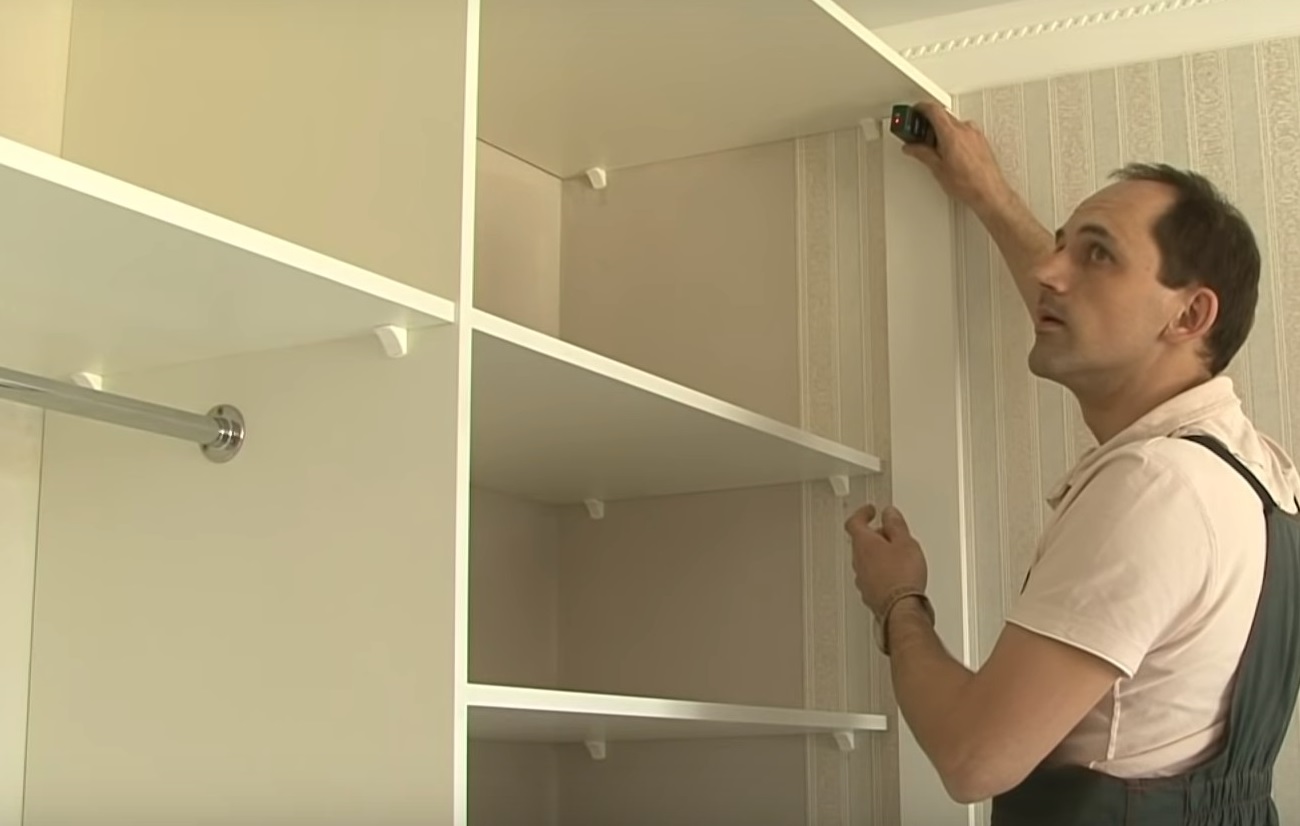
For high-quality work, a seal must be present on the walls of the door.
Decorating
You can decorate the facade of the wardrobe in one of the following ways:
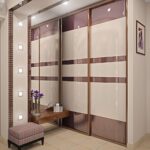
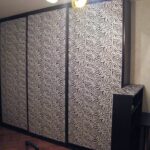
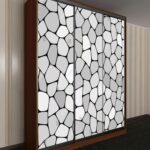
- Self-adhesive film. It can be colored or stained glass. Allows not only to decorate the cabinet, but also to protect it from mechanical damage. Modern stained glass films are of very high quality, allowing you to get a true imitation of a real stained glass window.
- Airbrushing. With this method, the pattern is applied to the surface using an airbrush.
- Mosaic. To create it, glass parts of different sizes, shapes and colors are used.
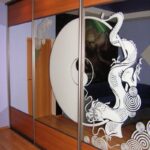
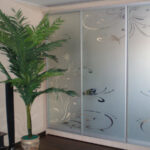
- Sandblasting, or matting. The method is intended for mirror or glass facades. It can be carried out using quartz sand or special paste and stencil.
Fusing. This is a technique for sintering glass with different transparency and color. The finished drawing is attached with self-adhesive. - Stained glass painting. It is carried out using silicate paints, thin brushes or stencils.
Correct filling of the wardrobe
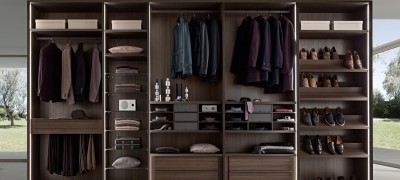
For comfortable use, the cabinet must be correctly zoned. This is especially true for the dressing room. For this, internal content may include:
- shelves, which can be retractable or stationary, half or full depth, solid or ventilated;
- hanger bar, horizontal or vertical;
- pantograph;
- hooks;
- trouser;
- shoe shelves;
- drawers;
- hanger for belts;
- tie bar;
- pull-out baskets.
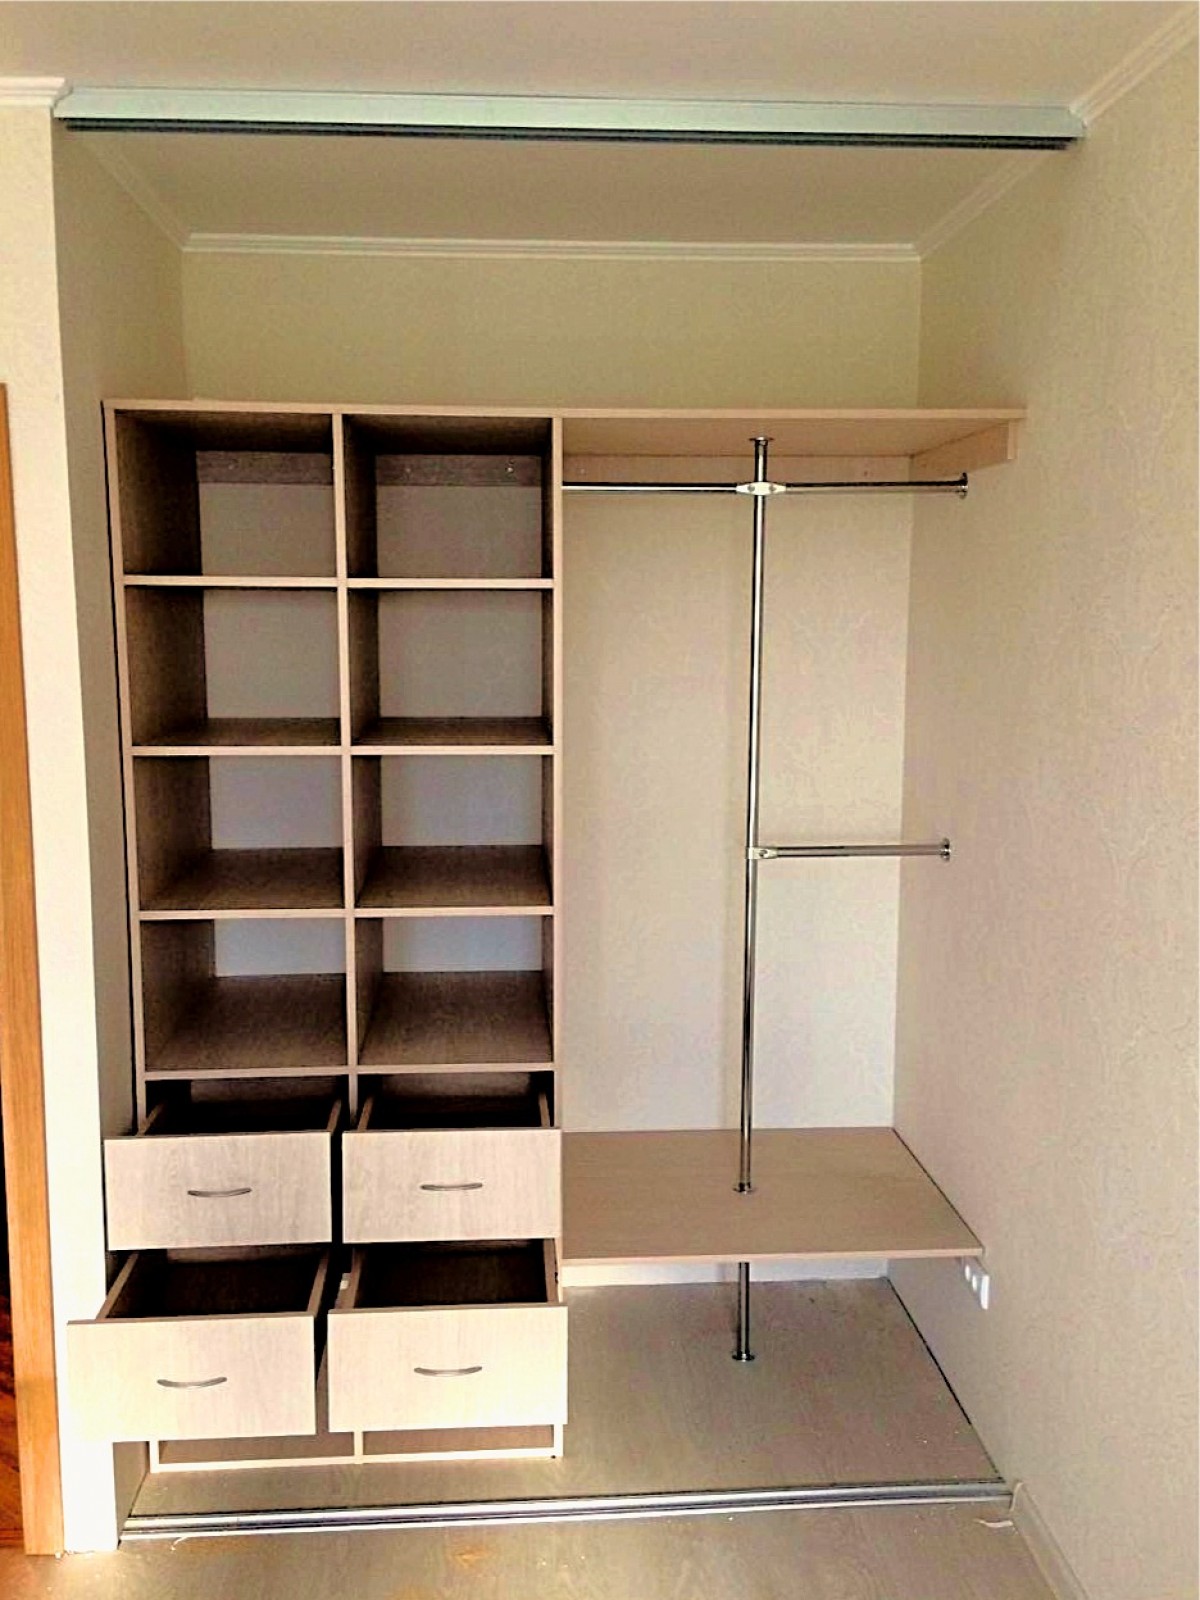
To create a competent project of a built-in wardrobe is a laborious task that requires care and accuracy. However, with a successful design, it will be quite simple to assemble the finished structure, and the result obtained will be able to differ in quality and pleasant appearance.
Video: how to make a wardrobe yourself
