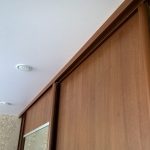
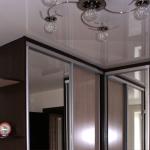
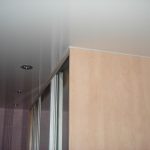
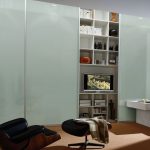
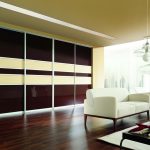
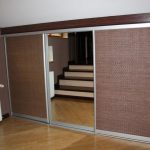
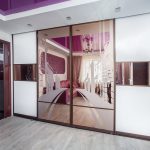
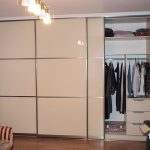
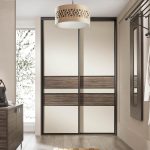
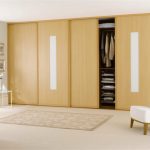
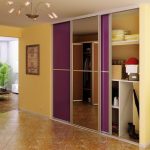
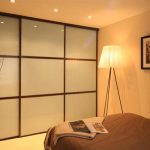
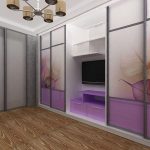
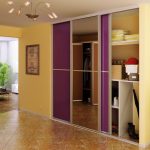
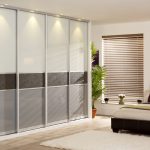
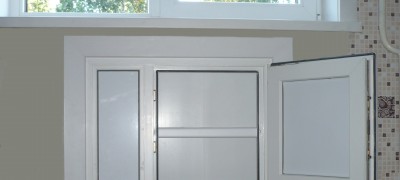
Built-in wardrobe with stretch ceiling
A house needs a solid foundation, a sail in a mast, and a car in a frame. Any structure requires a solid foundation, otherwise it will begin to loosen and crumble. This also applies to the situation when a stretch ceiling and a built-in wardrobe are combined in the interior.
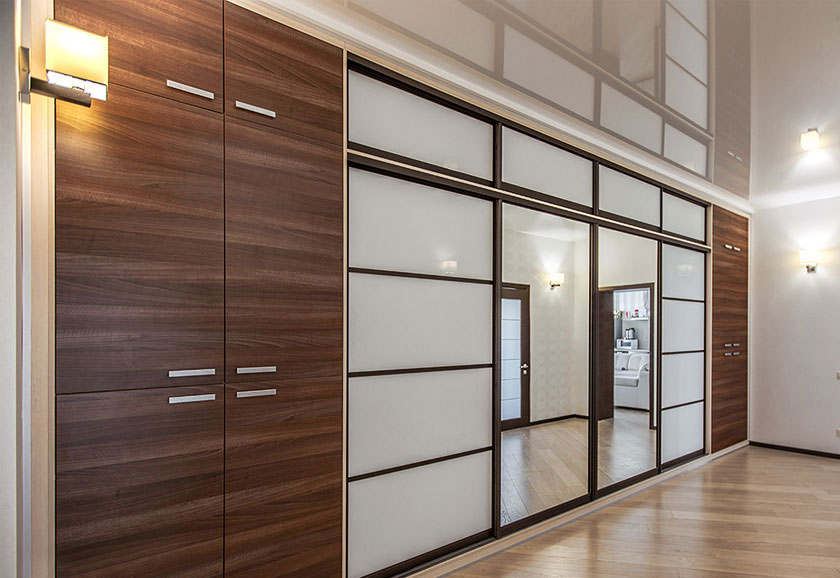
Here, the role of the supporting element that can withstand the main loads is assigned to the mortgage. This role is most often played by a wooden beam. Less commonly, the additional support is made of metal or chipboard.
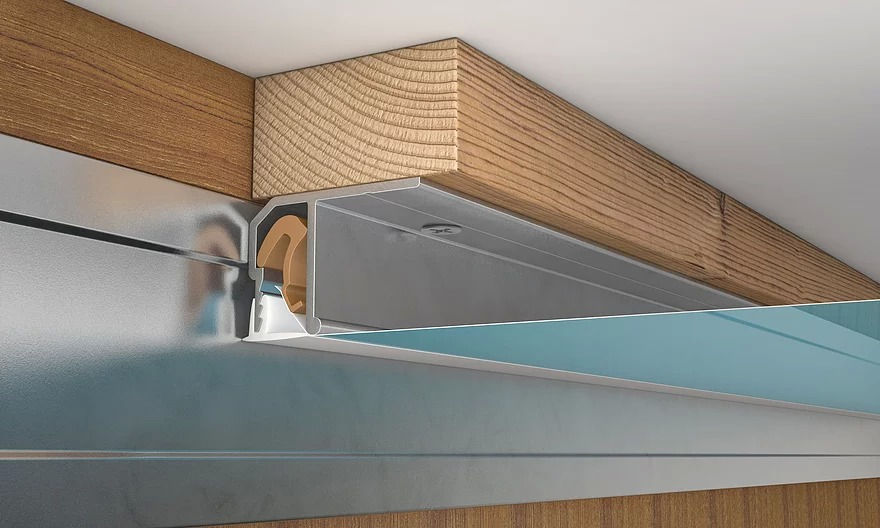
What you need to do first - stretch ceiling or wardrobe
Usually, a support bar is installed first. It gives the structure reliability, makes it more stable and durable. The door guide rests against it from below, and the canvas is attached to the side with a profile.
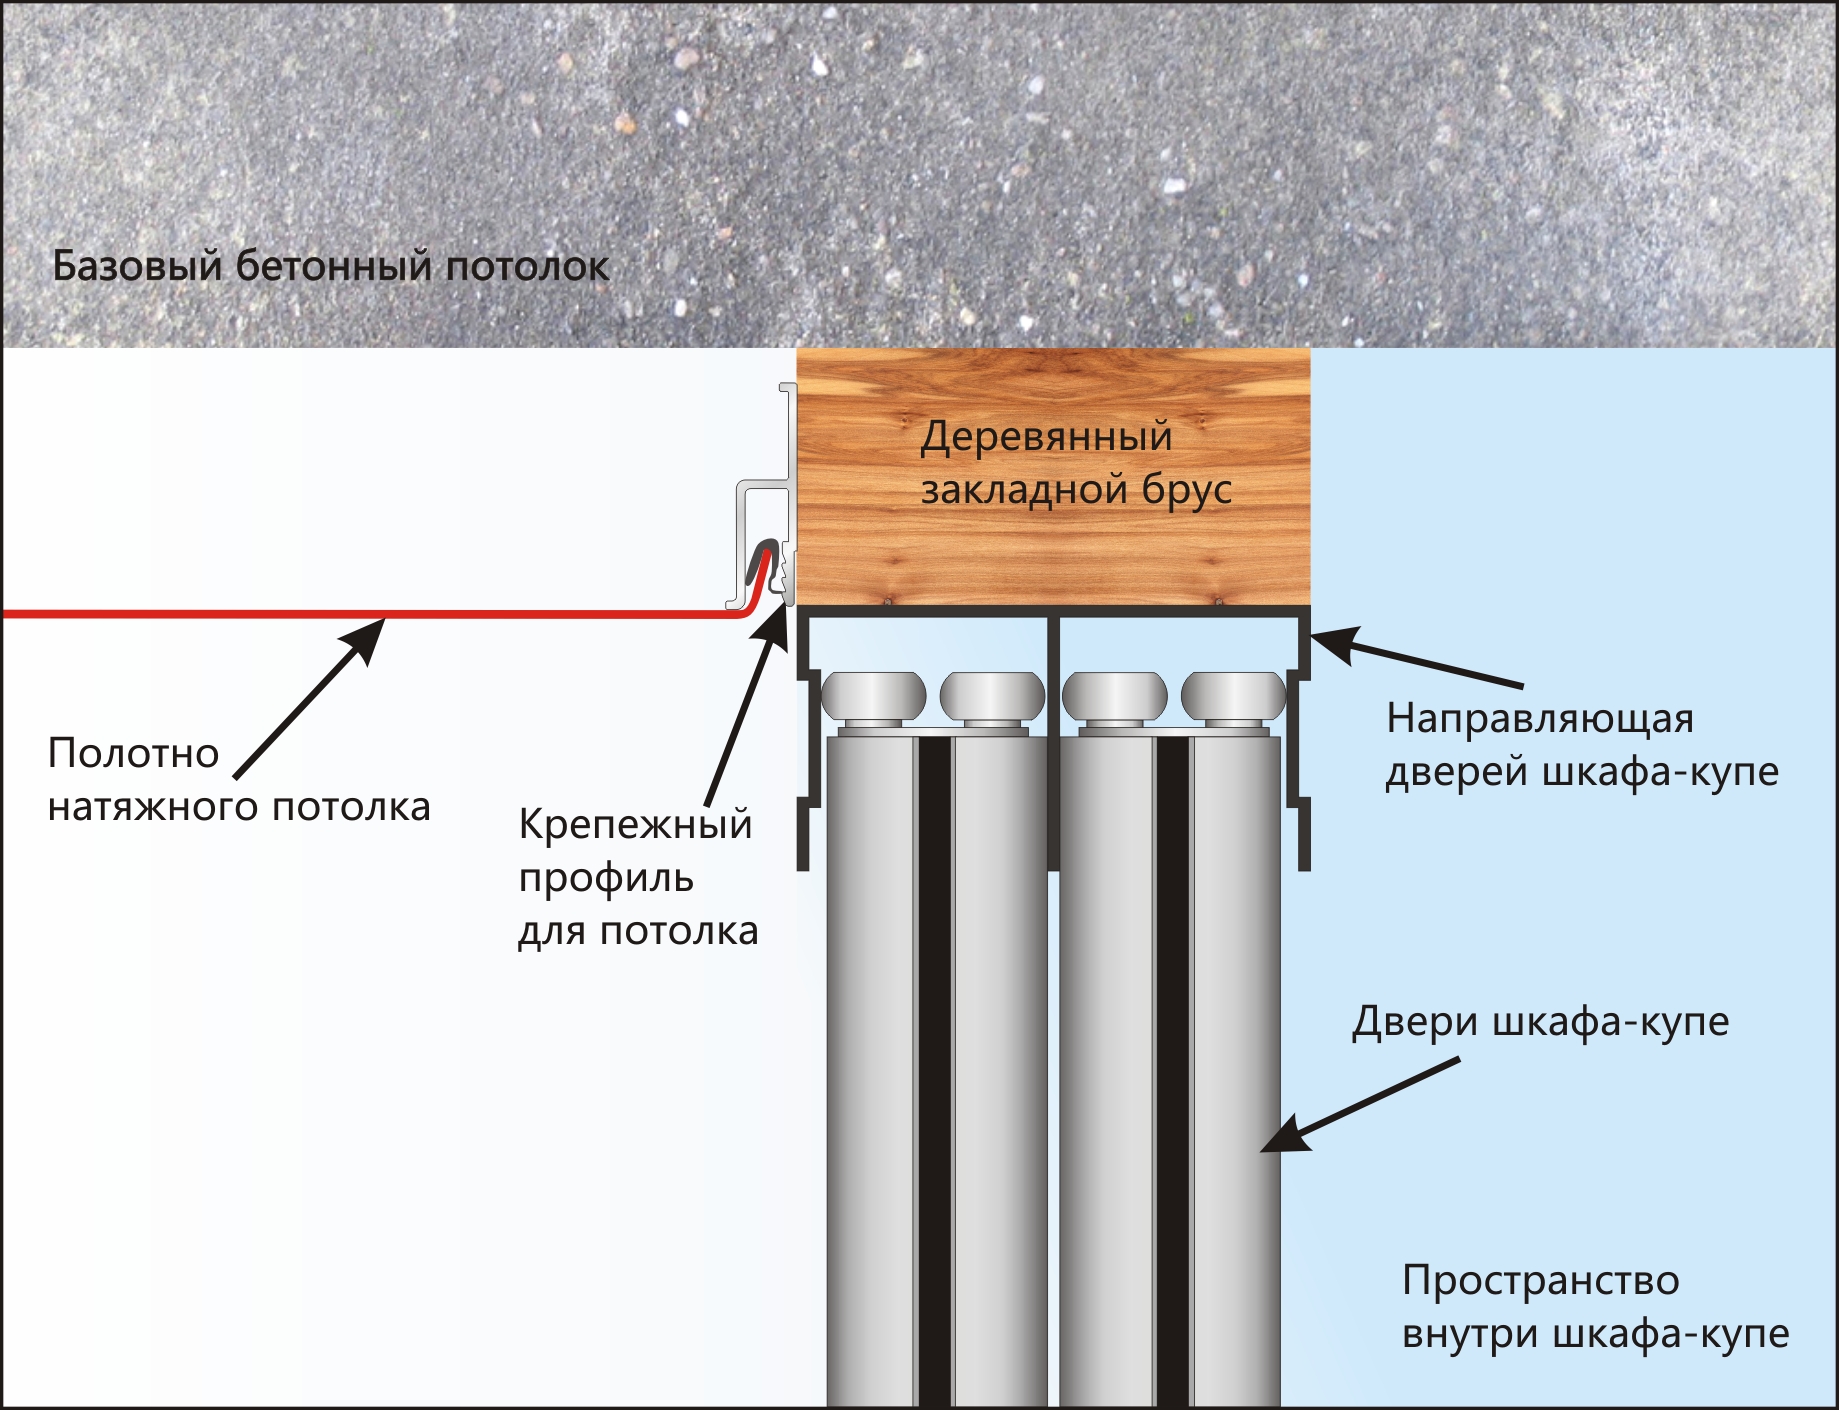
Less often, the furniture structure is placed after tensioning the ceiling. The canvas extends into the cabinet area. But in this case, the mortgage must already be attached. The option is quite rare. If this installation procedure is used, it is more often in the hallways.
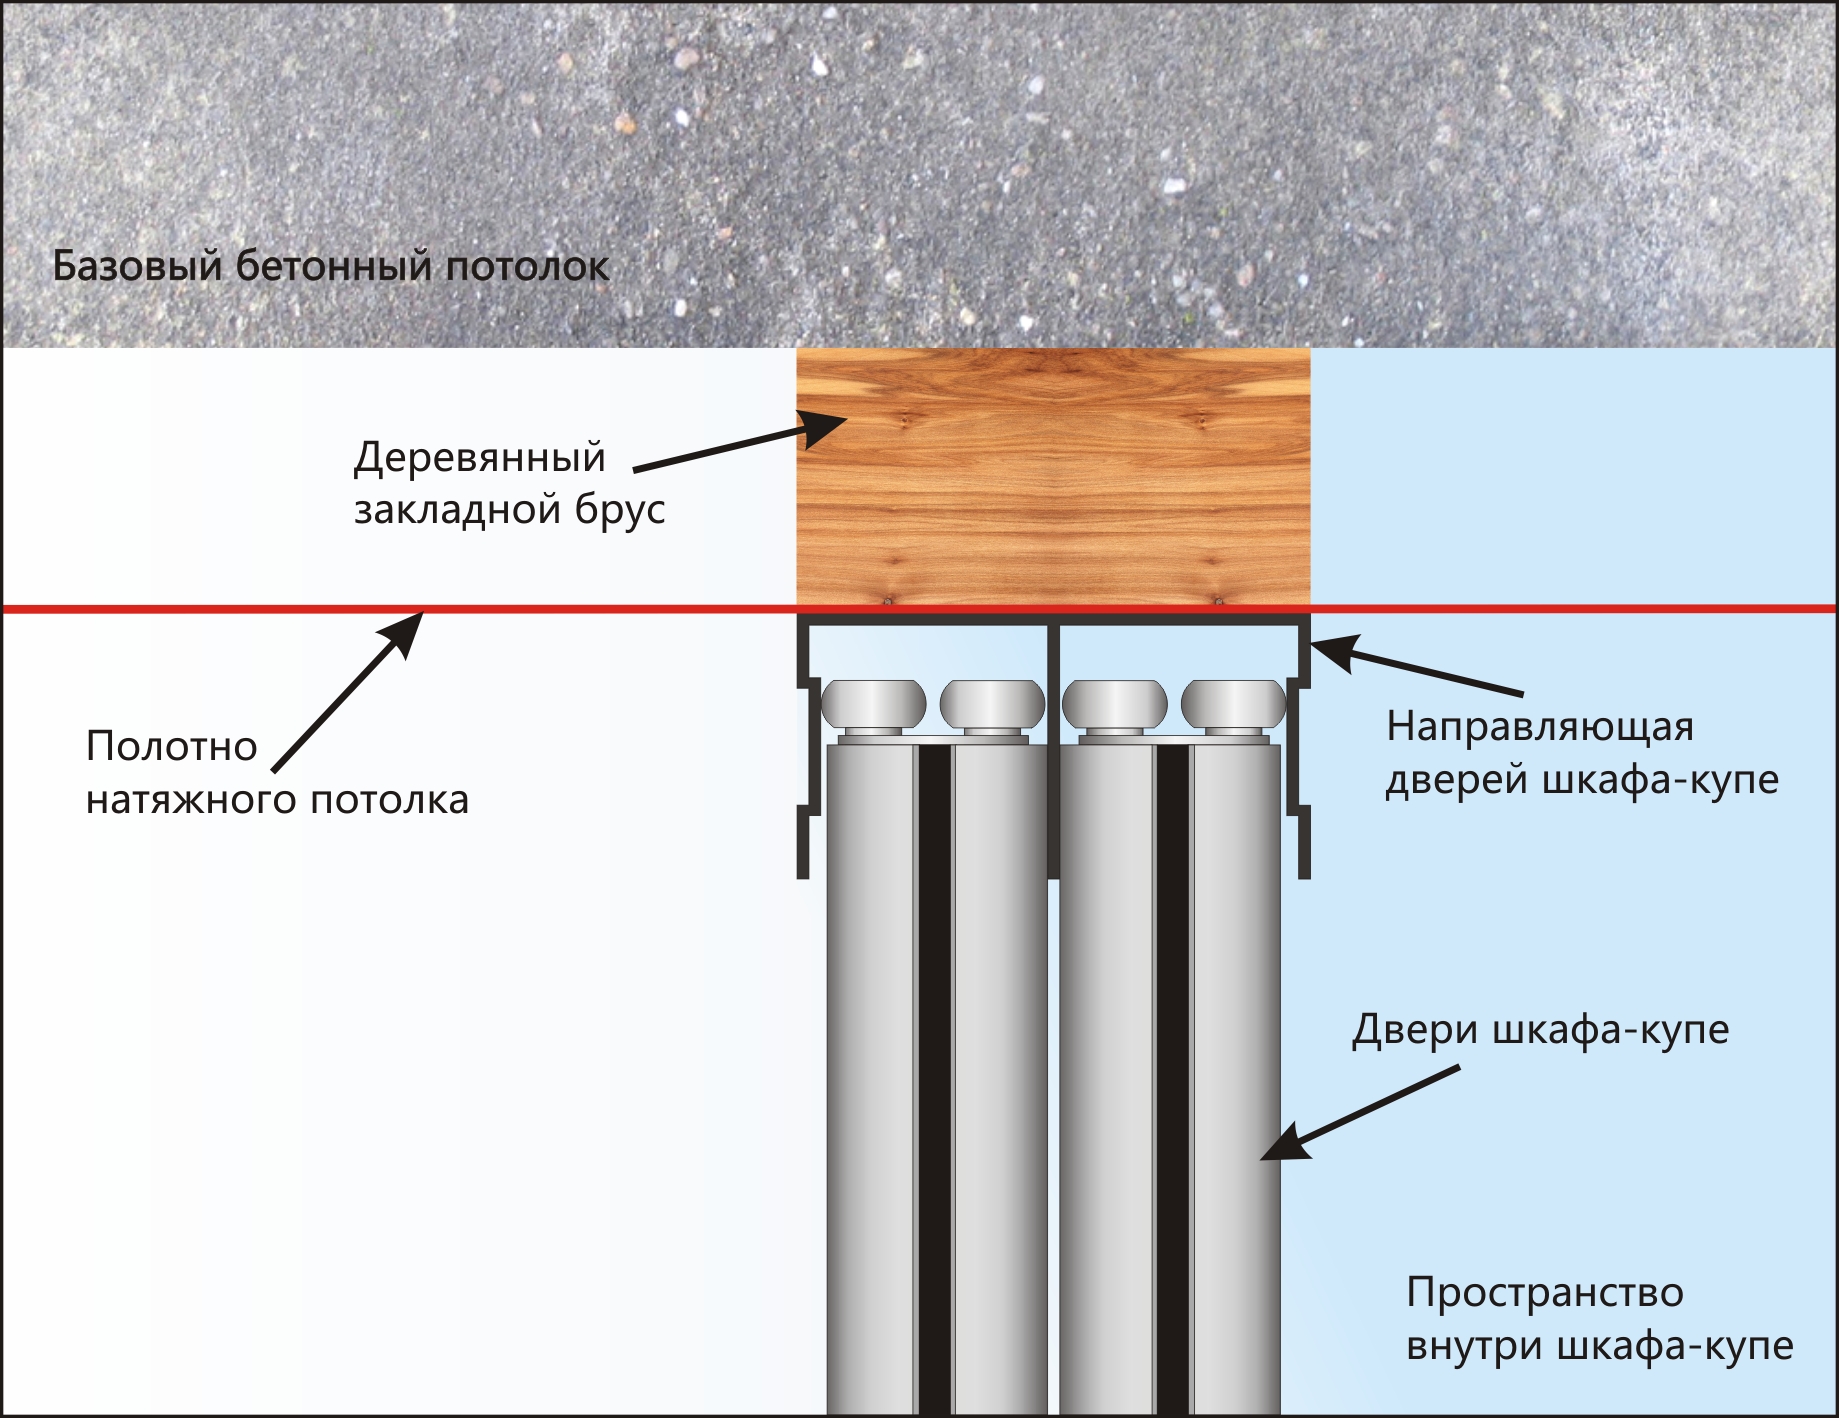
There is also a third option. The canvas is stretched with brackets that are not attached to the mortgage, but to the base ceiling. In this case, both constructions are independent of each other. When tensioned, the web can be pressed against both the support beam and the guide.
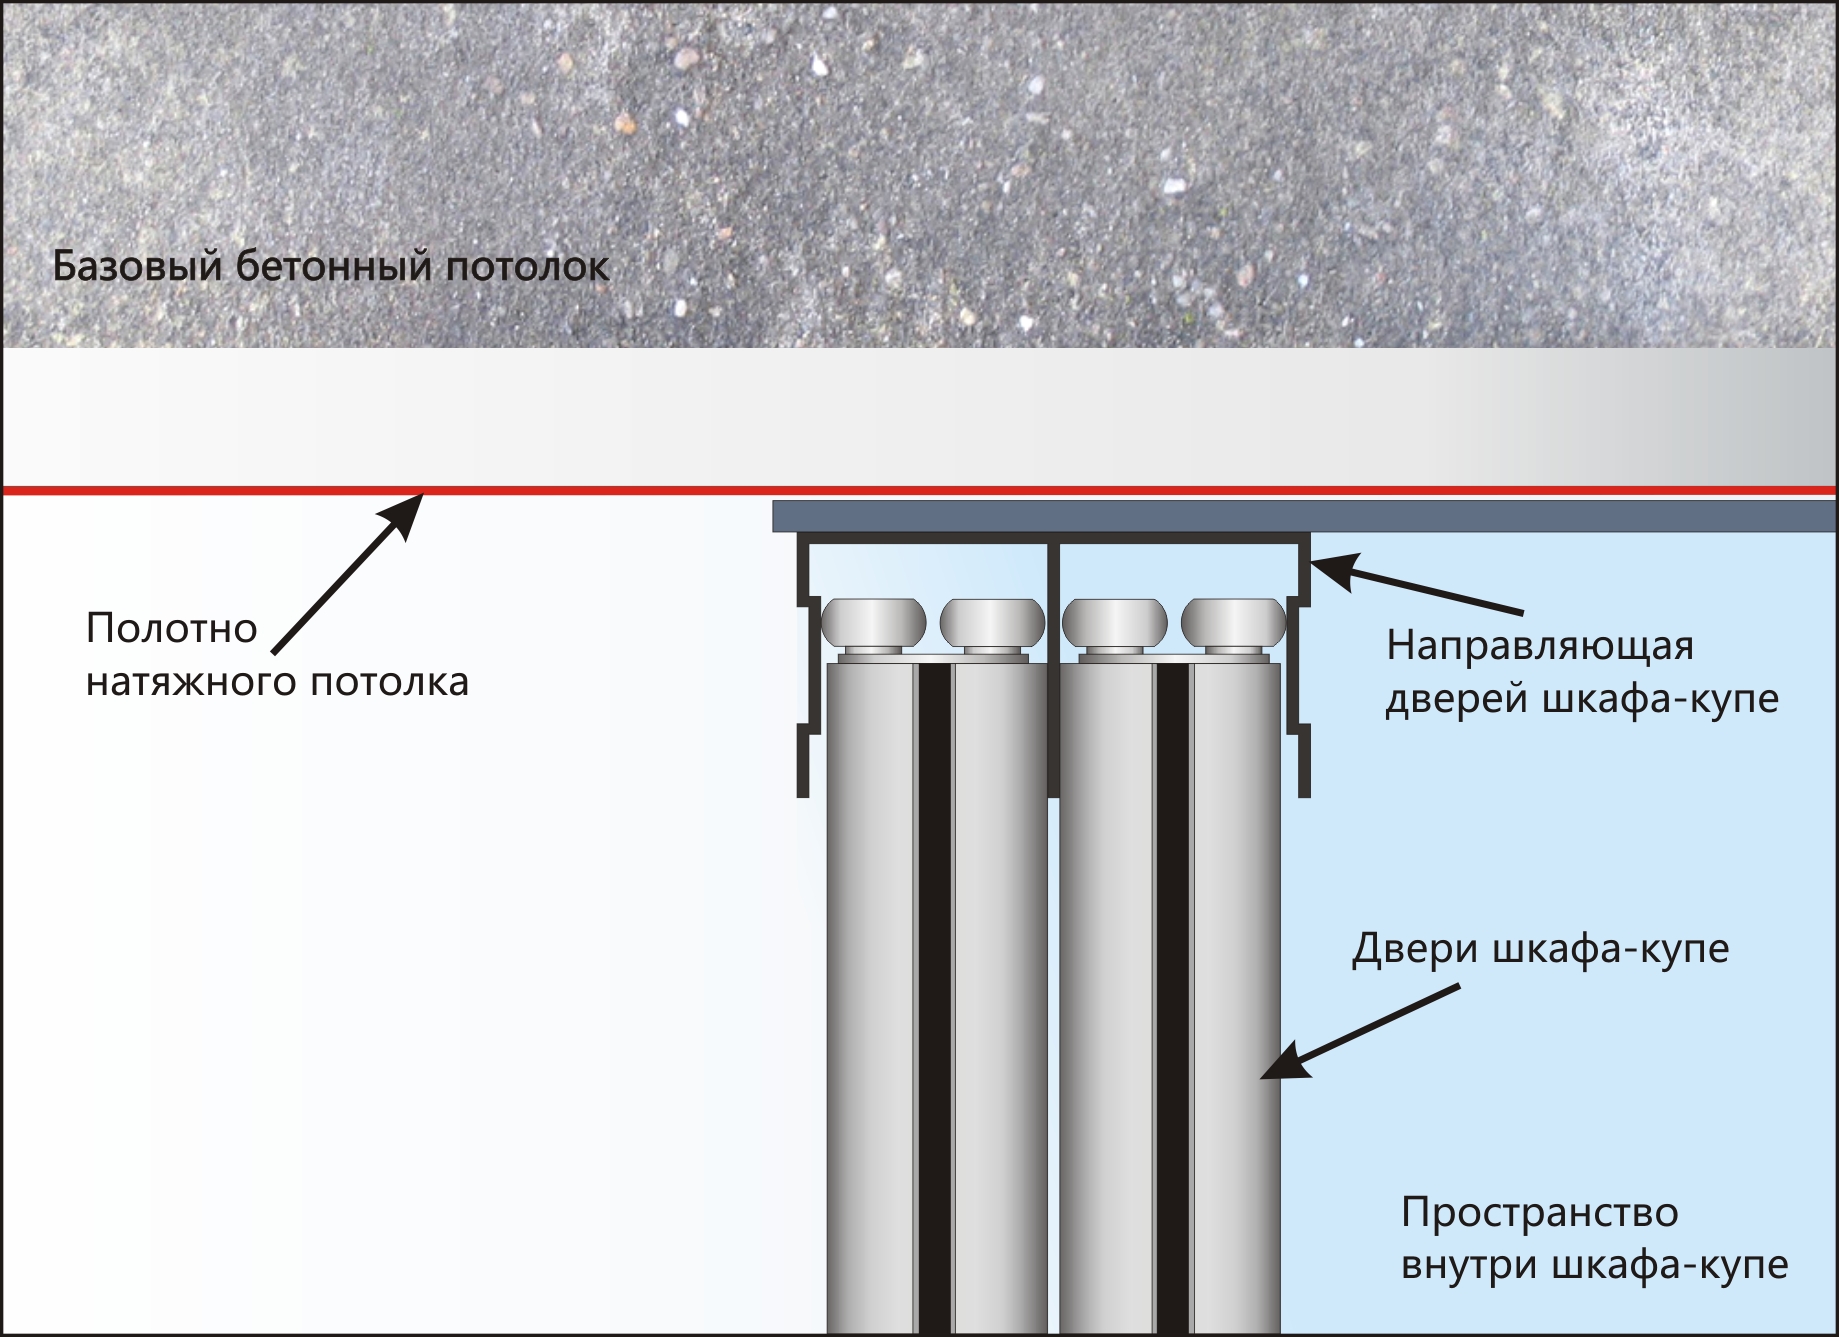
Note! Not every master knows about fasteners for the third option. Moreover, not everyone has the appropriate installation skills.
So, is it possible to make a stretch ceiling if there is already a built-in wardrobe? If the furniture is located lower than the estimated height of the canvas, then you can do without additional reinforcement. It is not needed even if the furniture panels are capable of withstanding sufficiently large loads without deformation.
What materials and tools are needed for work
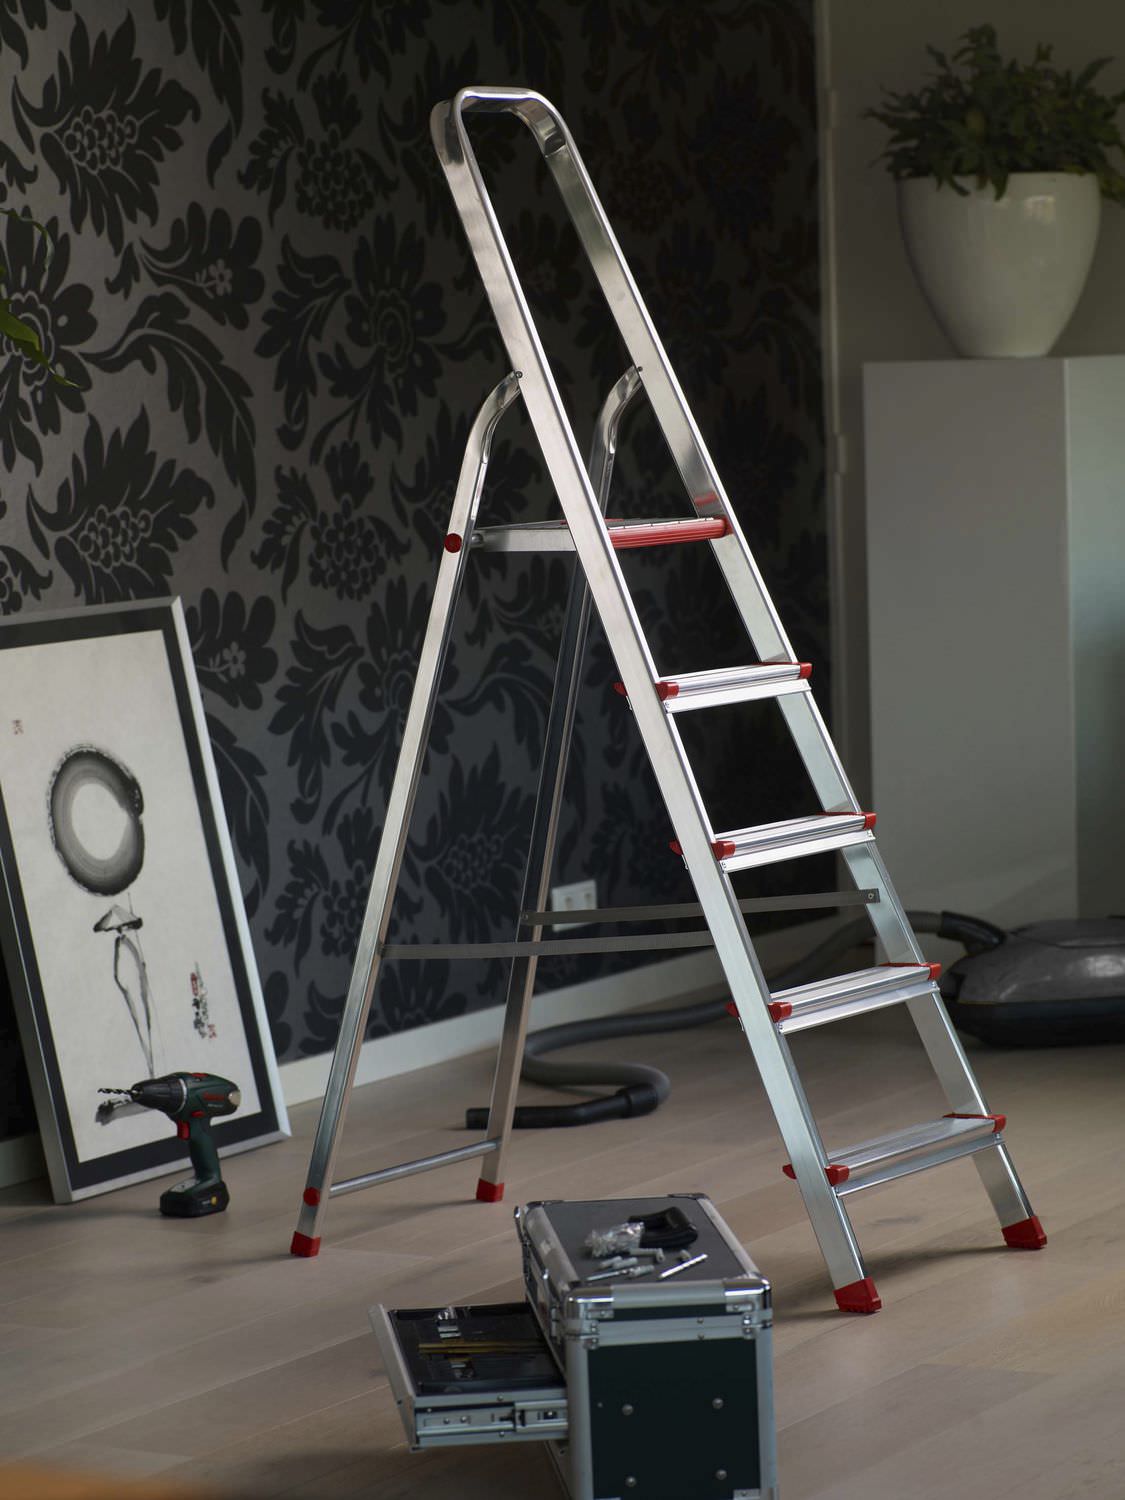
To embed furniture after installing the ceiling, you will definitely need a laser level. For convenience, you will have to put a stepladder, since the work will be carried out at a height.
All three options will need tools:
- Rotary hammer for drilling holes and screwdriver for brackets and baguettes.
- Heat gun.
- Laser or hydraulic level.
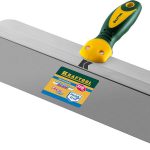
- Spatulas, clamps.
- Gas cylinder.
- Stepladder.
- Painter's edge for more convenient and accurate marking, measuring tape.
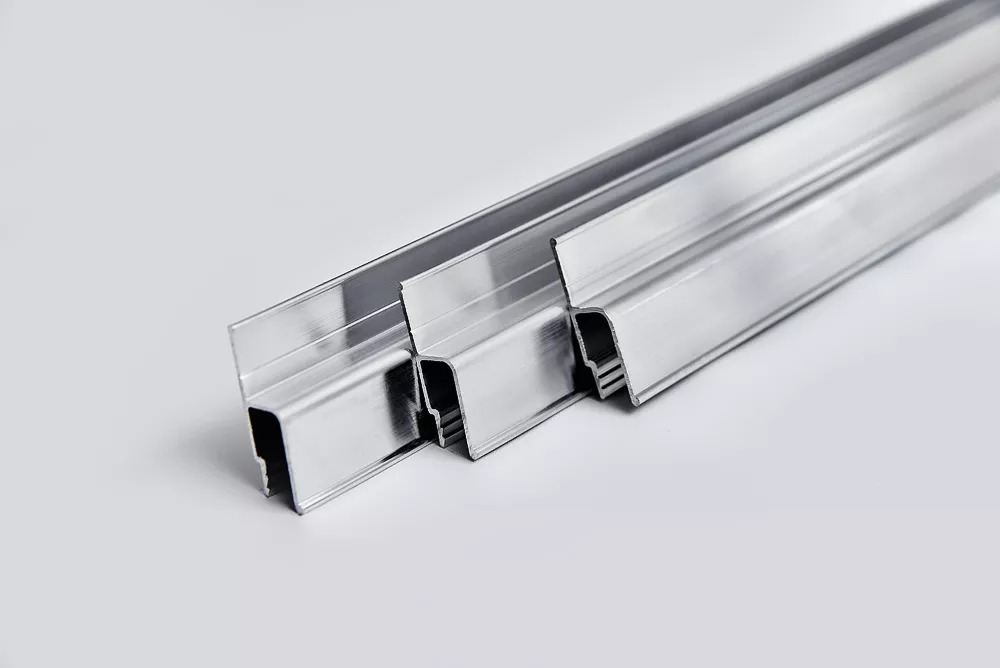
You may also need self-tapping screws and other fastening materials, profiles, hangers, brackets, baguettes, clamps, chipboard plates for false panels, baseboards, wooden beams.
How to install a built-in wardrobe and stretch ceiling
Consider the main options for the installation sequence. Please note that they are all quite difficult to implement and require some skills. Any inaccuracy and carelessness can easily lead to damage to materials, loss of time, money and nerves.
Installing the cabinet after a stretch ceiling
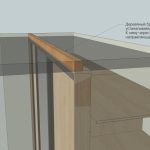
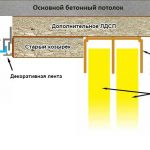
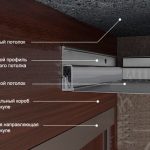
The support element must already be installed at the height of the web. It is important to accurately calculate the height of the furniture. See the diagram for the location of all elements.

Installation of a stretch ceiling after the cabinet
Here, we will first install the compartment by attaching the rail to the main load beam. The canvas is pressed by the profile and does not go inside the furniture structure.
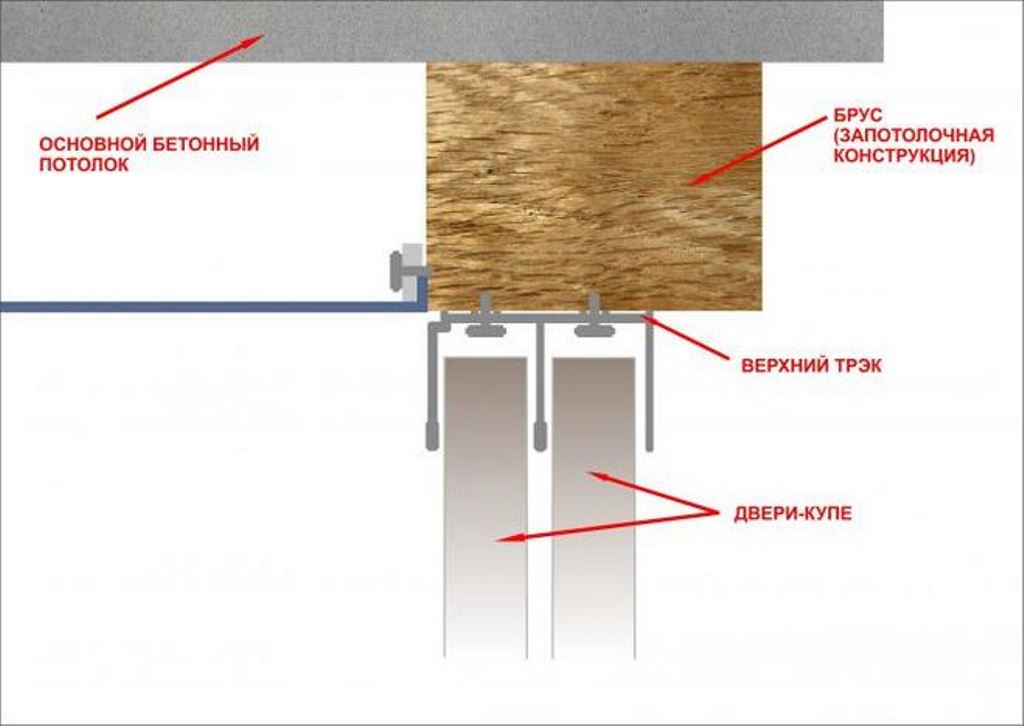
The optimal and most common installation option is to mount the ceiling to the already built-in furniture. The support bar should already be securely fastened. With any sequence of installation, the work will be quite complex and requires special measurement accuracy and accuracy.
If you are not confident in your abilities, it is better to entrust the solution of this issue to more experienced specialists. It is worth deciding on the order of work at the stage of thinking over the interior design.
Video: installation of a sliding-door wardrobe with a stretch ceiling
