Manufacturing and description of a table for carpentry work
The need for a table for carpentry work arises, as a rule, when you want to do something with your own hands or when renovating the house. This table is a staple in a home workshop. Without it, it is difficult to make something out of wood or other material. It performs many functions at once: it is a cutting and cutting table, an assembly stand, a support for various operations. At the same time, it will not be difficult to make it yourself and quickly.
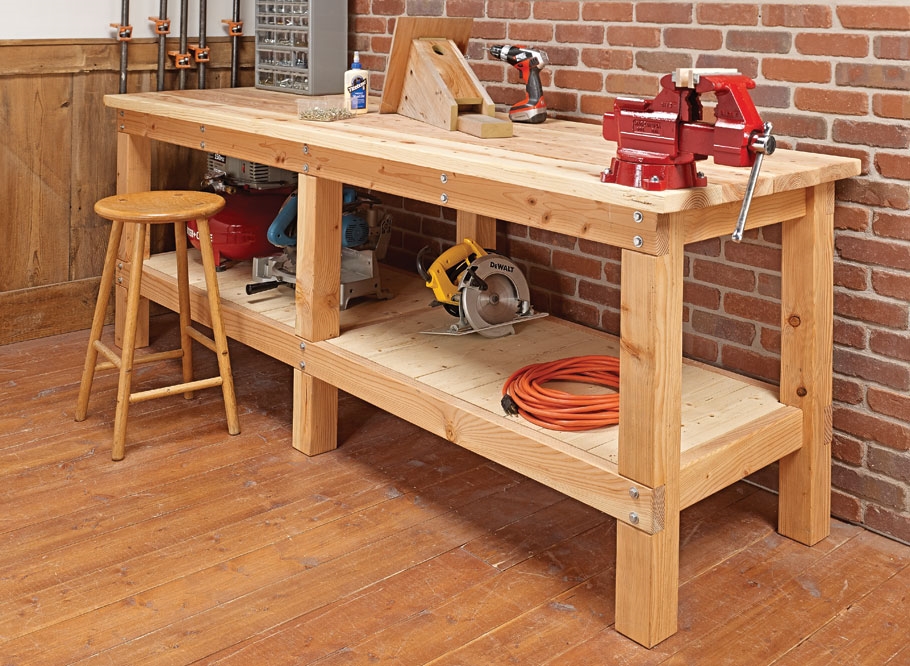
What is a joinery workbench
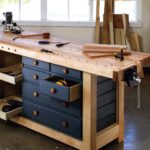
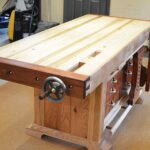
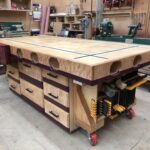
A joiner's workbench or table is a simple, but at the same time convenient design. This is a tall, long table designed for heavy objects and difficult work on it. The worktop, as a rule, has volumetric holes so that waste from production falls, and does not interfere with work. There are also shelves for the stop and tool boxes.
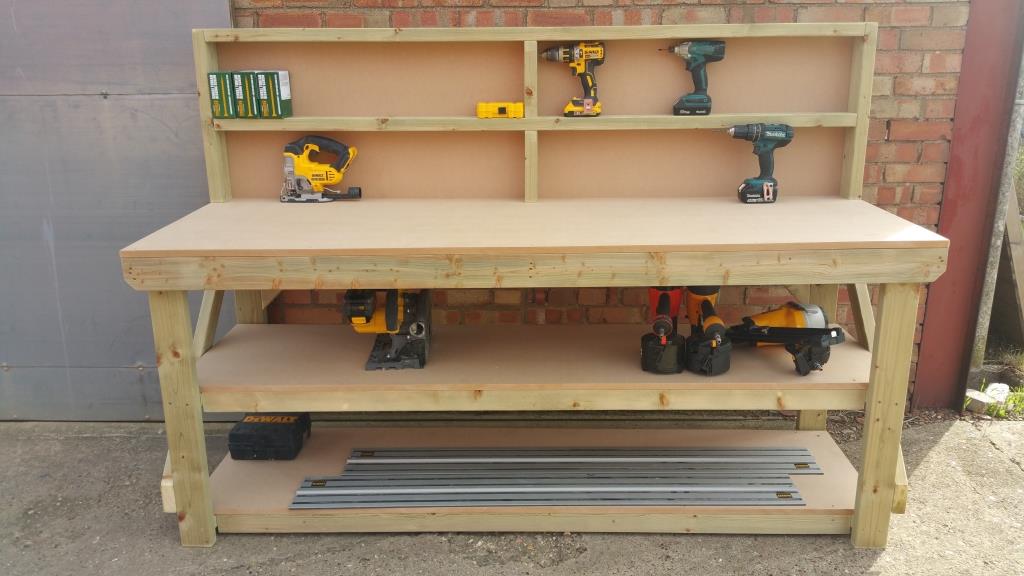
The workbench is used for several types of work:
- Cutting wood and other hard materials.
- Cutting materials.
- Wood processing: shaving and sanding.
- Assemblies of various parts and items.
The most convenient way is to make a universal carpentry table with your own hands. It is absolutely not difficult, while the owner will be able to gain additional experience in the carpentry business.
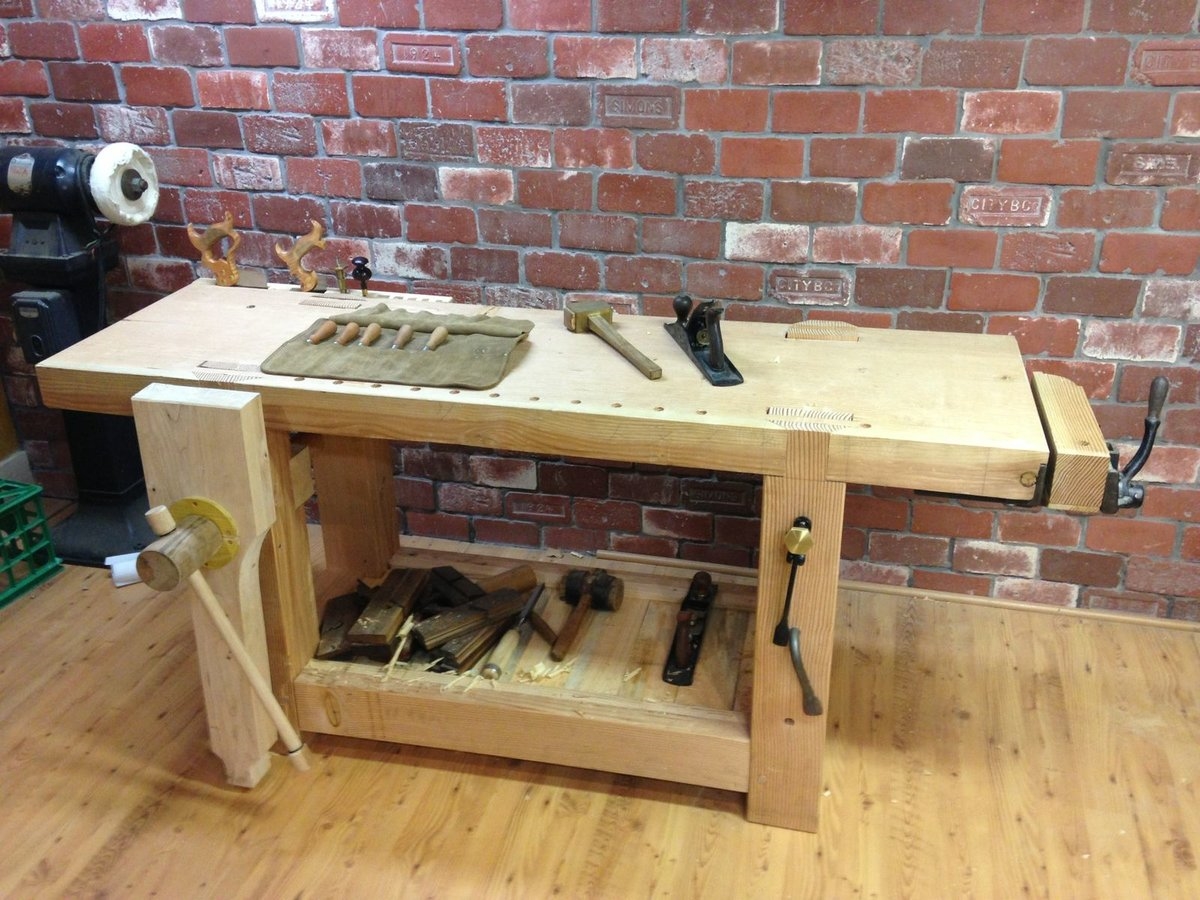
A table of our own production will save money, moreover, it can be quickly assembled from scrap materials. If the device is needed only for a while, then it will be easy to disassemble after use.
Important! When making a table with his own hands, the master will be able to take into account individual sizes, requirements and make the necessary shelves, supports and other elements important for work.
The main types of workbenches
There are several types of workbenches, which differ in their functional purpose. Complex devices combine several types at once. The simpler ones have limited functions.
- Joiner's table. It is an ordinary high table with a flat, even table top. It is designed for processing and cutting small parts. But it is difficult to process large boards on it.
- Long workbench. It is a long structure with a vise for securing boards and logs. Its main purpose is the processing of these types of parts. However, collecting small items is impossible here.
- Universal table. It has a flat, wide table top, debris dump holes nearby, and a long vise mount. The most advanced models are reinforced with metal sheets or tape on some sides, which allows processing metal and stone products on it.
There is also a gradation of workbenches and types of assembly. There may be such options:
- Mobile workbench. It has a small size and weight. Designed for carrying from place to place and handling small items.
- Stationary table.These structures are heavy and tend to be securely anchored to the floor. Heavy logs, boards, large parts are processed on them. Typically, such options are used in private homes, where the owner is often engaged in carpentry or other work. Most often, these workbenches are versatile with a large number of fixtures.
- Folding table. This is an intermediate option between a mobile device and a large stationary table. The prefab workbenches are also quite large, but they can be removed quite quickly. They are suitable for garages or small private houses.
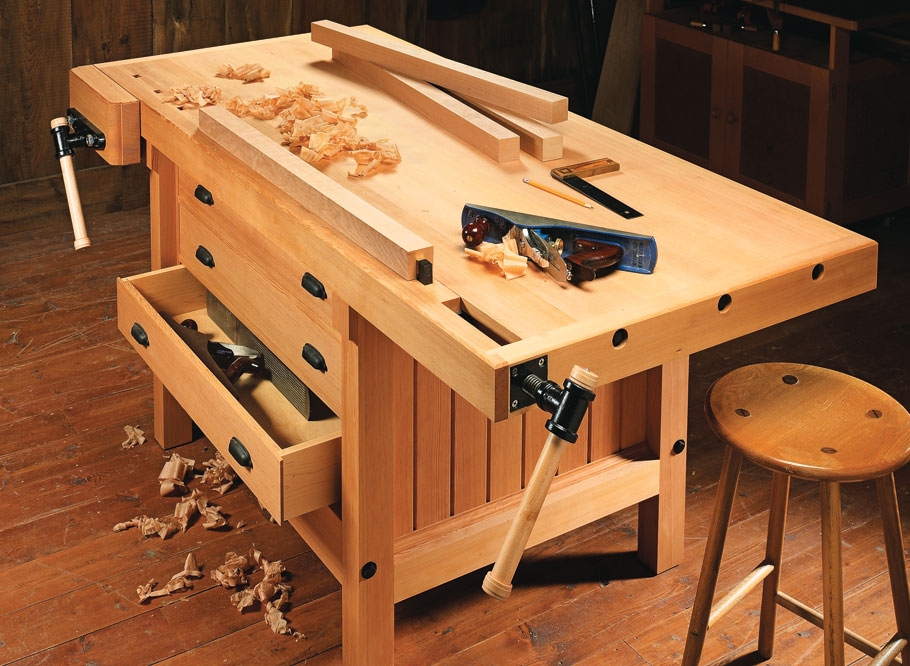
Carpentry workbench device
Despite its simple appearance, the carpentry table has a very complex structure, since any inconspicuous detail here has a number of important functions.
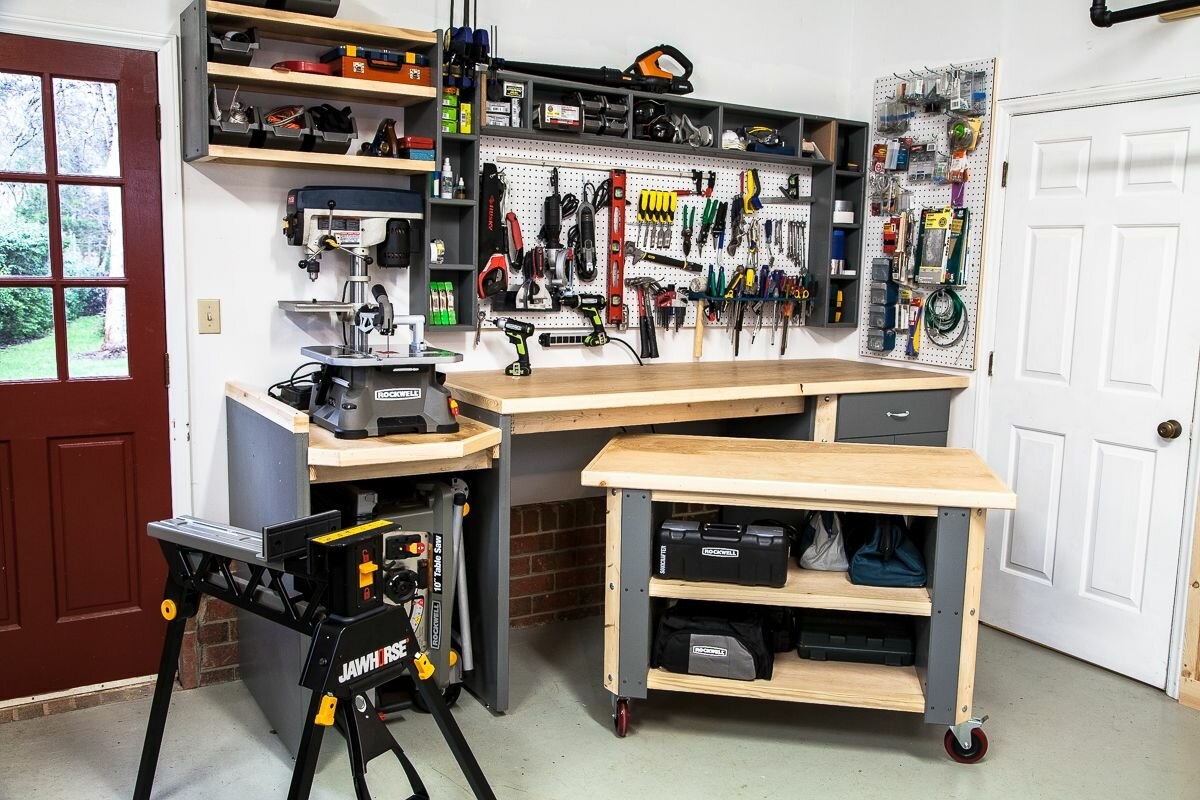
The main elements of the workbench:
- Base or bed. This element is also called pendulum. This is a support made of thick timber or metal. As a rule, it is a frame that has additional drawers or crossbars. It must support a heavy structure with a countertop, tools and wood for processing. The drawers and frame elements are connected with wedges and glue.
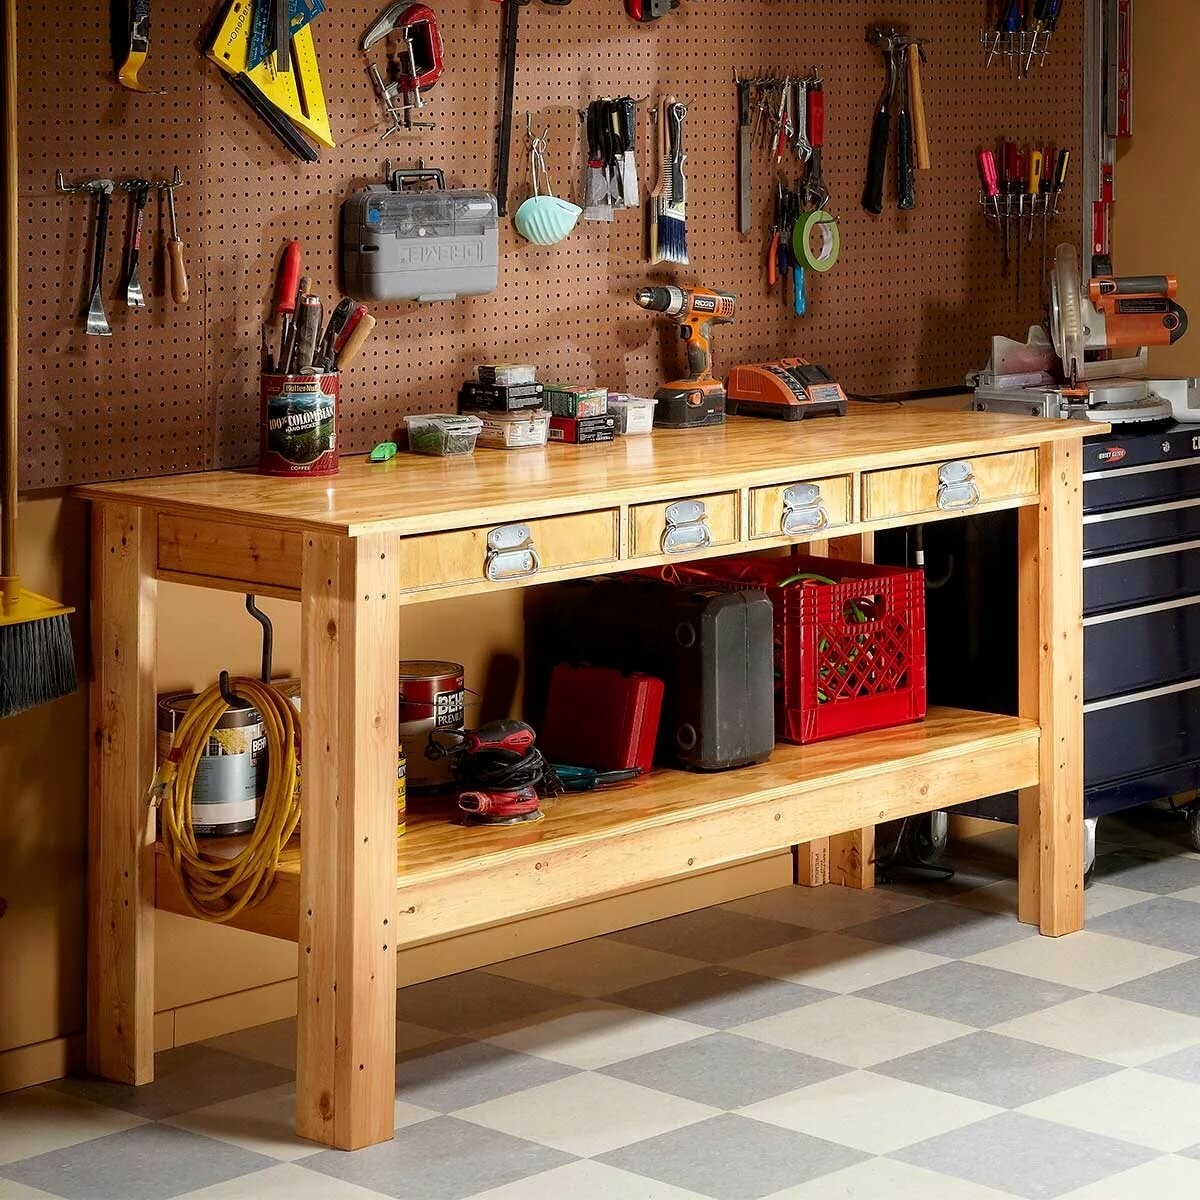
The device of the joiner's workbench is simple, but requires careful study, calculation of dimensions and the correct choice of material. - Table top. It is also called a workbench. It is made from thick boards. As a rule, the thickness of the board is 6-7 cm. This is necessary to withstand the weight of tools, figures and heavy blows to them. The table top has the necessary grooves, holes, holes or clips. Each master places them at his own discretion.
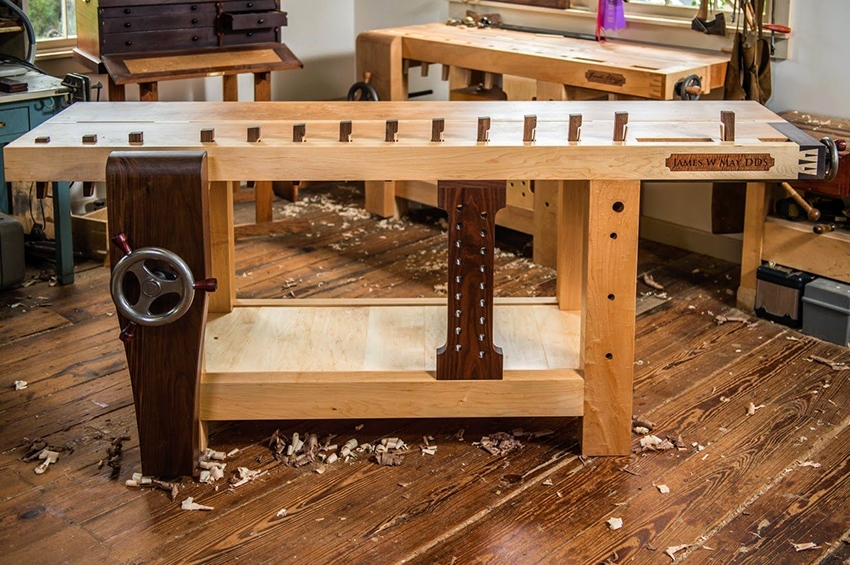
For a home workshop, it is most convenient to make a stationary wooden carpenter's workbench with a metal or wood base. - Vices, clamps. The workbench should have at least two clamps on both sides. The clamps are made of wood, as it will not deform the material of the products. The maximum number of clamps is not limited. If you intend to work with parts of different sizes - for example, small products and large boards, then there should definitely be several clamps. Moreover, they should be located on opposite sides of the table top so as not to interfere with each other.
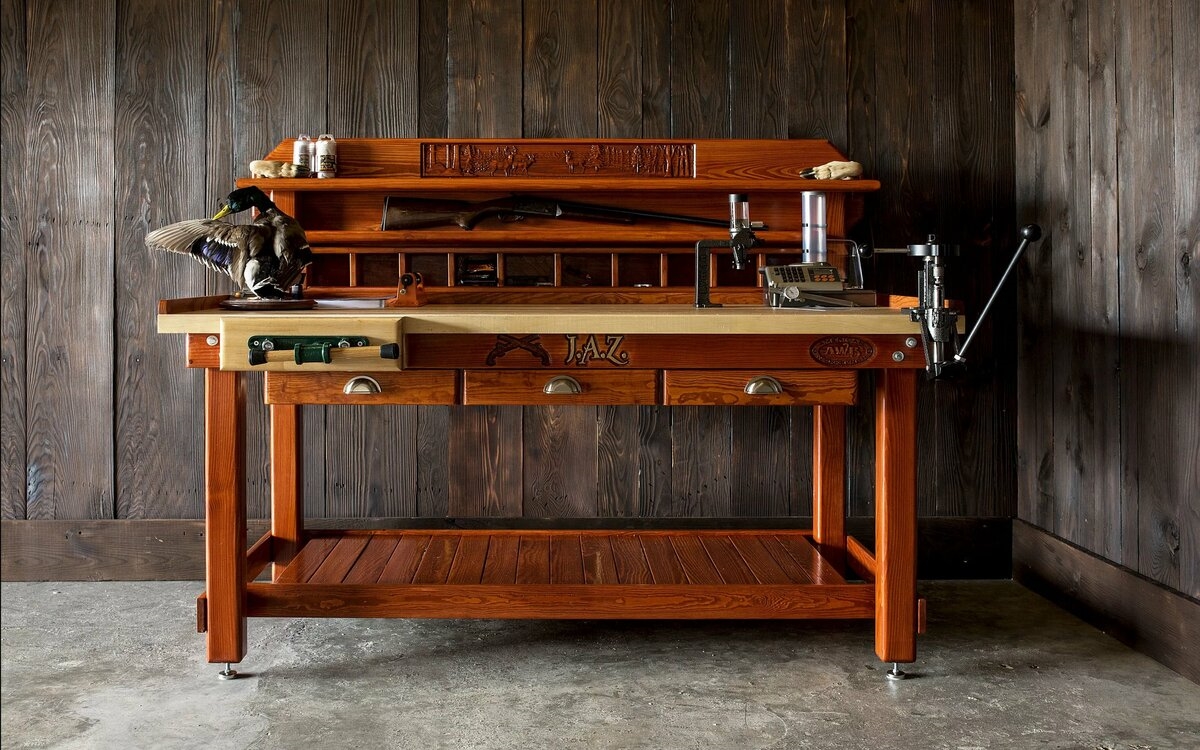
All types of work tables we know have evolved from the carpentry workbench. - Tool shelves and additional stops. They are located under the countertop. It is important to position the tool shelves so that it is easy to reach them with one hand, without leaving the table. That is why it is convenient to place them below, and not in the closet next to it.
How to make a carpentry table with your own hands
It is quite simple to create a carpentry table with your own hands, despite all its features. This requires:
- Calculate exact dimensions.
- Create preliminary drawing.
- Pick up the necessary boards and other materials.
- Refine the drawing.
- Assemble the table itself.
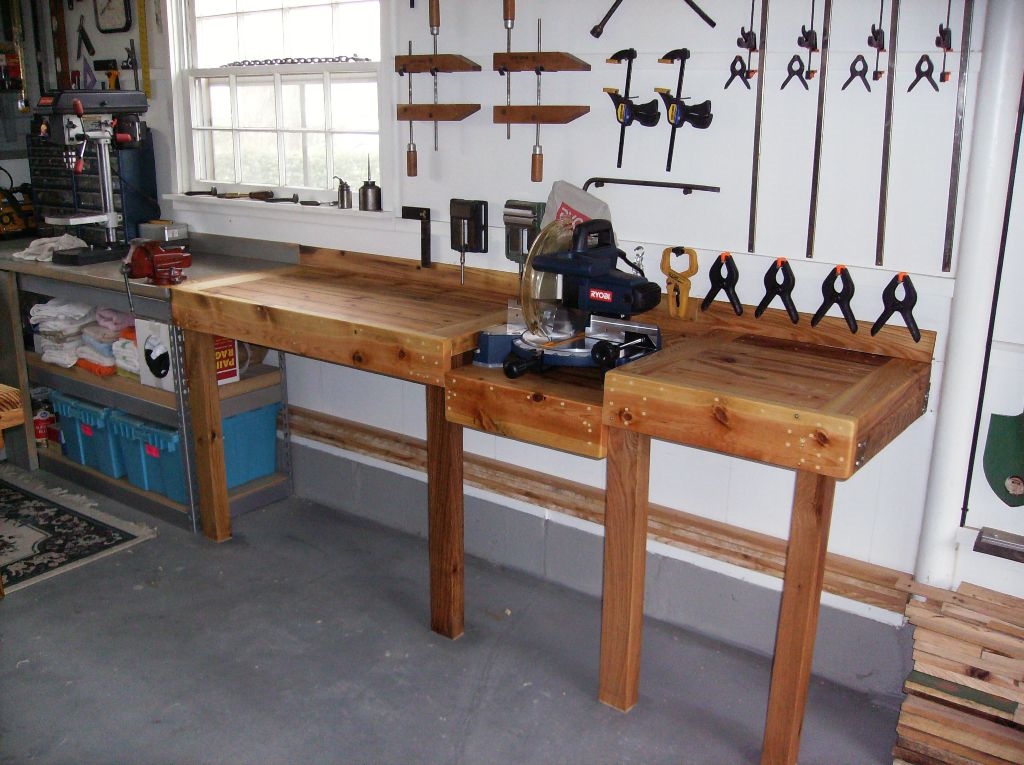
Sizing calculation
The basic size requirements are simple: the table must fit in the room so that it is comfortable to walk around it with the tool. To do this, a distance of 80-100 cm must remain between him and the wall or other objects.
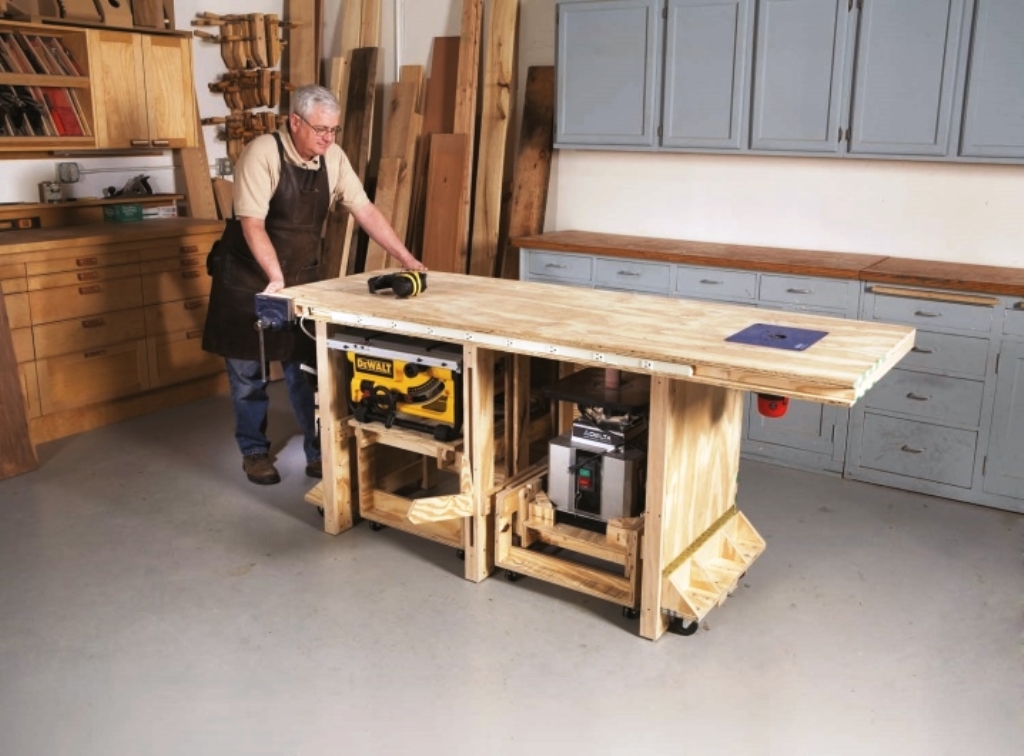
The size of the countertop should be such that it is convenient to place everything you need on it. If you intend to work with small objects, then a length of 100 - 150 cm and a width of 80 cm will be sufficient.If it is supposed to handle large objects, then it is better to choose a length of 200-250 cm and a width of 80-100 cm.
Ideally, the height should be such that it is comfortable to work behind it while standing and sitting on a chair. To do this, it should be 70 cm. A height of 80 cm will allow you to work only while standing.

Drawing
After the main dimensions have been determined, you can start creating a drawing. This must be taken into account carefully, since then the details will be cut out on it.
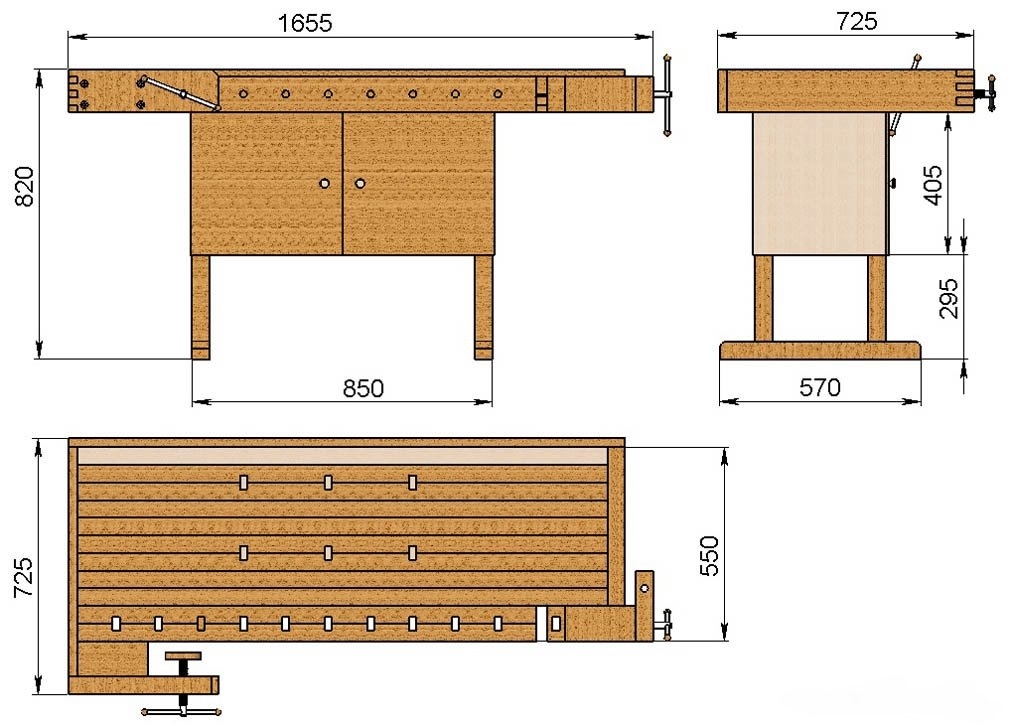
The drawing is carried out in two versions:
- Table top drawing. Here the width of the boards is calculated and how they will be connected to each other. The required clamps and vices are also indicated here.
Important! It is worth trying on the location of important elements in real size, trying from what points it is convenient to reach them with your hands and check if they interfere with work.
- Drawing of the base. Here it is important to calculate the load on the legs and how the frames will be strengthened.
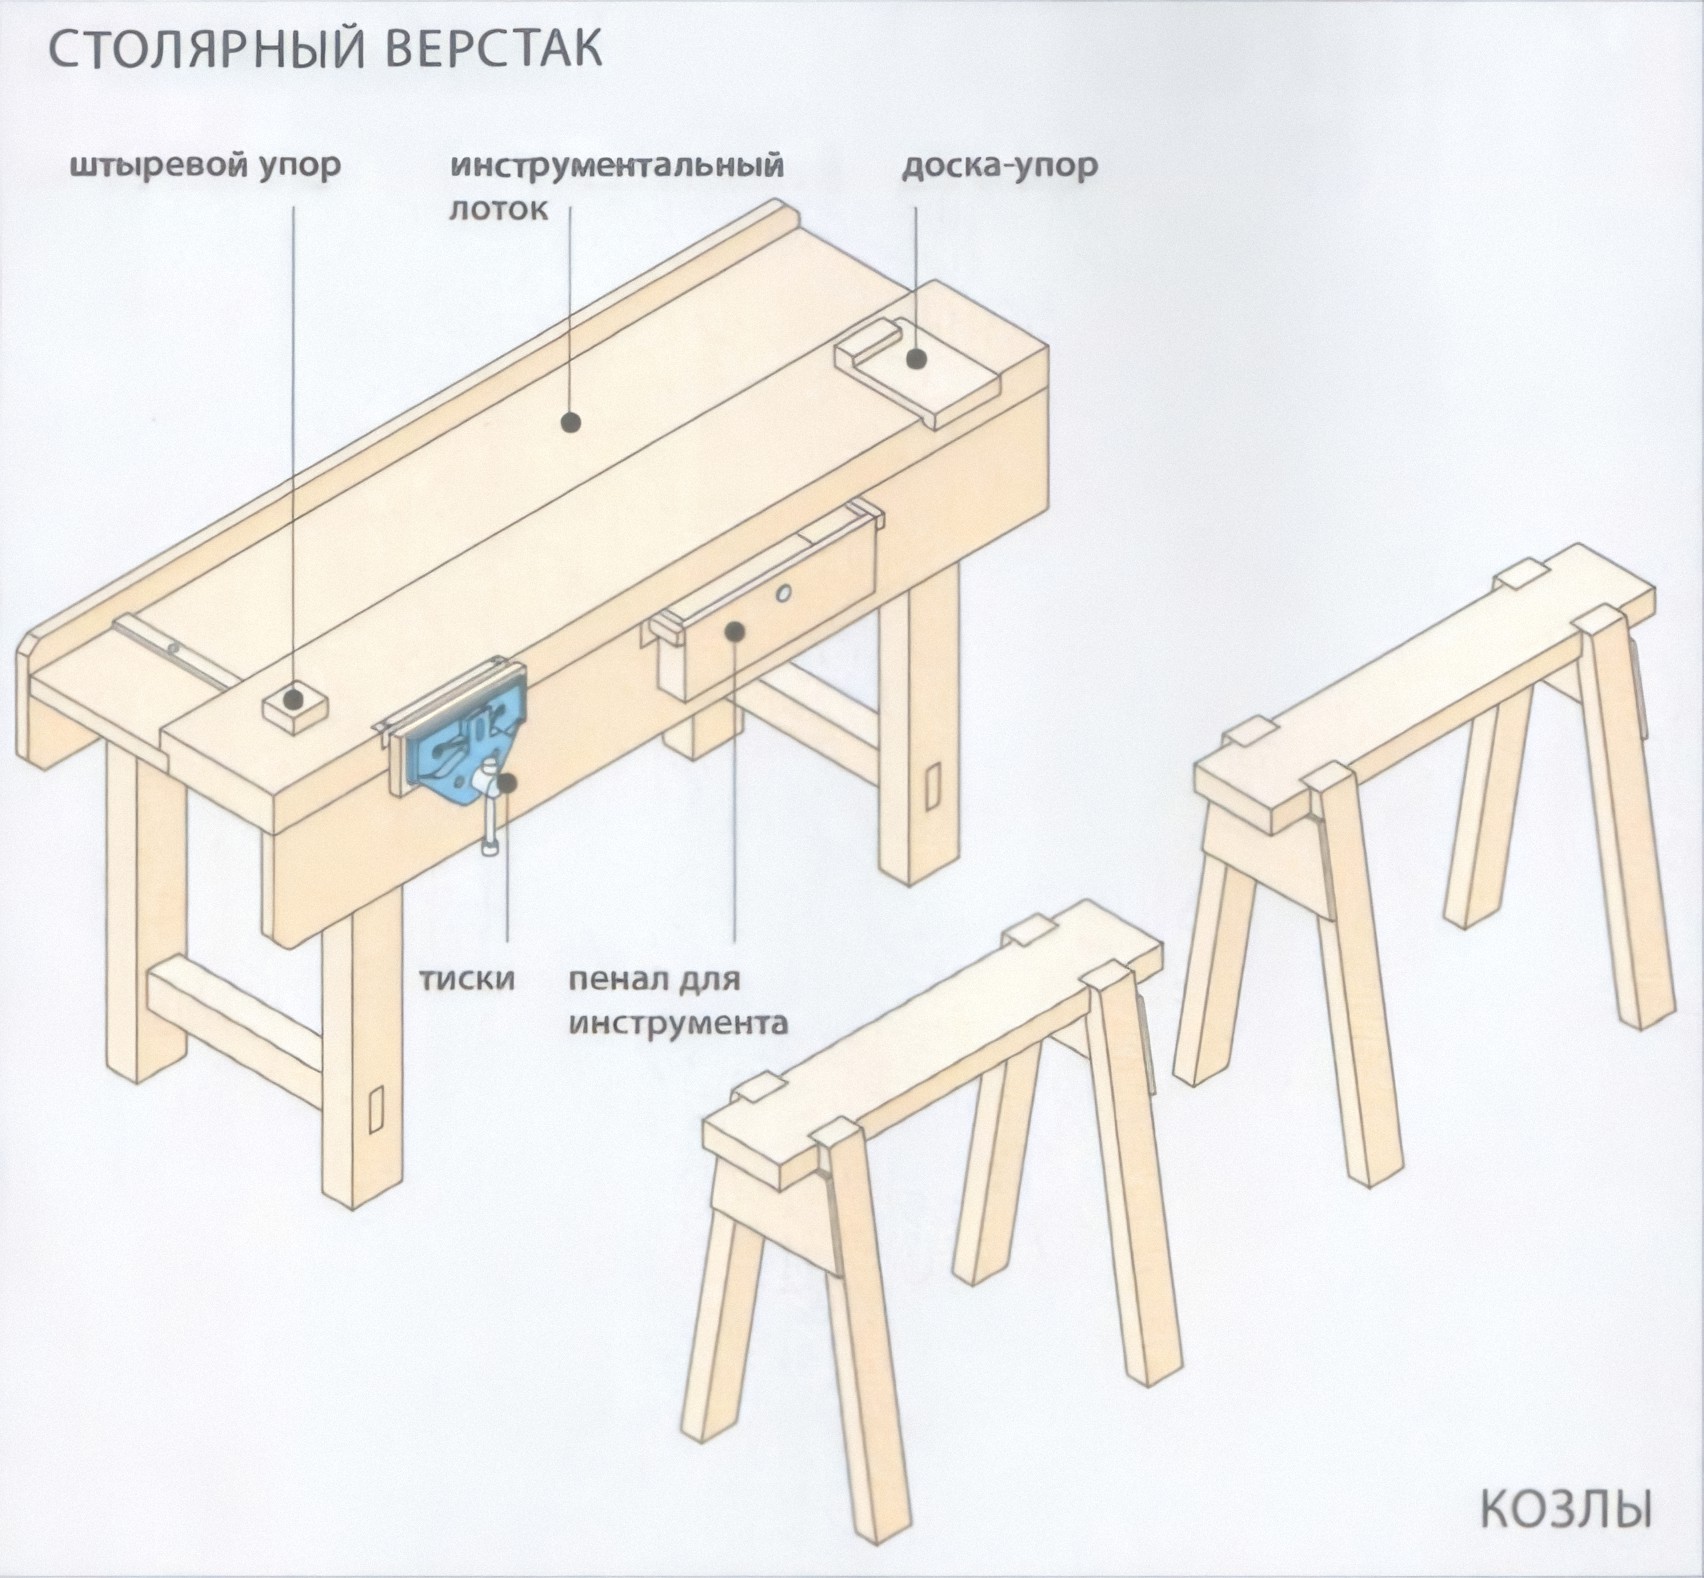
After that, it is worth checking the drawing again and its compliance with the materials: are there boards of the required width or their required number. Are the necessary support bars available?
Selection of tools and materials
Before assembling the table, you need to prepare all materials and tools.
Necessary materials:
- Wooden boards 15-30 cm wide and 6-7 cm thick. Their length should not be less than the length of the table top. For this, the usual cheapest pine board is suitable.
- Wooden bars for the frame, legs and drawers. The width of the bars should be 10-15 cm.
- Square metal pipes for the manufacture of metal poles.
- Metal furniture corners for joining wooden parts.
- Self-tapping screws and bolts.
- Joiner's glue.

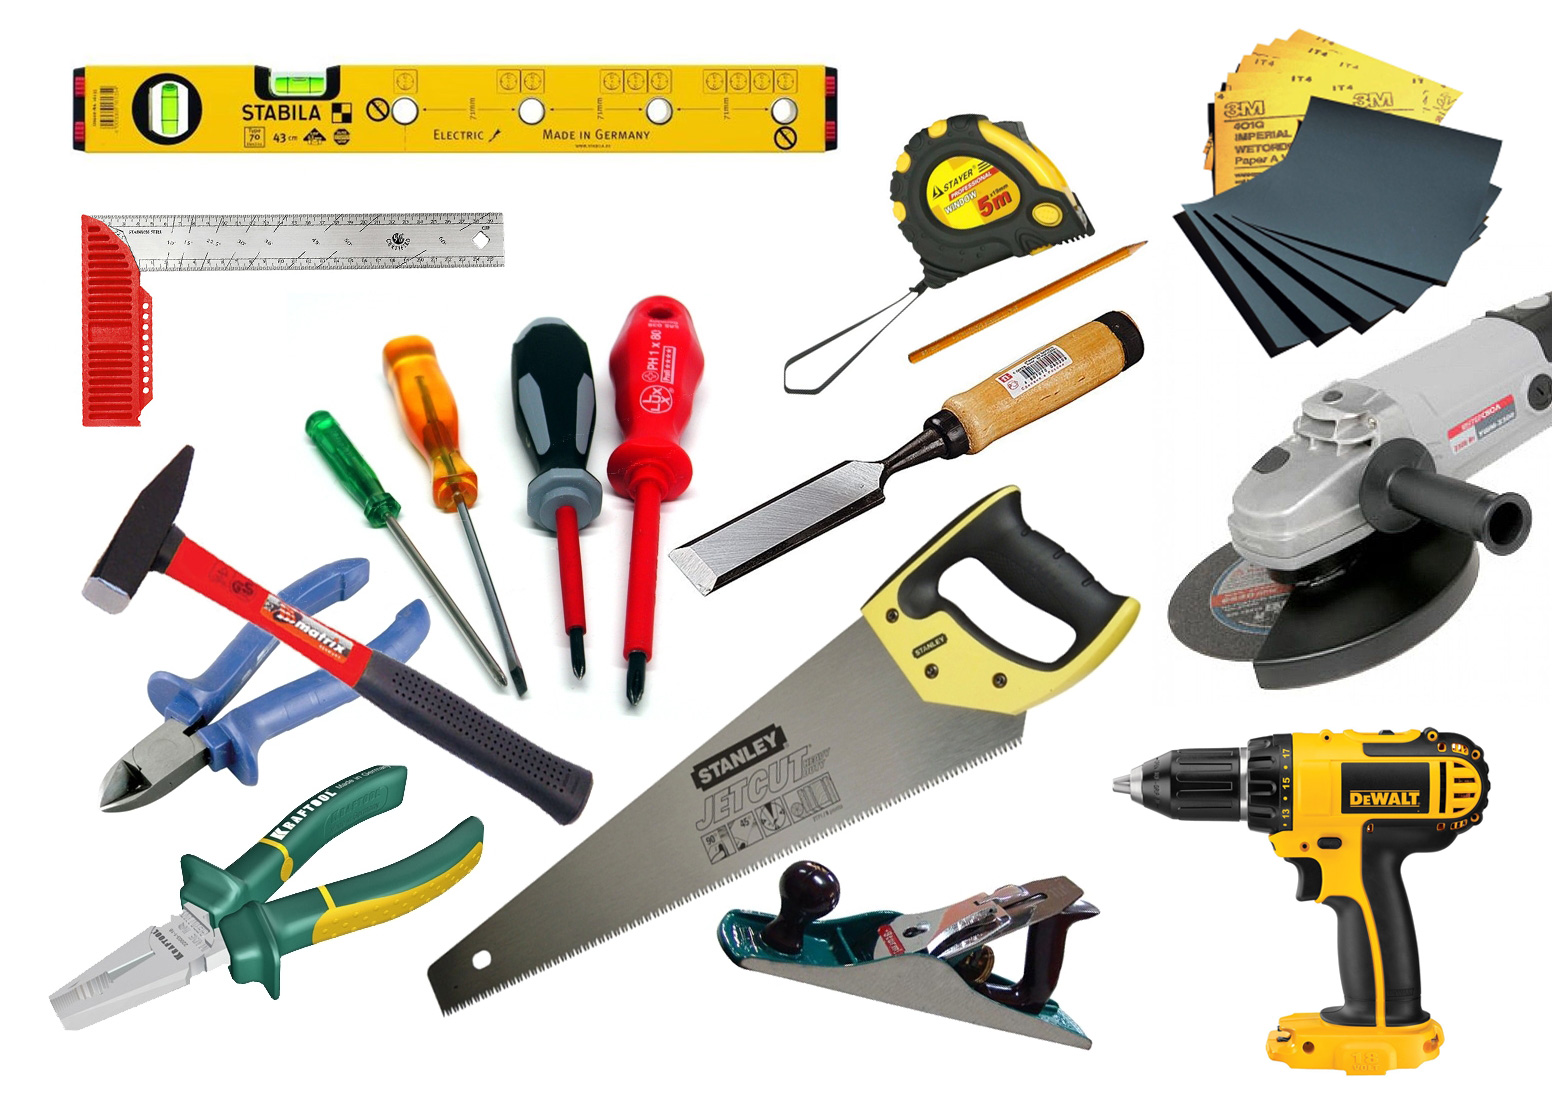
To assemble you need tools:
- Hammer.
- Jigsaw.
- Hand saw.
- Saw-grinder.
- Screwdriver.
- Ruler.
- Roulette.
- Pencil.
For convenience, tools and small parts should be positioned on one side, and outline boards should be placed on the other.
Advice. Small parts and screws should be laid out on a light-colored cloth or paper. So you can immediately find the item you want.
Table creation process
Assembling a workbench involves several stages:
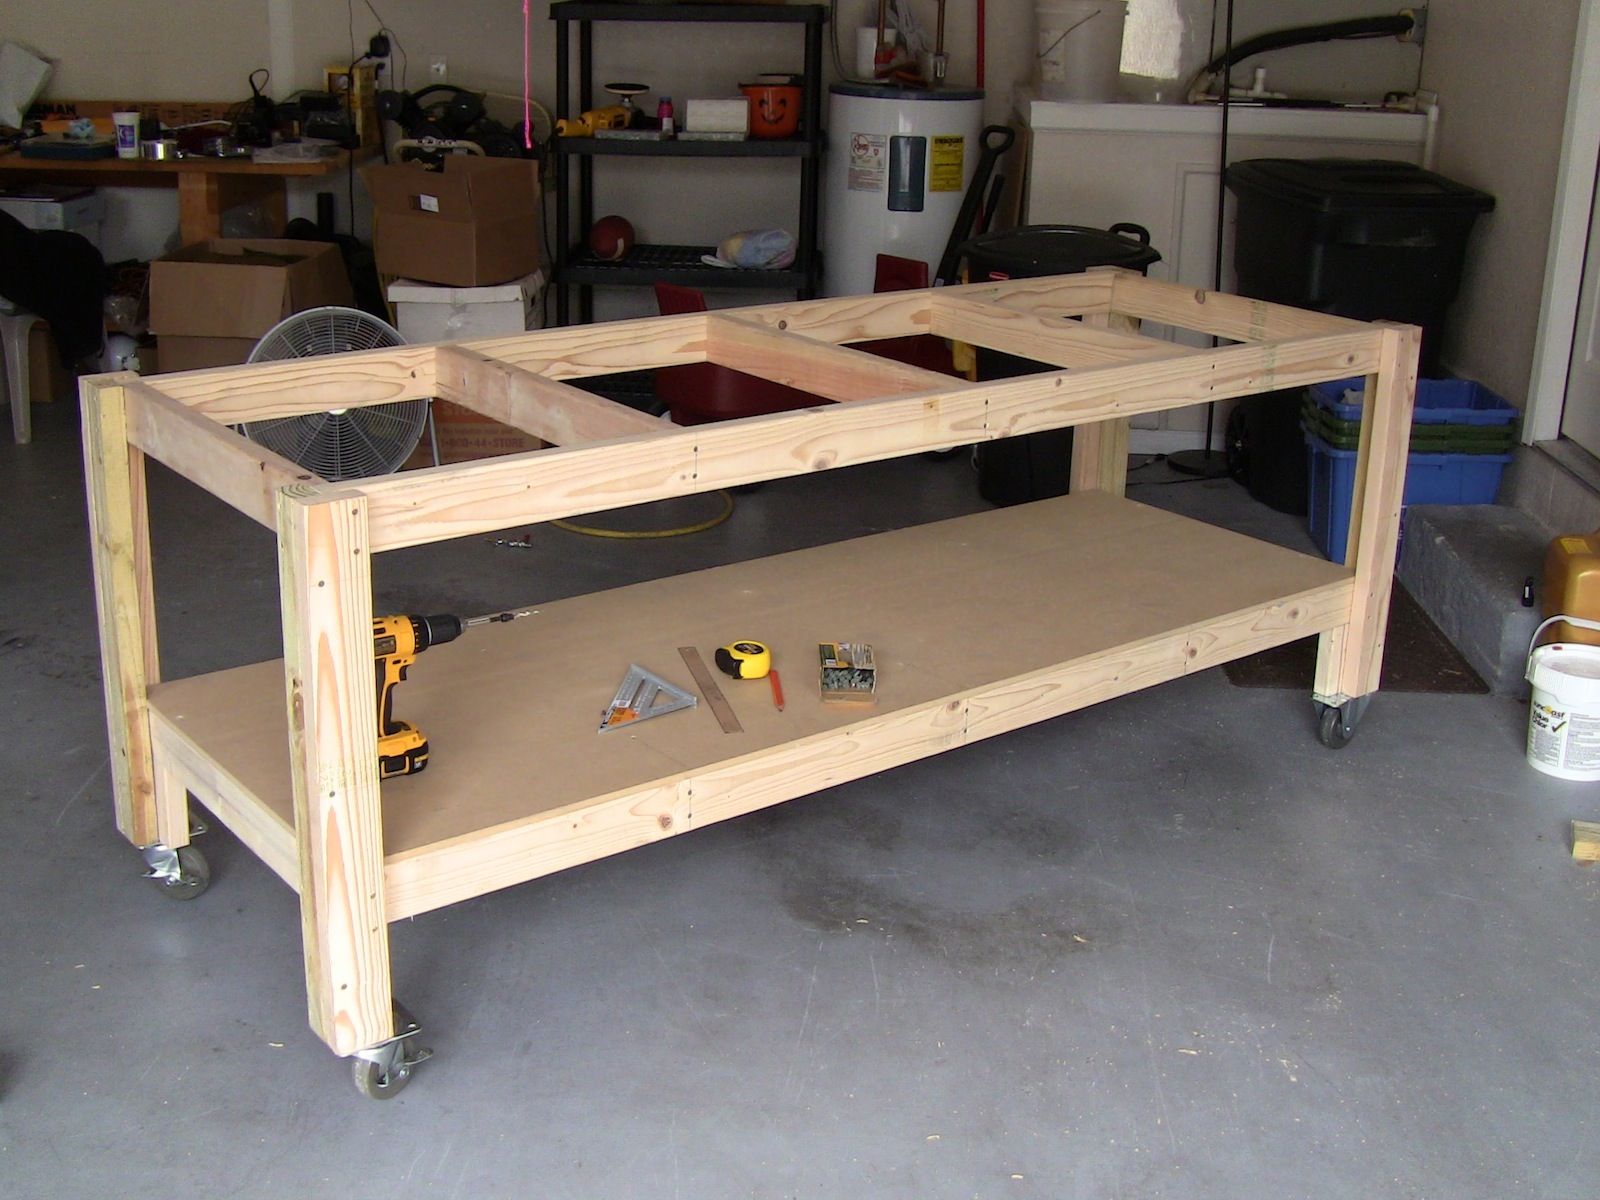
- Assembling the frame. She's going first. The supports are fastened together with the help of tsars and crossbars. For the most reliable fastening, they are connected using wedges or puzzles, which must be prepared in advance. A simpler connection is also possible using metal brackets and furniture corners. The metal base is assembled by welding or screws.
- Creating a table top. First, boards of the desired size are cut.
- Fixing the table top to the frame. To do this, furniture corners are attached to the boards, then they are installed on the frame and attached to it. If a folding tabletop is supposed, then first you need to make its parts and then connect it to the frame using furniture hinges.
- Creation of additional elements: clips, puzzles and others. After the tabletop is installed and fixed to it, it is convenient to attach additional elements: clamps, vice. Also here you can cut out the necessary holes with a jigsaw.

Advice. When assembling the table, do not use nails. Subsequently, this will lead to loosening of the table. Self-tapping screws can always be re-tightened. Puzzles and wedges are firmly connected with glue.
After assembly, it remains to prepare the table for work and you can start the creative process.
The final stage
In conclusion, it is necessary to check the strength of all connections and modify those that can loosen.
It is also important to check the comfort of all parts on the countertop. Most likely, something will seem superfluous, but something will be missing. For more confidence, you should try to process a large item on a workbench. In this case, nuances will certainly appear that can be quickly corrected before installing additional equipment and fixing the table.
The very last step in creating a joinery table is to attach it to the floor. The table is usually bolted to the floor using furniture corners. This ensures its stability and ease of support when working.
Mobile devices designed for small items do not need to be bolted to the floor. But in this case, there will be a risk of overturning him.
Installation of additional equipment
After the table is ready, additional equipment is installed on it:
- Clips for boards. Usually they are assembled from two bars. Clamps are installed at both ends of the table top. For convenience, it is worth installing several clamps of different thicknesses: 5 cm, 10 cm, 15 cm and 20 cm. The clamps are installed exactly opposite each other.
- Vise for details. Ideally, there should be several vices: 2 or 3 pieces. They are designed for small and large parts.
- Stops for cutting out parts. This is optional equipment. Stops are usually small blocks on the countertop.
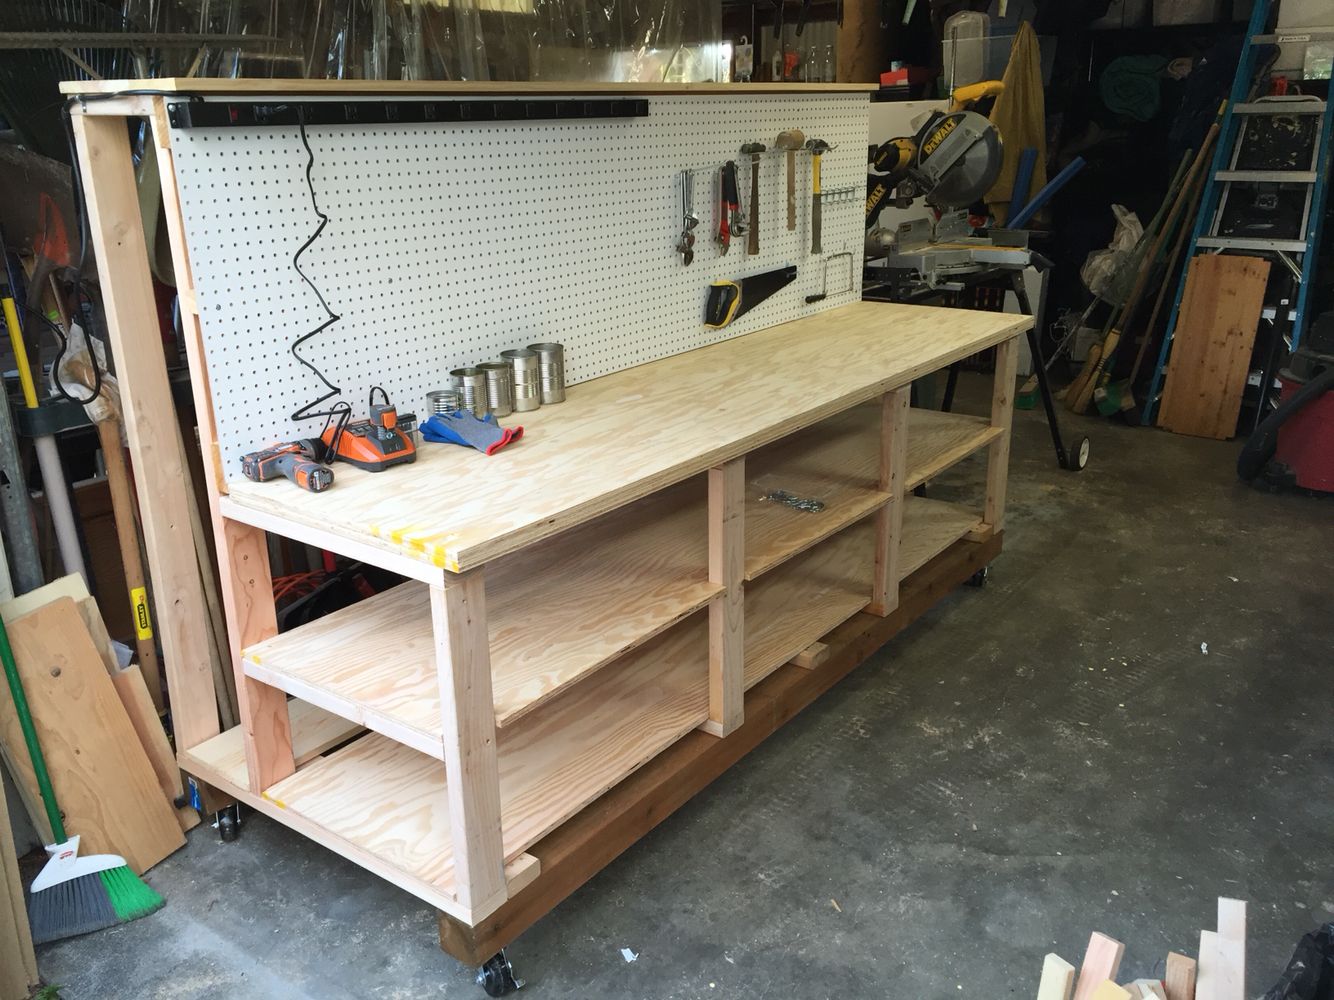
- Lower tool shelves. They will create comfort at work and significantly save time. A heavy, large tool is best placed on the bottom shelf. Place boxes with small items a little higher. Drawers for small things are best made pull-out.
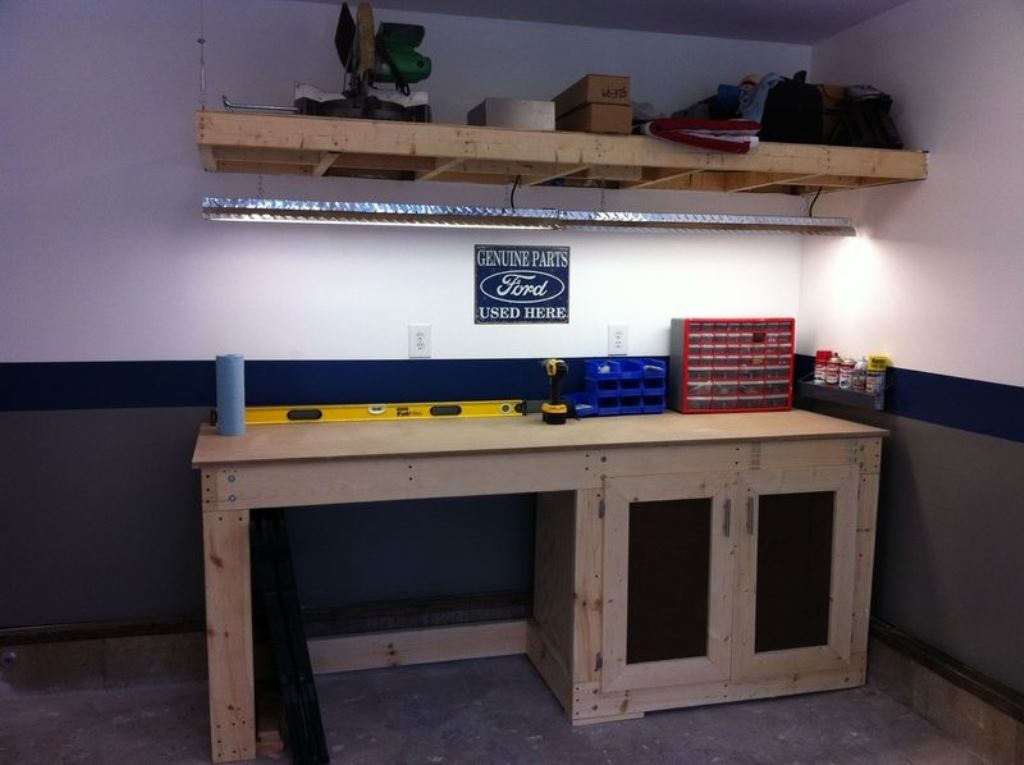
- Additional lighting. Without it, work will be uncomfortable. Usually a long LED office lamp is mounted on the table. In order for the shadows from the hands not to interfere with the work, it is worth fixing two lamps on different sides.
Choosing a place to install the table
The choice of the main place for installing the workbench should be thought out in advance. Usually this is a workshop, a place on the site next to a technical block or in a garage.
In addition to the location, you need to think over a few more technical nuances:
- Which side will be the approach to the workbench. To work with small objects, it is enough to approach from one edge; such a device can be installed against a wall. For large-scale work, a free approach from all sides is required.
- On which side the objects will be laid on the table. It is important to consider this moment so as not to touch other furniture with long boards.
- Do not place your workbench next to a door or window. Usually such work takes a lot of time. There are always drafts near a window or door; if you stay here for a long time, you will catch a cold.
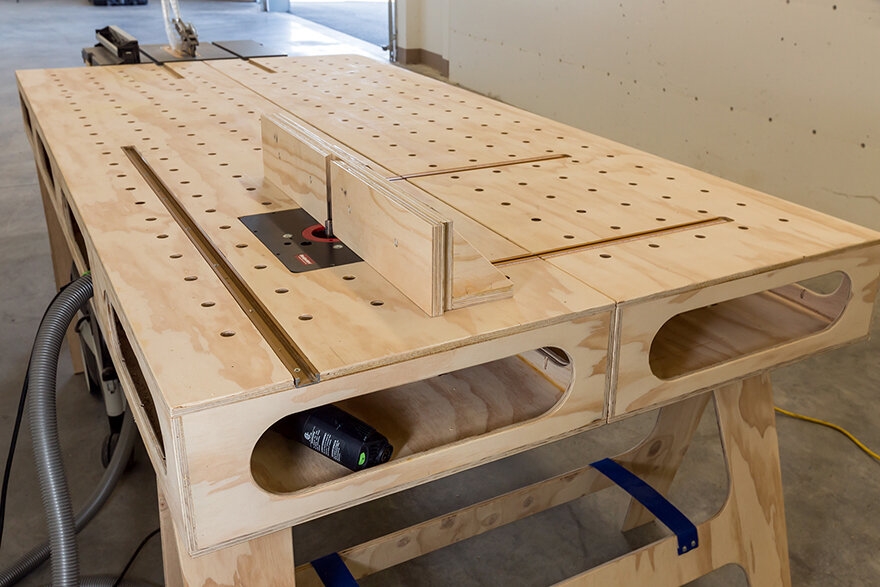
Working out these points will make work in the future comfortable and safe.
Operating rules
In order for the carpentry table to serve for a long time, and to work safely behind it, it is important to observe the basic rules of operation:
- All parts of the table must be firmly fixed. If they start to wobble, then tighten or secure them. Any unstable position can cause serious injury. It will not be very pleasant if the saw or jigsaw comes off the part at the most inopportune moment.
- All items for work should also be well supported on the table. This will make the work more accurate.
- Protect the device from moisture. Wooden boards will deform and crack with sudden changes in humidity. If the humidity is high, mold can grow here.
- When working with weights, you need to evenly distribute the load on the tabletop.
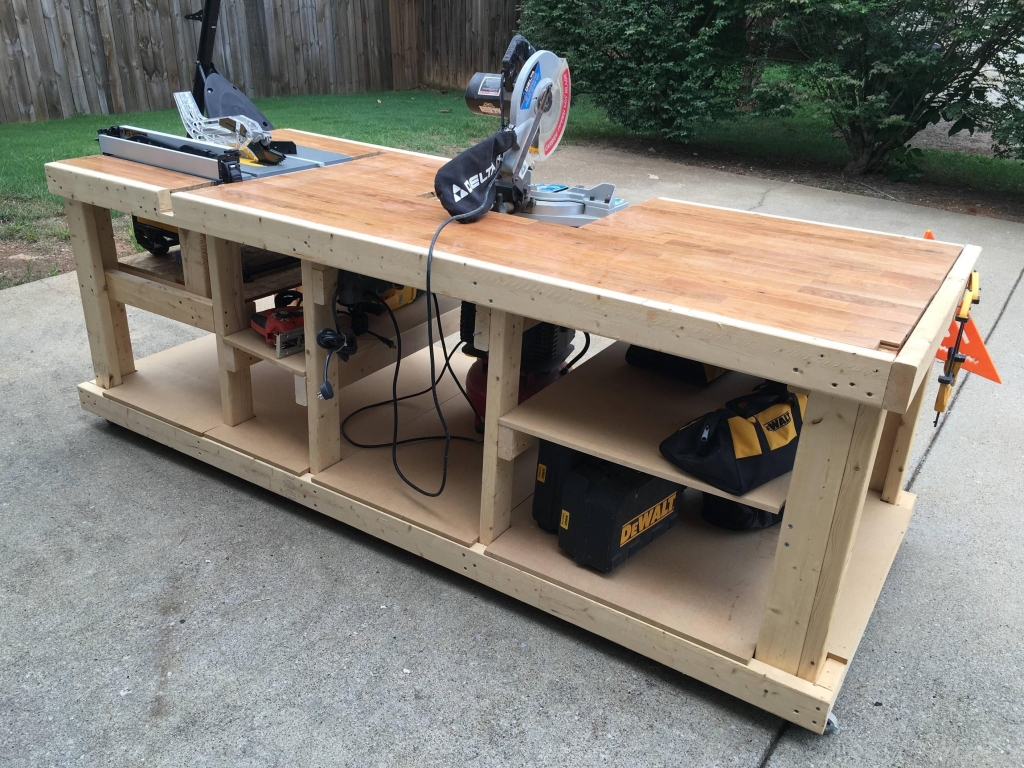
Proper assembly of this device and its correct operation will bring joy from carpentry work, which will give inspiration for creativity.
Video: do-it-yourself carpentry workbench
