Making a computer desk with your own hands
It is quite simple to do a computer table with your own hands. This product has several advantages. It can be matched to any interior and size of the apartment.
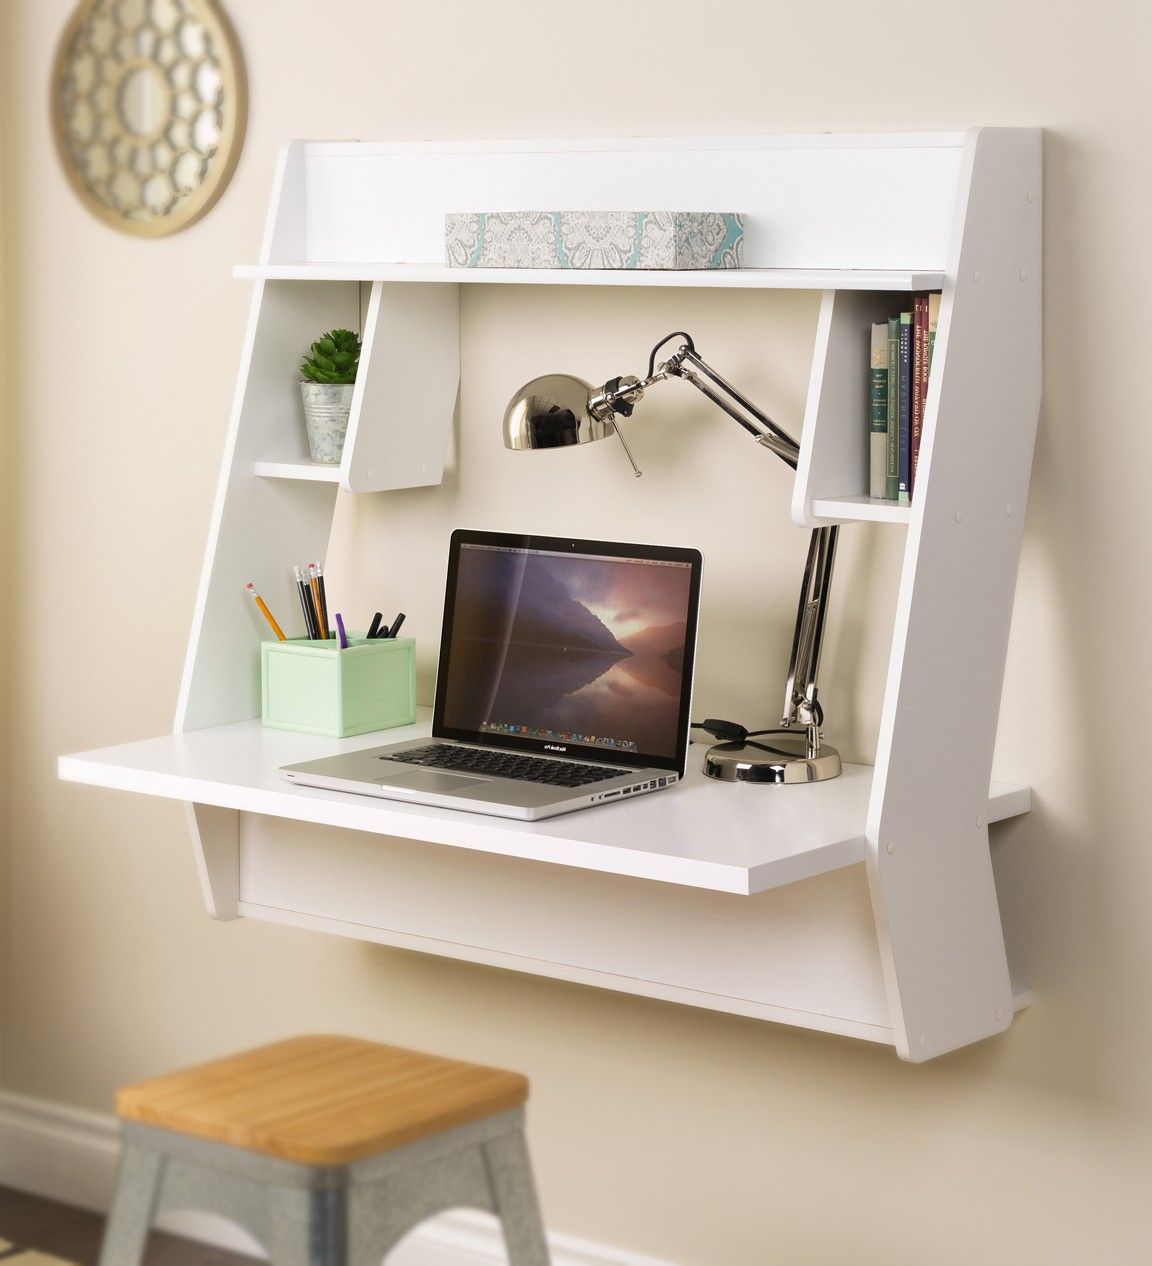
Such a product is easy to make for a summer residence, and then simply disassemble. It will also fit as permanent furniture in an ordinary city apartment.
What materials can be made
A homemade computer table has a number of advantages over purchased furniture:
- It can be angled, mounted or regular
- Its dimensions will be ideal for the room
- It can be made from any materials
- This is environmentally friendly furniture
- It's always nice to make it yourself.
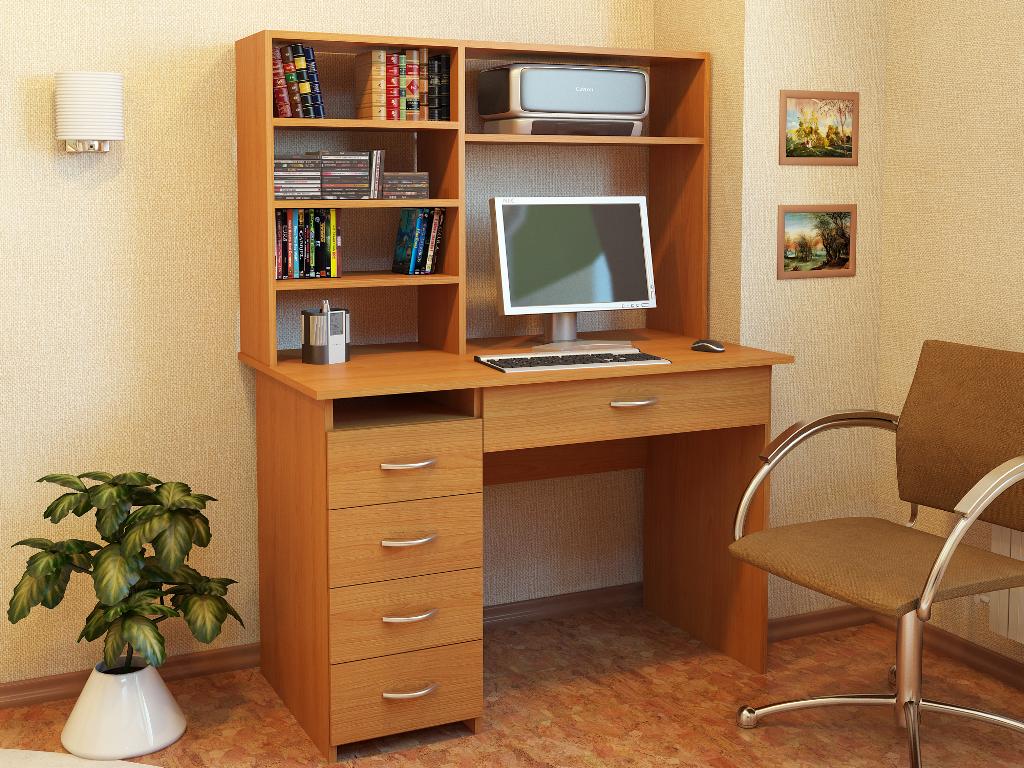
The cost of the product and its appearance depend on the material. In this case, materials may be different:
MDF sheets. This is the classic version.
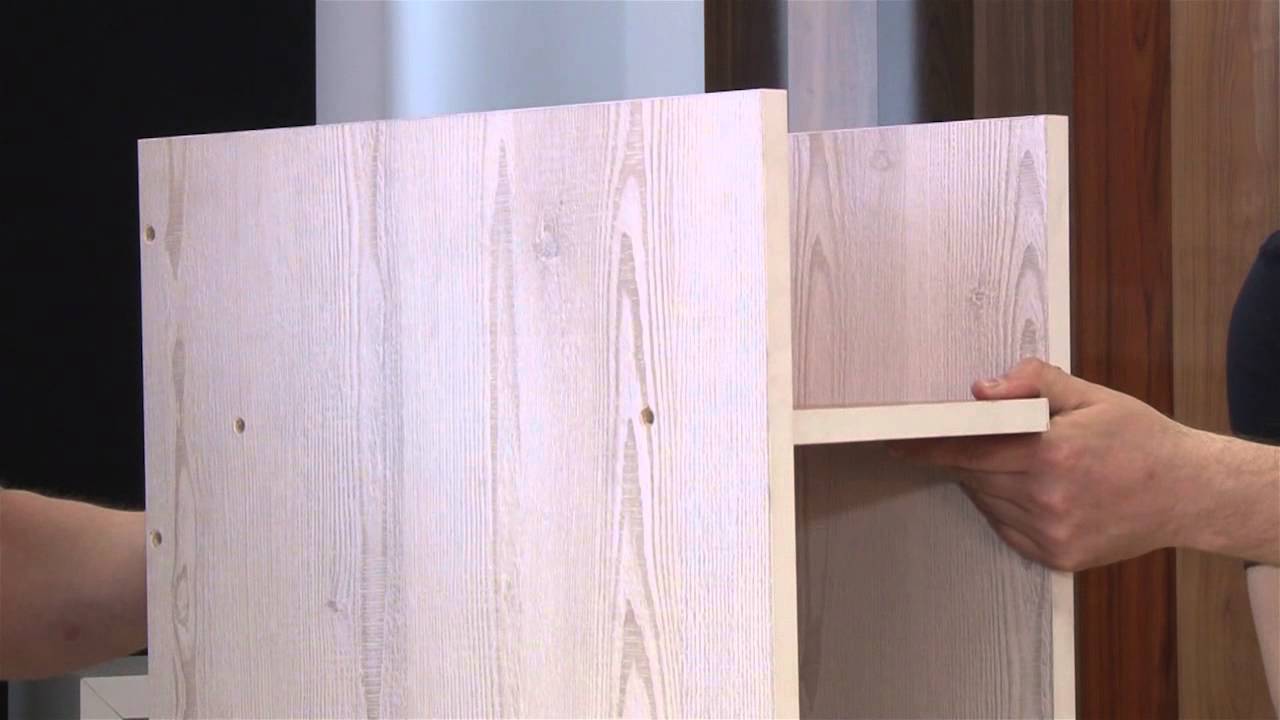
MDF material looks aesthetically pleasing, resembles wood. It is easy to handle and reliable to use. MDF can replace other chipboards: chipboard or chipboard.
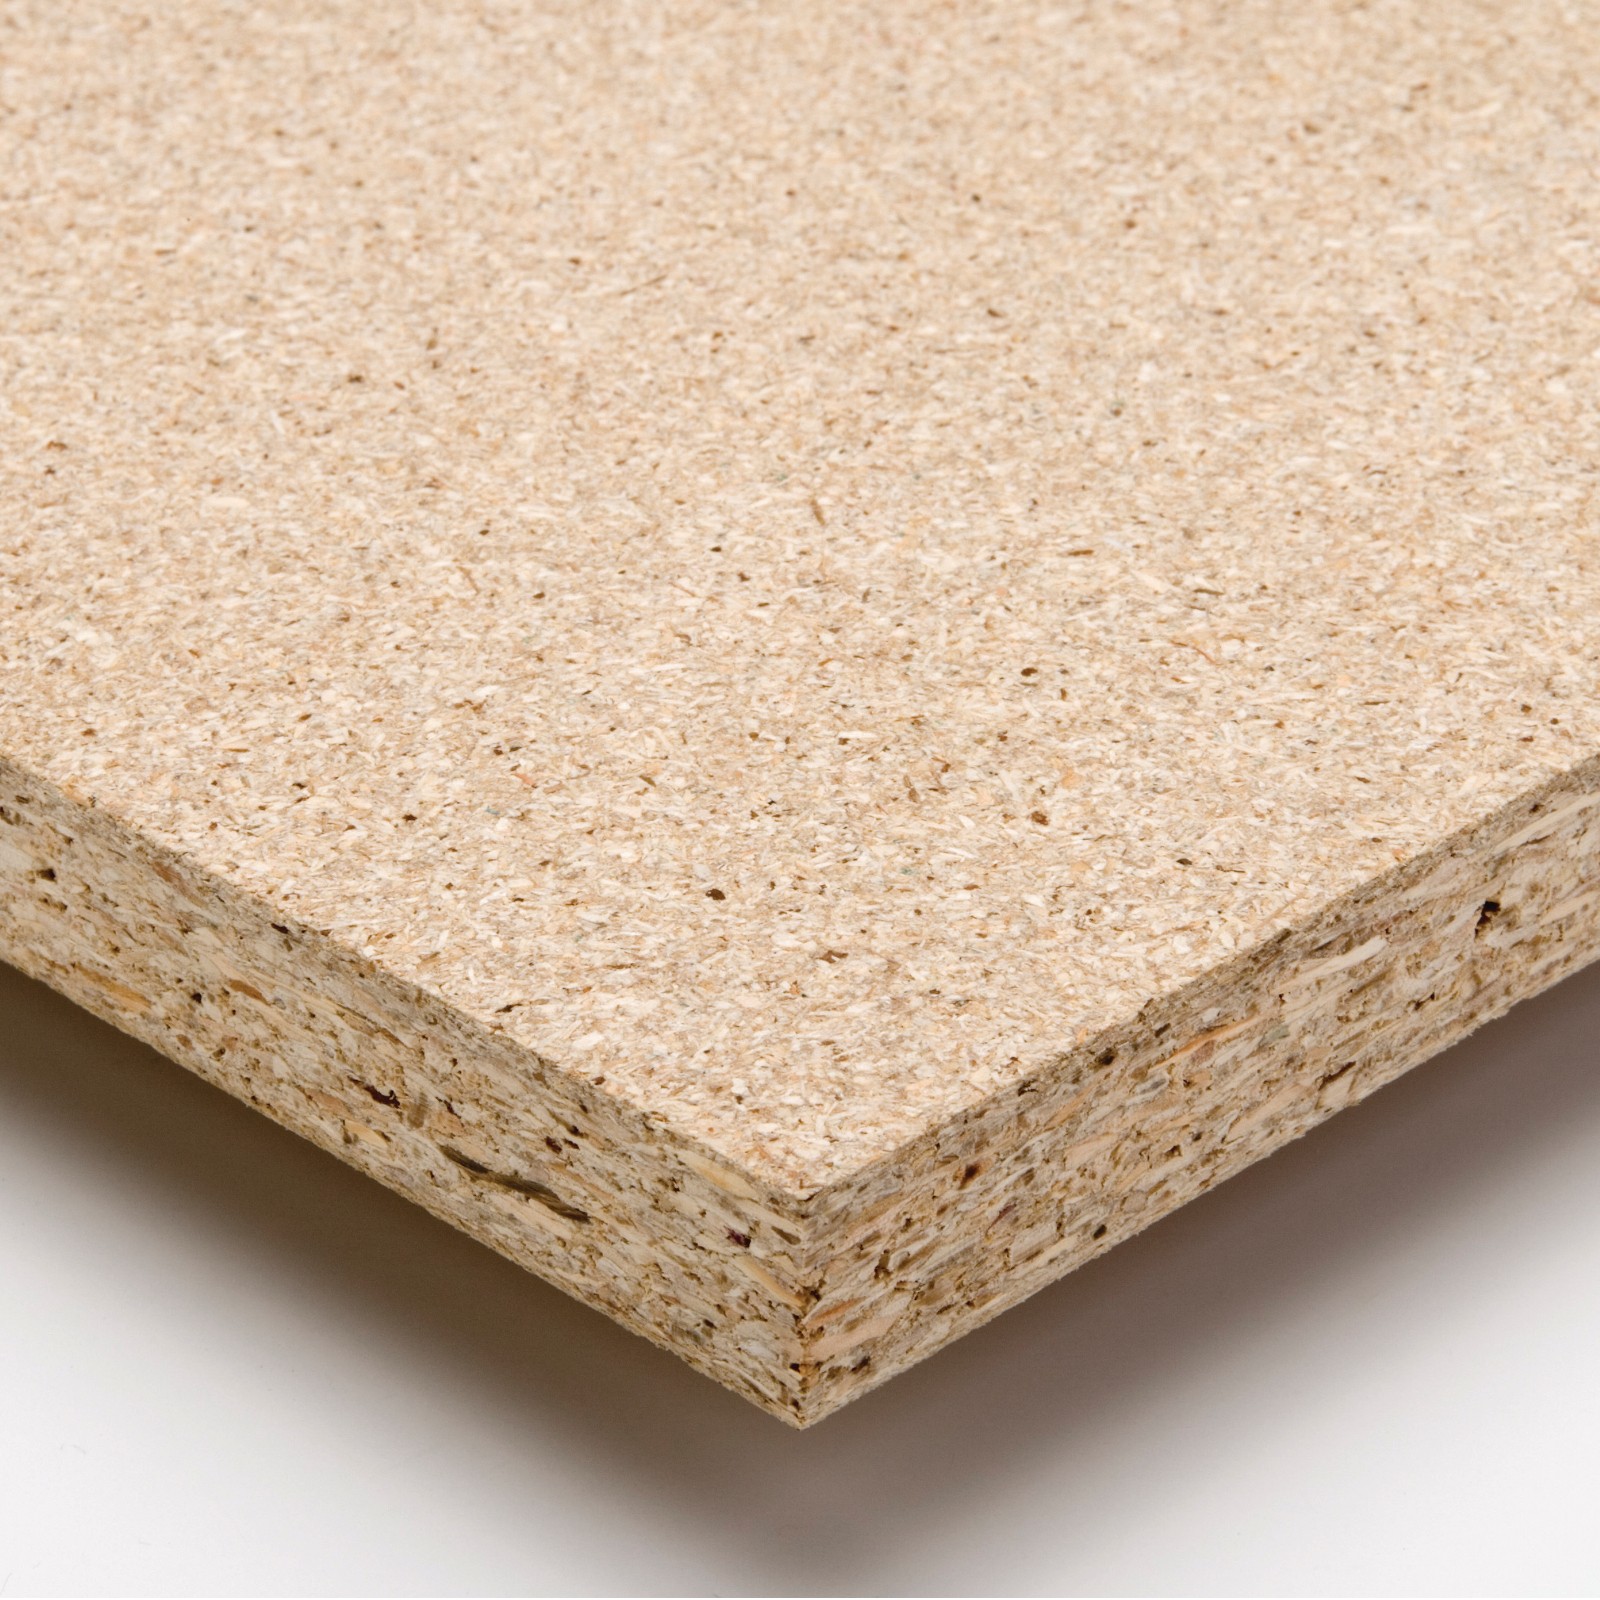
Plywood. This material is the cheapest. However, it is the least reliable. Plywood is well suited for a country table.
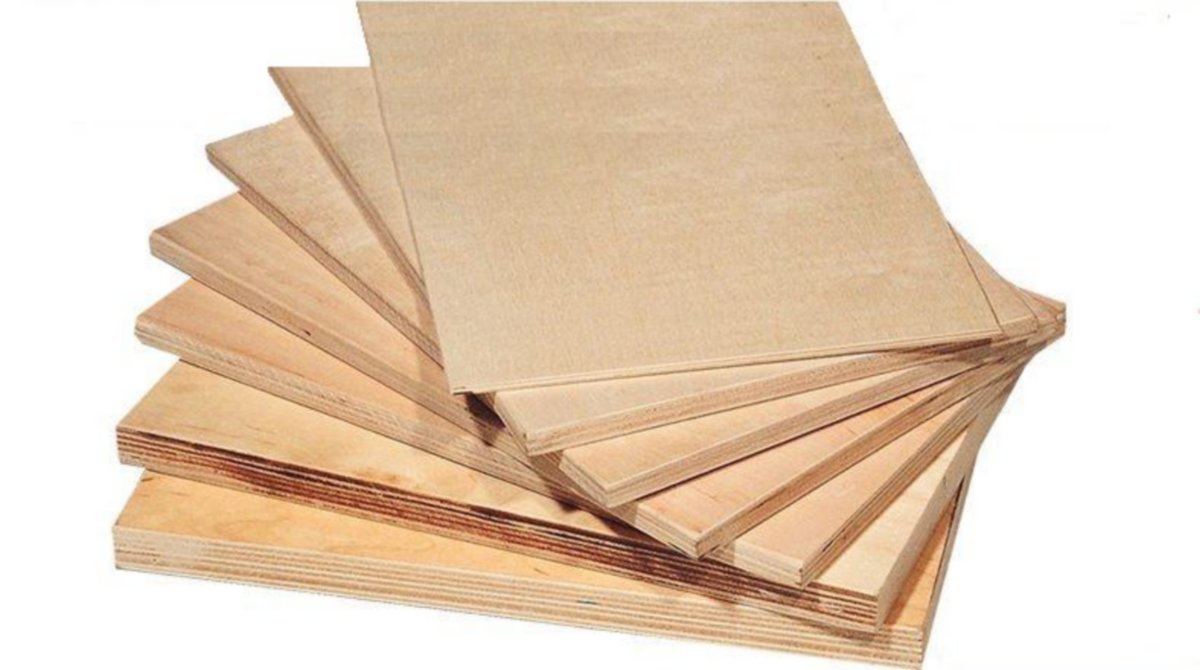
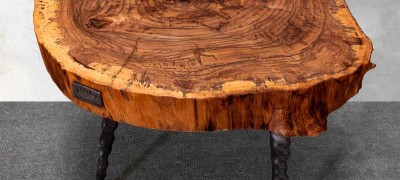
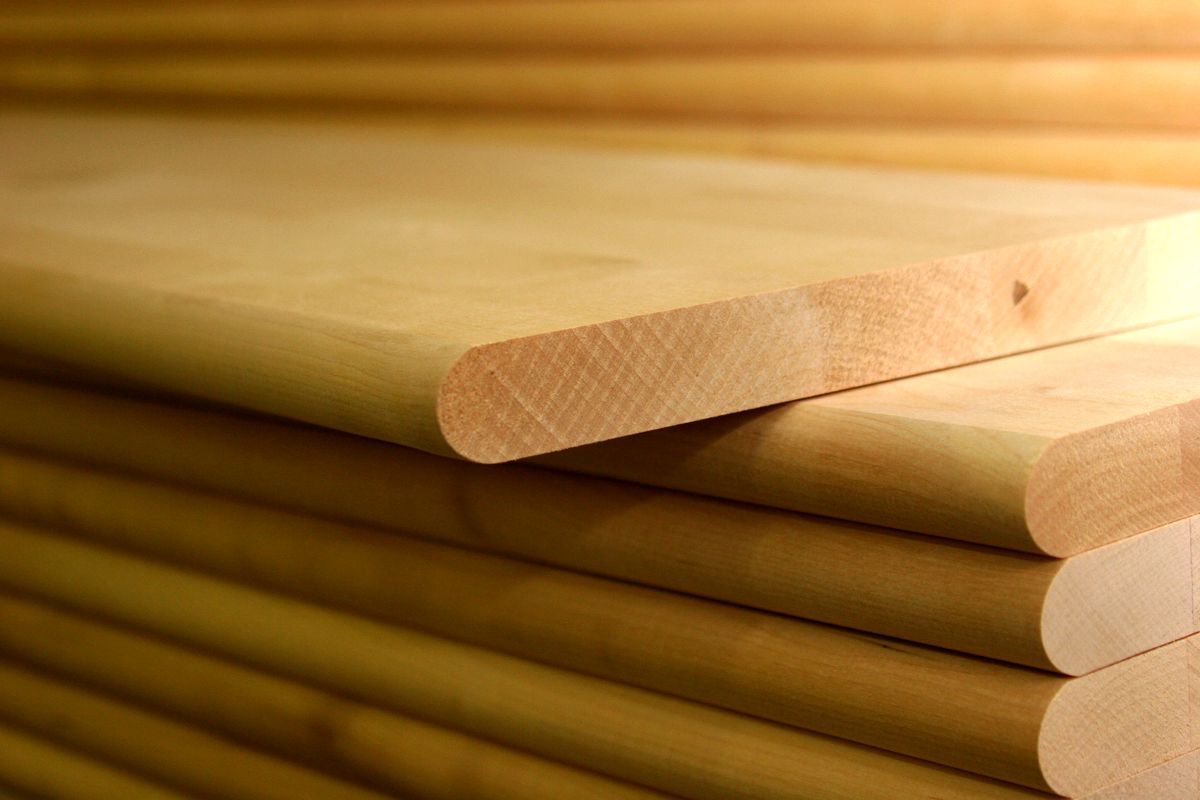
Natural wood slabs. Solid wood furniture looks noble and luxurious. This is the most environmentally friendly material. However, it is very expensive. Another disadvantage is its severity.
Drawings and diagrams of computer tables with dimensions
When the question arises of how to make a computer desk with your own hands at home, you should first of all think about the types of these products. This will help you choose a common project and create high-quality drawings, which will greatly simplify the work. Parts will subsequently be cut out on them.
There are different types of computer desks:
- Classic
- Corner
- Hinged
- With top shelves
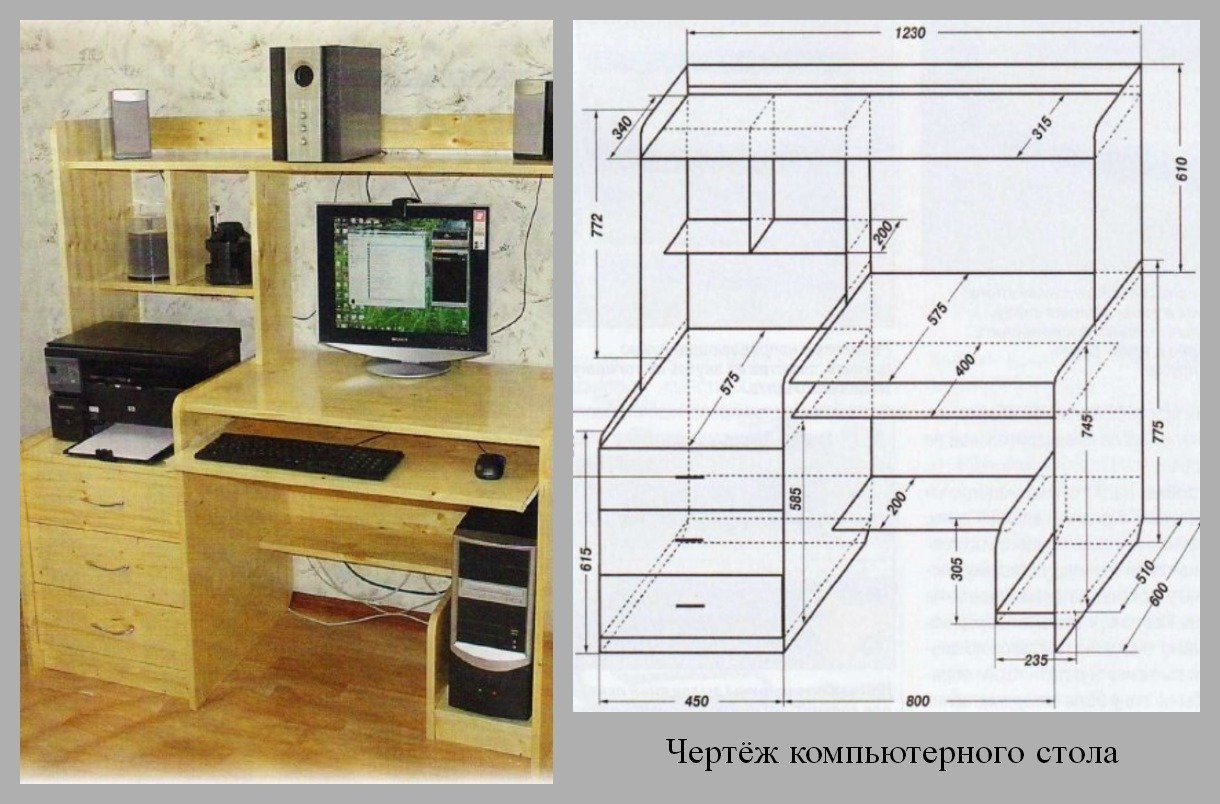
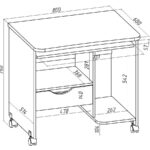
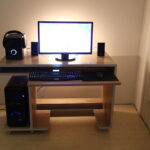
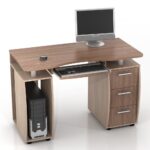
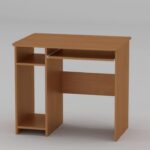
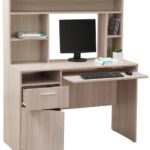
The classic version is a regular rectangular work surface with solid side legs, a pull-out keyboard shelf, drawers and a compartment for the system unit. The length should be from 80 to 150 cm. The depth is 65 - 70 cm. The usual height is 75 cm. If a person's height is taller than usual, then the height is calculated using the formula: person's height X 75/175.
Drawings for this model are the easiest to complete - just measure the desired length and width of the product. After the dimensions of the countertop have been determined, you can draw the dimensions of the remaining compartments.
Important! The product should be 3-5 cm less than the occupied space. Otherwise, the furniture will be inconvenient to install in the designated place.
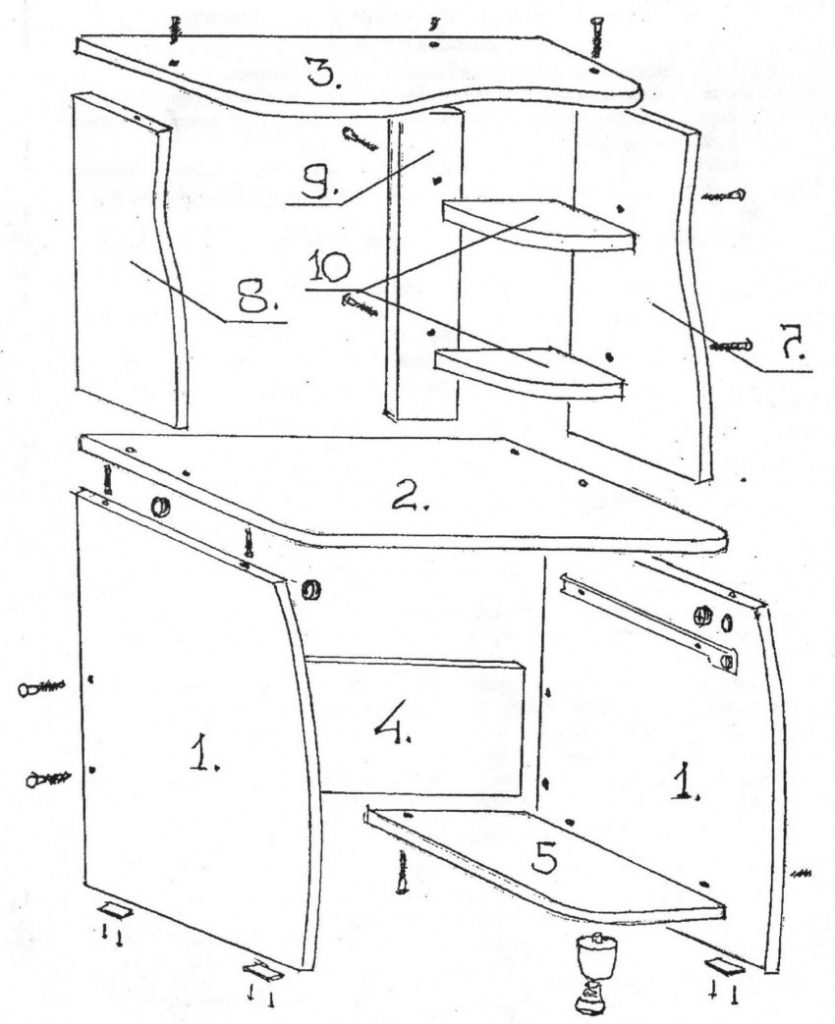
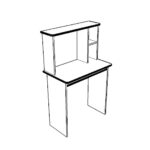
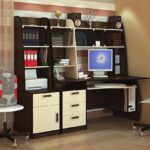
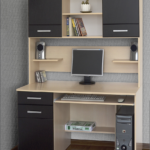
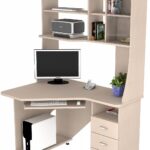
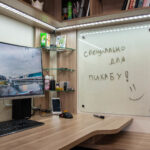
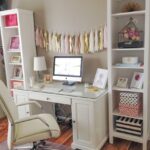
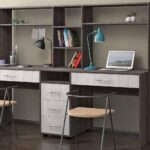
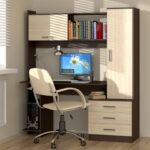
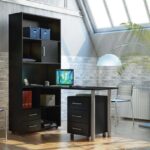
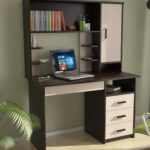
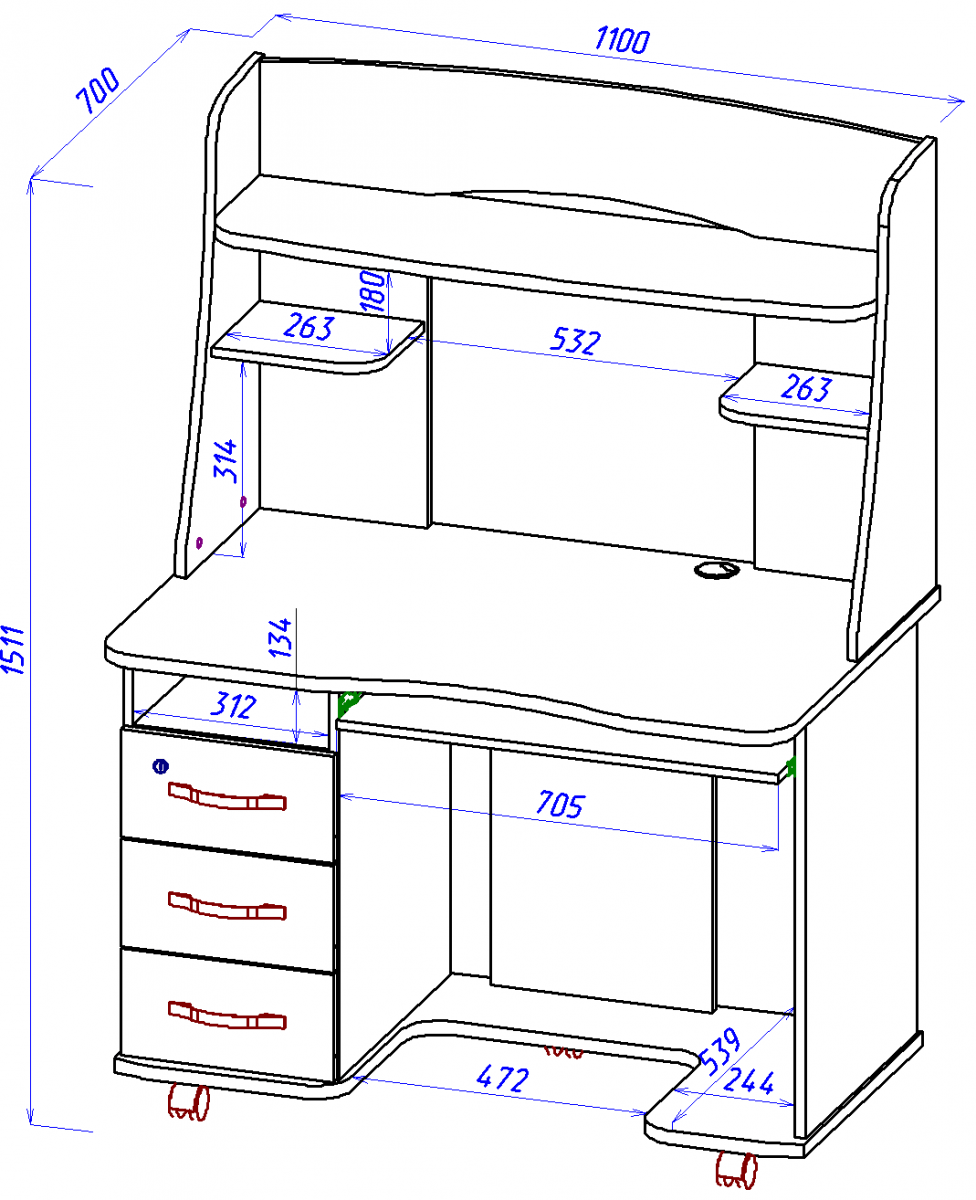
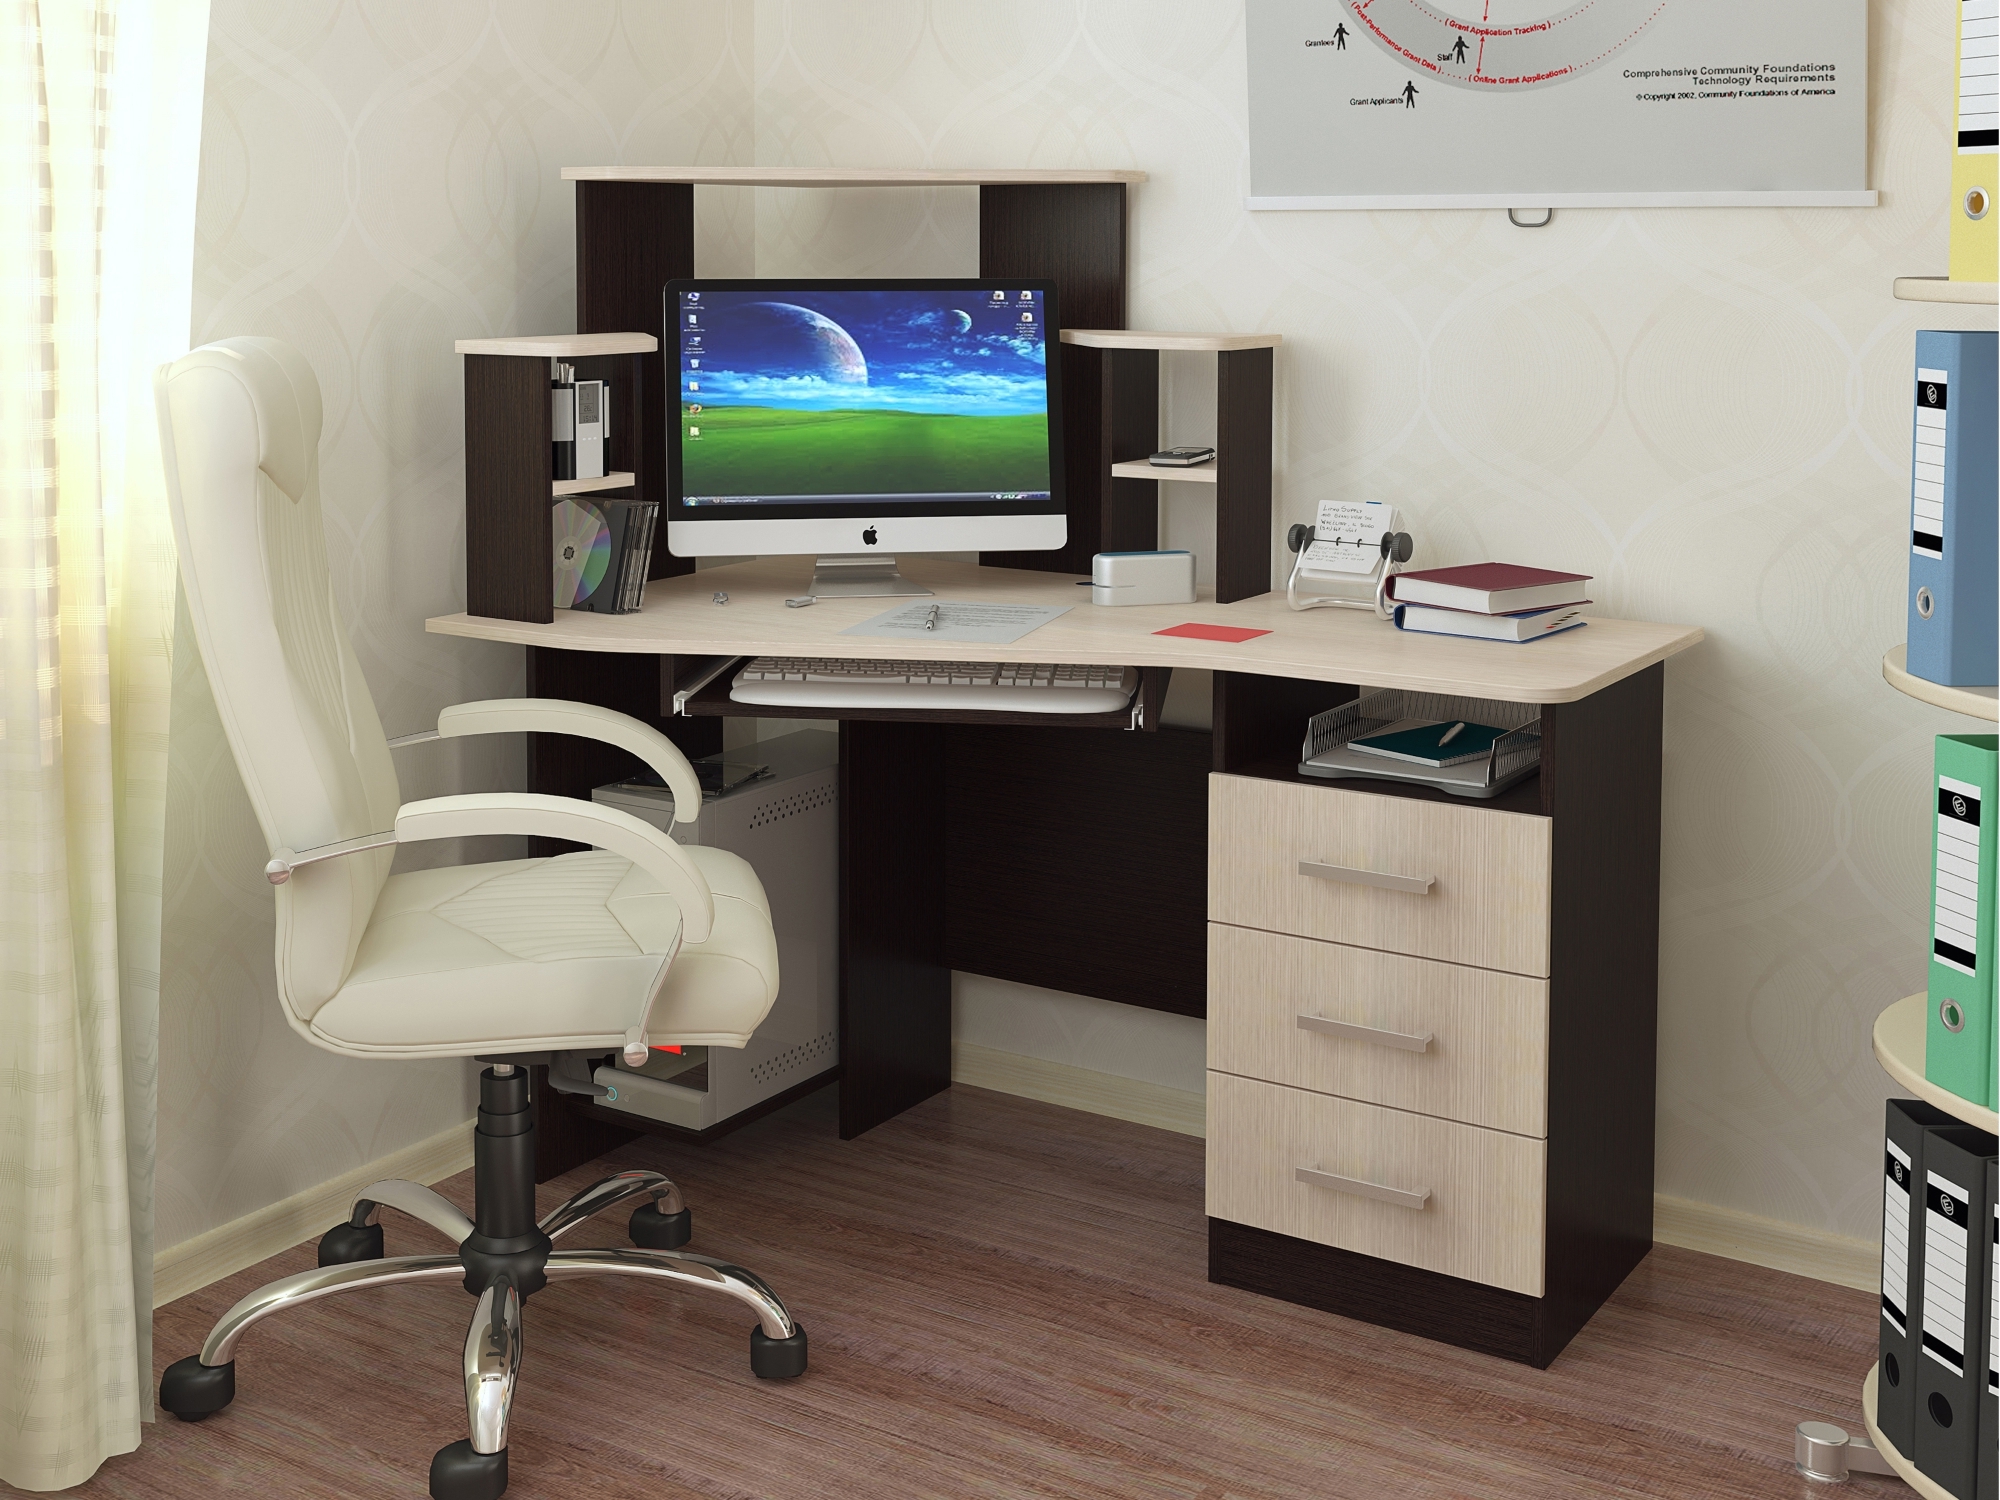
The model with top shelves is similar to the classic one. But it has shelves built on top of the work surface.This option is very convenient for small rooms, or for installation in the play area of the common room or next to the kitchen table.
The top shelf can be used to place a printer, books, or store items you need. Here they will always be at hand. Making a drawing for this model also begins with determining the dimensions of the countertop. After that, the dimensions of the sidewalls are determined.
Their width should be equal to the width of the table, the height is 160-180 cm. At this height, you can place 1 or 2 shelves for small items. At the bottom there is a place for the system unit. For convenience, you can arrange a couple of drawers or shelves.
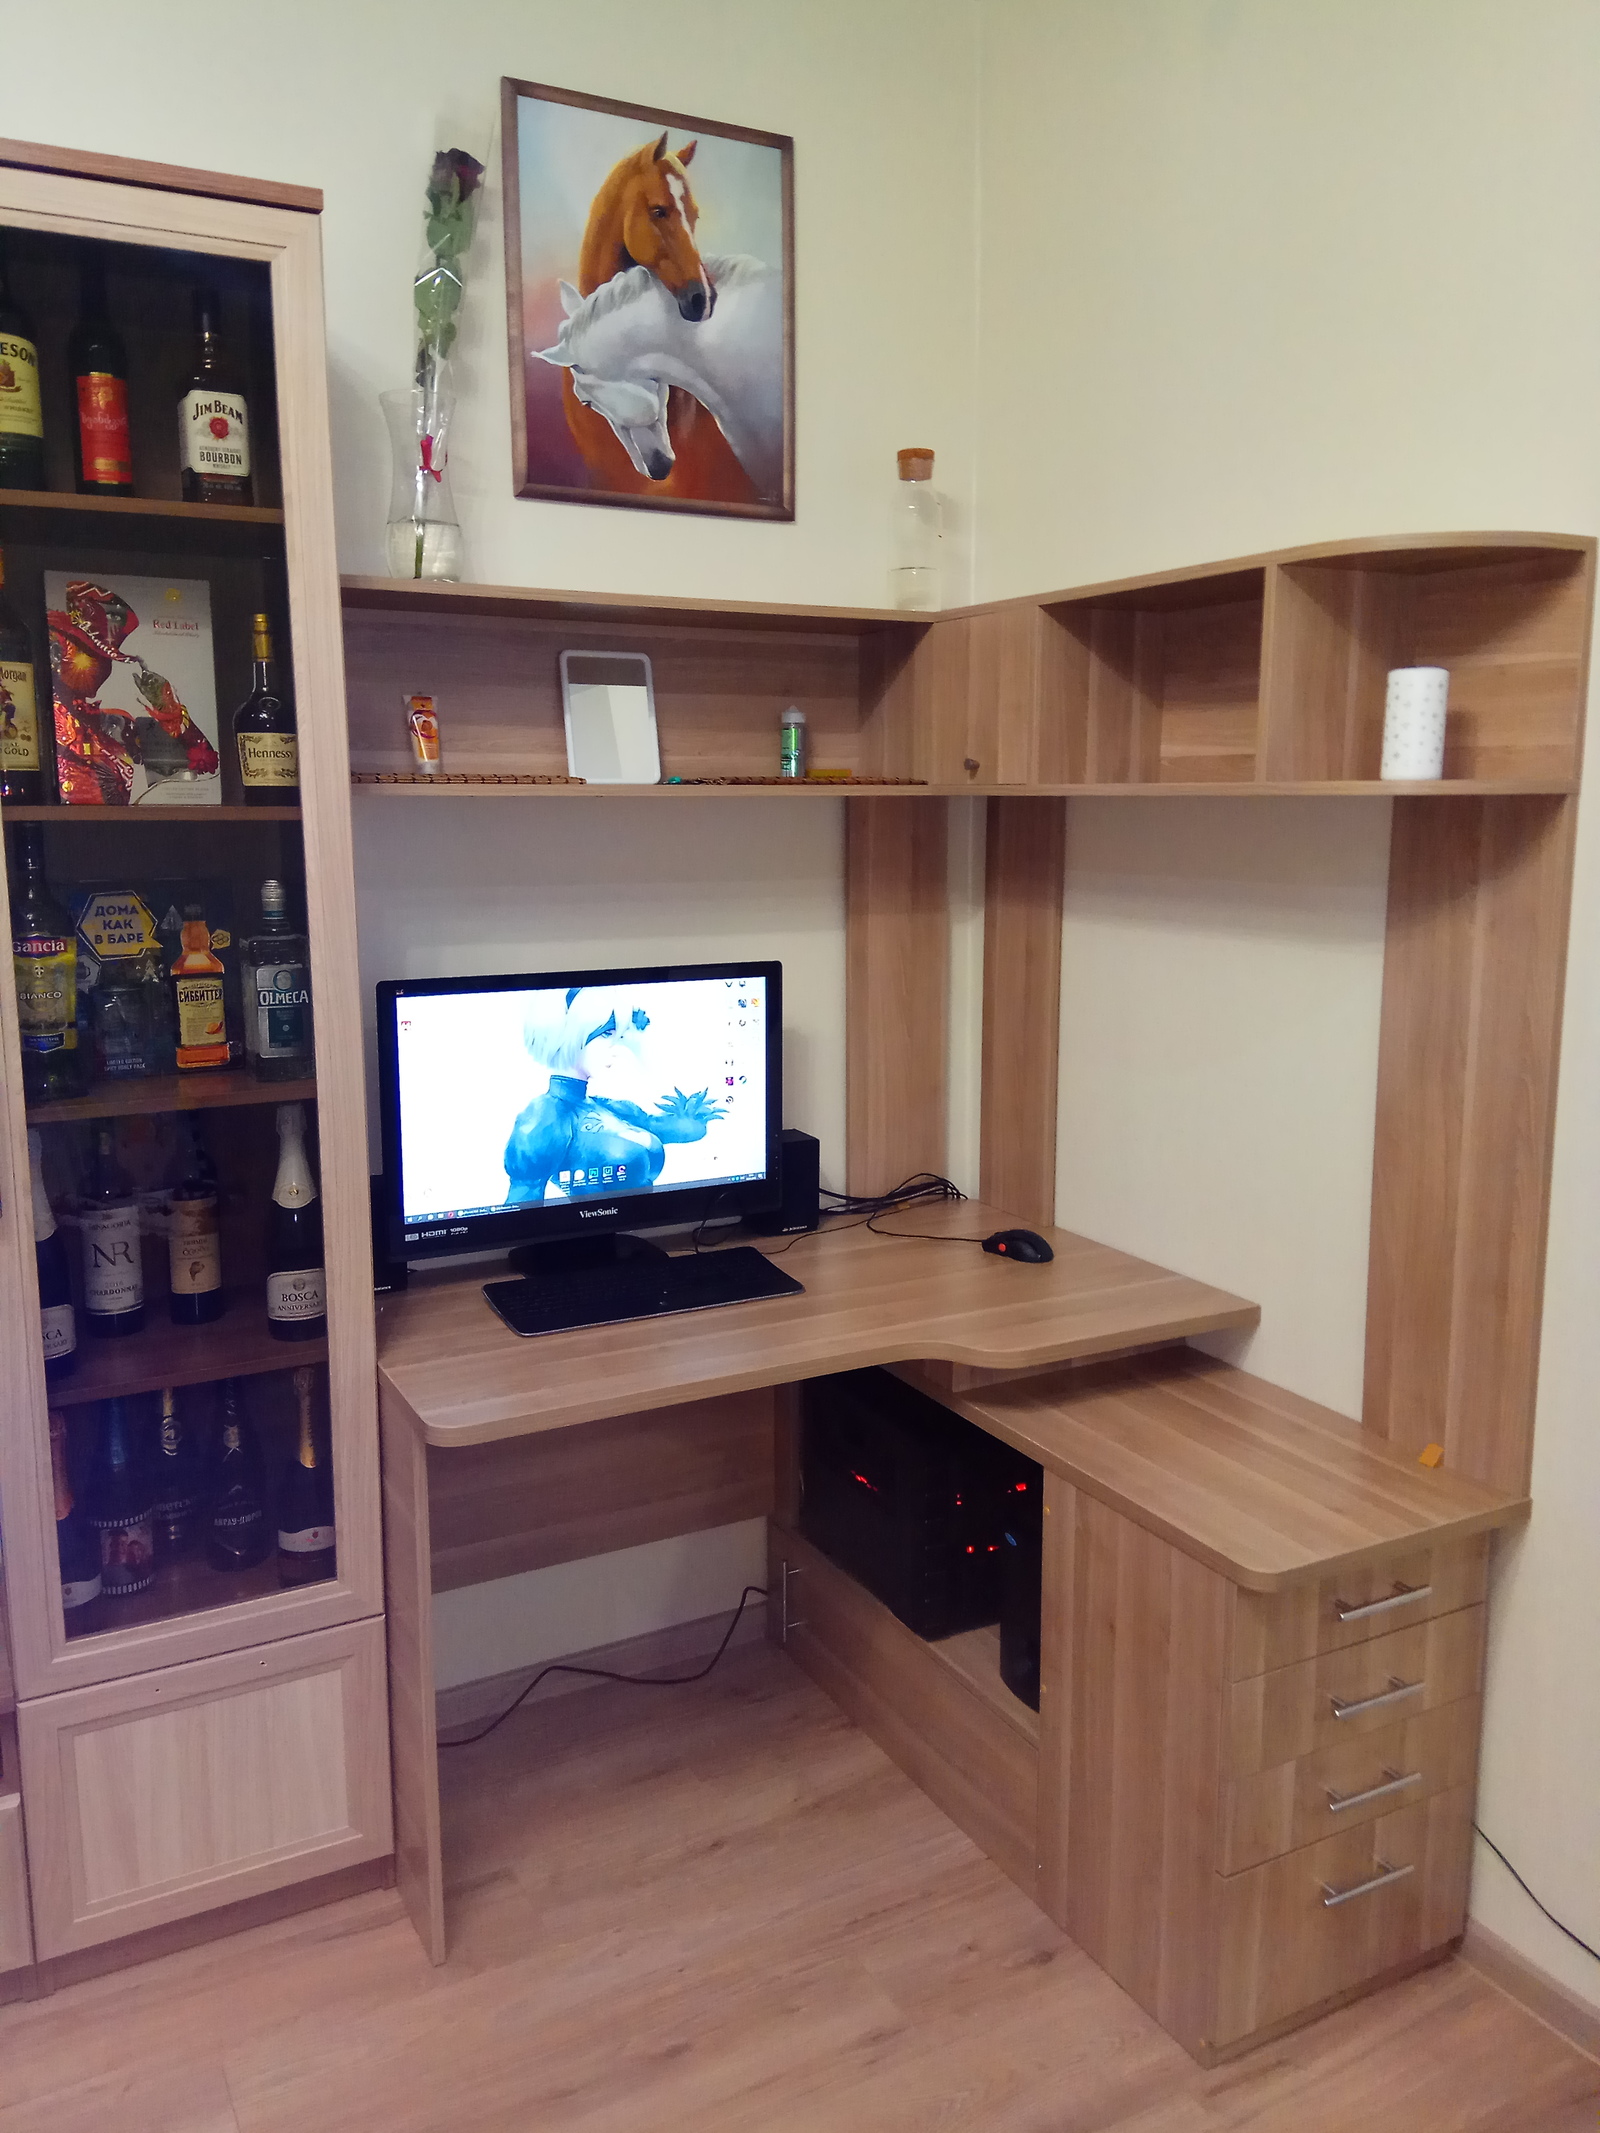
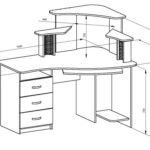
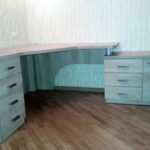
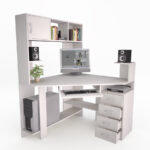
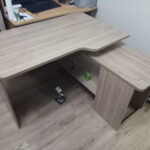
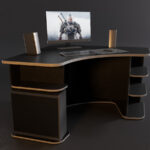
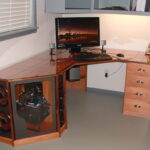
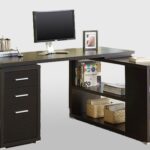
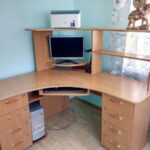
Corner products are of two types. The easiest option is when a person is located perpendicular to one wall and parallel to the other. This is the most comfortable model, but it takes up more space in the room. The working space of such a product consists of two rectangles connected perpendicularly. On one side will be the monitor and keyboard. On the other hand, there is a printer, paper, and small items.
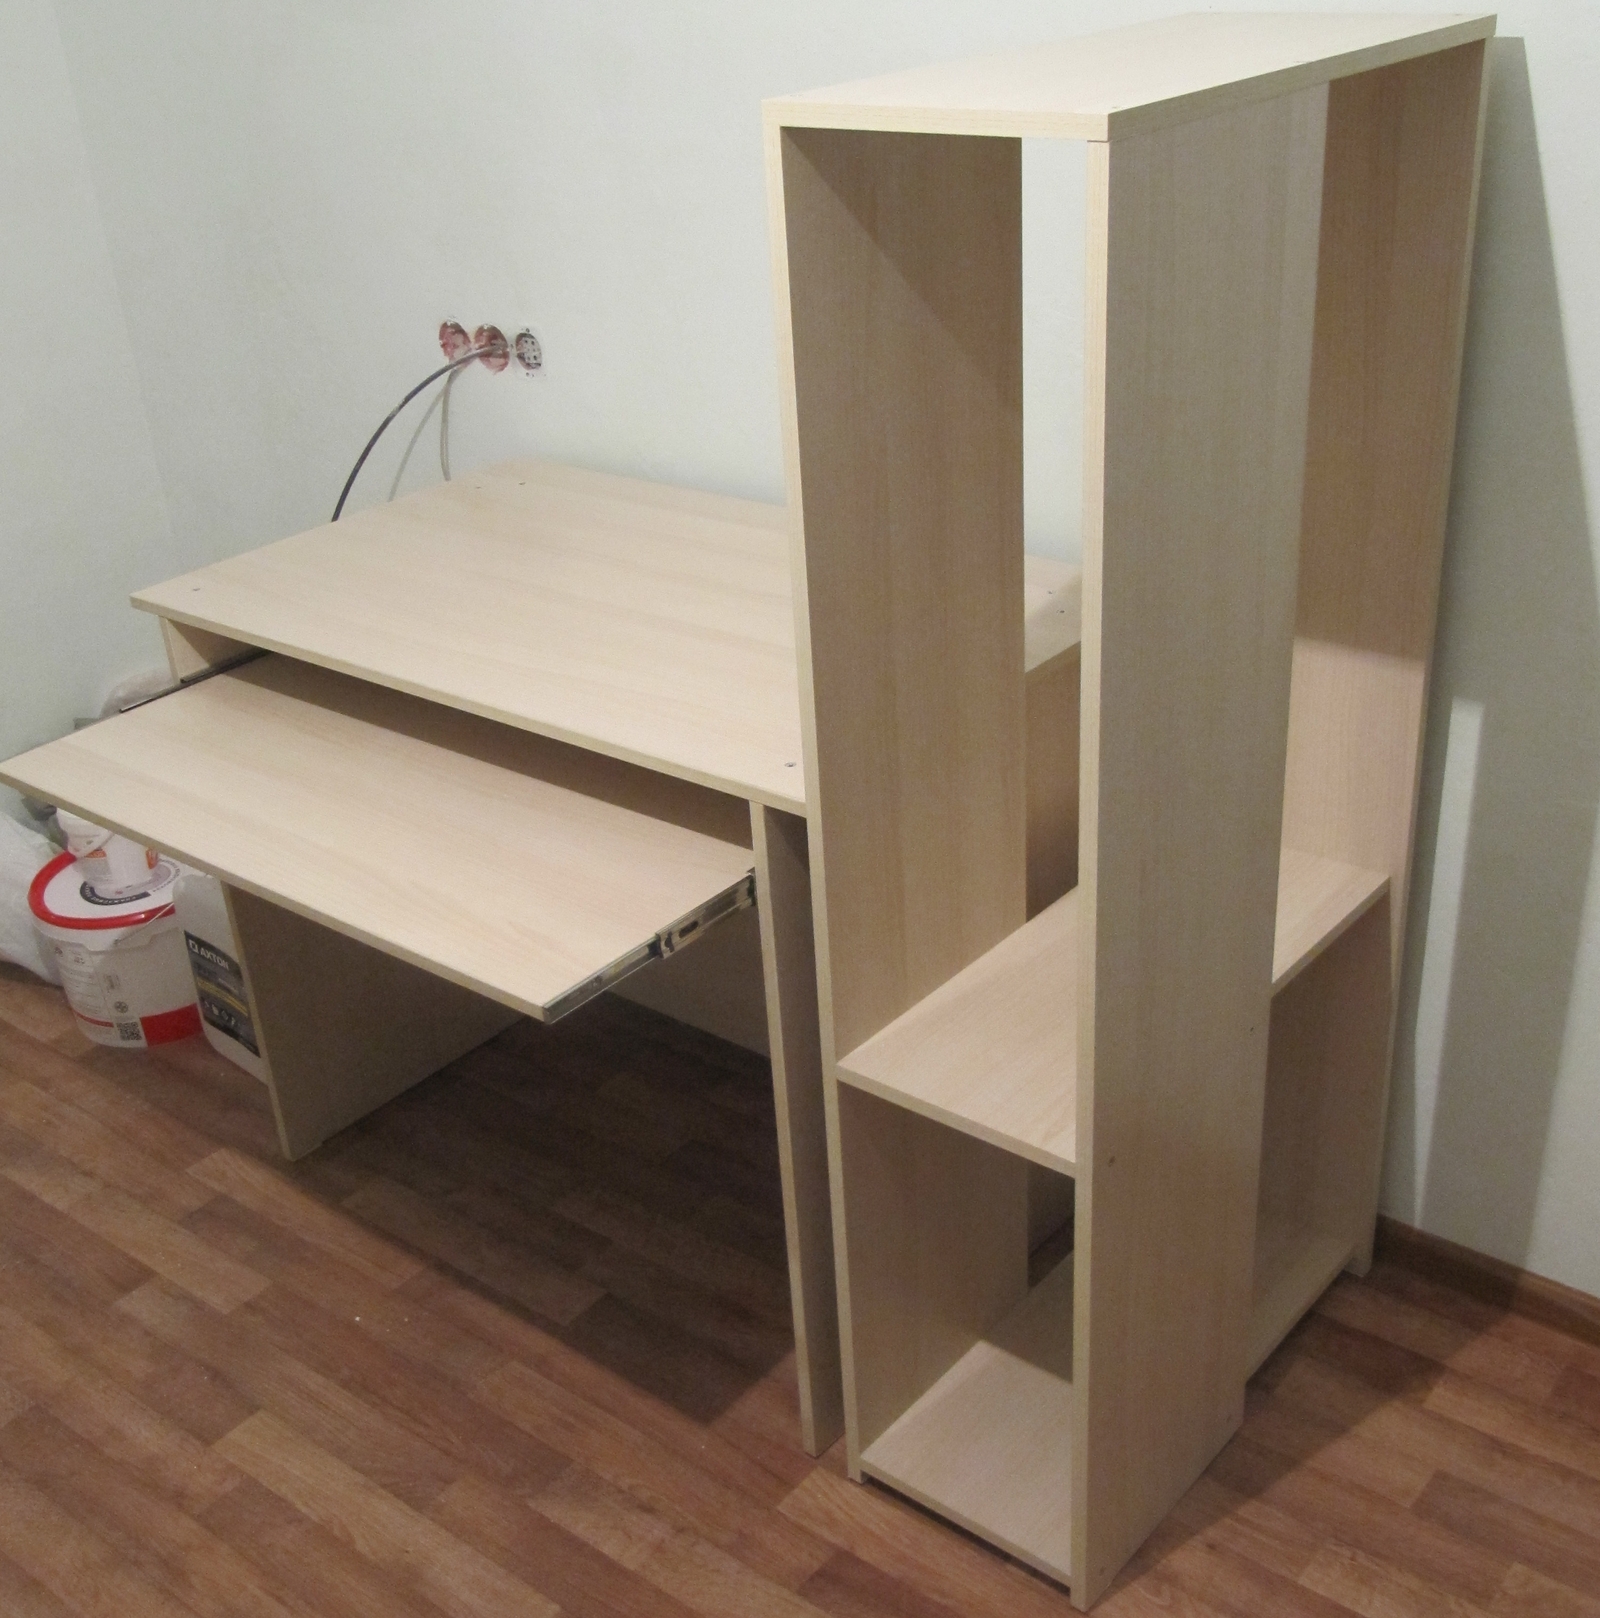
When making a drawing, the dimensions of the main tabletop, where the monitor will be located, are first determined. Then the dimensions of the additional working surface are determined. After that, the sidewalls and the bottom support in the corner are created.
Advice. The most convenient option when two countertops are located one above the other. The main one is slightly higher, the additional one is 15-20 cm lower. At the same time, an additional shelf appears in the corner between the parts.
Important! For comfortable working conditions, the length of the free edge of the working surface should be 80-100 cm.
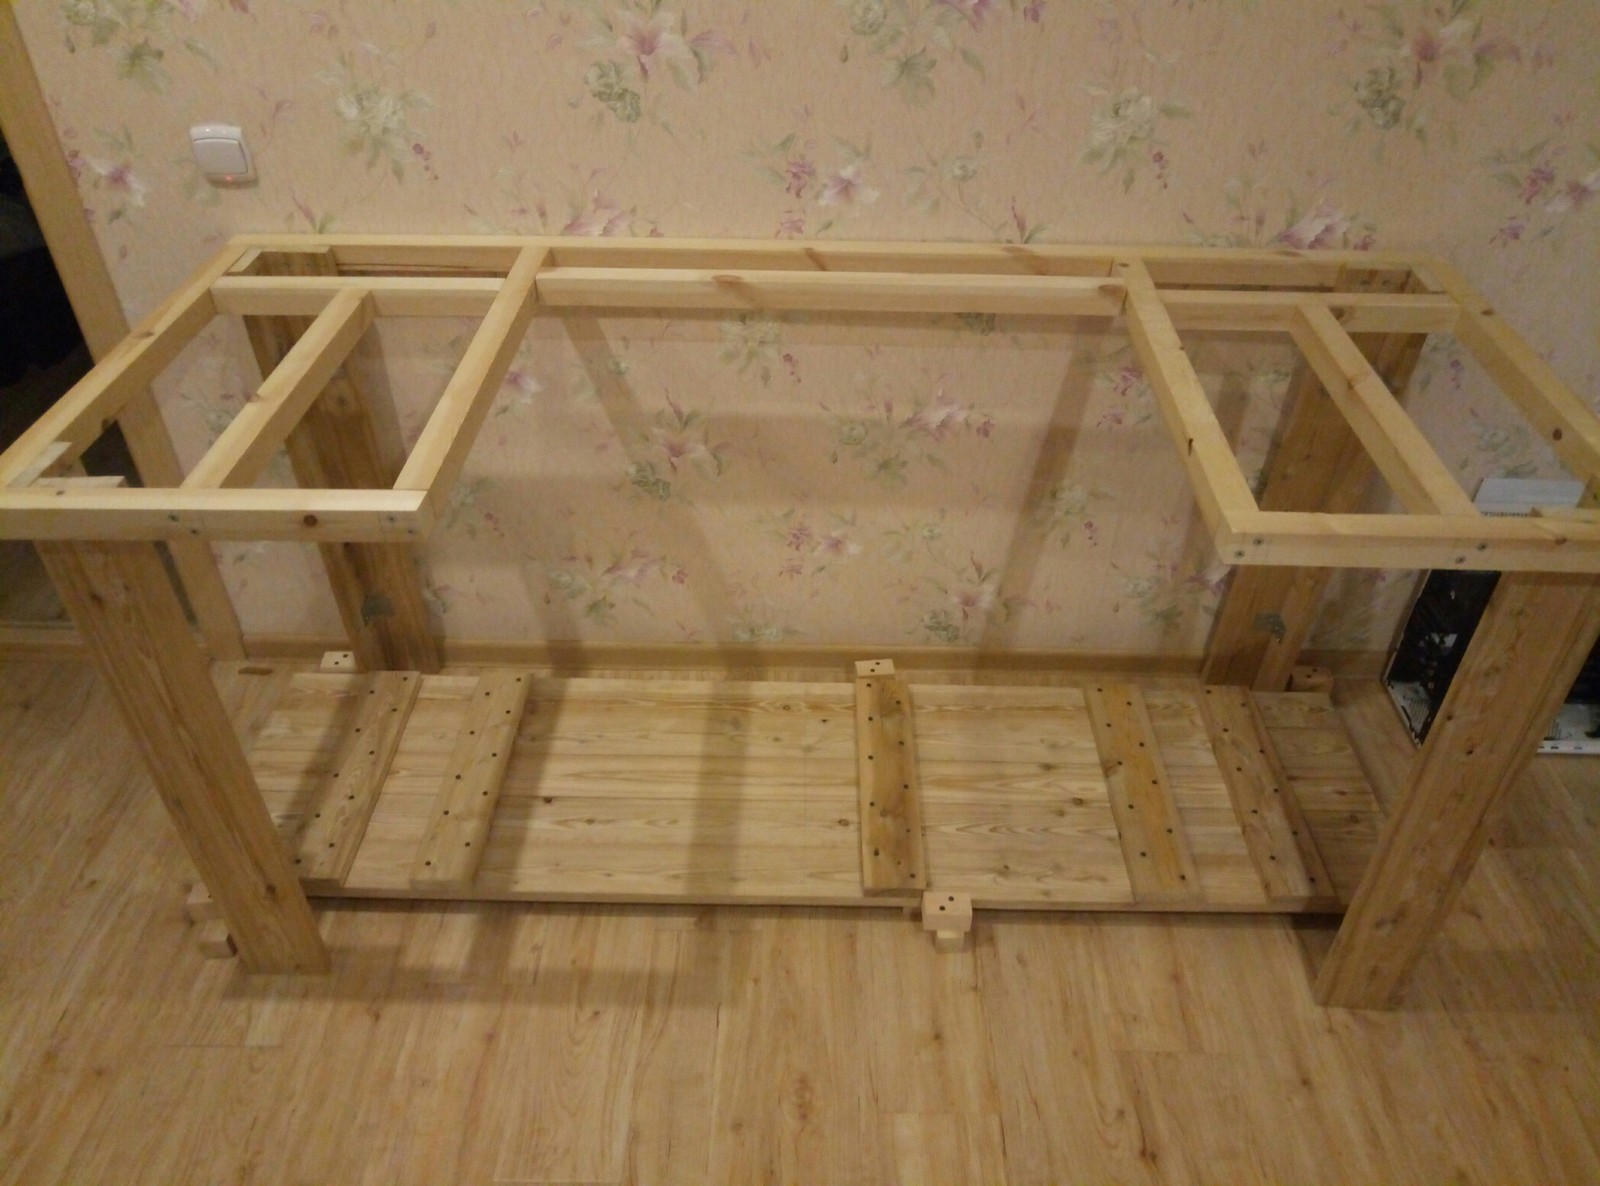
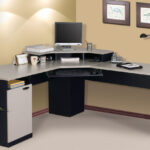
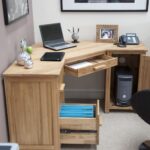
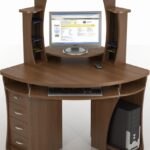
Another corner table model assumes the user is placed diagonally in the corner. This is the most difficult option to manufacture. To create this drawing, you first need to determine the size of the side parts and after that, relative to the size of the sidewalls, the size of the table top is calculated. The working diagonal should be 60-70 cm long. The depth of the corner furniture should be 80-85 cm.
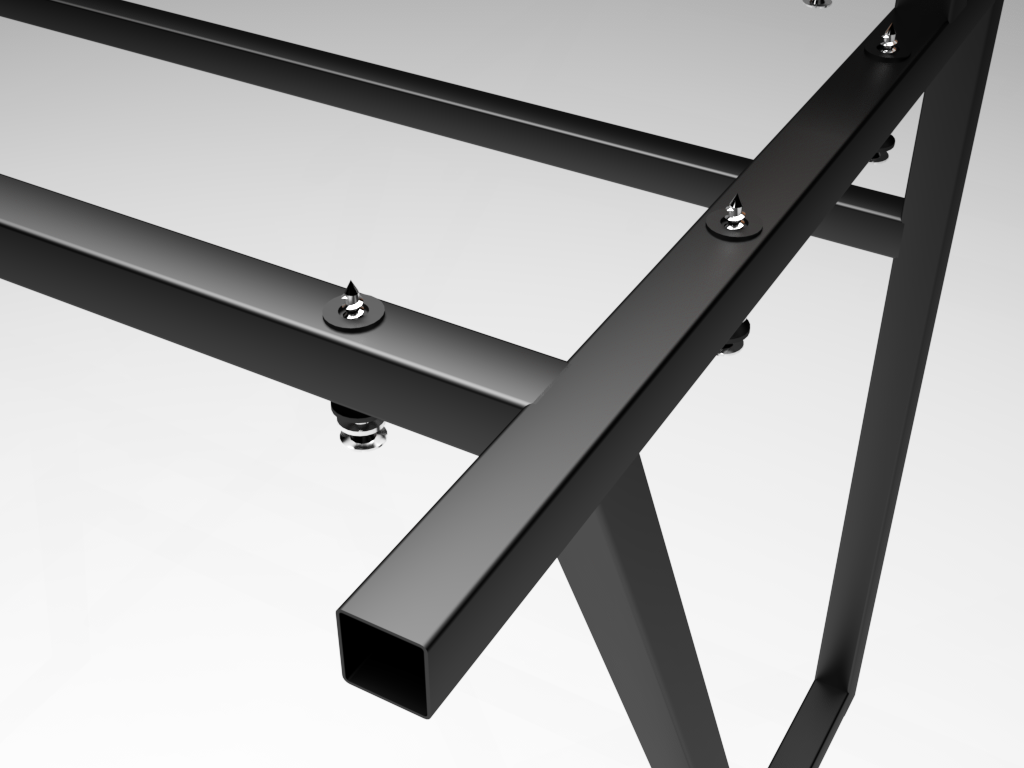
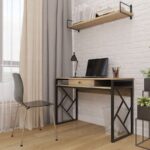
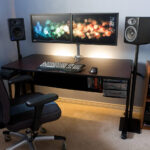
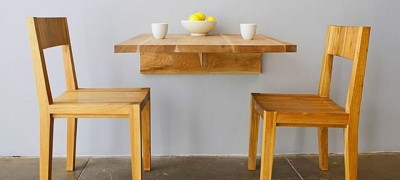
The suspended version assumes no legs. In this case, the tabletop is attached directly to the wall. Usually this option is used for suburban structures. Such a model is placed in the corner, attaching with the help of furniture corners to both walls.
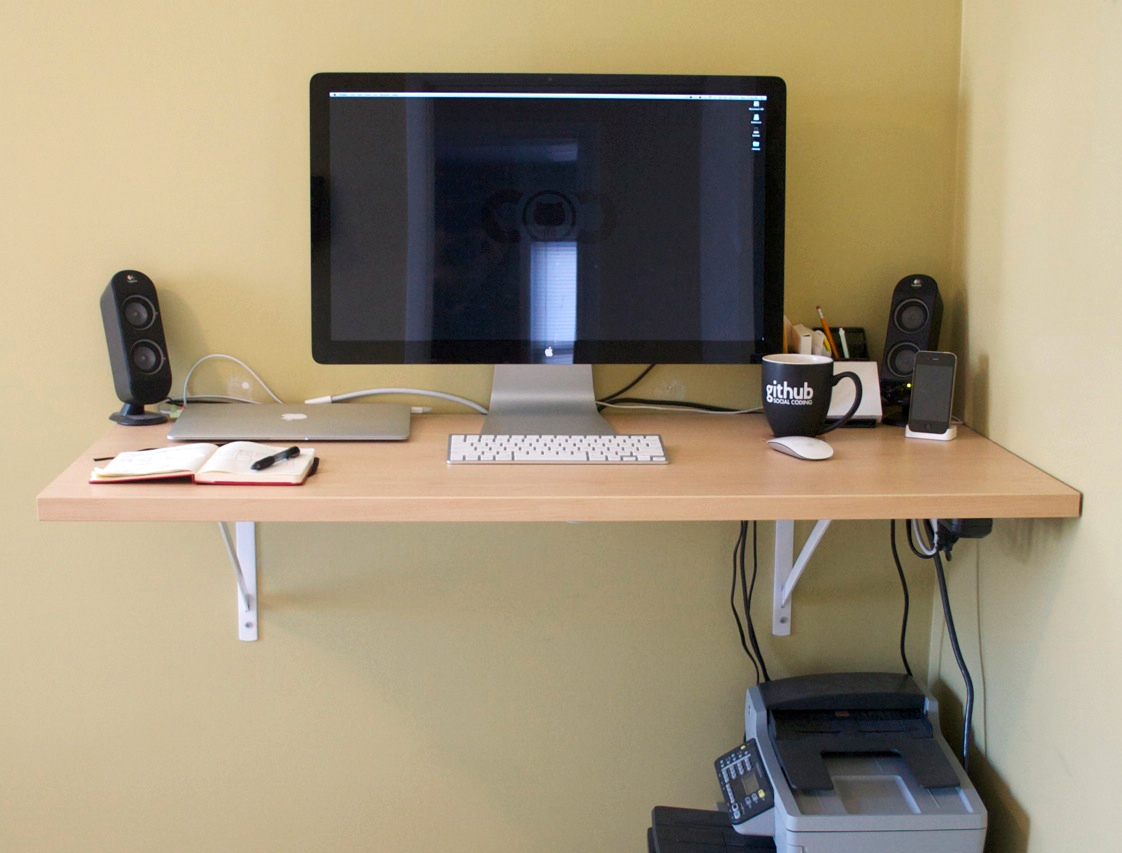
Advice. For convenience, a separate stand should be provided under the screen, which will be located 7-10 cm above the table top.
DIY table making instructions
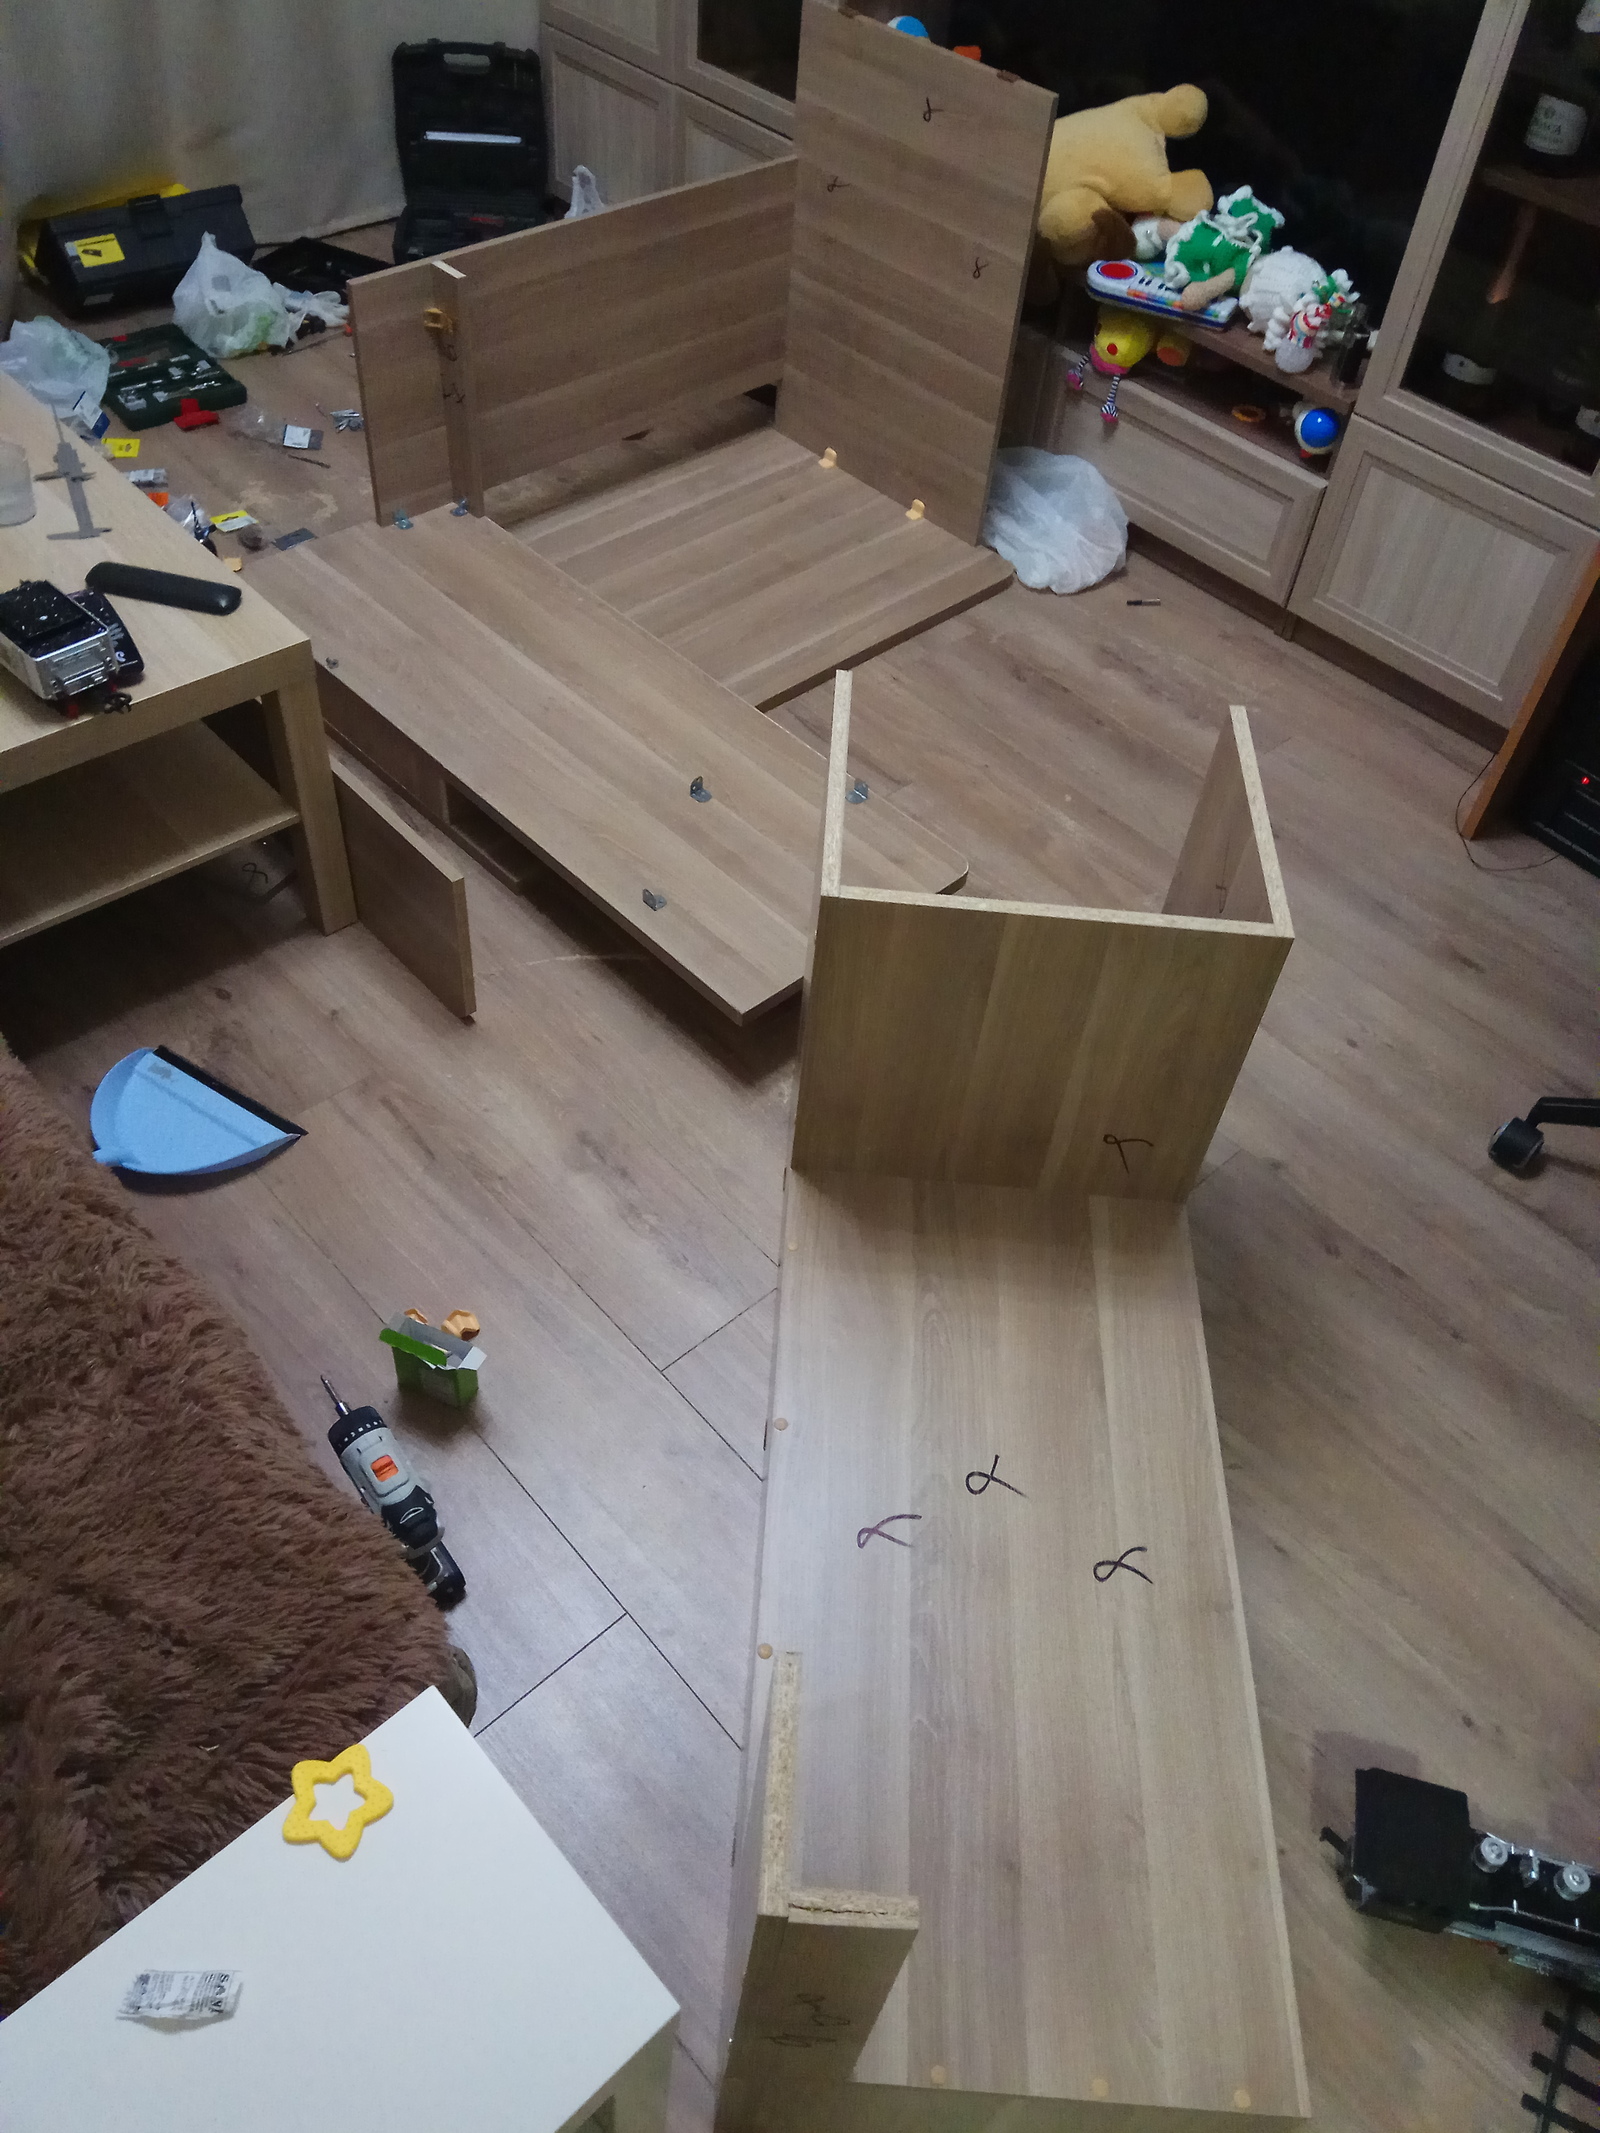
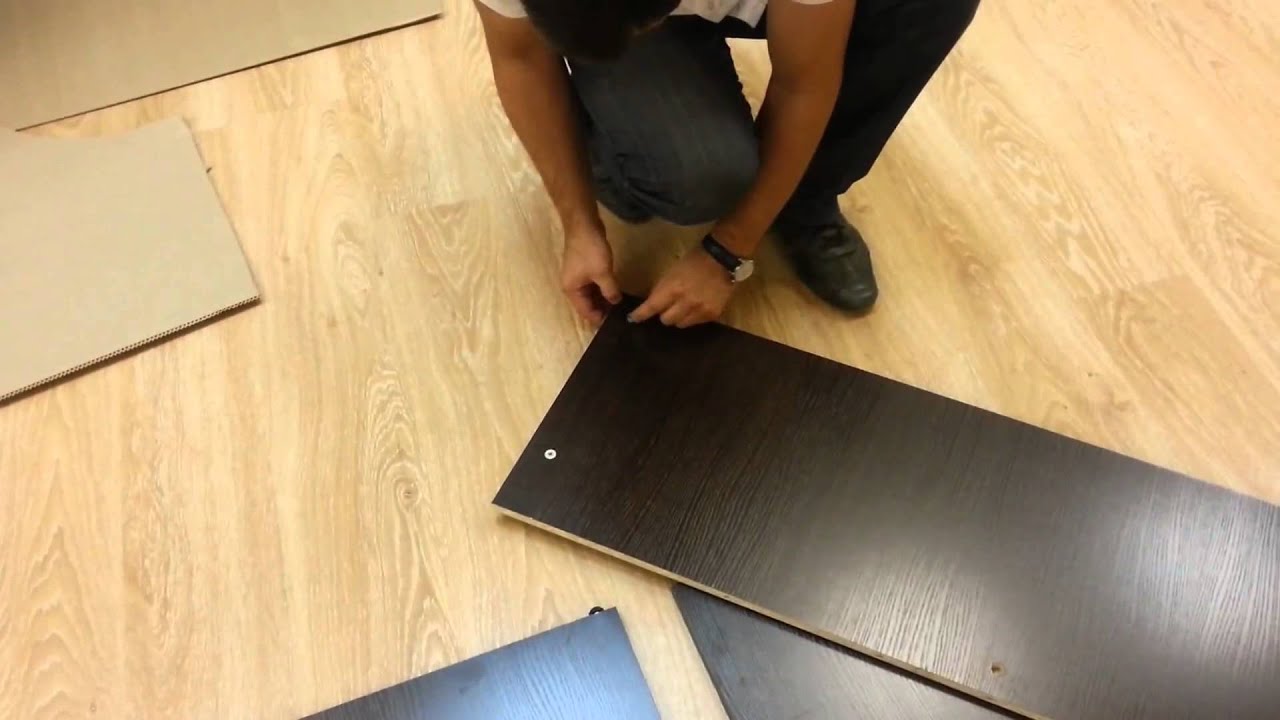
After creating drawings and cutting out parts, you can proceed directly to the assembly of furniture. Beforehand, it is important to prepare all small components, such as furniture corners and guides for the pull-out surface for the keyboard and the necessary tools.
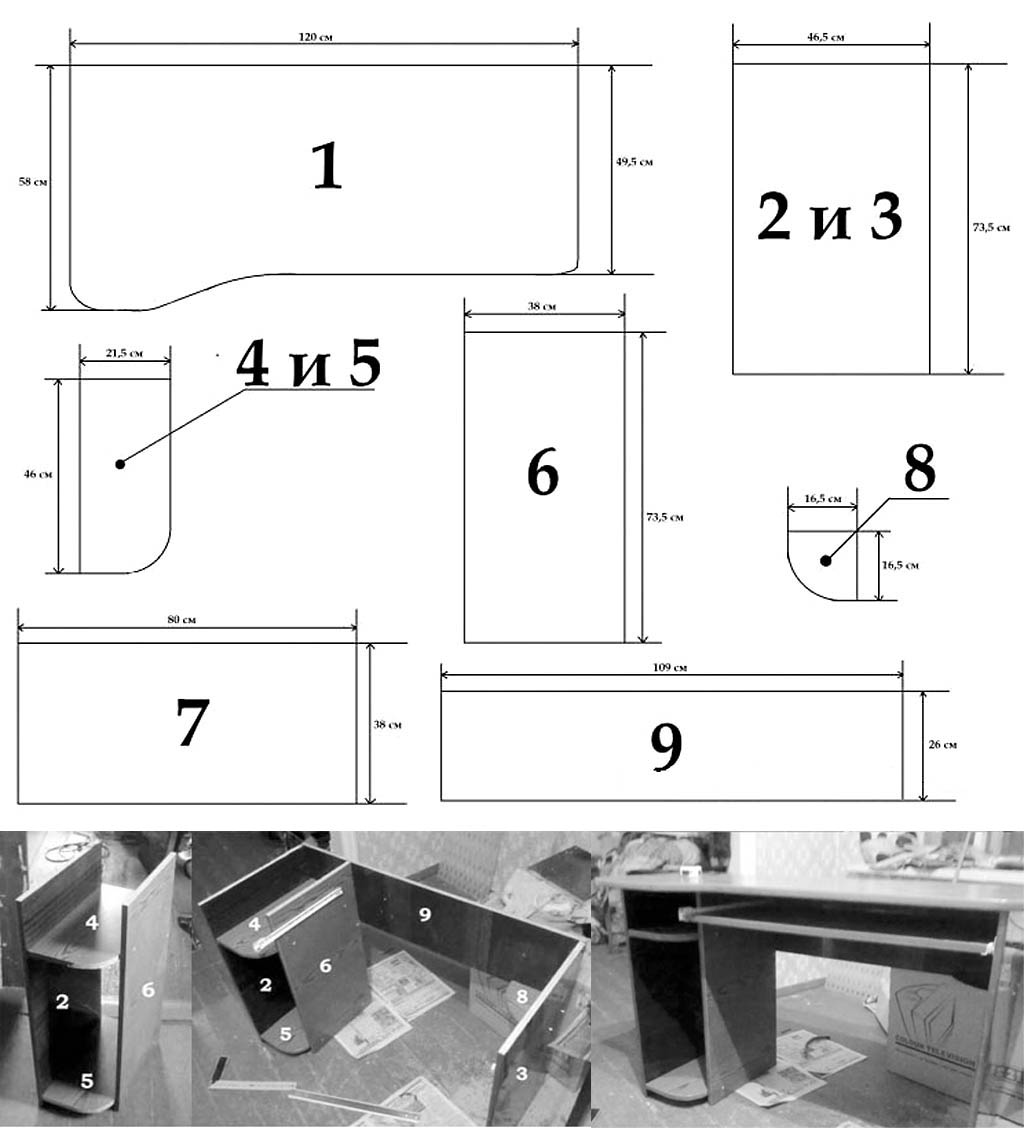
Step-by-step instruction:
- Round off the corners of all parts. On the sidewalls, cut the corners under the plinth.
- Fasten the main parts with furniture corners: table top, sides and back part.
- Check how comfortable a person feels at the table and how the furniture is installed in the designated place.
- If everything is in order, then it is necessary to tighten the screws in the furniture corners more firmly and continue assembly.
- Turn the product upside down. First, additional vertical parts are attached, after which shelves, guides for drawers and a pull-out panel are installed. Special legs are screwed from below, which will protect the floor from scratches.
How to decorate a table
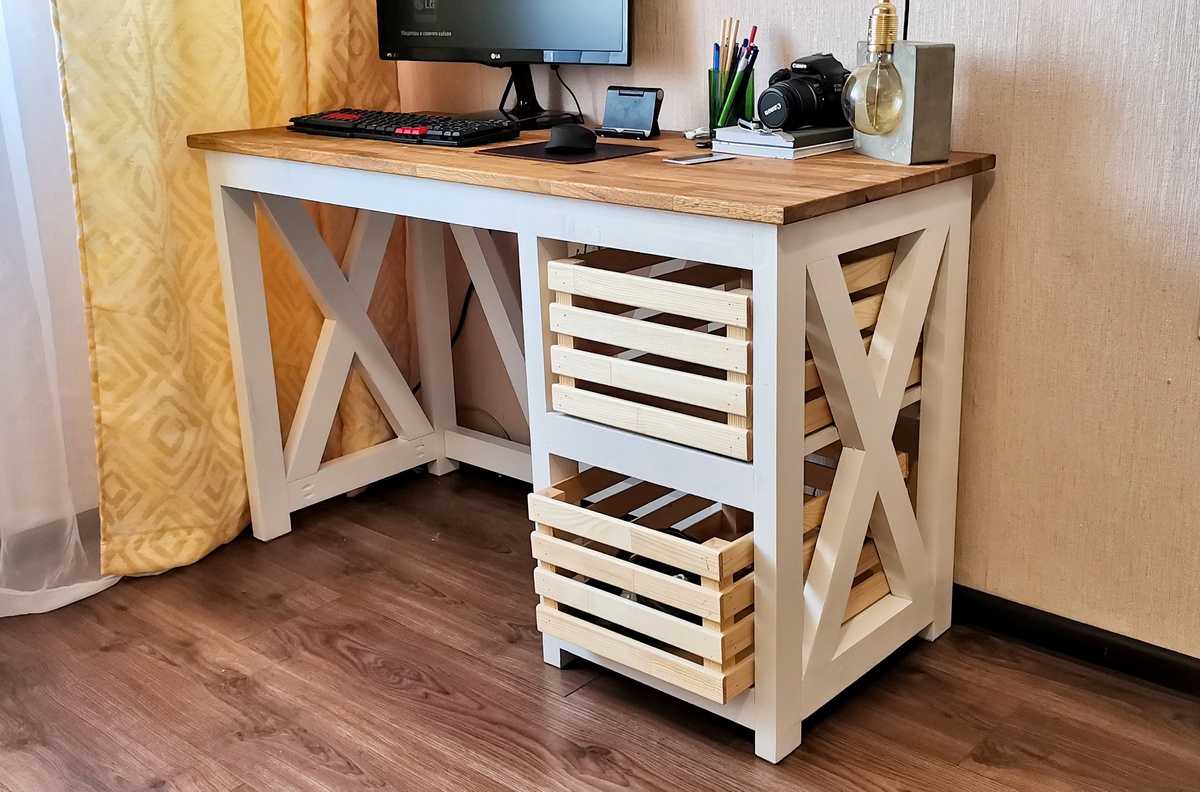
To create coziness and make the furniture original, you can decorate it with additional decor. Table decoration methods:
- Drawer fronts can be decorated using decoupage technique
- Place original fittings on the boxes
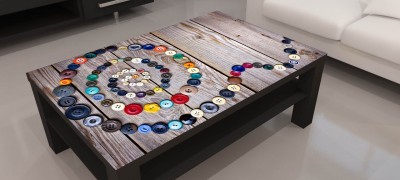
- The table top and side surfaces can be painted with oil paints, varnished on top.
Models of ready-made computer tables
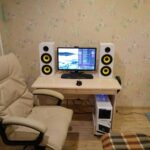
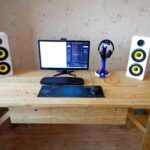
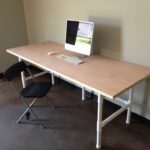
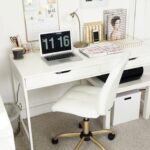
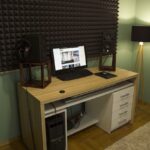
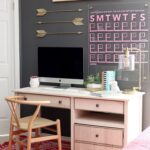
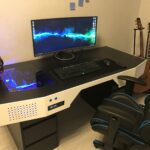
Classic model. It is the easiest to accomplish. It will suit a student. Dimensions: length 150 cm, depth 65 cm, height 75 cm. The product has an additional bottom shelf for the system block on the right and several drawers on the left.
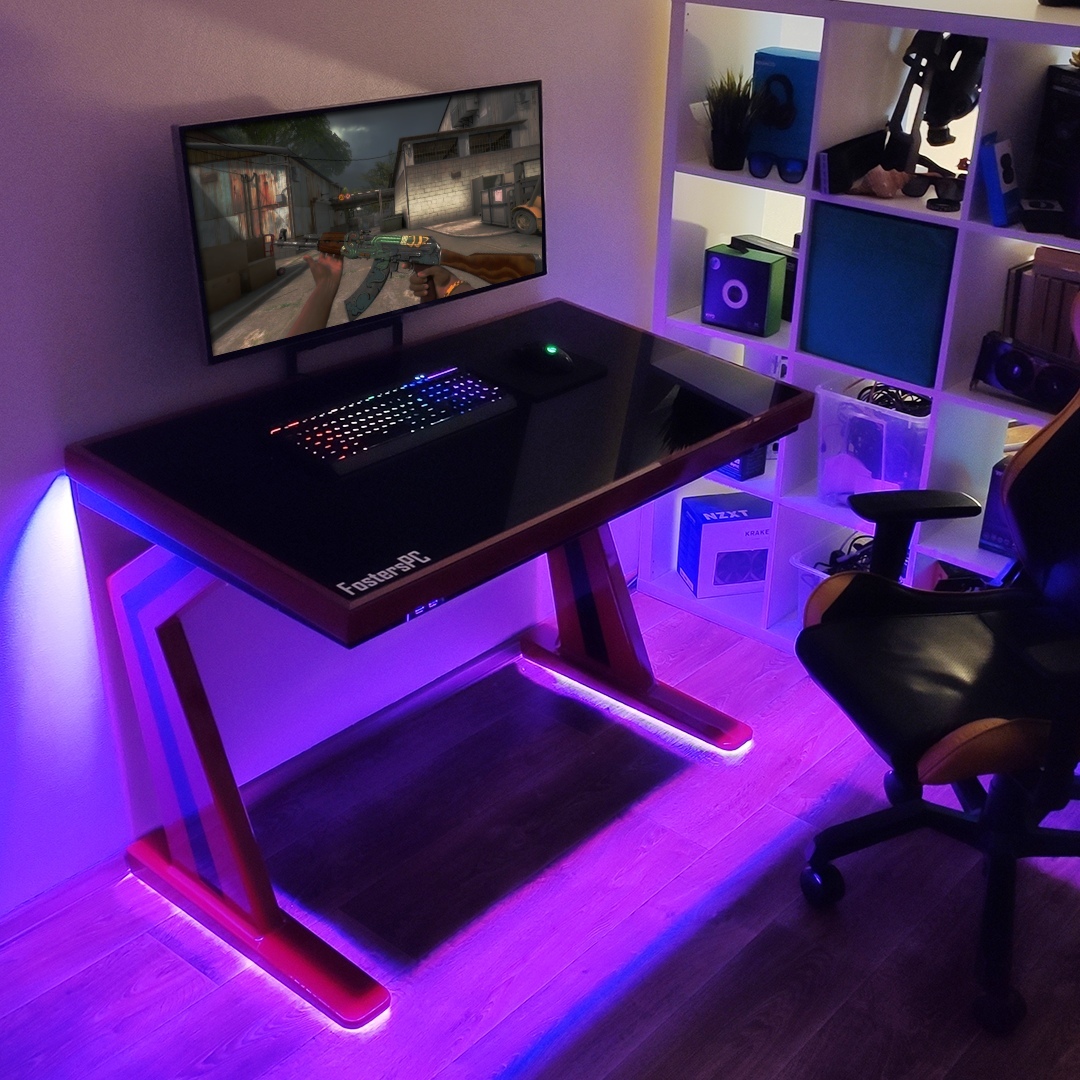
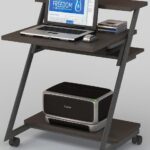
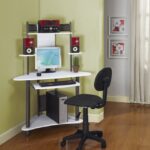
Compact model with top shelves. The product is suitable for small spaces where space is very limited. Dimensions: length 85 cm, depth 65 cm, work surface height 75 cm, product height 170 cm. The model has a compartment for the system unit, above which there is a small shelf, 30 cm wide. There are two shelves at a height of 150 cm and 170 cm.
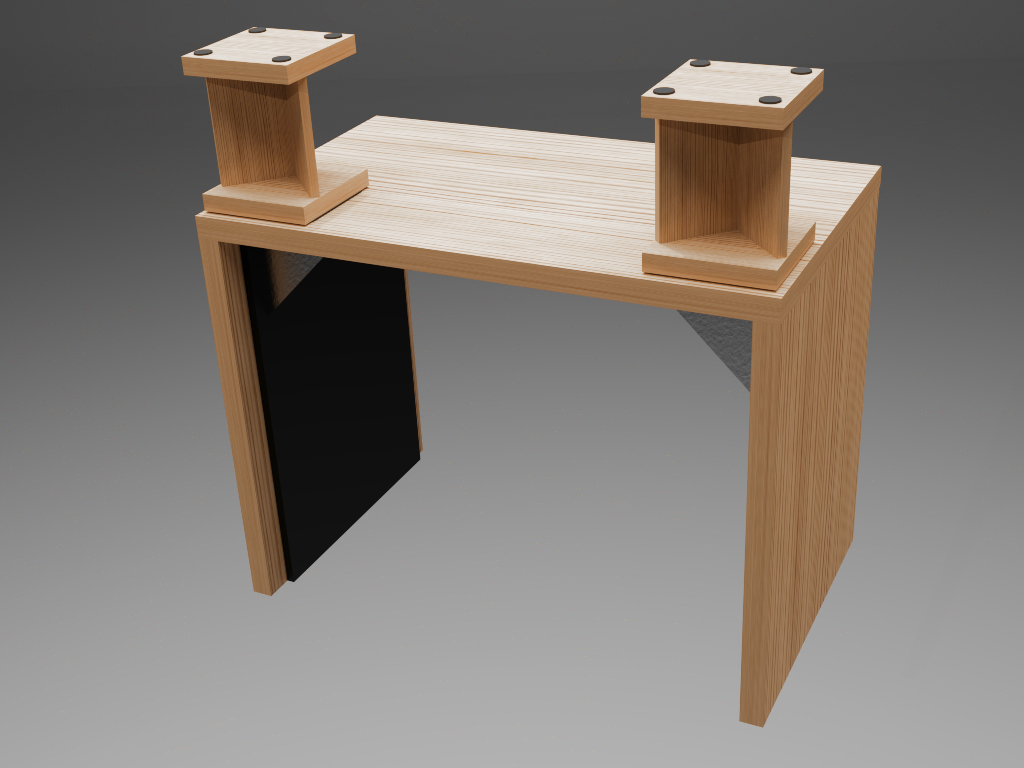
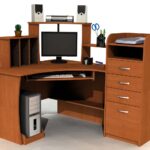
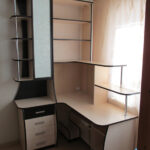
Corner table with top shelves. This option is more suitable for an adult who works from home. Dimensions of one side: length 150 cm, depth 65 cm, height 75 cm.The dimensions of the second side are length 75 cm, depth 65 cm, height 75 cm.
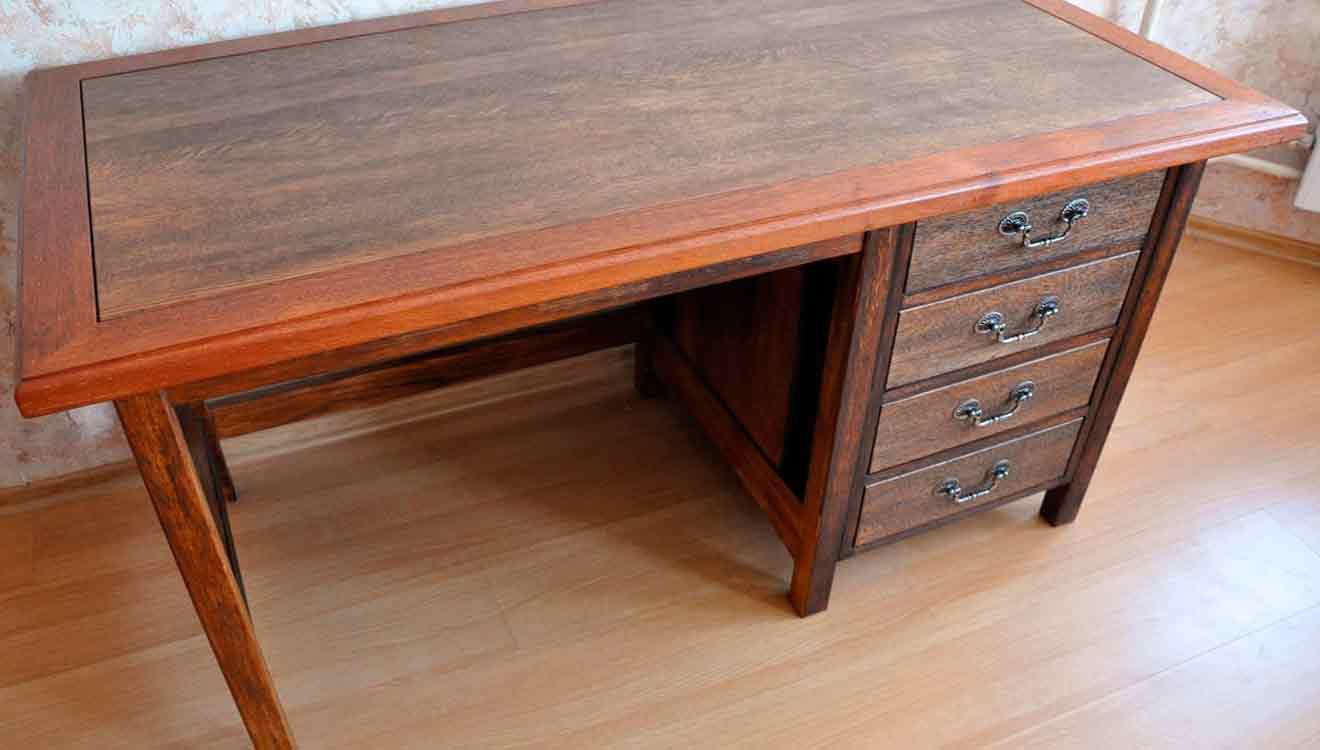
The upper shelves are fastened with additional side pieces, which are screwed on separately. A monitor stand is installed between them at a height of 10 cm from the working surface. There are 3 drawers on both sides of the table. The option is very roomy.
Video: do-it-yourself computer desk
