Making a folding table with your own hands
Folding furniture is simple, comfortable and convenient. Its compactness makes it easy to move an item from one place to another, use it for field trips. These are good enough reasons to make a do-it-yourself folding table at home.
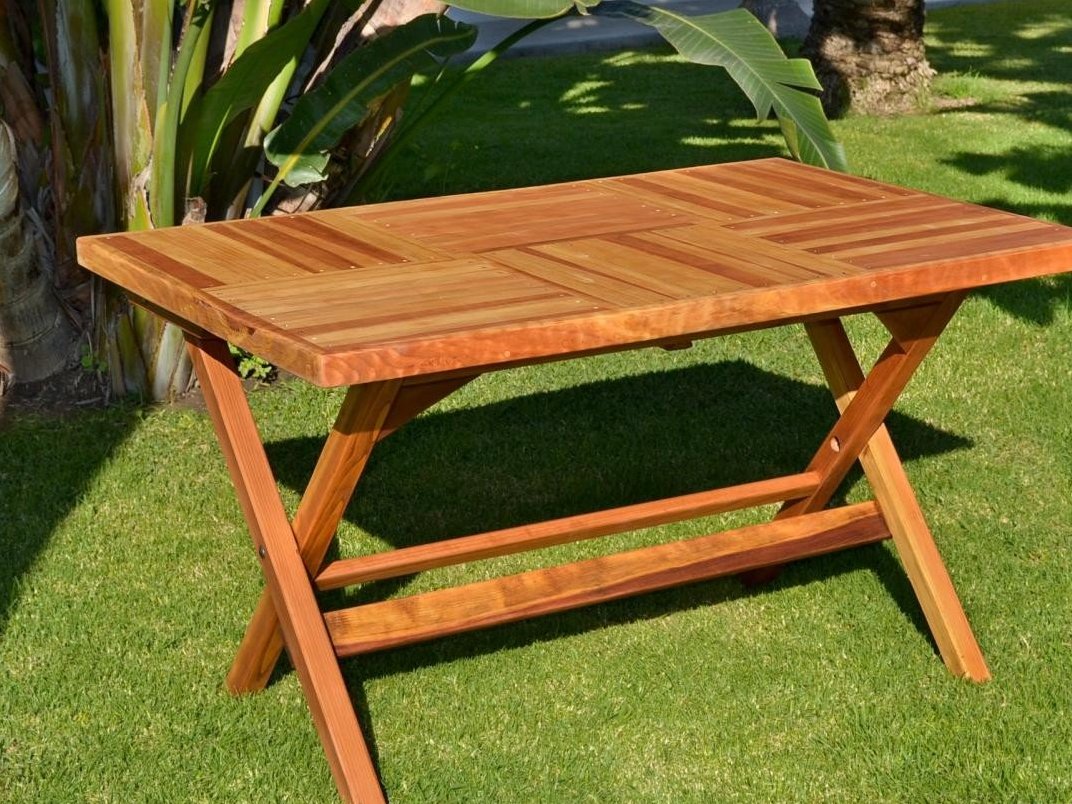
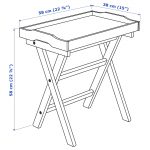
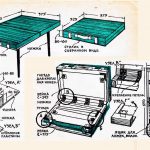
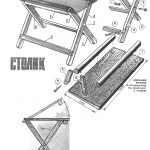
Table drawings
The basis of the product is a table top, it is foldable, therefore two parts are needed, each must have the following length and width dimensions 55 and 30 cm, respectively.
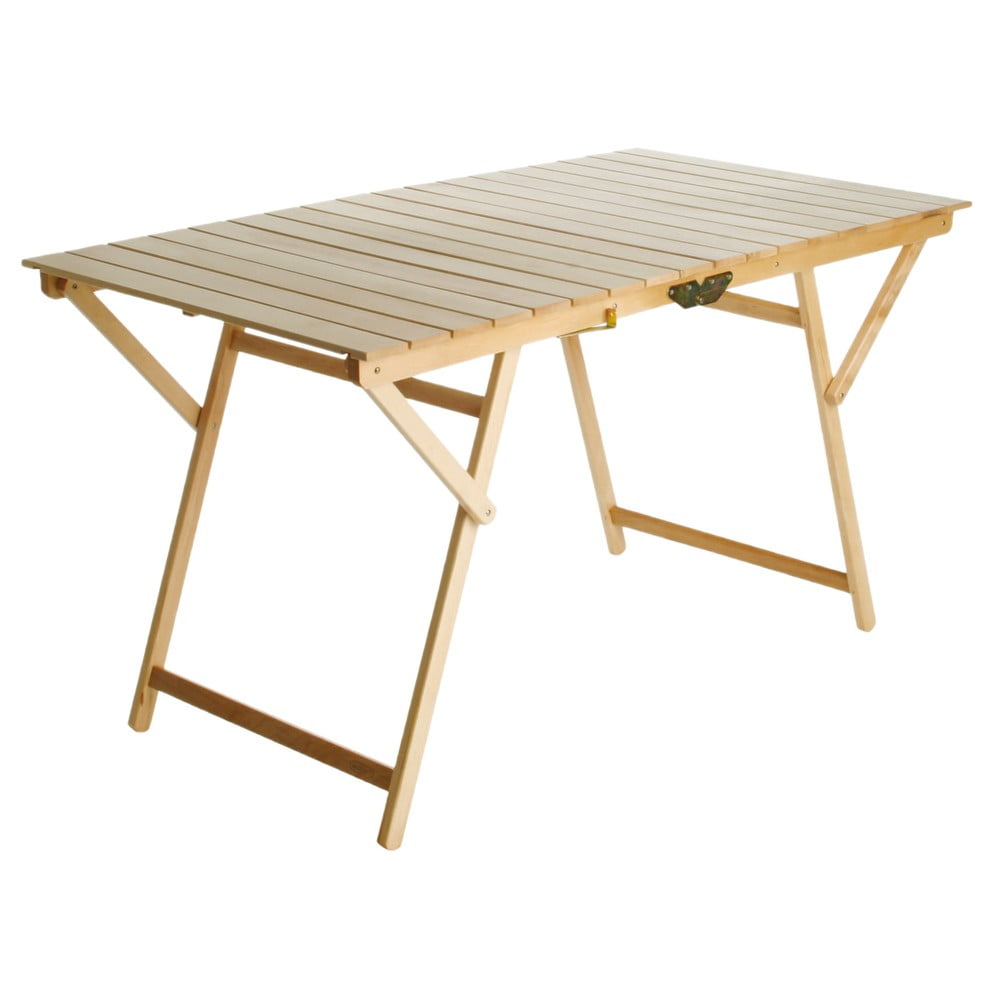
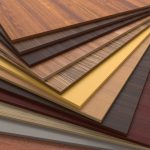
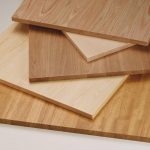
When unfolded, they will form a solid surface with dimensions of 600 mm by 550 mm. For the manufacture of countertops, you can use:
- chipboard;
- furniture board;
- thicker plywood options;
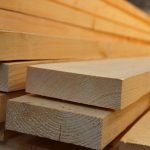
- board.
Correct drawings of a folding table with your own hands will ensure the creation of a correct and functional design.
The sizes of the legs must also be appropriate. In total, you need to make four parts with the following dimensions:
- height - 69 cm;
- width - 4.5 cm;
- thickness - 2 cm.
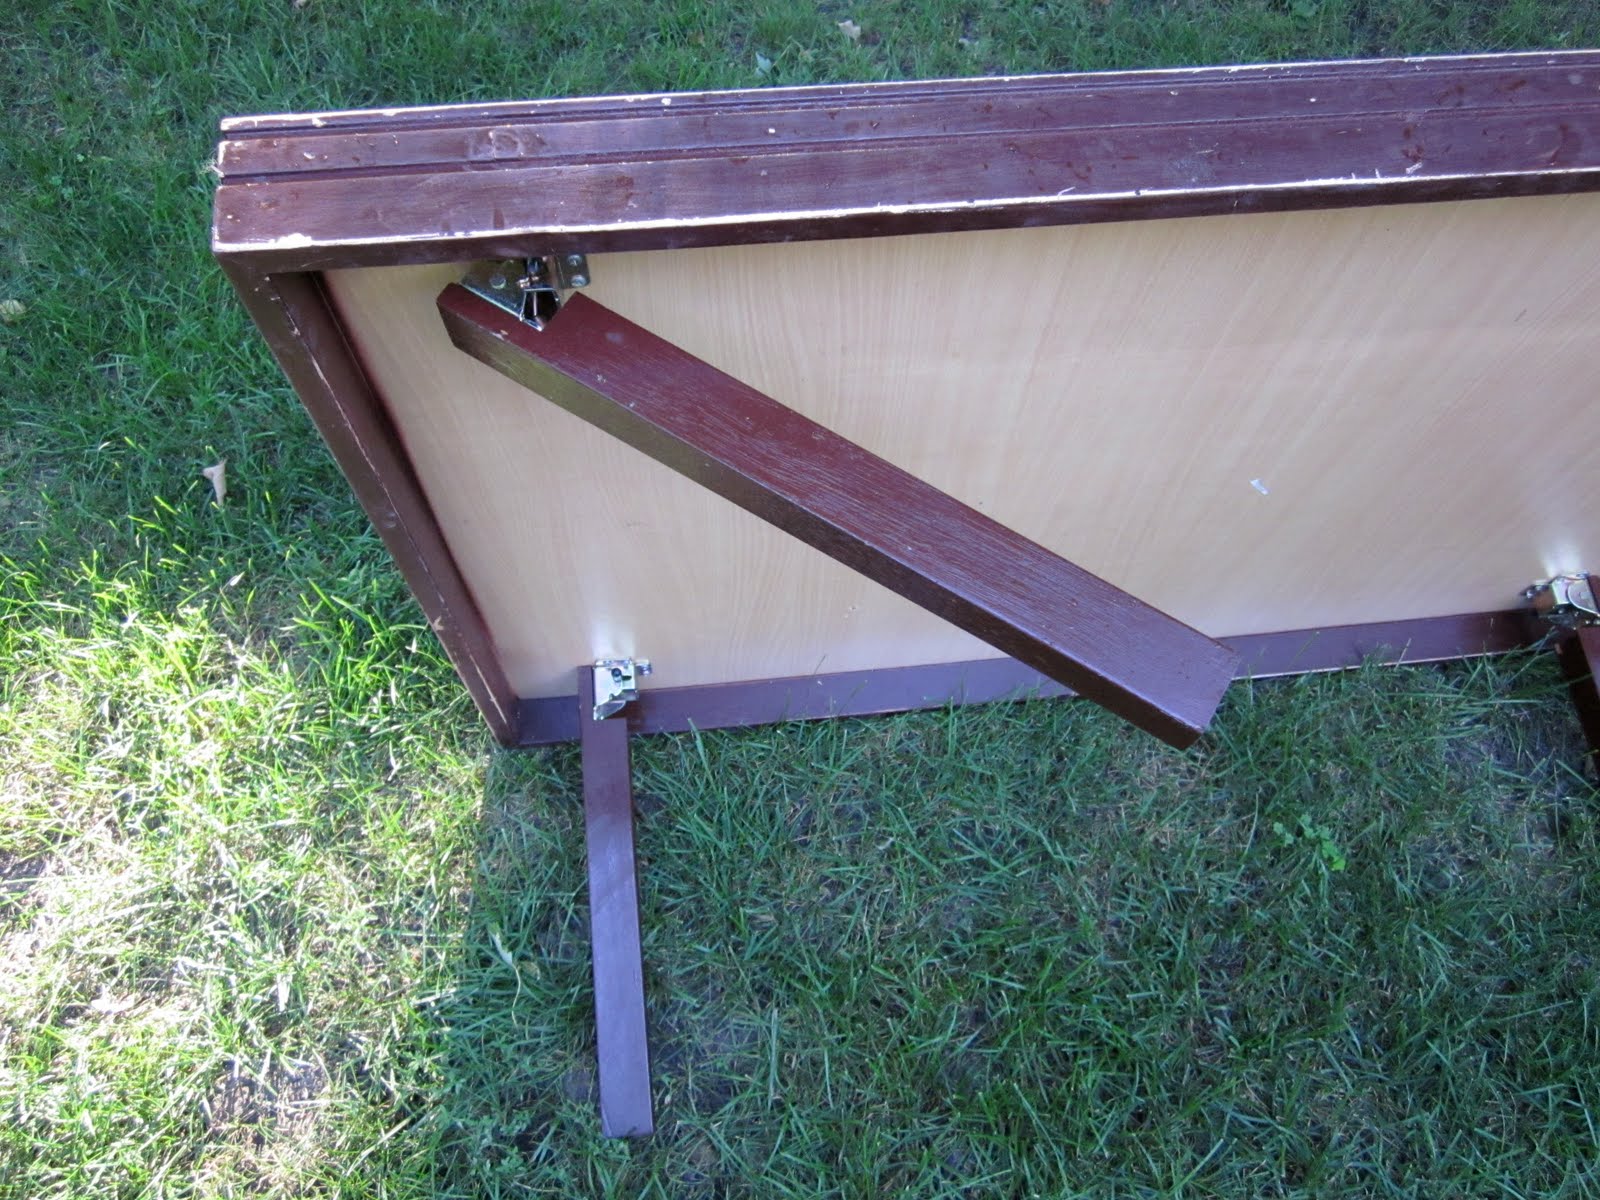
In order for the product to be stable, the legs must be cut off at an angle of 45 degrees from one end, and they must be rounded at the other end. This is necessary in order to provide a movable connection with the footrests in the future.
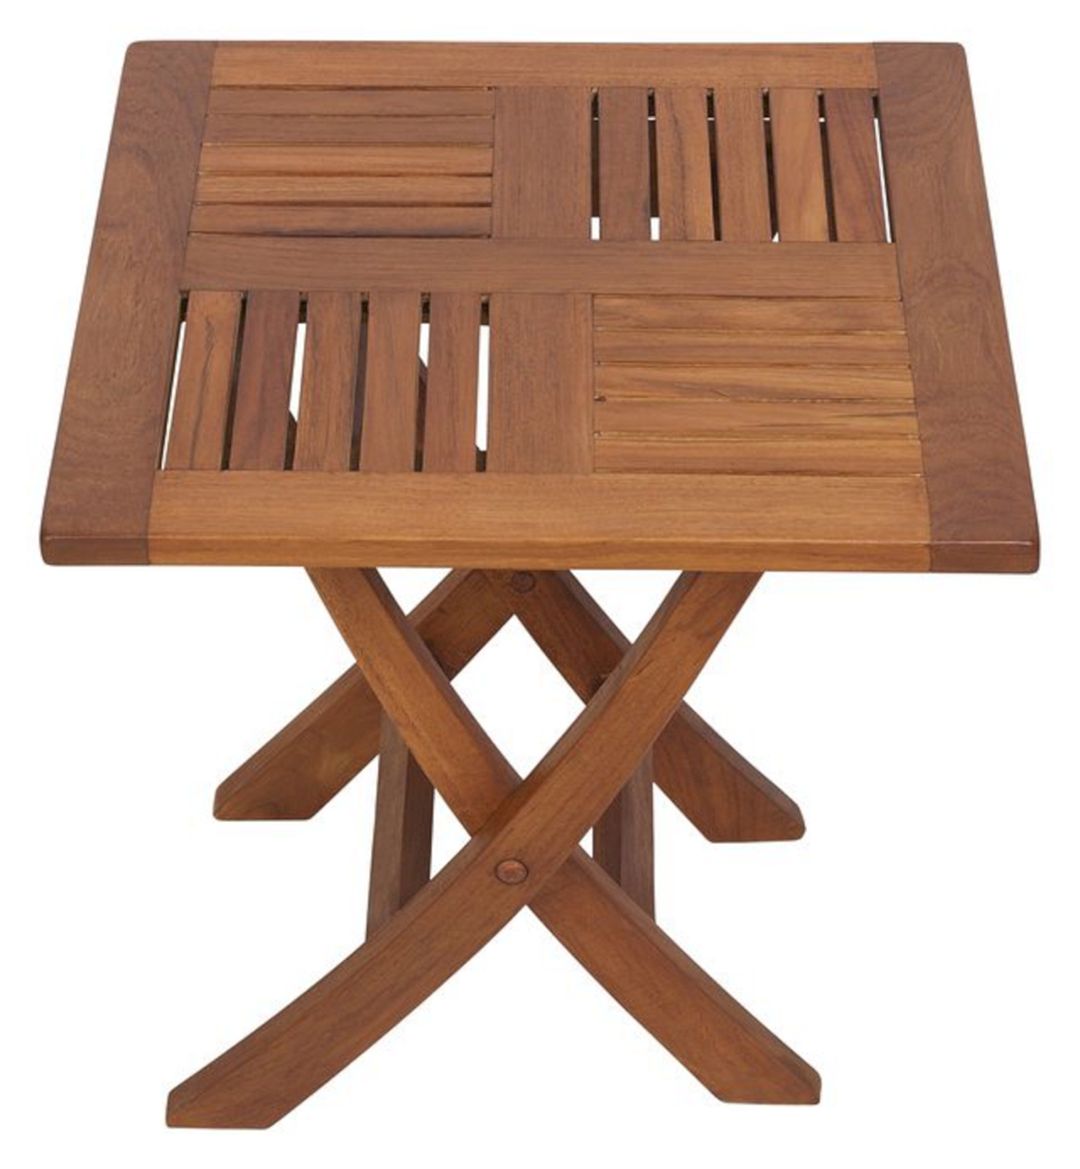
For a bolted connection, it is necessary to prepare holes in advance. You can make them with a drill.

The table top sheet must be connected to the foot supports. Self-tapping screws are best suited for this. For all the work, you will need four supports of the following dimensions: 50 * 4.5 * 2 cm. Two parts are needed for each part of the tabletop. Using bolts and nuts, in the future it will be possible to connect all the parts into a complete structure.
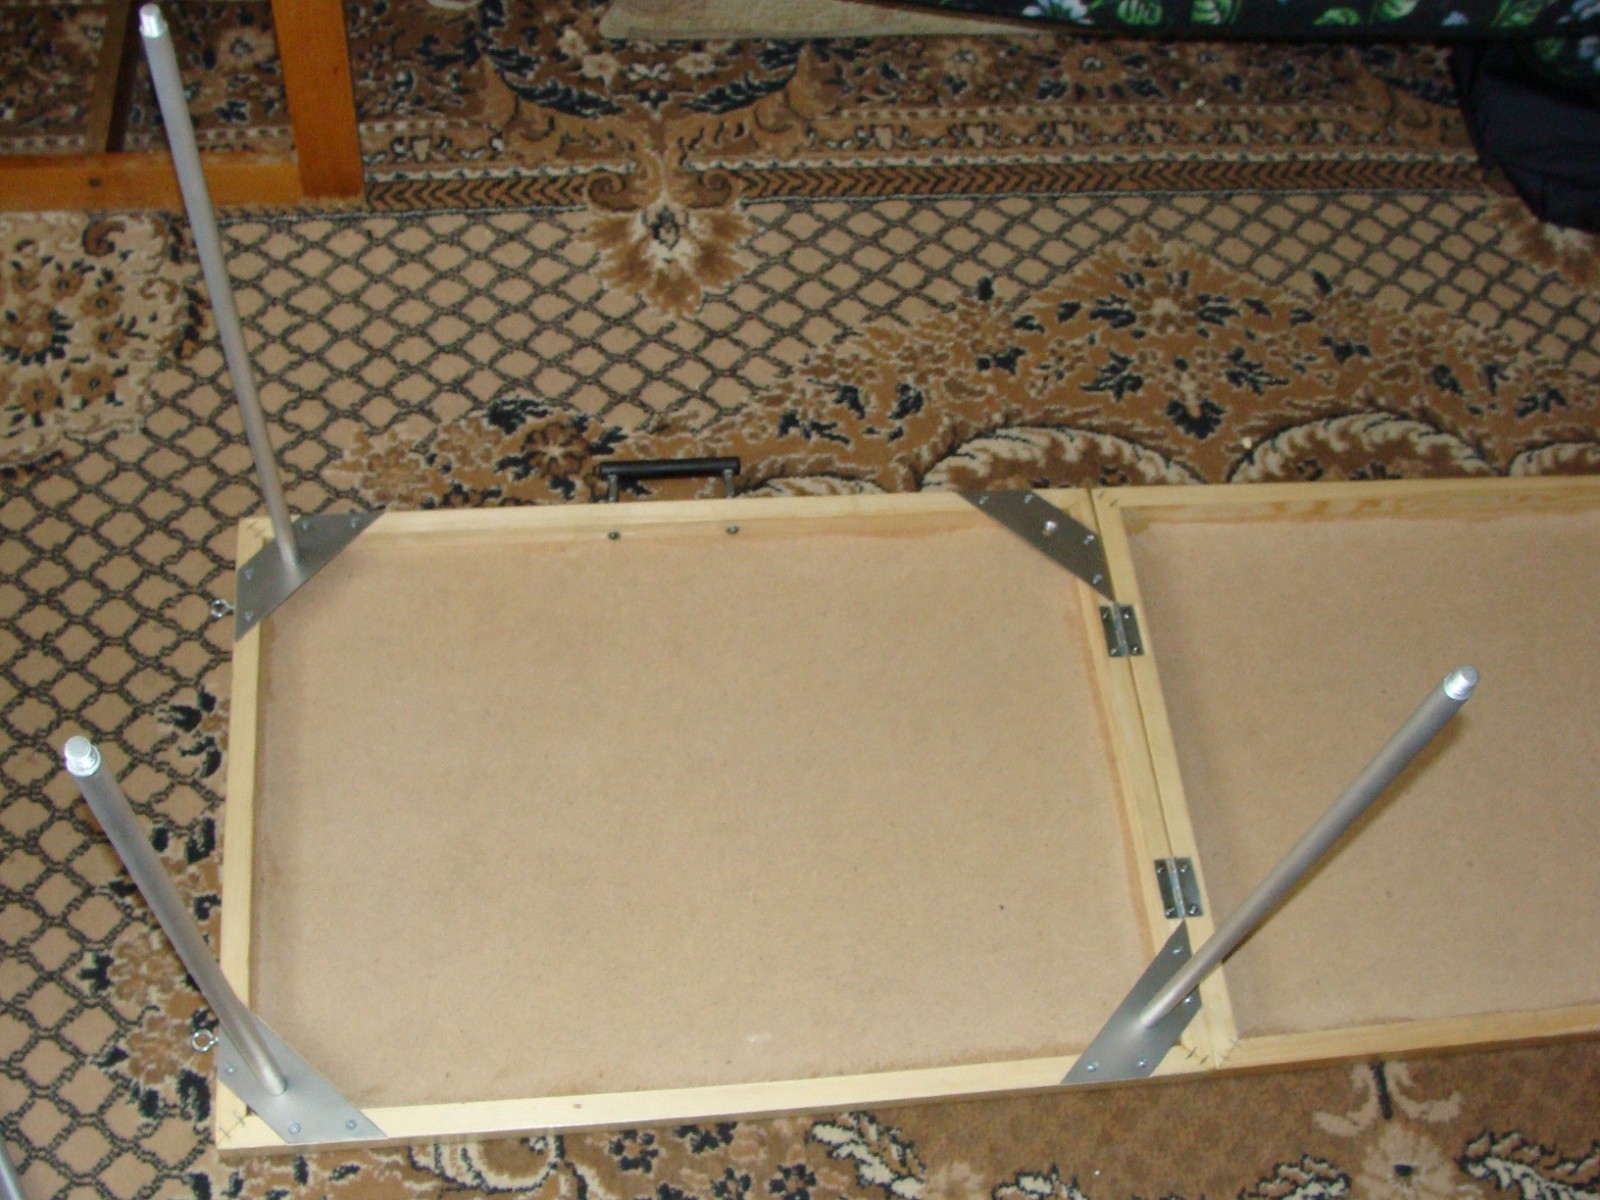
A correct drawing will help, even at home, without the presence of professional equipment, to make a good children's or adult table.
Its design
To understand how to make a folding table with your own hands, you need to carefully consider its design. The greatest demand is for countertops made in a rectangular or square shape, but some prefer round options.
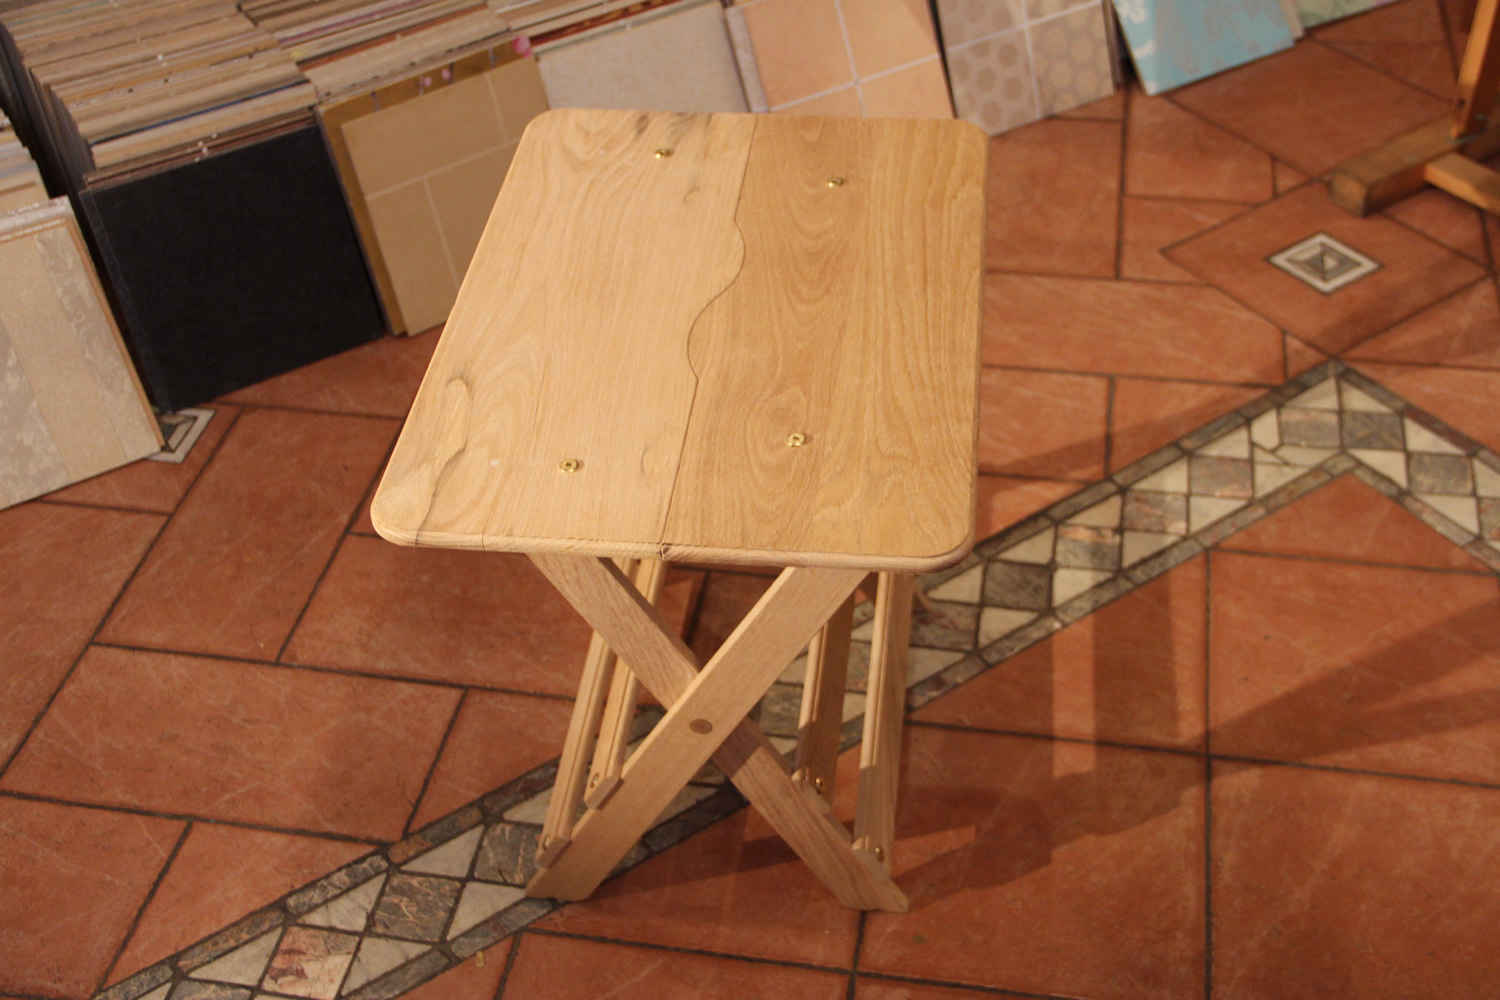
The dimensions of the product determine the spaciousness. Most of the drawings for self-made tables are designed for 4 to 6 people. For those who do not want to bother with an intricate design, it is better to give preference to the rectangular version. It is the simplest one.
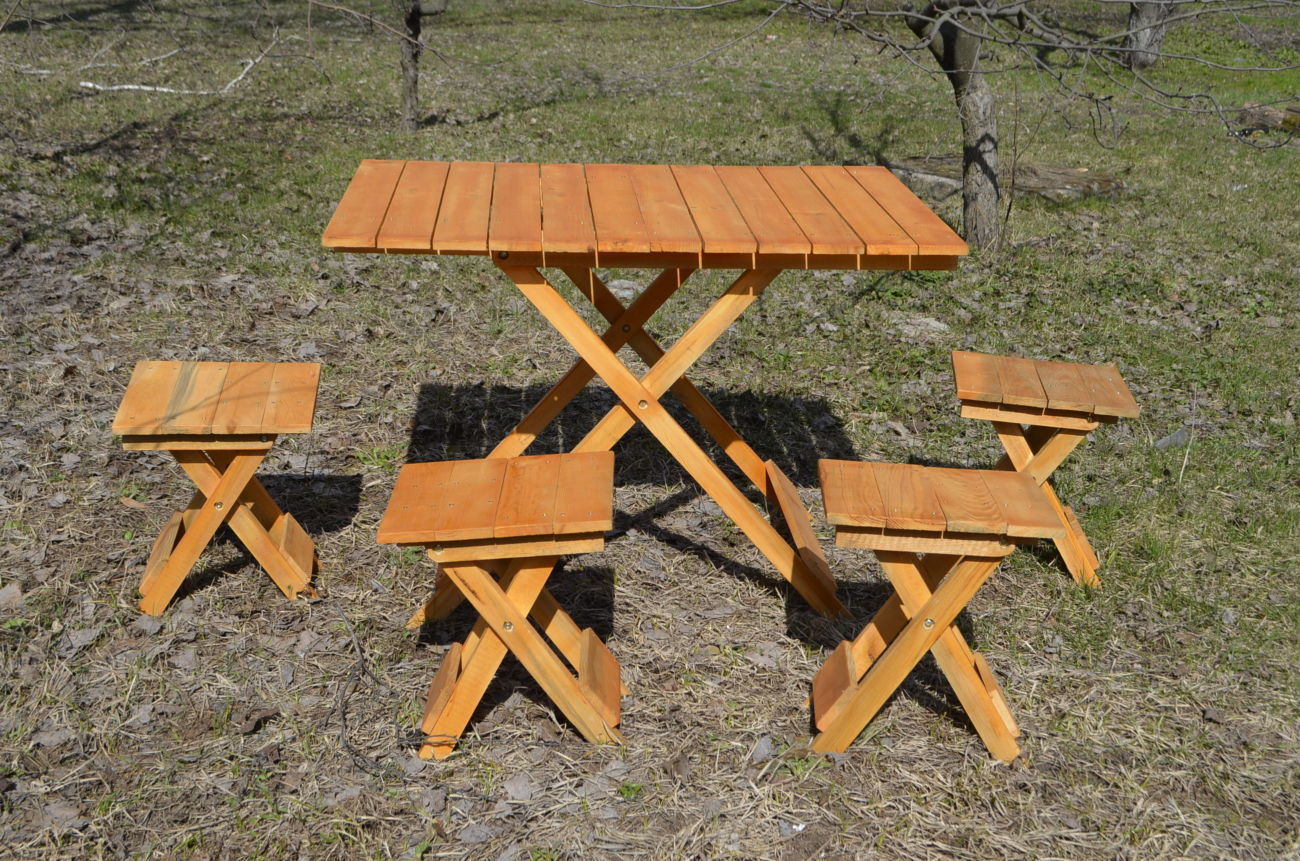
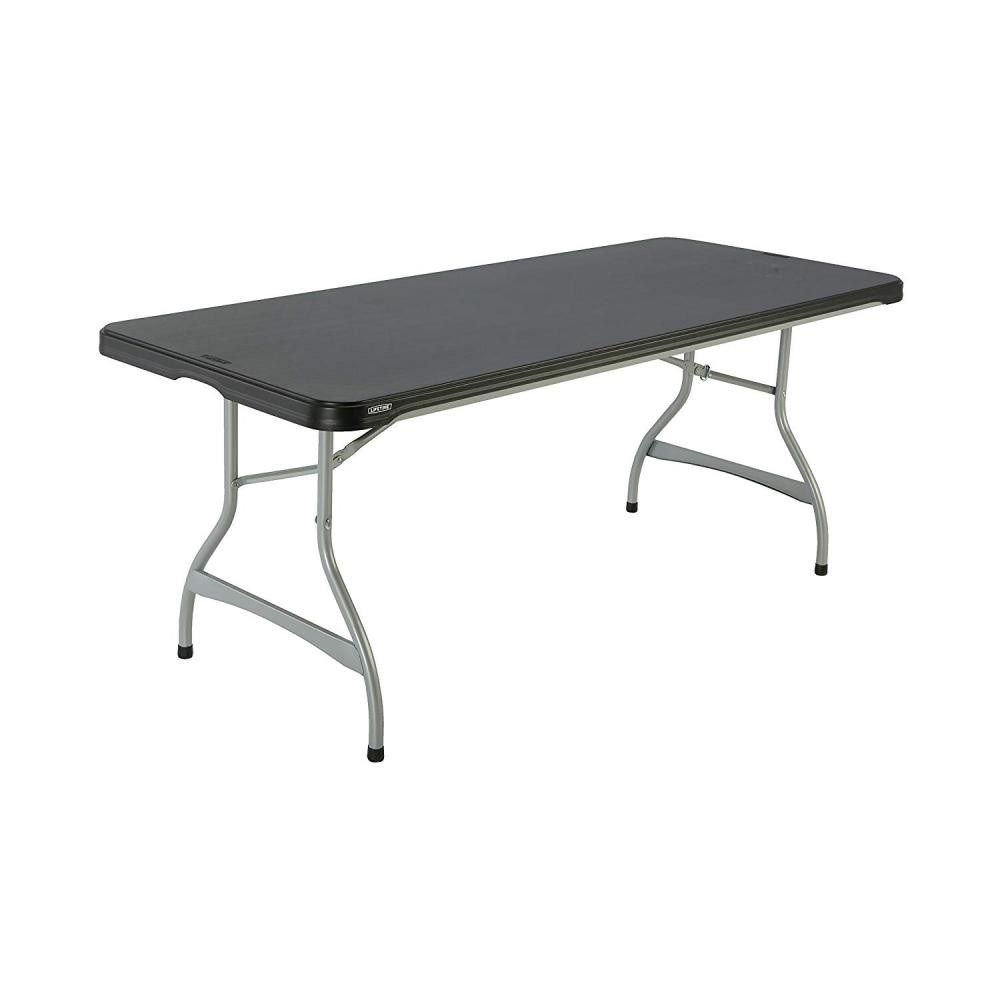
The choice of material depends on how the product looks externally. Supports can also be different, the choice is determined by the characteristics and features of the project. If the legs will be made of wood, then it is better to use the middle section. Due to their heterogeneity and fragility under weight, they can crack. The most reliable option would be metal.
After the assembly work is completed, you can proceed to the decorative finish. It can be varnish or paint.
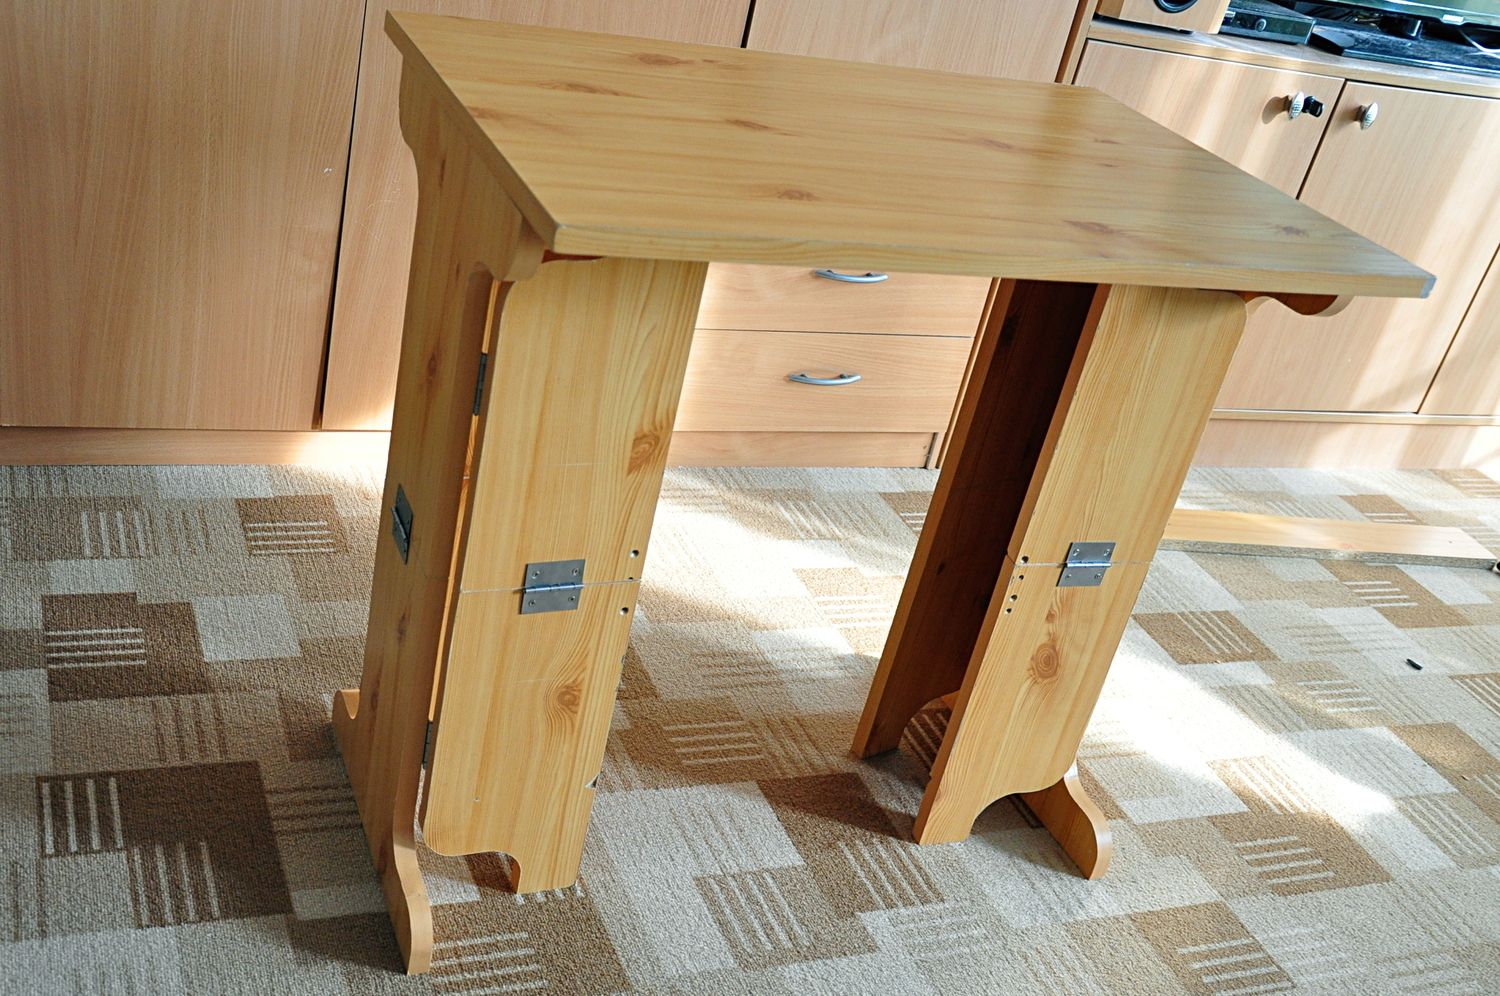
Required materials and tools
Making the base of the product will require the following materials:
- recycled wood waste (plywood, chipboard and others);
- natural canvas (it can be planed board or bars);
- metal;
- plastic.
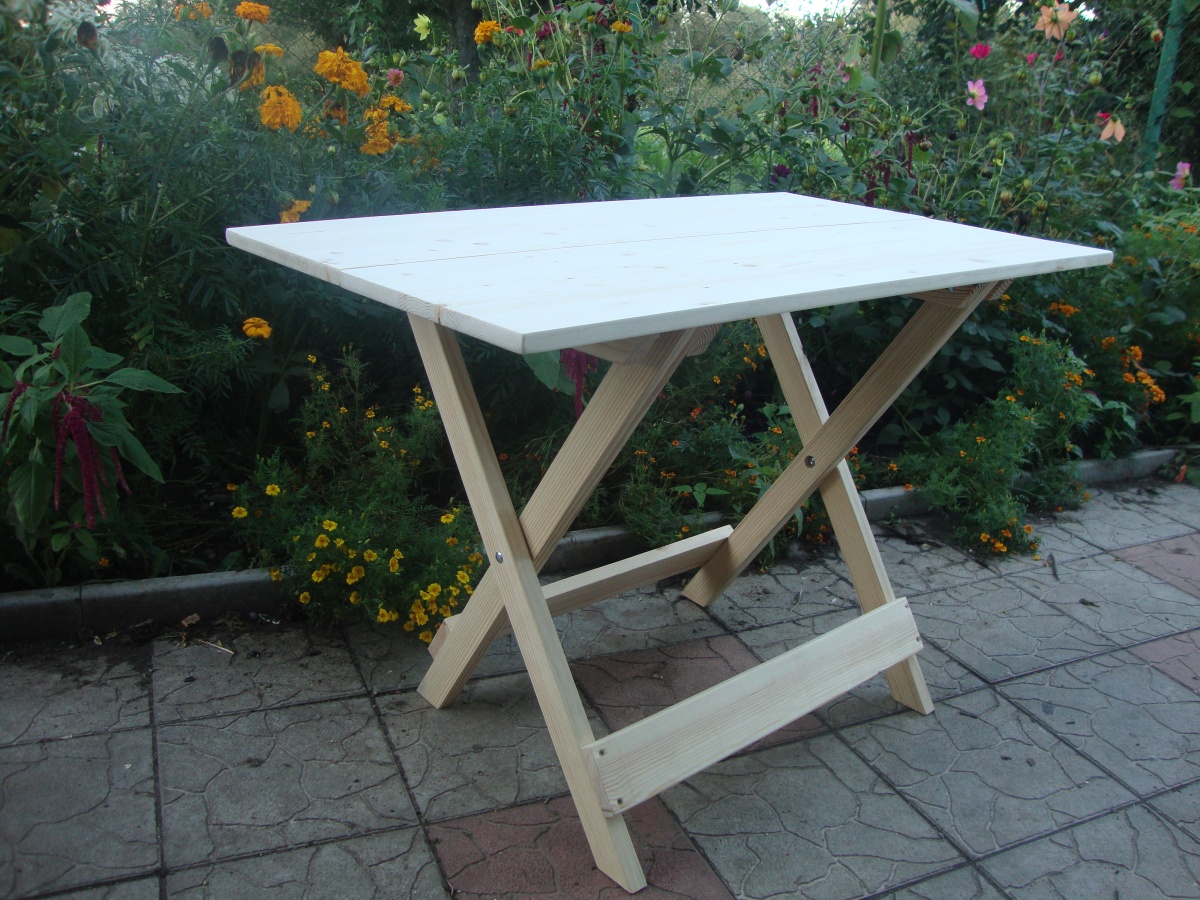
The choice of secondary materials directly depends on the base.
If the required number of parts is not enough at hand, then a hardware store will come to the rescue, as a wide variety of blanks are presented. Even with the purchase of individual parts, home assembly will be more budgetary than purchasing an off-the-shelf purchase.

The surface of the wood can have irregularities and roughness, it is easy to remove it, it is enough to use sandpaper. And the final stage of finishing will be paint or varnish.
A quality tool is the key to a reliable assembly. For this you will need:
- hacksaw;
- screwdrivers or screwdriver;
- drill;
- bolts, nuts and other options for fasteners.

To add sophistication and neatness to the table, the edges can be processed with a jigsaw.
Folding table assembly process
If you are planning to make a small table with a capacity of up to two people, then it is better to choose light options, for example, plywood. Larger options require more durable material.
Note! Before proceeding with the assembly of the structure, you should first draw a similar drawing. On the sheet, in addition to the picture, you need to indicate the dimensions of each part. Each element of the future design must strictly comply with the parameters indicated in the diagram.
The assembly of the table must begin with the supports. If everything is done correctly, then at the end of this stage you will get two frames with crossbars, on which the tabletop will be attached in the future.
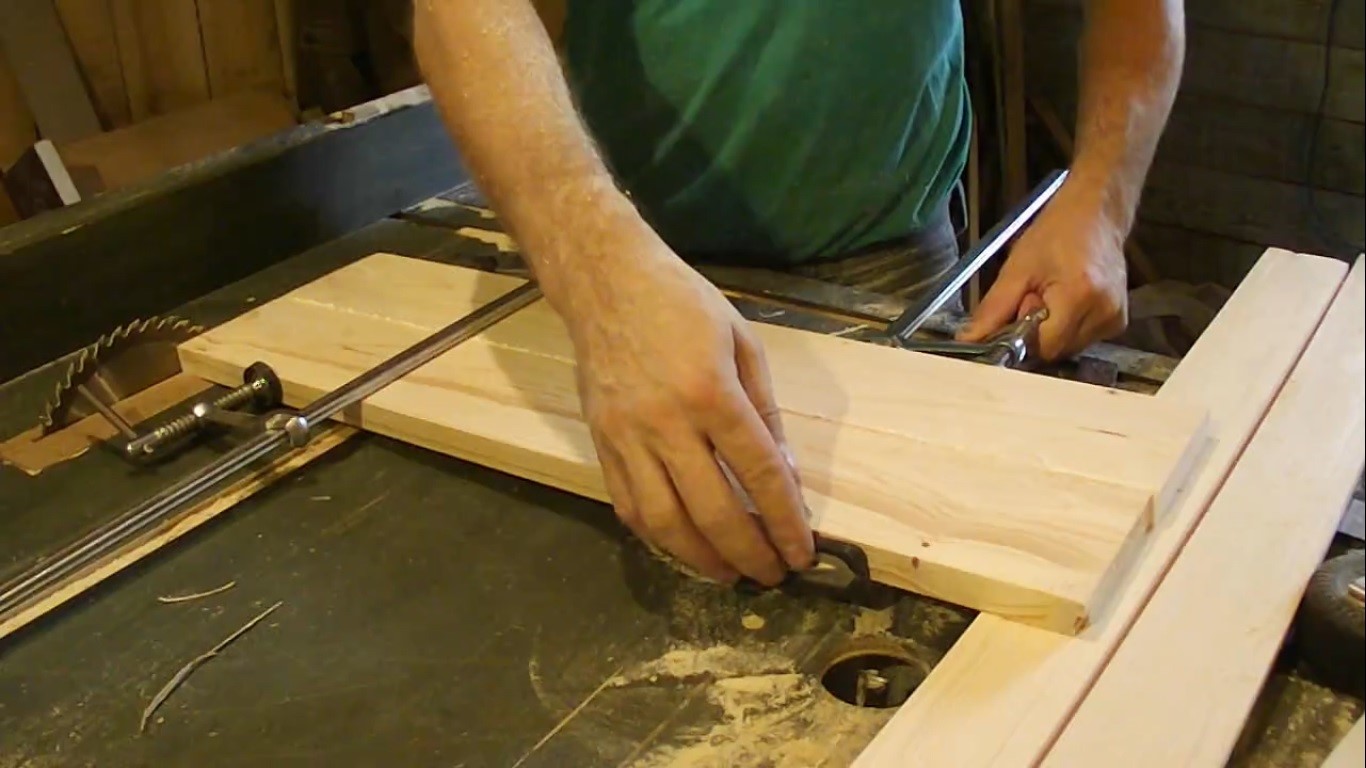
The process has the following sequence of actions:
- Connection of bars.
- The location of the supports on the crossbeams.
- Connection of the upper sheet with the supports.
- Fastening the canvas on one side. This method will provide a folding function.
- Cleaning the table (the procedure is performed using sandpaper).
- Checking the product after assembly for smooth nesting.
- If made from chipboard, then the product will be light.
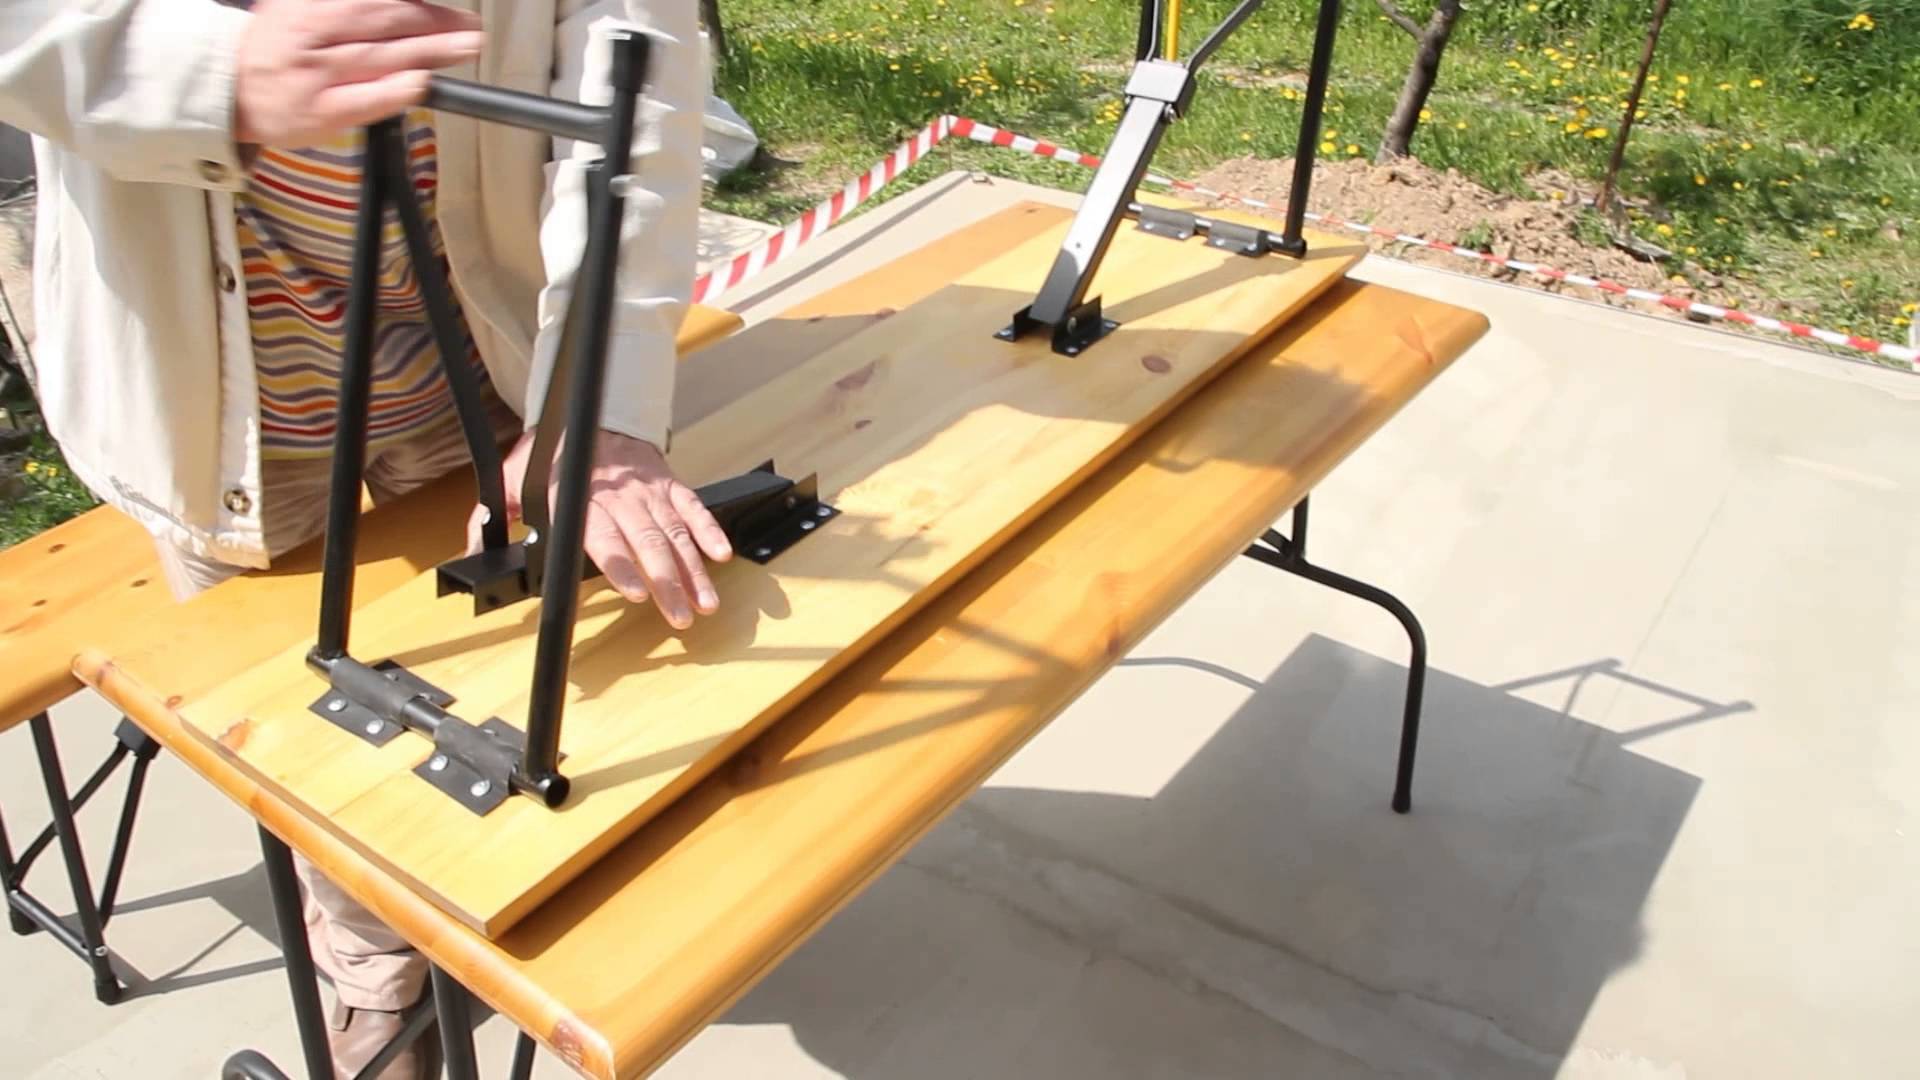
Legs
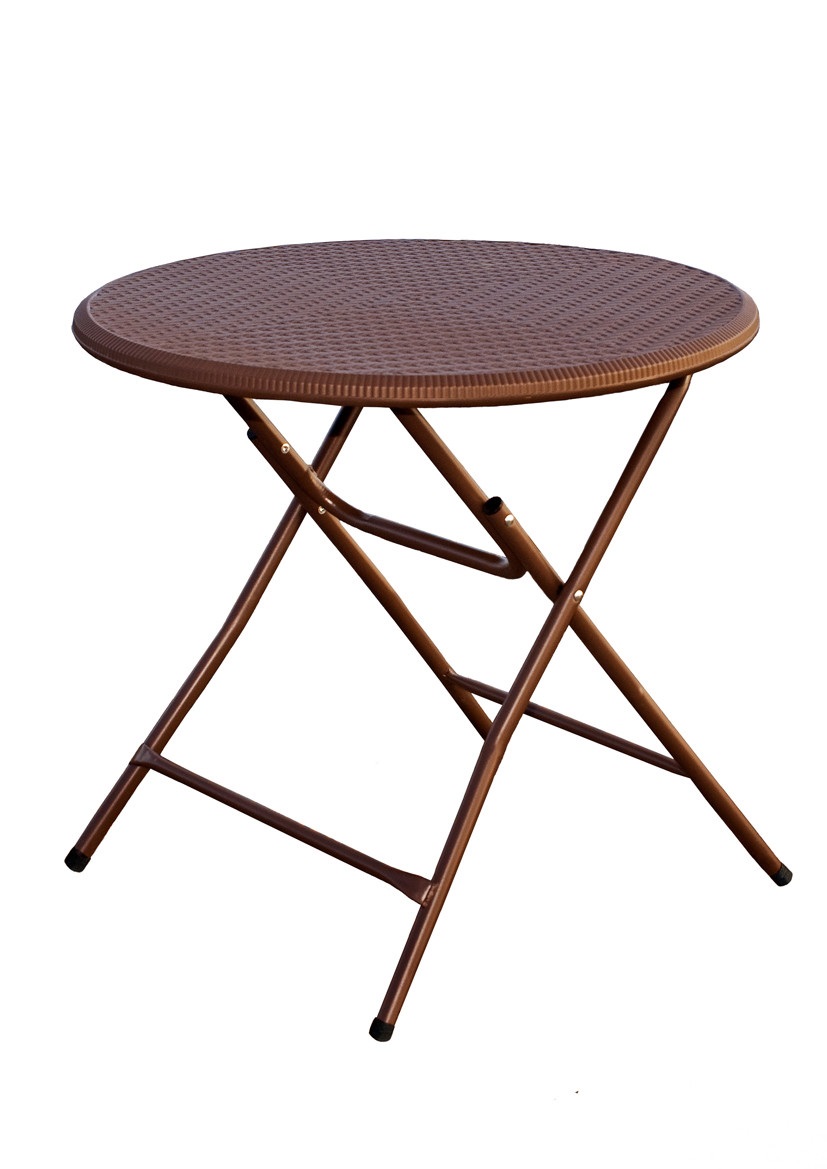
Legs are best made of steel or wood, provided that the entire structure is made of wood or chipboard. The legs are attached after complete assembly. For this, it is better to fasten the manufactured parts with bolts, they provide the most tight connection.
Countertops
The fastening of the top sheet takes place in two stages. First, the first part is connected, after which they proceed to the second. Previously, holes should be made at the joints with a drill, after which the screws are screwed in.
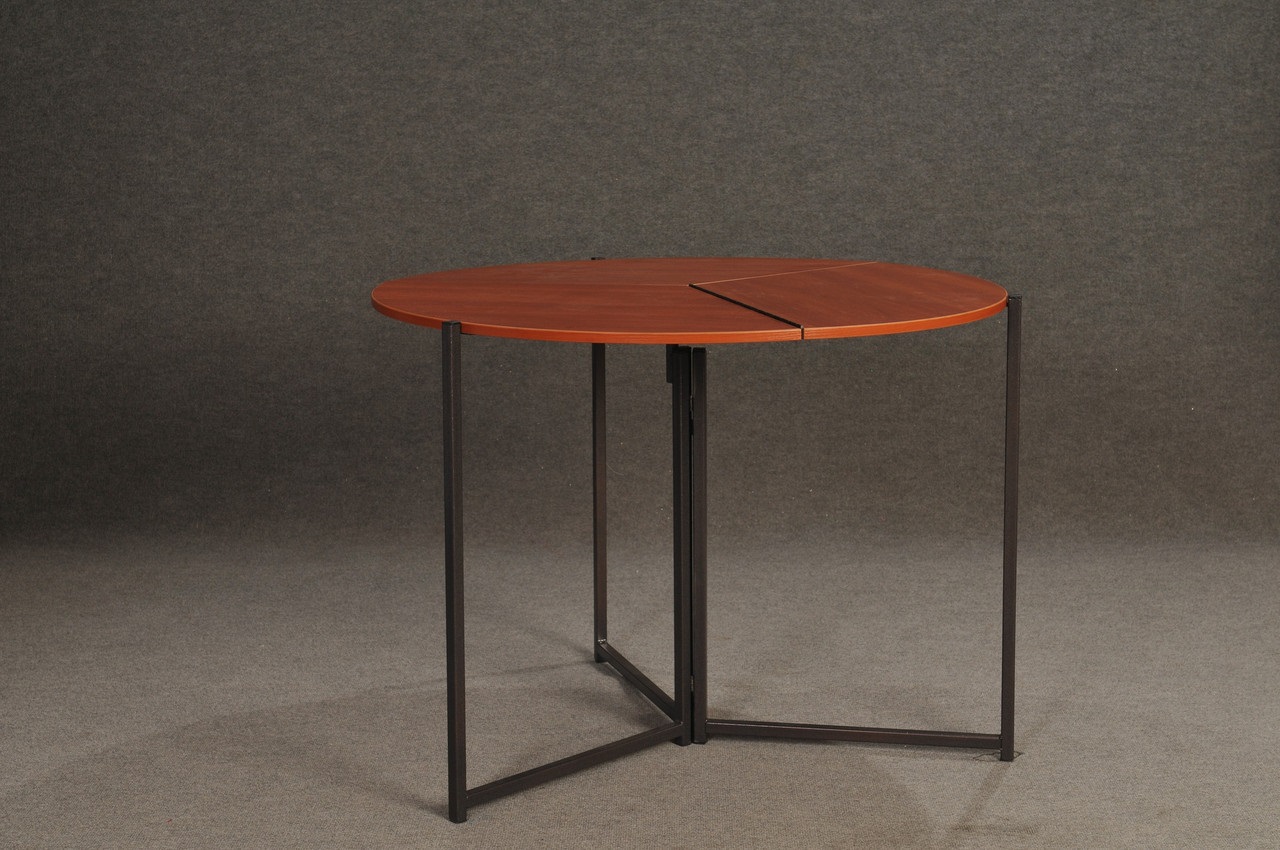
If you make the hole deeper than the length of the bolt, then you can provide a small notch, which can then be sanded. The varnish applied to the surface will lie flat without creating bulges at the joints.
Thorough preparation, execution of correct drawings and production of parts strictly according to the parameters will help to make a folding kitchen table, for a nursery or for going out into nature using improvised materials or purchasing blanks in a building materials store. The right material for each piece will help create a strong and durable product.
Video: how to make a folding table with your own hands
