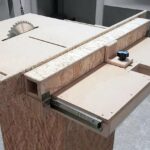
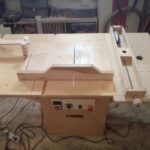
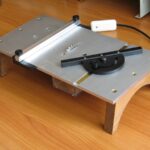
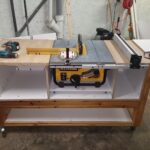
Making a table for a circular saw
The circular saw table is used for sawing wood. The design is equipped with a flat cutting base, which in appearance resembles a disc. Sharp teeth are located on the outside.
Pros and cons of a homemade circular saw table
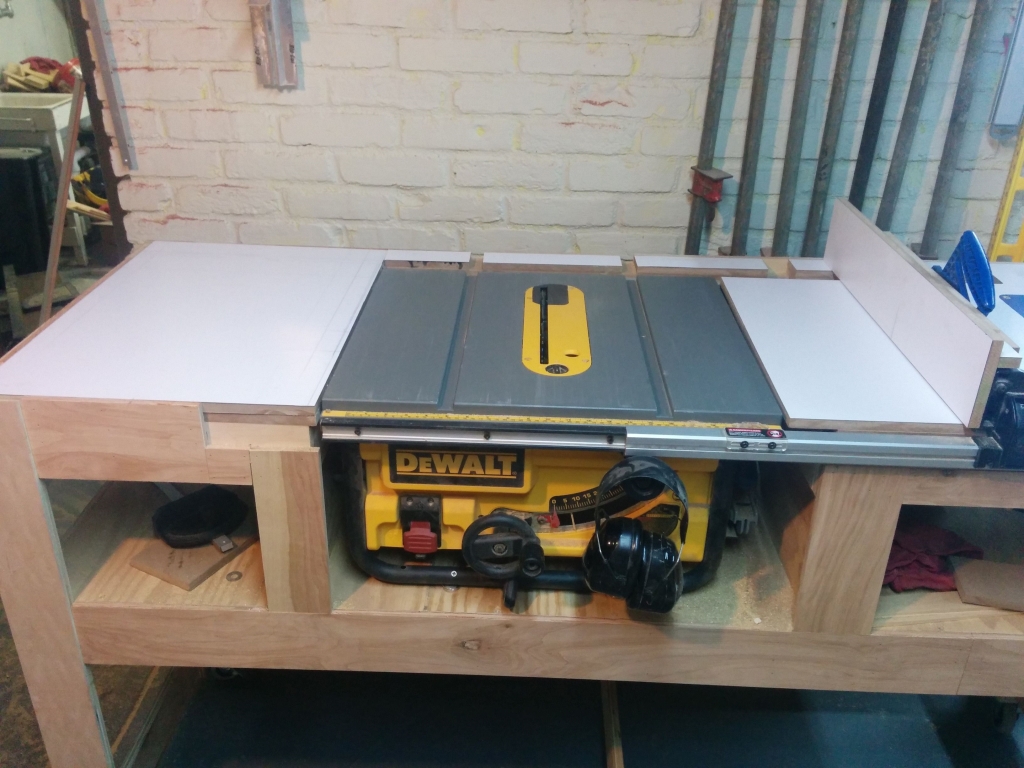
You can make a table for a circular saw yourself, taking into account personal requirements and preferences. It will be as comfortable to use as possible. The table can be made in different sizes, heights.
There are several main advantages:
- minimization of costs;
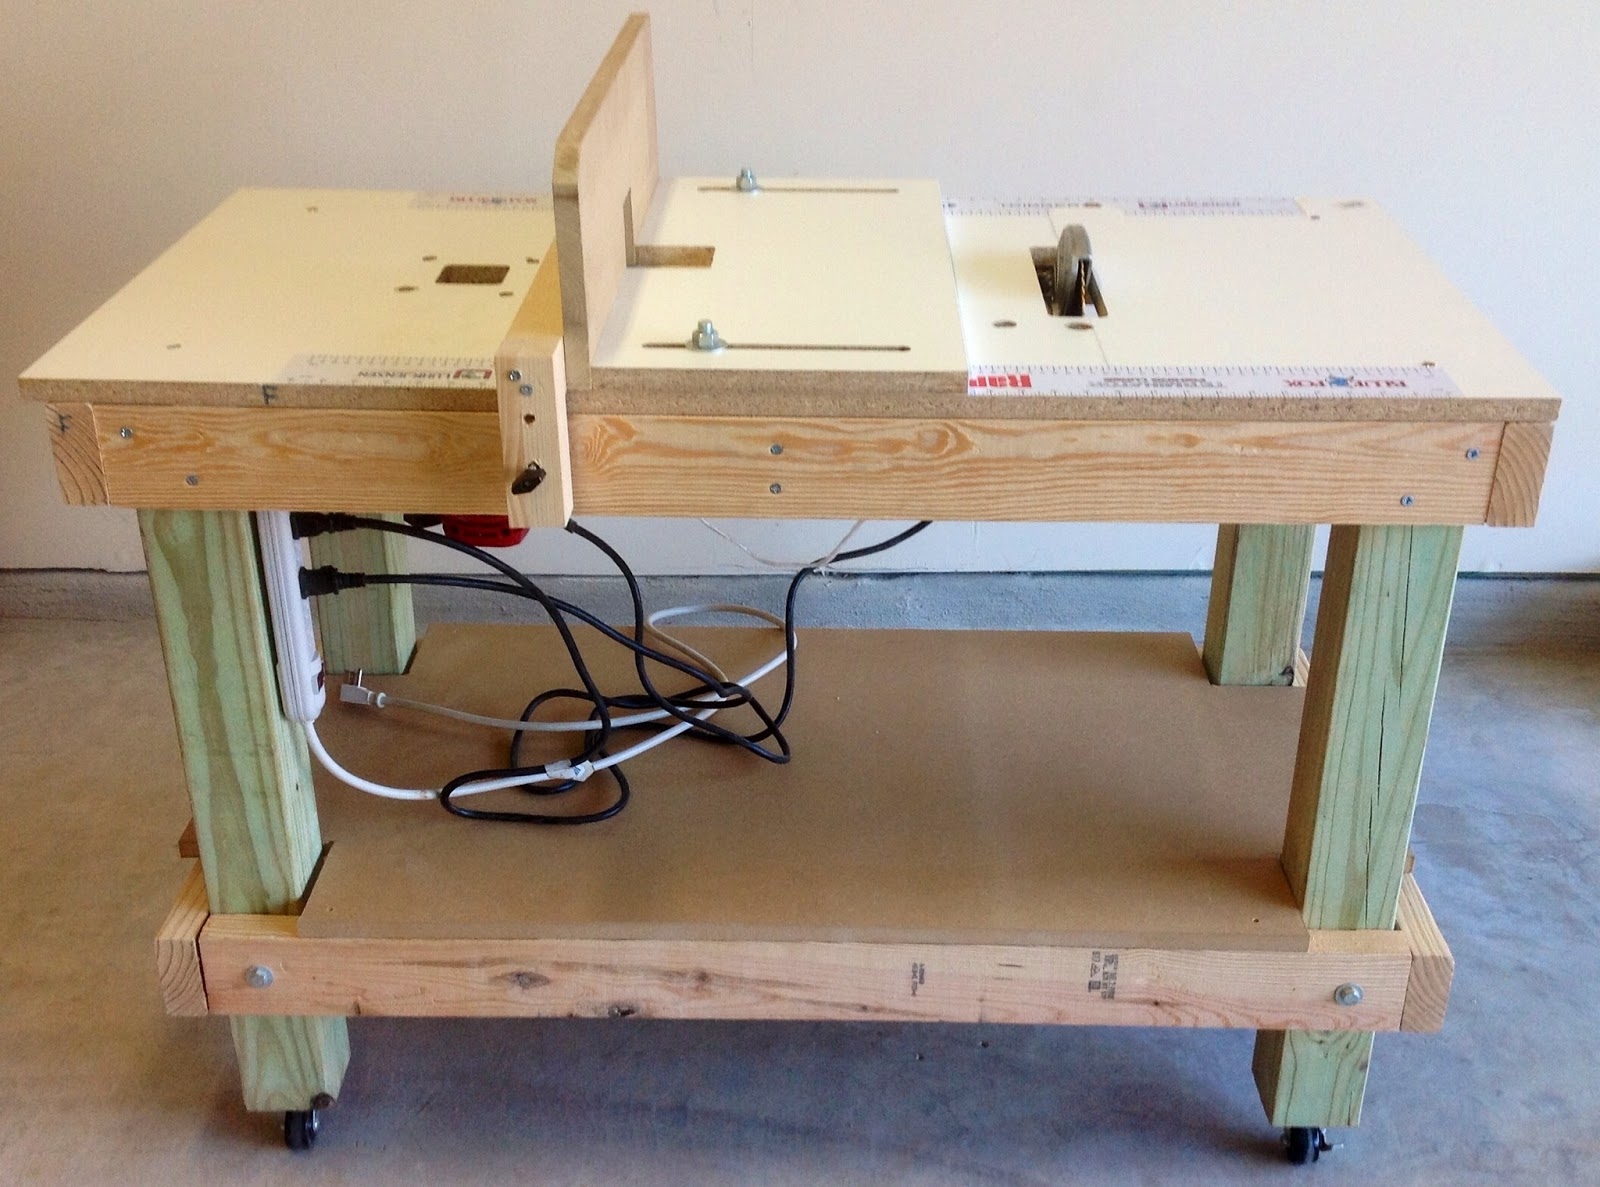
- the ability to equip the structure with pushers, stops;
- ensuring maximum rigidity and stability.
The disadvantages of a homemade circular saw table include the cost of time. The master will need to study the diagrams, drawings, prepare materials, and perform high-quality processing.
What is needed to create
To get started, you need to prepare carefully.
Materials and tools
A homemade table will require a solid metal or wooden base. Some craftsmen prefer to make tables from aluminum, steel.
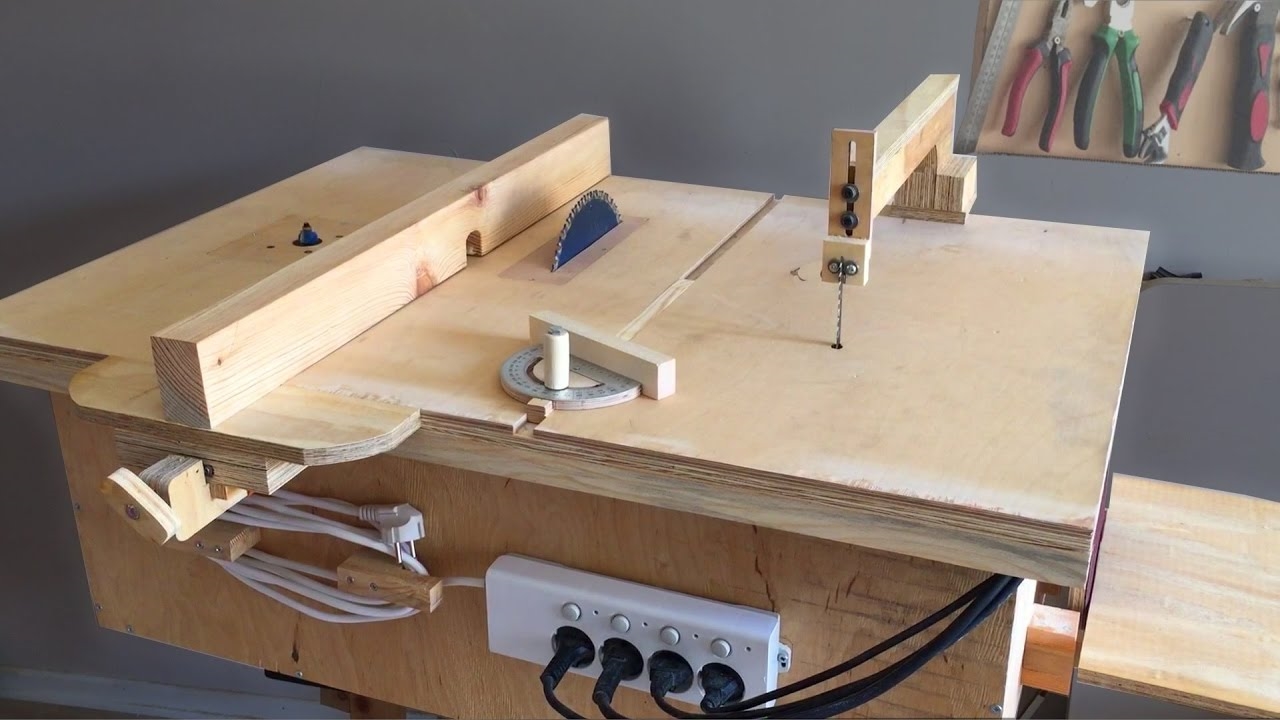
Important! Wood must be treated with a special agent that has an antiseptic composition to prevent decay processes.
Materials that will be required in the process of work:
- base, the thickness of which is not less than 22 cm;
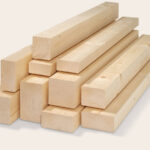
- bars for strengthening and making support (you can use an edged board in the amount of 5 pieces);
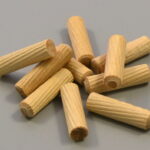
- wooden dowels, 10 cm in size (12 pieces or more are required for work);
- joiner's glue;
- metal fasteners (at least 4 pieces, and the exact number depends on the dimensions and length of the table);
- metal corners in the amount of 10 pieces;
- self-tapping screws.
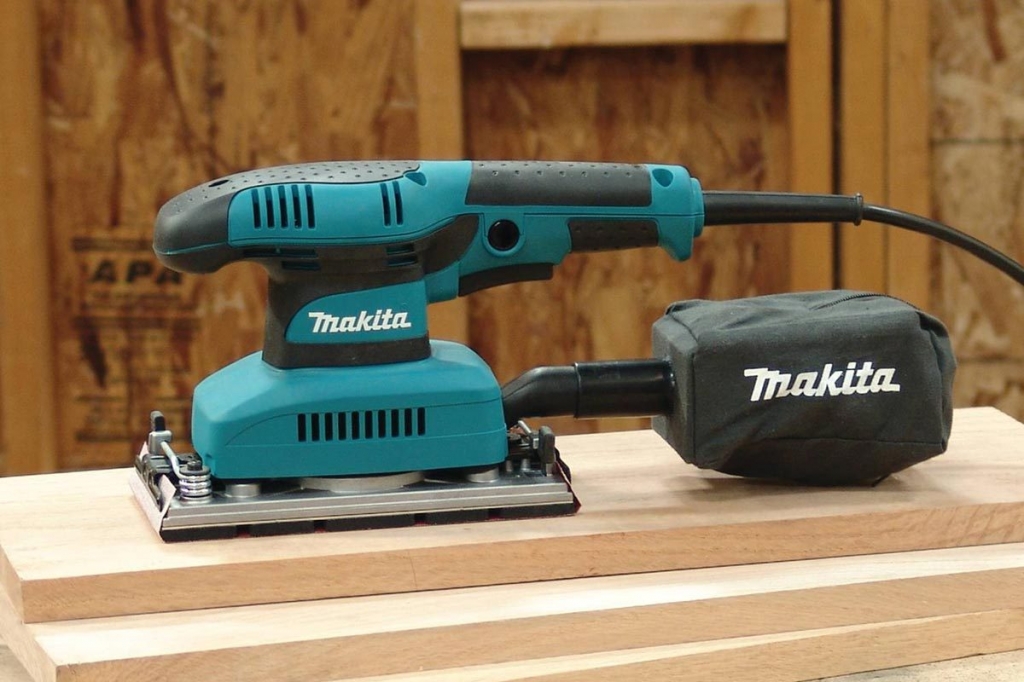
Before work, you need to prepare the tools. For marks, take a pencil or marker, meter, tape measure, electric jigsaw, manual model milling cutter. To process wood, you need a sander, sandpaper of different grain levels, which removes the jags.
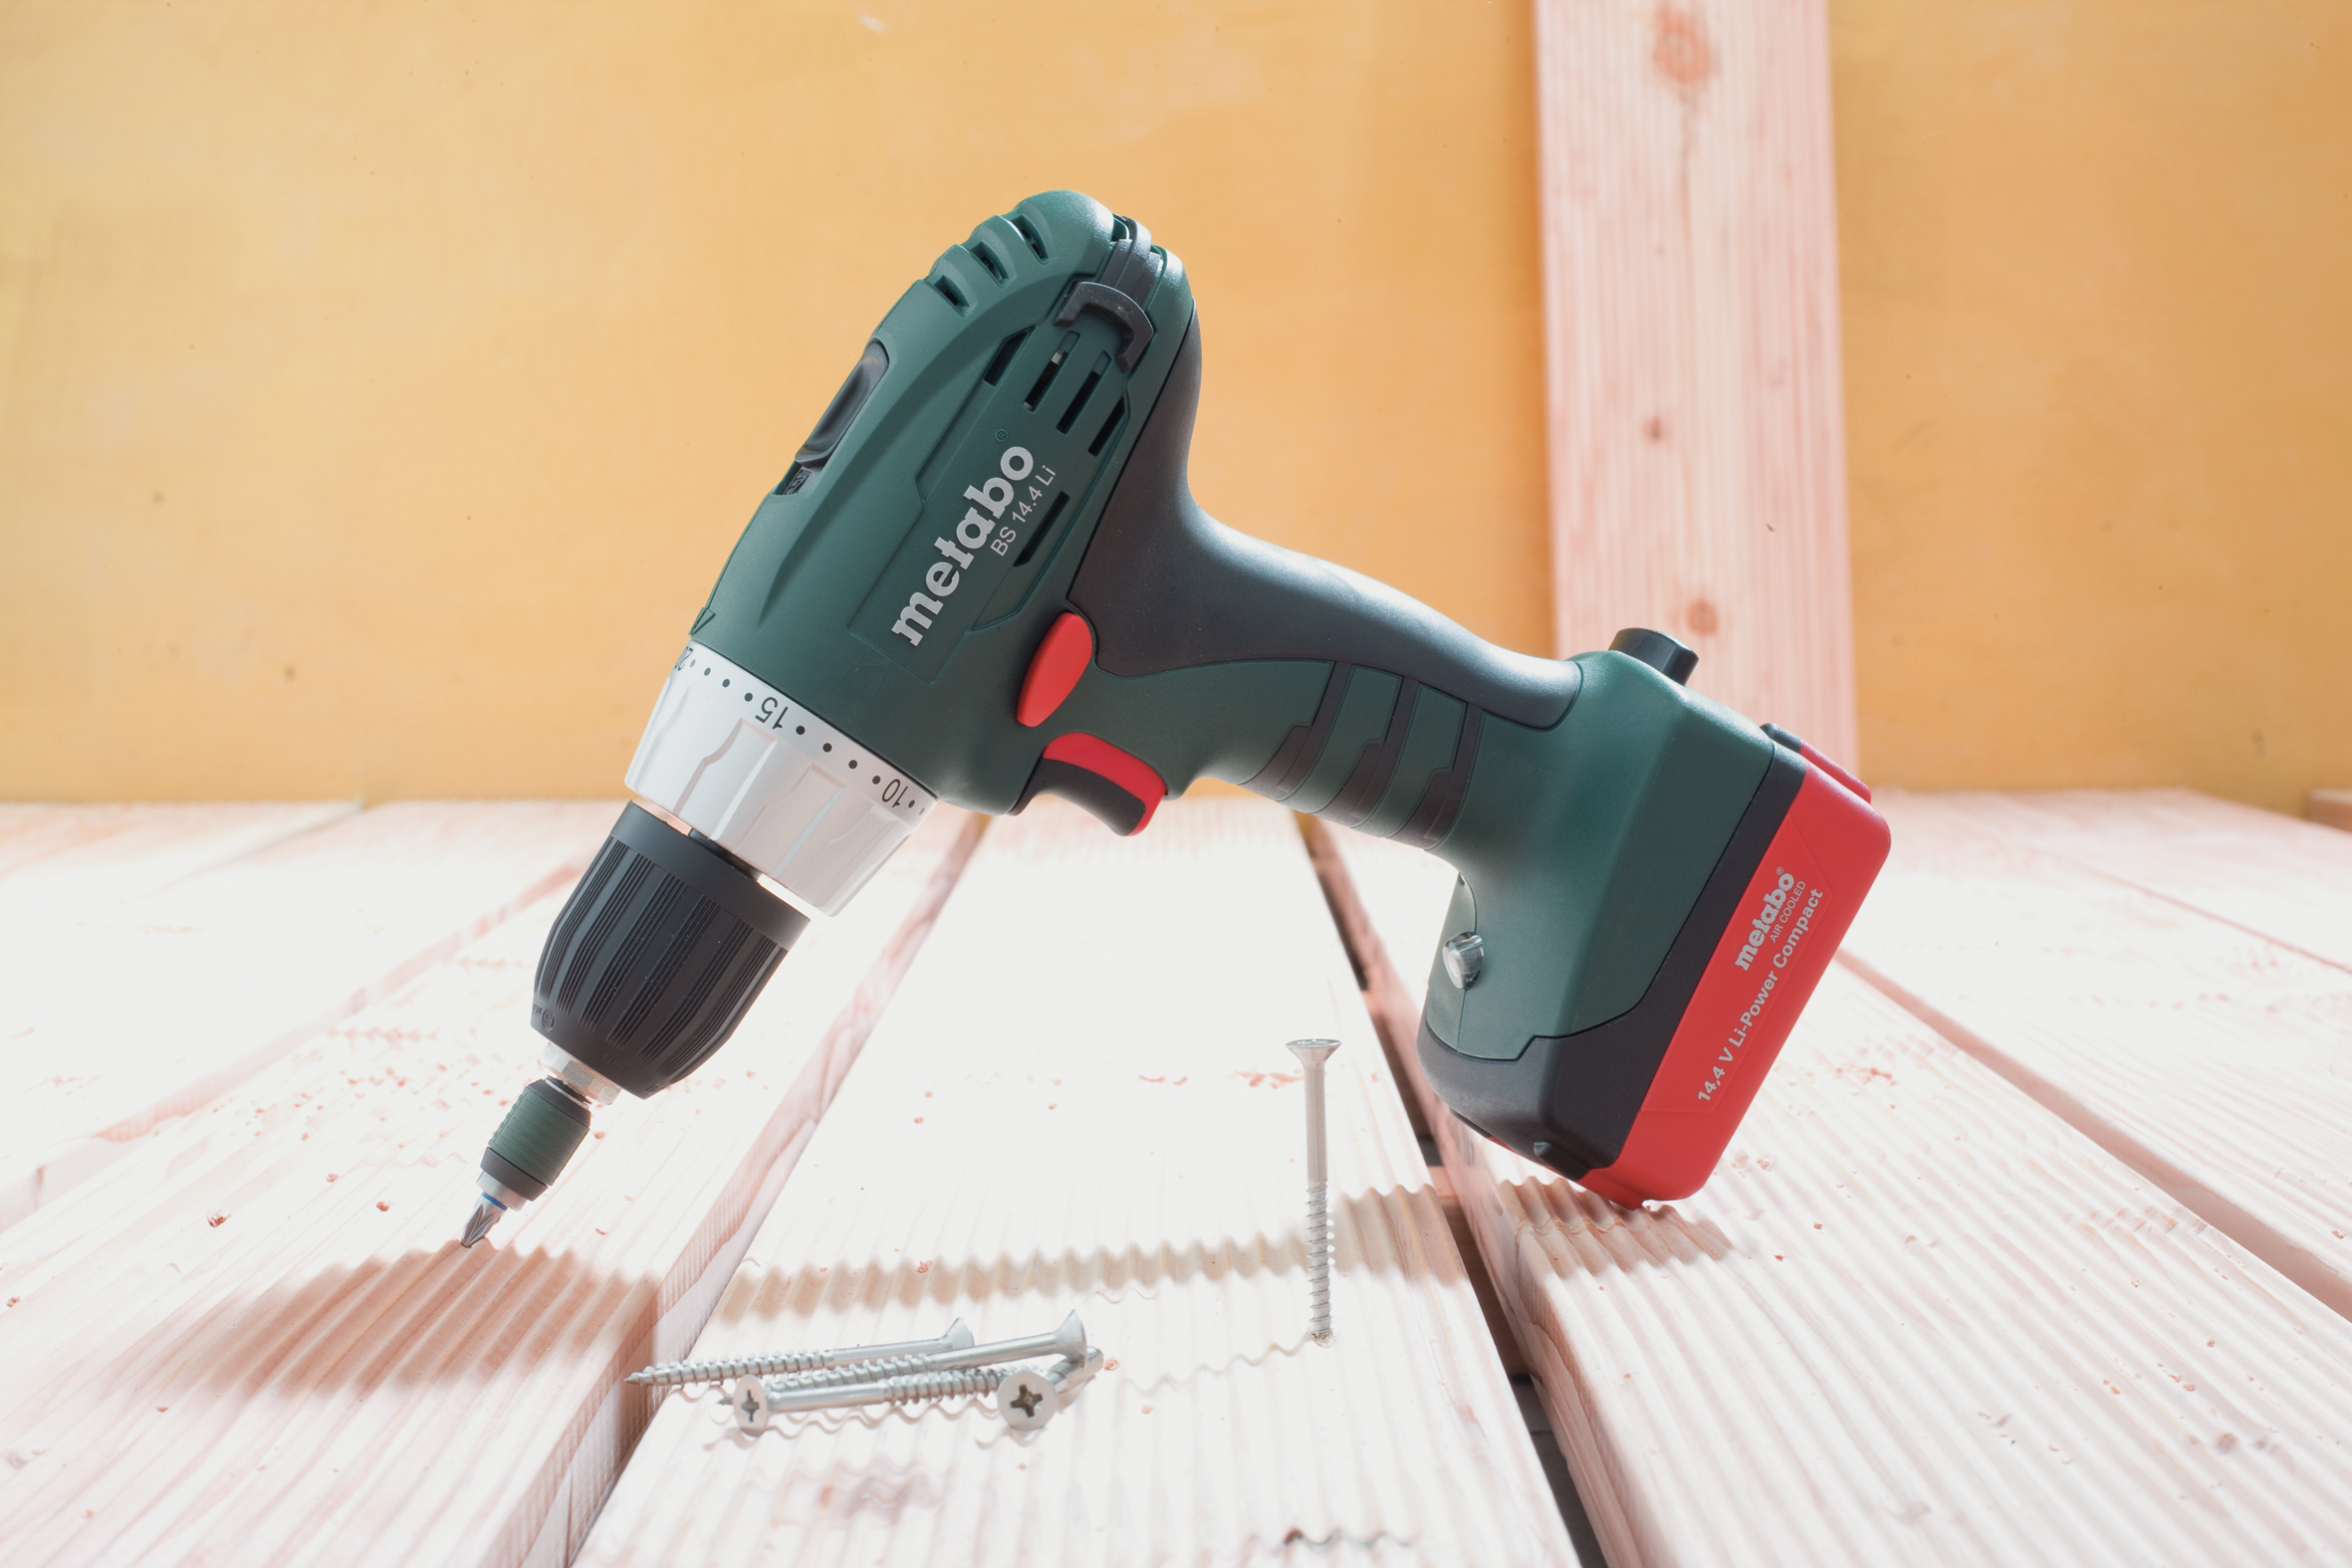
You also need a plane, drill and screwdriver. Materials and tools are prepared in advance, placed at the workplace.
Definition of design and construction
To choose a design, you need to decide on the base material. For wooden countertops, leafy tree species are suitable, which are resistant to decay processes with proper antiseptic treatment. A special hole is made at the base for the disc.
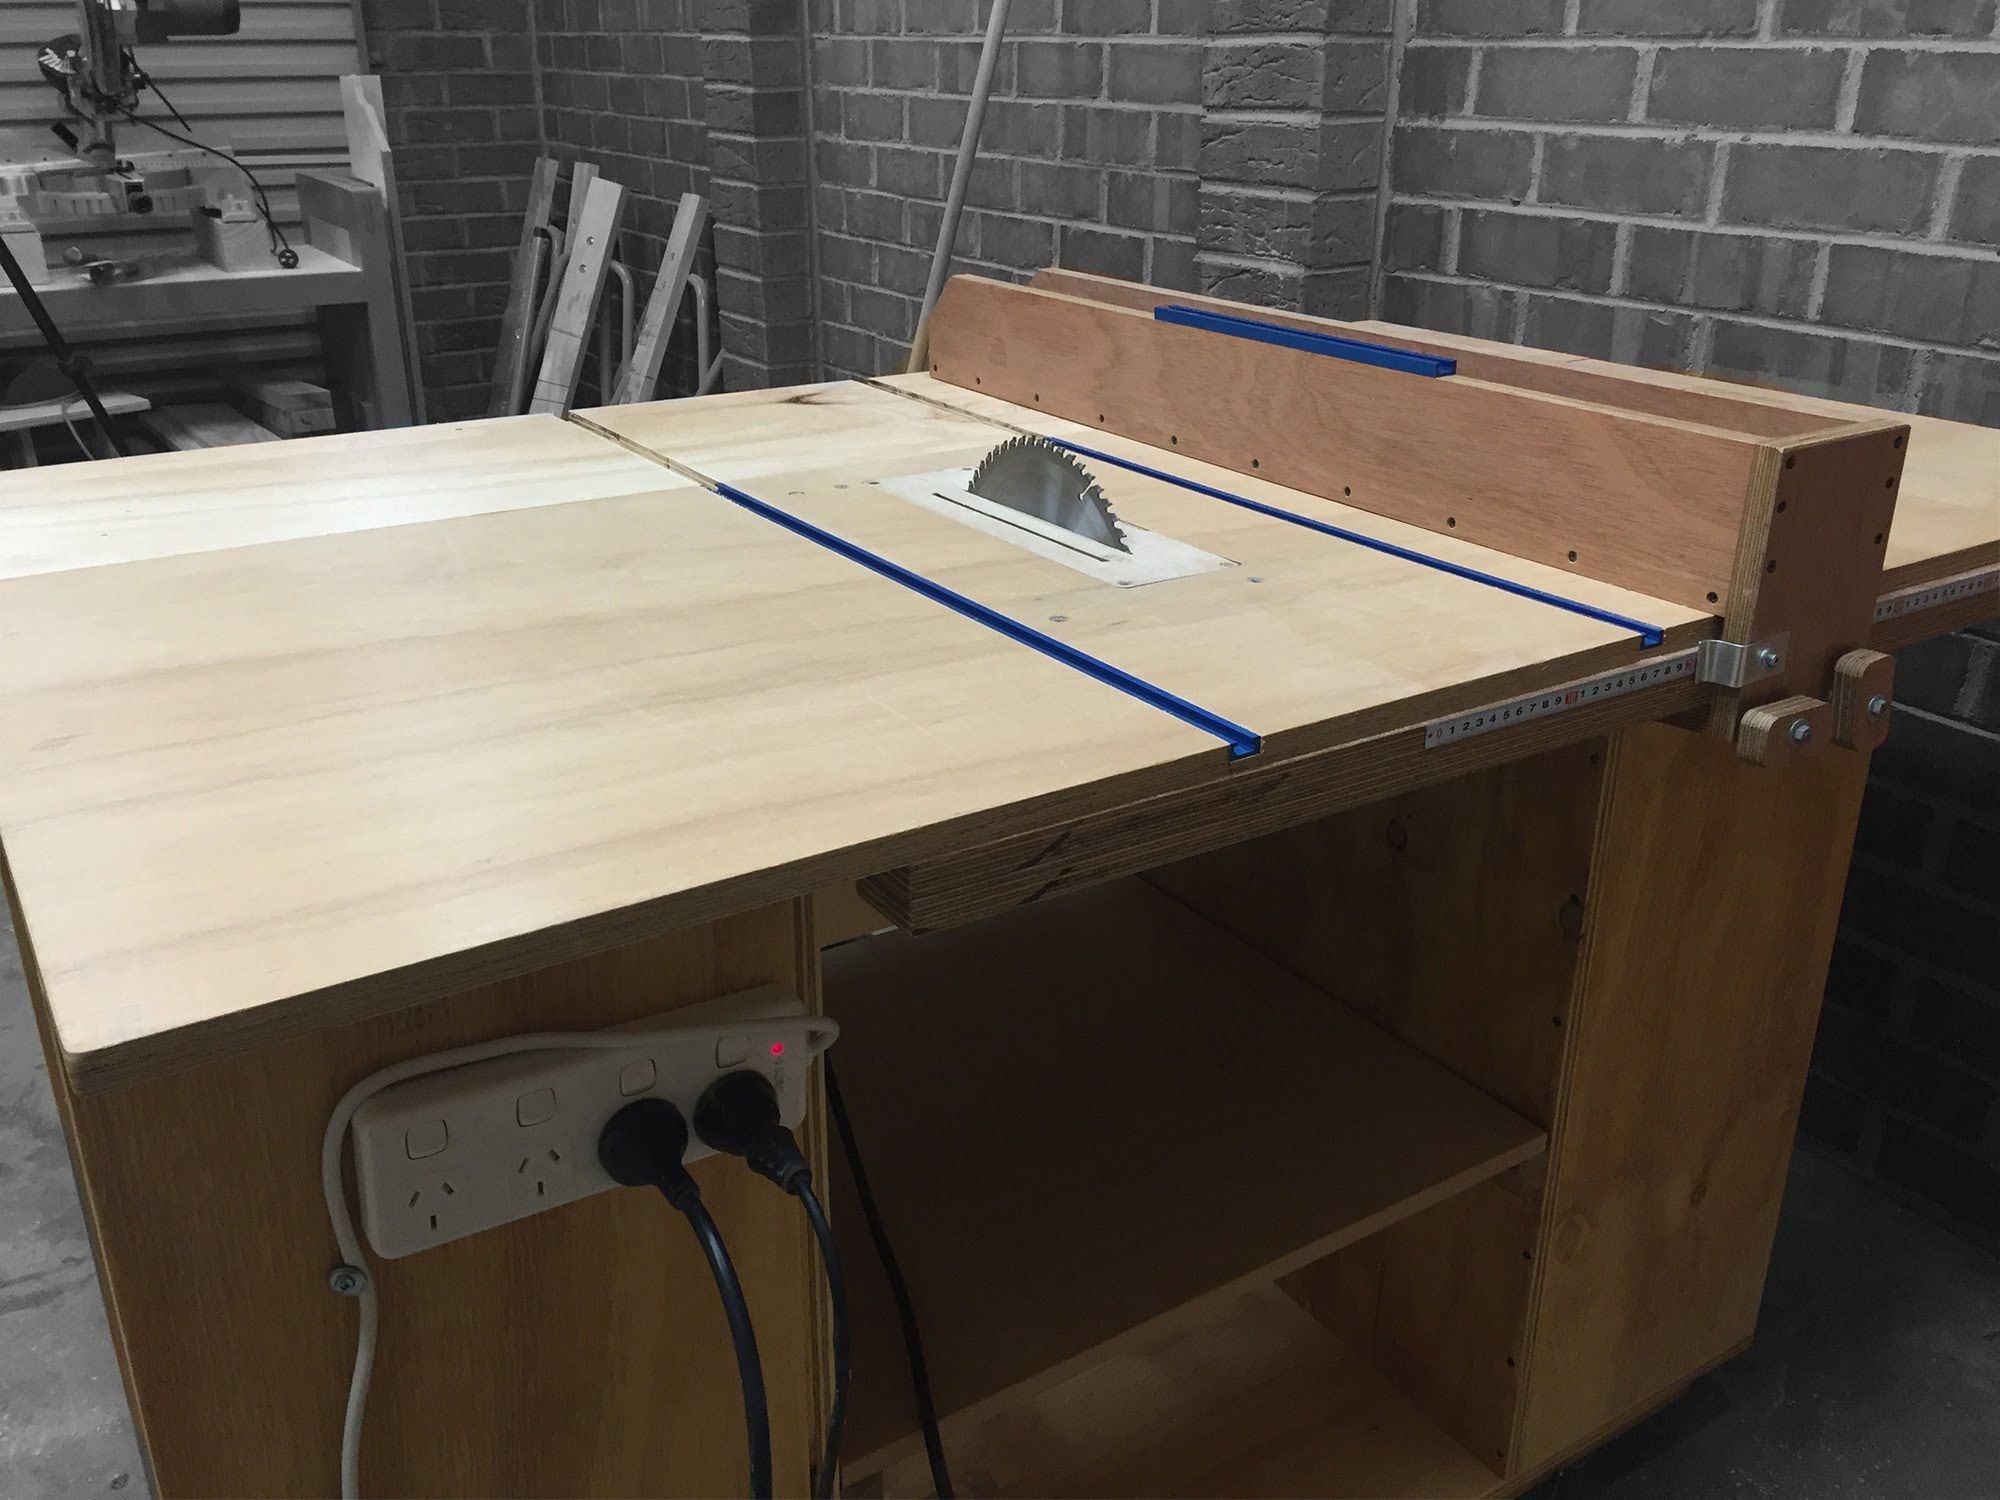
For a wooden base, a strong frame of four trestles is used, boards measuring 50x150 mm. It must be stable to ensure safety.Curved or bent metal sheets are not suitable for work, because there is a high probability of injury.
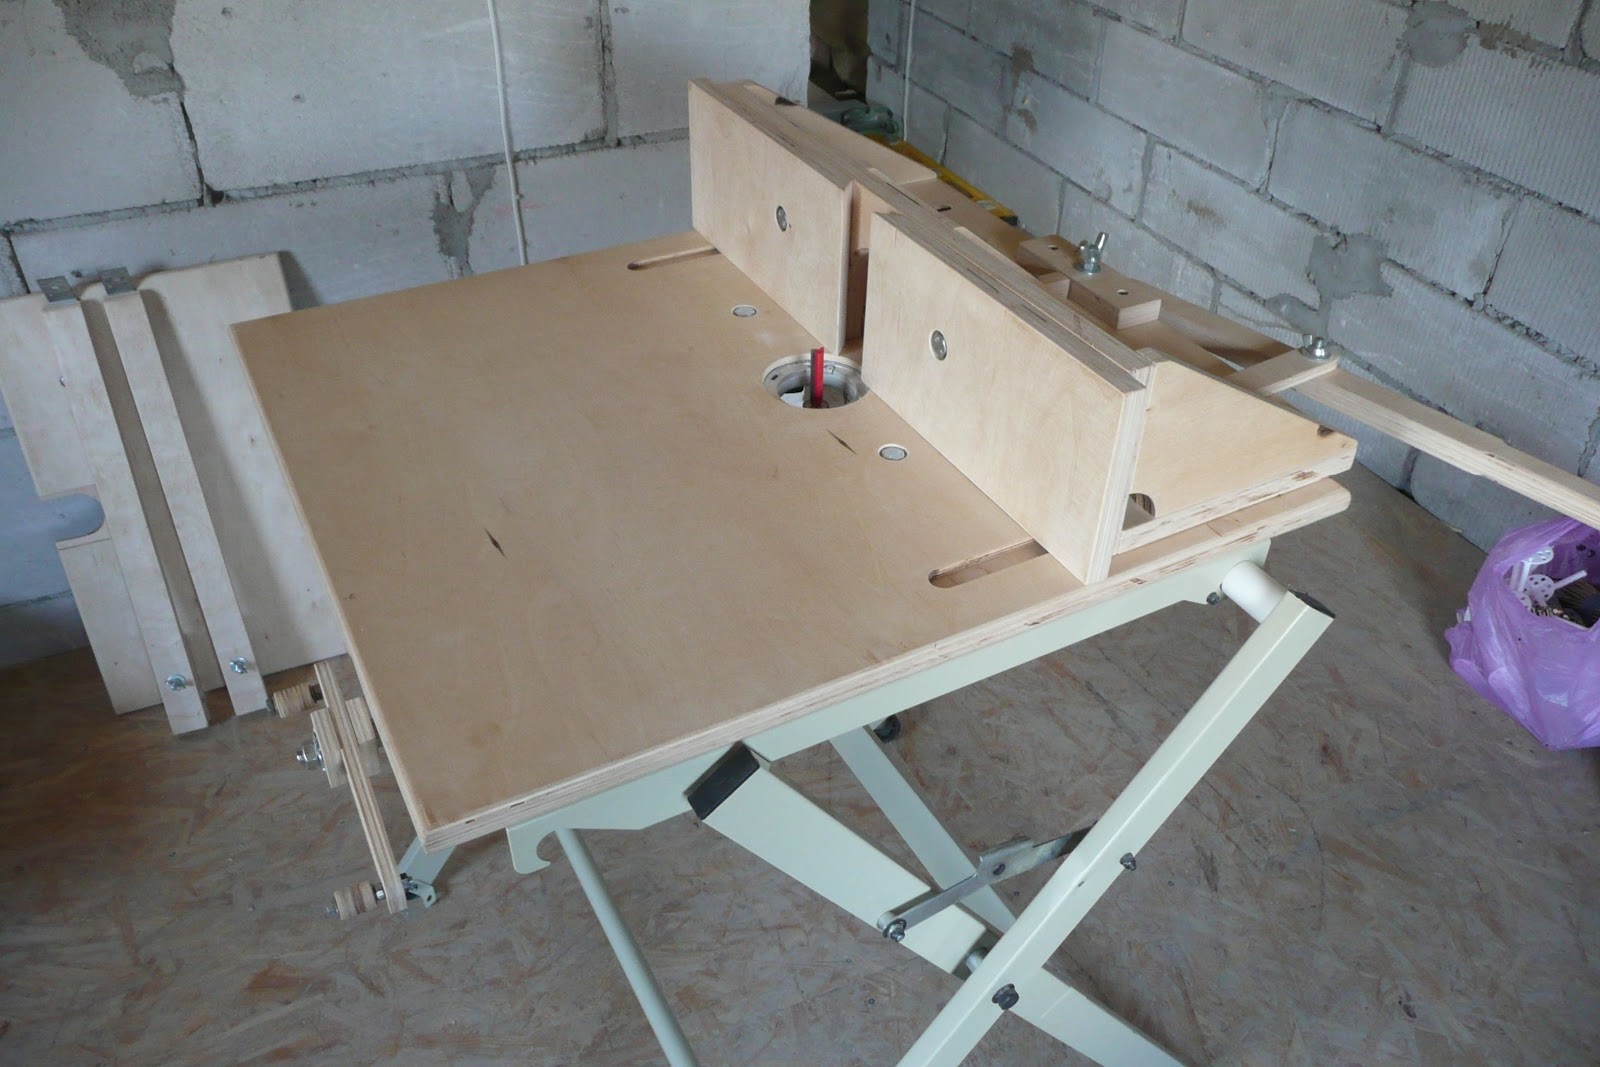
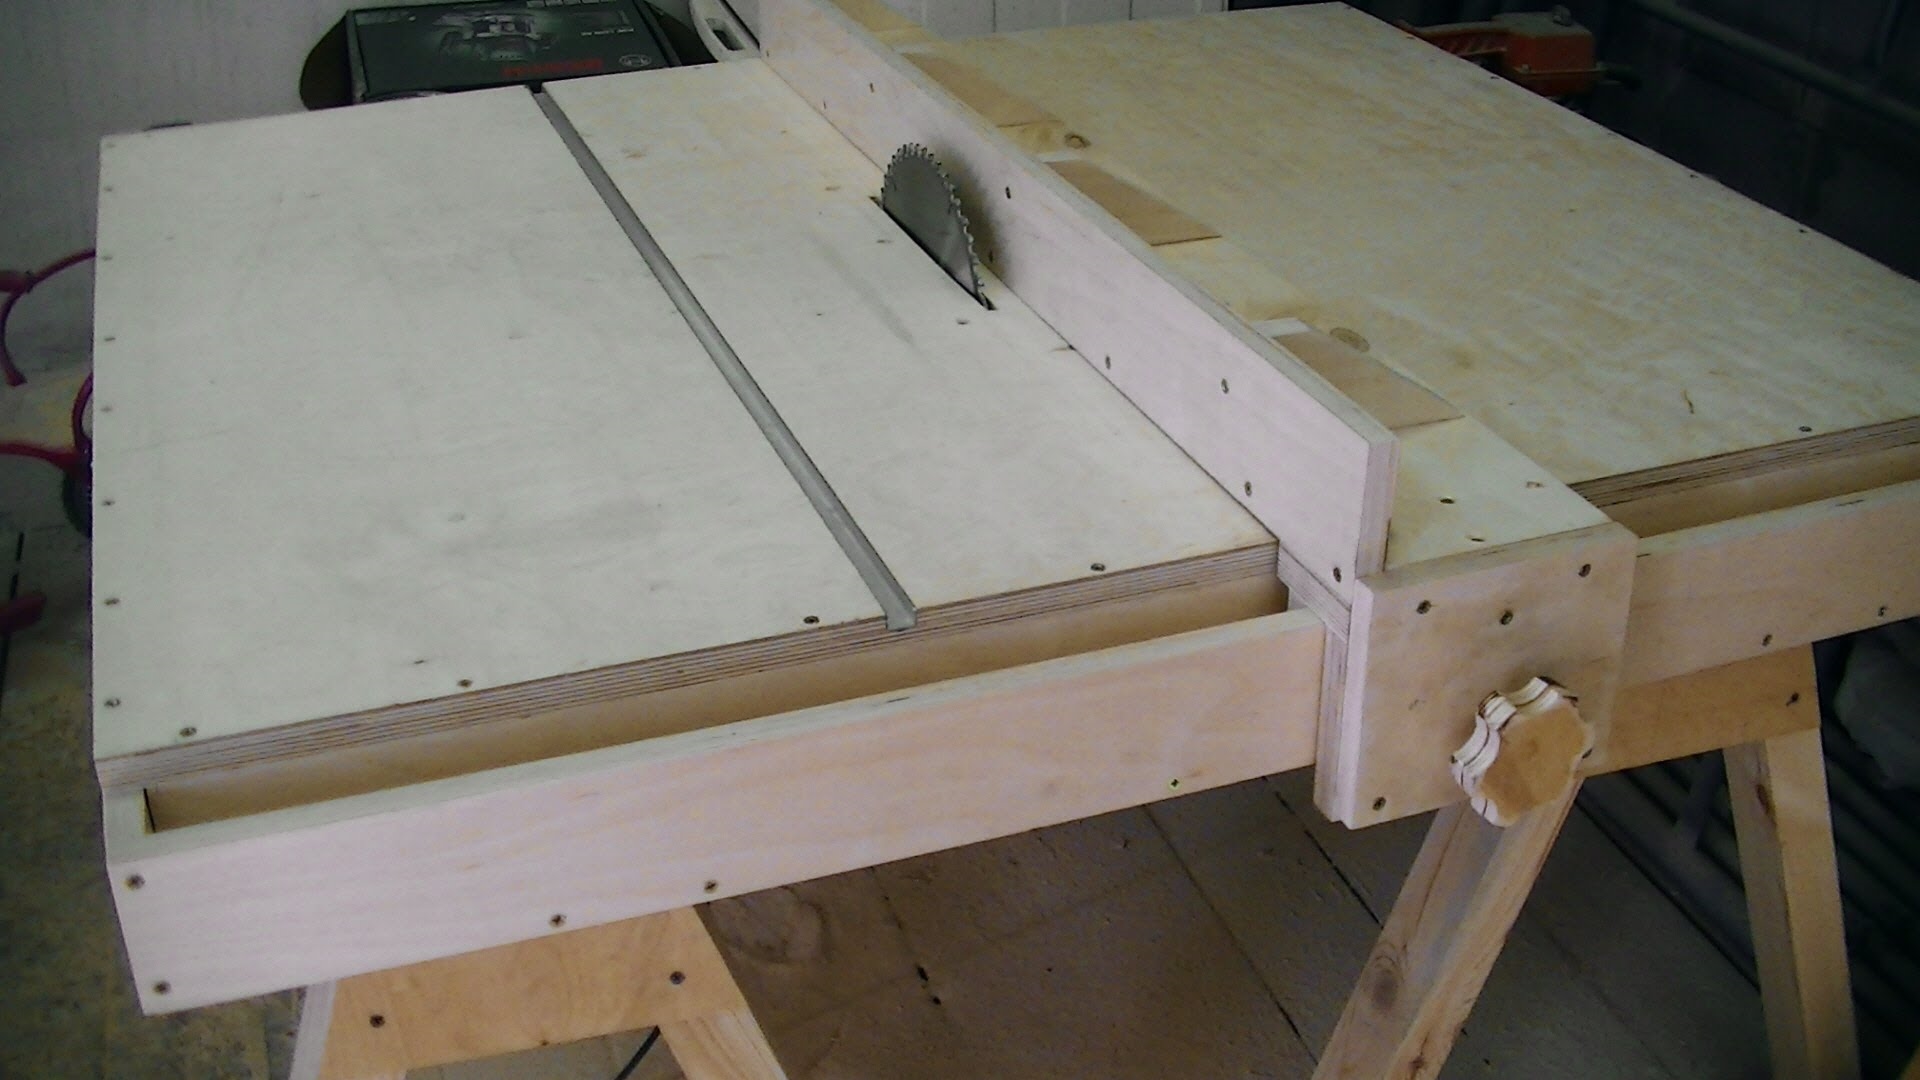
You can make a simple design or equip it with a riving knife of a removable design. Additionally, disk protection is performed so that the working shavings do not fly onto the person who will work at the table. To make an angle cut, you need to add tilt adjustments to the blade.
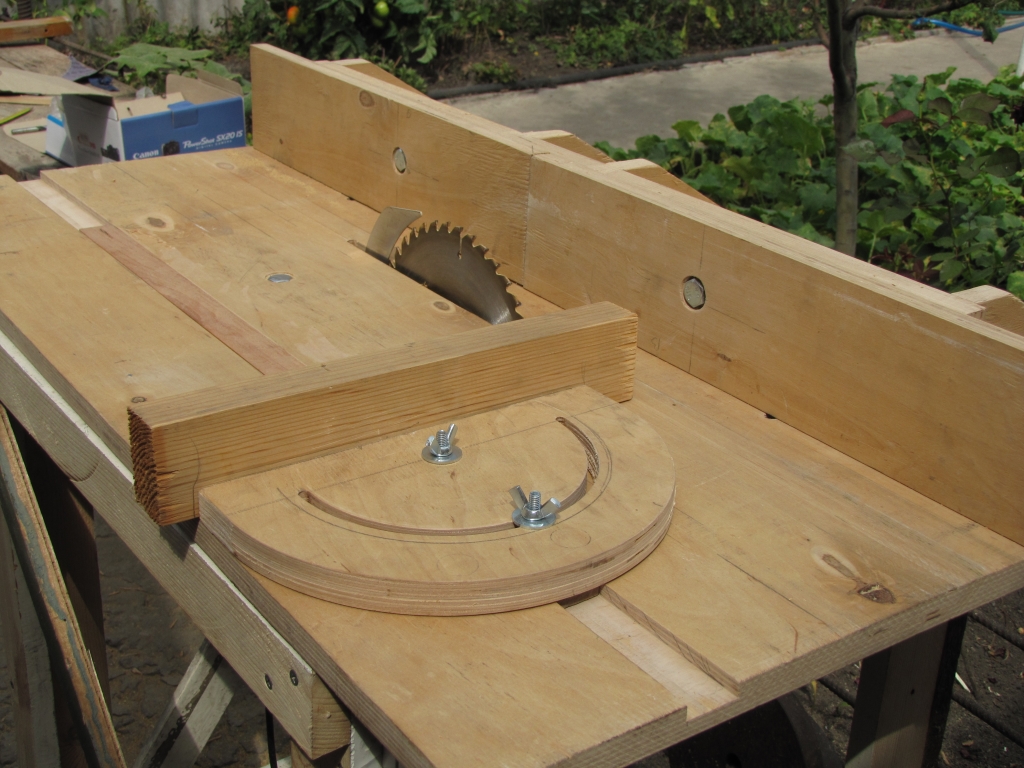
For circulation, a table guide carriage is made. It includes the following elements:
- guide bars;
- plywood;
- cut;
- bumpers for a secure stop;
- removable bar.
After choosing a design design, you need to make do-it-yourself table drawings for a circular saw.
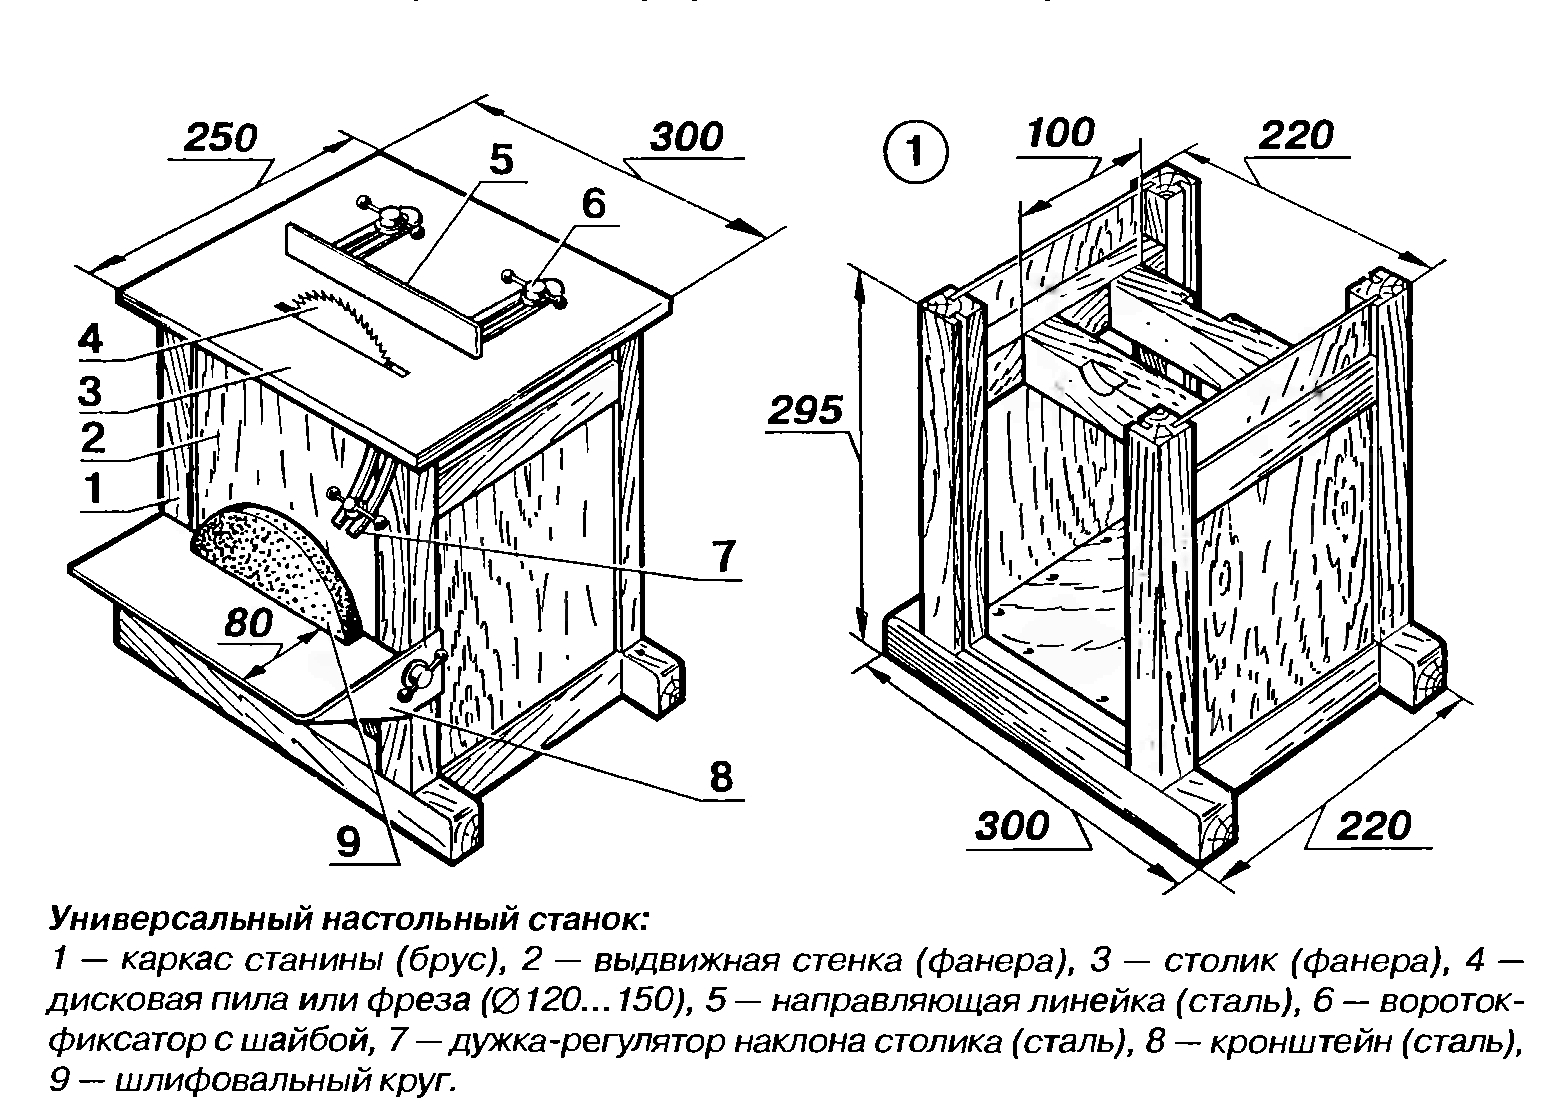
Drawings and diagrams
Note! The drawing is needed to prevent errors in the process.
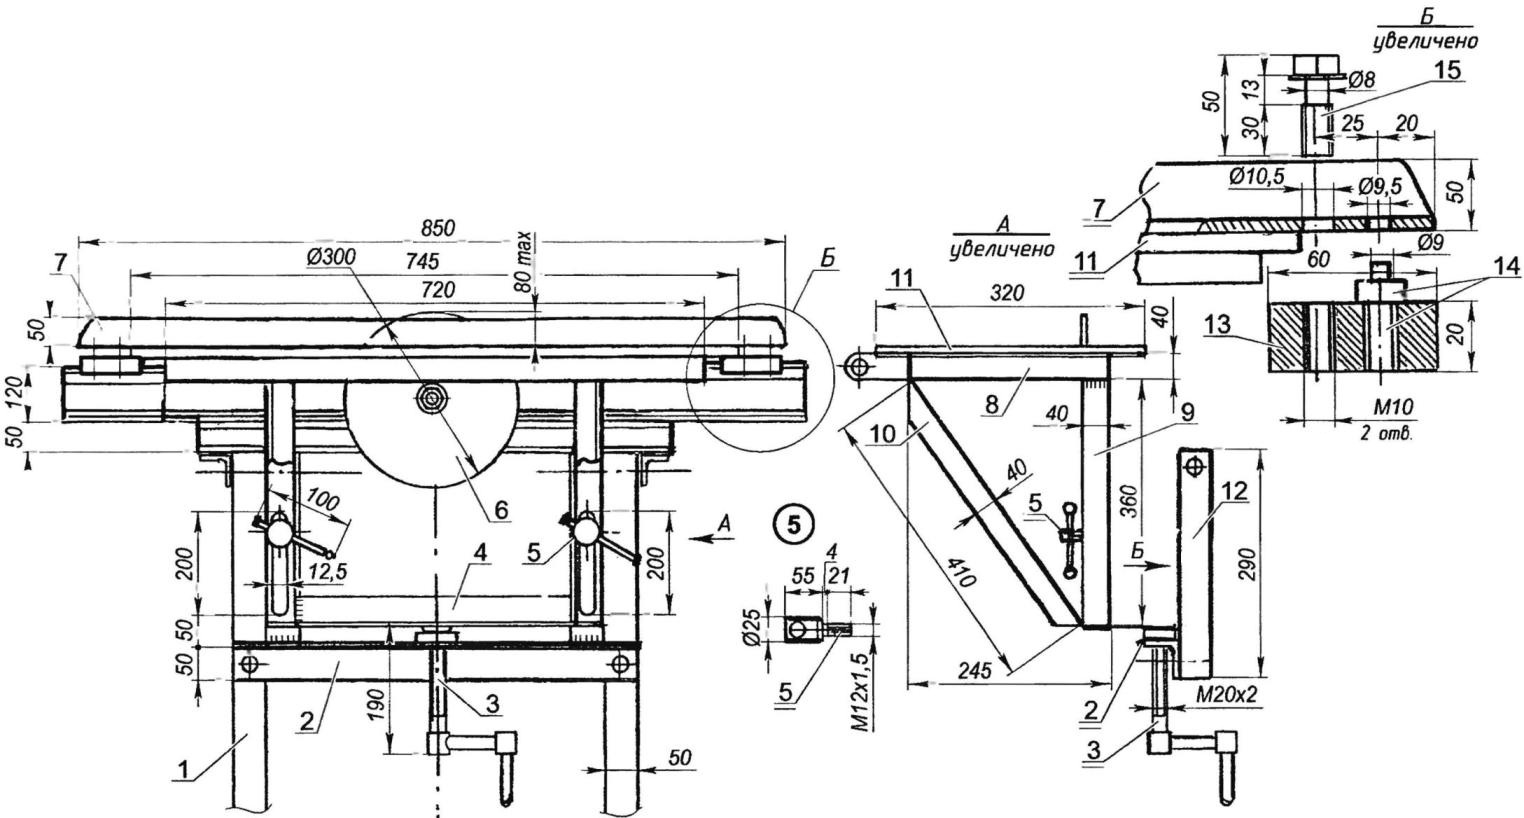
First of all, they calculate the sizes in order to transfer them to cardboard. A hole is made in it, which should fit the dimensions of the saw. Before creating a drawing and a diagram, you need to buy a cutting tool. Universal holes are not provided in this design because they will not be able to provide maximum stability, safety and withstand heavy loads.
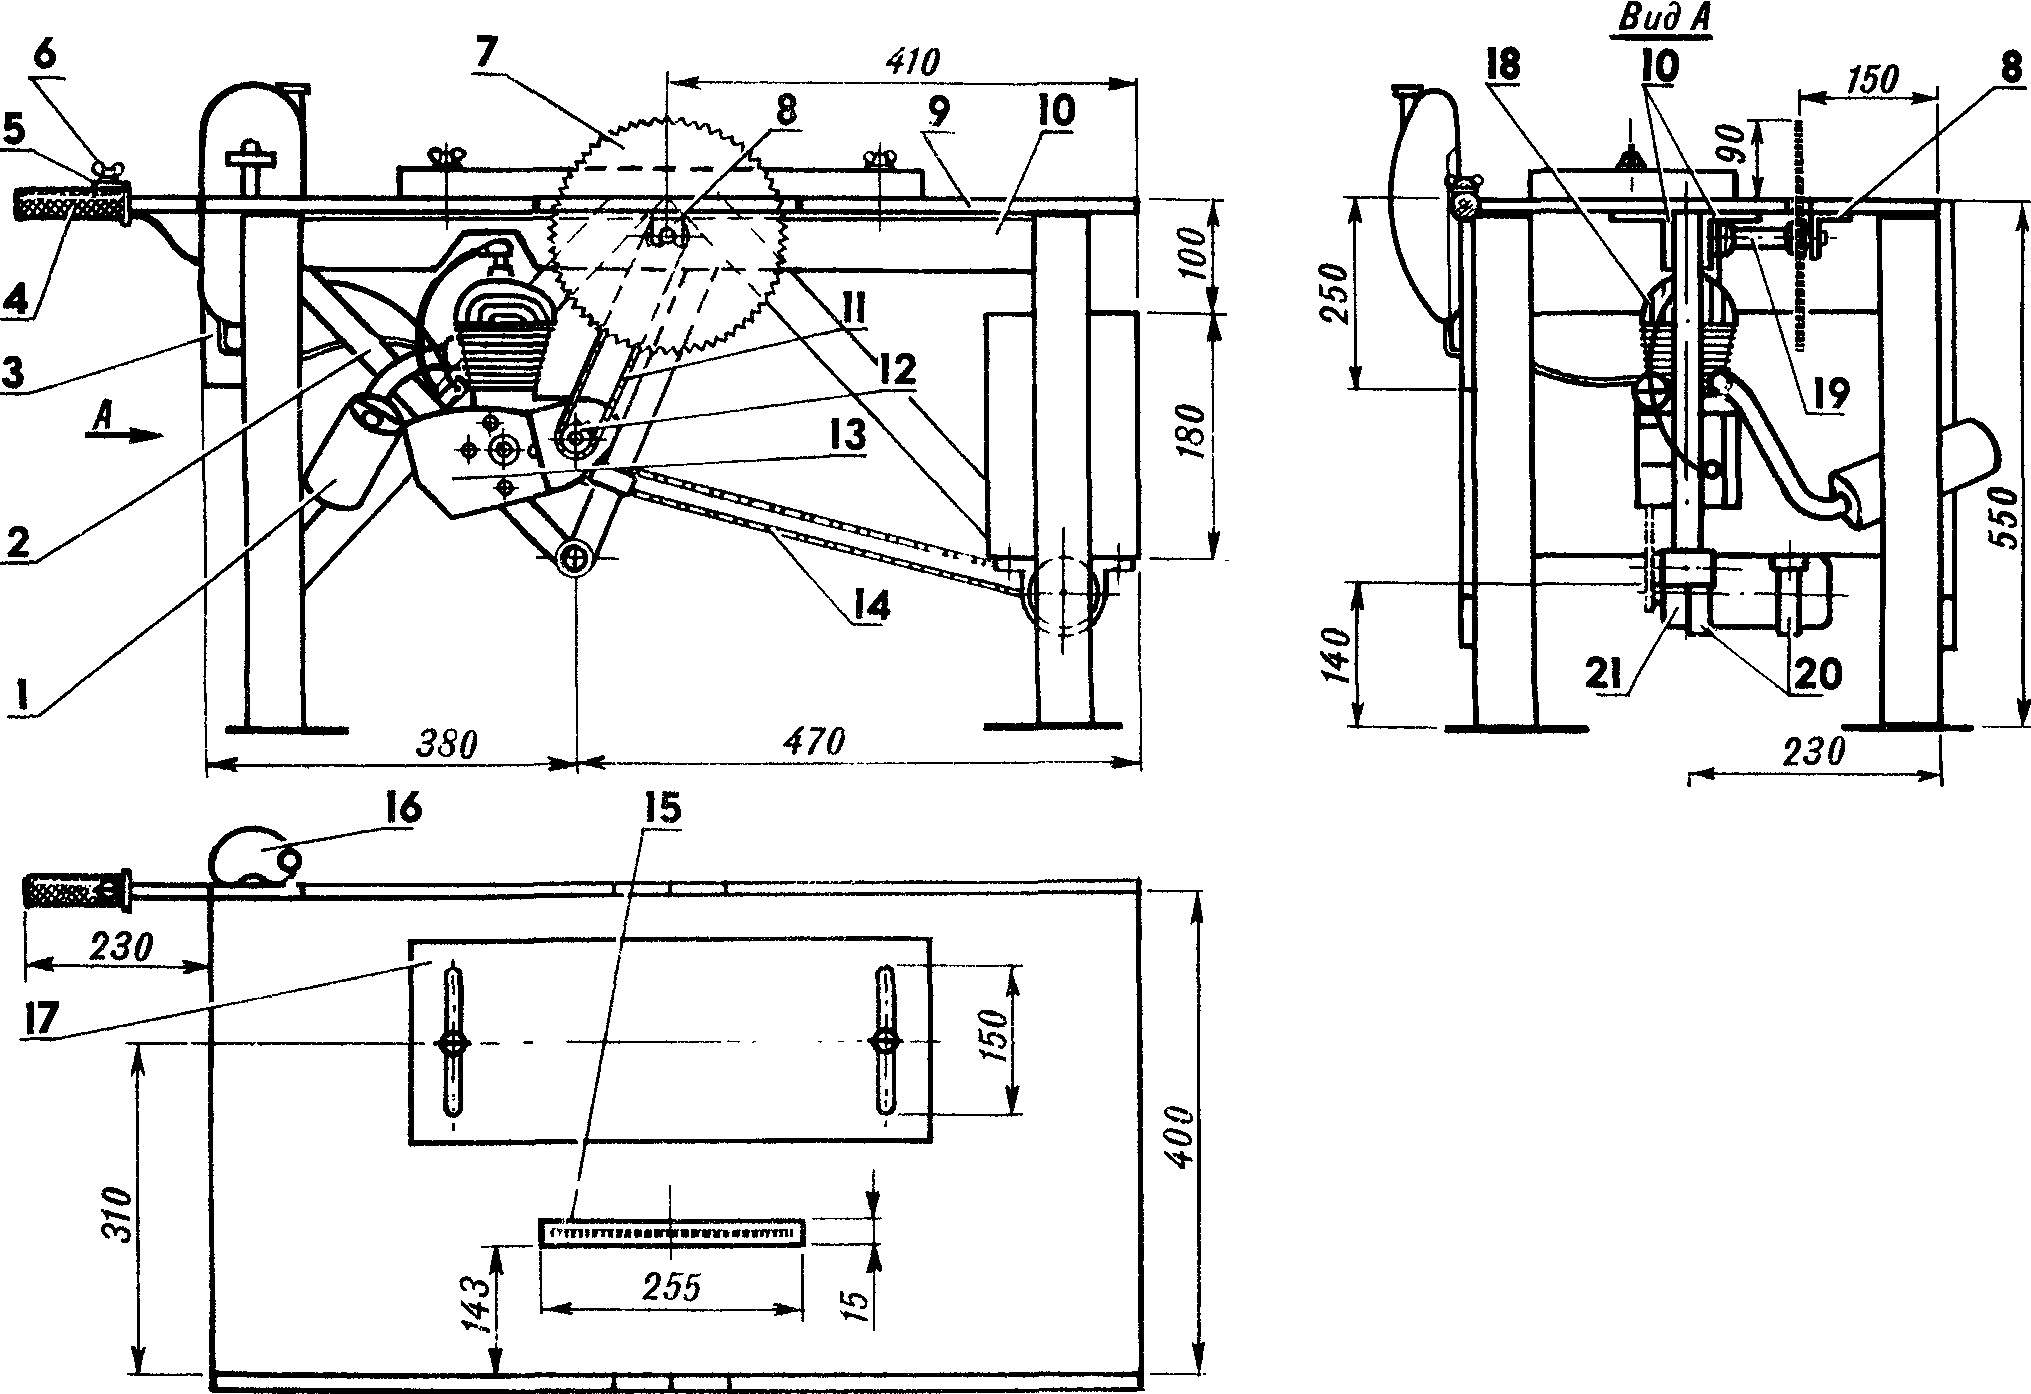
You can leave a little extra space for tools or pieces of wood. Suitable dimensions: 120x120 cm.
An example of a drawing of a table for a circular saw:
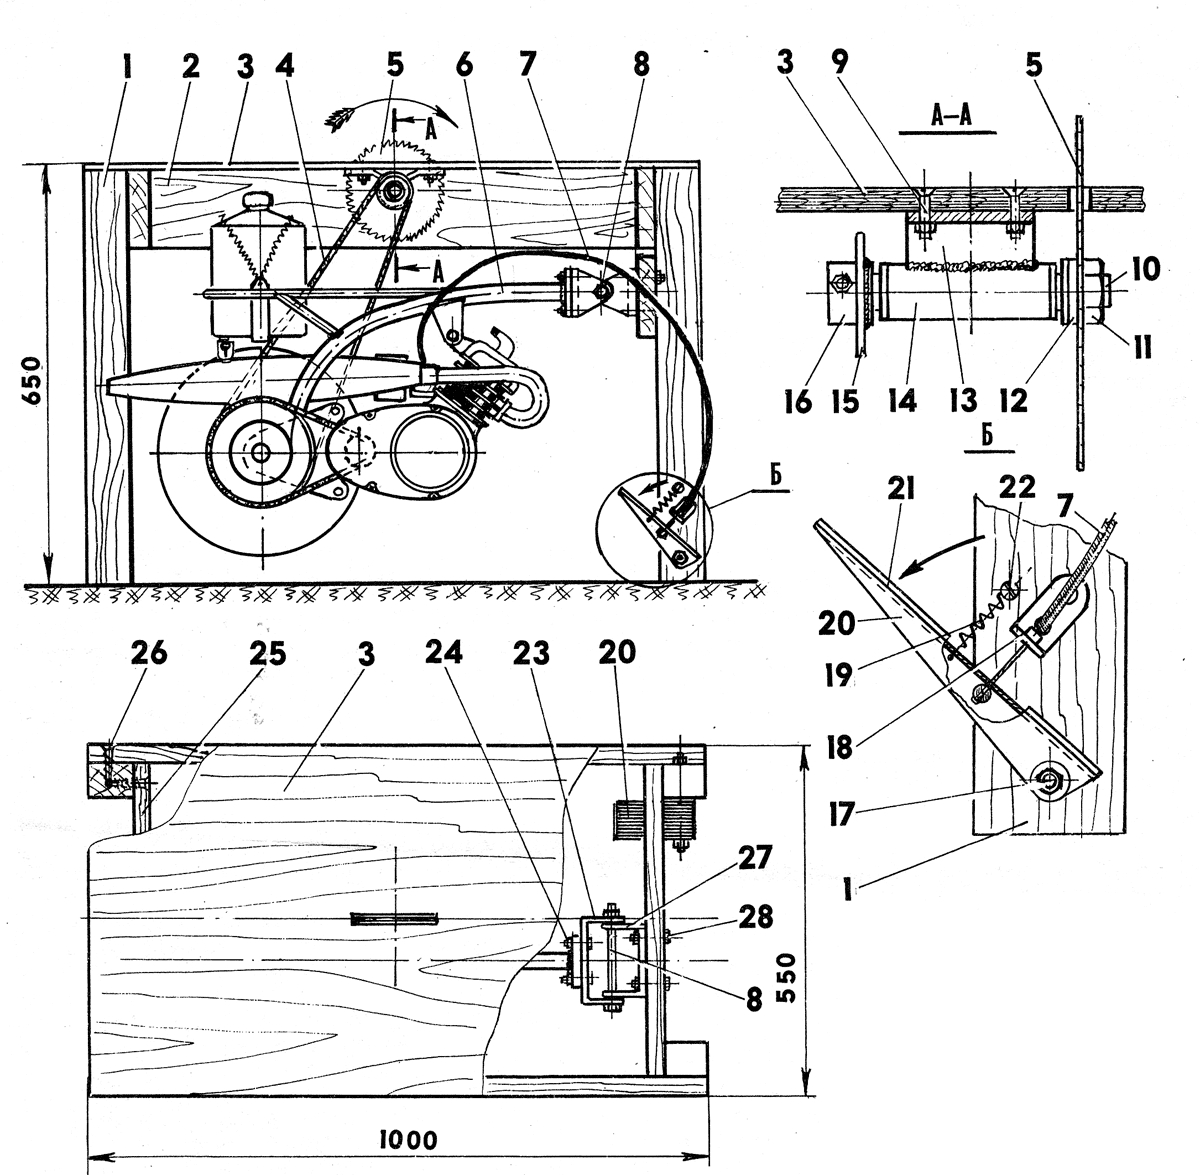
Scheme with detailed description and dimensions:
Circular saw table assembly process
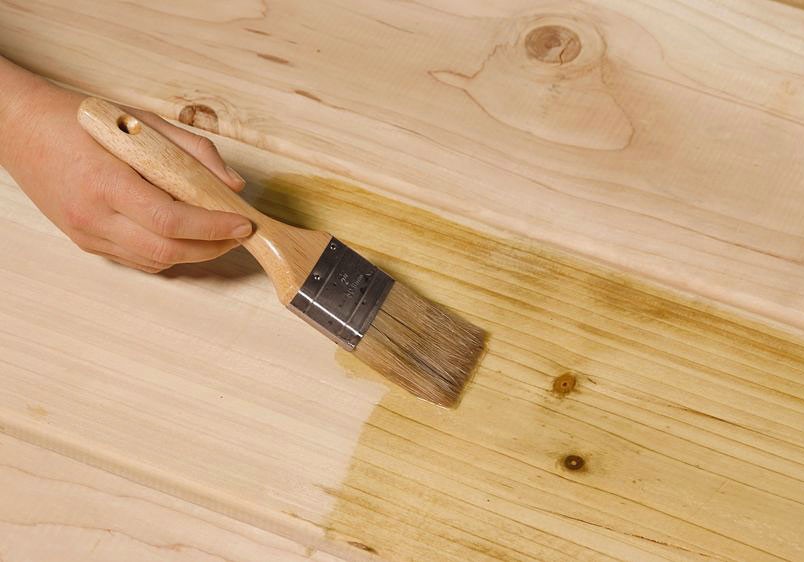
First, the base is adjusted to the optimal size. The wooden countertop is treated and left to soak in an antiseptic composition for a day. The metal base is sanded around the edges so that there are no chipping.
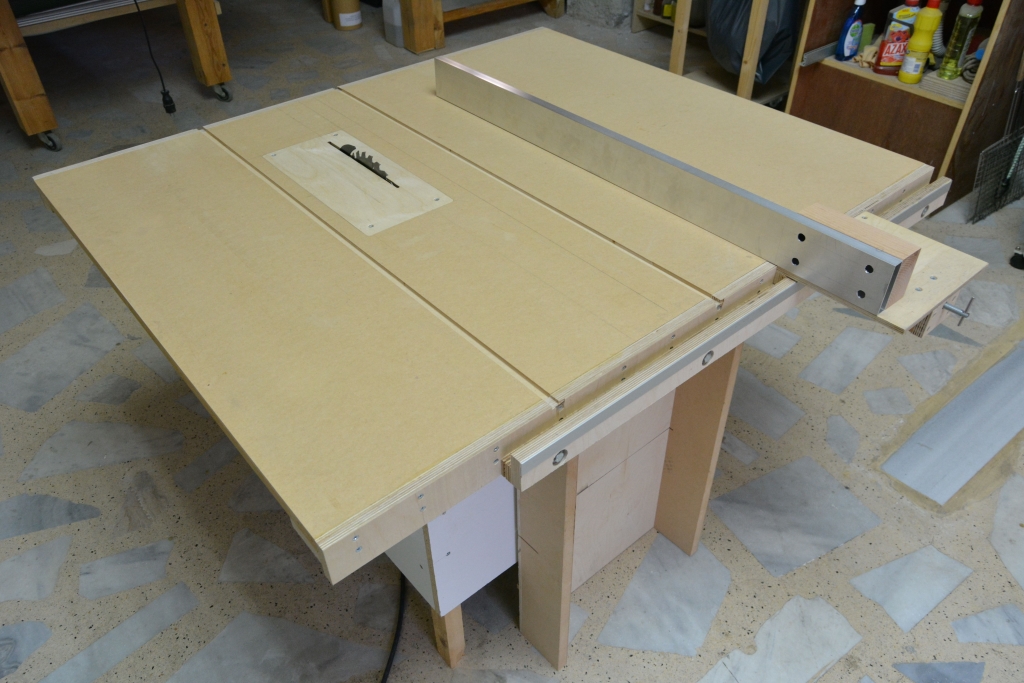
Electric Saw
Electric saw table assembly process:
- First, the bars are prepared, which are trimmed using a planer. A solid frame is assembled from them. Holes with a diameter of 5 mm must be drilled on each side of the base.
- Holes of the same diameter are also made in the sidebars.
- Legs and drawers are installed on the tabletop. It is recommended to take clamps to ensure fixation. They will help fix the legs while the glue dries. They are additionally fixed with metal corners, tightened with self-tapping screws.
- Mounting the saw with M4 bolts. The process is performed from the reverse side.
- To make a parallel stop, two strips are sawn off from the plywood. Their width should be the same as the countertop. The average size is 10 cm. The corners must be rounded and polished.
Important! When installing an electric saw, you need to fix the start button.
For this, a wire is suitable, which is threaded into the hole in the handle and twisted in the desired position.
Hand saw
A hand saw requires a 20 mm plywood sheet. The worktop is made according to the selected size. The marking is done with a pencil, the cut is performed with an electric jigsaw. At the end, the edge is milled. The workpiece must be sanded with sandpaper.
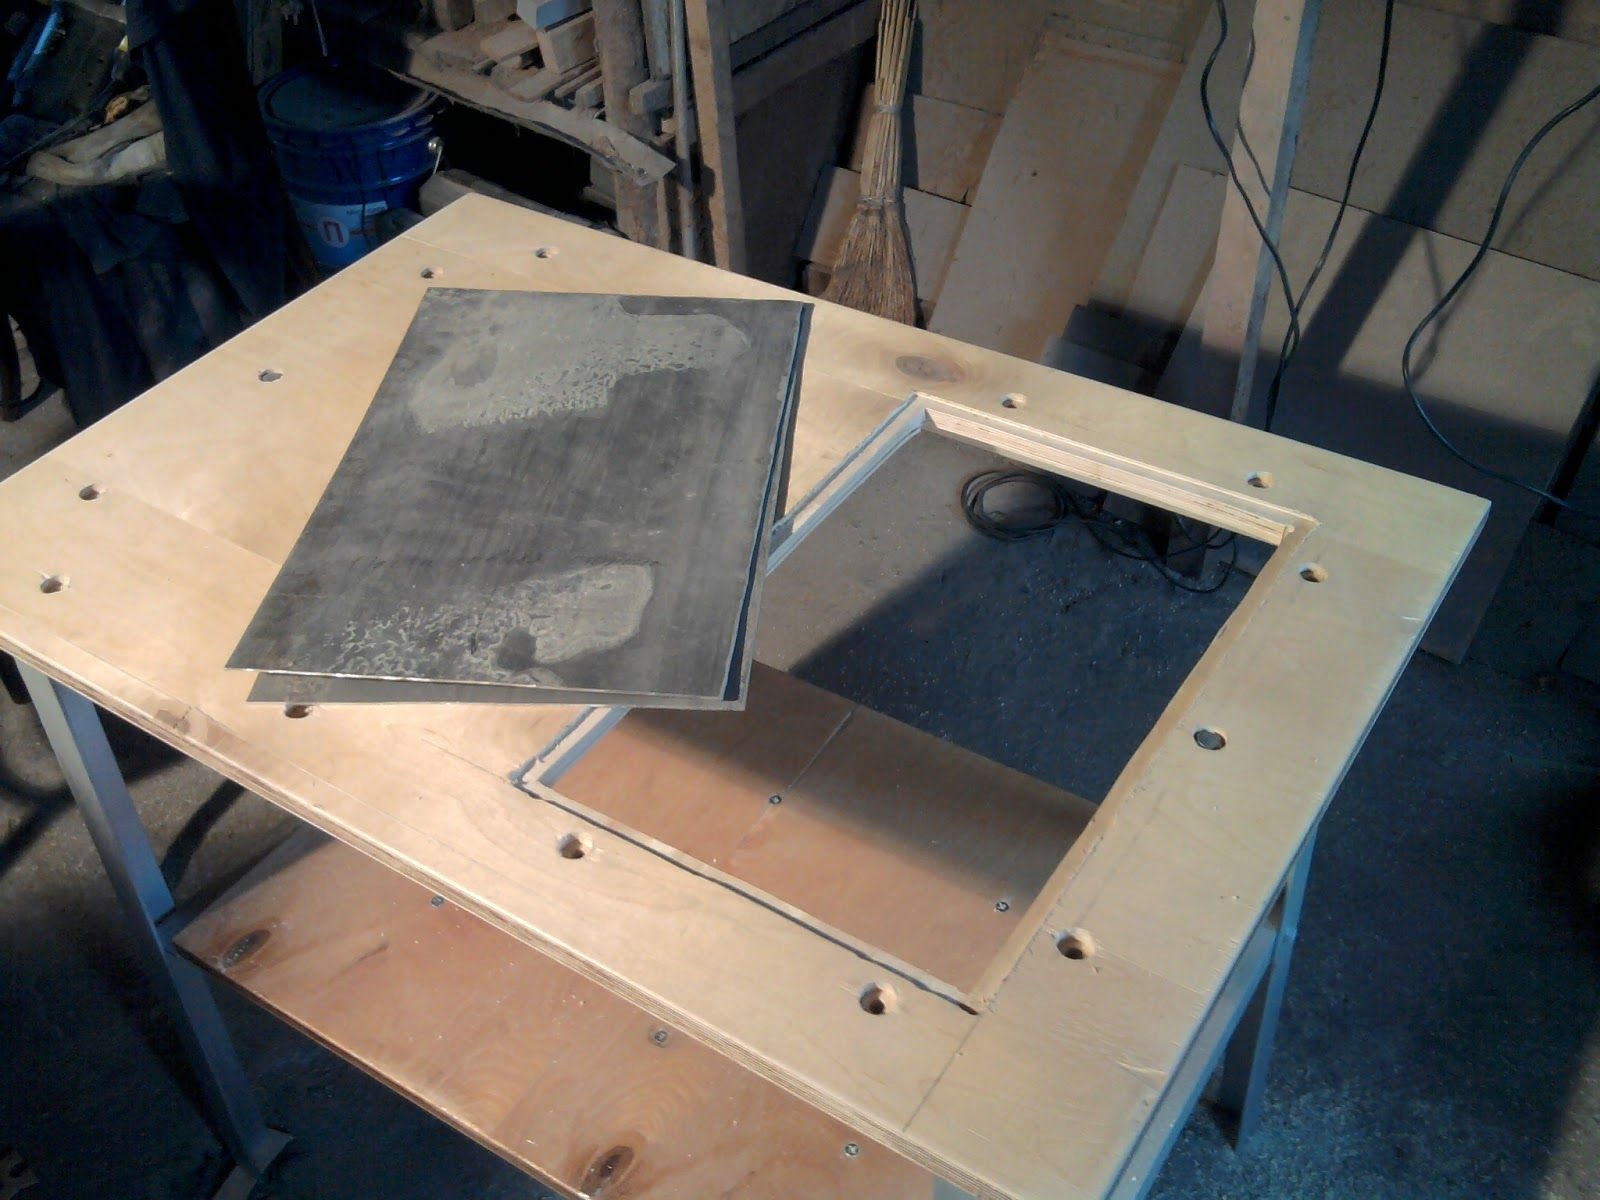
Subsequent assembly technology:
- The heading is turned over, the markings for the hand saw are made on the underside. You need to attach a saw without a disc to the base, make a marking of the dimensions of the sole.
- With the help of a hand router, a recess of 10 mm is made.
- Next, the saw is tried on, the markings are corrected.
- On the lower side, markings are made, which are intended for stiffeners. For them, blanks are prepared from a board measuring 50x100 mm. Optimal location - up to 10 cm from the edge of the table.
- Longitudinal stiffeners are sawn and attached to the tabletop with wood glue. Clamps are used for fixation. By a similar principle, lateral stiffeners from beams are attached.
- After the glue dries, holes are drilled in the stiffeners, tightened with self-tapping screws.
- For the table legs, boards with a size of 50x100mm are used. The average optimum height is up to 110 cm. The legs are attached to the outside of the stiffeners with strong bolts. To improve stability, you can use screeds from beams 50x50 mm in size.
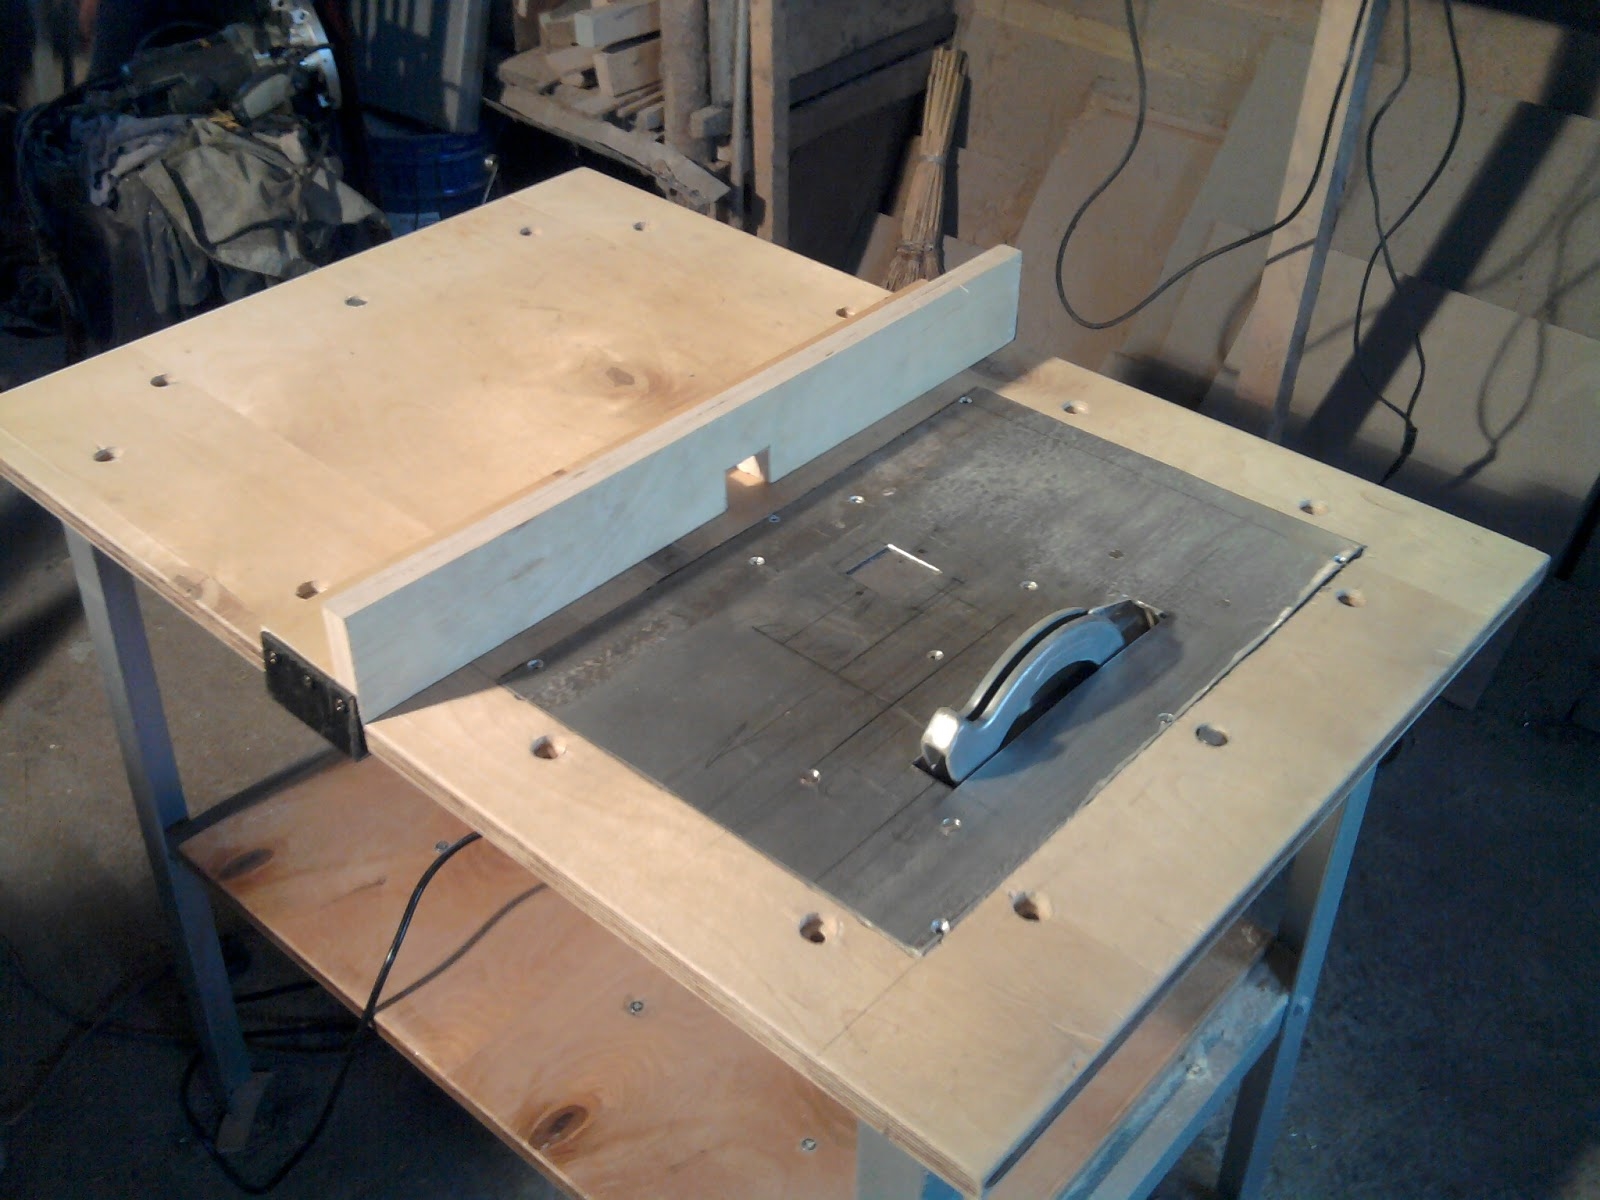
The hand-held circular saw fits into the finished groove from the underside, the base is bolted in place. A toothed disc is inserted into the slot. By following the technology and completing all the stages, you can make a homemade table with minimal costs for your growth.
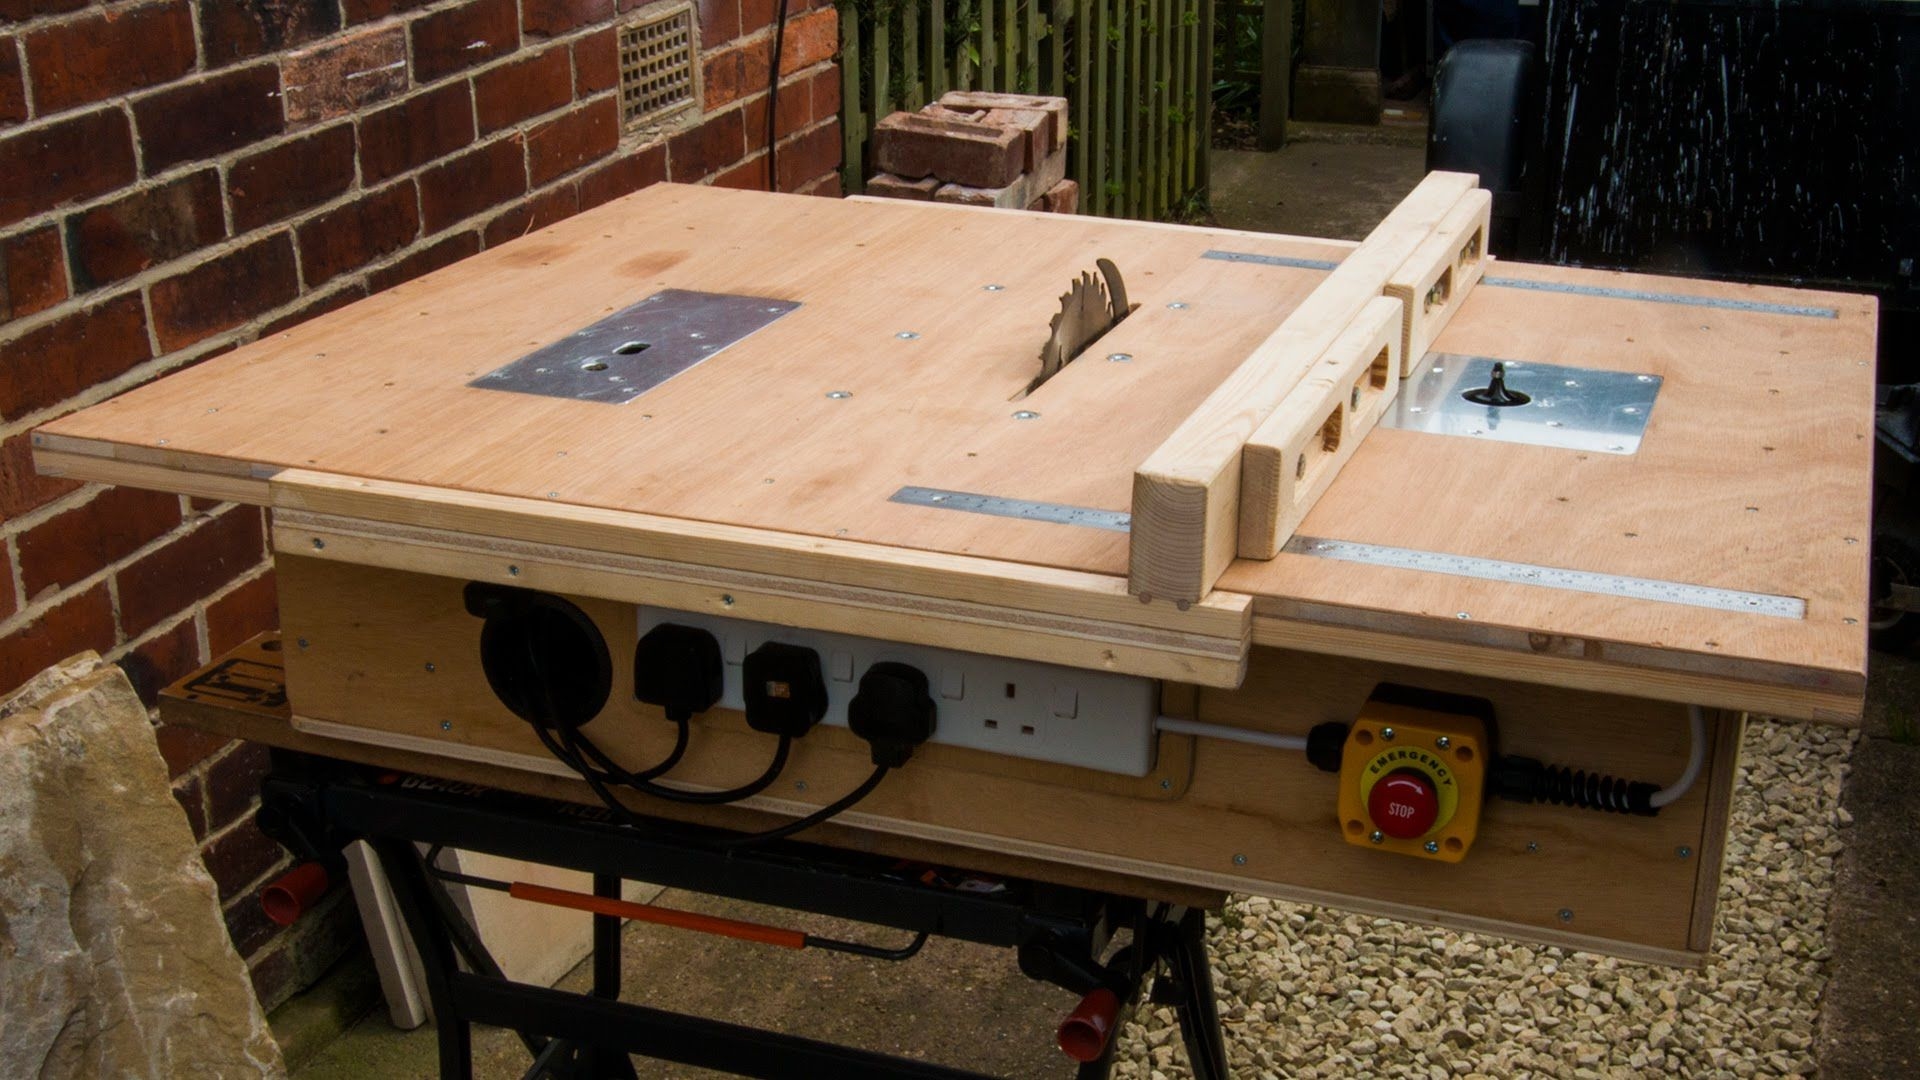
Video: DIY circular saw table
