How to glue the edge to the countertop
If you yourself make furniture from chipboard or MDF, then you understand the importance of the issue of protecting the end parts. In addition to the aesthetic appearance, this "procedure" will extend the life of your furniture.
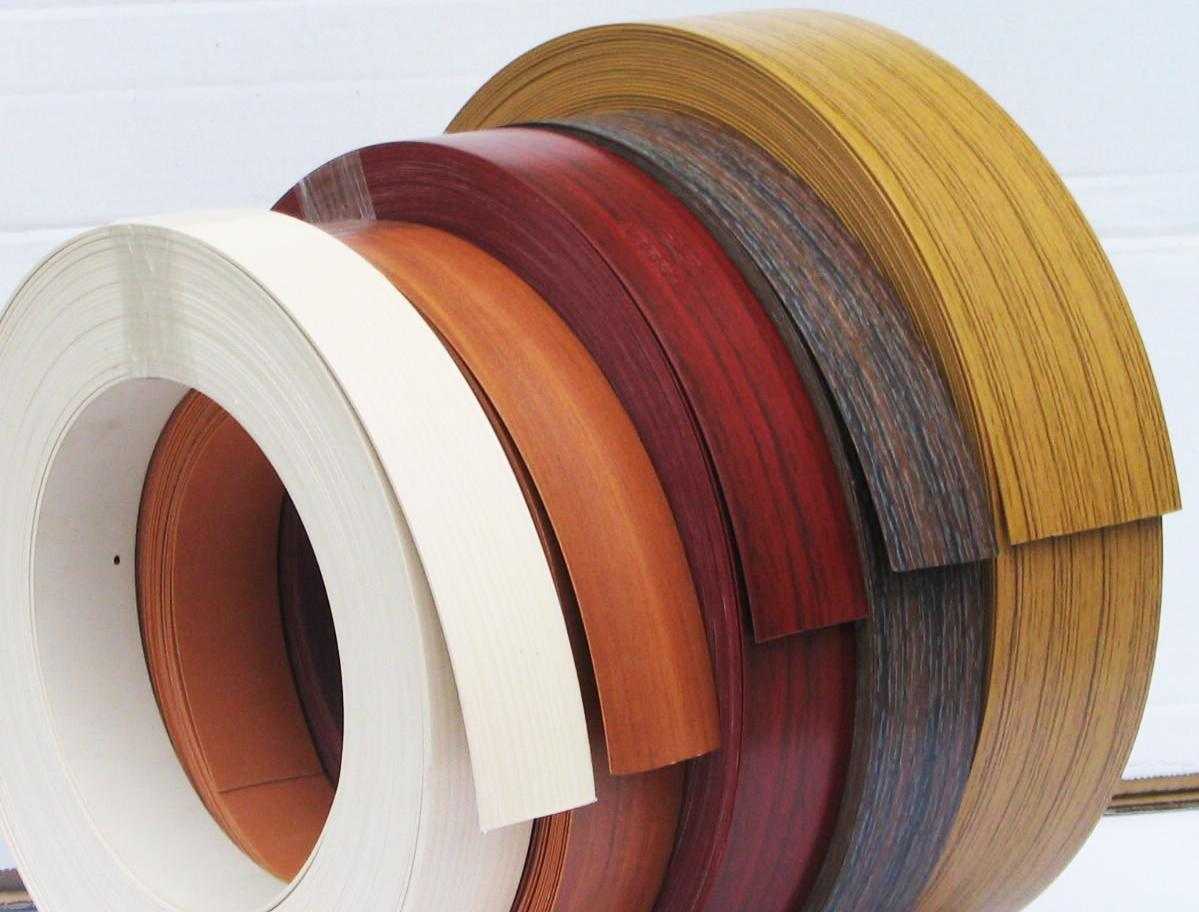
Ready-made edges are available today, and you just have to choose the right option and glue it correctly.
What is an edge
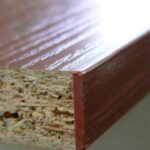
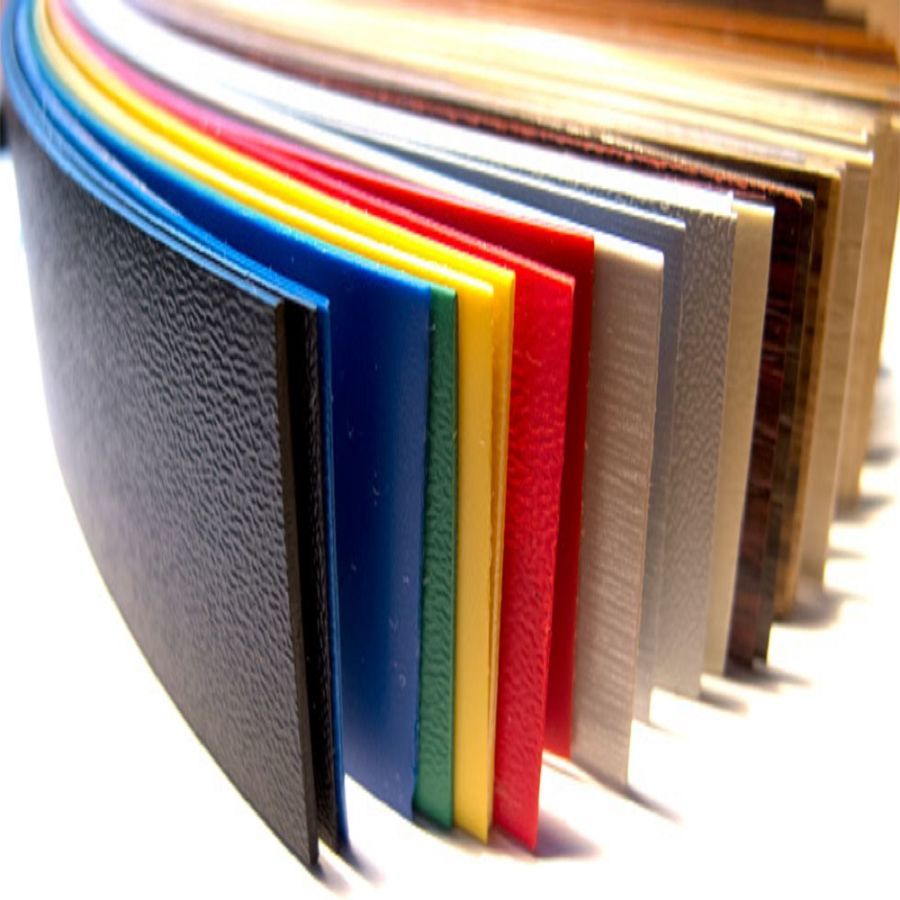
The edge for furniture is a strip made of PVC, ABS plastic, melamine or other material. An edge is needed in order to close the ends, protect them from moisture and dust, and also give a finished look to the product.
In addition, if the furniture is made from cheap materials, the edge is, without exaggeration, vital for you and your household. The fact is that formaldehyde resins, which are very dangerous to health, will evaporate through the open edge.

Alternatively, end plates can be used instead of adhesive edges. Their installation is much easier, but many believe that the linings do not help to create a harmonious appearance of the product, they look rough and unnecessary.
In what rooms is the edge needed
As already noted, the edge is not only an aesthetic element, it carries a very serious load, for example, it protects against moisture. Based on this, it is clear that the edge is especially necessary for kitchen interior items, since there is high humidity here.
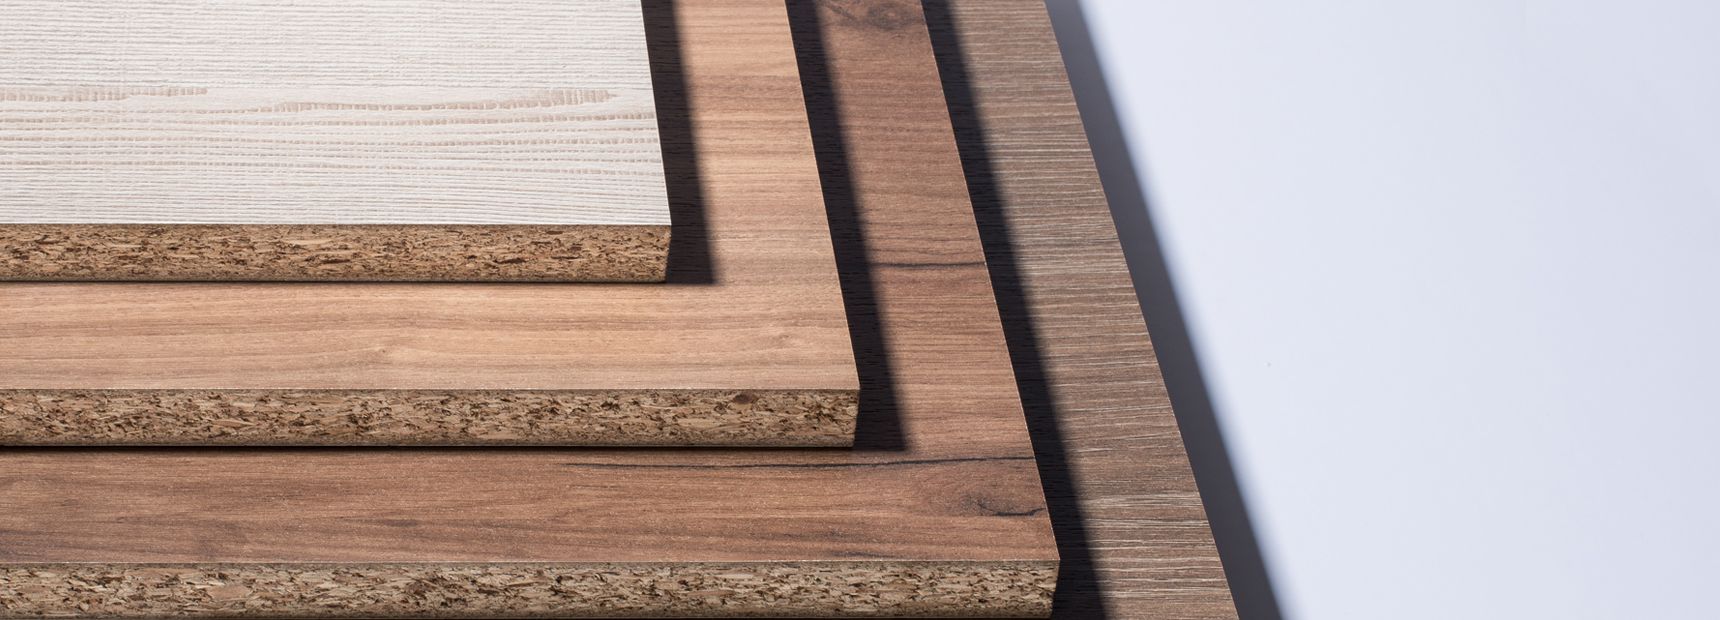
This means that in order to avoid premature aging of furniture, swelling of surfaces from exposure to moisture and other troubles, the edge should be. In other living areas - living room, nursery, bedroom - the edge will protect against dangerous fumes.
Varieties of edges
There are several types of edging that are used to finish the ends of furniture.
Melamine paper
This material is used at home more often than others. The gluing process is simplified due to the presence of an adhesive layer. The disadvantage is the low performance characteristics of this material.

Pvc
Polyvinyl film finds its application in a variety of areas, and edging furniture is no exception. The direct purpose of such material is to seal the ends.
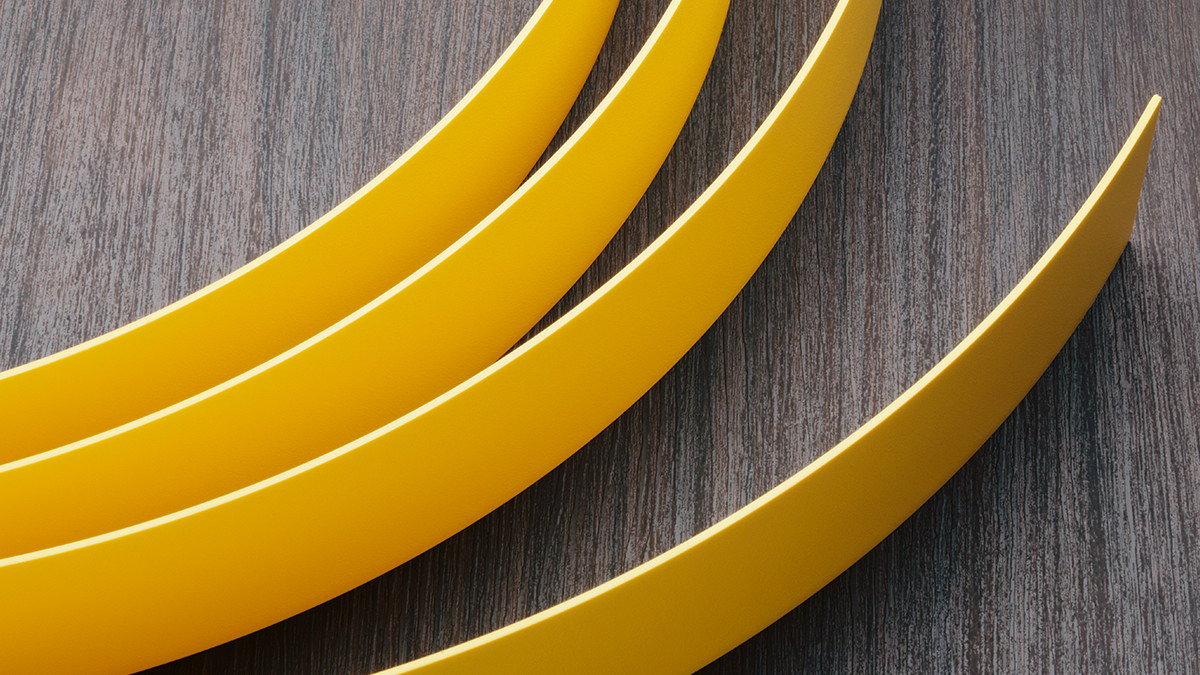
The adhesive layer on the pvc film is not provided, and this significantly complicates the process of gluing the material. On the other hand, however, a polyvinyl film edge will last much longer than a paper edge.
ABS plastic
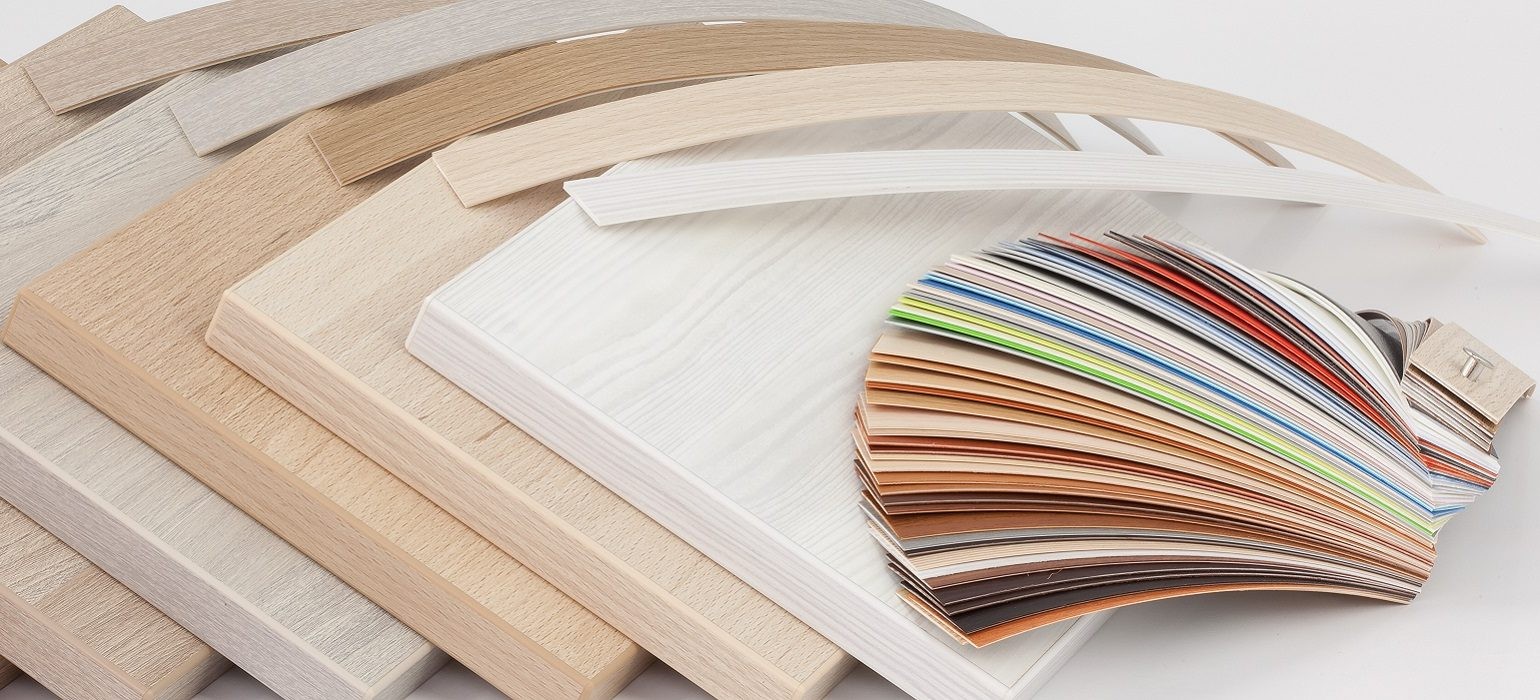
You can easily glue this edge option on your own, there is already an adhesive layer. And if we add high wear resistance to the convenience of fastening, it becomes clear why this edging material is so popular.
Veneer
Not the most popular material for edging furniture. It is a cut of wood, formed in the form of a tape and painted in a certain color. Typically, such an edge is used for finishing veneered interior items.
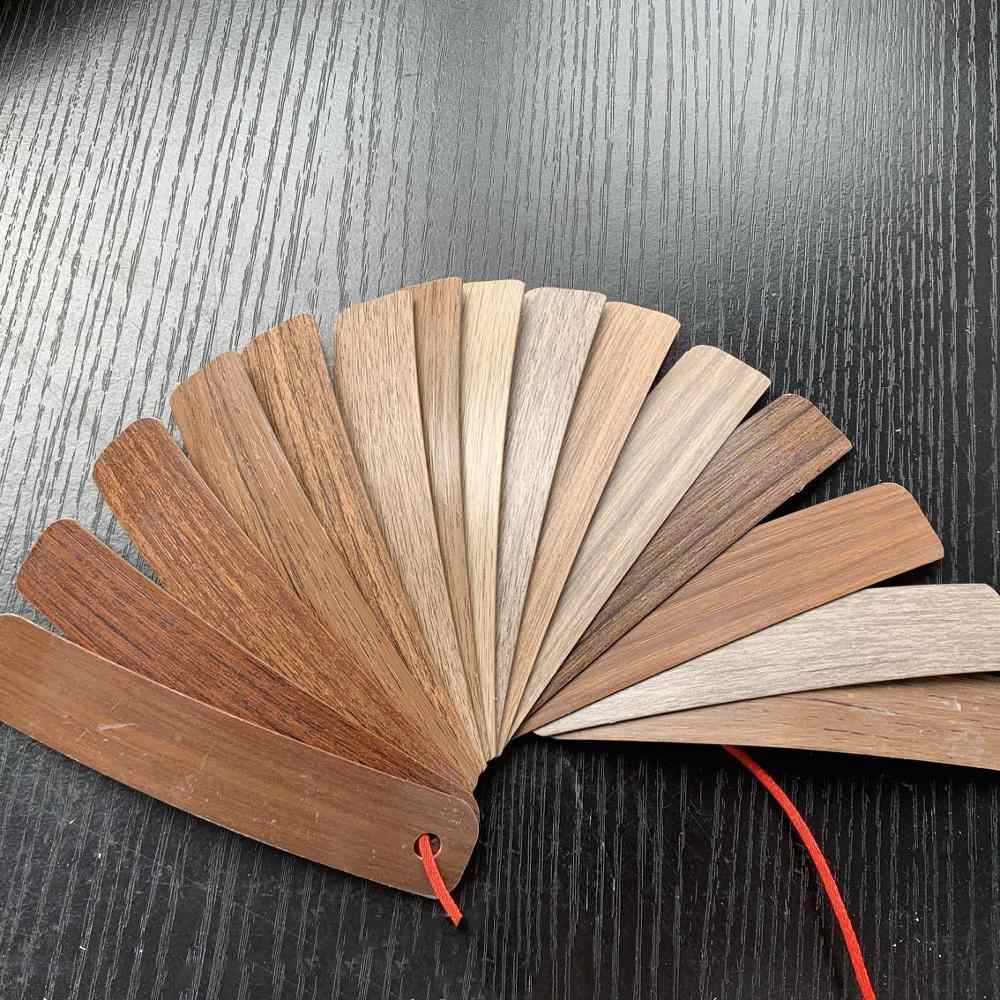
It will be extremely difficult, if not impossible, for a beginner to deal with veneer. Knowledge and skills will be required, as well as some experience with veneer. In addition, veneer edgebanding is not a cheap pleasure. In general, there are no reasons at all to take the risk and do the veneer at home.
Acrylic
And this material is now widely used in various industries and areas. Transparent acrylic is usually used for the edging. A pattern is applied to the seamy side of the hem, and the transparent top layer gives the impression of a three-dimensional picture. That is why this material is called "3D edges".
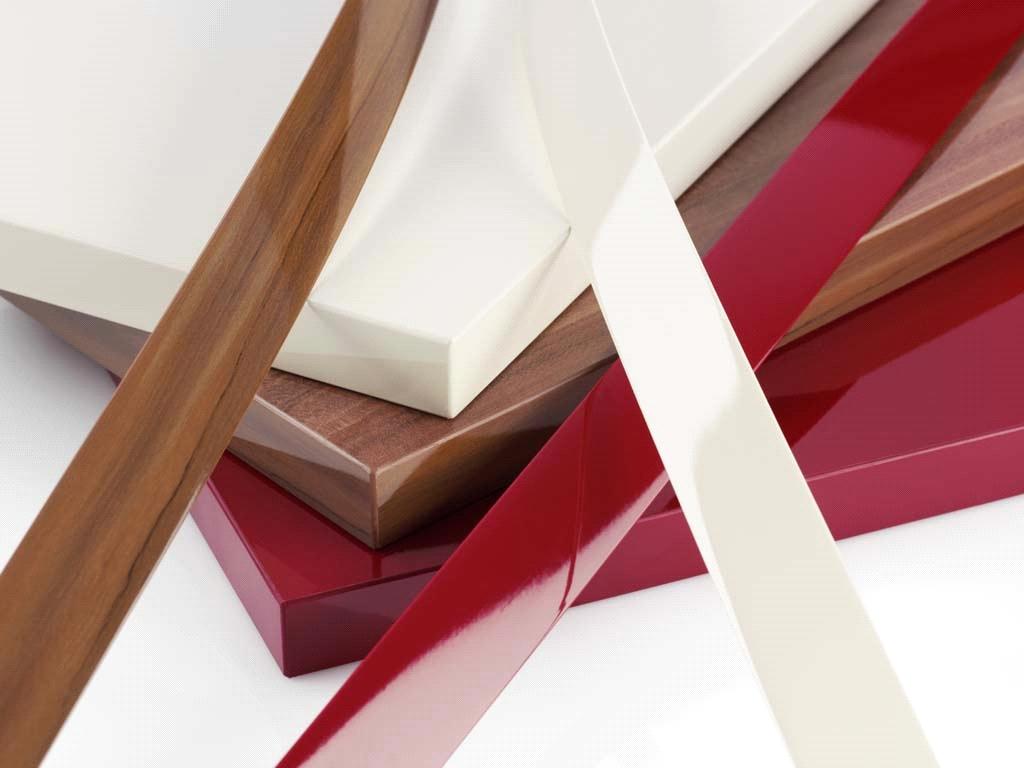
At home, it is better not to use acrylic for edging. It is too complicated from the point of view of the technological process. Moreover, such a solution cannot be called expedient. Acrylic is used in professional furniture production, where all the necessary equipment is available to create unusual design models.
Profiles
They can be mortise or overhead. In the first case, the T-shaped profile is inserted into the groove in the chipboard. This option was used quite often, but for its implementation it is necessary to have a special groove, or the ability to make it.

The overhead option is more suitable for home implementation, since there is no need for a special end configuration. The so-called P-profile is easy enough to put on the butt and secure with liquid nails. The disadvantage of this method of processing the edge is that a few millimeters of the edge will protrude, and dirt, dust will invariably begin to clog under them, and moisture will enter.
Tools and materials
To work, you will need the following tools and materials:
- An ordinary household iron or hair dryer. With their help, the edge is heated.
- Construction knife. Make sure there are new blades.
- Fine-grained sandpaper.
- Scissors.
- The worktop on which the edge will be glued.
- Straight edge in matching color and size. By the way, the color can either match the shade of the countertop, or, conversely, be contrasting.
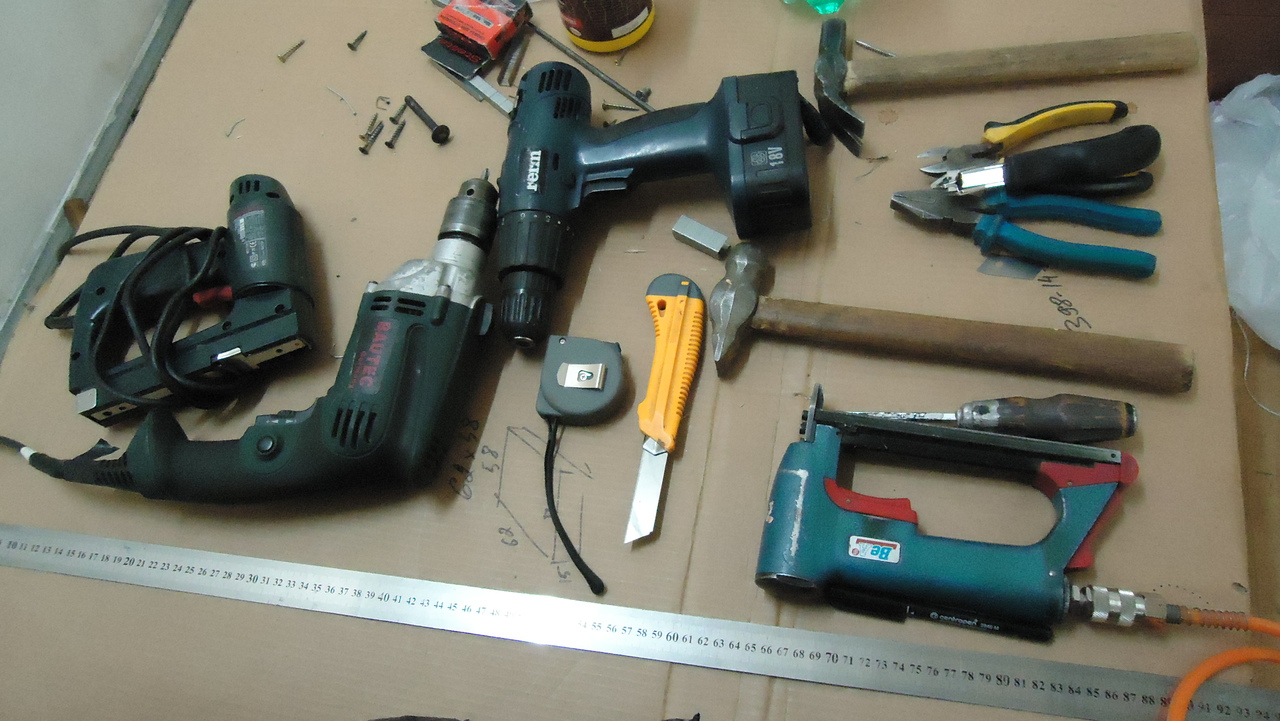
You will also need a suitable adhesive. Hot melt adhesives are used in furniture manufacturing. Such formulations have proven themselves well, they practically have no equal in terms of quality characteristics. The only "inconvenience" is that you need special equipment.
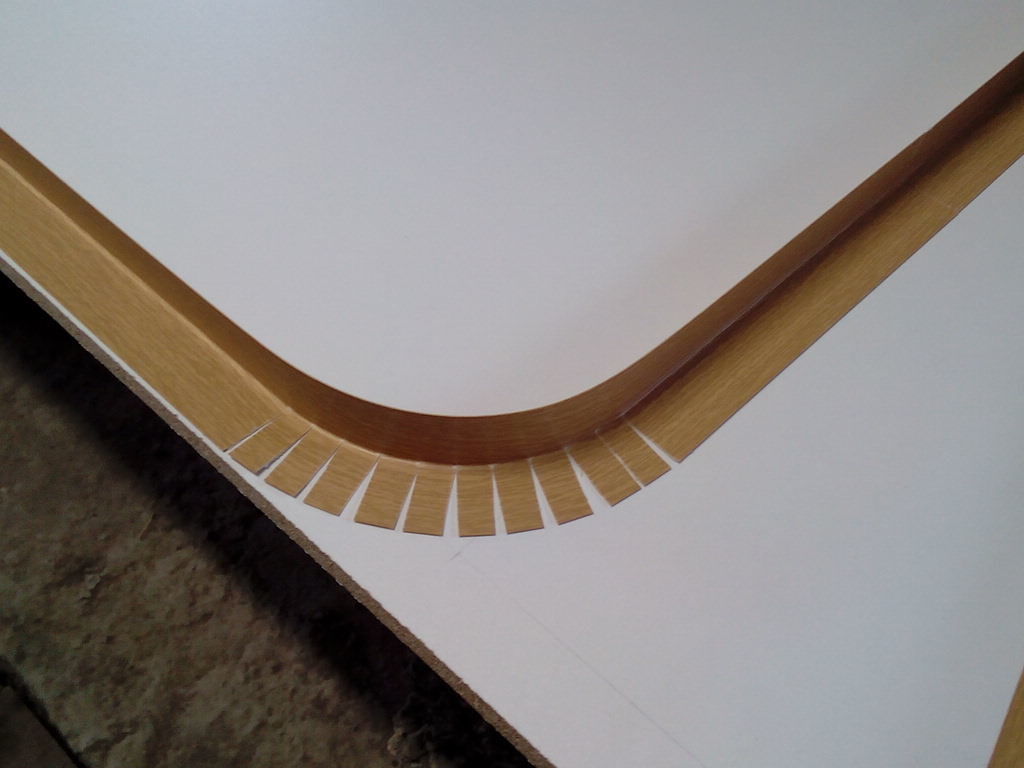
It is clear that if the gluing of the edge is a one-time action, there is no need to purchase such devices. For an amateur, this option is not suitable, but if your plans are to make furniture at a serious level, you cannot do without such equipment.
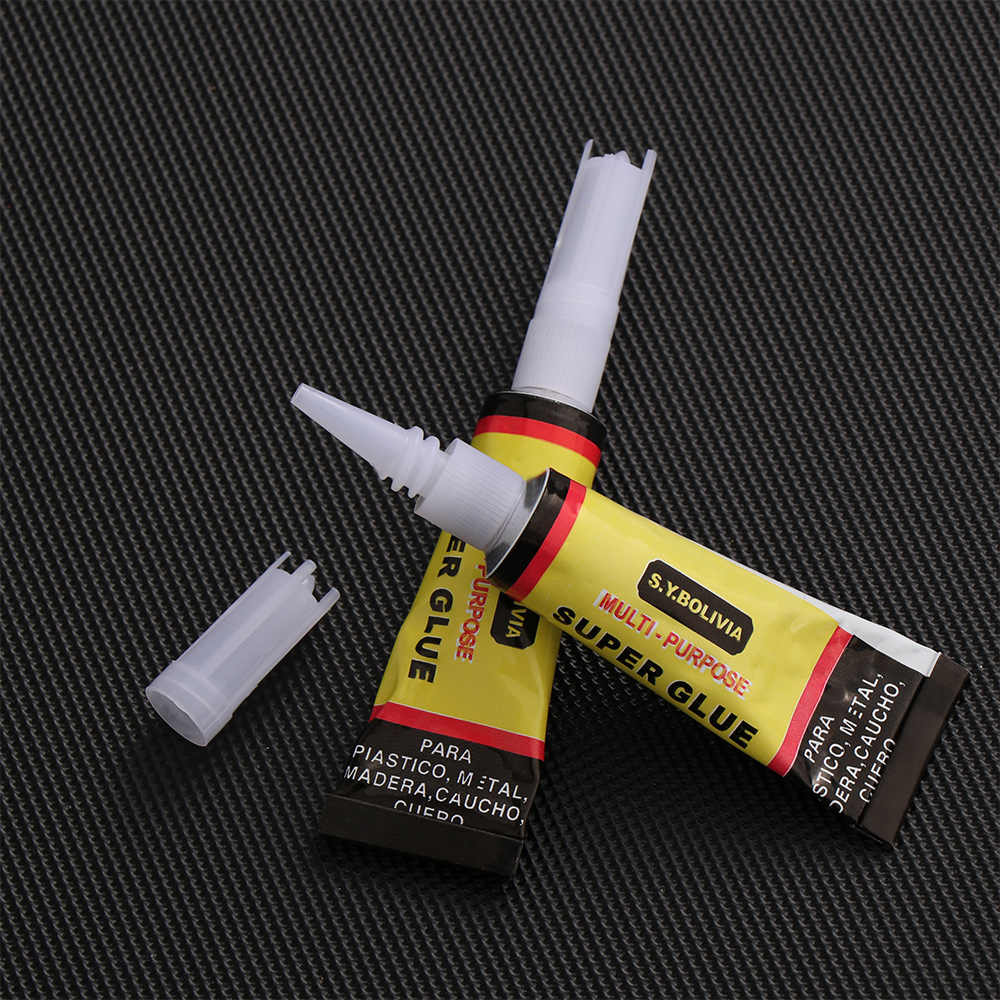
At home, they often manage with PVC glue. It does an excellent job of adhering paper to any surface. The only caveat: it is not suitable for kitchen furniture, as moisture is destructive for it.
Another option is universal adhesives. They not only provide a reliable connection, but also are not afraid of wet environments. Drying time is 3-4 hours, and after that the furniture can be used.
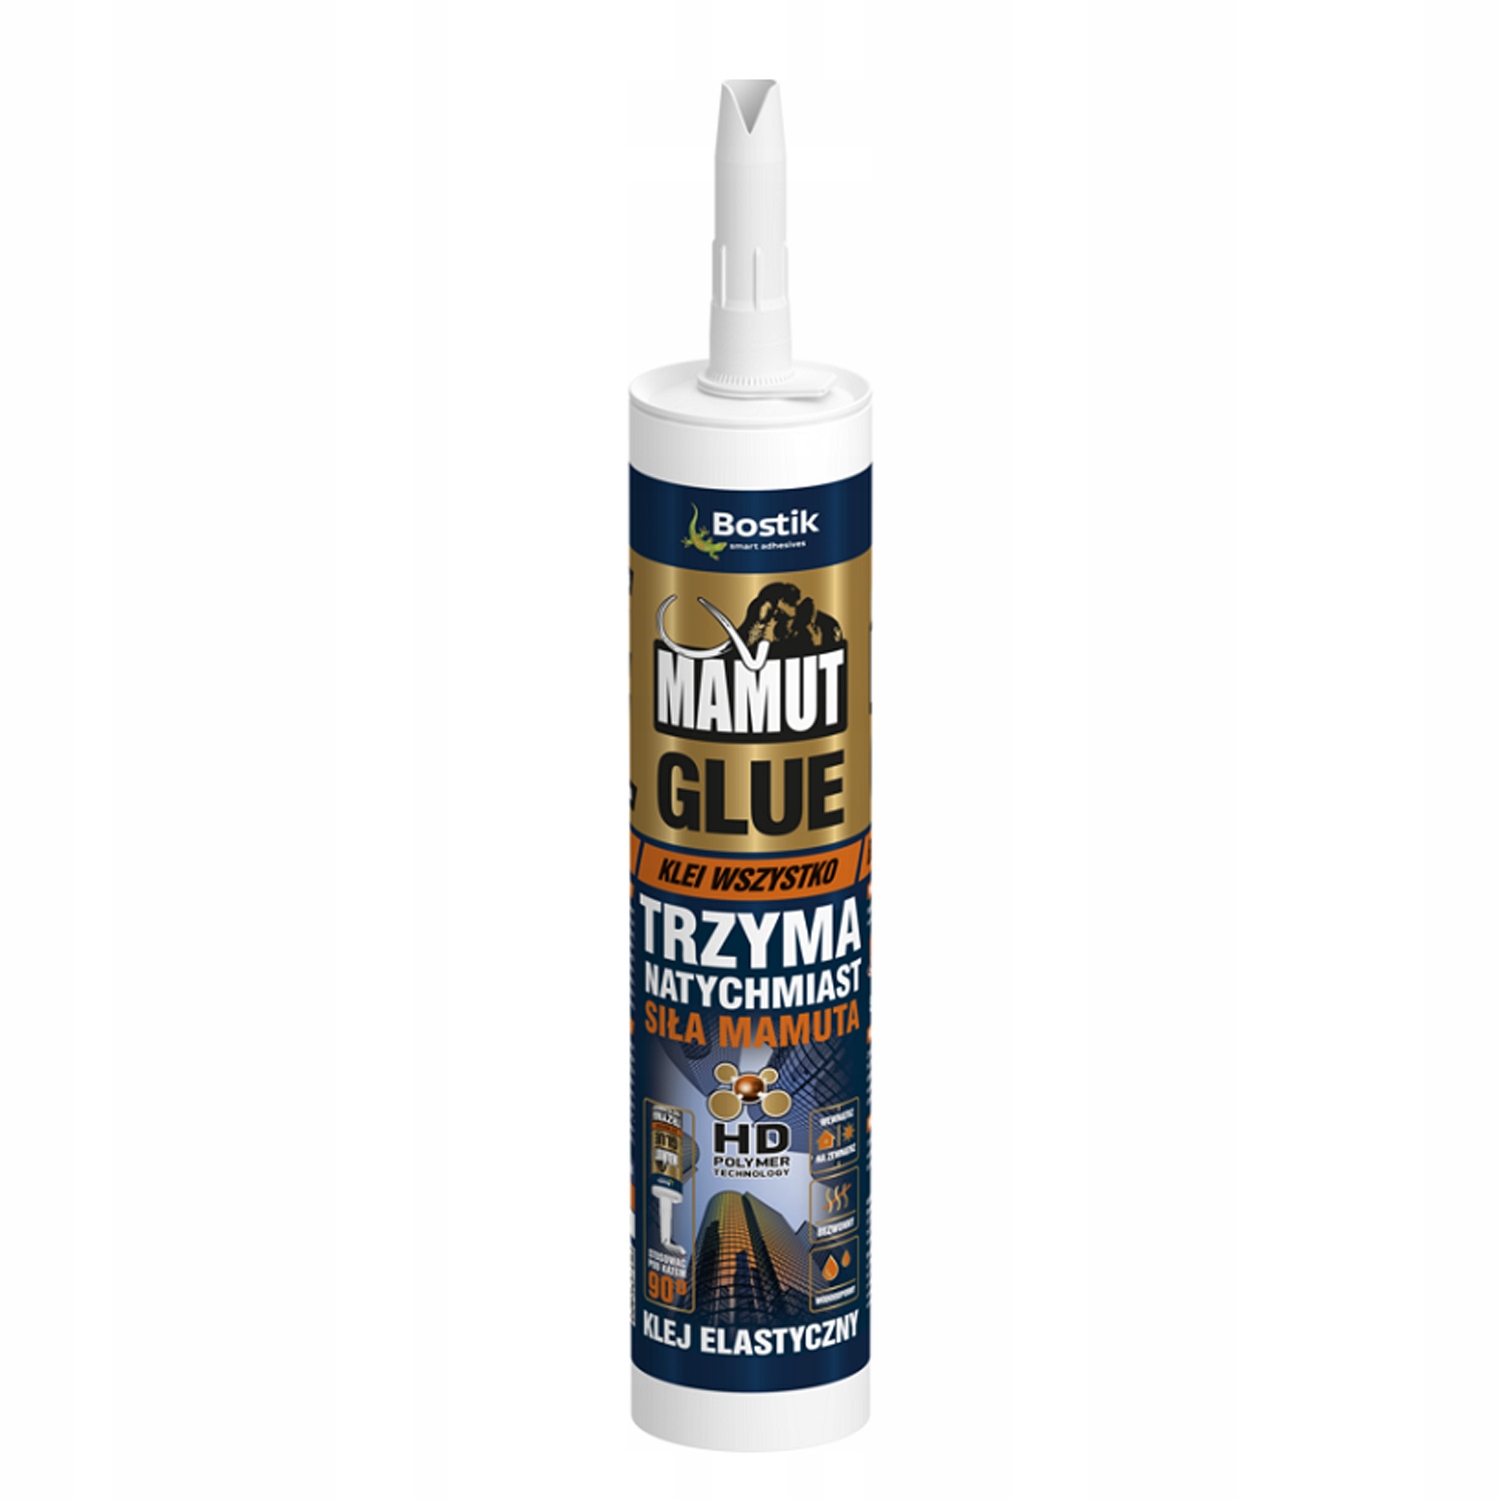
Universal glue is inexpensive and can be purchased at almost any building materials store.
How to glue the edge with your own hands
So how do you glue the edging to your countertop at home?

- To begin with, position the tabletop in such a way that it is convenient to work with the end.
- Wipe the end part with a damp cloth to remove dust and ensure the most reliable adhesion of materials.
- Measure the length of the butt carefully and cut the edge to the desired length.
- Using an adhesive, glue the edge. Attention: glue should be done only after the end is dry.
- Align the edge of the edging with the top edge of the table top, carefully trim the edges.
- Heat the iron for ironing synthetics, cover the hem with newspaper (you can in one layer), and iron for 3-5 minutes. This will melt the adhesive and ensure a tight connection between the edge and the worktop.
- After the glue has hardened, carefully trim the edge off with a sharp knife.
- If you decide to process the ABS edge with plastic, it will be difficult to trim the edges with a knife, it is better to remove the irregularities with sandpaper.
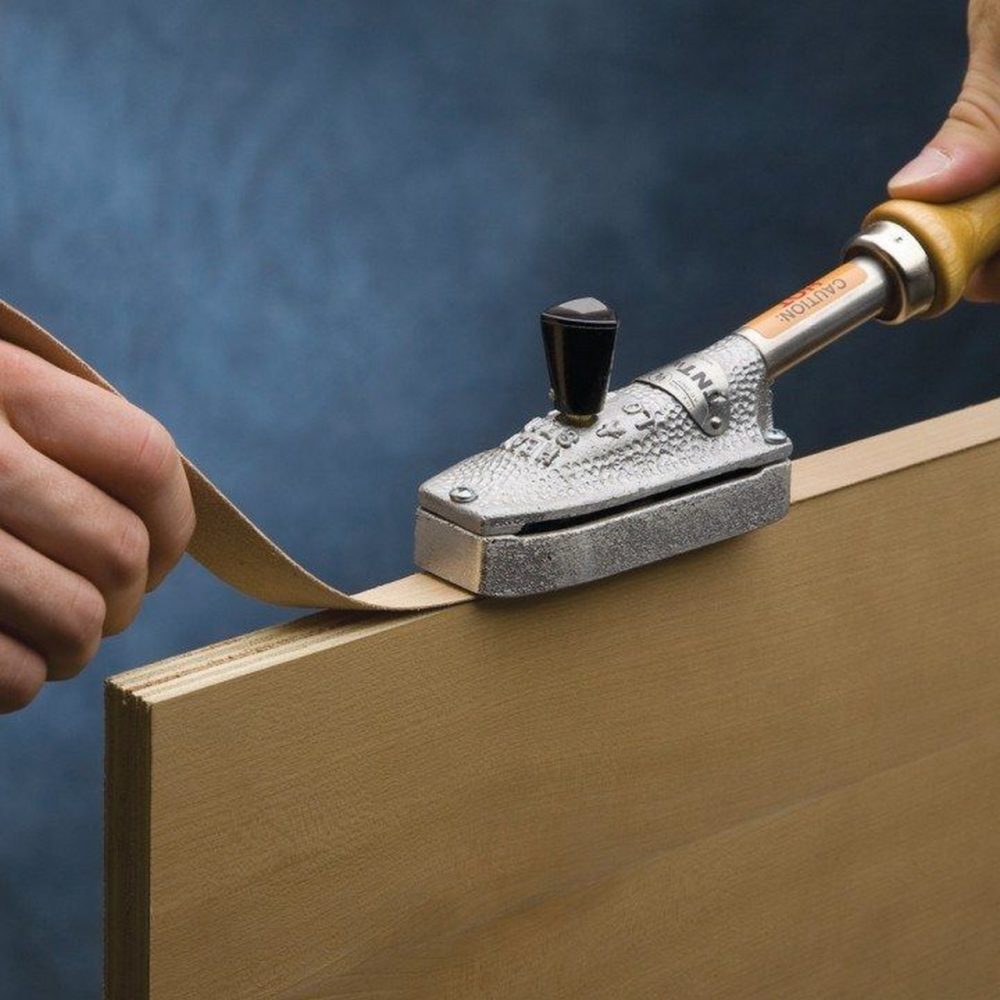
How to glue an edge without an adhesive layer
If you have an edge without an adhesive layer, then the adhesive will have to be purchased separately. After cutting the edge to the desired length, apply the adhesive. Moreover, it is better to grease both the edge and the butt with glue to ensure better adhesion. Then press down on the edge using a hard roller.

Gently roll the roller over the edge several times. If excess glue appears, wipe it off immediately with a damp cloth. After the glue is completely dry, carefully trim the edge.
Helpful hints
Each furniture maker has little tricks, thanks to which the work is done quickly and efficiently:
- The purchased edge may or may not be adhesive. The list of tools and materials, as well as the algorithm of work, will depend on this. If there is an adhesive layer, then, having attached the edge to the end, go over it with an iron (at a low temperature or in the "synthetic" mode), or with a construction hair dryer. Be sure to ensure that the cut surface is completely flanged.
- Start warming up only after you have made sure that the edge is level, there are no waves or bends. The material is ironed until the edge has cooled completely.
- If you can't get a special glue, use a multi-purpose one. In order for the connection to be strong, the surfaces must be clean, free of dust and crumbs.
- For maximum bond strength, apply adhesive to both surfaces. And for smoothing, use a hard roller, it is better if the rolling surface is small.
- The protruding parts are removed only after the adhesive has "seized". And the places of chips are processed with fine sandpaper.

Such work can be done even without special skills and professional equipment. It's just that there are certain rules and features of the workflow that you should be clear about.
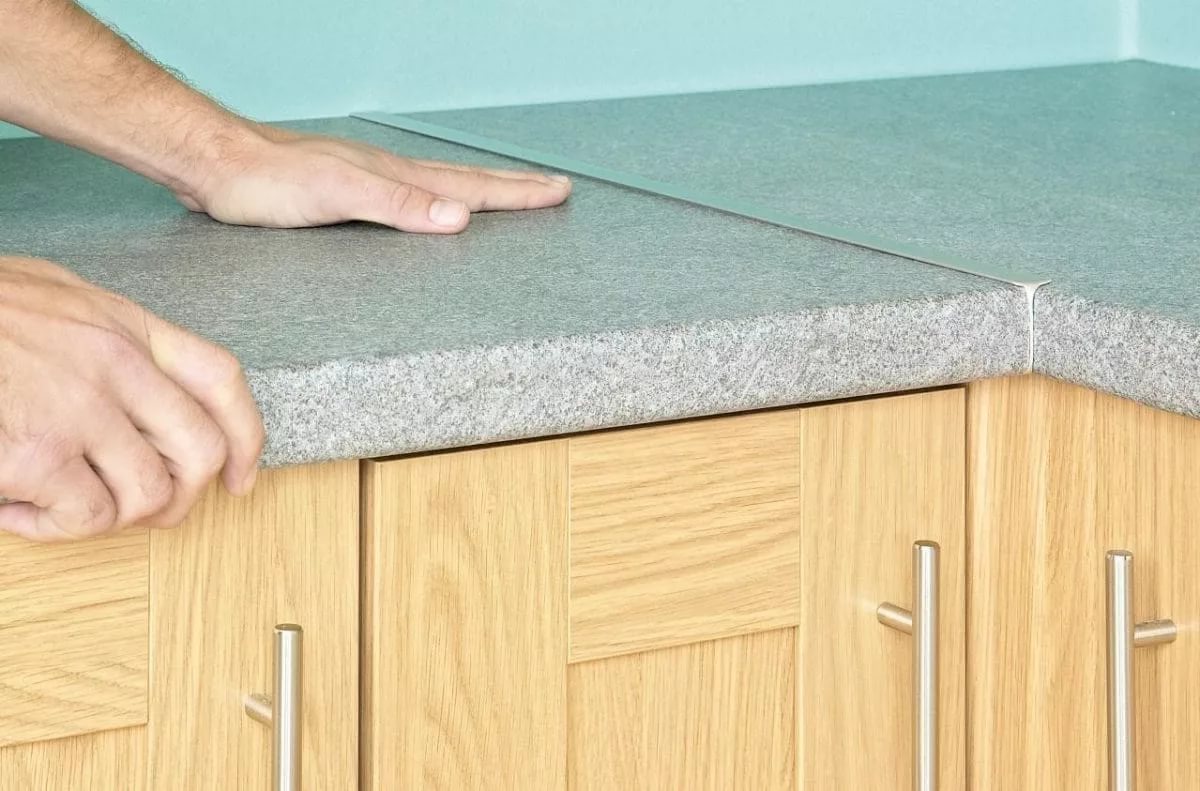
Immediately, we note that if you use high-quality materials and adhesives, the workflow will not be difficult for you. It is quite possible to use ordinary household appliances as tools (an iron, for example).
But furniture made or repaired by your own hands is guaranteed to create coziness and comfort in your apartment.

Video: how to glue the edge on the countertop
