How to make a console table with your own hands
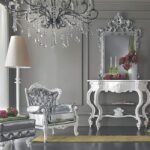
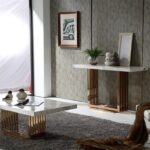
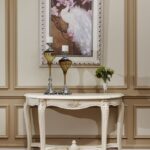
This piece of furniture was often found in luxurious interiors of the Baroque and Rococo periods. The main distinguishing feature of the console tables is their ergonomic design. They are quite narrow, placed close to the wall, and are great for storing cosmetics, accessories and souvenirs. We will tell you how to make a console table with your own hands and what furniture options are.
What is a console table
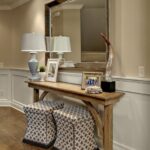
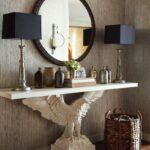
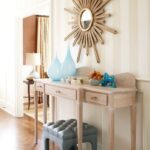
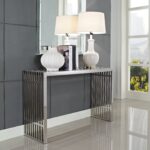
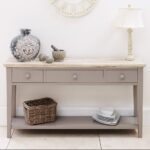
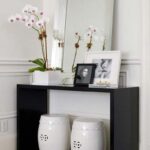
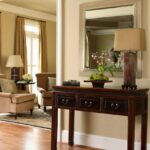
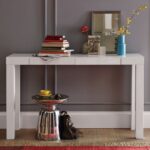
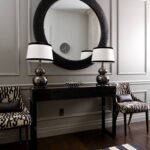
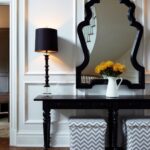
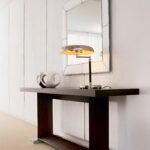
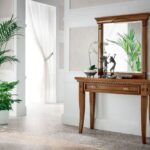
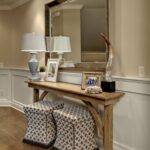
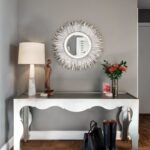
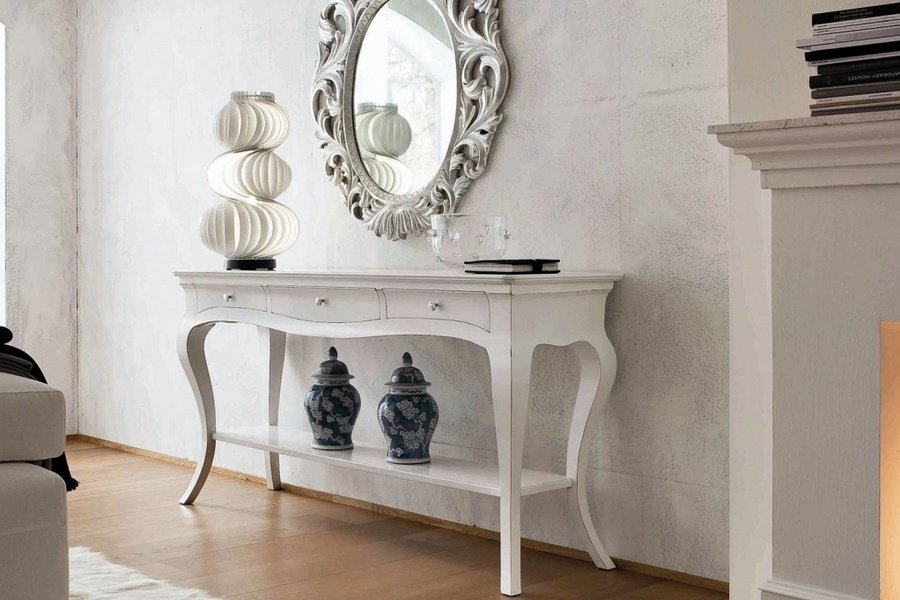
A miniature narrow table that is used to store small things or decor is called a console table. This is a pretty handy thing: it can be placed in any room of the house. In the hallway, the console is useful for storing keys, in the bedroom - for accessories, cosmetics, in the living room - for interior decoration. You can put souvenirs and even a TV on it.
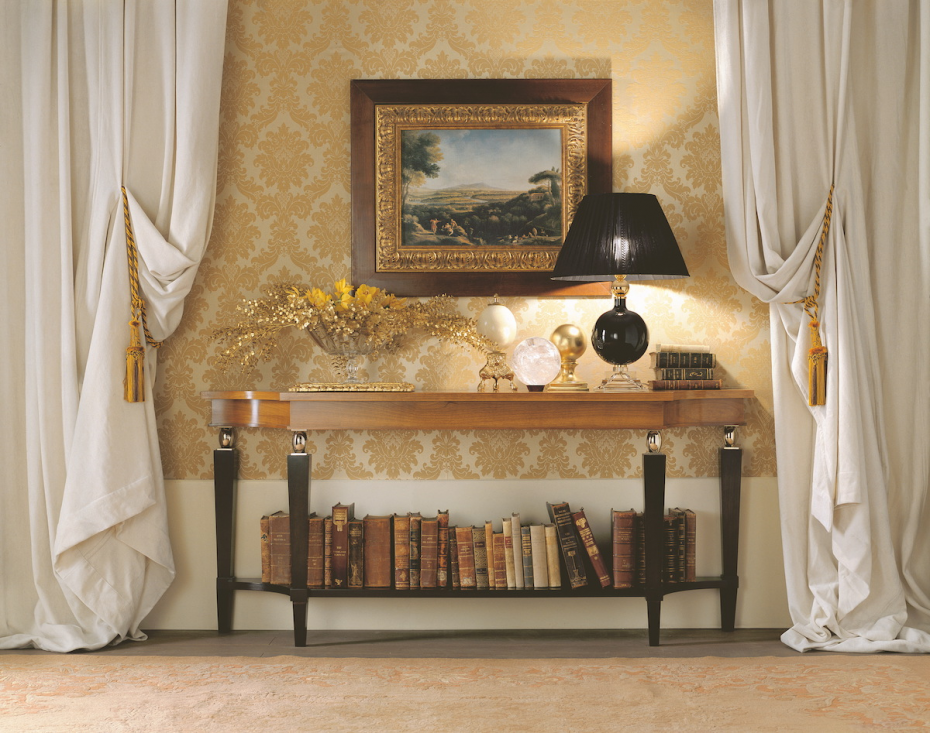
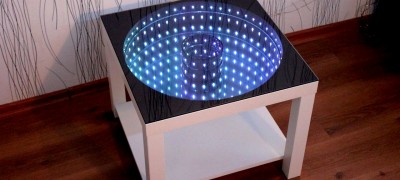
Sometimes these tables are turned into mini-bars.
Varieties of consoles
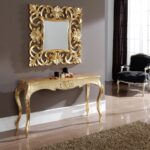
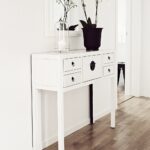
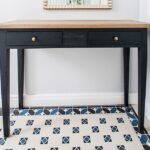
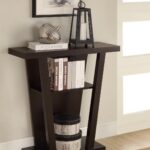
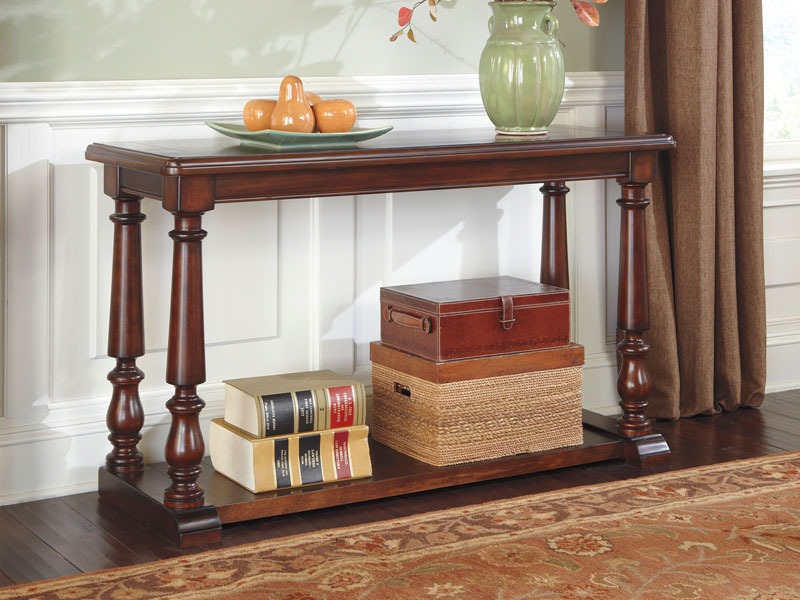
Console tables differ mainly in design. They can be either classic design with ornate decor, or minimalistic. Some models are based on 4 legs, others have only two or three legs.
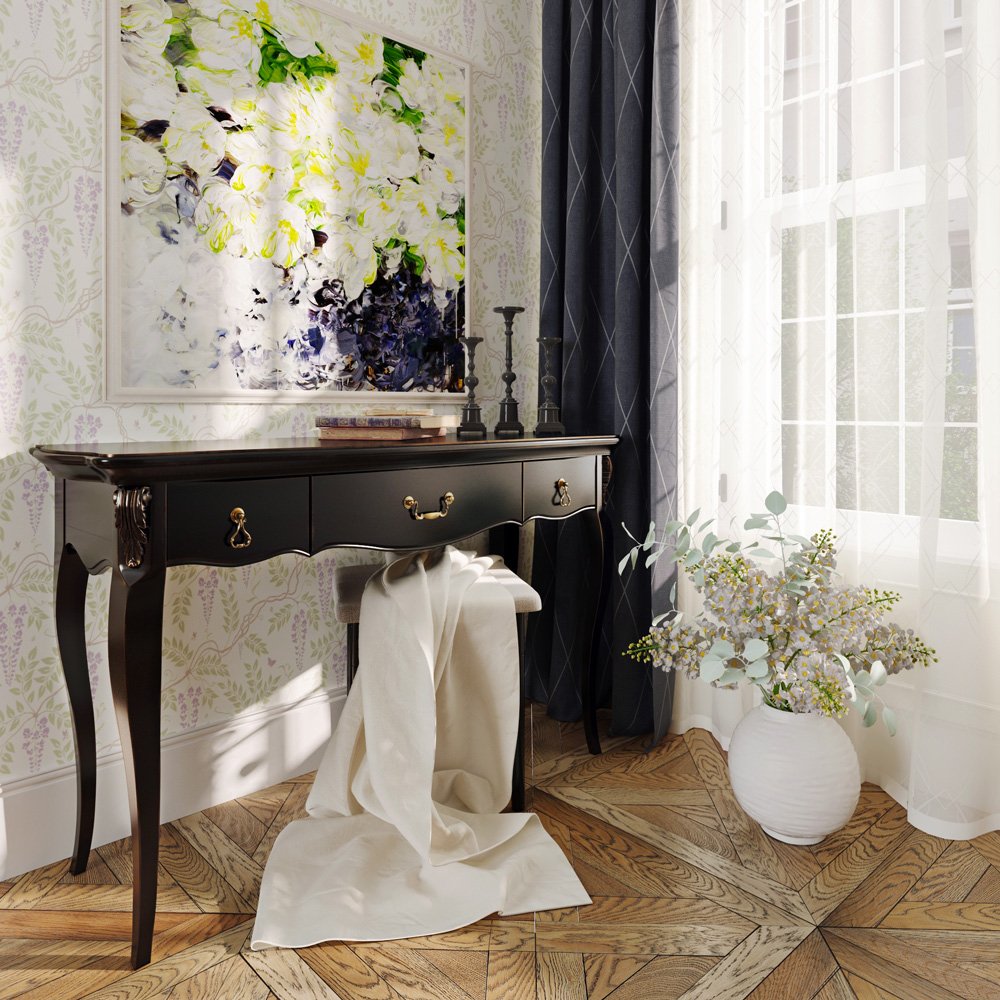
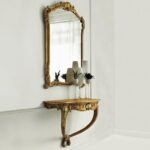
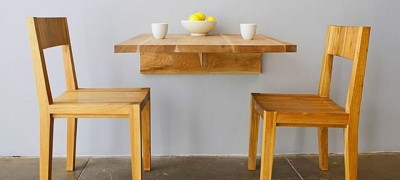
An interesting option is a console table with two legs fixed to the wall.
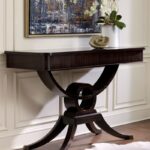
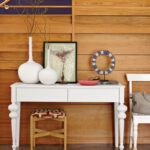
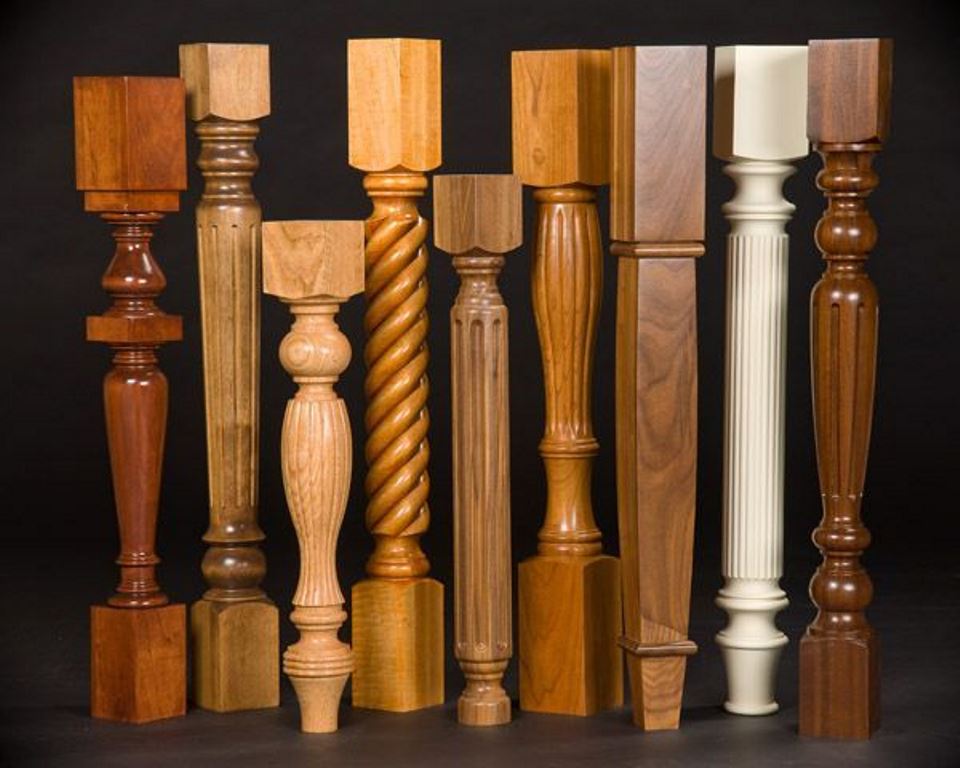
Most often, furniture is made with balusters - curly legs. This is a reference to the era of console tables.
How to do it yourself
You can make a console table with your own hands from scratch or from an old table. To facilitate the work, you can buy ready-made legs and order sawing parts. This will save time and help out a novice craftsman who does not have the necessary tools in the house.
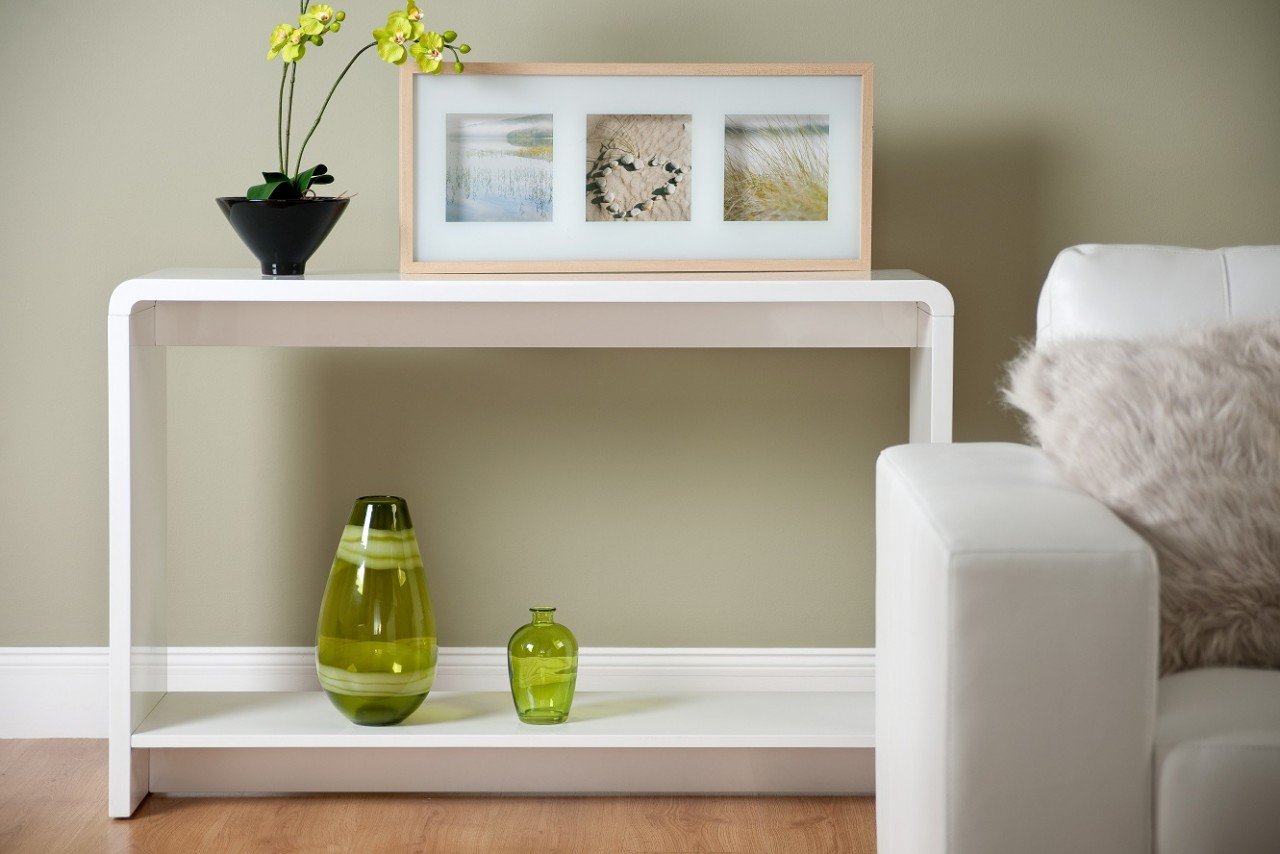
Drawing
According to the drawings, the console table can be made with the lower part, which is equal in parameters to the table top. You can do without this part, but then you will need to mount either 3 wider supports or 4 narrow legs.
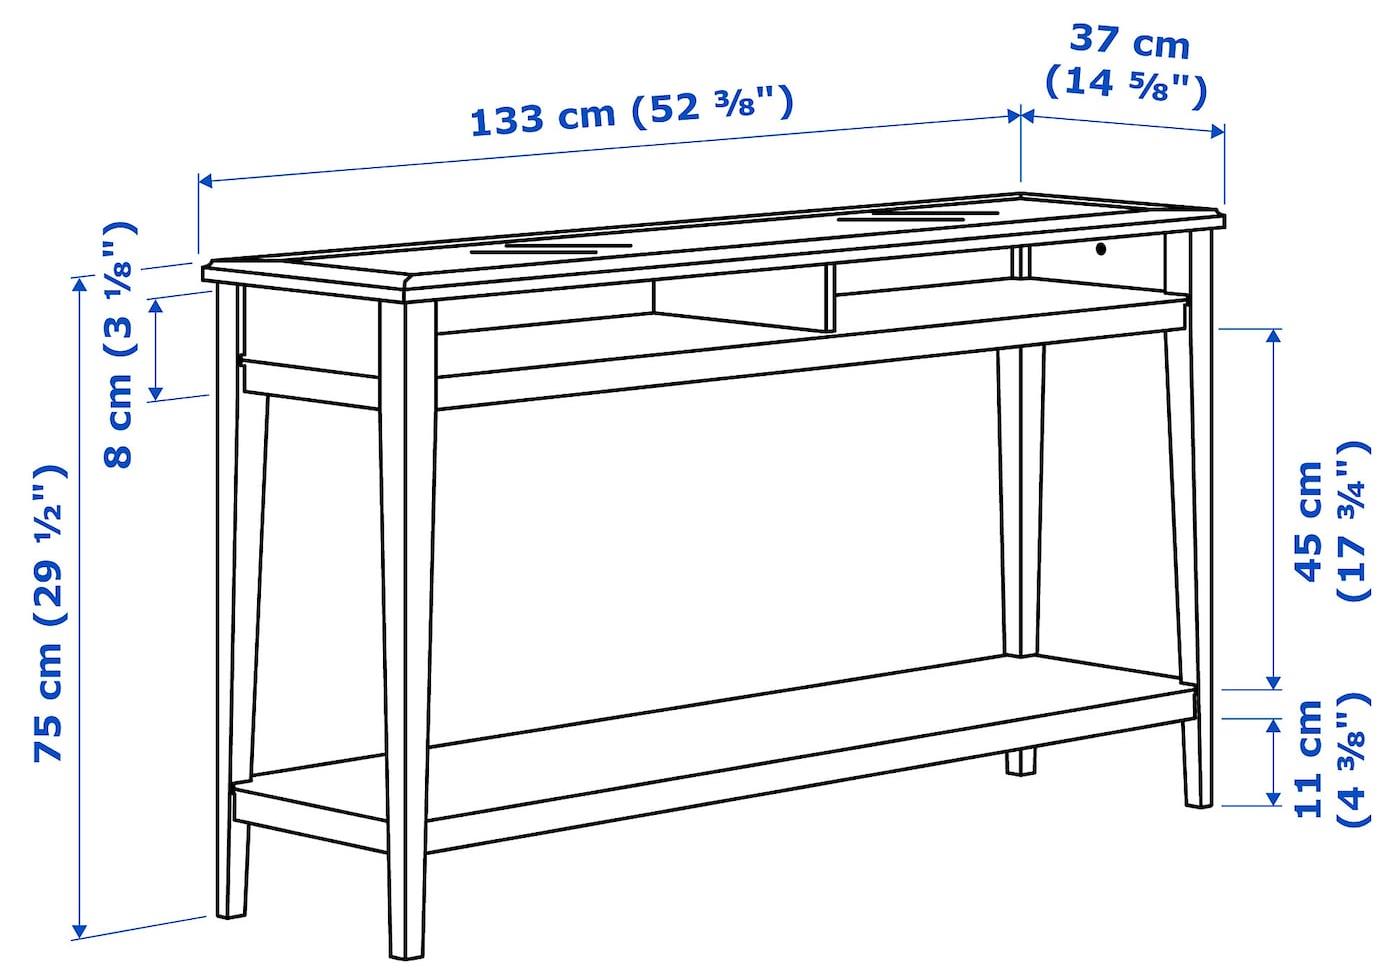
Selection of tools and materials
In addition to wood, plywood and MDF, a do-it-yourself console table can be made from unusual materials. Some people use old narrow windows or parts of doors. Such furniture will fit into modern and kitsch interior styles, as well as suitable for a loft.
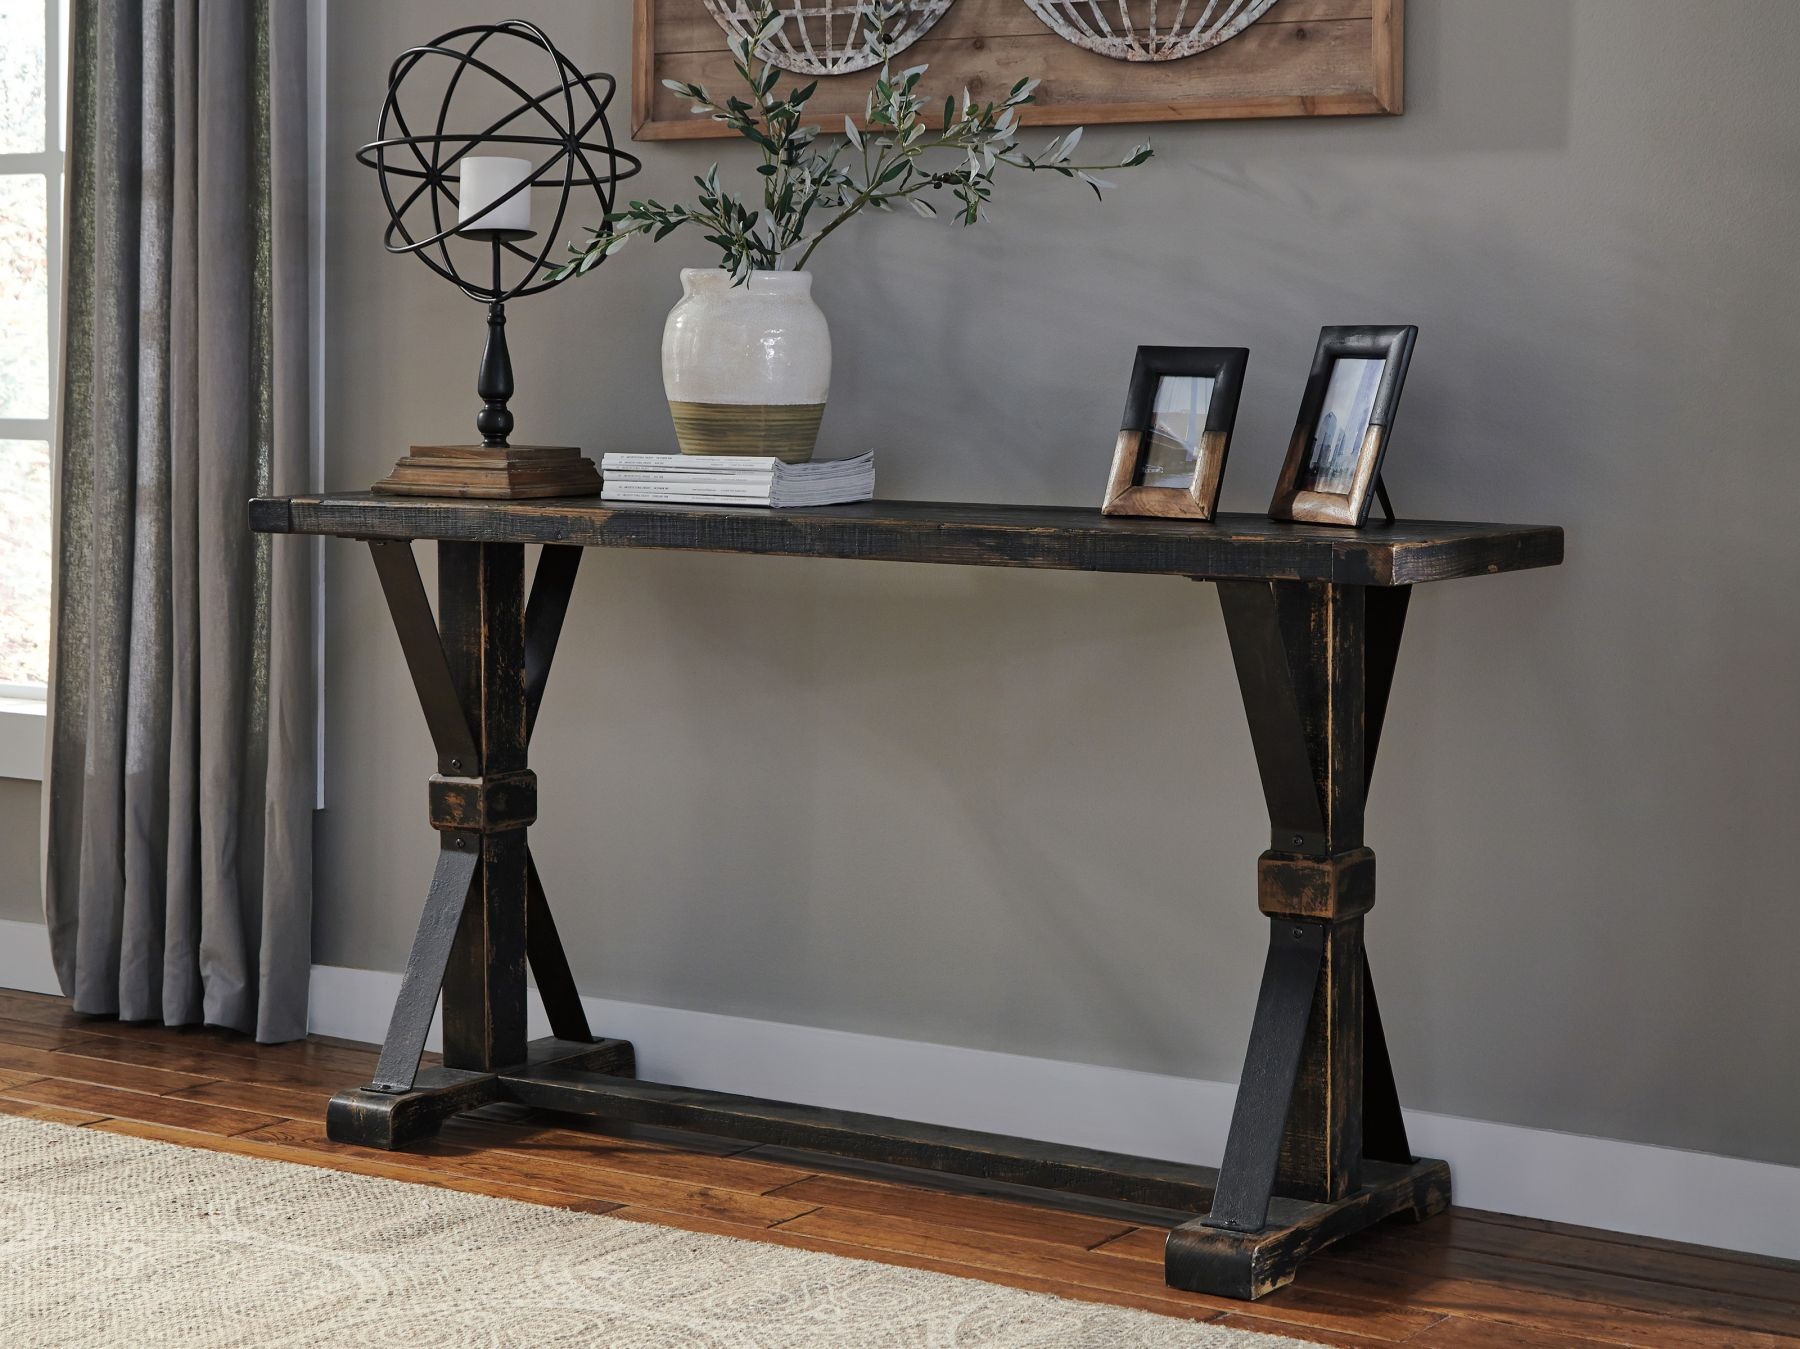
To make a table, you will need:
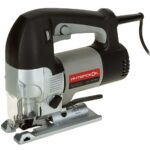
- jigsaw;
- screwdriver;
- sandpaper;
- paint / varnish;
- brushes.
Details for the construction can be cut by hand from a solid sheet or plywood, or you can order them or buy ready-made finished elements.
Table creation
To make a console table from balusters with your own hands, you need to choose the most beautiful and original legs in the store. Wooden columns made in the form of columns are most suitable.But forged ornate options will fit perfectly into the idea of a decorative table.
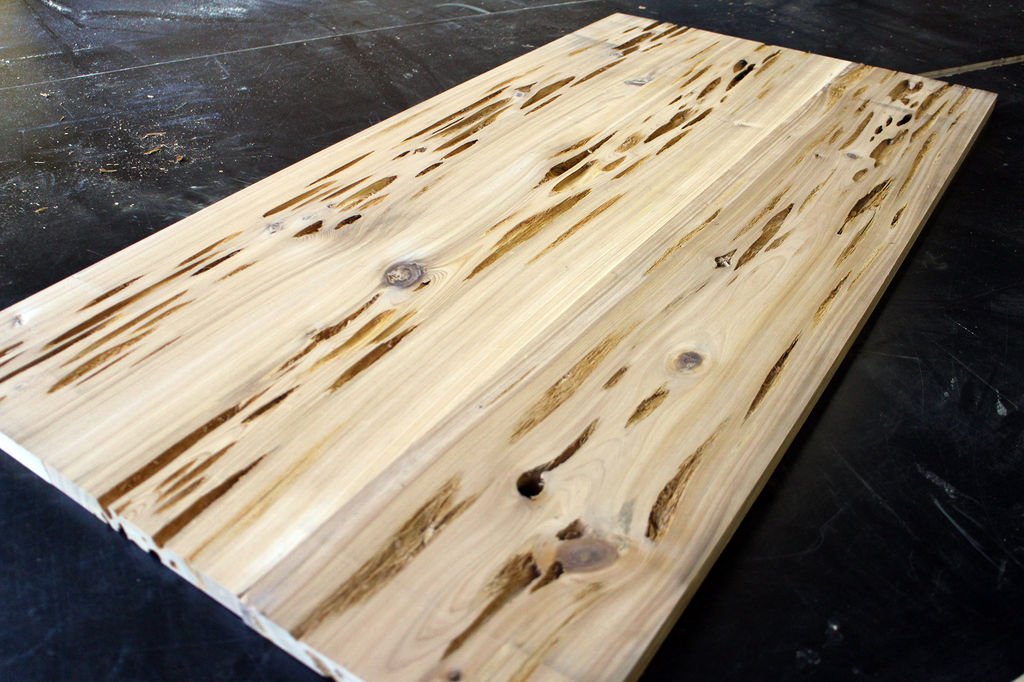
First you need to prepare the board. For the upper and lower parts of the table, take 4 boards 1.5 m long, 20 cm wide and 10 cm thick.As already noted, you can order sawn materials or make yourself from two 3-meter boards.
You will also need 4 boards 145 cm long, 10 cm wide and 10 cm thick.You also need to cut 4 squares with a side of 10 cm.
Parts of 145 cm are placed in parallel, the lower and upper ends are connected with squares, which are placed perpendicularly between the boards.
Legs are screwed between the tabletop and the lower part (parts 150 cm each).
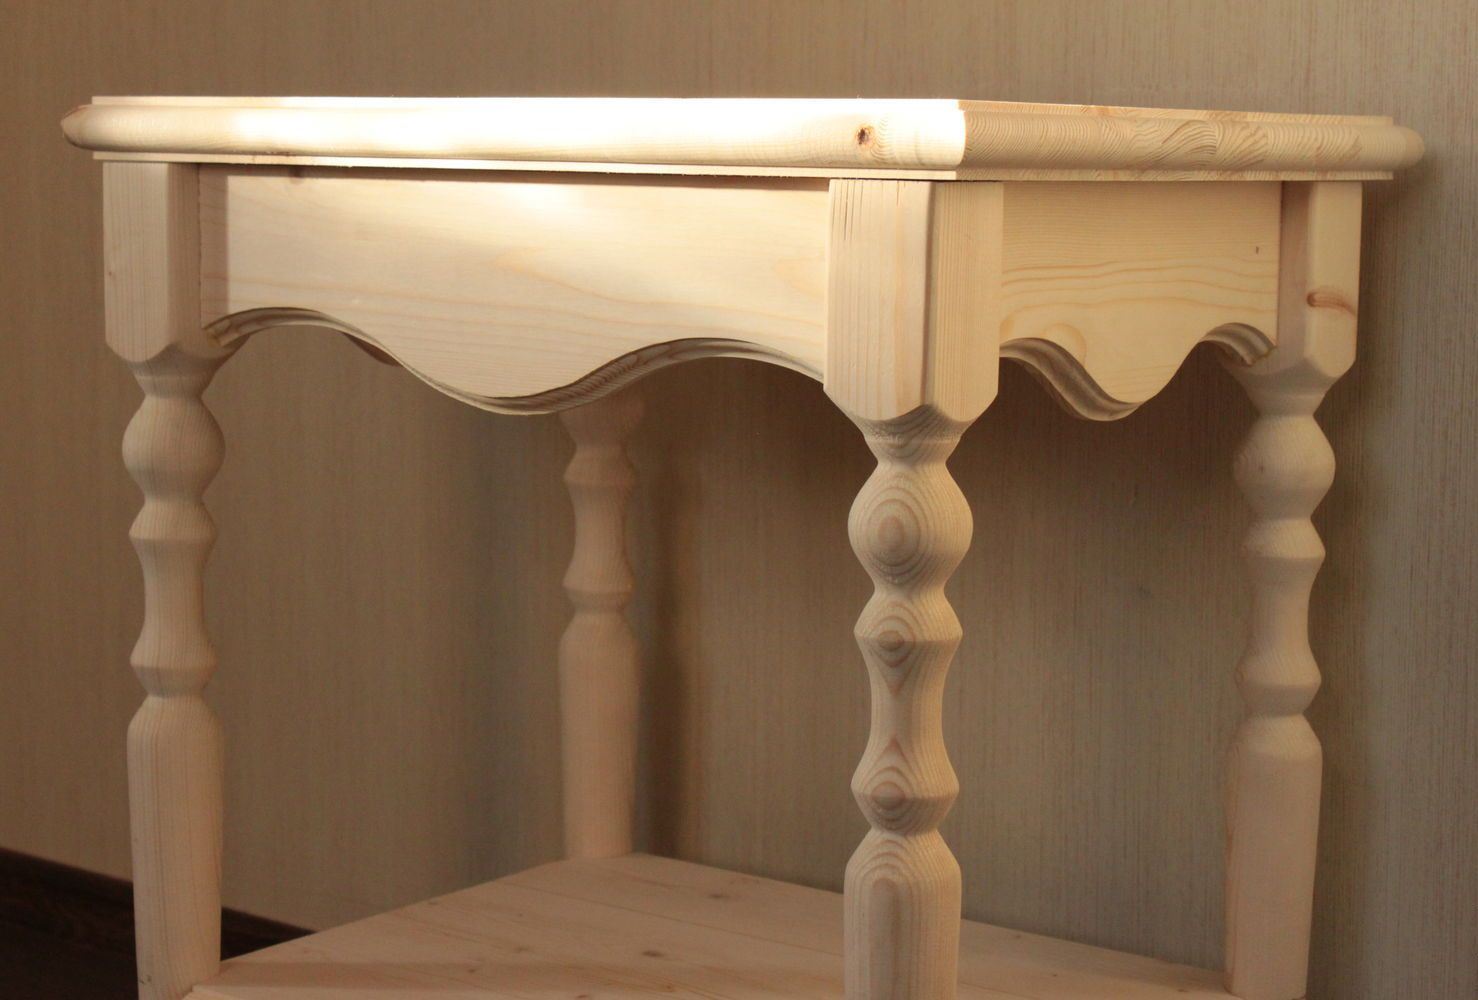
The structure obtained from boards of 145 cm and squares is placed in the center of the tabletop, with the end faces down. Fasten with glue on wood. Cover the top with a 150 cm board and secure. It turns out a "flaky" table top. The exact same detail needs to be done for the bottom: turn the almost finished table over, fix the structure in the center of the bottom part, glue the second board.
However, you can make a table with a regular table top.
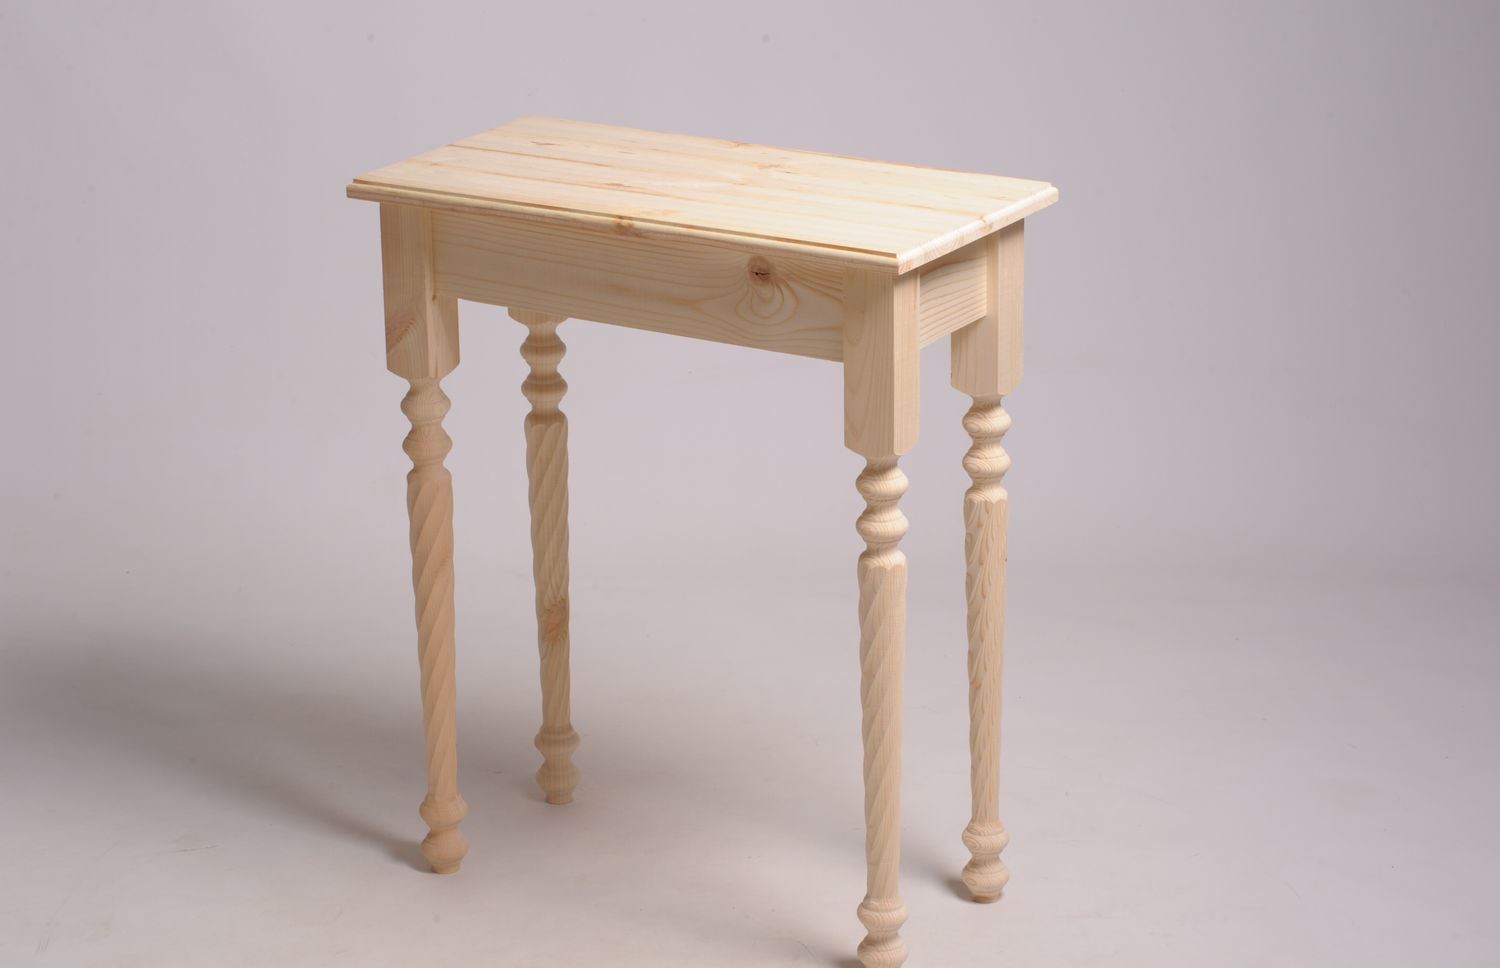
It is enough to screw the legs to the board of the desired size.
The final stage and decoration
Wooden parts must be sanded to avoid chipping. For this, sandpaper of varying degrees of grain is suitable. First, take a coarse-grained, to level out noticeable irregularities.
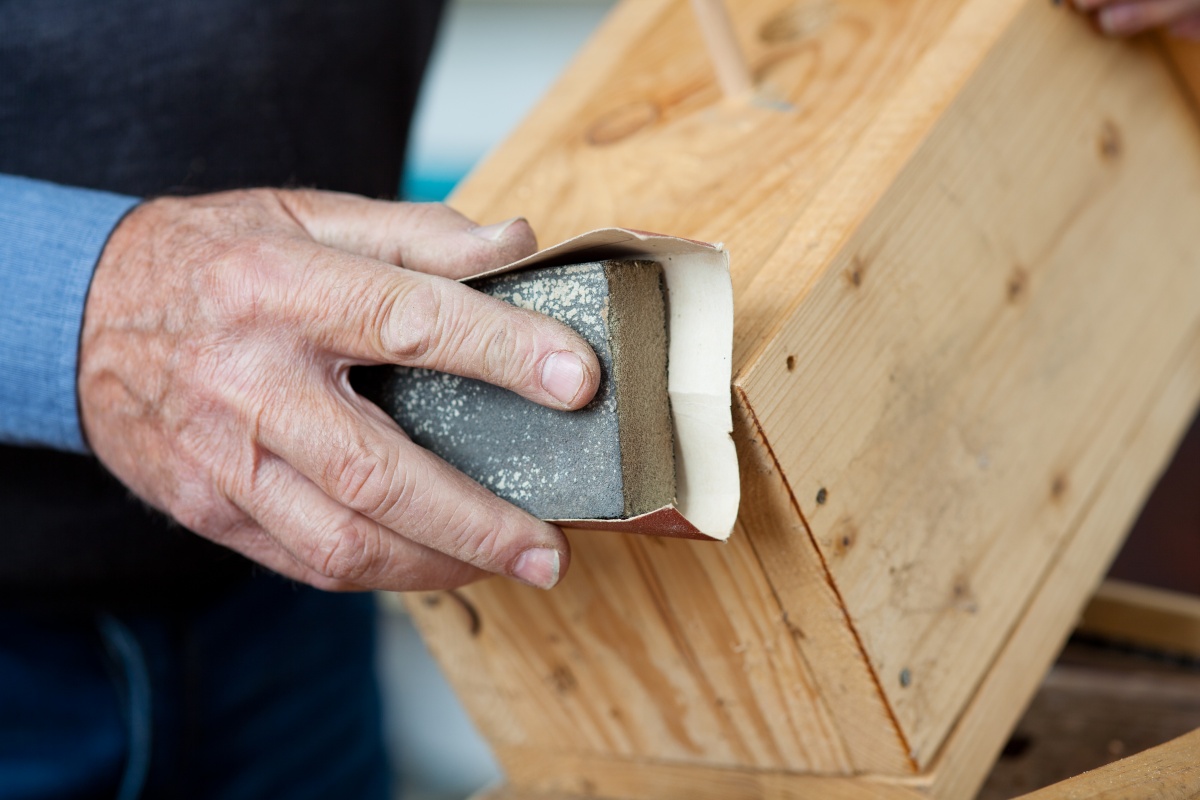
Then the table or parts are covered with wood putty: the material evens out the defects. After the layer has dried, the wood can be sanded to ensure better adhesion of the surface to the paint.
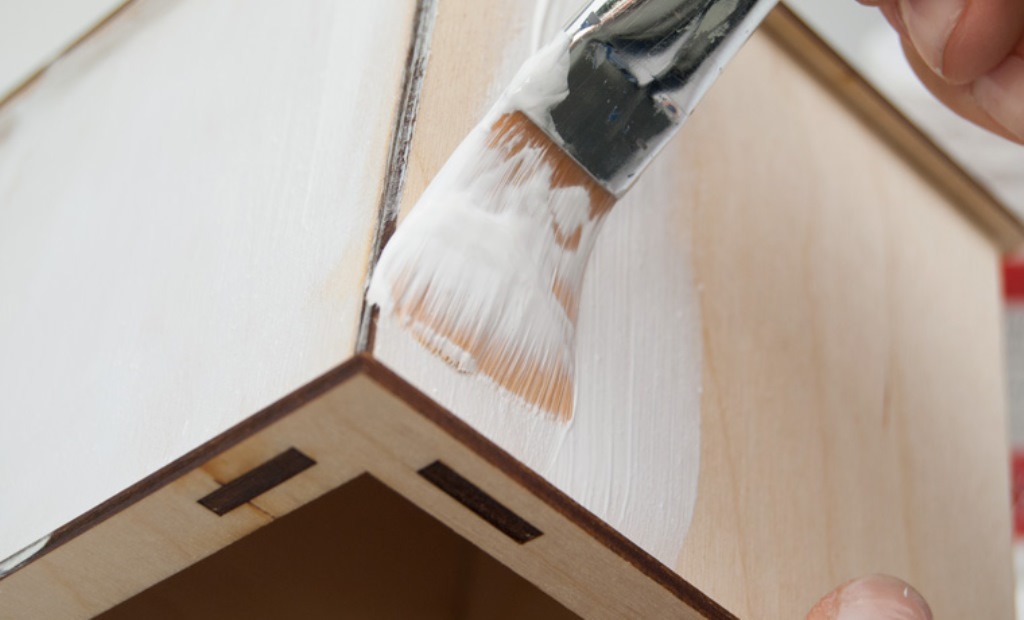
If the table is covered with varnish, it is not necessary to prime it. Instead, the part is stained.
Final finishing - painting / varnishing of the table. If desired, it can be decorated using decoupage technique, painted with ornaments or abstract patterns.
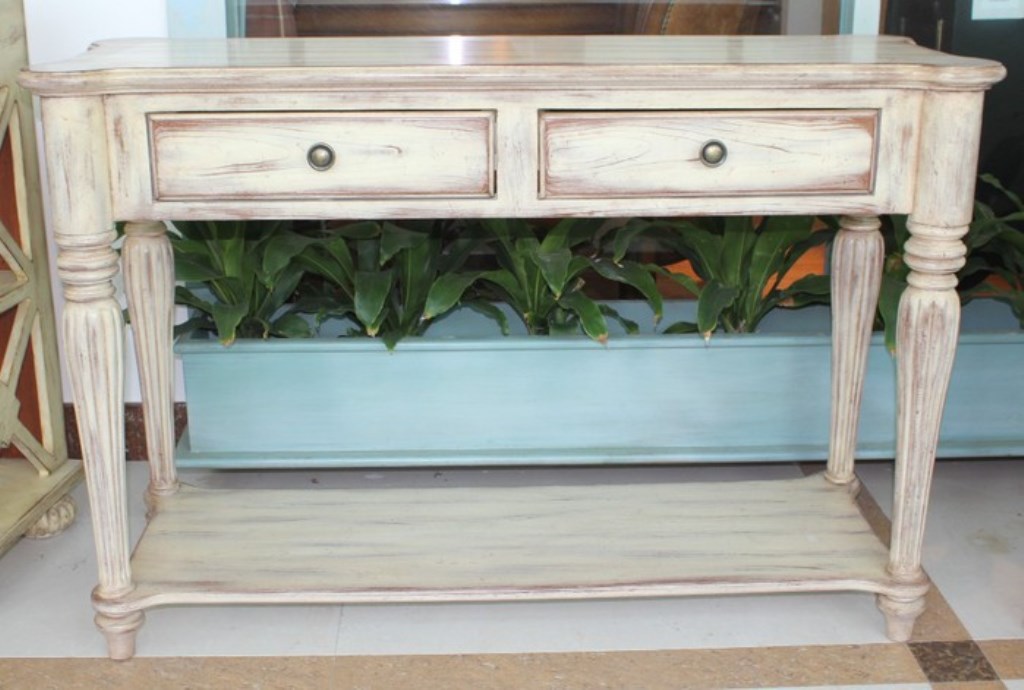
An original idea: lay out the pattern on the countertop with metallized ribbons, cover with plexiglass or durable triplex.
Is it possible to make a console table from an old table
If the old table is no longer usable or just gets in the way of the apartment, it can be turned into a pretty console. The technique of execution is nowhere easier.
How to do (simplified version):
- cut the table in half;
- clean up old paint;
- cover with putty;
- prime;
- paint;
- fix to the wall with screws.
You can put in a little more effort:
- disassemble the table for details;
- sand each one or remove old paint with a solvent;
- cut the tabletop in half or into three parts (depending on the size of the table);
- putty the details, dry the layer;
- apply a primer or stain under the varnish;
- cover with paint or varnish;
- collect the table.
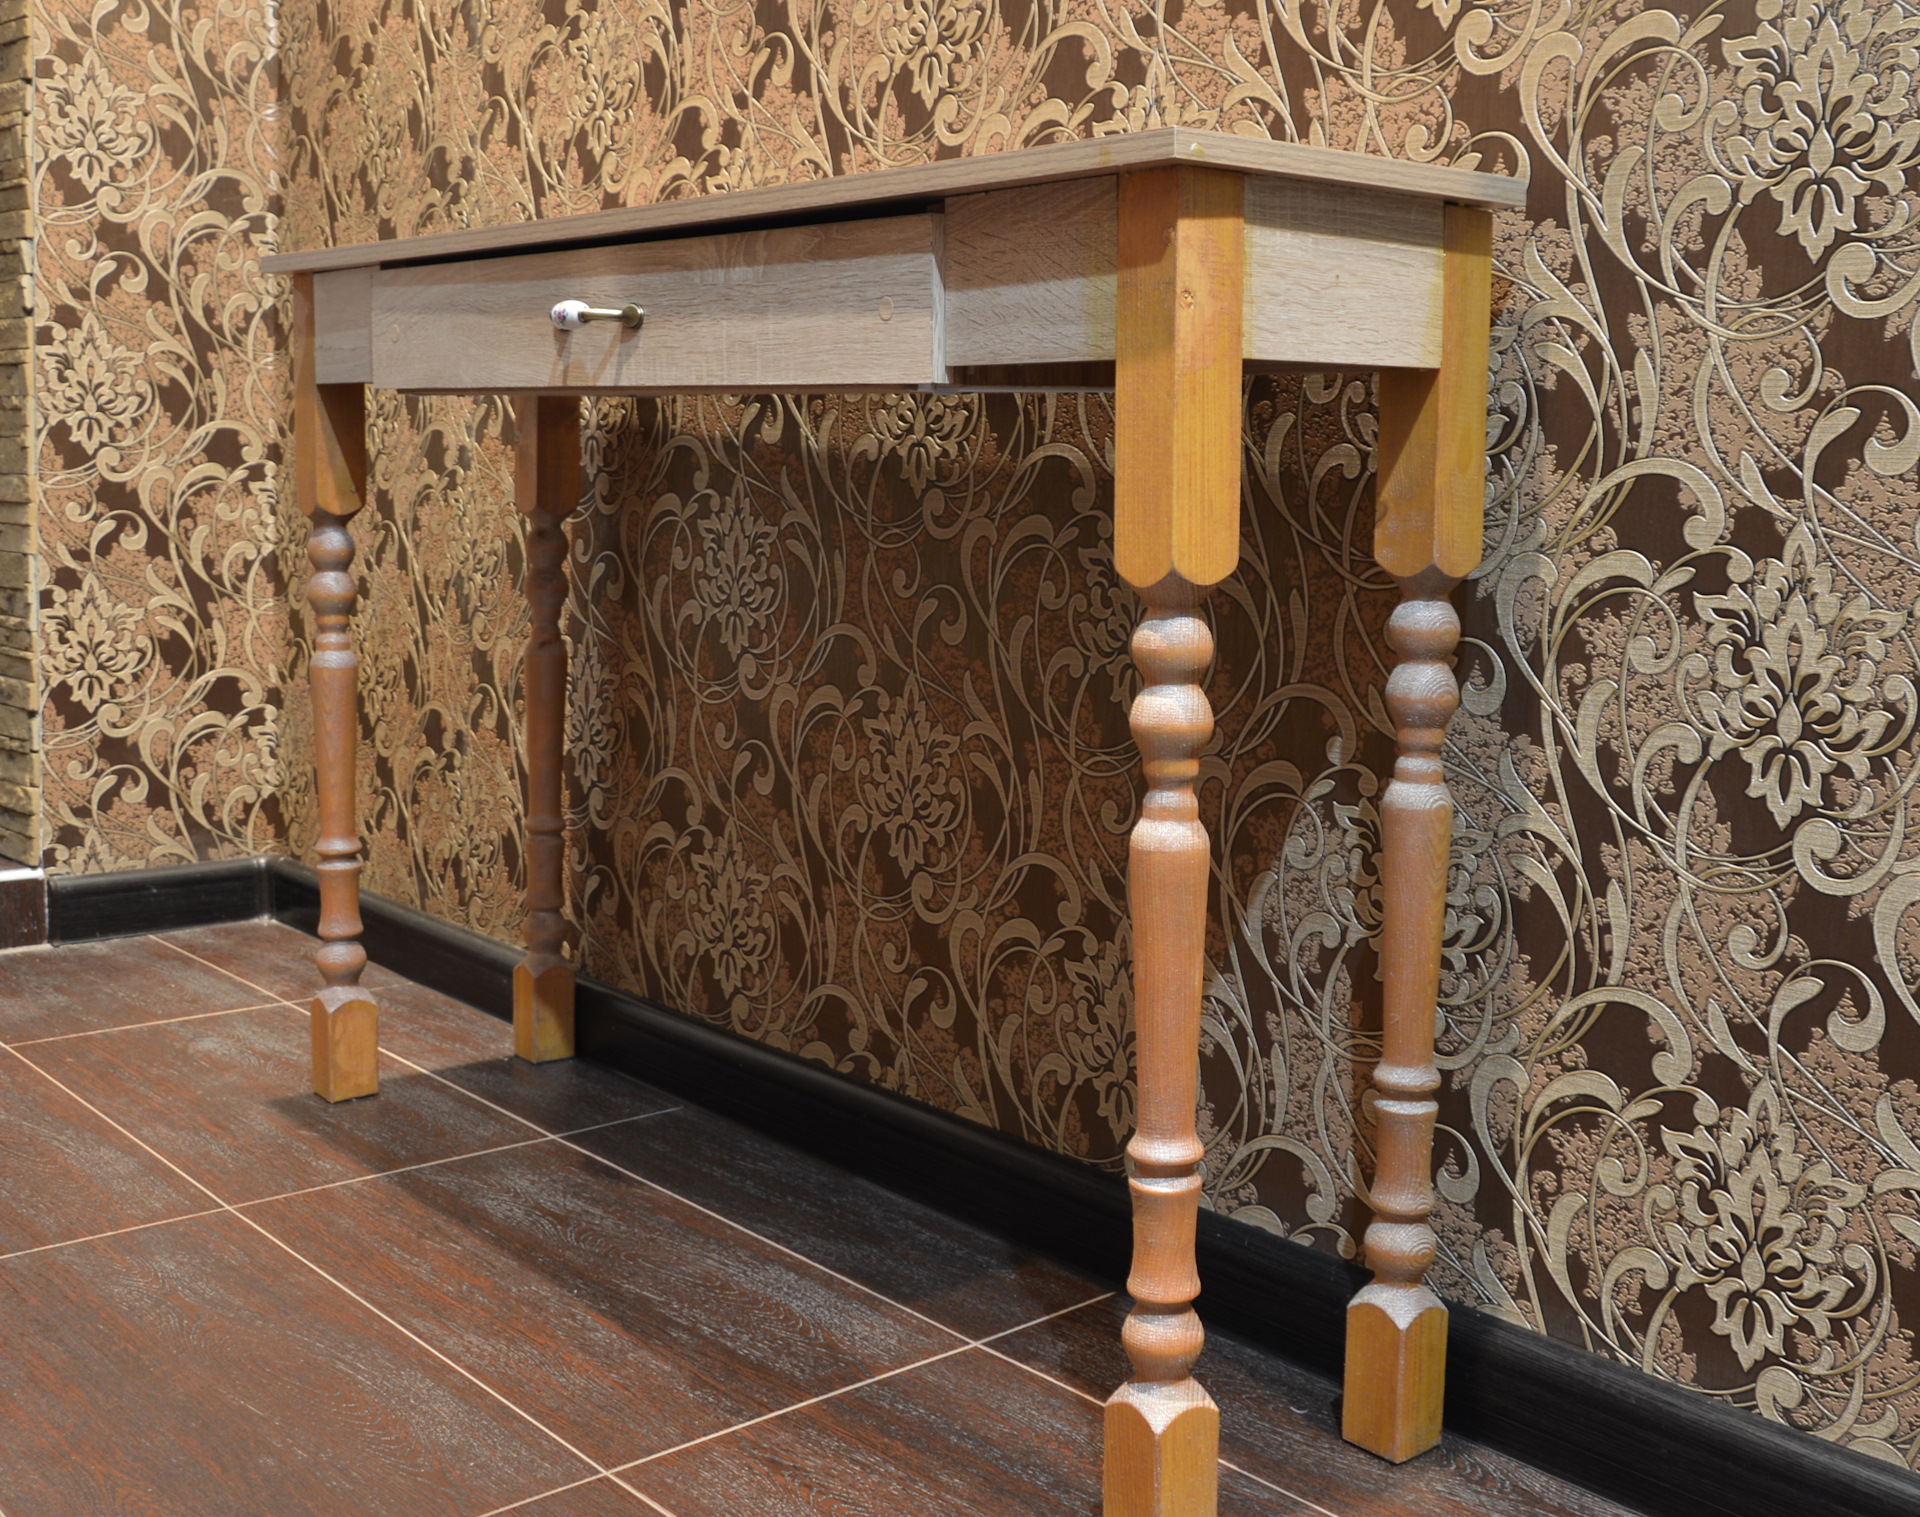
If the legs at the table are thin, you can leave them in the same amount. If they are wide, a straight line arrangement will be interesting. Three legs are enough to implement the idea.
Where is the best place to put the console
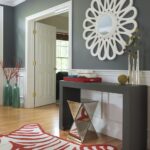
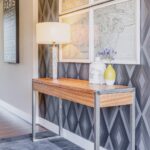
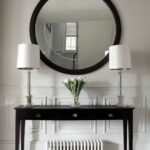
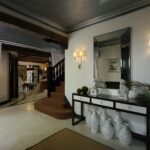
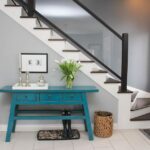
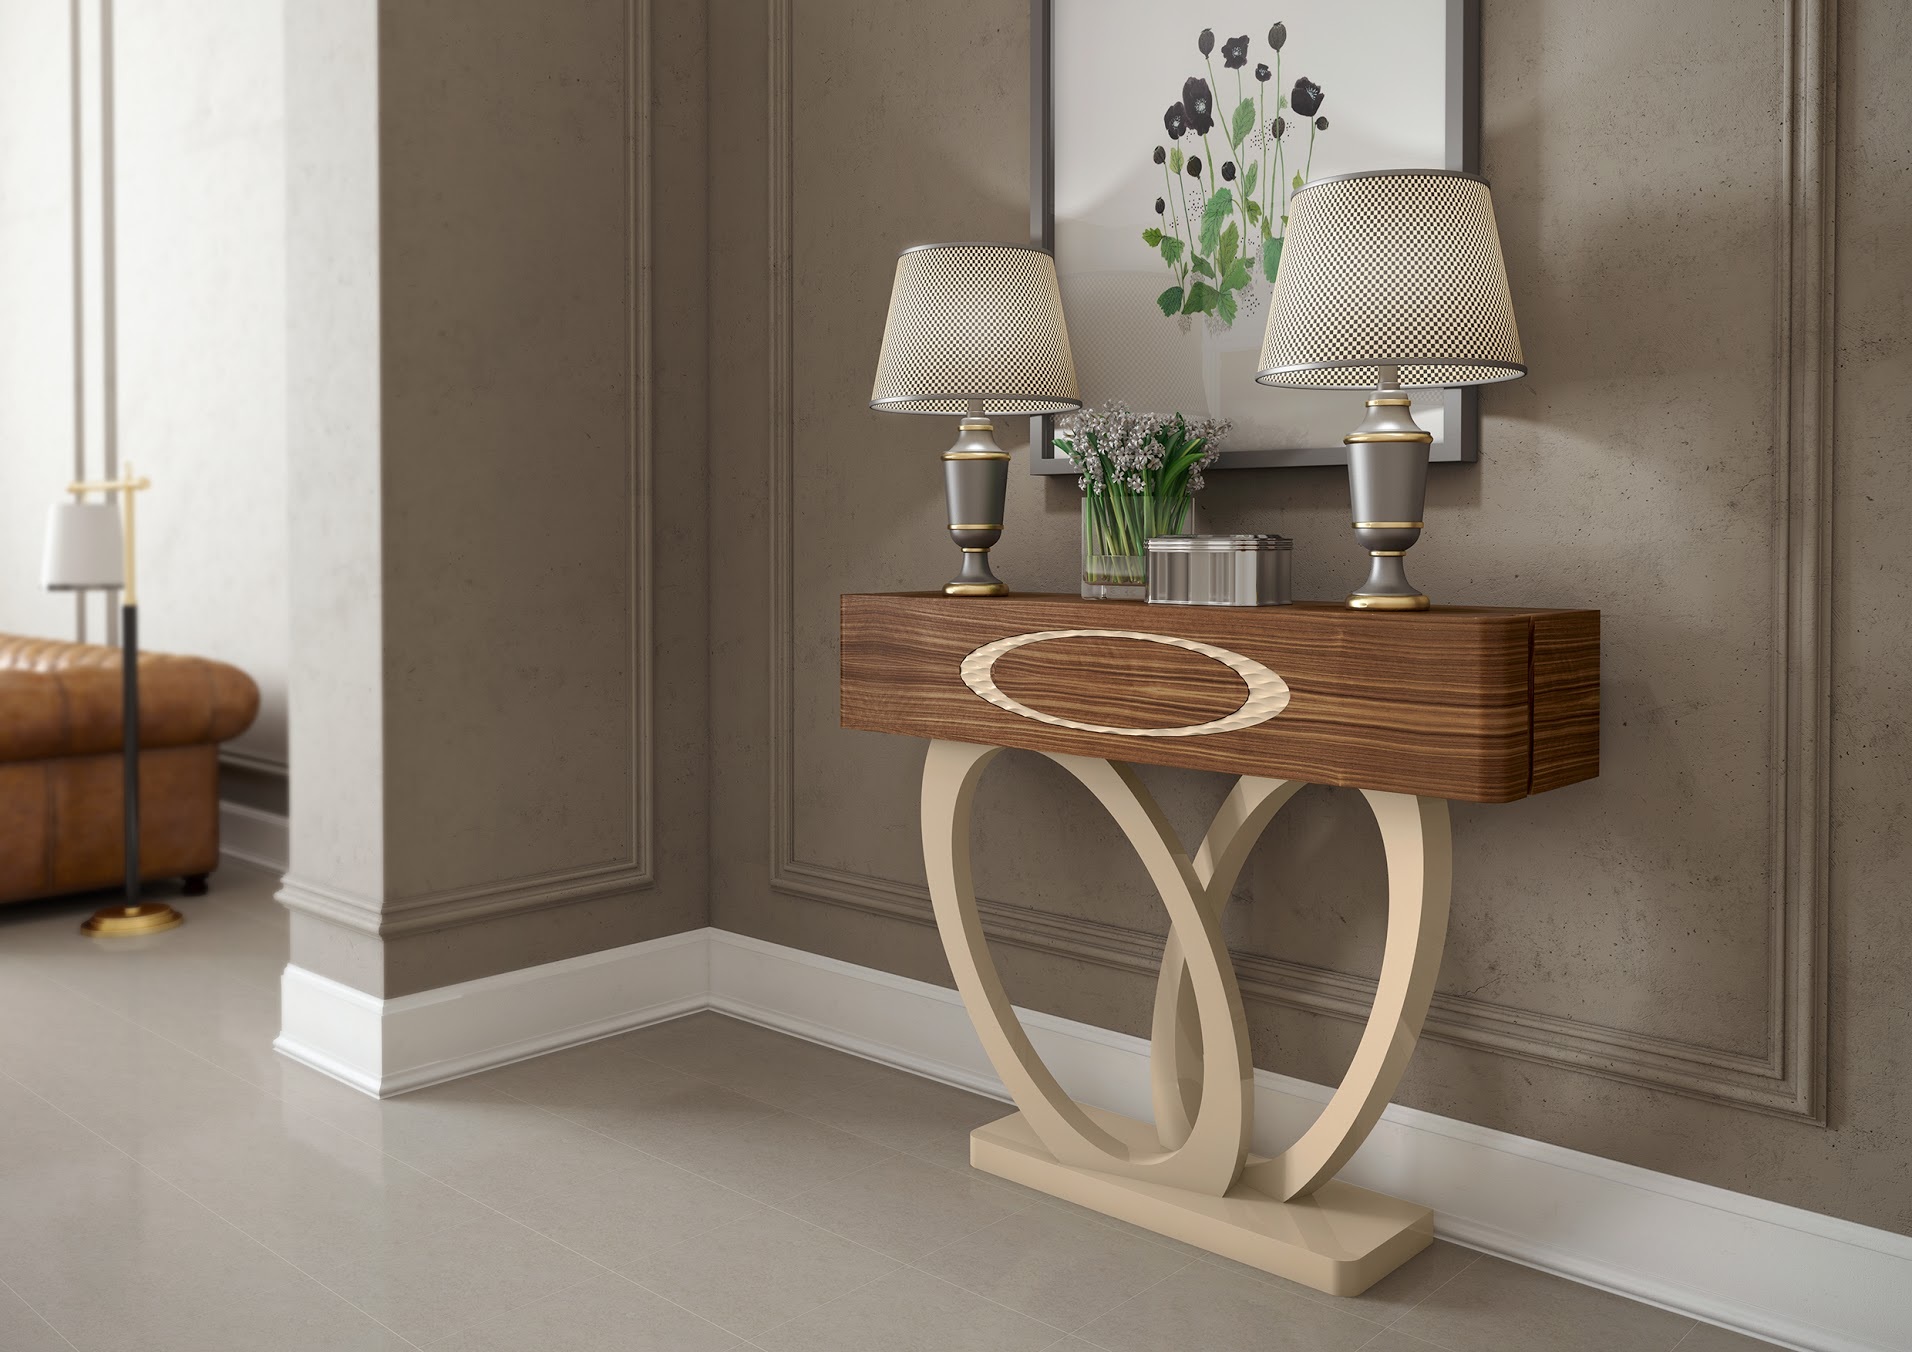
Very often console tables are placed in the hallway. This saves space as the side table can get in the way in tight spaces.A narrow table is suitable for storing keys, gloves, useful little things.
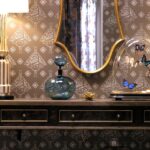
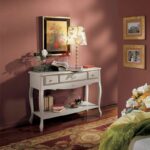
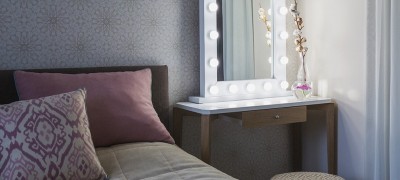
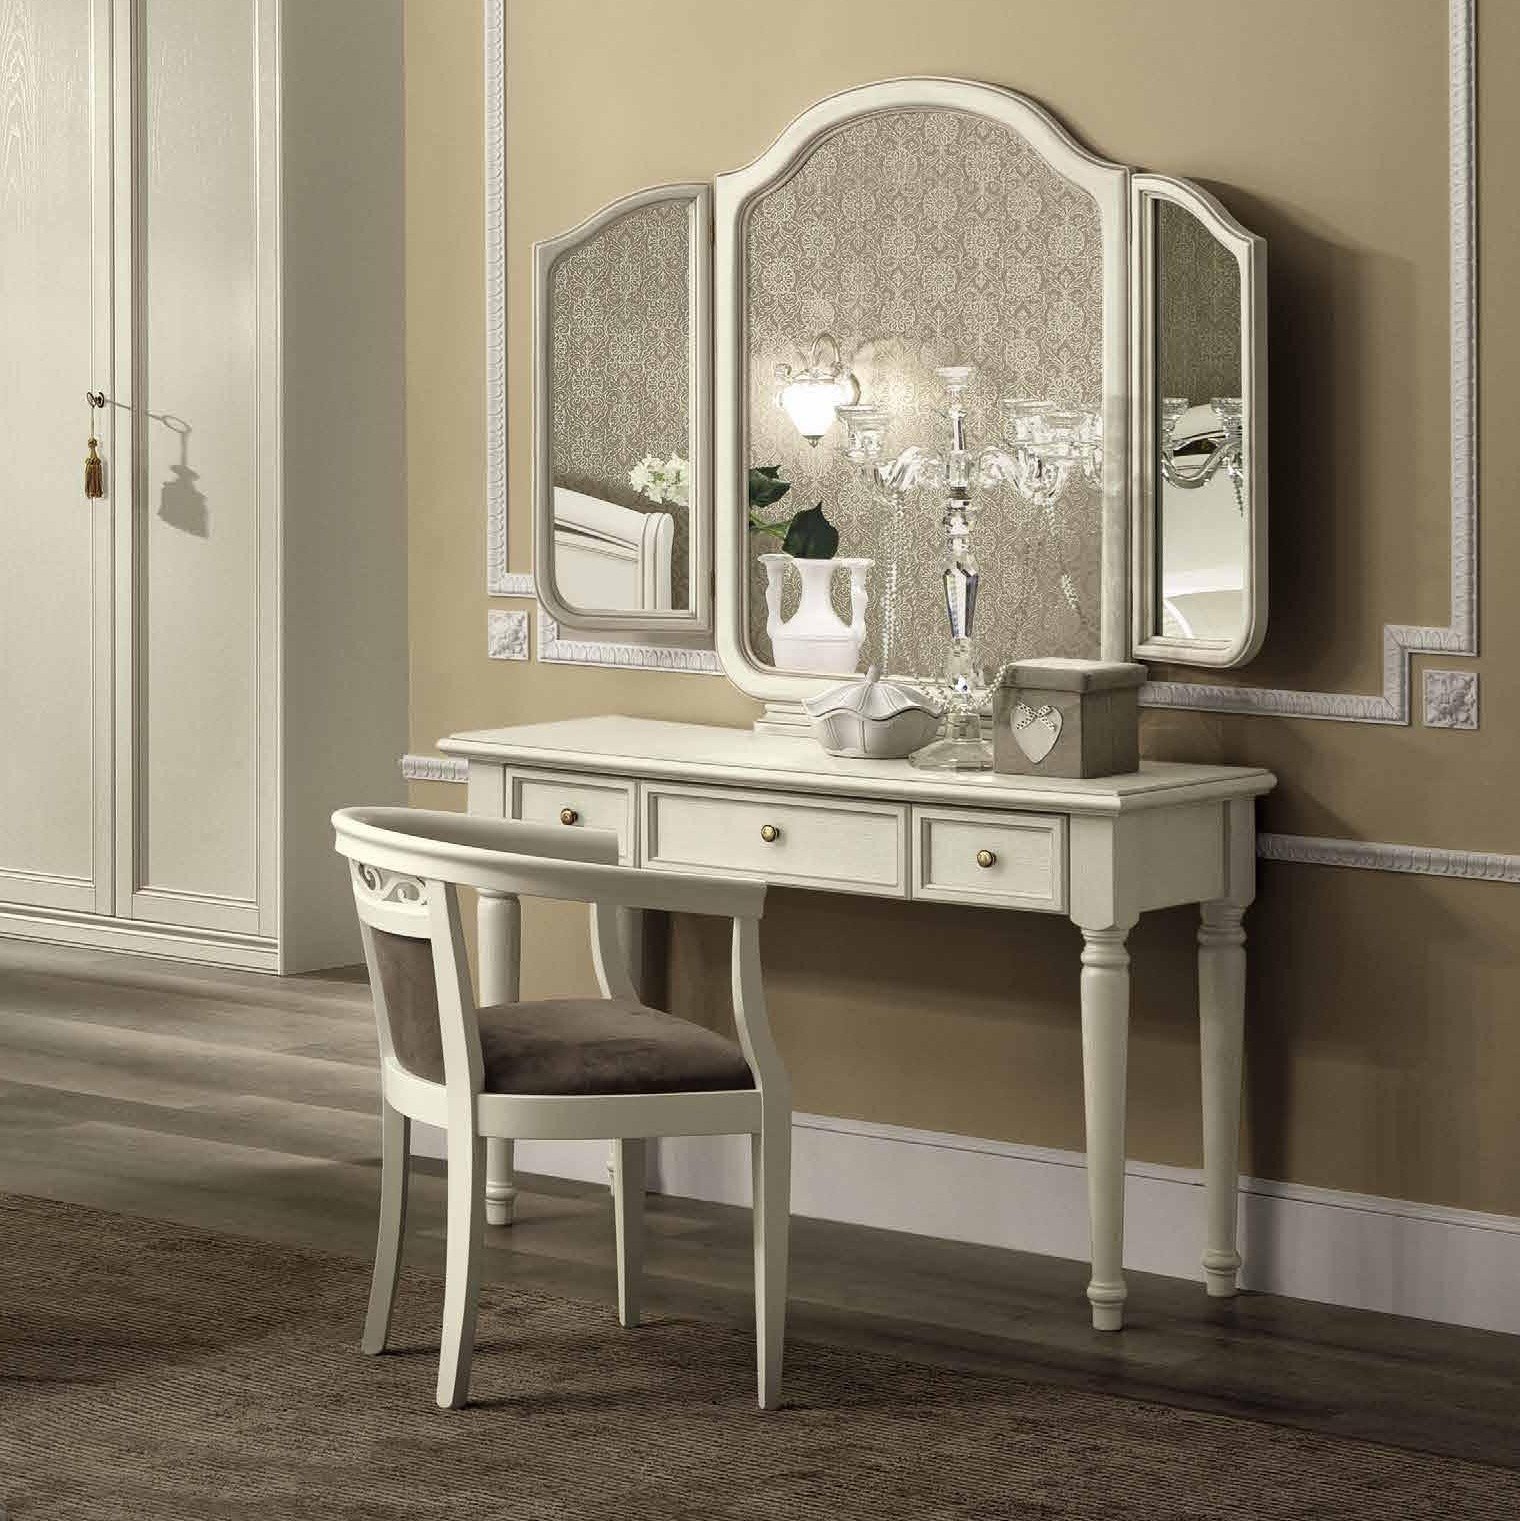
Also, tables are placed in bedrooms and boudoirs. Usually they put a mirror on them (or they are attached to the wall under the mirror), cosmetic accessories.
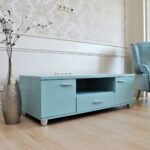
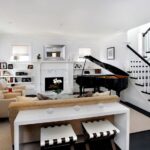
Using the console, you can organize a dining area on the balcony. In the living room, narrow tables are placed on the TV, above the fireplace.
Video: do-it-yourself rustic-style console
