How to make a round table with your own hands
A harmonious interior is a huge plus for a good mood. When beauty and order reign in an apartment, you want to do, work, create. But how can such superiority be achieved? The answer is simple: beauty is in the little things. Only a scrupulous approach to decoration and interior decoration will be fruitful. Decorate your home in stages.
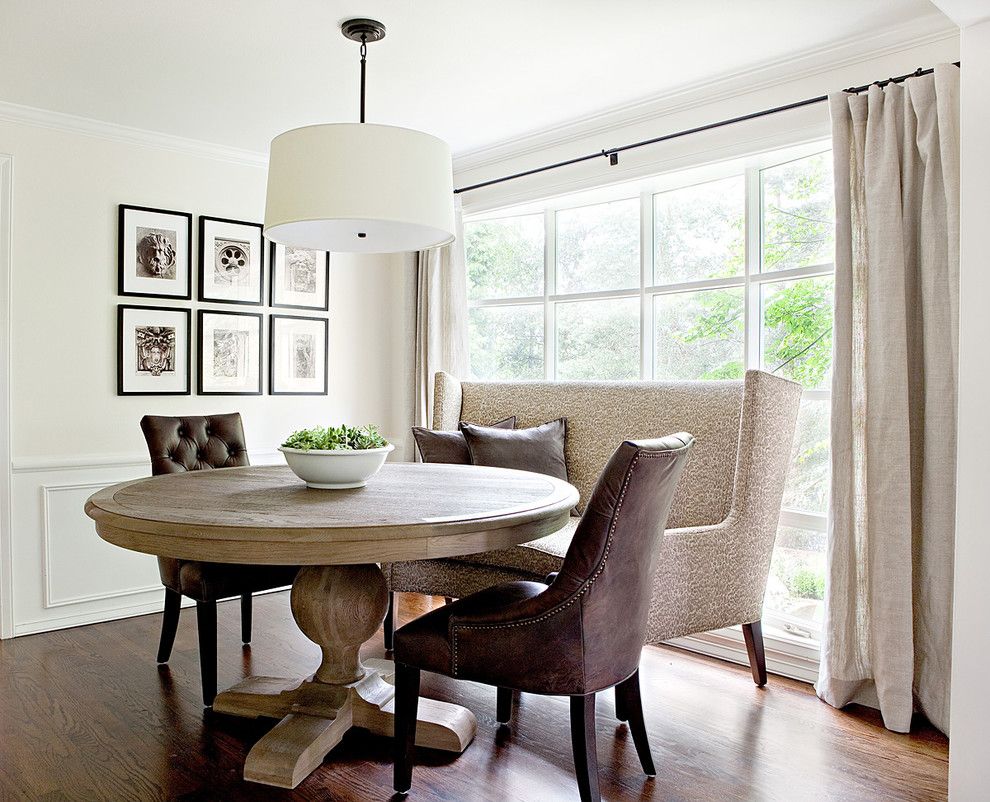
In this review, we will figure out how to make a round wooden table with our own hands. What features are present in the manufacturing process? What should you pay attention to? Answers to these, and many other questions follow.
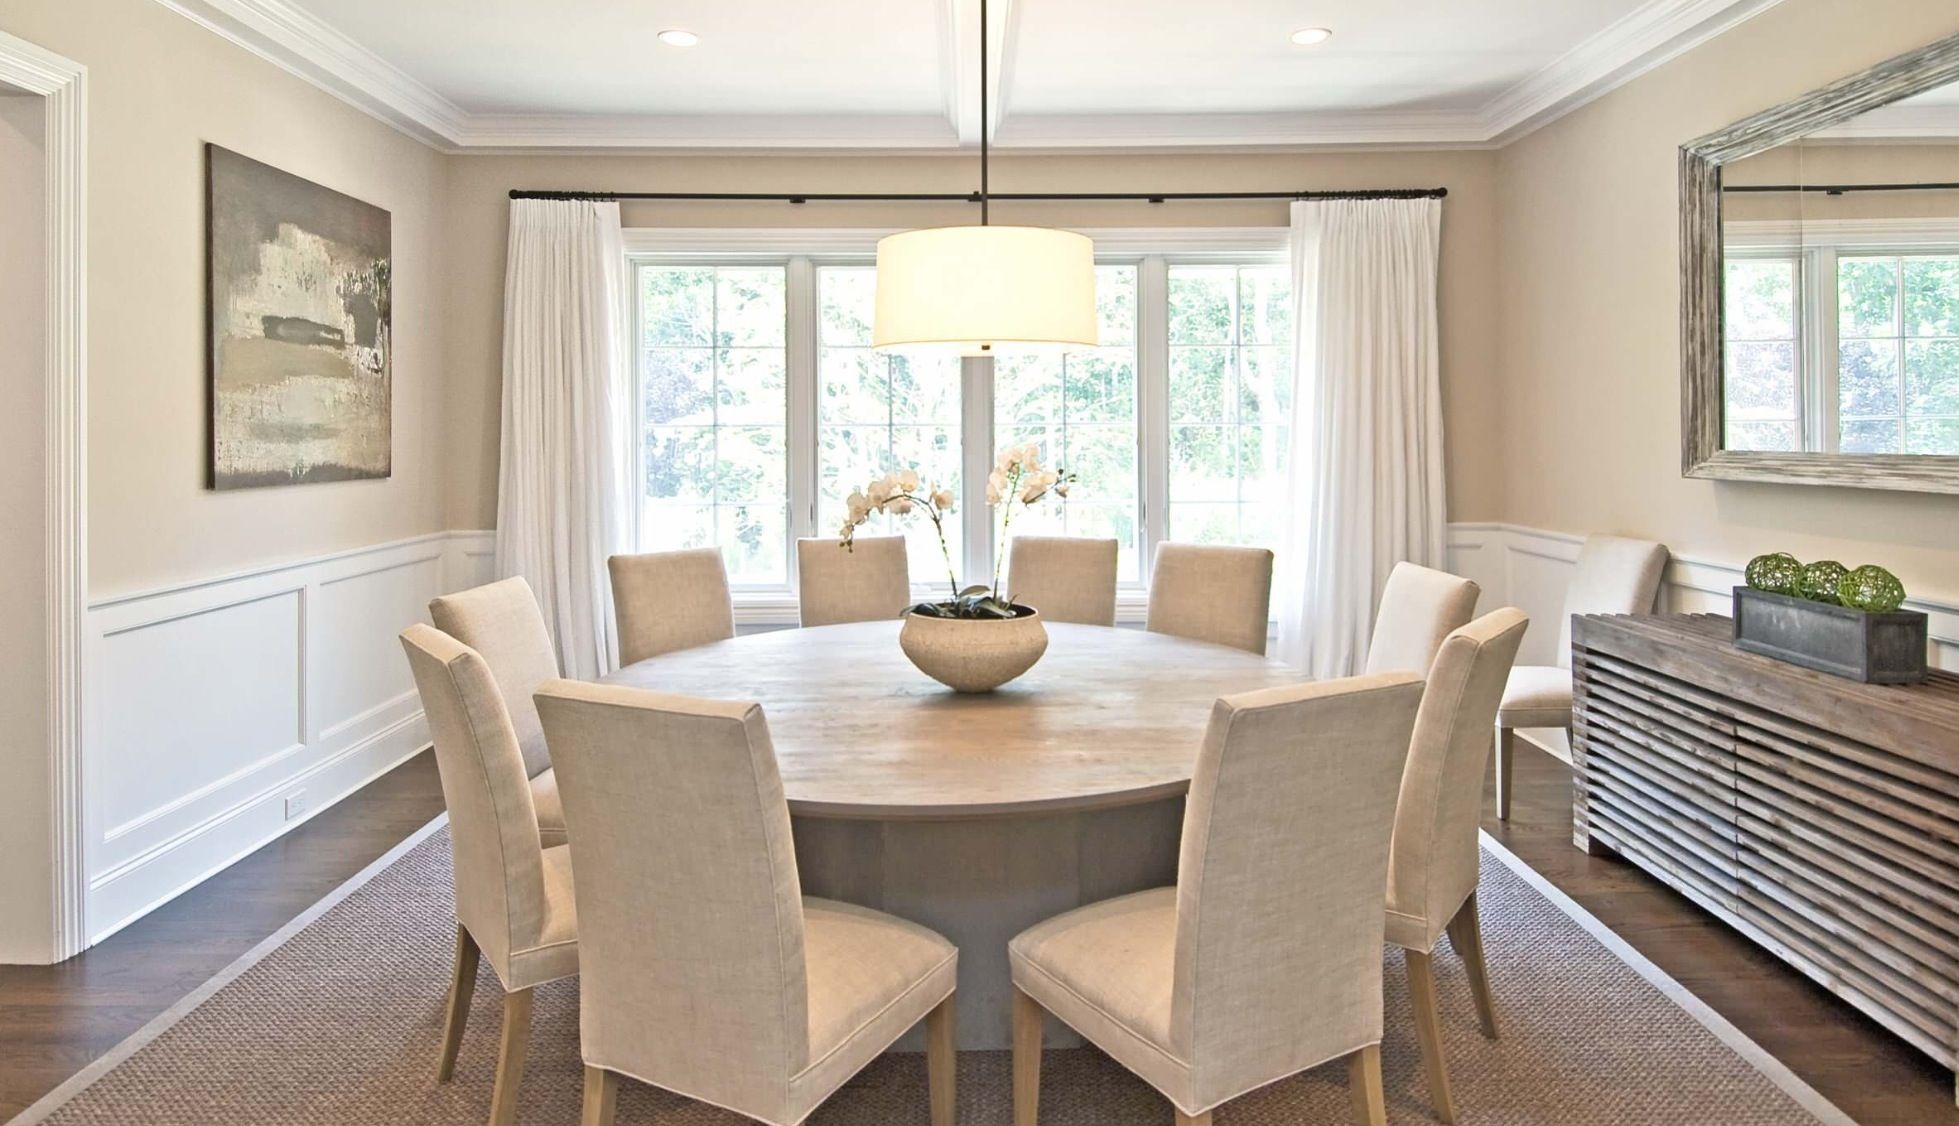
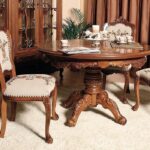
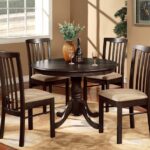
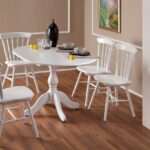
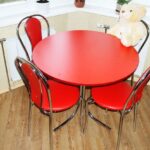
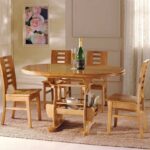
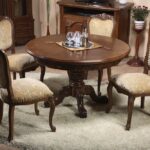
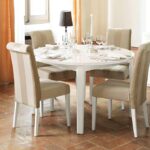
Types of round tables
In a furniture store, there are such varieties:
- standard;
- oval;
- transformer;
Each has its own characteristic features, which are expressed in design, functional purpose, material, etc.
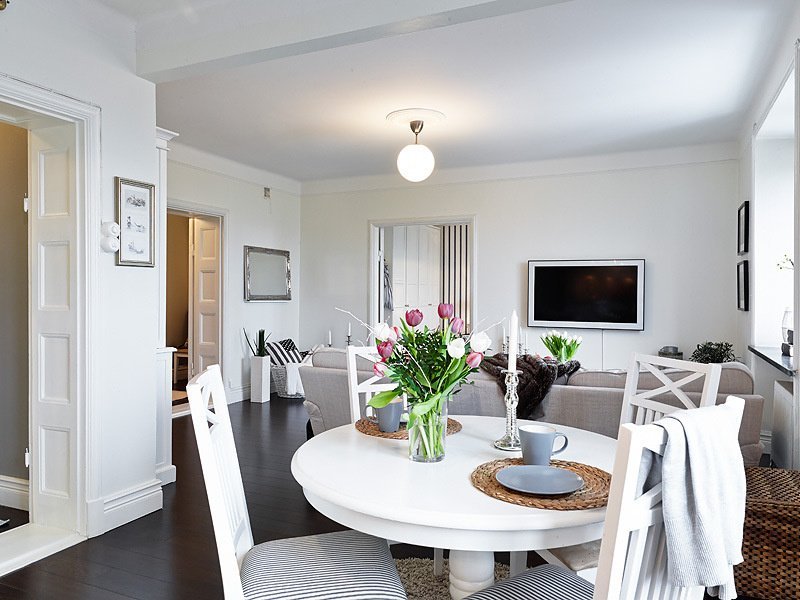
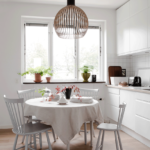
Before making a round table with your own hands, you need to figure out where you plan to put it, how many people will sit at it at the same time. The material of its manufacture depends on the room in which the assembly of the table is planned.
For example, if you need to arrange a place for lunch in the kitchen, you need to take care of protecting the surface from moisture, grease and mechanical stress. The same applies to the hallway - if you need a coffee table for small accessories, the style of its decoration should correspond to the location.

It is imperative to analyze the size of the future table. The dimensions of the room where the installation is planned are taken into account. Pay attention to ergonomics. If this is a kitchen with a large number of opening cabinets, then the new piece of decoration should not interfere with the open doors. The same procedure applies to the bedroom. If there is a wardrobe, wardrobe, chest of drawers or other furniture installed there, it should not interfere with the new table.
DIY round table
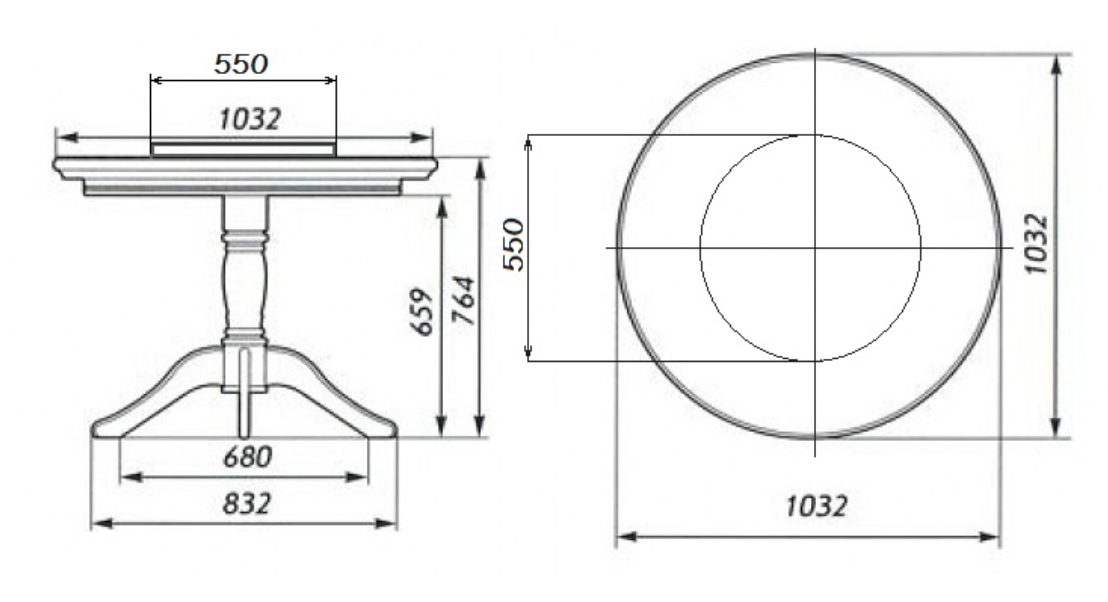
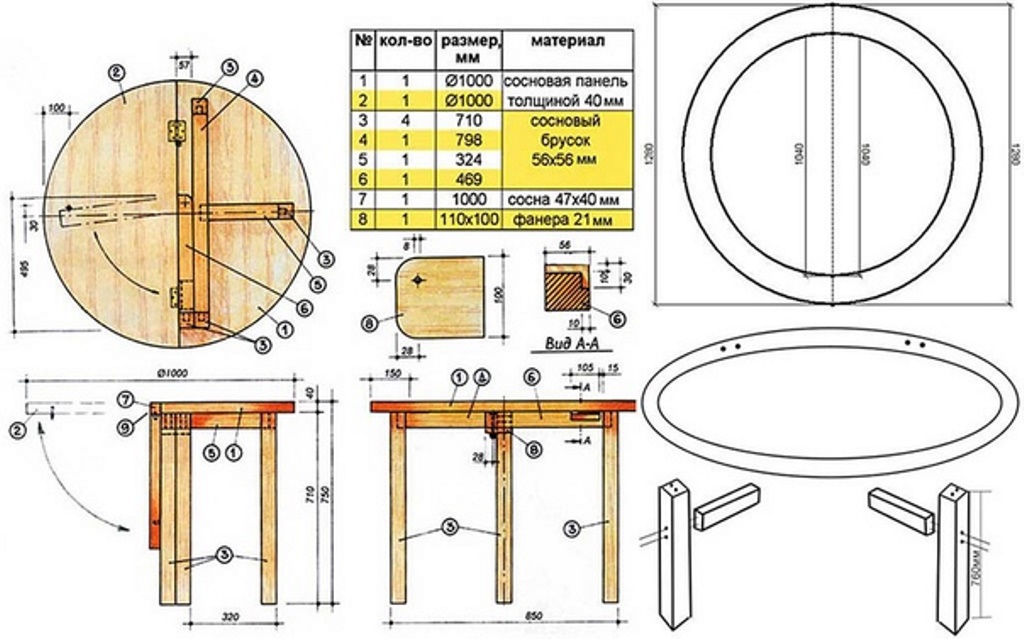
Before you make a round table with your own hands from wood or other material, you need to draw up 2 drawings and 1 sketch. Experienced designers advise to do this.
- A drawing of the future product is being drawn up. It is necessary to draw 3 views - top, side and front. With this drawing up of the drawing, the future product will turn out to be symmetrical, even, without flaws. Even if you decide to assemble an asymmetric table, this advice will be beneficial.
- After drawing up a 3-view drawing, it is necessary to make a cutting scheme for the material. This is done based on the first drawing. For the given dimensions of all components, it is necessary to decide how best to cut the material. At this stage, all the allowances required when cutting blanks, the necessary clearances for fastening and mounting are taken into account.
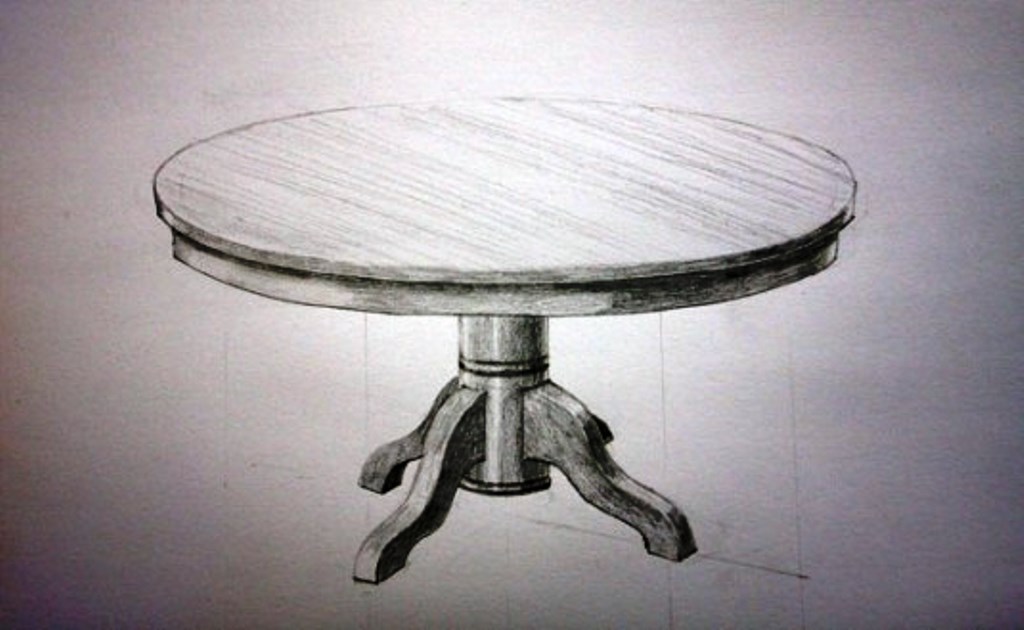
- Drawing up a sketch. This is an arbitrary drawing of the future design of the product. The sketch is drawn up taking into account the existing design of the room in which the installation of the table is planned.It is better to do several options at once so that you can compare them and choose the most suitable one. The sketch is drawn up in color on the basis of 1 and 2 converging points in space.
If every person who directly or indirectly collides with any schemes can handle the first 2 drawings, then it will not be possible to draw a sketch right away. You can watch video tutorials on drawing up sketches, or ask a friend of the designer. You can also contact the design studio. For a nominal fee, an experienced designer will help you with the choice of the future style of table decoration.
Materials (edit)
Different materials can be used to make the table. Here's what will work:
- natural wood;
- wood boards;
- glass;
- ceramic tile;
- plastic;
- metal.
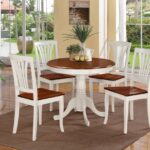
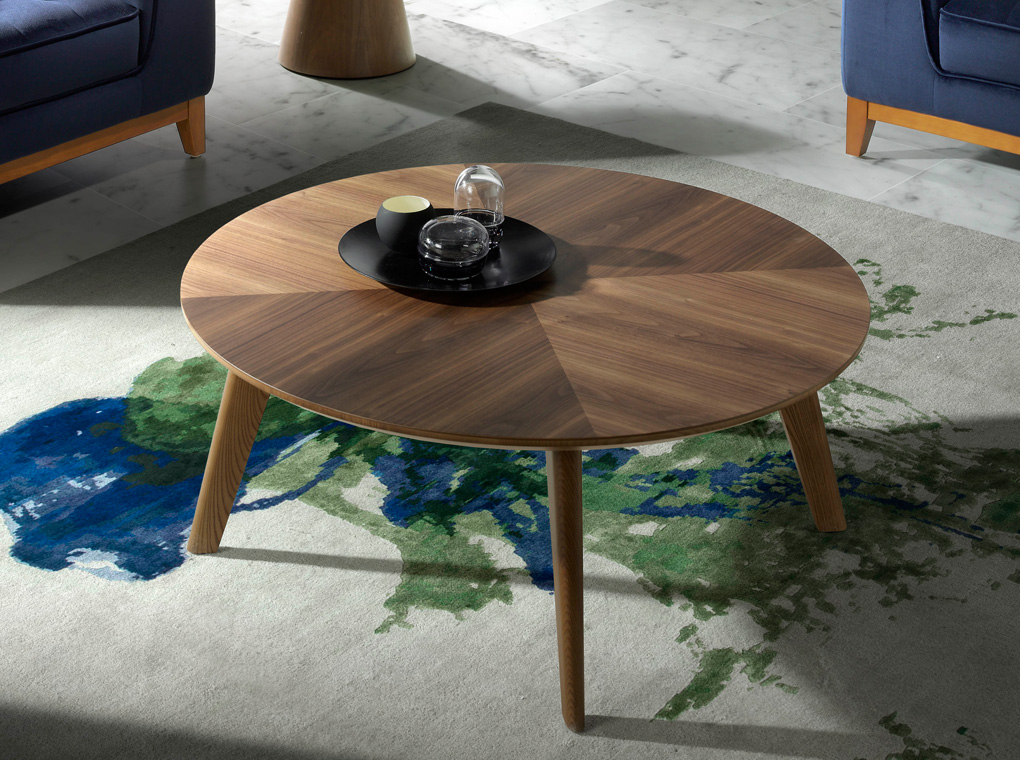
You can also combine these materials. For example, the table top will be made of glass, and the legs will be chrome-plated steel. Unusual models made using ceramic tiles look very beautiful. In this case, the worktop frame is made of wood, and the interior inserts are made of ceramic tiles. At the same time, the seams are sealed with a special silicone-based sealant.
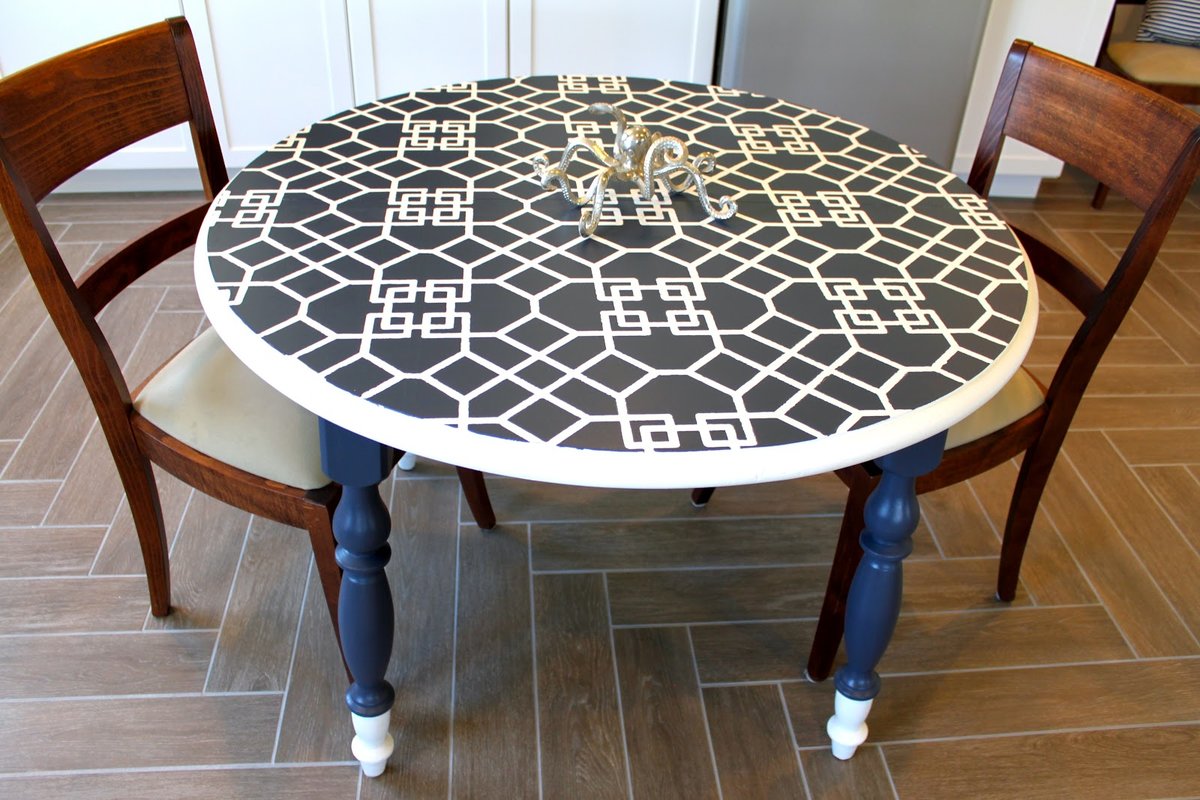
Of the varieties of natural wood, the following are suitable:
- oak;
- beech;
- ash;
- Red tree;
- pine / tree;
- larch;
- exotic hard rocks.
The cost of natural wood is great. But you can buy inexpensive pine boards. This breed is also beautiful to look at, as well as exotic specimens.
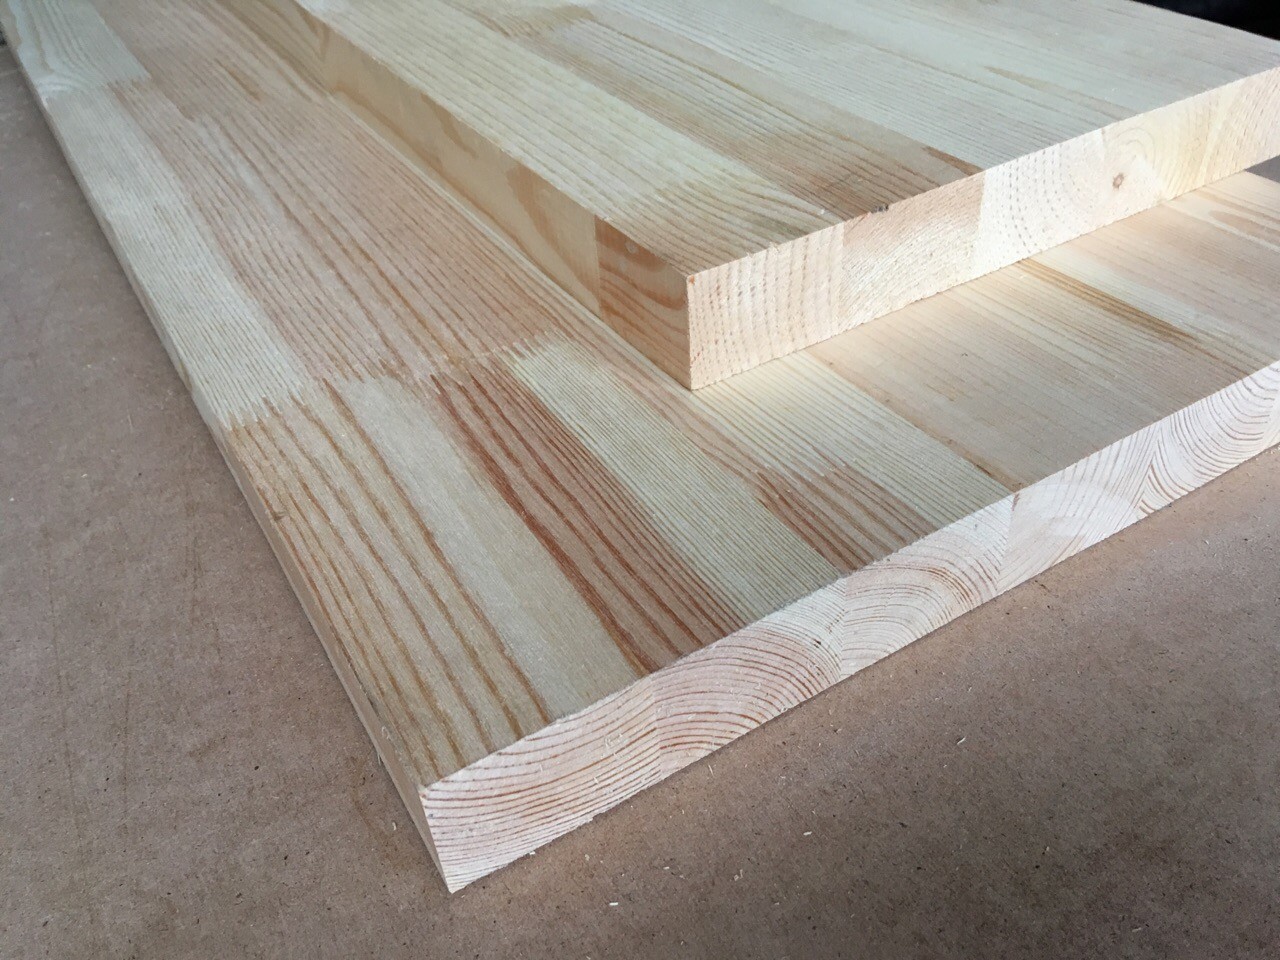
Advice. When choosing pine boards, be sure to ask the seller about the percentage of moisture. And by taking a special device, you can independently measure the moisture content of the tree. Normal values for pine are 5-10%.
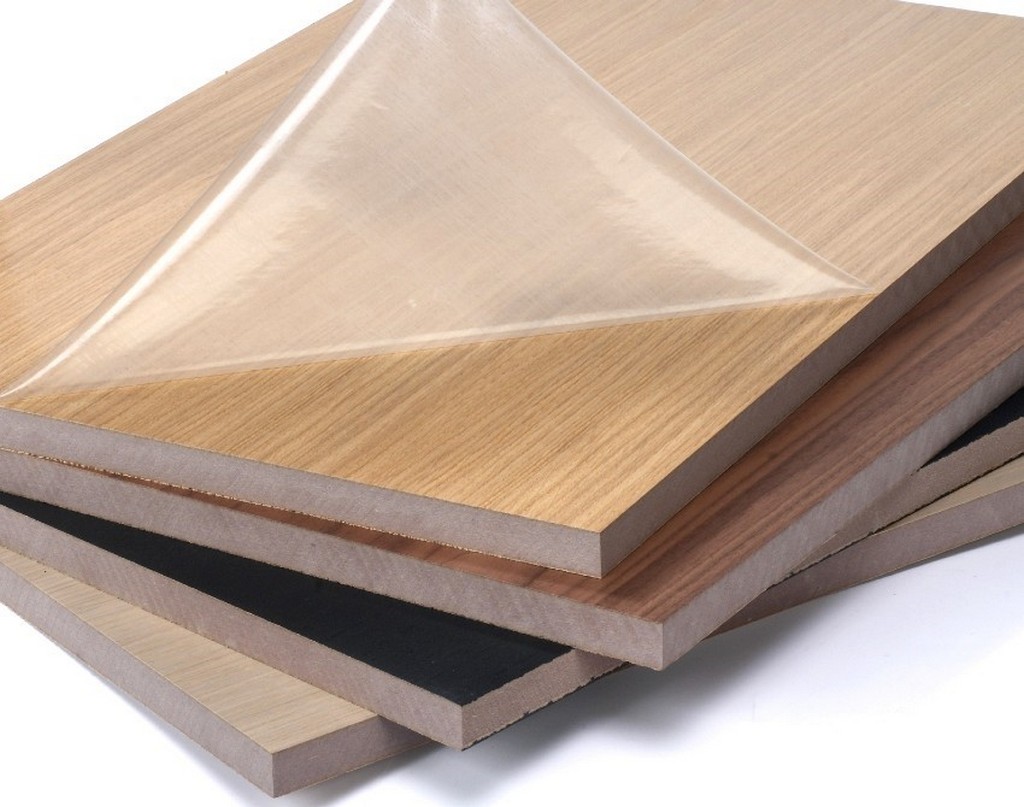
Of wood-based panels, chipboard and MDF are best suited. Experts advise against using plywood. Although plywood is a more natural material than chipboard and MDF, it delaminates during use.
To save money, when choosing natural wood, the ideal option would be to use ceramic tiles. It is placed in the middle, sealing the seams with special colored silicone.
It will be interesting to look at the use of floor coverings for the countertop. In this case, the frame is also made of wood, and laminate, parquet board or other material is placed in the middle.
Manufacturing process
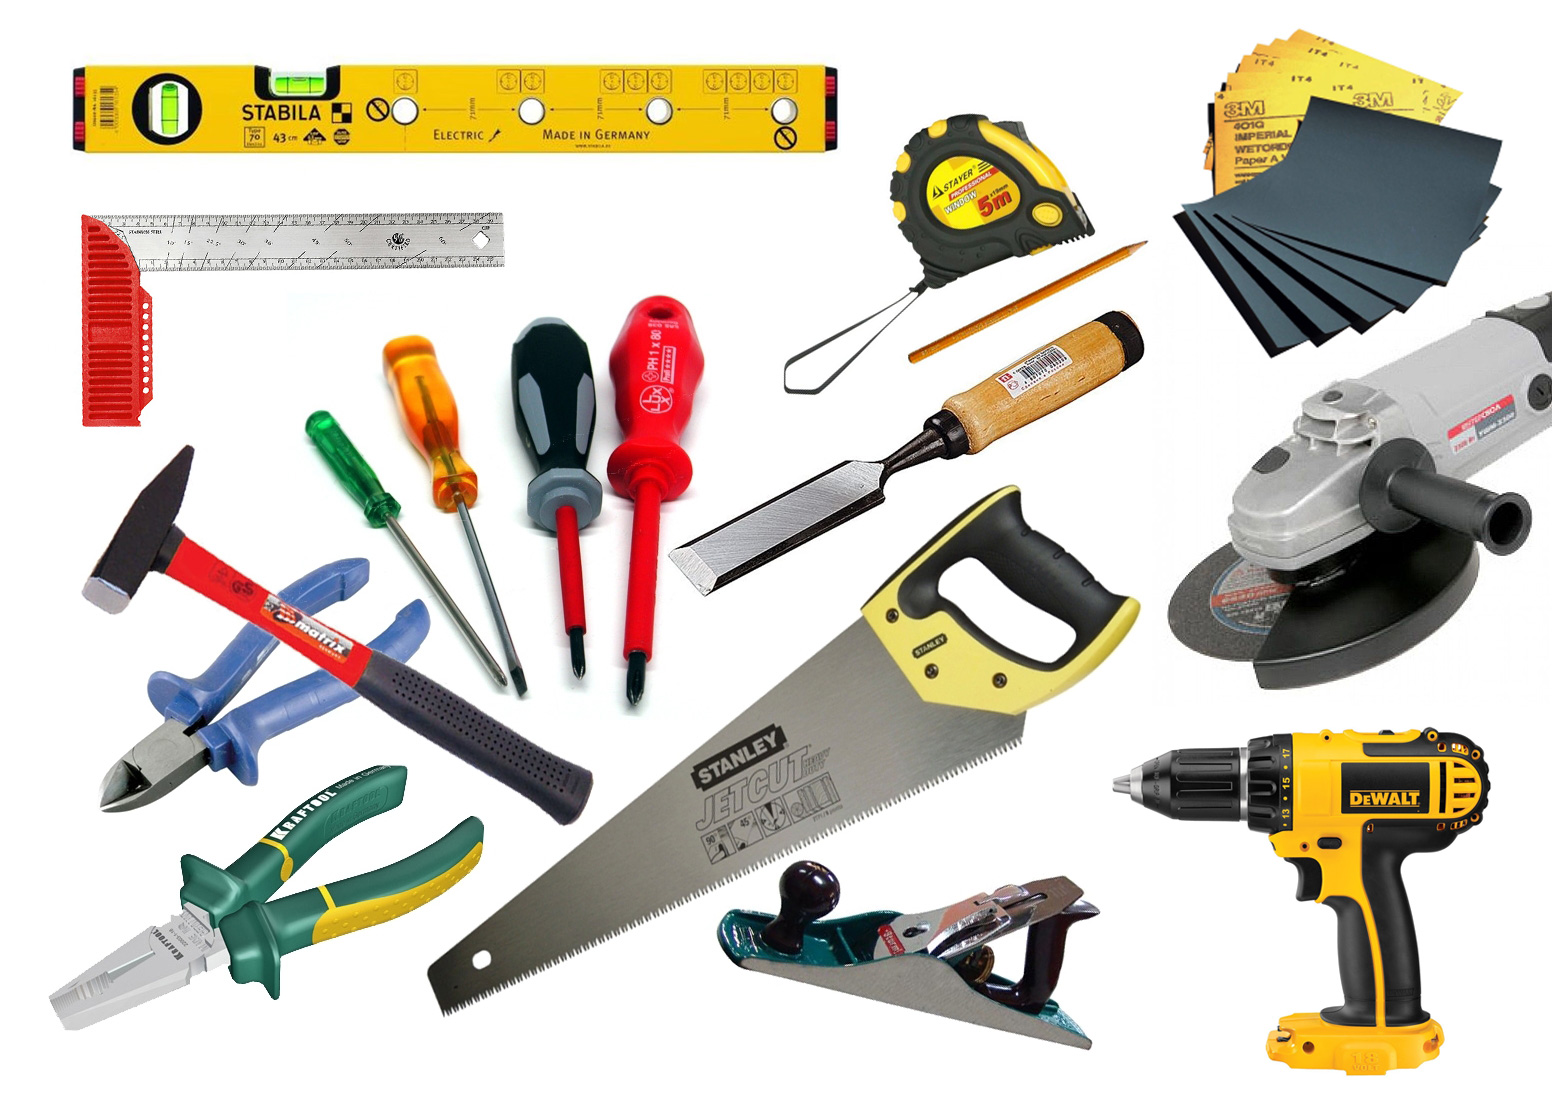
To work with wood you will need:
- jigsaw;
- a circular saw;
- chisels;
- drill with a set of wood drills;
- electric planer.
If you want to make a table from scratch, then you must have a jointer and a surface planer in your arsenal. These machines can be replaced with an electric plane, if you make special devices with your own hands that allow you to withstand the required planes for surface treatment.
In some cases, a hand router can come in handy. With some dexterity, you can make a device that allows you to process wood surfaces at zero level. Additionally, you need to buy a special wide cutter.
To make legs for a round table with your own hands, you need a lathe. If there is no extra money to buy, you can get by with an ordinary hand drill. To fully replace the lathe with a drill, you need to make a special clamping device that allows you to process the workpiece.
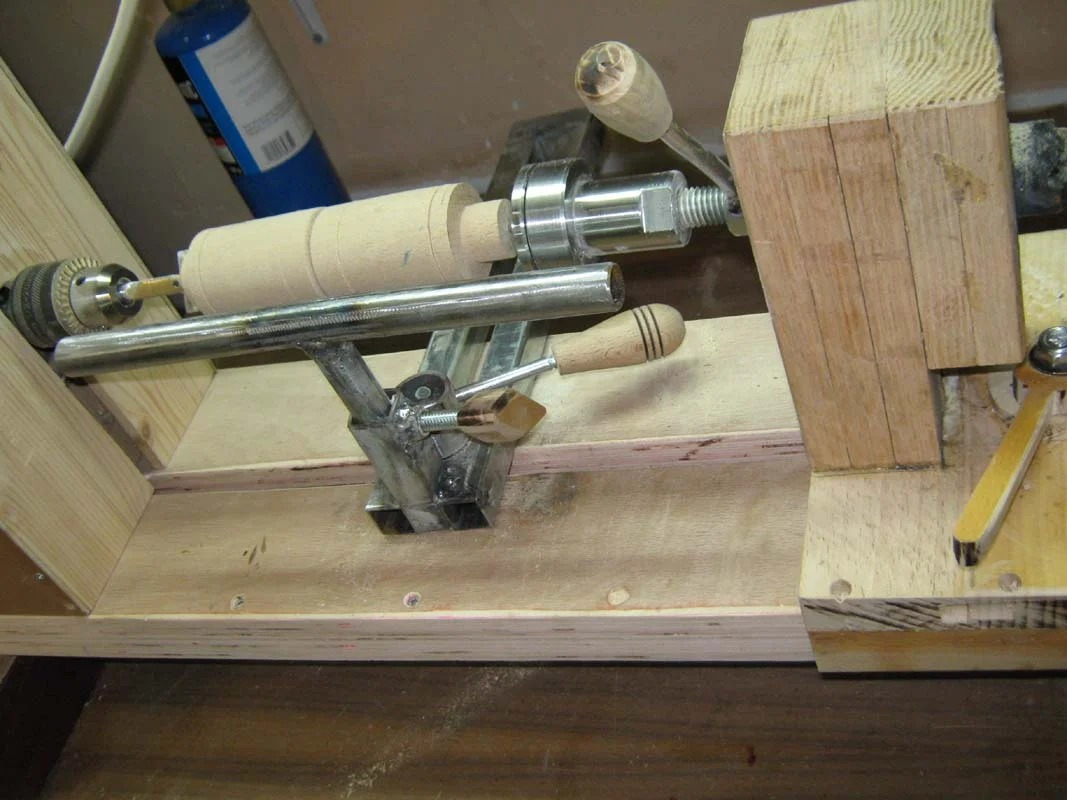
Table top
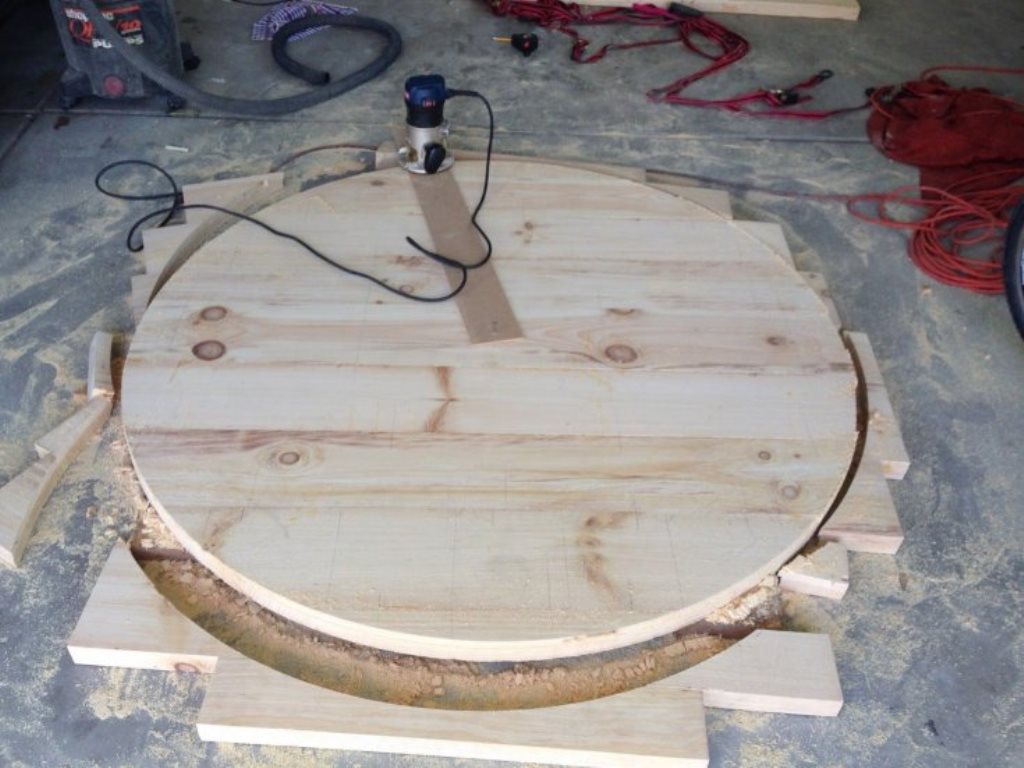
The first step is to make the tabletop.In order to cut the circle exactly, you need to use a router.
- Mark the middle in the shield.
- Then insert the router compass into the center.
- Using a tripod, measure the tabletop.
- Cutting with a milling cutter is carried out in several stages. This is necessary so as not to spoil the workpiece and not overheat the cutter.
If the cutter overheats, the cutter heads will be damaged. This will result in characteristic streaks on the treated surface. Also, the quality of the cut will deteriorate.
Legs
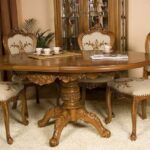
Table legs are made on a lathe, or construction with a drill. In the process of processing, you need to use chisels of different shapes. This will allow you to make legs of various shapes, with beautiful patterns.
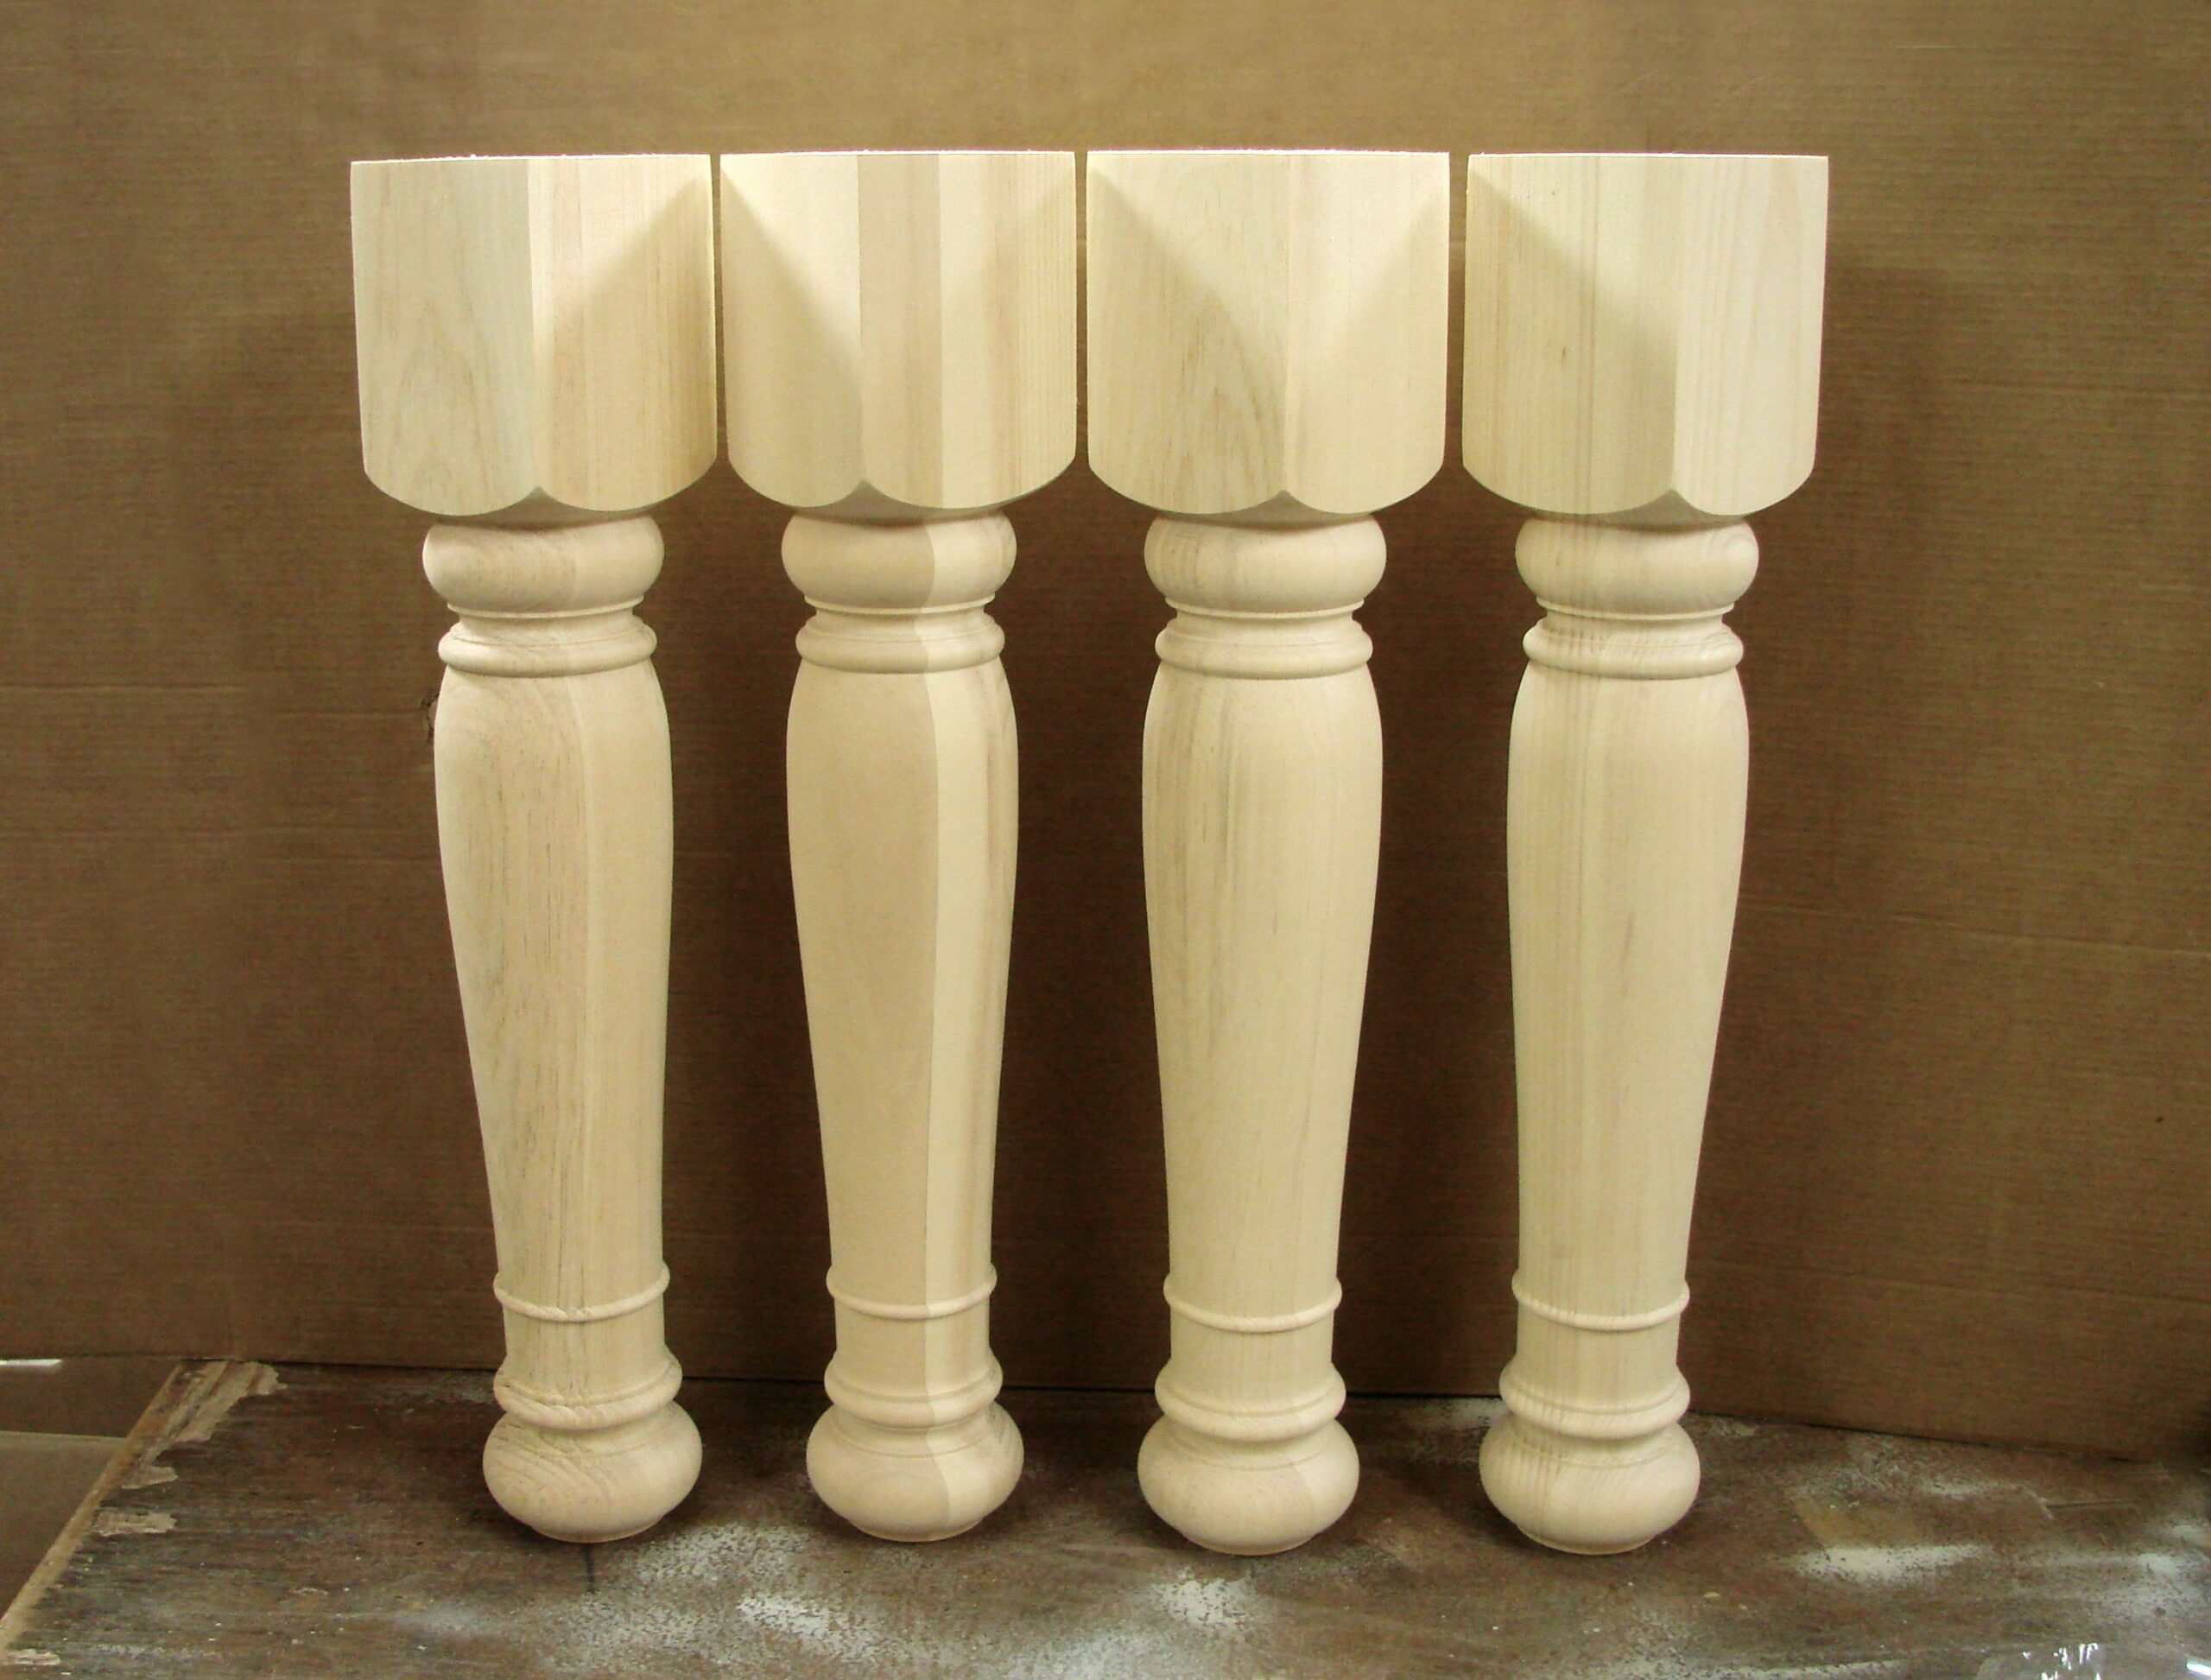
When using self-tapping screws, be sure to drill small holes. This will prevent the workpiece from cracking.
Decor
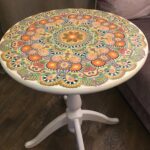
The decorative elements for the round table must be made separately. All kinds of carved things on the legs, the table top will give the product originality, elegance and exclusiveness.

If you don't have time to make decorative elements, you can buy them at a hardware store. Small jewelry will not cost you much.
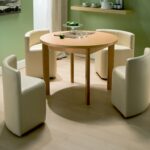
Table transformer
The round transforming table can be made in 2 variants.
- With drop / rise sidewall construction.
- With a swivel design to increase the diameter of the tabletop.
The second option is difficult to manufacture. But if you find a diagram, draw up a cutting plan, assemble everything according to the instructions, you will get the perfect table, the resemblance of which you will not find anywhere else.
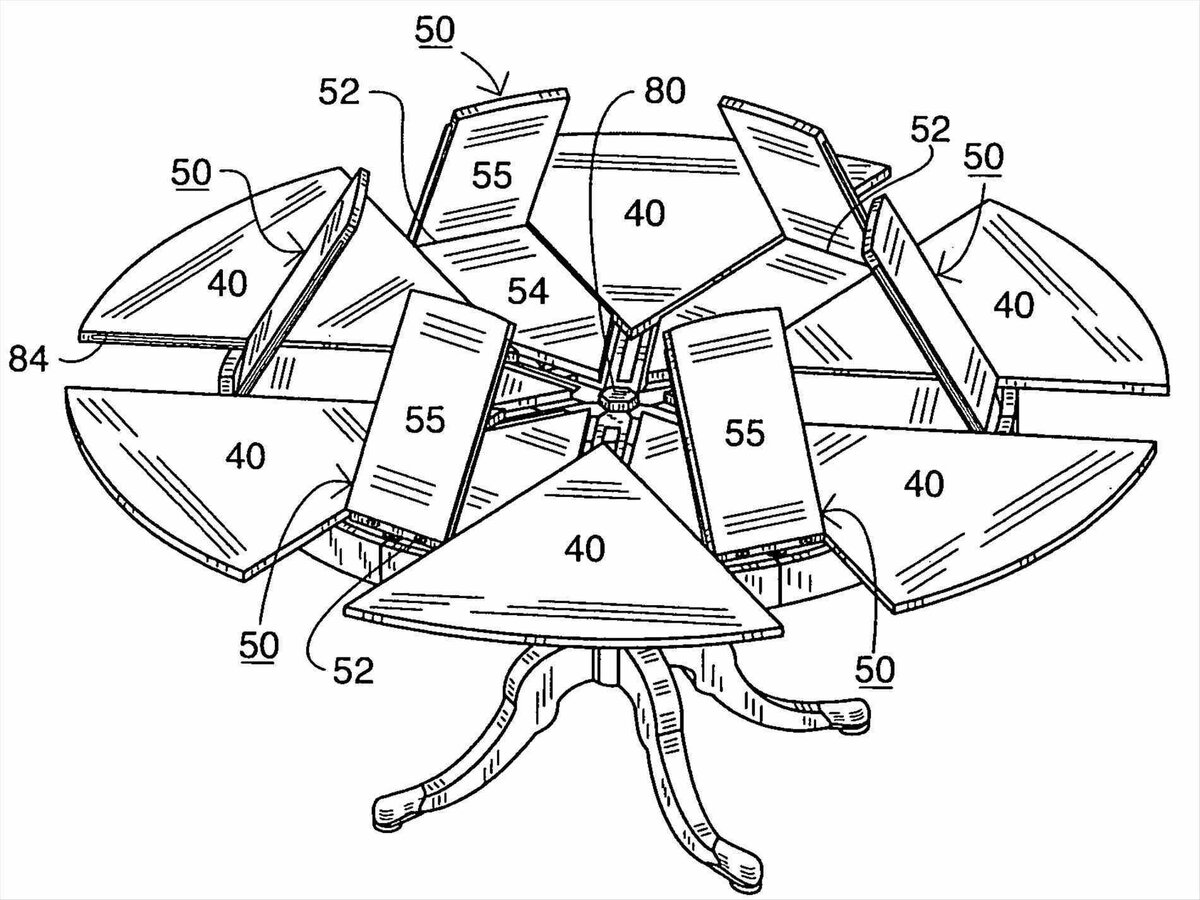
Advice. Take a look at a selection of photographs presented on our website. You can meet very beautiful and amazing models there.
Video: round dining table made of wood
