How to make a desk with your own hands
In furniture salons there are desks for every taste and budget. For home and work office, for children and for schoolchildren, inexpensive and at "space" prices. But is there anything better than homemade furniture?
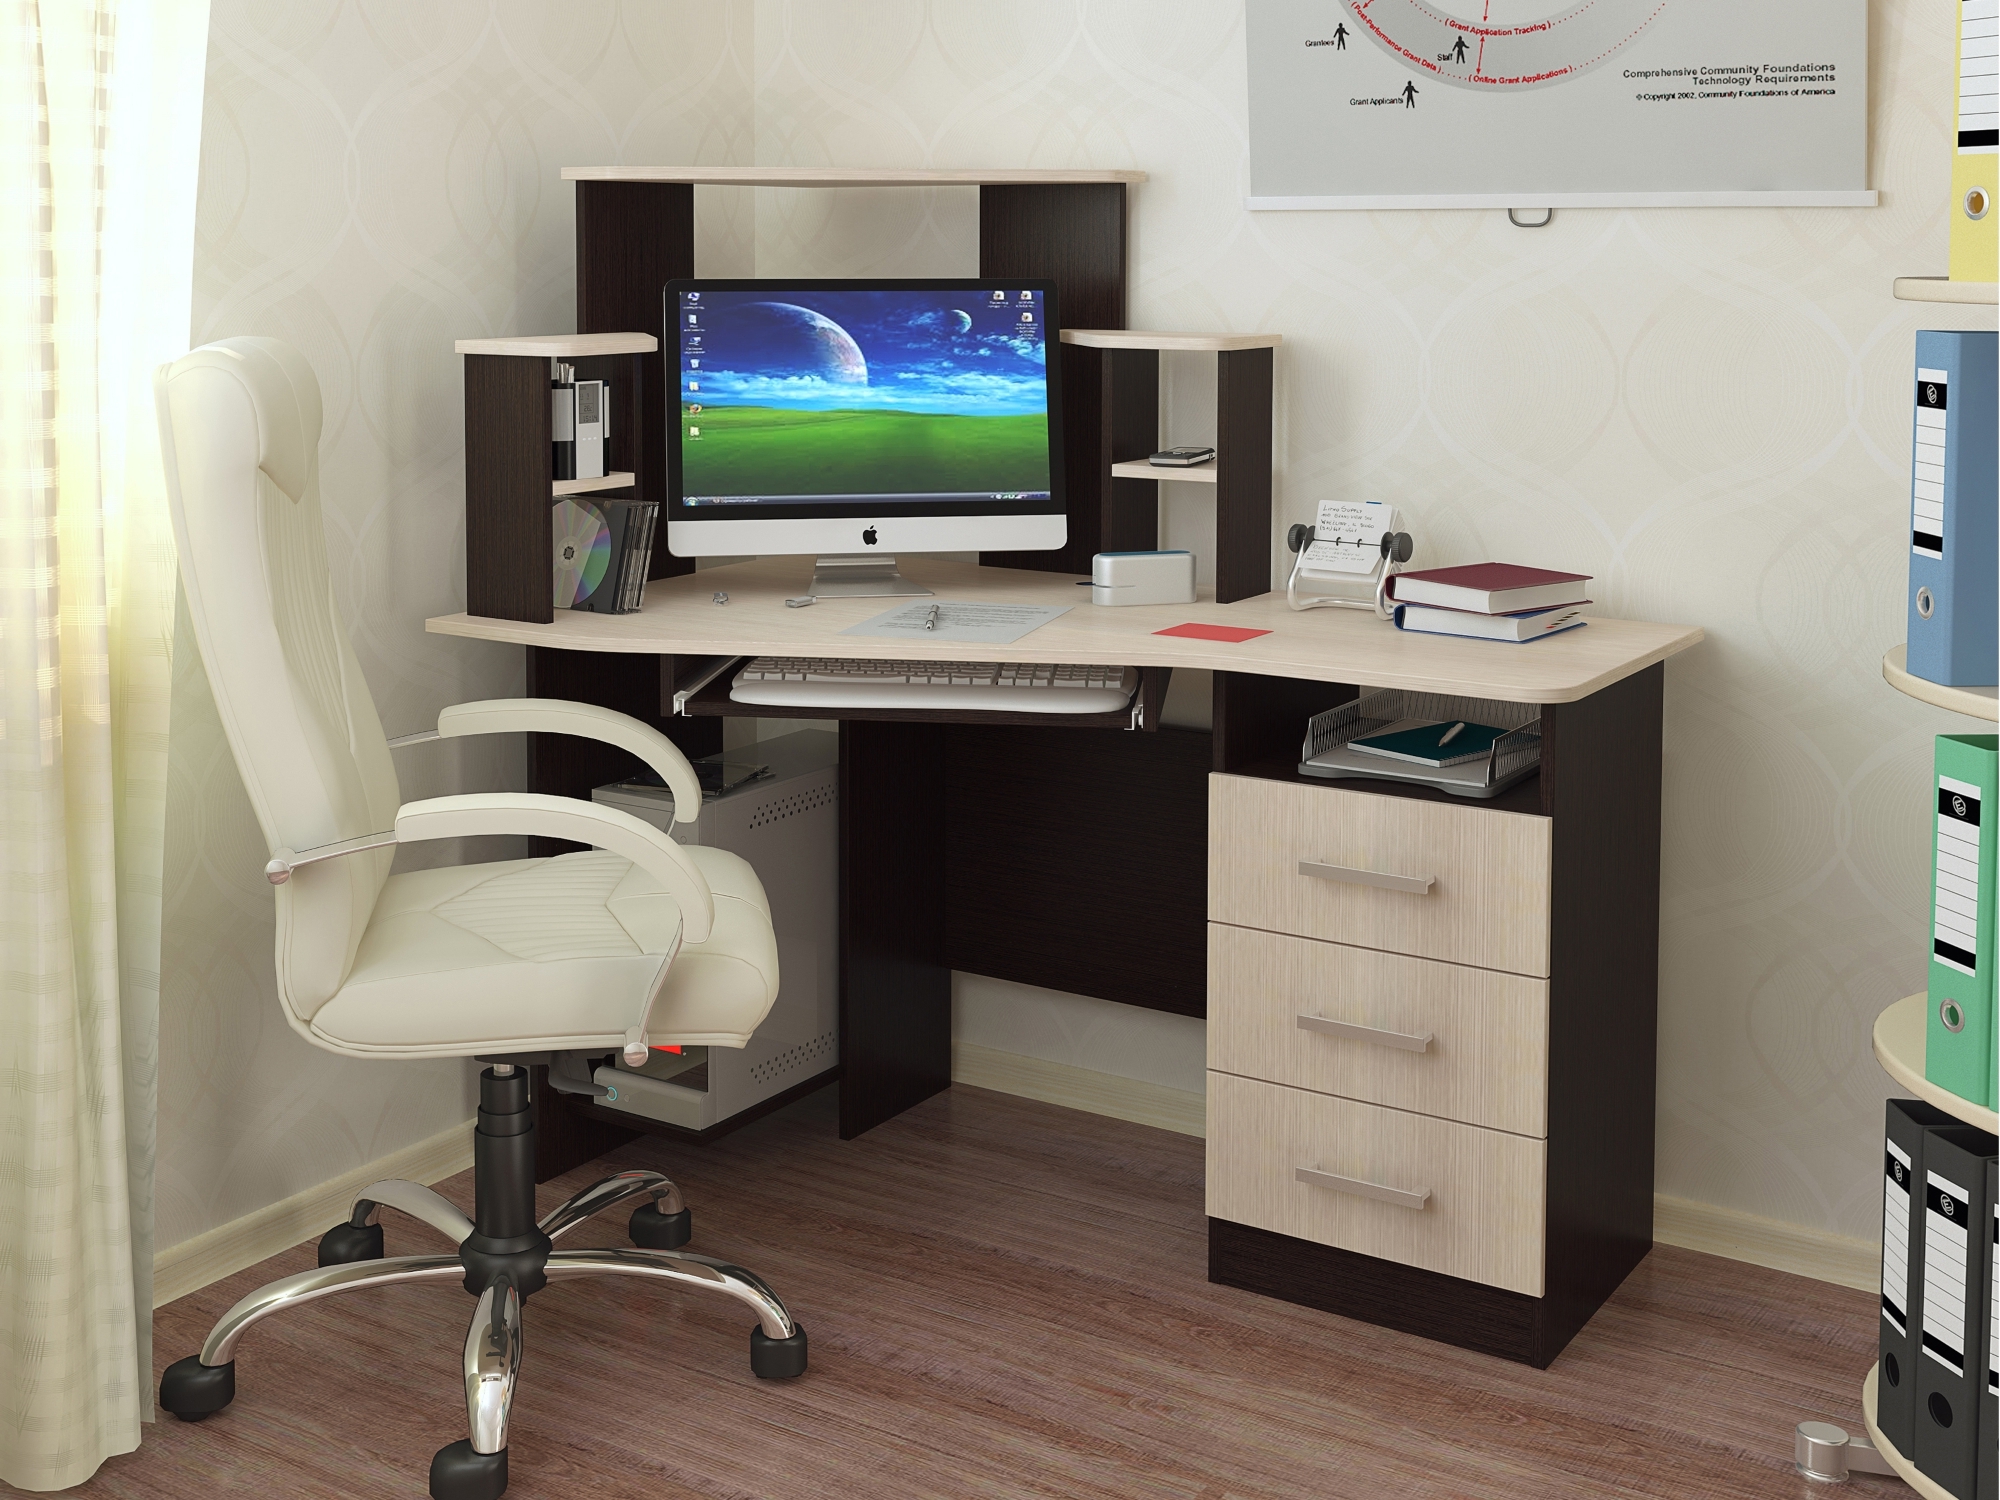
Let it be a little table of the most modest size ... but you can be proud of it. It's nice to show it to friends and colleagues. Let's try to figure out how to make a desk with our own hands.
What material is better to make
If we discard exotic, too labor-intensive and expensive materials, we are left with natural wood, chipboard (particle board) and MDF.

- Wood is not cheap, noble, aesthetically pleasing, 100% environmentally friendly. Needs additional protection and care.
- Chipboard is the cheapest and most unreliable material. Chipboard is the laminated version of the board.
- MDF is an improved version of chipboard. More dense, easy to process, better moisture resistance than natural wood.
- Furniture board is a natural sheet material from oak, pine, ash bars. Presentable, aesthetic, not cheap.
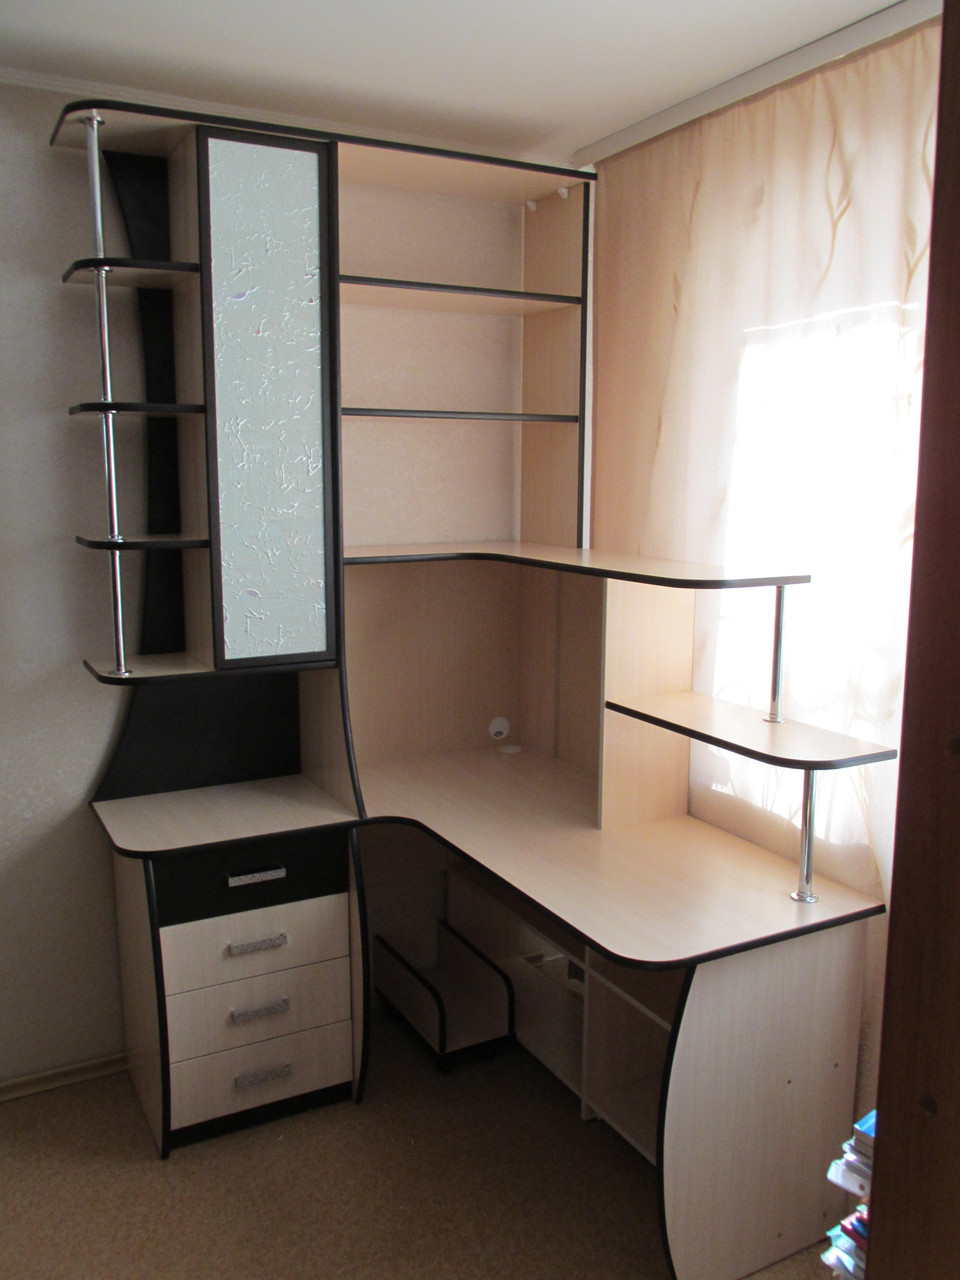
Deciding on the design and construction of the table
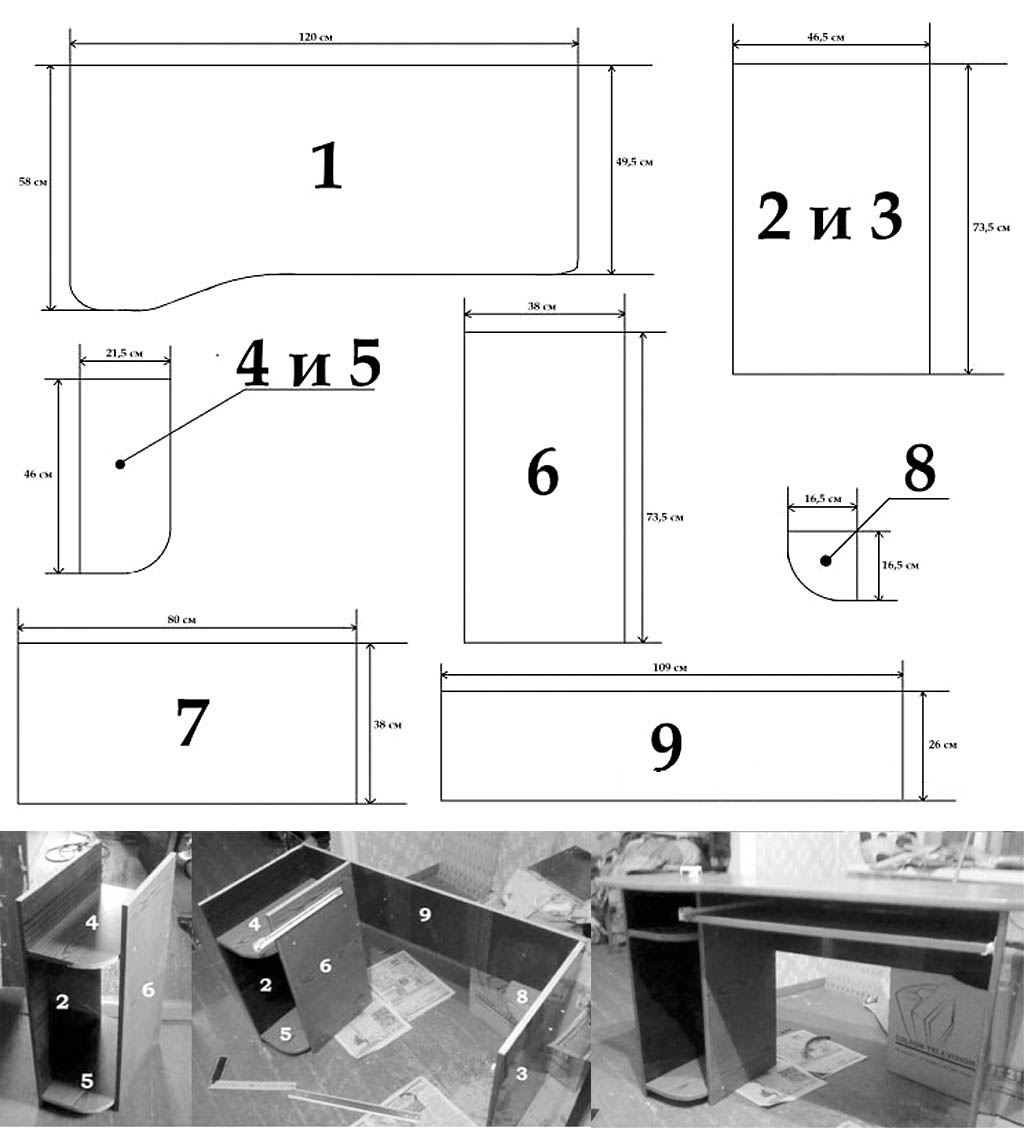
The fewer skills, the less it costs to be smart with the design. The design and scheme are simpler, think over and imagine each step in your mind. Be sure to make a preliminary sketch and drawing.
The clearer you are of what exactly you want to get the output, the less likely you are to face unexpected difficulties in the process of work. The required minimum of drawers and shelves, fewer curly elements and complex connections.
We will leave design delights for the next time, when there is more experience.
What tools you may need
The following tools may be needed:
- Electric jigsaw with saws for wood and an electric drill with drills.
- An ordinary hacksaw.
- Screwdriver, chisels, plane, hammer.
- Grinding and milling machines.
- Clamps.
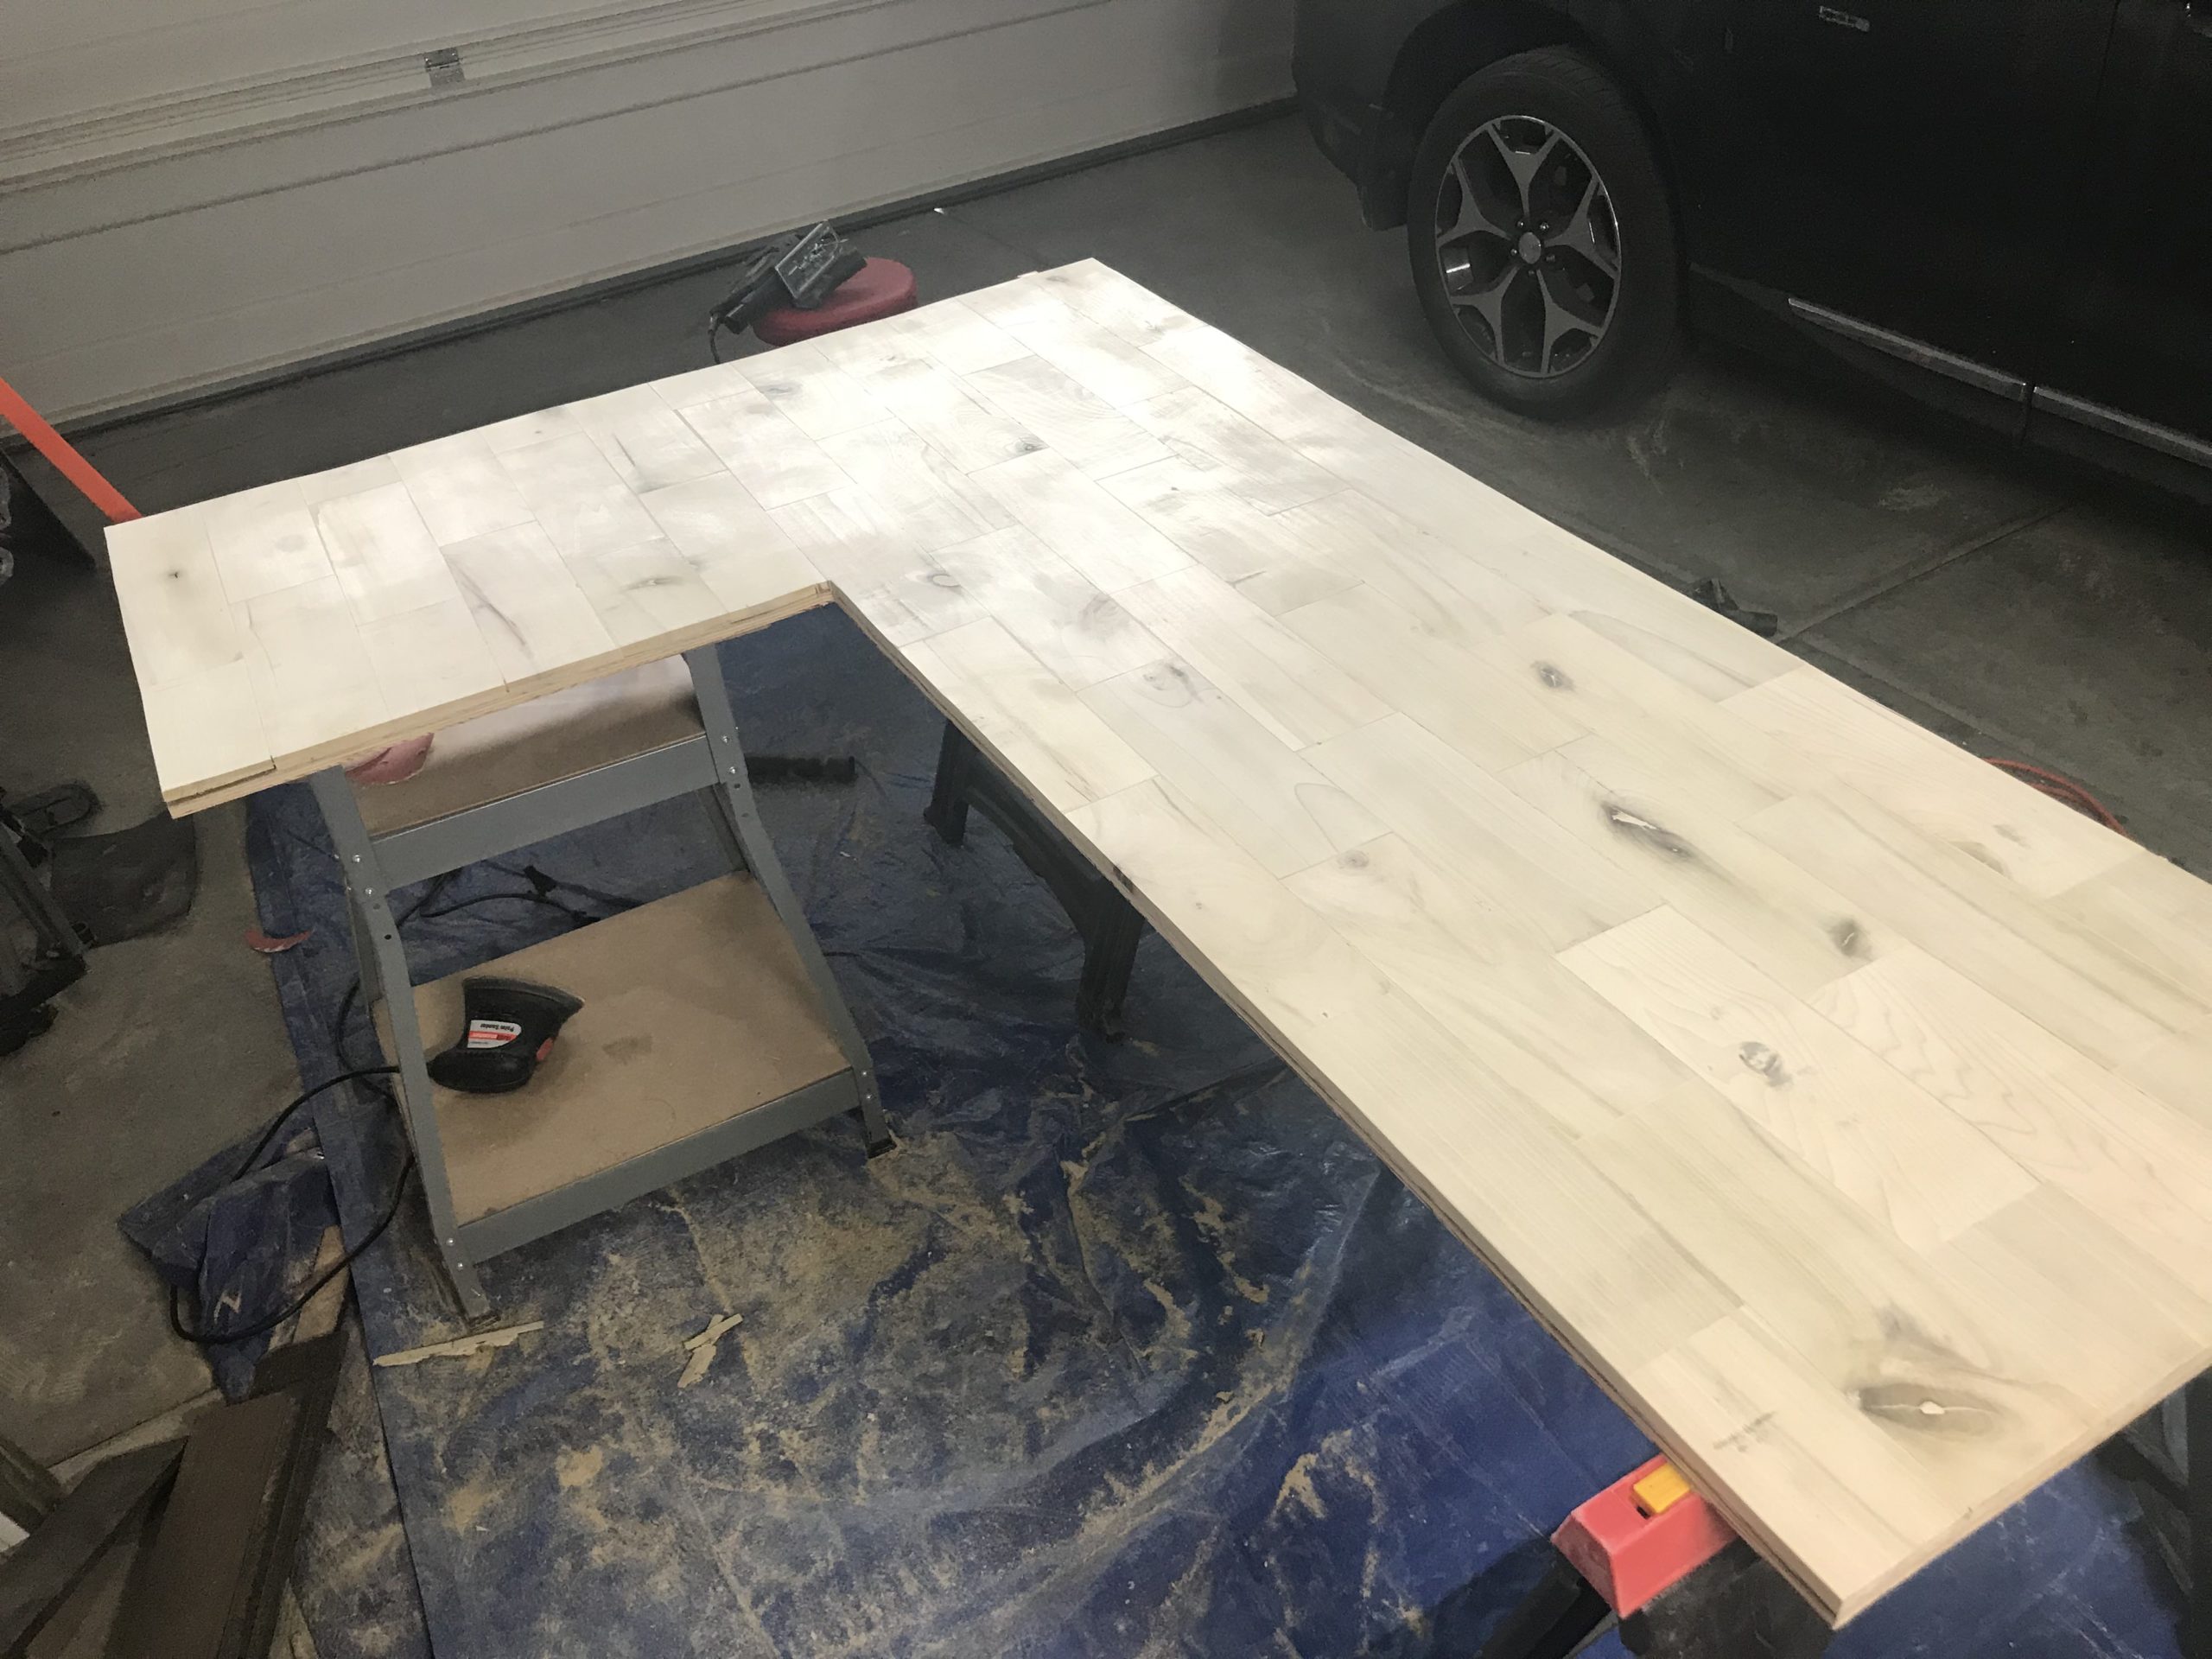
The last two points are optional. May be useful for more complex models. Grinding can be done by hand, using emery.

Jigsaw blades:
- T101D - wood / chipboard / plywood. Coarse teeth for fast cutting of solid wood and wood shavings.
- T101B - Fine teeth, slower cutting speed, fine cut.
- T119BO - shaped cutting.

DIY table making instructions
Consider how to make a do-it-yourself desk with drawings: an ordinary one from a furniture board, nurseries for a small child and a schoolboy, for a home office.

Plain desk made of furniture board
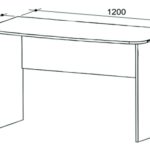
Let's start with the simplest. An ordinary writing table without curly elements, drawers and shelves. You can cut furniture panels right in the store. It's easy to do it yourself. That's it, we have a lid, two end walls and one inner wall. Only the assembly remains.
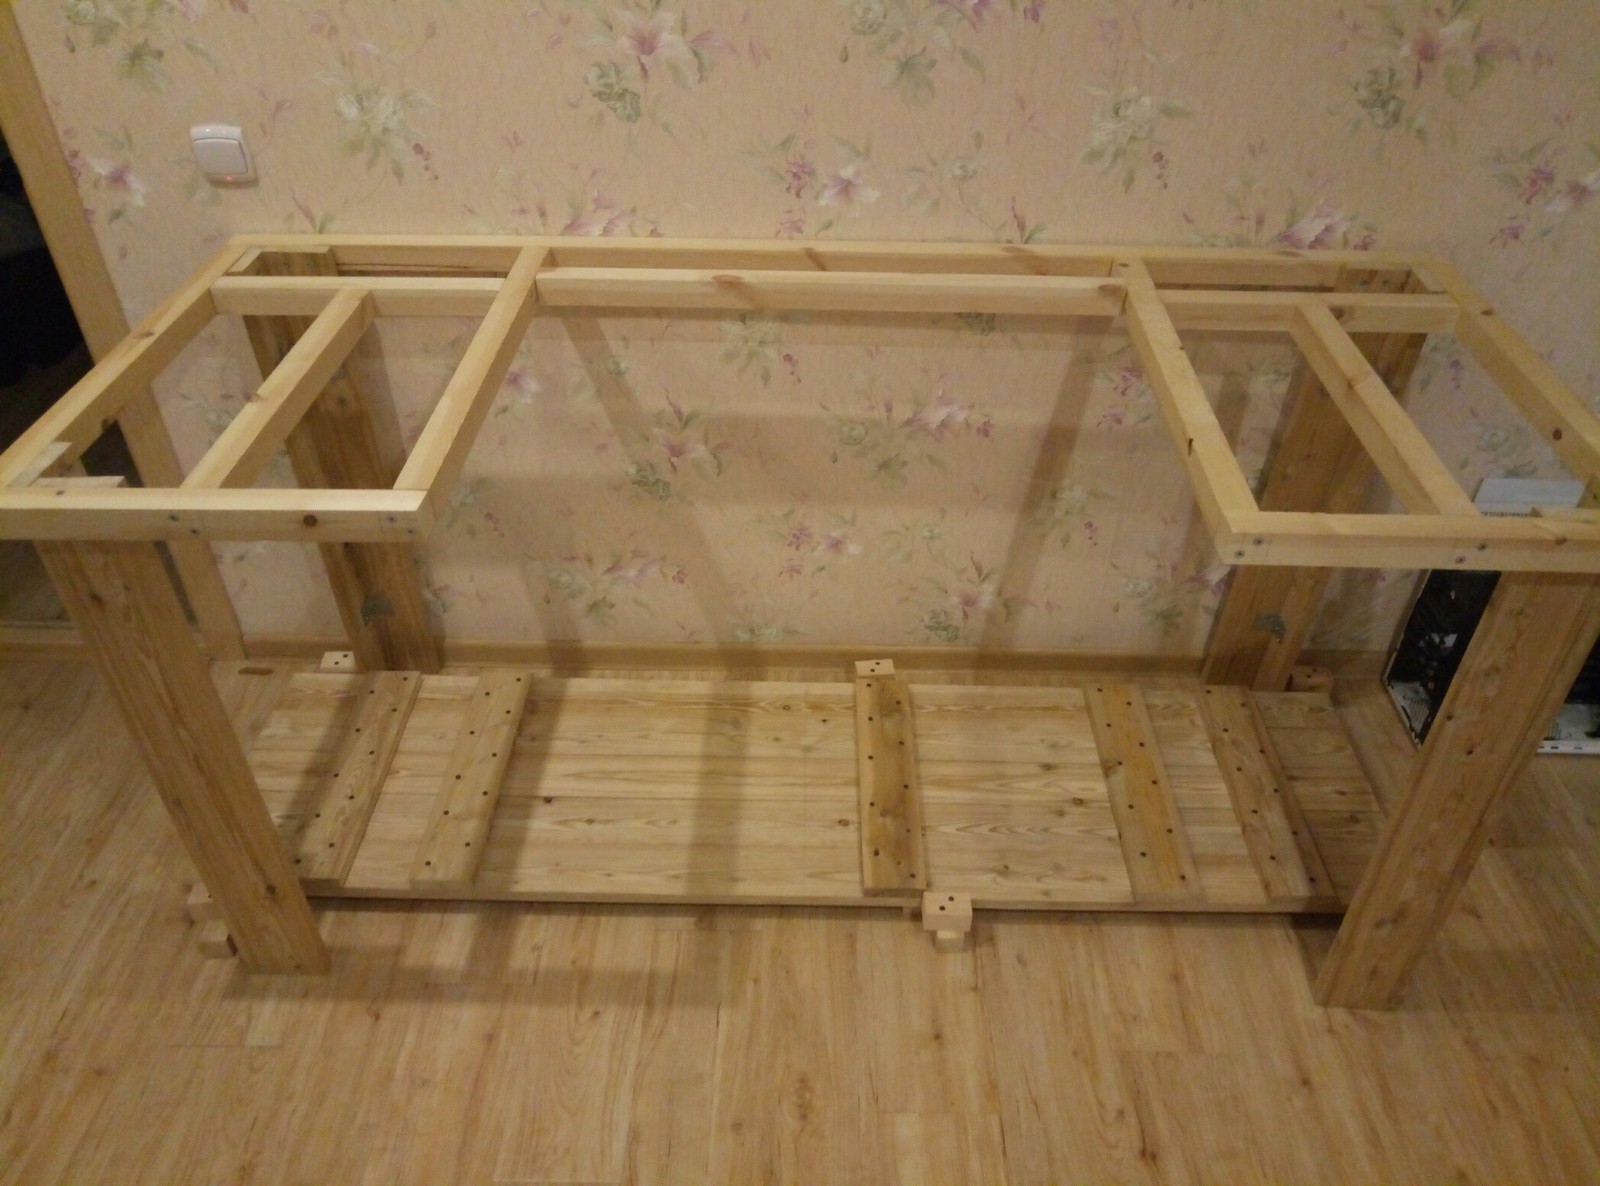
For the connection, you can use furniture screws, drilling holes and grooves for fastening with an electric drill. Close the recessed caps of the fasteners with special plugs (they can be purchased at any hardware store).
Grind the finished structure with emery and varnish twice. The simplest table is ready.
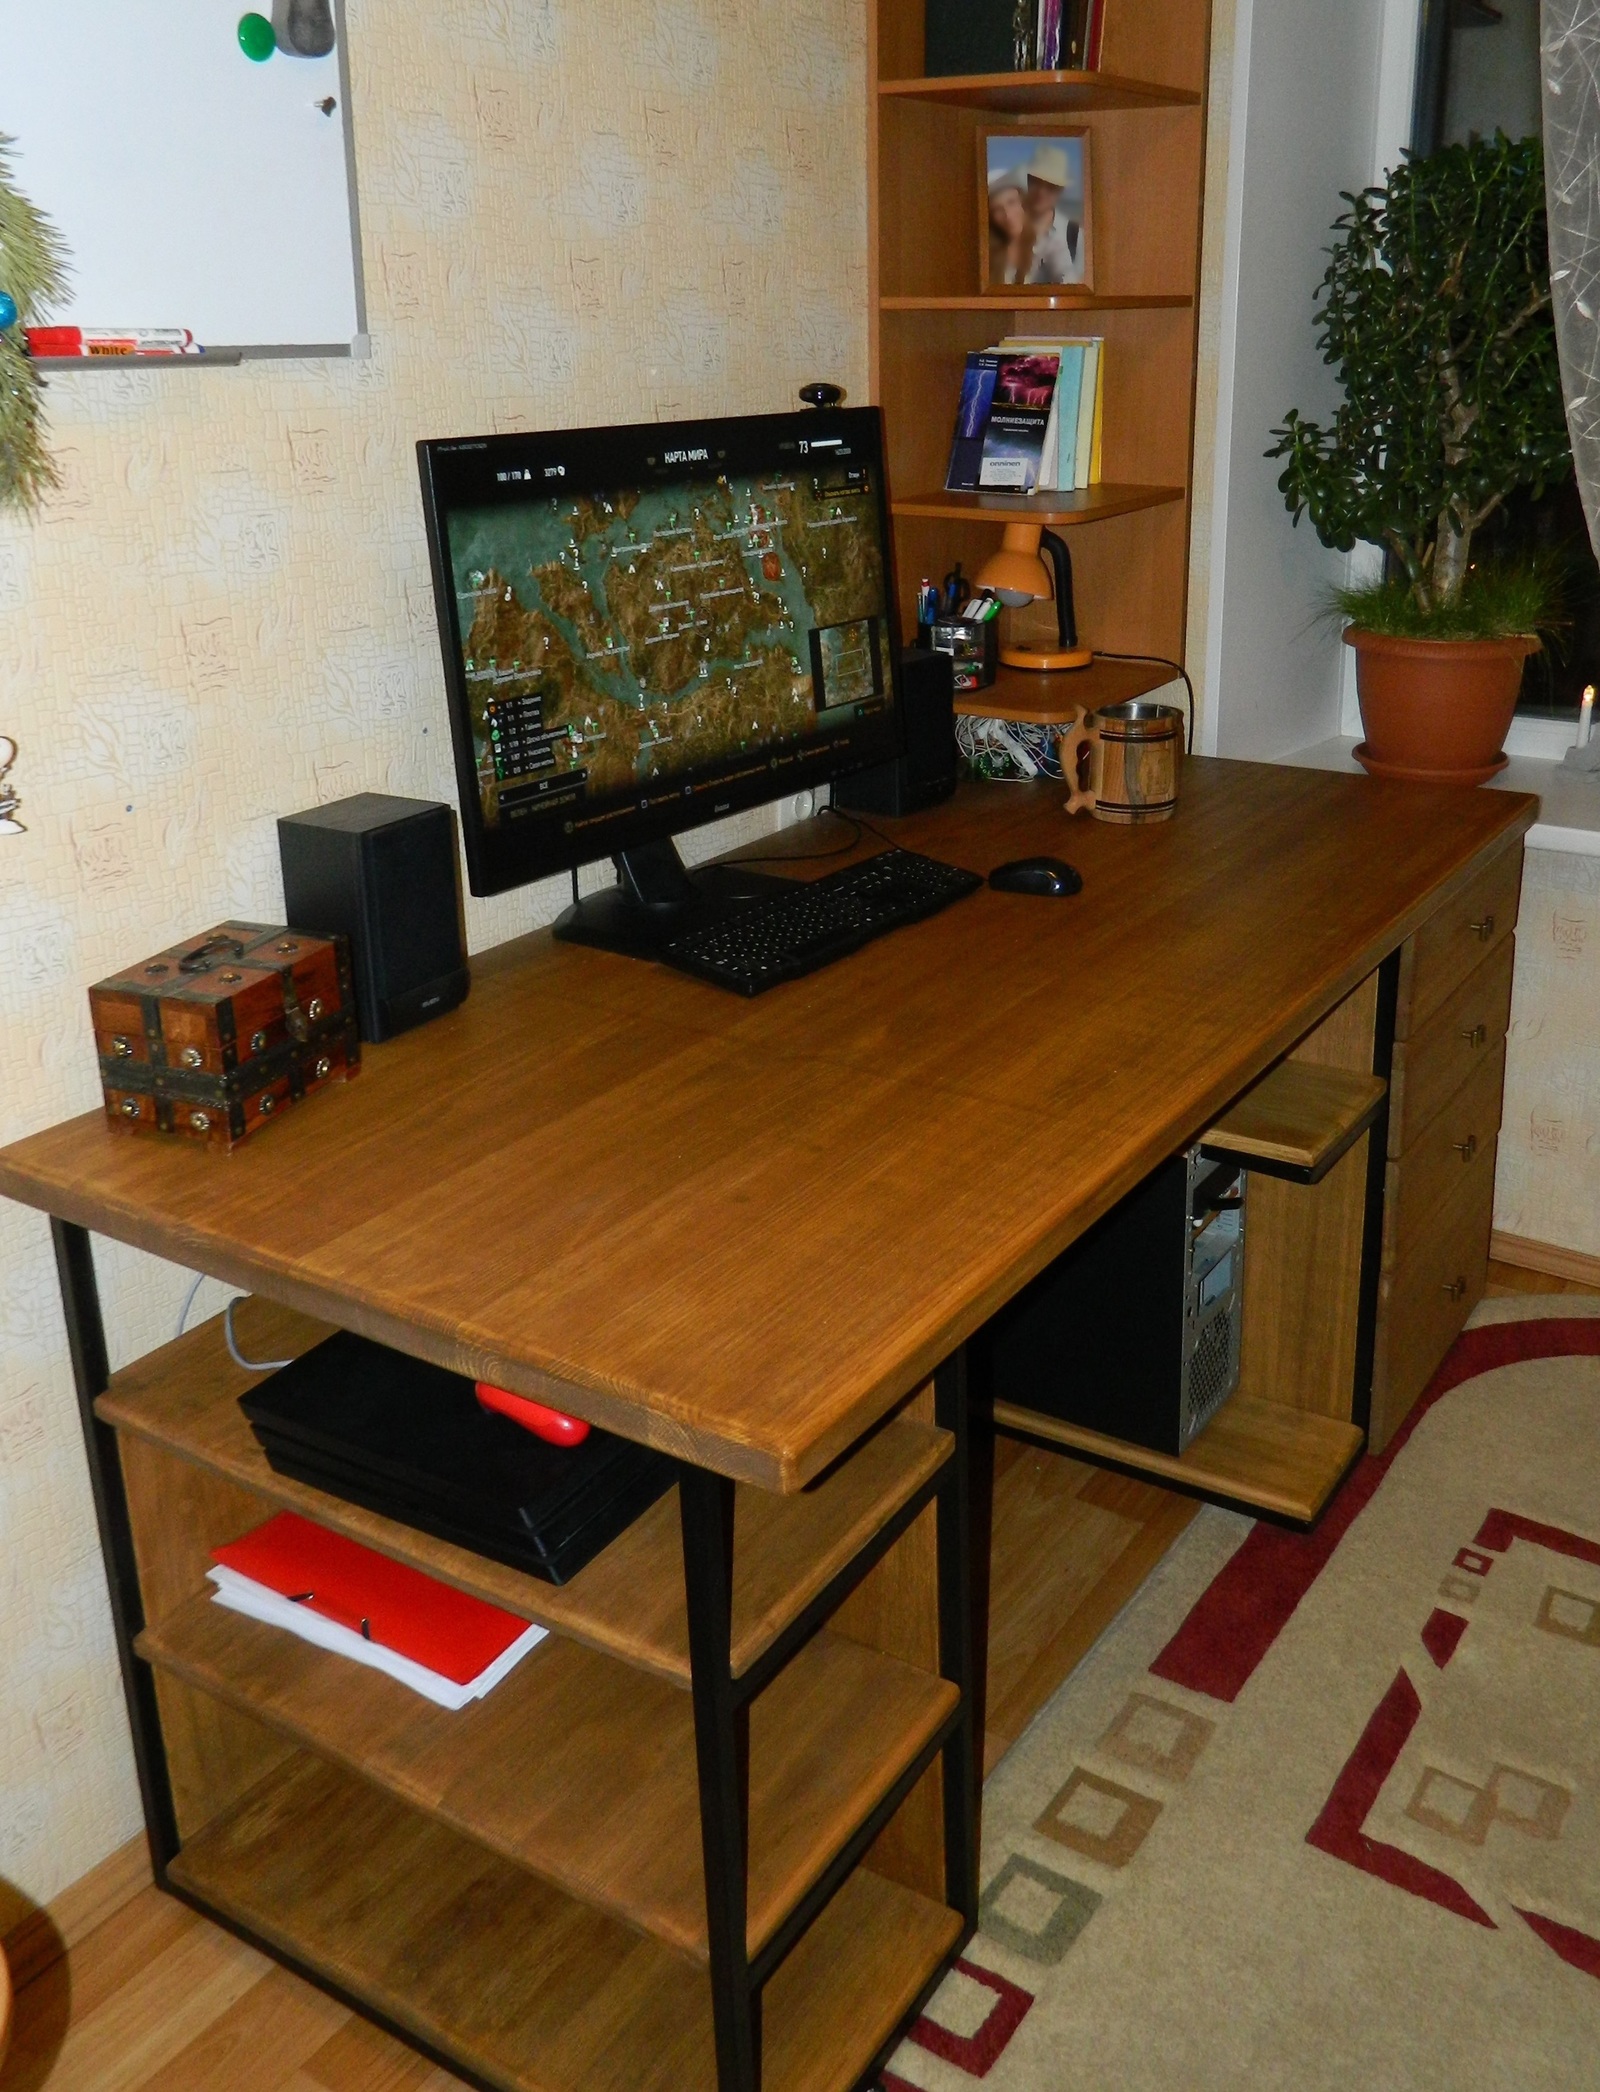
Chipboard writing desk for schoolchildren
It is not difficult to make a do-it-yourself desk from chipboard for a student.
- We make sawing of chipboard according to the required dimensions.
- Sharp corners can be rounded to make the student safer.
- We make markings for fasteners, drill holes for bolts and grooves.
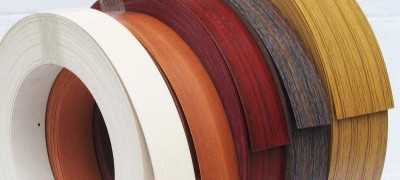
- We will secure the ends with a protective edge.
- We collect the boxes, we attach the rails-guides under them, we assemble the table
- We open the cleaned surface with varnish, veneer, glue it with vinyl film - which option is more like it.
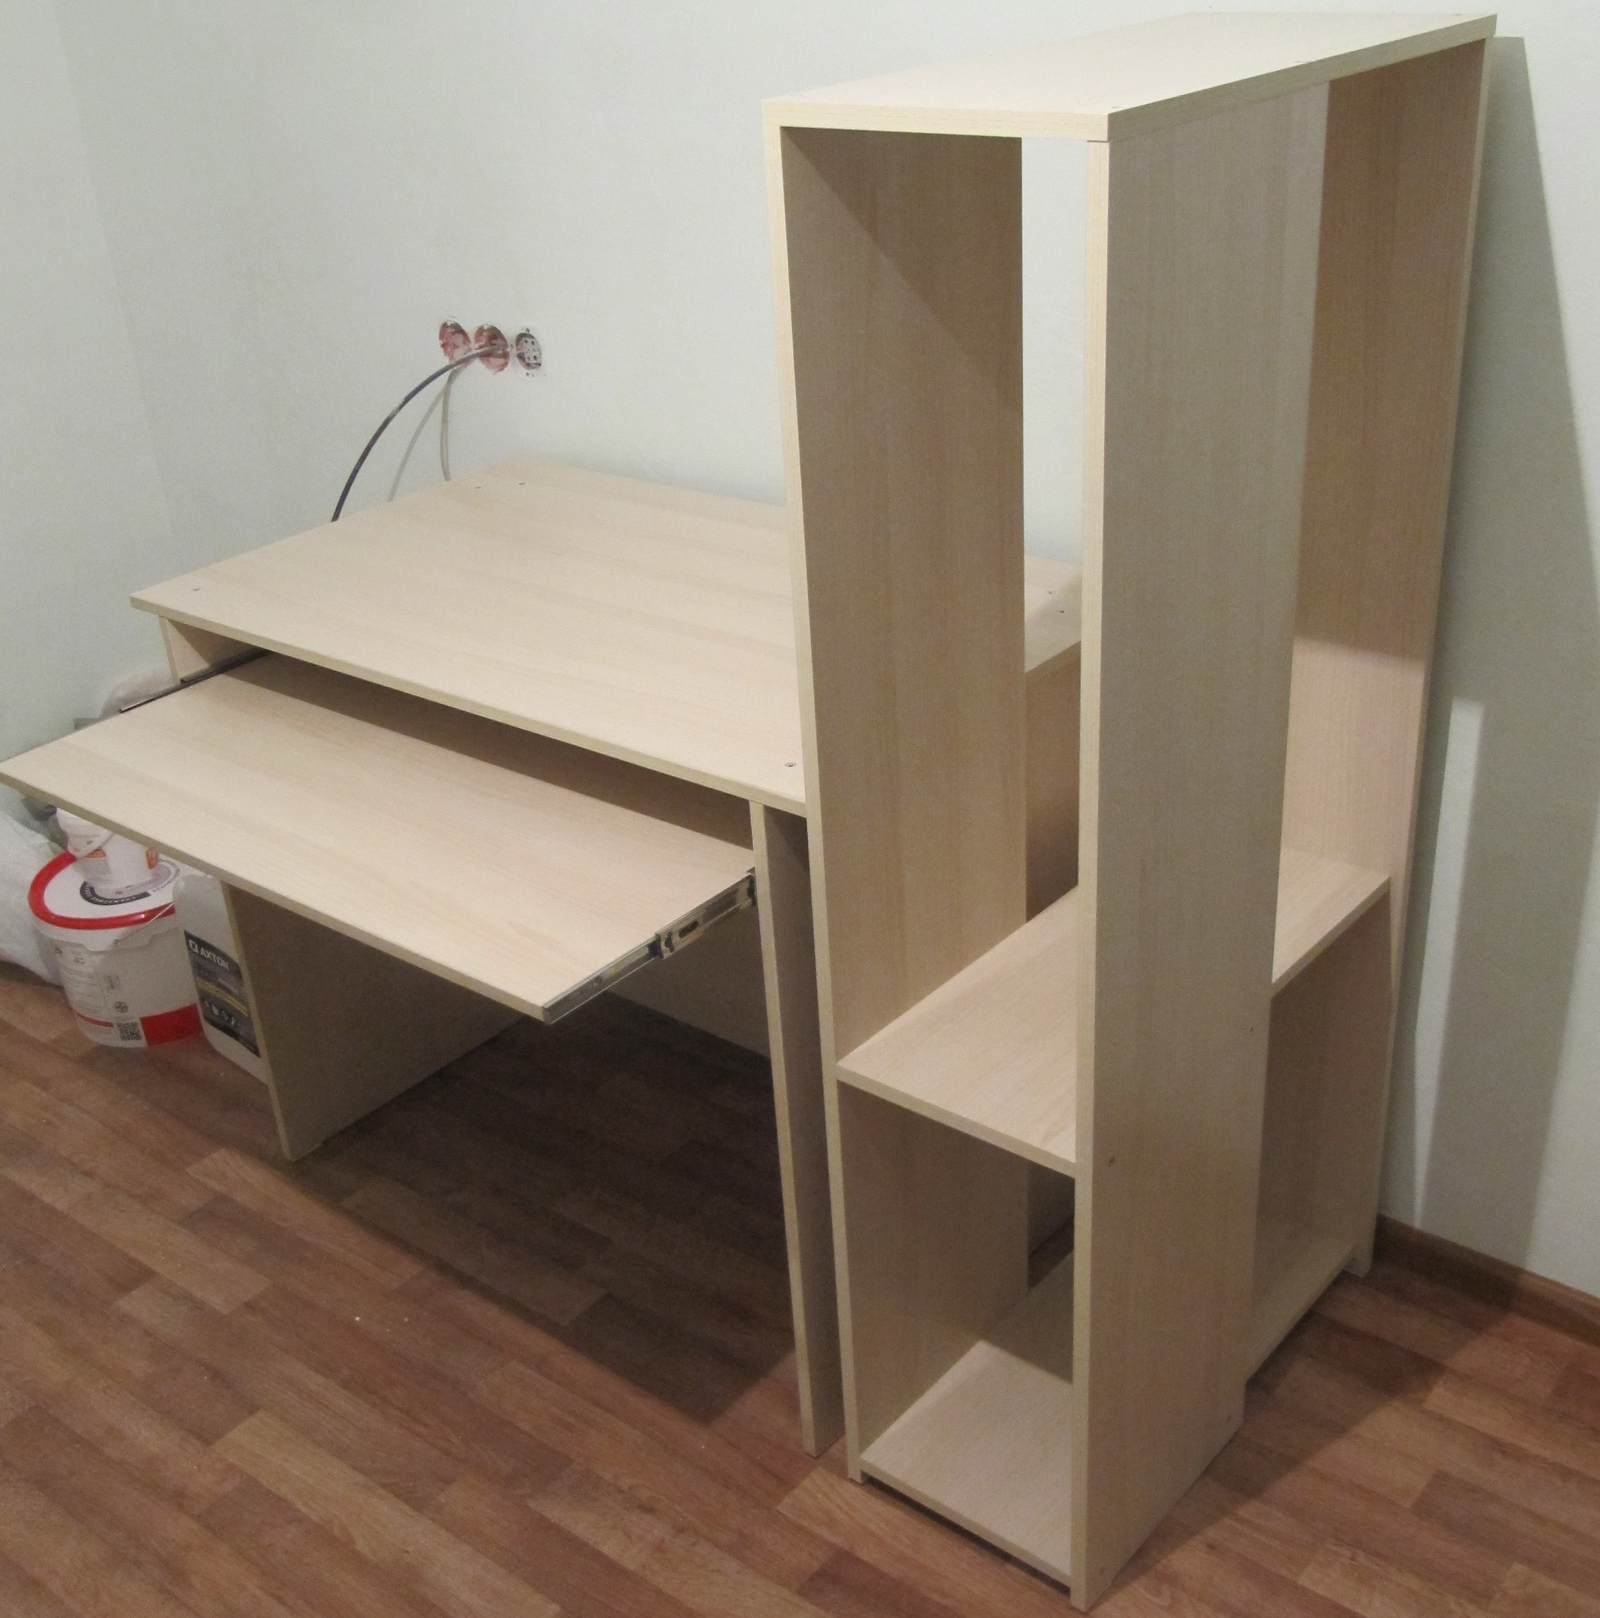
So we made a desk for a student with drawers and a shelf with our own hands.
Children's table with two drawers and a bottom shelf
- We cut the material to size: end walls, bottom shelf, drawer elements, base for storage system, table top. For the support walls, we use the T119BO shape cutting file.
- We drill holes, assemble them.
- We grind the surfaces, open them with varnish or glue them with vinyl film.

Making an office table
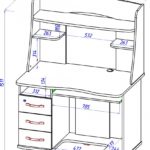
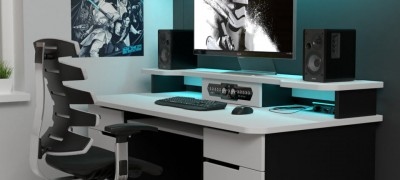
Home office table with drawers and shelves.
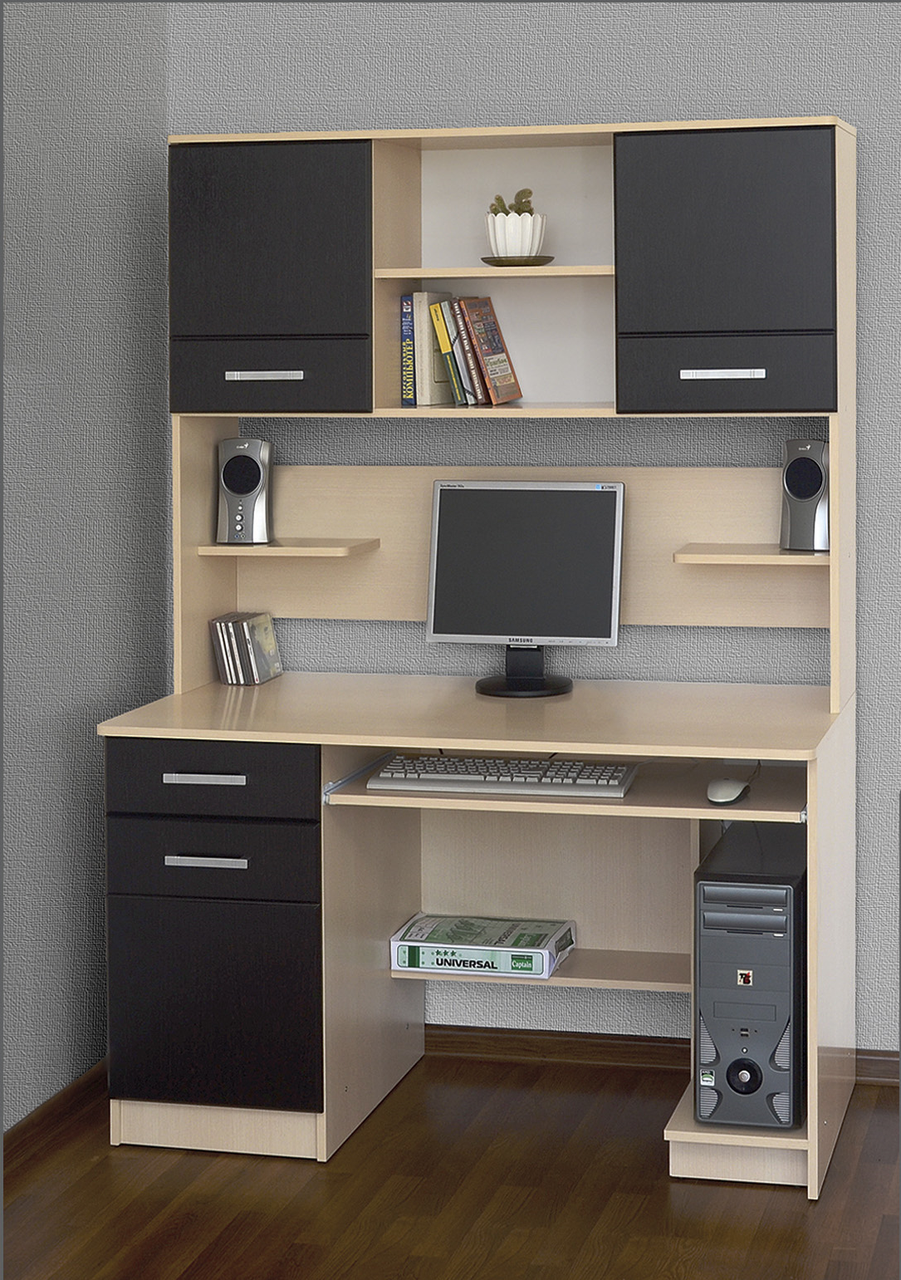
- We cut the material.
- We drill holes for bolts and grooves.
- For right angles, you can use a metal corner; for boxes, you should purchase rail guides and accessories.
- We clean, grind, close the ends with an edge.
- Assembly.
- Final finishing: opening with varnish or pasting with foil.

Ready-made examples of unusual tables
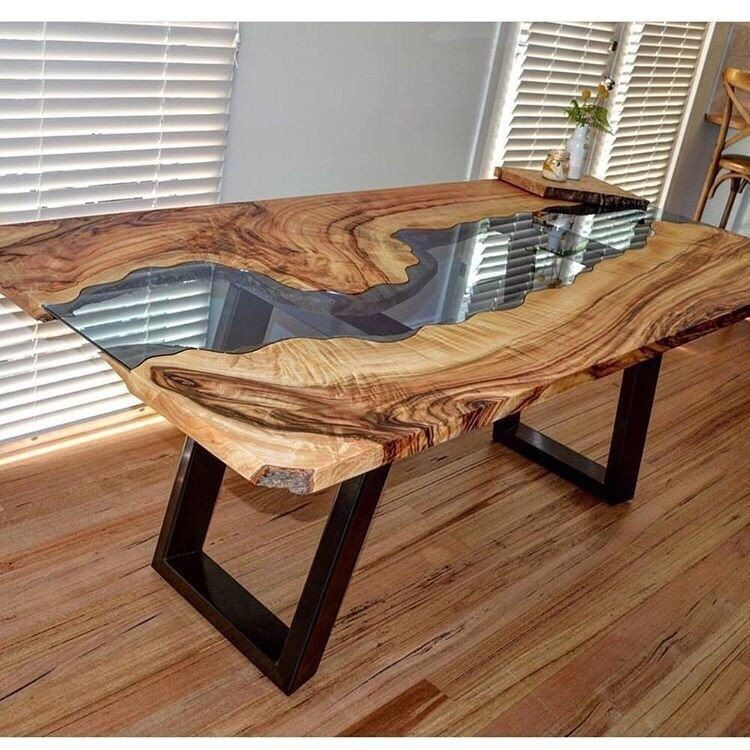
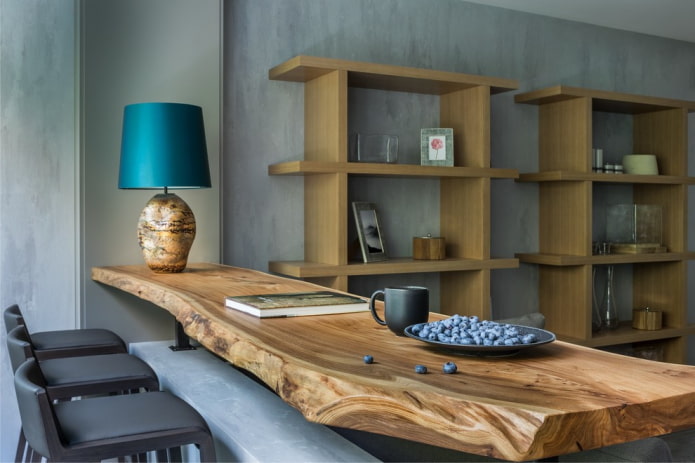
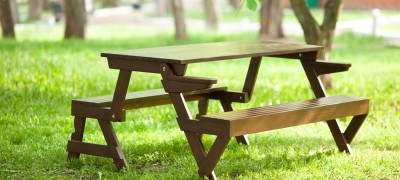
The table top does not have to be perfectly flat, especially from the ends. Emphasis on the natural beauty and nobility of natural solid wood.
If there is no desire and time to make a table with your own hands from scratch, you can restore the old one lying around in the country.

To do this, you will need to remove the varnish layer with a solvent, sand the countertop and walls and varnish or glue it over with self-adhesive furniture film. This option is much cheaper and less time consuming. No special skills required.
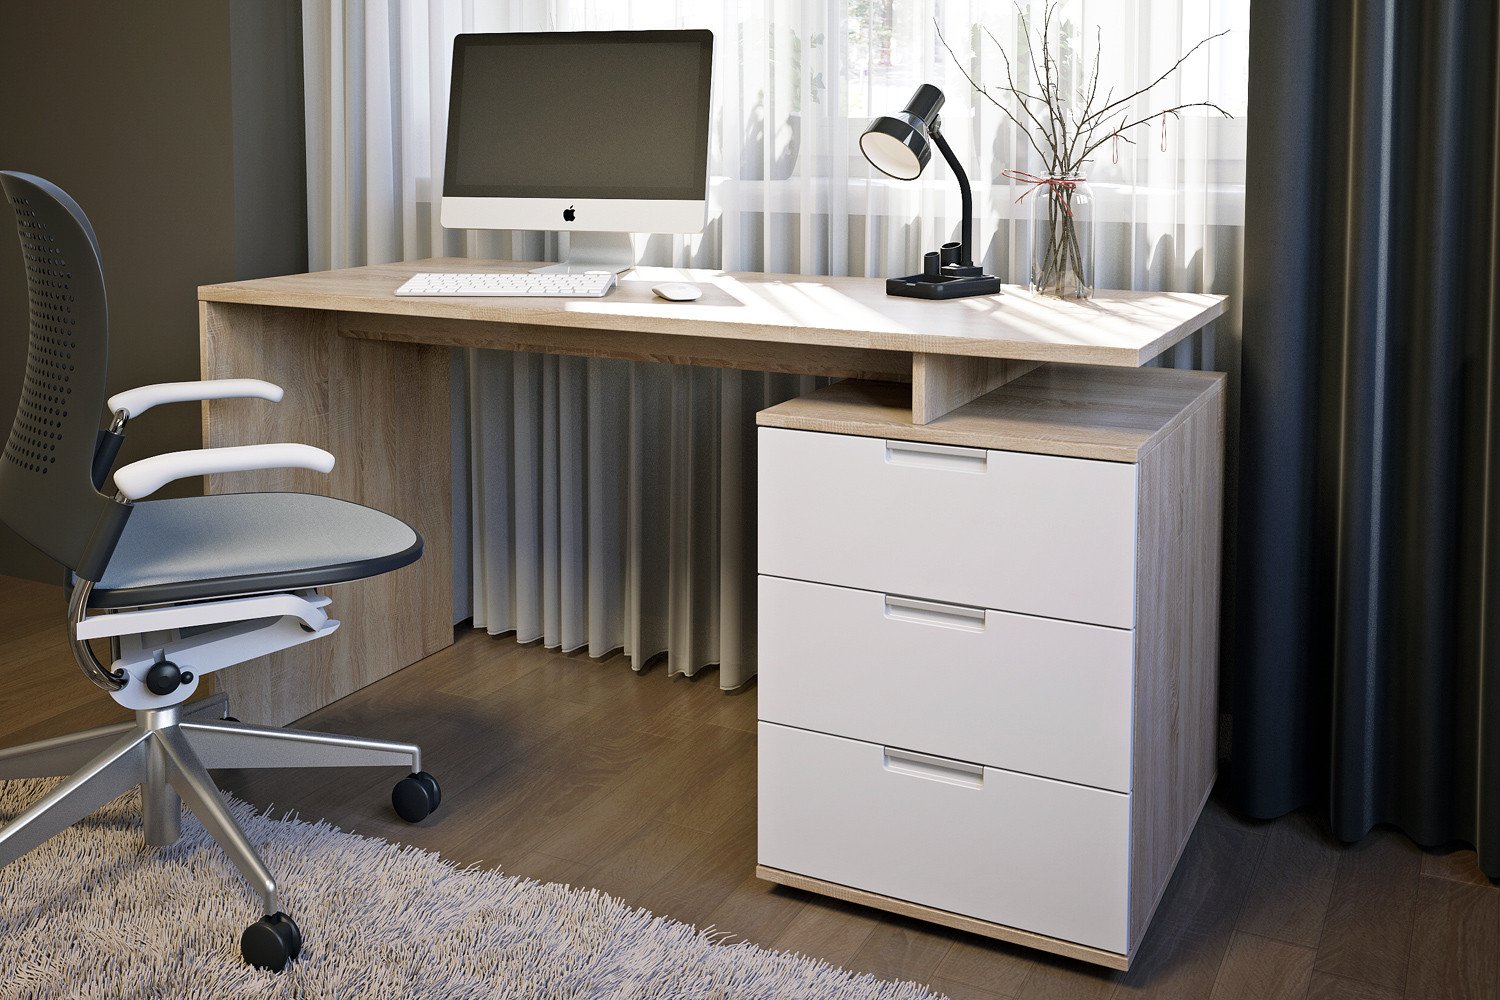
Video: how to make a computer desk with your own hands
