How to make a serving table on wheels with your own hands
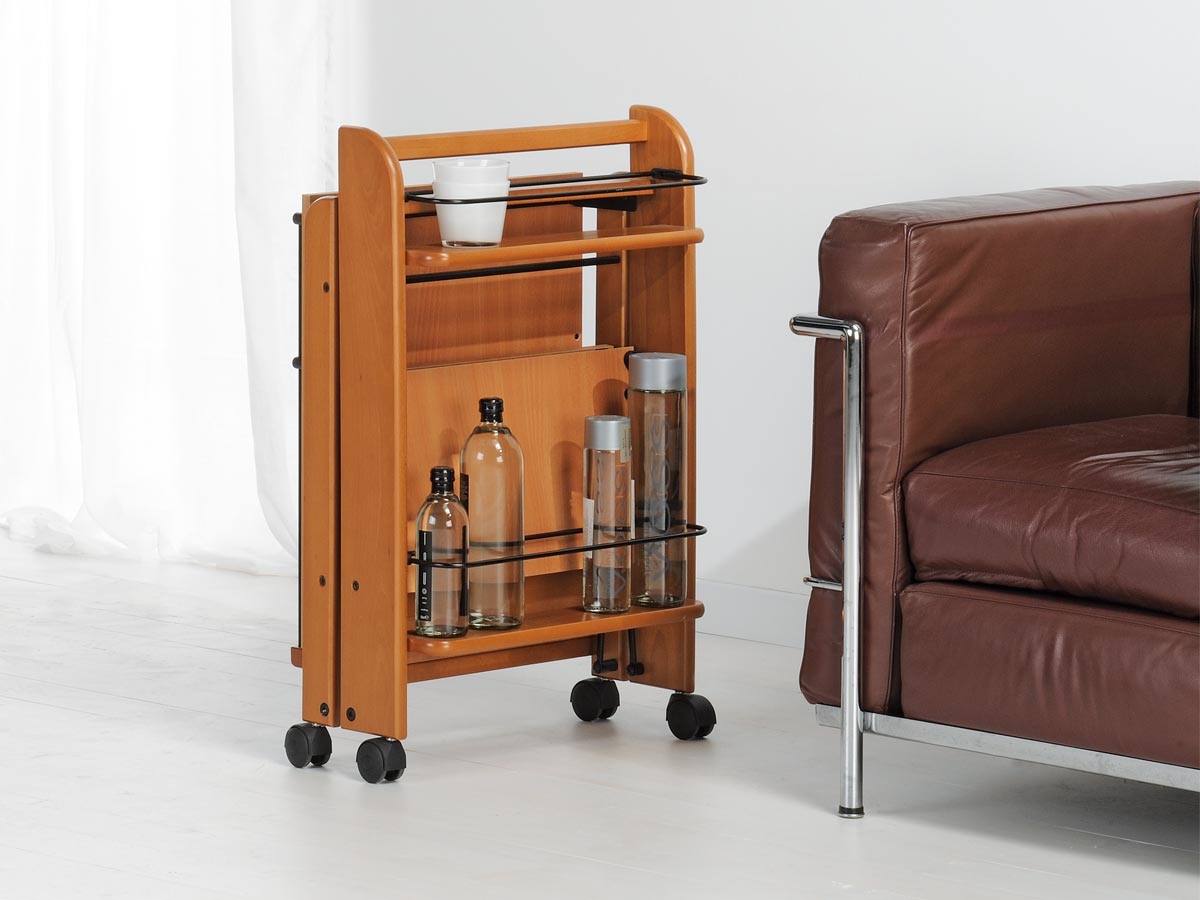
Convenient and mobile, compact and roomy serving table will be an excellent assistant in the kitchen, living room or garden gazebo. If there is one, then you will not have to repeatedly, for example, for dinner in the yard, run to the kitchen for missing drinks or snacks. Several shelves, as well as the presence of wheels make this piece of furniture indispensable in people's everyday life.
Design options
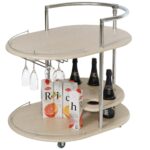
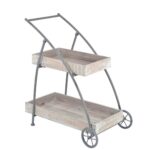
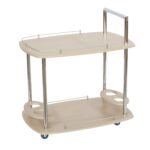
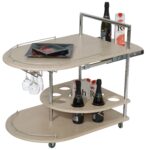
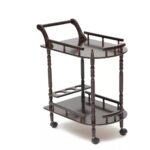
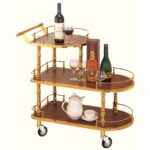
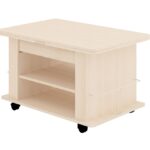
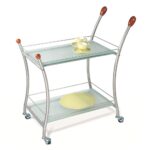
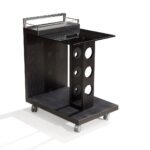
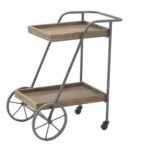
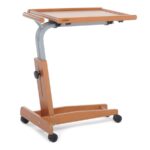
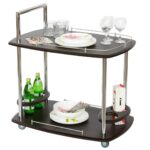
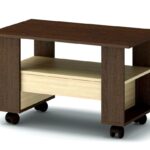
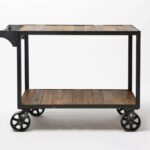
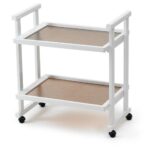
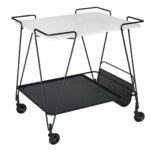
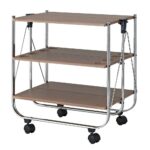
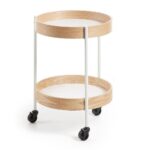
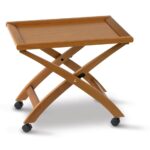
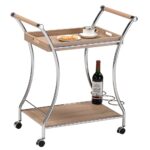
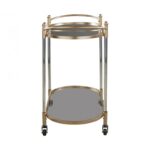
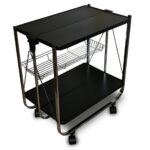
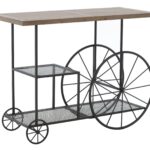
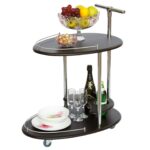
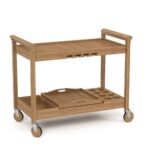
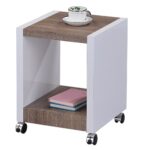
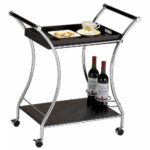
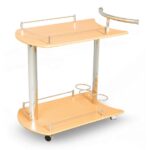
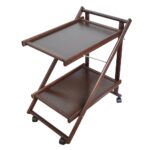
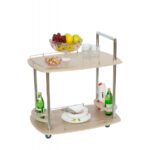
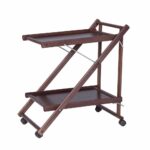
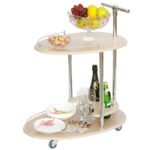
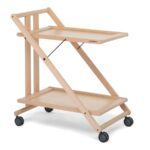
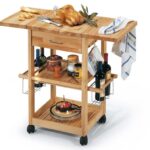
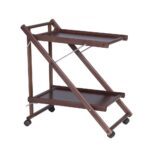
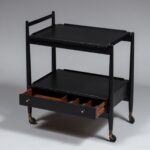
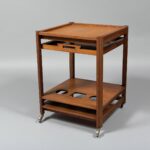
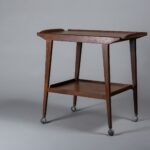
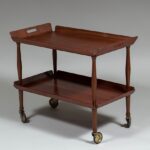
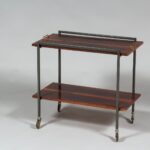
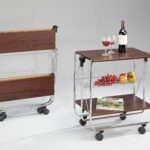
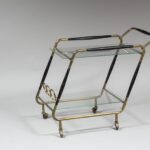
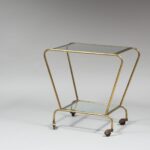
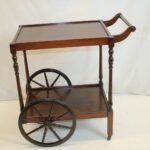
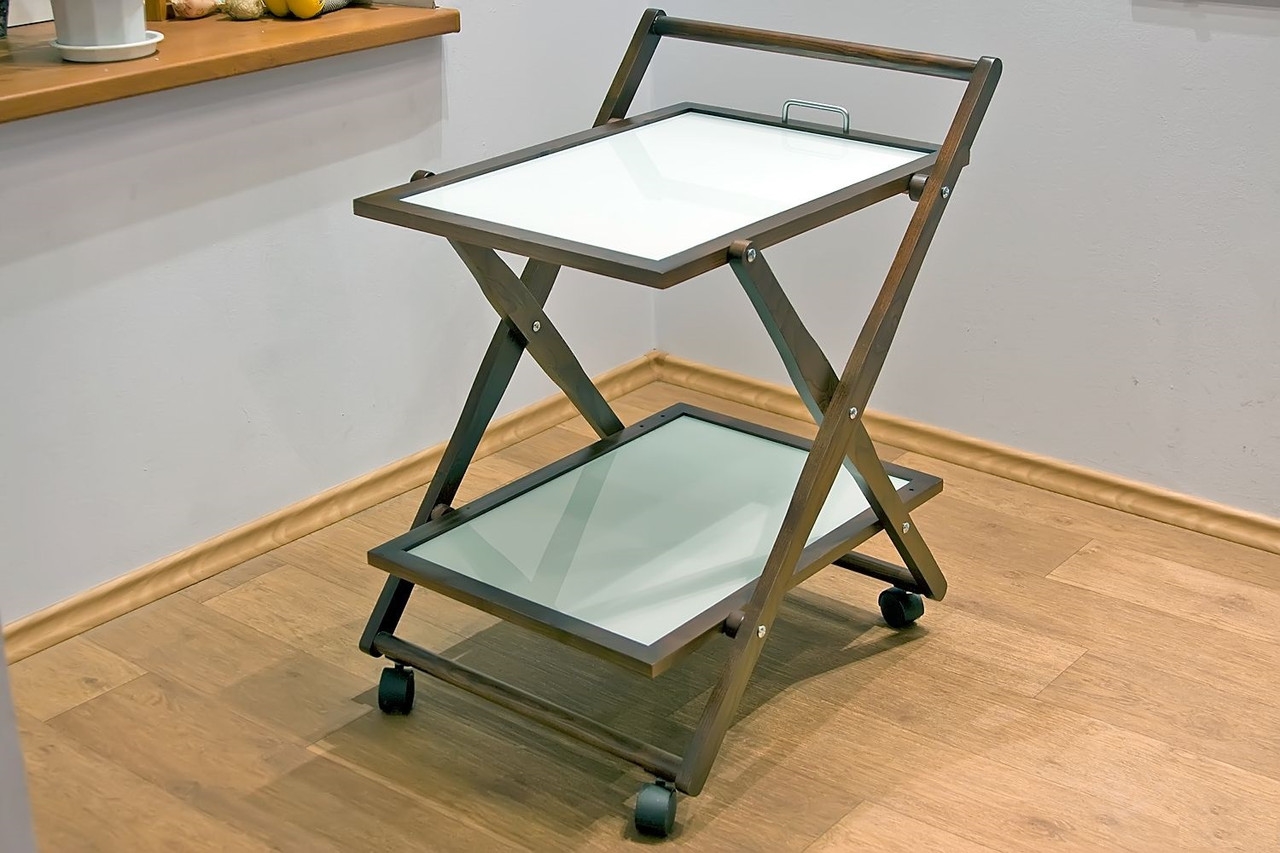
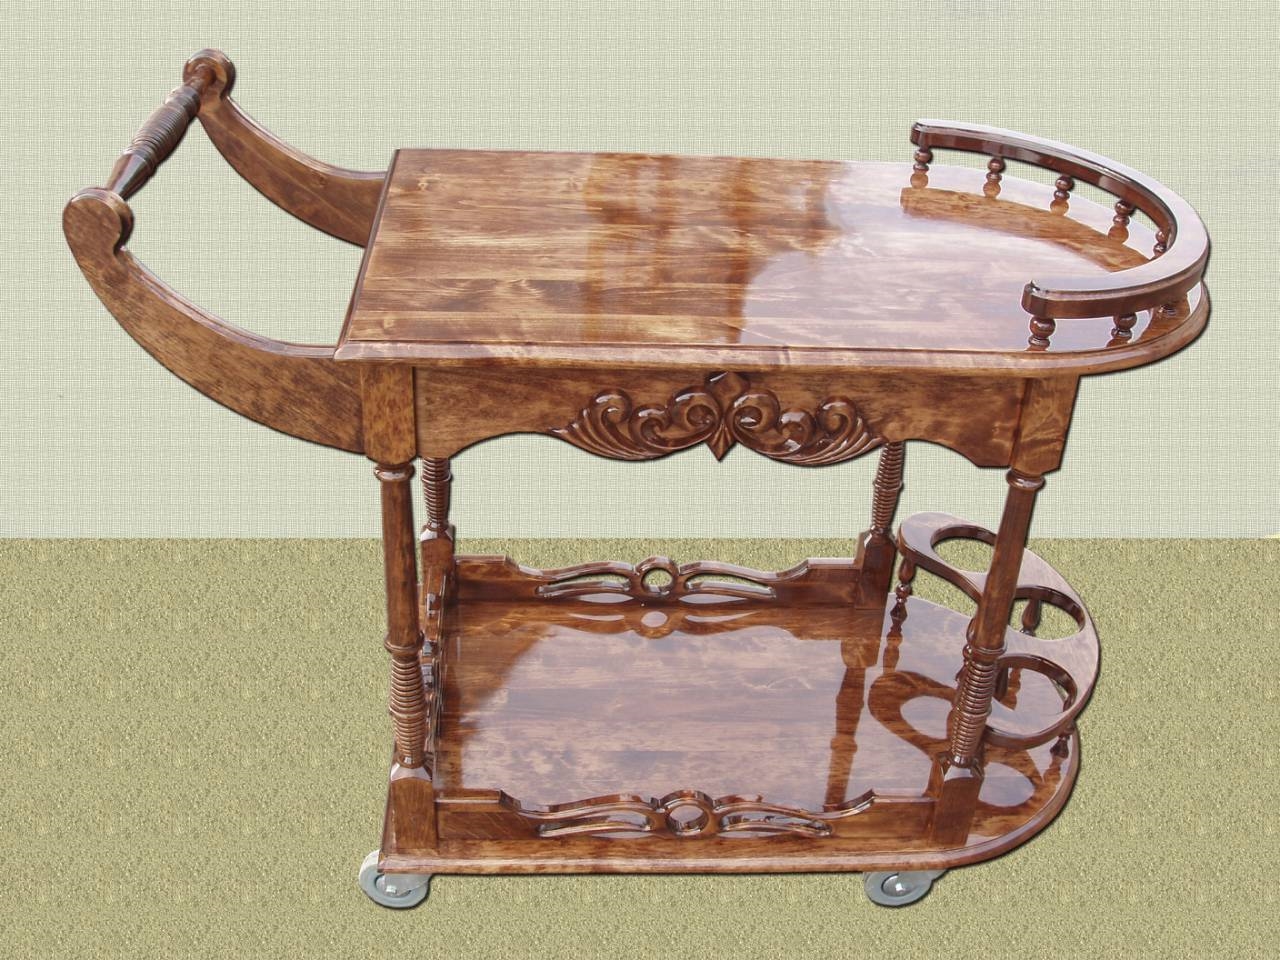
There are a lot of models and designs of serving tables. They can be two or three-tiered, folding, with additional drawers or shelves for bottles. The stylistic solution depends on the interior design in which the table will be used.
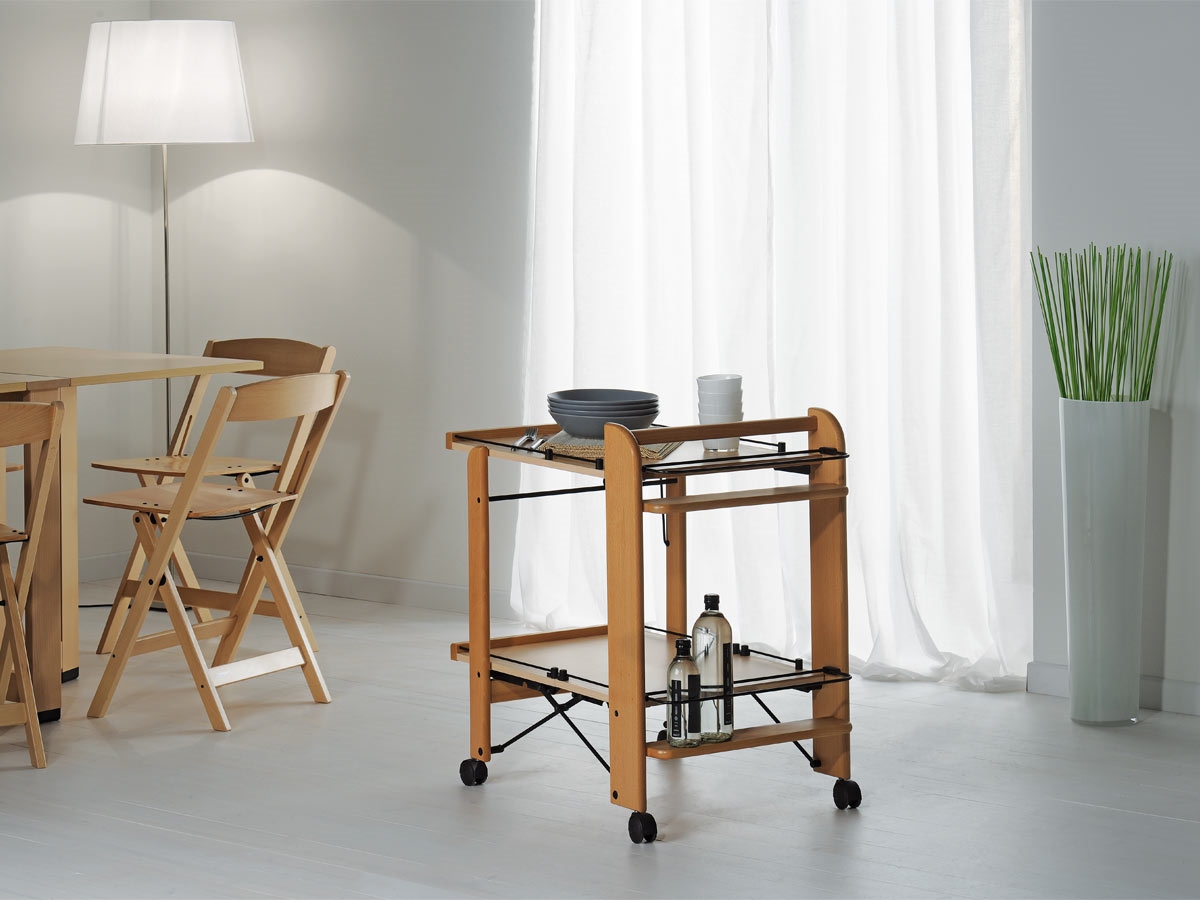
Metal, glass, or wood work well for this design. Having decided to assemble this piece of furniture on your own, it will be most convenient to use natural and environmentally friendly wood or MDF. The presence of furniture wheels will make the serving table comfortable. A handle attached to one side will help guide it while driving. And all kinds of hooks, shelves or a cutting board will add functionality.
What you need to make your own hands
The simplest to perform will be a wooden table. It doesn't take a lot of time or special skills to collect it.
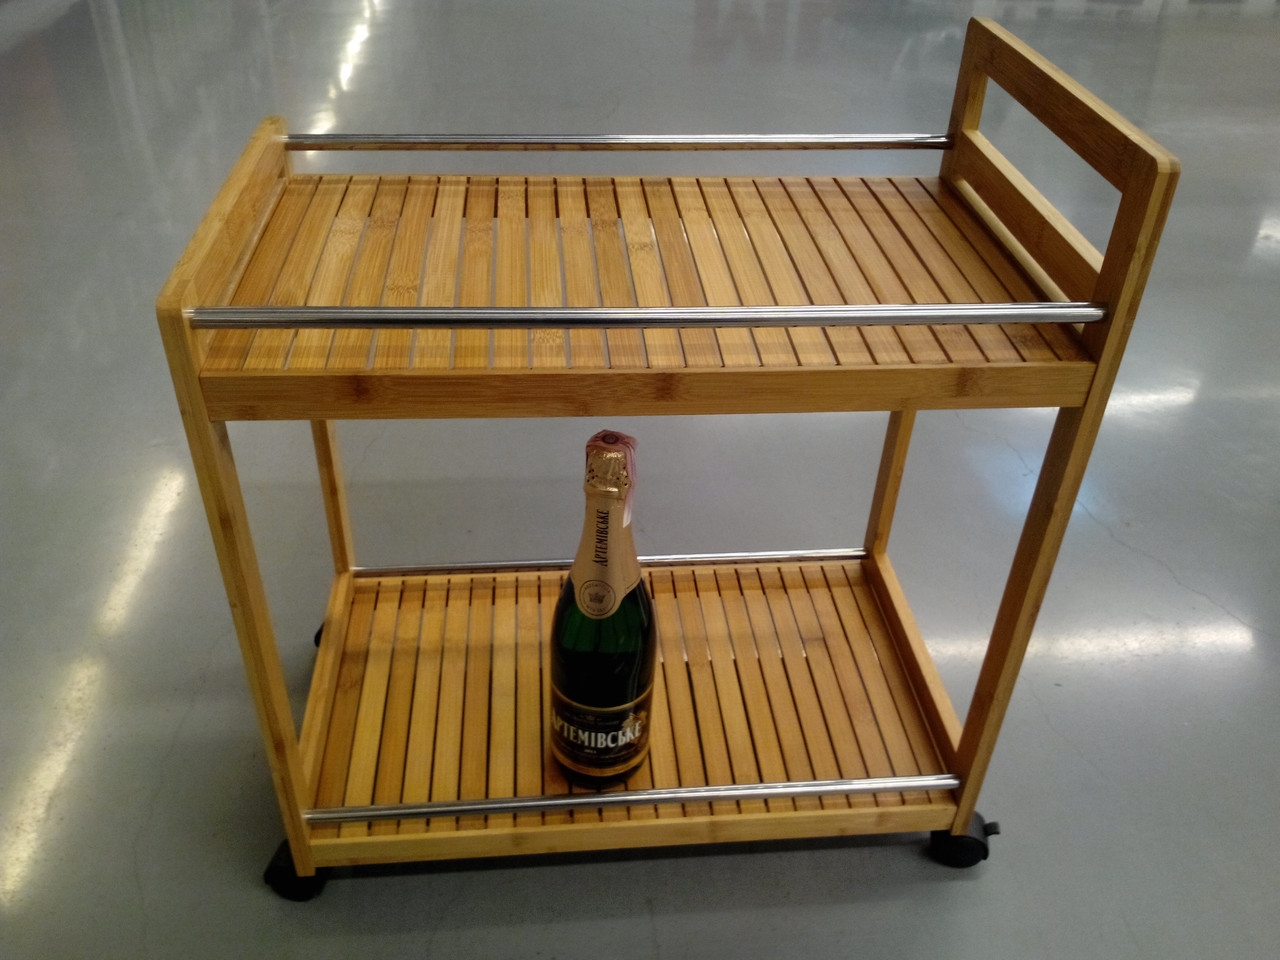
Knowing the necessary list of materials and tools, having a clear drawing and a step-by-step description of the process, it is quite simple to make a table on wheels with your own hands.
Drawing up drawings
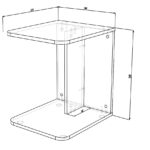
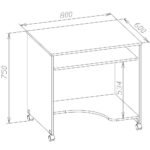
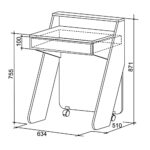
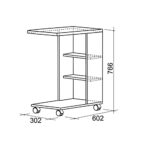
Initially, a detailed drawing of the future product is drawn up. At this stage, you can give a flight of imagination, or you can use ready-made schemes.

Having decided on the model, it is necessary to put a drawing on the paper, indicating the dimensions, dimensions of the parts, the places of their fixation to each other. All these parameters should be strictly controlled in the future.
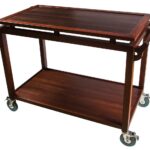
Having decided to assemble such a table for the first time, it is better to choose a simpler model. The best option is a two-tier serving table on 4 wheels.
Dimensions:
- height 78 cm;
- length 93 cm;
- width 42 cm.
Schematic drawing of the product:
Materials and consumables
The next step after choosing a model and drawing up a drawing will be the preparation of the materials necessary for the work. So, you need the following:
- frame boards (size 50mm x 100mm);
- boards for the table top (size 25 mm x 100 mm);
- slats for edging (size 25 mm x 50 mm);
- sandpaper;
- primer, paint;
- drills, screws, nails.
All this can be obtained in an ordinary hardware store.
Required tools
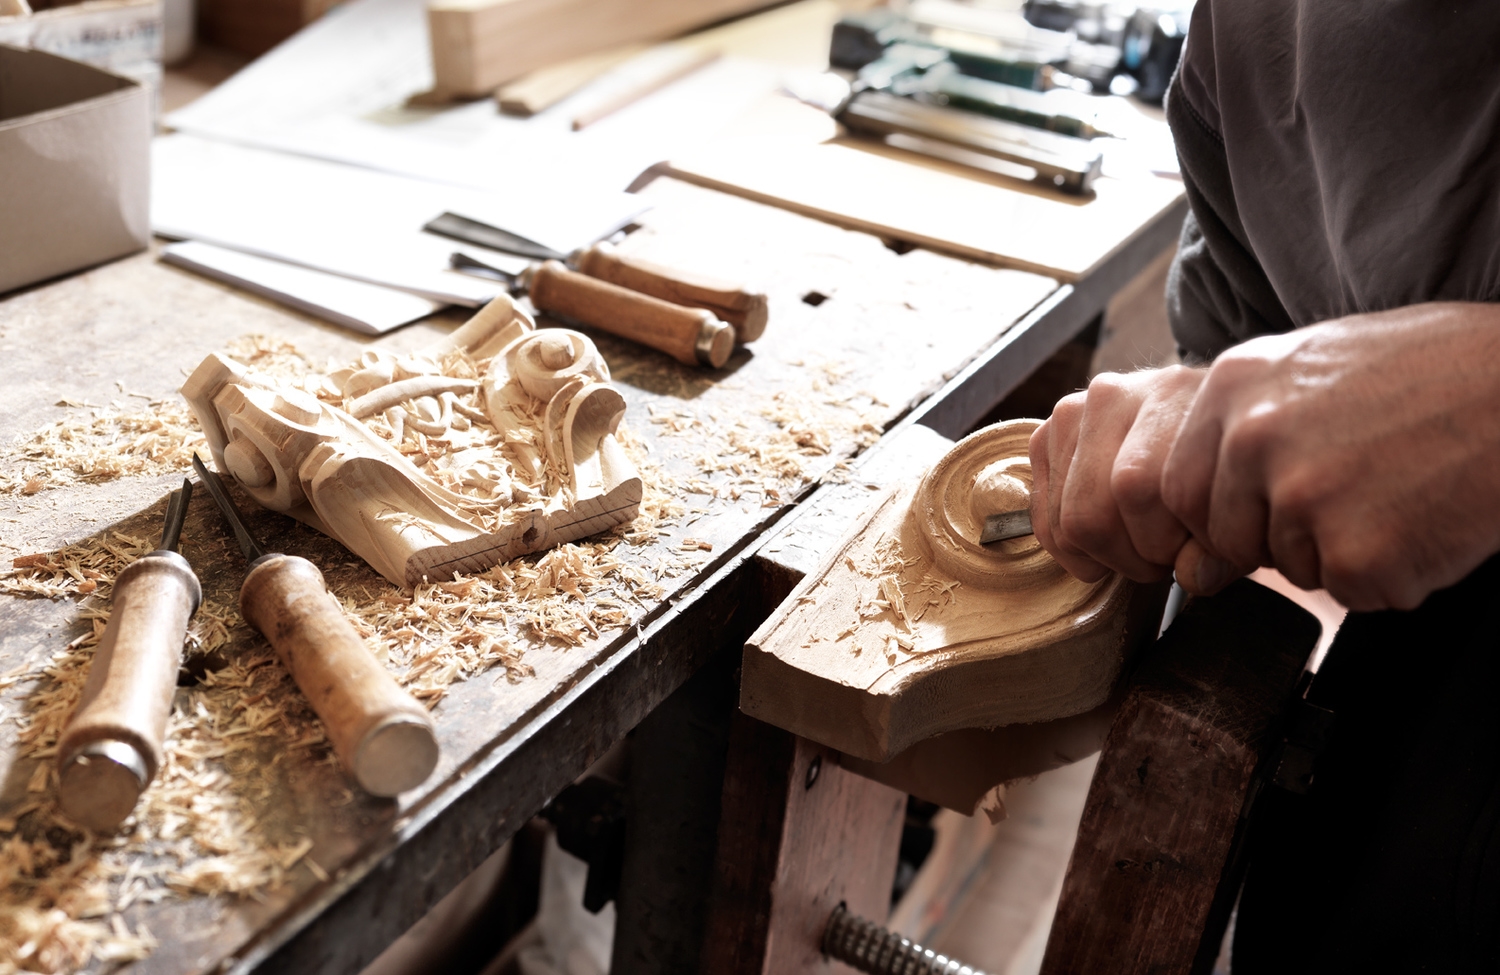
From the toolkit, you need to take care of the availability:
- circular saws;
- drills;
- screwdriver;
- hammer, better than pneumatic;
- grinder;
- office supplies.
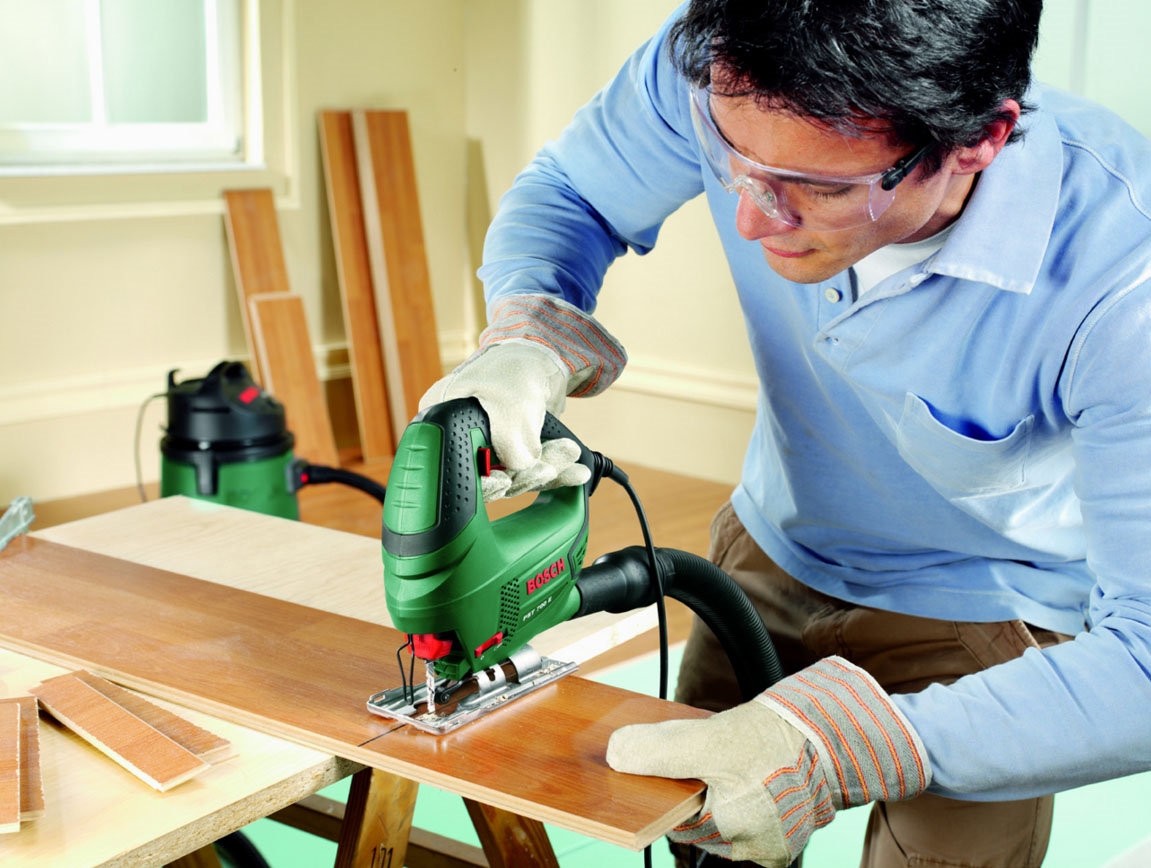
On a note! When preparing for work, it is important not to forget about safety. Here such protective equipment as goggles, respirator, gloves will come in handy.
Step-by-step instructions for making a serving table on wheels
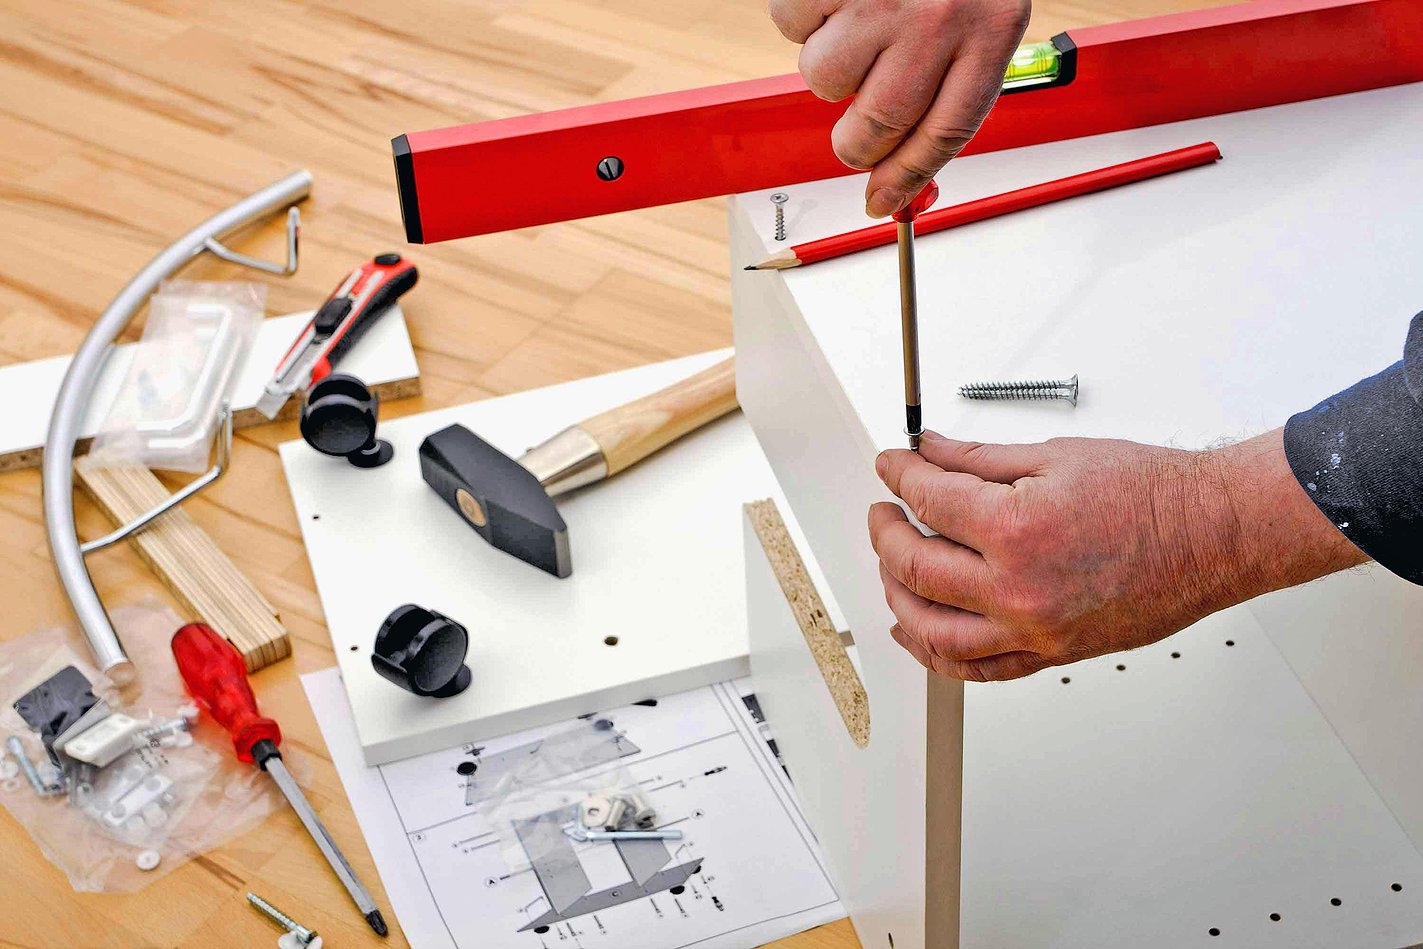
The whole process is easier to divide into several stages. The first will be the fabrication of the frame:
- cut 12 workpieces with a circular (4 with a length of 32 mm, 4 with a length of 860 mm, 4 with a length of 780 mm);
- sand the sawn boards with sandpaper or a sander;
- collect 2 frames from the resulting blanks, fixing each with a self-tapping screw;
- connect the rectangles with racks 780 mm long, securing everything with self-tapping screws.
Important! To prevent the bars from cracking at the attachment points, it is better to first make holes for the screws.
The next stage is the assembly of the countertop:
- cut the boards (18 pcs. 420 mm long, 2 pcs. 320 mm long);
- cut slats (4 pcs. 930 mm long);
- fix the board (5 mm thickness) on one side for leveling, because the table top is 10 mm larger than the base;
- connect all the blanks in turn, while sinking the heads of nails or screws;
- attach the slats from the sides - this is the edging of the table.
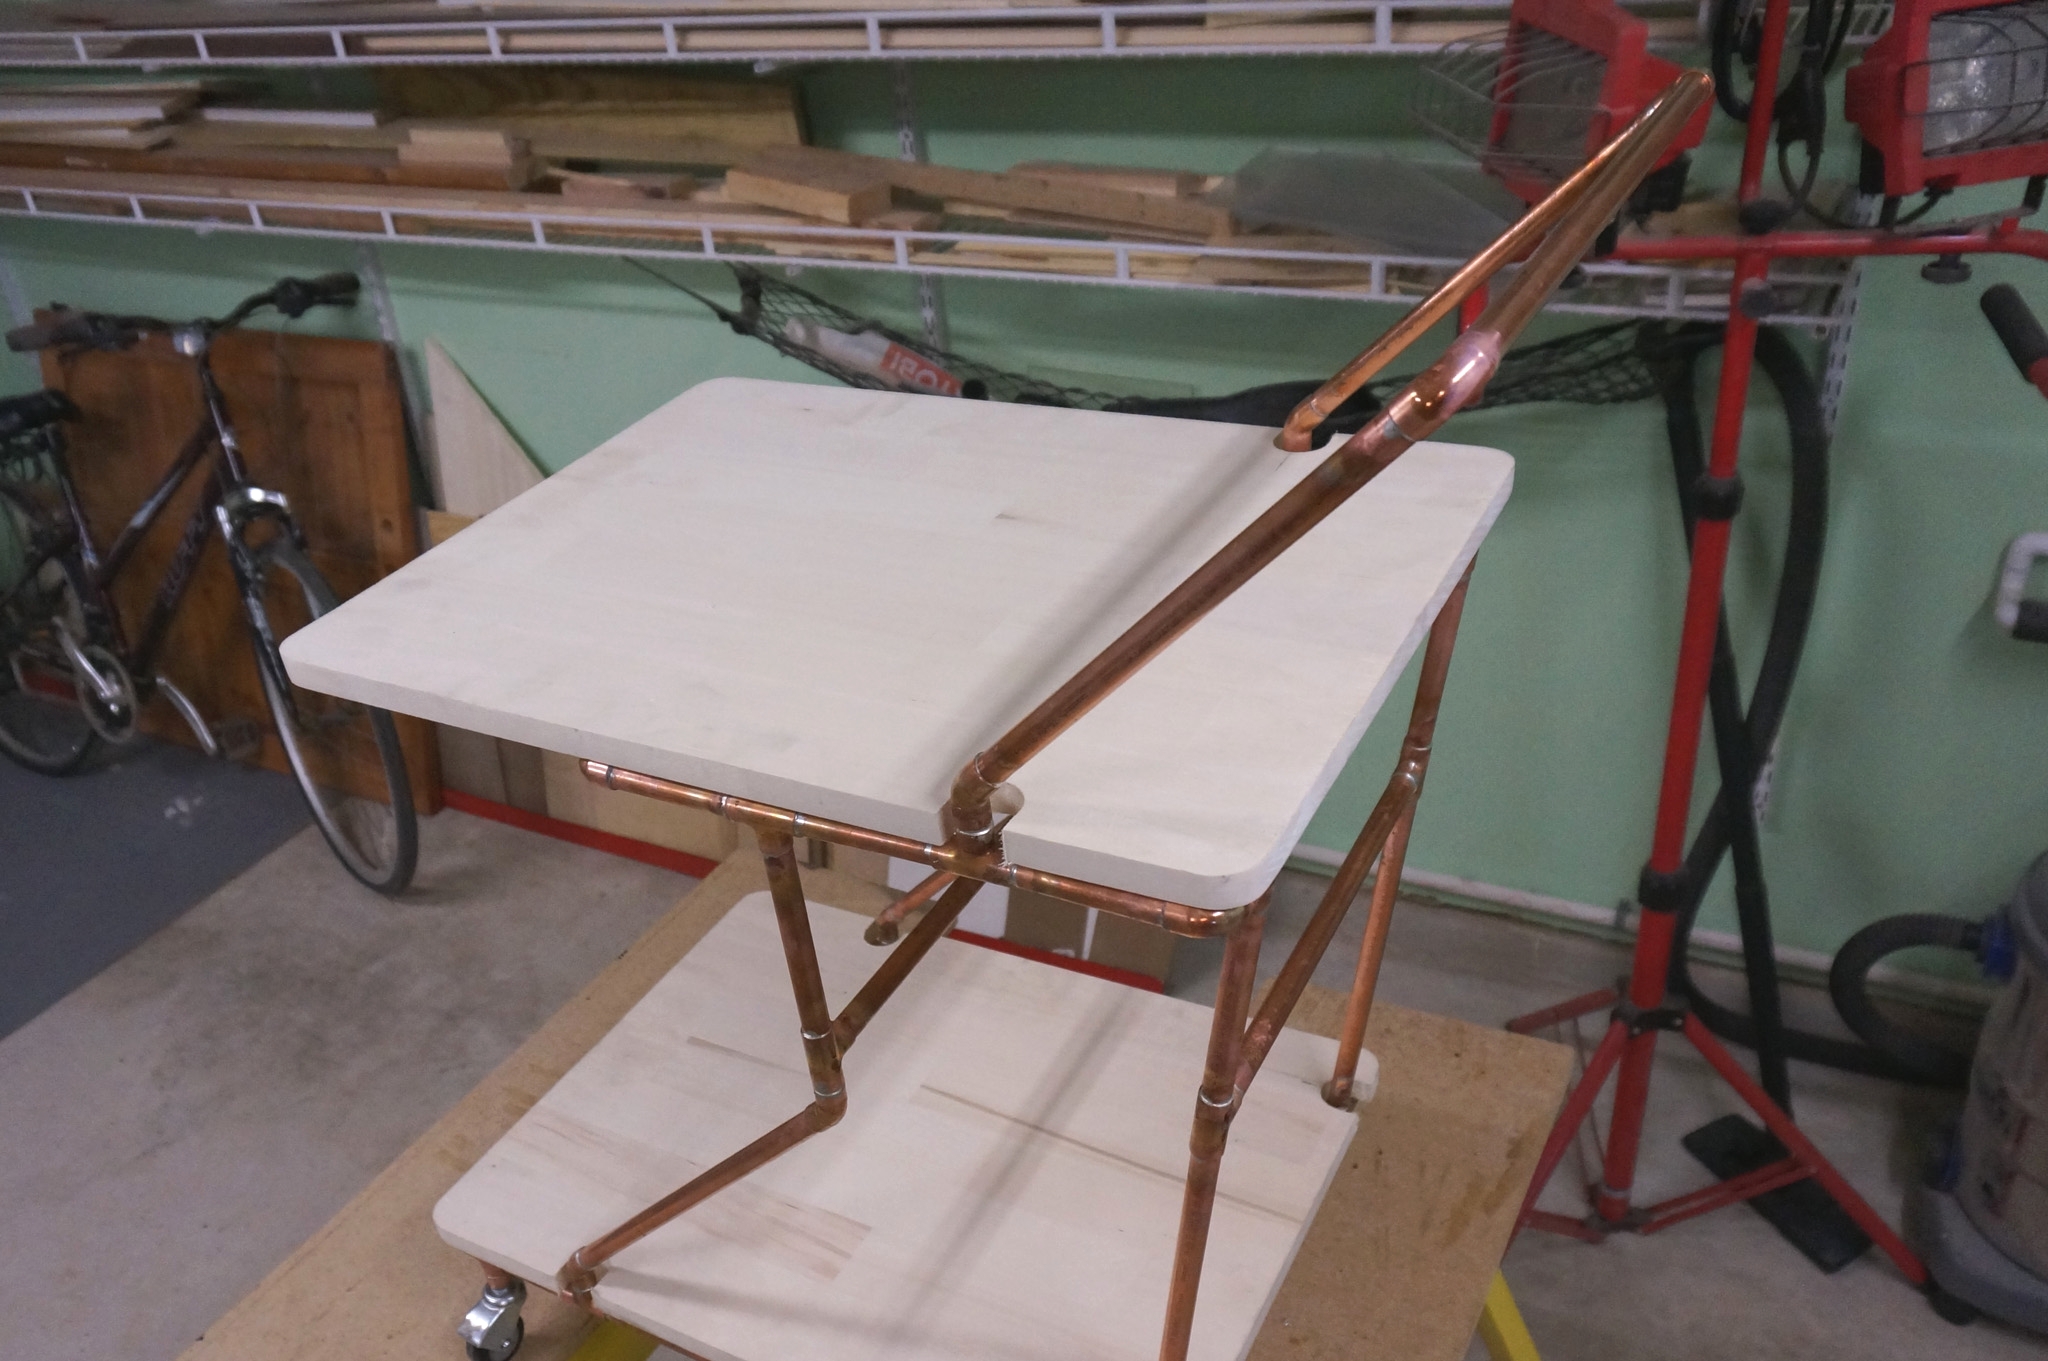
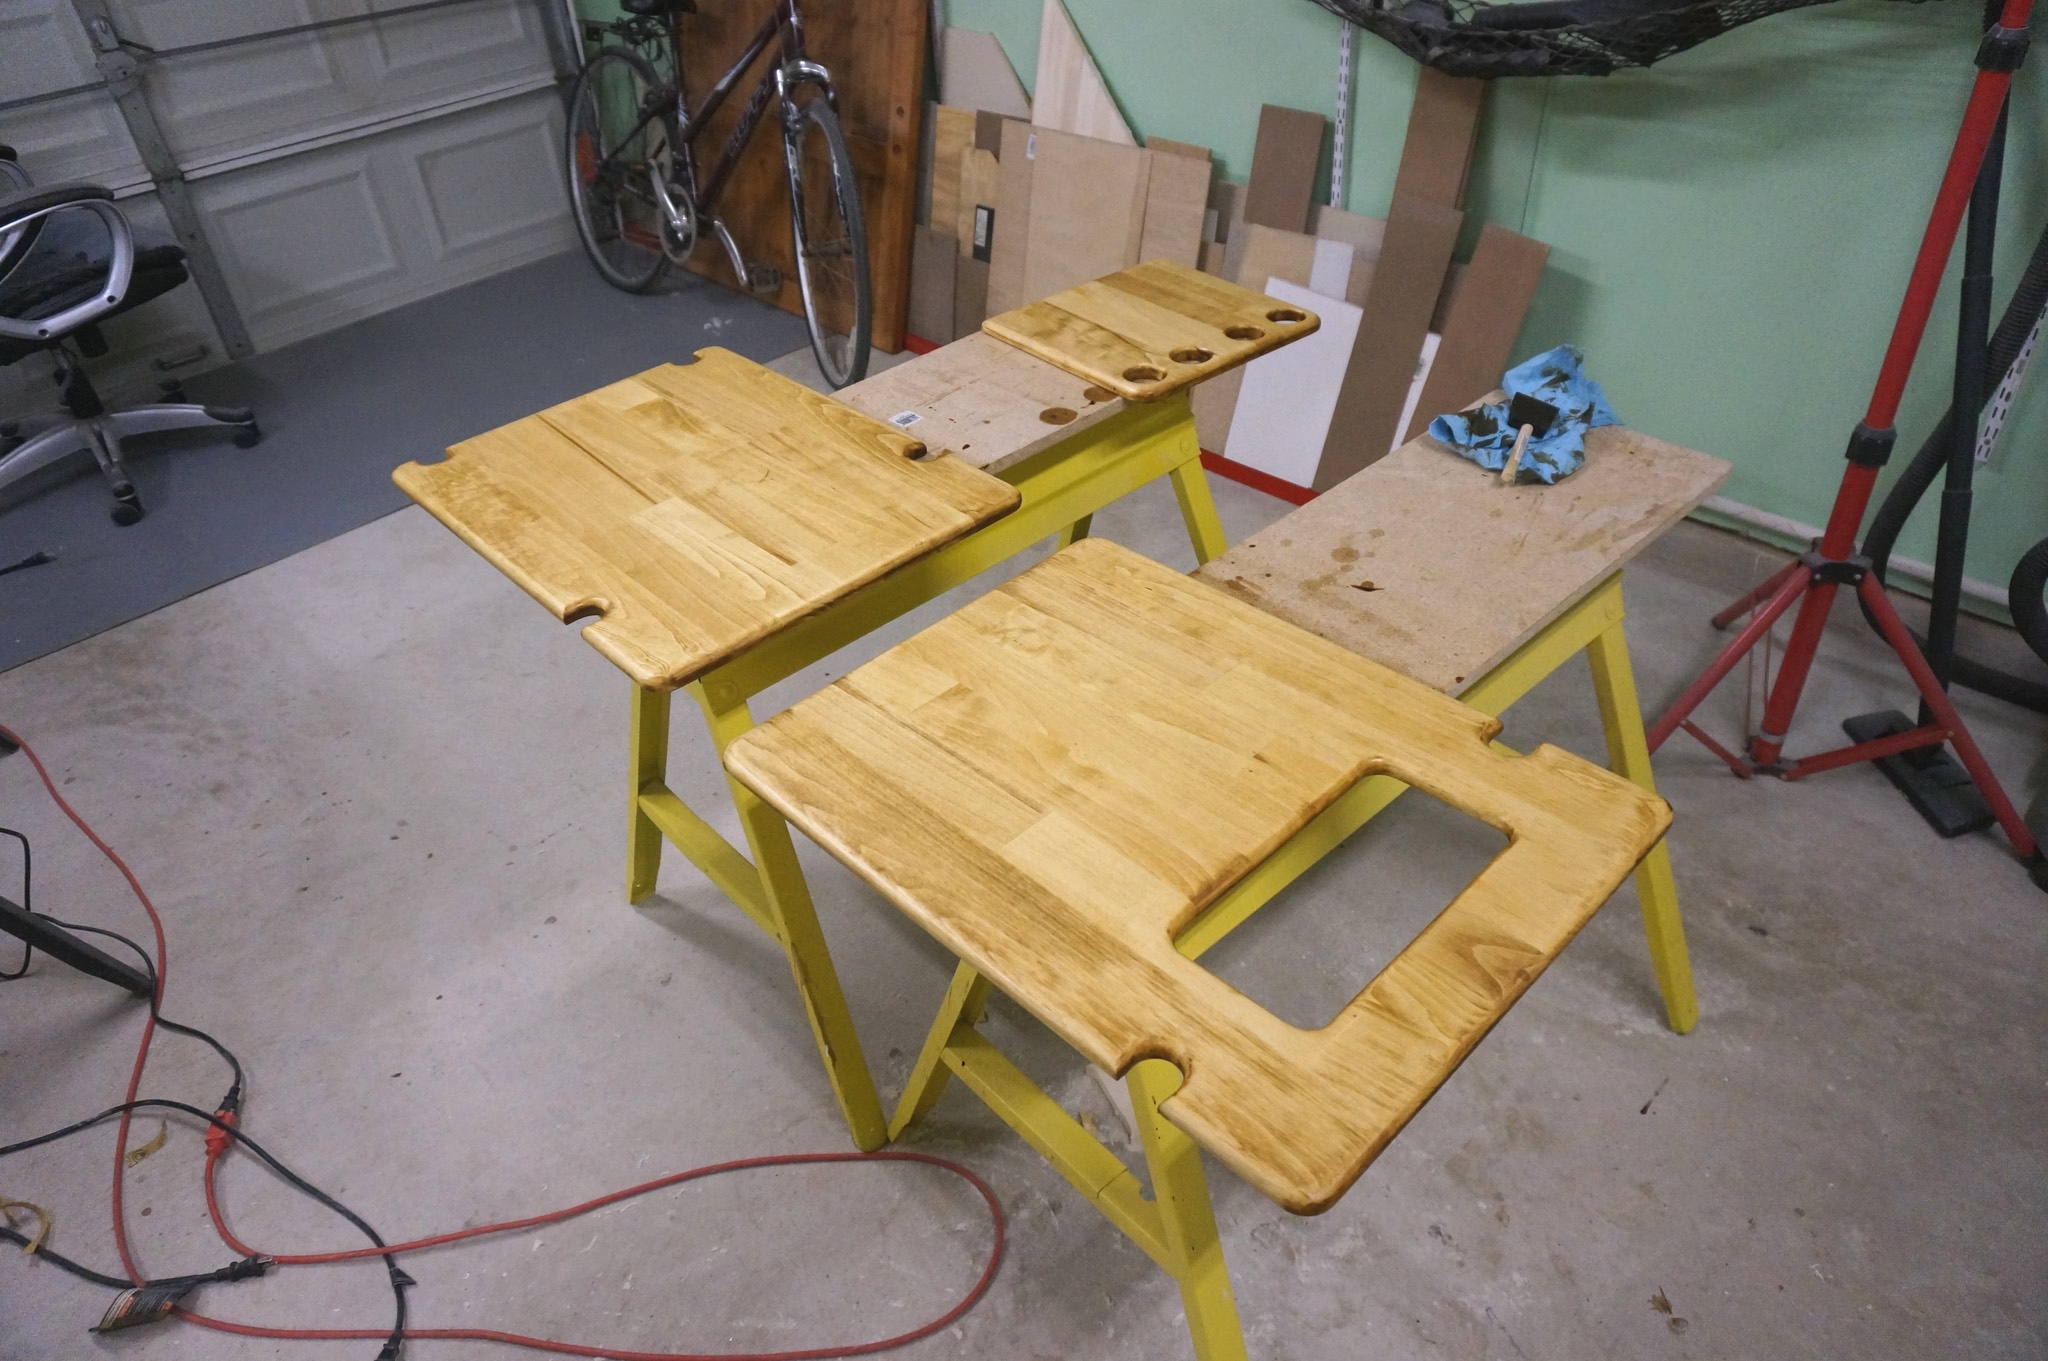
Product painting:
- putty small cracks, irregularities, places where screws are screwed in or nails are driven in;
- apply a layer of primer to increase the service life of the product (2 layers);
- paint an almost finished table with a brush or spray can.
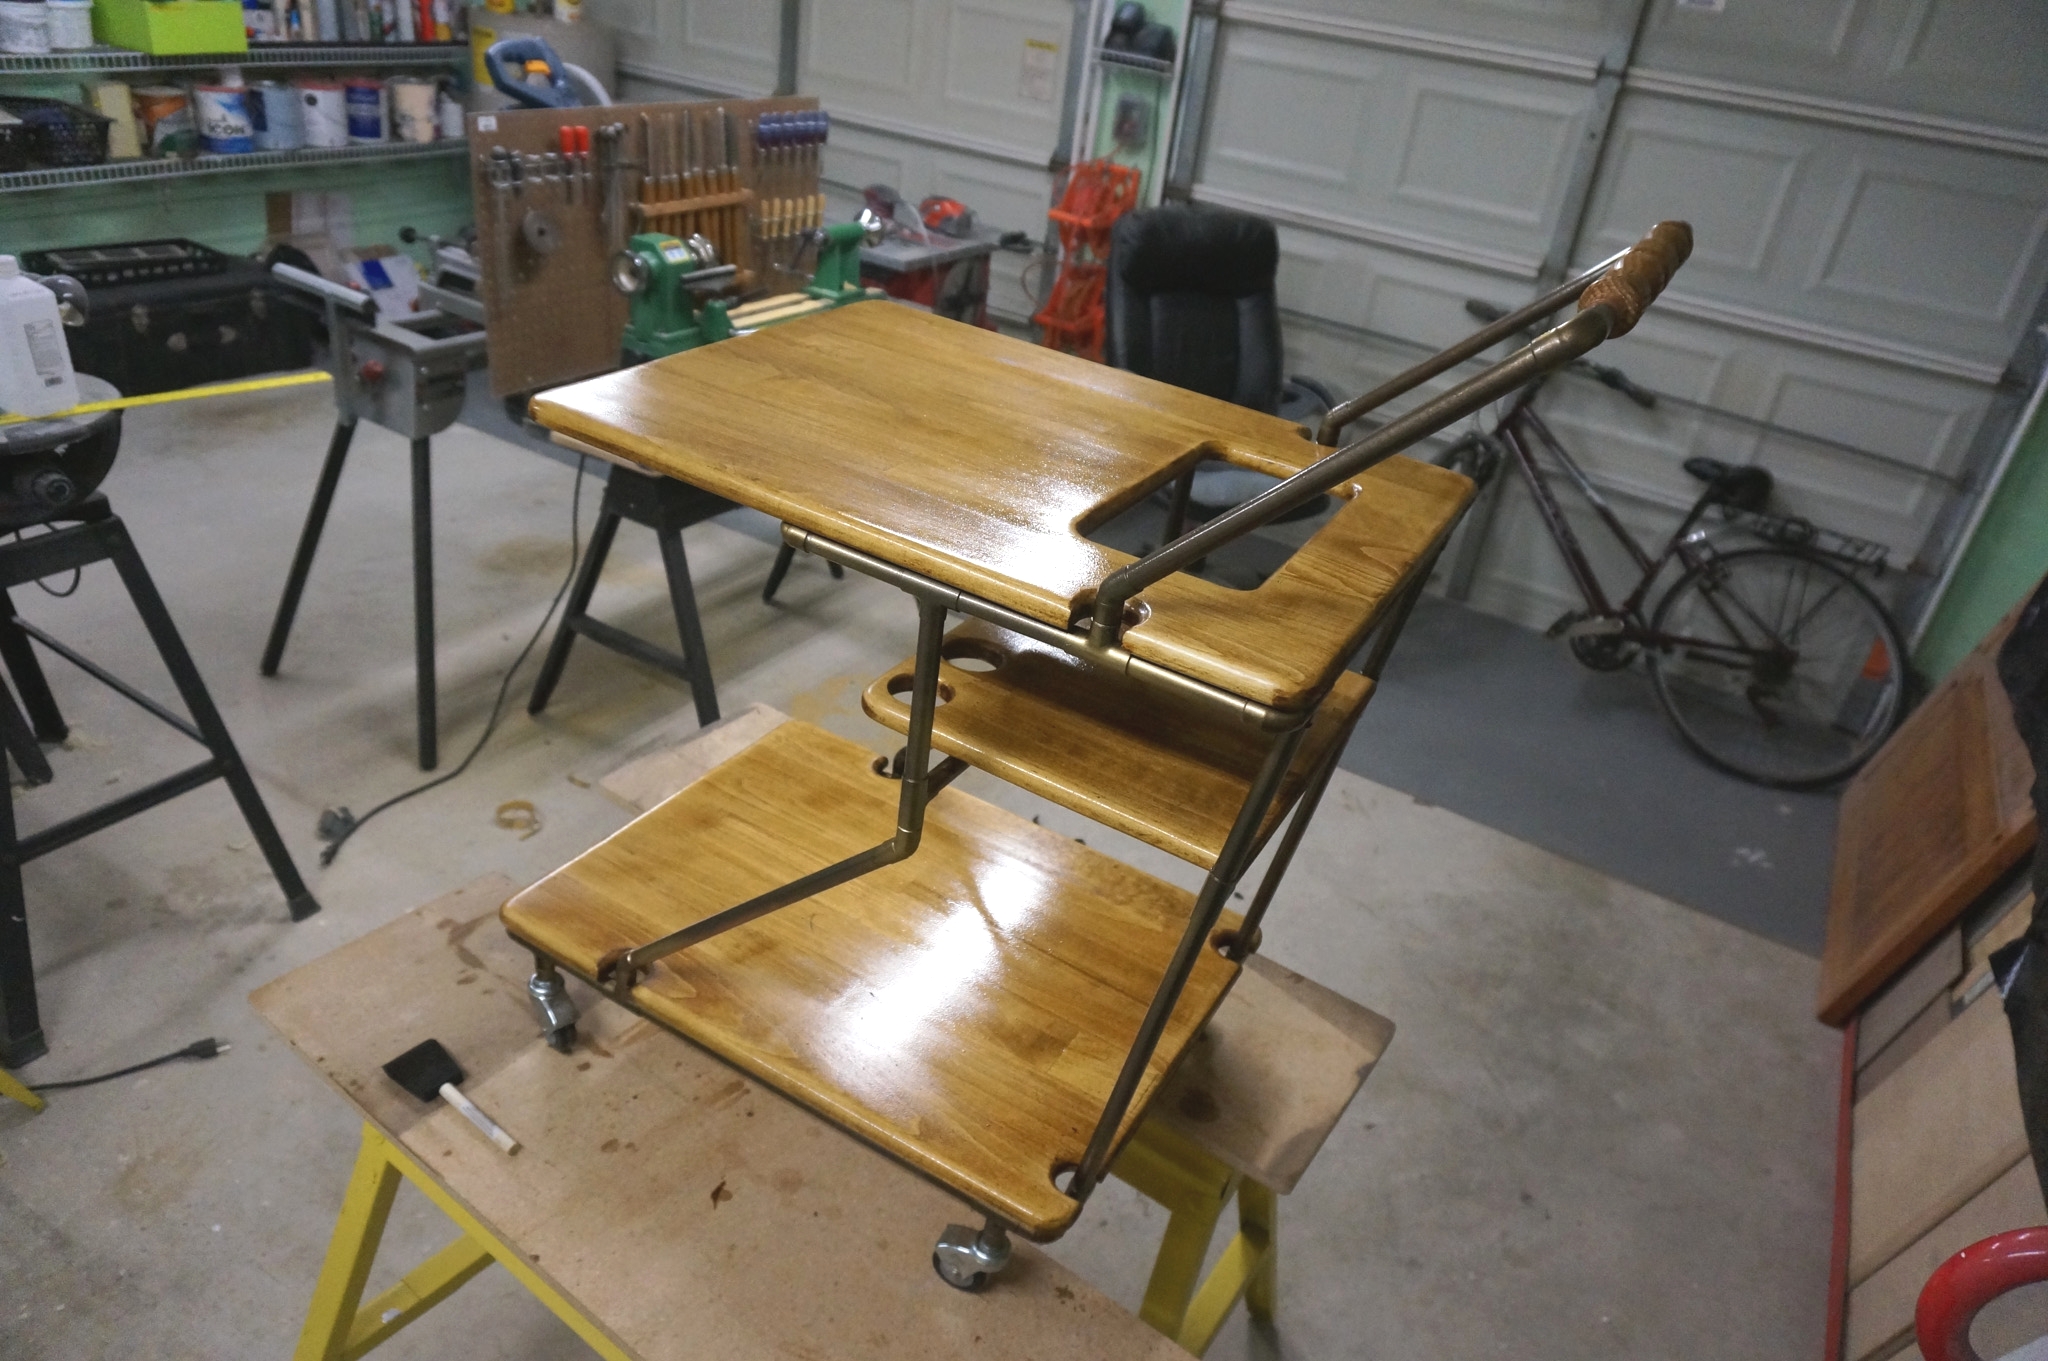
At the last stage, the wheels (optimal diameter 80 mm) and the handle are fixed; it is better to buy them in a regular furniture or accessories store.
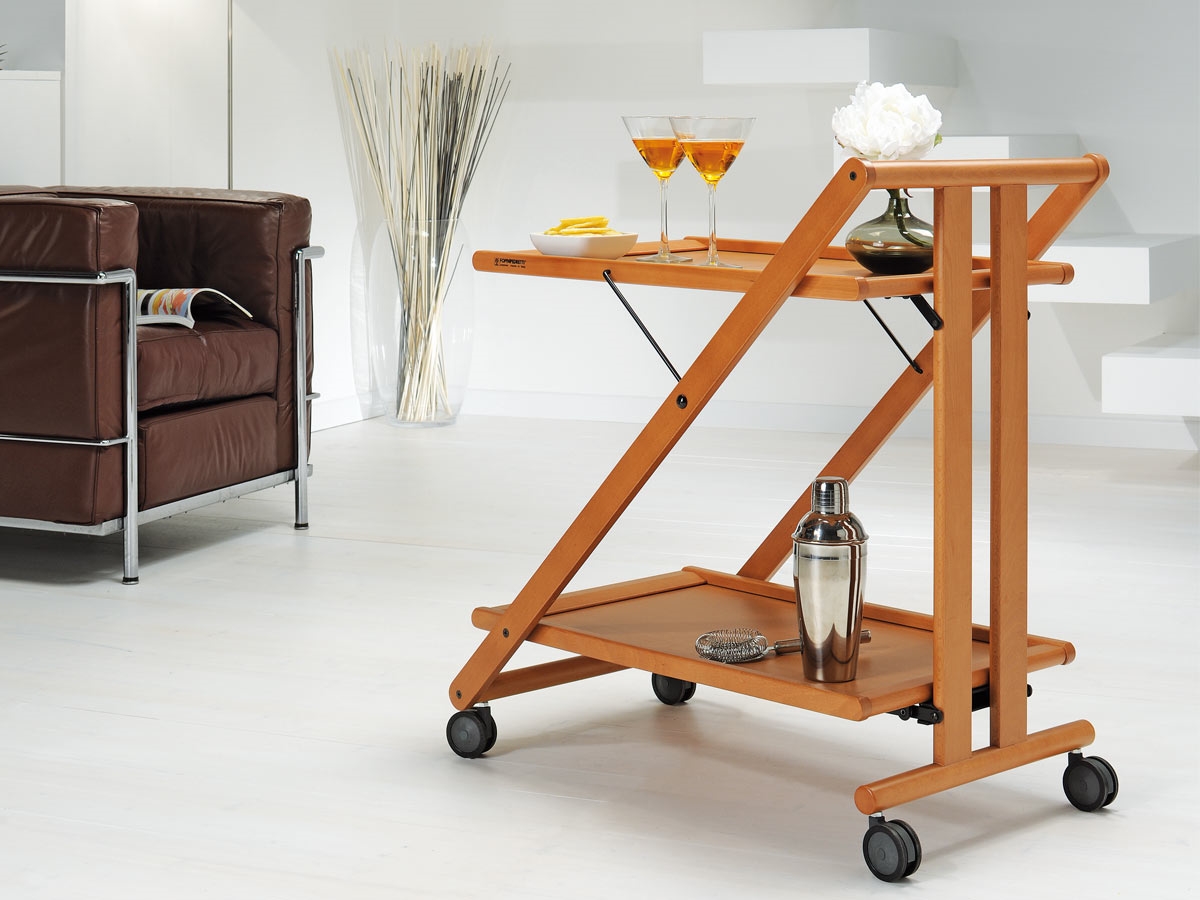
Serving Table Decor Ideas
There are many options for decorating a ready-made self-made serving table on wheels. It all depends on the person's imagination.
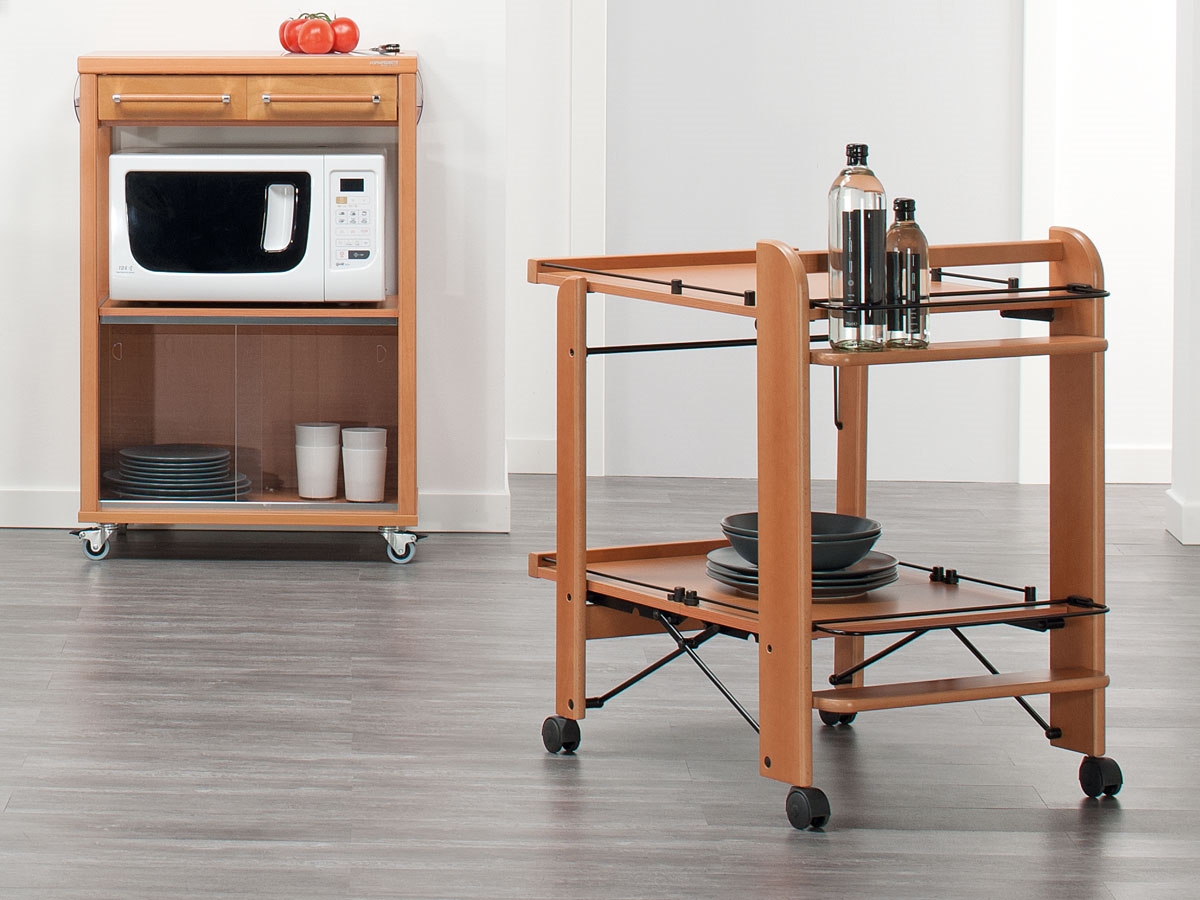
This could be:
- original painting (stripes, circles or triangles);
- the use of decoupage technique (surface decoration with various drawings, photographs or images prepared on special decoupage napkins);
- craquelure (creating an aging effect by applying a special varnish made from egg white or PVA glue);
- applying an ornament using a self-adhesive film.
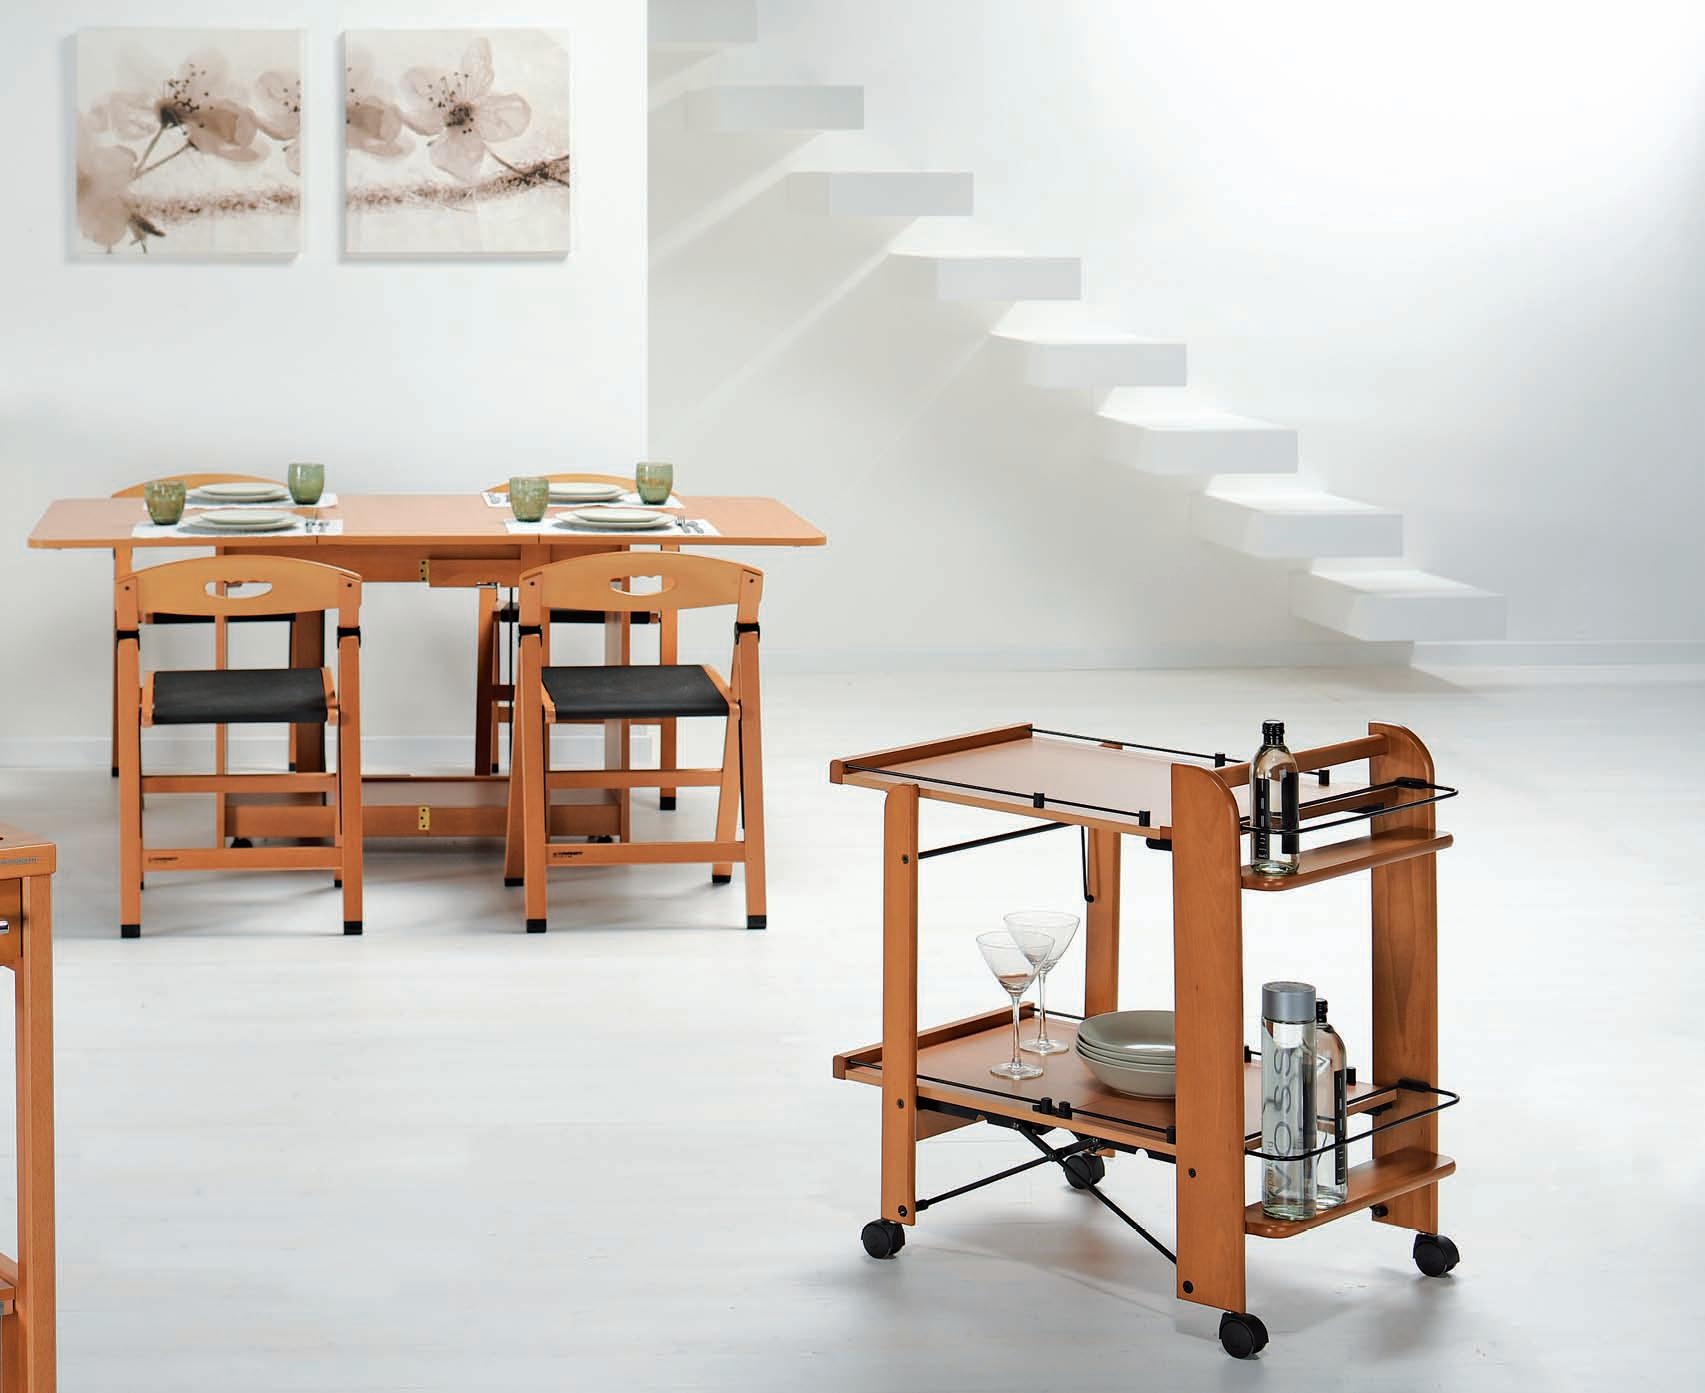
What to choose from this is a matter of taste and preference, as well as the interior solution of the room in which the table will be located.
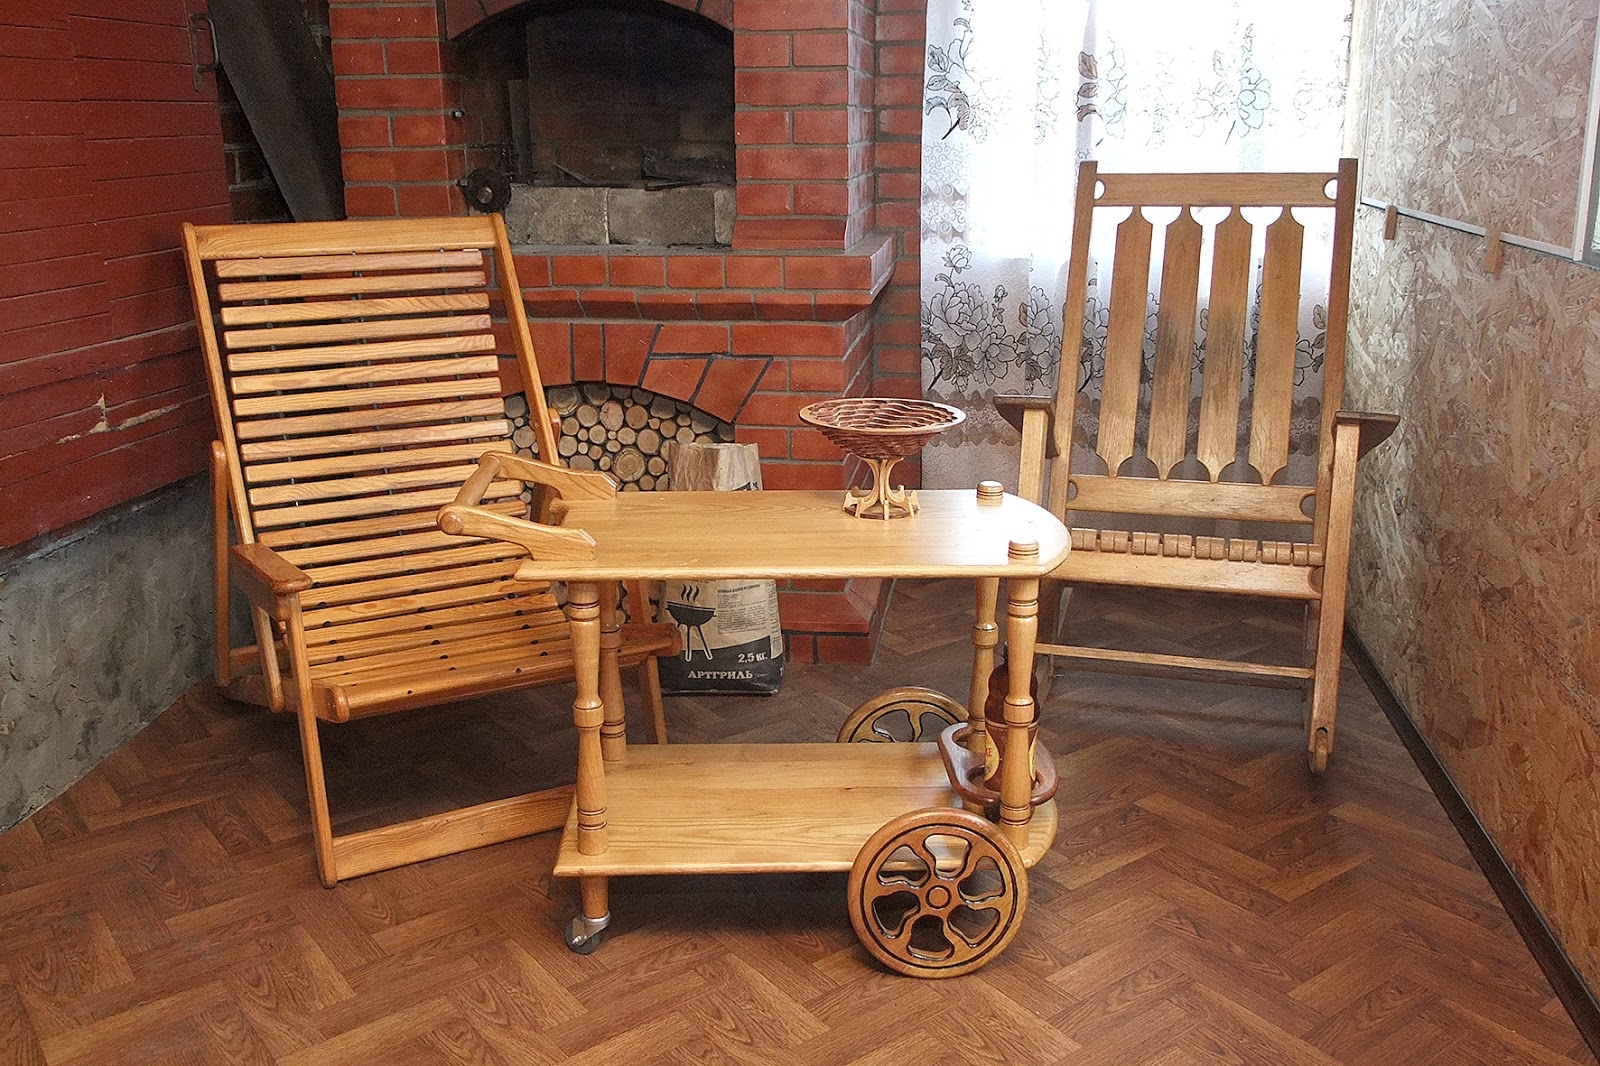
Such a convenient piece of furniture as a serving table on wheels, made with your own hands will be useful to everyone. To do this, you will need a list of materials and tools necessary for the work, a drawing, a step-by-step description of the assembly, but the main thing is desire, a little effort and effort, as well as a soul.
Video about the stages of making a serving table
