How to make a school desk with your own hands
If the child is about to go or has already started going to school, you are faced with the question of how to properly organize his workplace, where he will spend a long time every day doing homework and doing various hobbies, for example, modeling or drawing.
After all, your child's body is actively growing and forming at this particular time, and it is important that the workplace is as comfortable as possible.
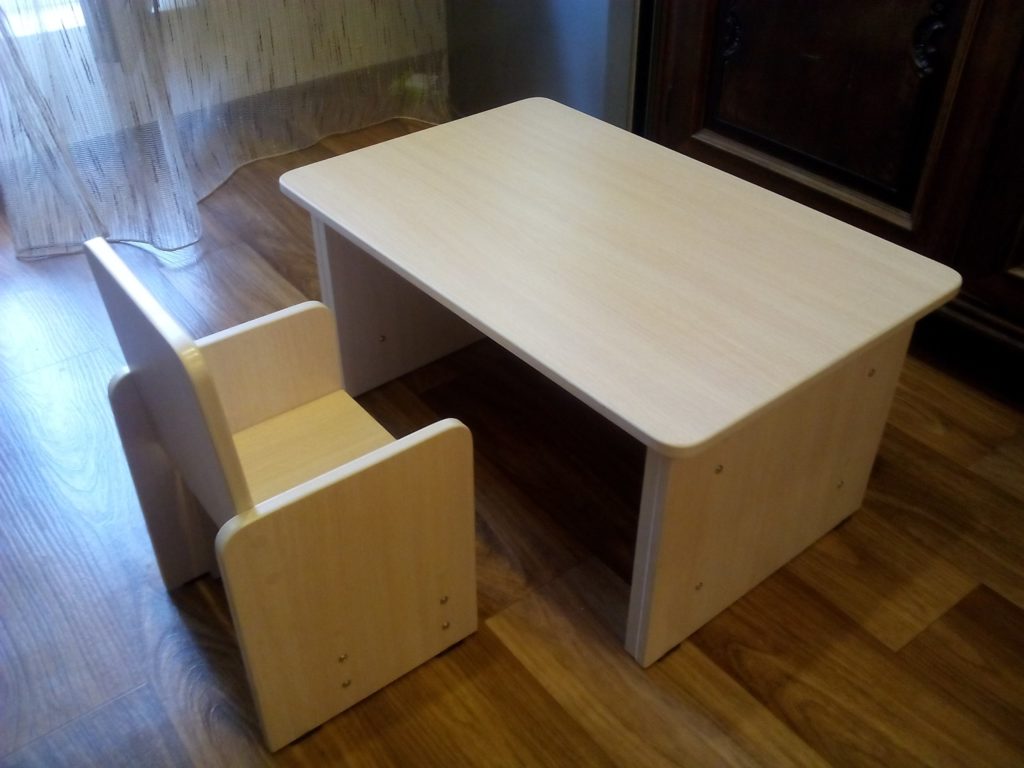
Should it be a regular writing desk, or maybe a computer desk, or is it a desk, such as at school. Let's see if a school desk is needed at home and how it differs from a conventional universal table.
Why the desk at home
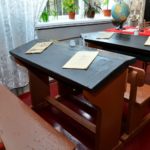
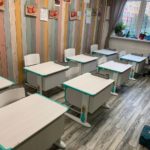
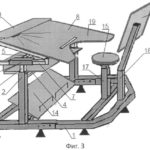
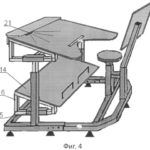
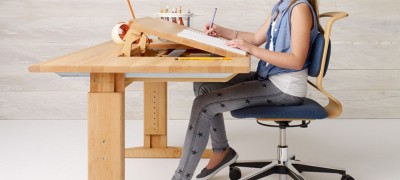
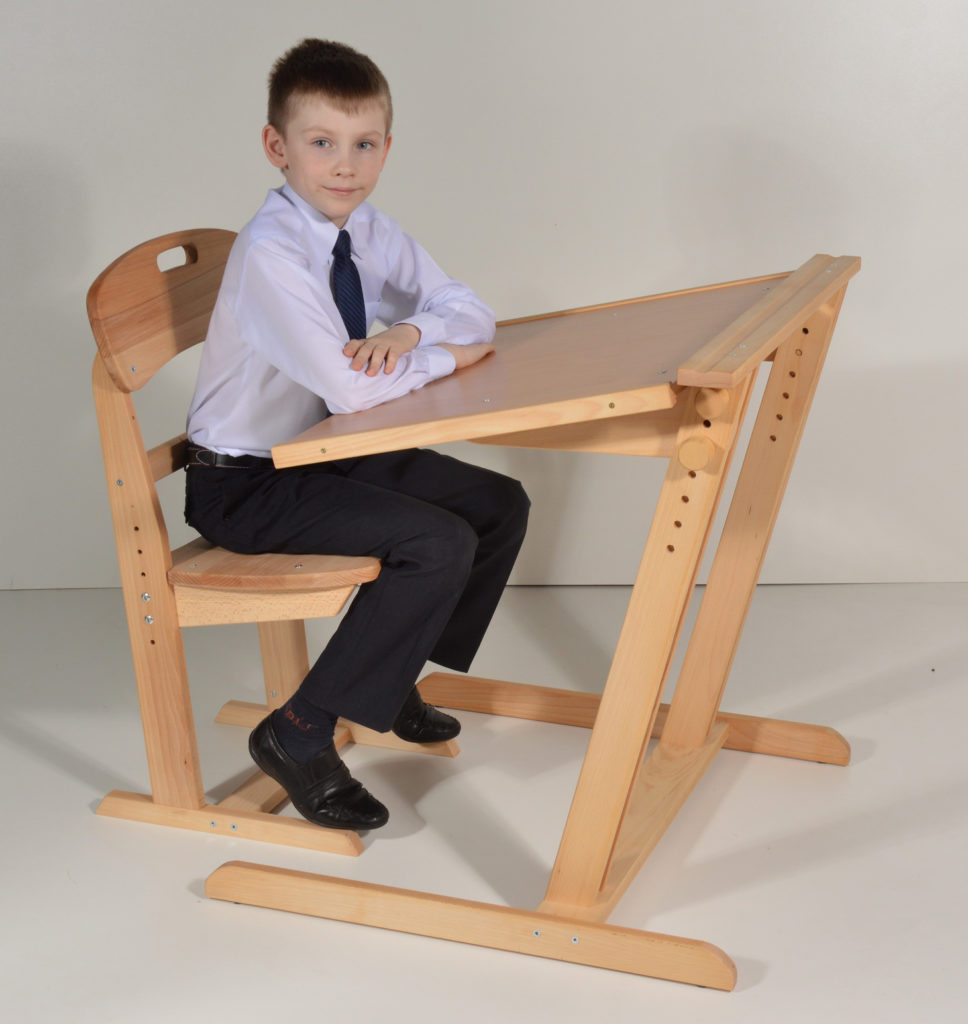
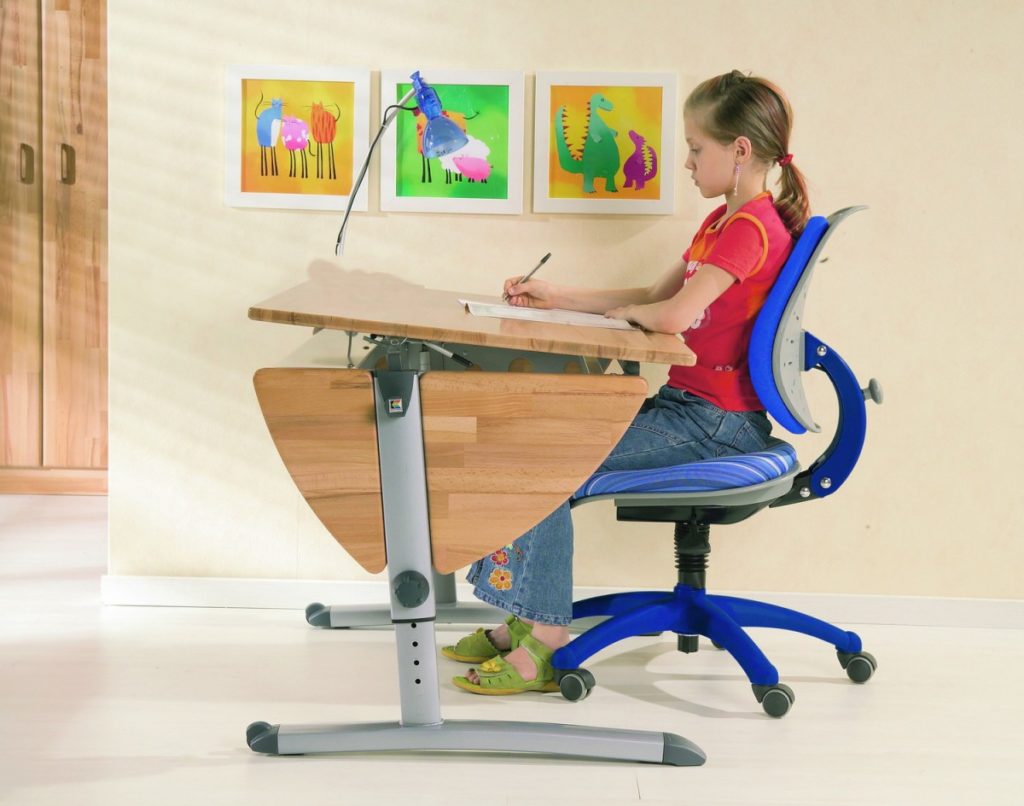
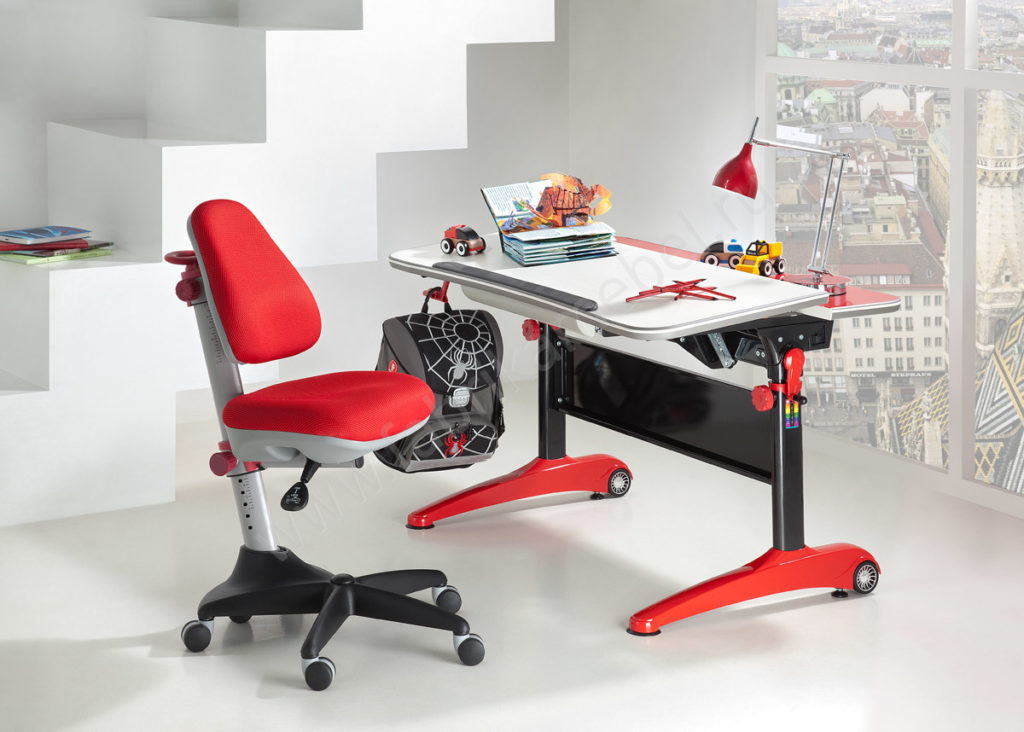
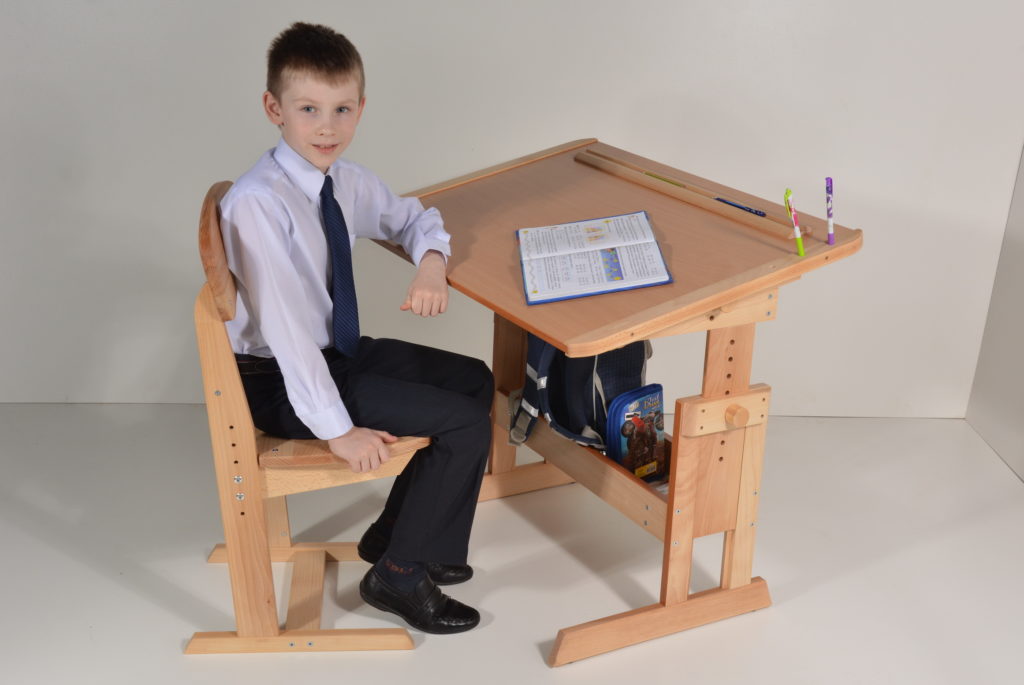
The main characteristic of a school desk is that the tabletop is tilted, adjusting to the characteristics of the student's body, which is individual, helping him to develop correctly without future health problems, such as, for example, stoop or scoliosis.
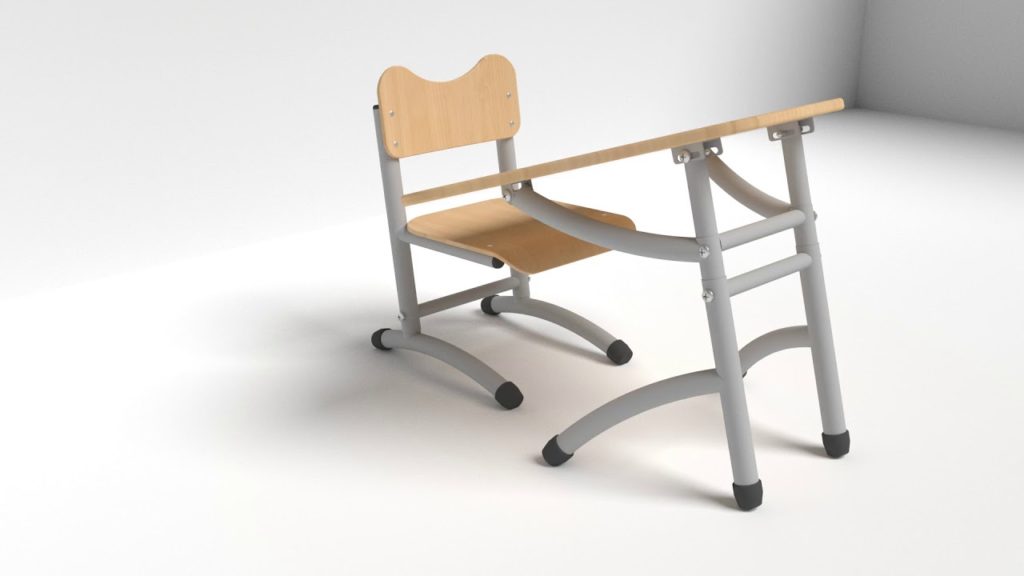
Ordinary tables do not have such functionality, so the child is most often in an uncomfortable position, which leads to poor health - impaired posture and the work of internal organs.
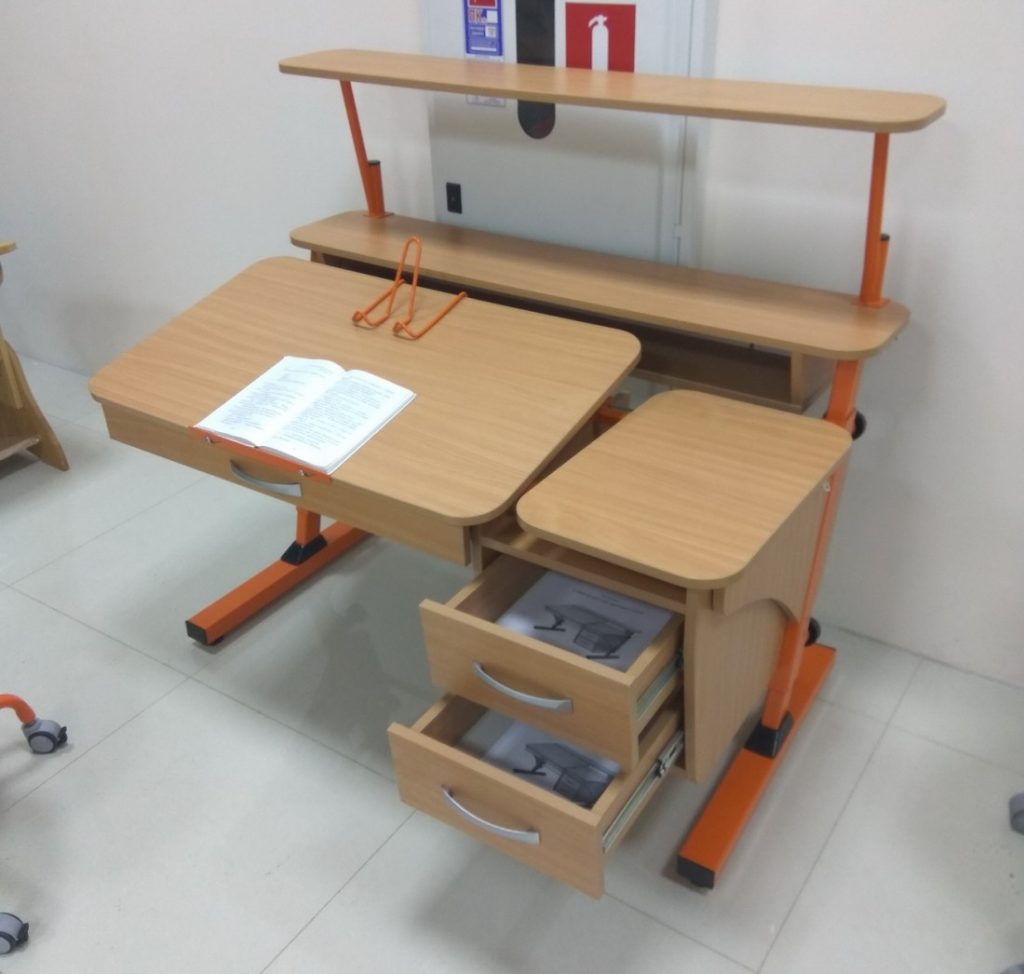
The desk, equipped with an additional storage system, will also allow you to fold educational supplies, freeing you from the need to purchase shelves or cabinets separately.
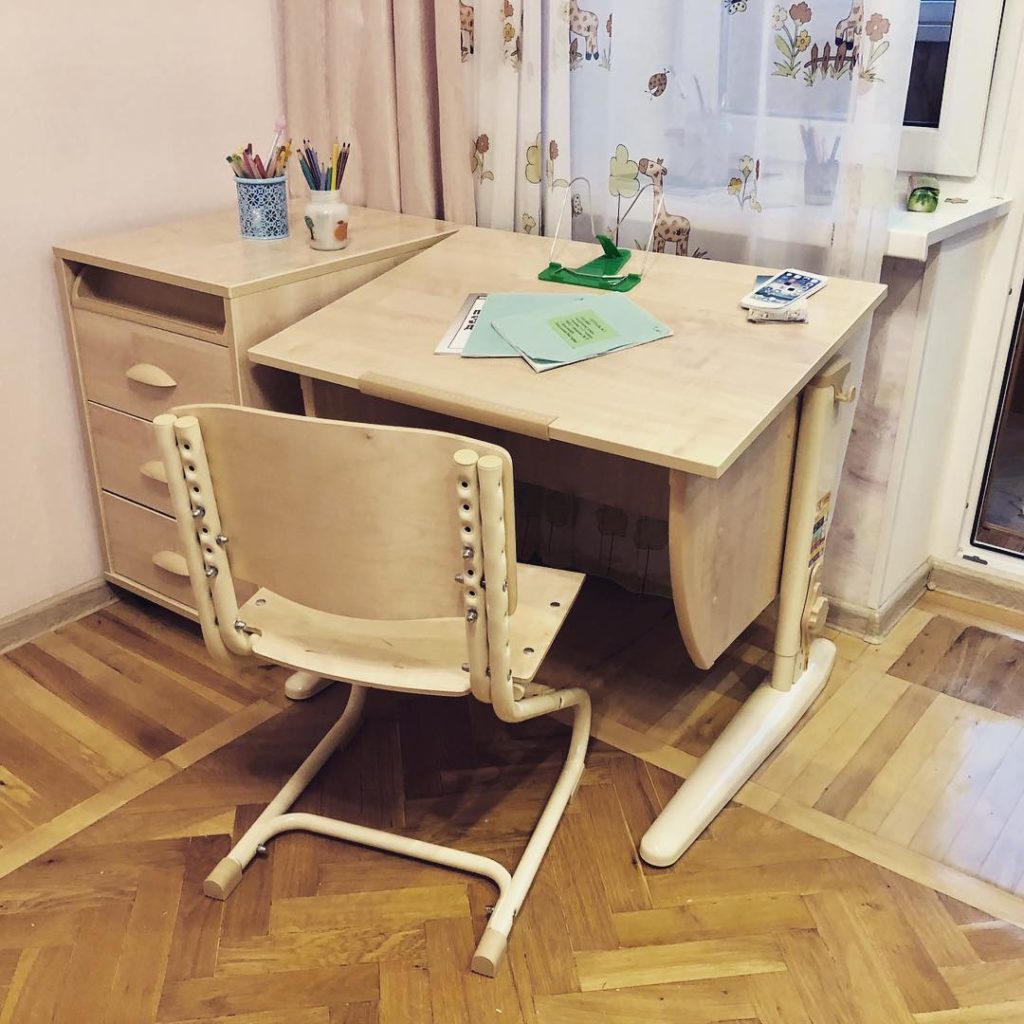
If the children's room is small and there are difficulties in arranging furniture, a transforming desk is suitable for you, the position of which can be adjusted or a folding model.
How to make a desk with your own hands
A do-it-yourself desk is an ideal solution if you have minimal skills in making furniture with your own hands.
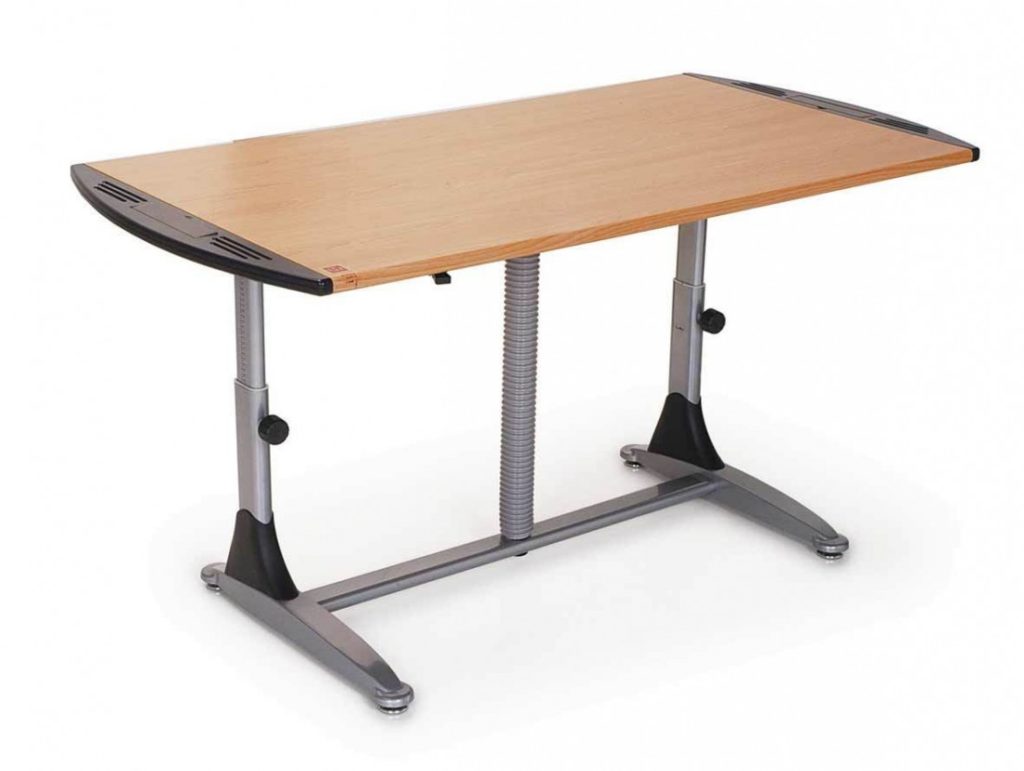
Manufacturing costs are significantly lower than purchasing. In addition, you will be able to take into account the peculiarities of the development of your child, because everyone develops in different ways.

If you are faced with the question of how to make a school desk with your own hands, first you need to decide on its dimensions. They should be as follows:
- depth 60-80 cm,
- width 120-150 cm,
- height depends on the height of the student and is defined as height / 15 * 6.
Such dimensions of the table will allow the child to comfortably lay out the school set of objects and write without holding their elbows in the air.
A do-it-yourself transforming desk will be an ideal solution when there is limited free space in the nursery.
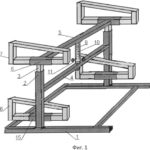
After that, complete the drawing of the desk yourself, or find a ready-made one on the Internet. Then prepare the necessary tools and materials.
Necessary materials
Desks, like other types of furniture, are made from the following materials:
- Laminated chipboard is the most economical option, but it is characterized by a short service life, simplicity of appearance and unsafeness associated with the release of formaldehyde vapors.
- MDF is a more expensive, but also better material, which looks much more attractive.
- Solid wood is the most expensive, but completely environmentally friendly, durable and rich looking material.

Assembly instructions
To make a school desk with your own hands, follow these steps in order:
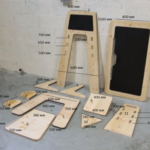
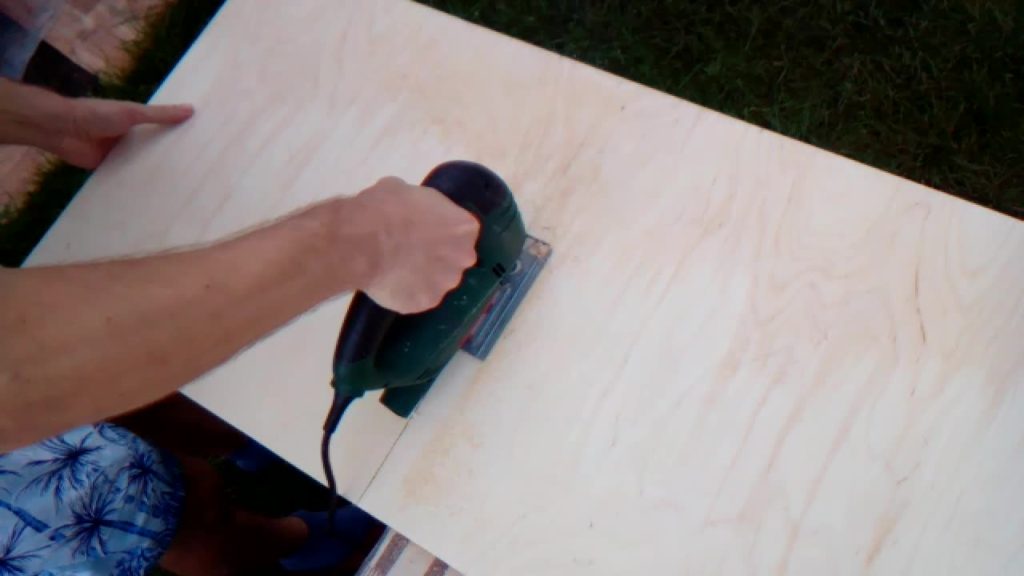
- Saw out all the details of the future product in accordance with the diagram. Round off the edges and edges of the parts to prevent injury to the child. Grind all surfaces of parts to eliminate unevenness;
- Draw the markings on the parts with a pencil, according to which you drill the holes for the assembly. At this stage, it is important to monitor compliance with the markings so that all holes match in location to each other.
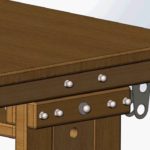
- Connect all parts using pre-prepared fasteners. First, you need to tighten all the screws by three quarters of their length, when they are tightened, and you can assess the correctness of the design, then bring the adjustment to the end. Screw caps can be hidden with decorative caps;
- Glue the end pieces with special edging tape.
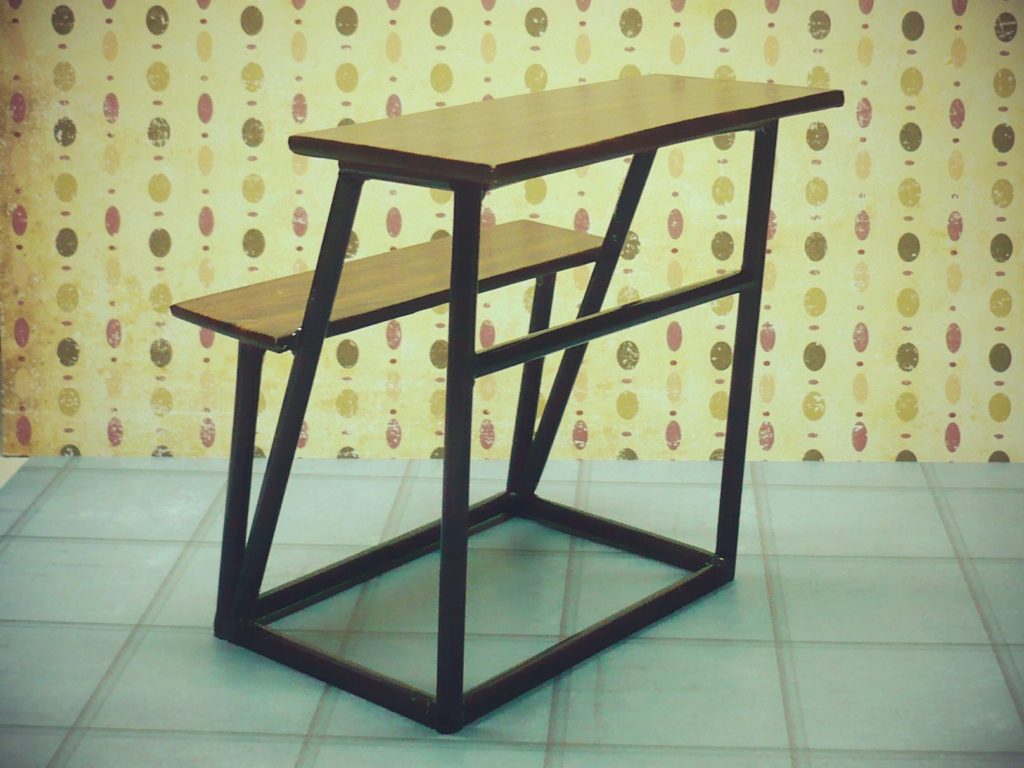
Important! The table top of the desk should be larger than the base. This will allow the desk to be placed close to the walls, even with skirting boards.
Children's desk decor
Decorating a do-it-yourself children's desk is a very exciting activity, to which you can connect the future owner.
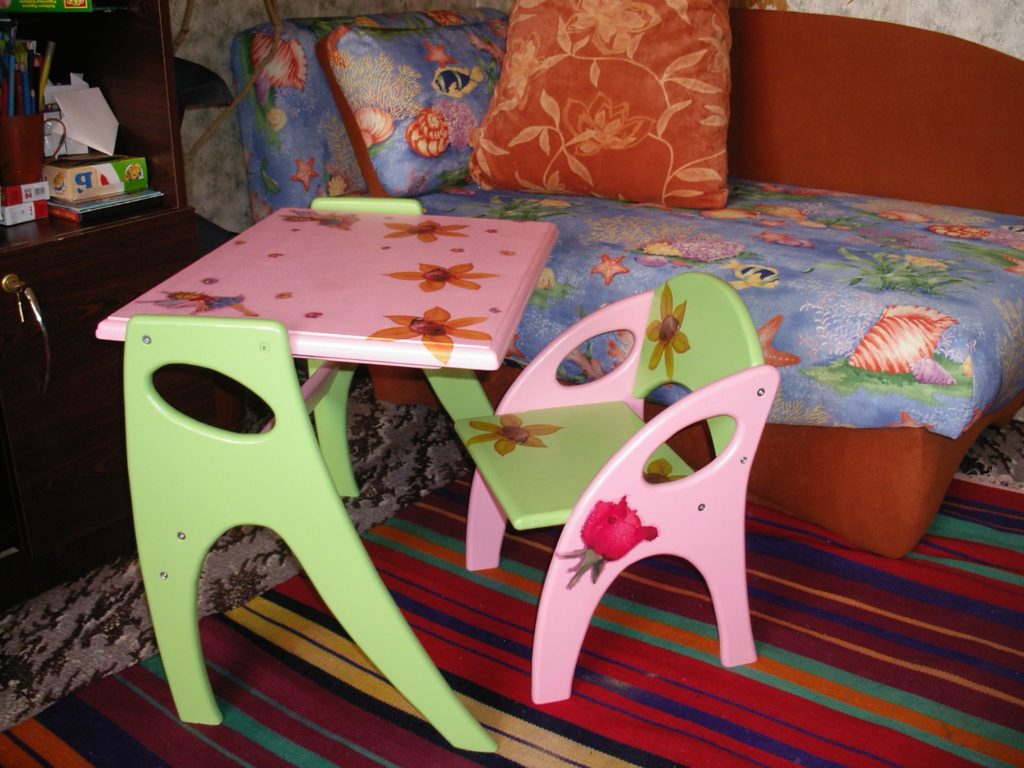
Taking into account the interests of the child and the general interior of the nursery, together you can paint the product in any color, apply patterns using ready-made stencils or, if you have some skills, draw something yourself, you can also just stick ready-made stickers using decoupage glue.
The main thing is that bubbles do not appear under the picture. At the end, the children's furniture must be covered with a safe varnish, otherwise it will be impossible to remove stains and dirt from the countertop, without which the operation of the children's table is impossible.
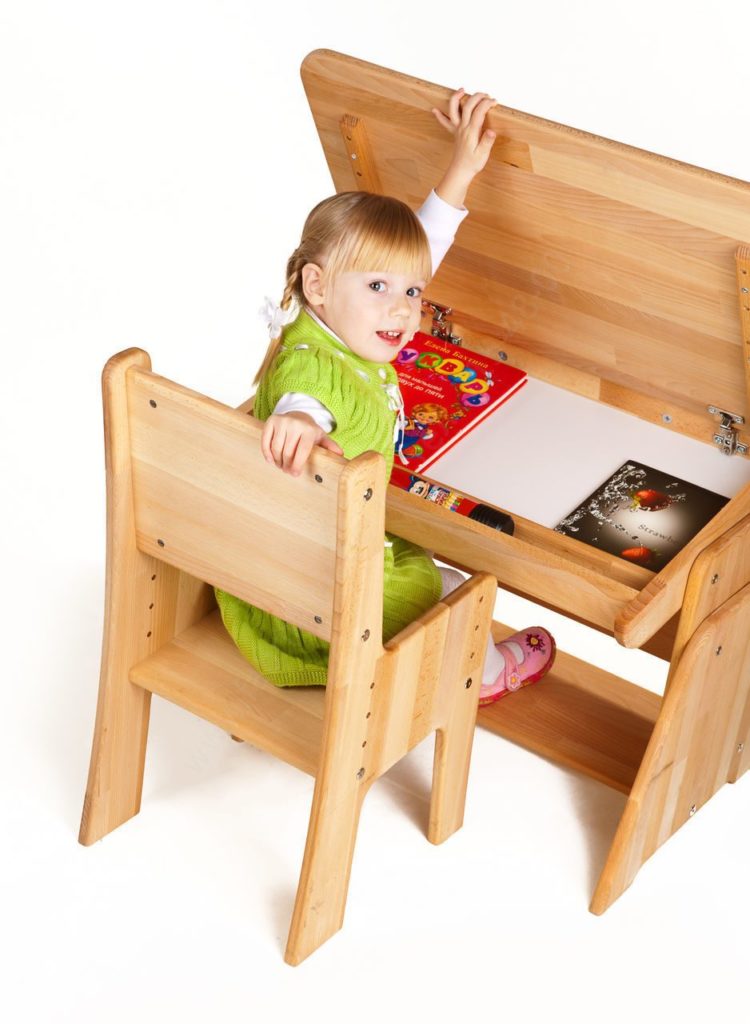
A school desk is a must for healthy development and comfortable learning at home. If you do it yourself, you can not only save money, but also take part in the creative process of decorating it with your child.
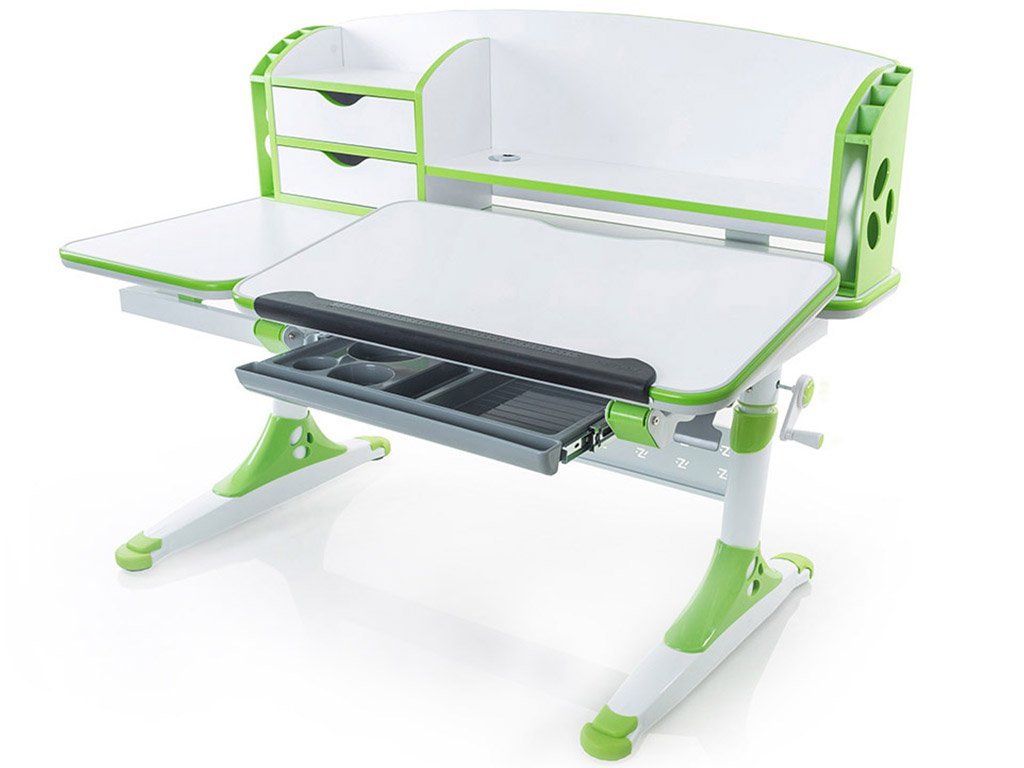
The student will be happy to study at a desk made, in part, with his own hands. And even inviting friends, he will be pleased to share with them his impressions of creating furniture and boast of the result.
Video: do-it-yourself desk for children
