Description and manufacture of epoxy resin table
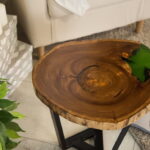
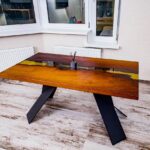
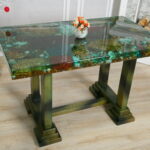
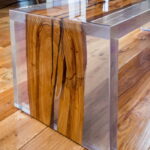
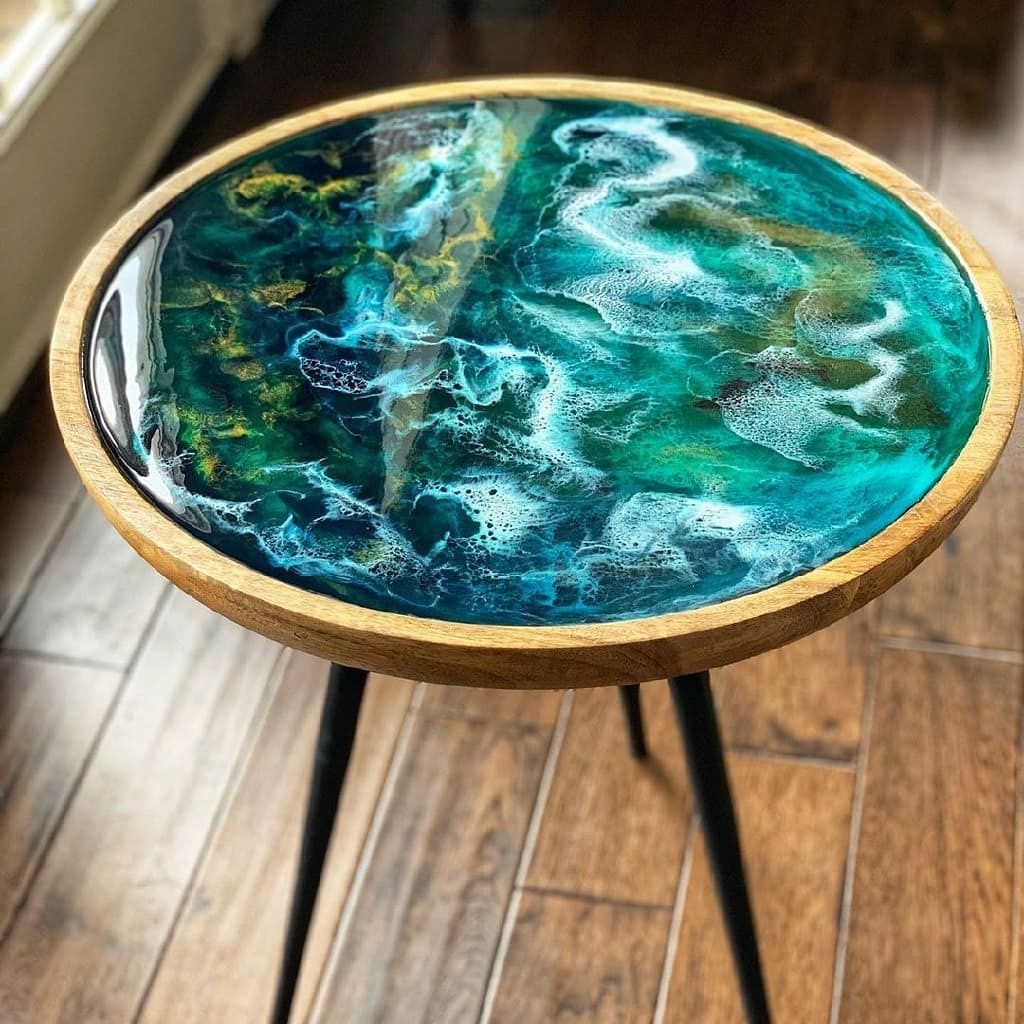
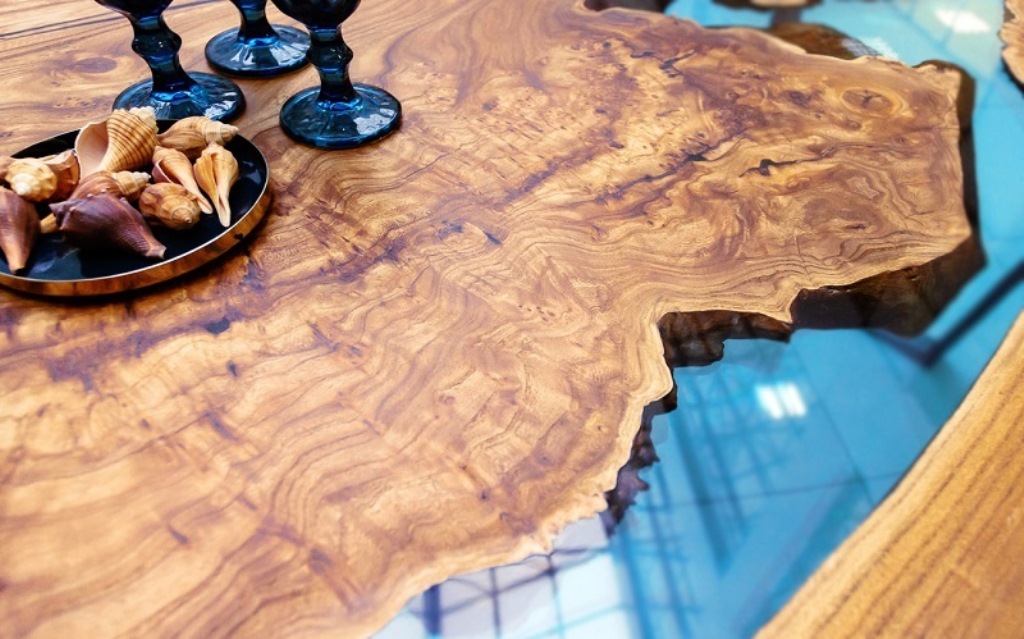
The epoxy resin table looks spectacular in any interior.
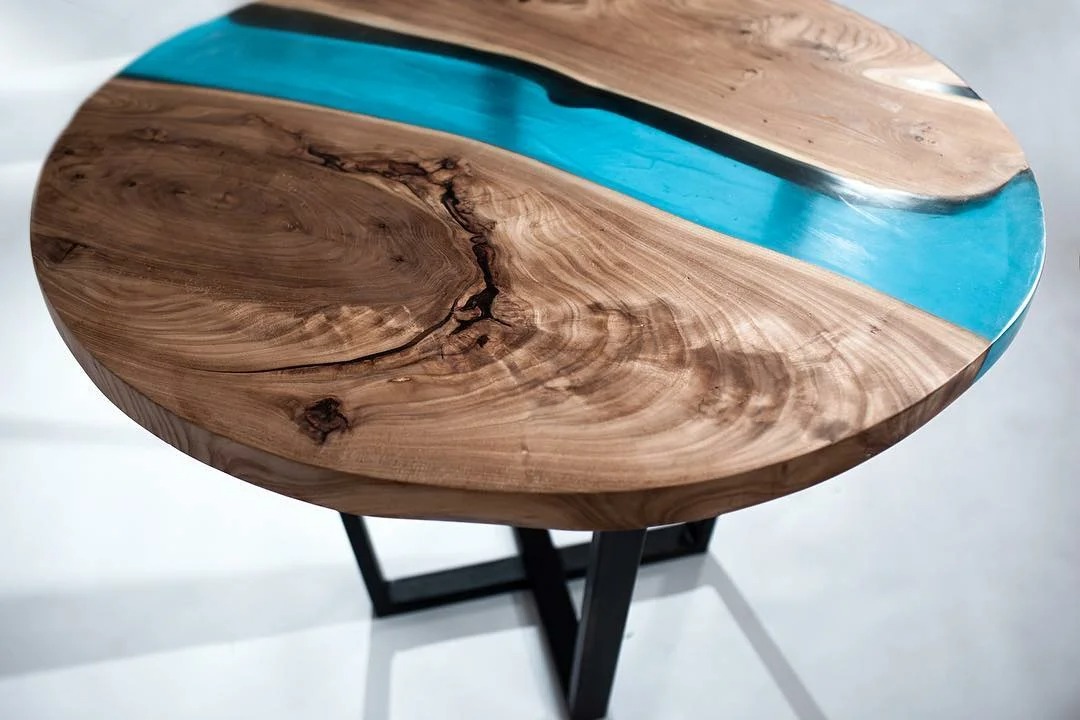
An unusual design solution can not only be bought ready-made, but also made independently. This is quite simple to do. The main thing is to know the rules for using the resin and strictly follow the stages of work.
Advantages and Disadvantages of an Epoxy Resin Table
The benefits include:
- High strength. Epoxy resin practically does not undergo mechanical deformation. In case of careless use, there will be no chips or cracks on the surface.
- Security. Epoxy resin has no effect on humans. Products made from it are safe as well as ordinary ones.
- Price. The primary materials from which the table is made are cheaper than the finished product.
- Moisture resistance. It is not recommended to wet tables made of wood. But if epoxy resin is included in the manufacturing technology, then such an interior item copes well with moisture and does not deform.
- Easy cleansing. The table is unresponsive to most mild cleaning agents.
- Wear resistance. Withstands ultraviolet rays, does not fade for a long time, while maintaining an aesthetic appearance.
- A variety of choices. An epoxy resin table is a popular design solution. There are many variations of colors and shapes.
The disadvantages include:
- Manufacturing defects. If mistakes are made during manufacture, then some of the resin can form a white precipitate over time. It will negatively affect the appearance.
- Persistence. The product does not accept harsh maintenance. Using products with abrasive particles will damage the surface and wear off over time.
- Toxicity. Although the material is harmless, it can release toxins into the air from high (critical) temperatures. Do not put anything hot on the table, the resin will start to melt.
Selection of table design
Epoxy resin products are distinguished by their unique designs. A large number of different tables are produced to suit any interior.
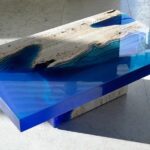
Continuous coverage
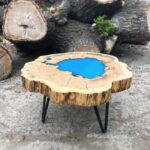
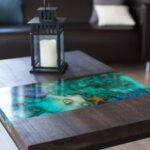
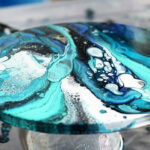
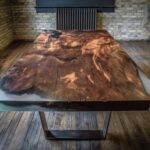
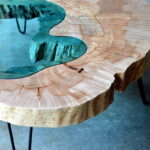
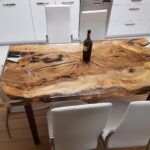
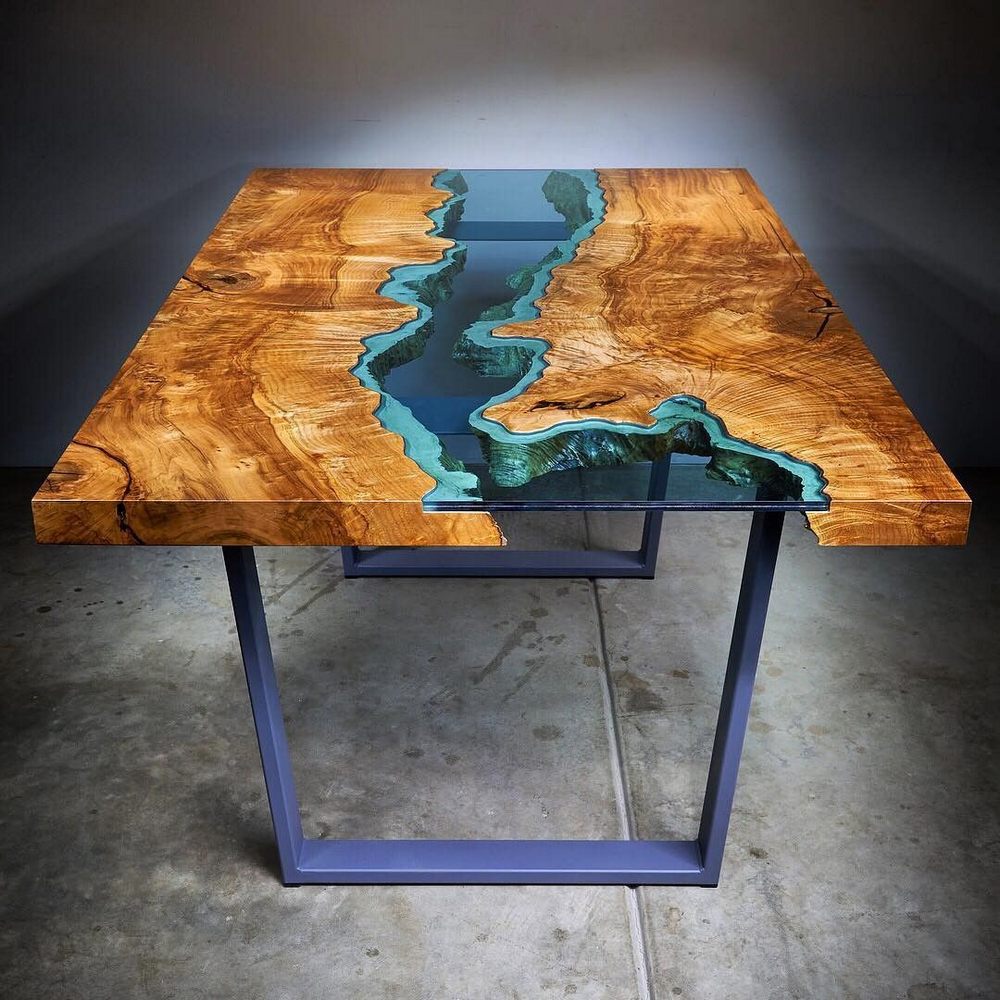
Manufacturing technology consists in creating a solid surface without using a dimensional shape. Perfect if the table will perform an exclusively decorative function. Such a model does not withstand intense loads. Therefore, a solid cover is often found on coffee tables.
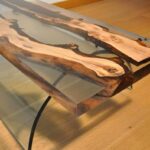
River
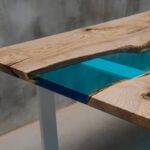
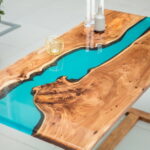
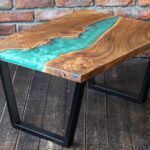
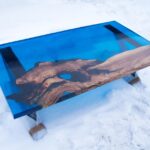
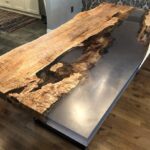
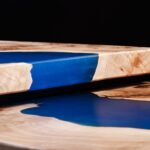
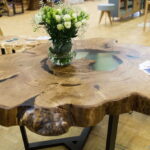
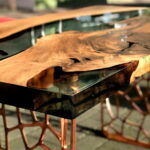
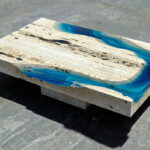
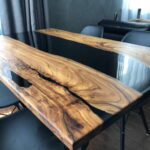
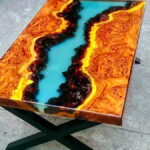
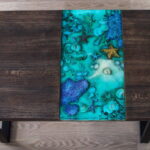
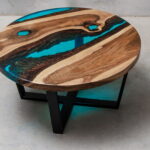
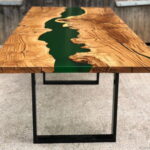
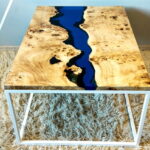
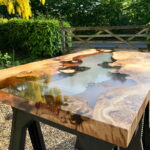
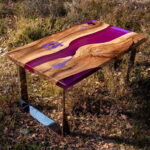
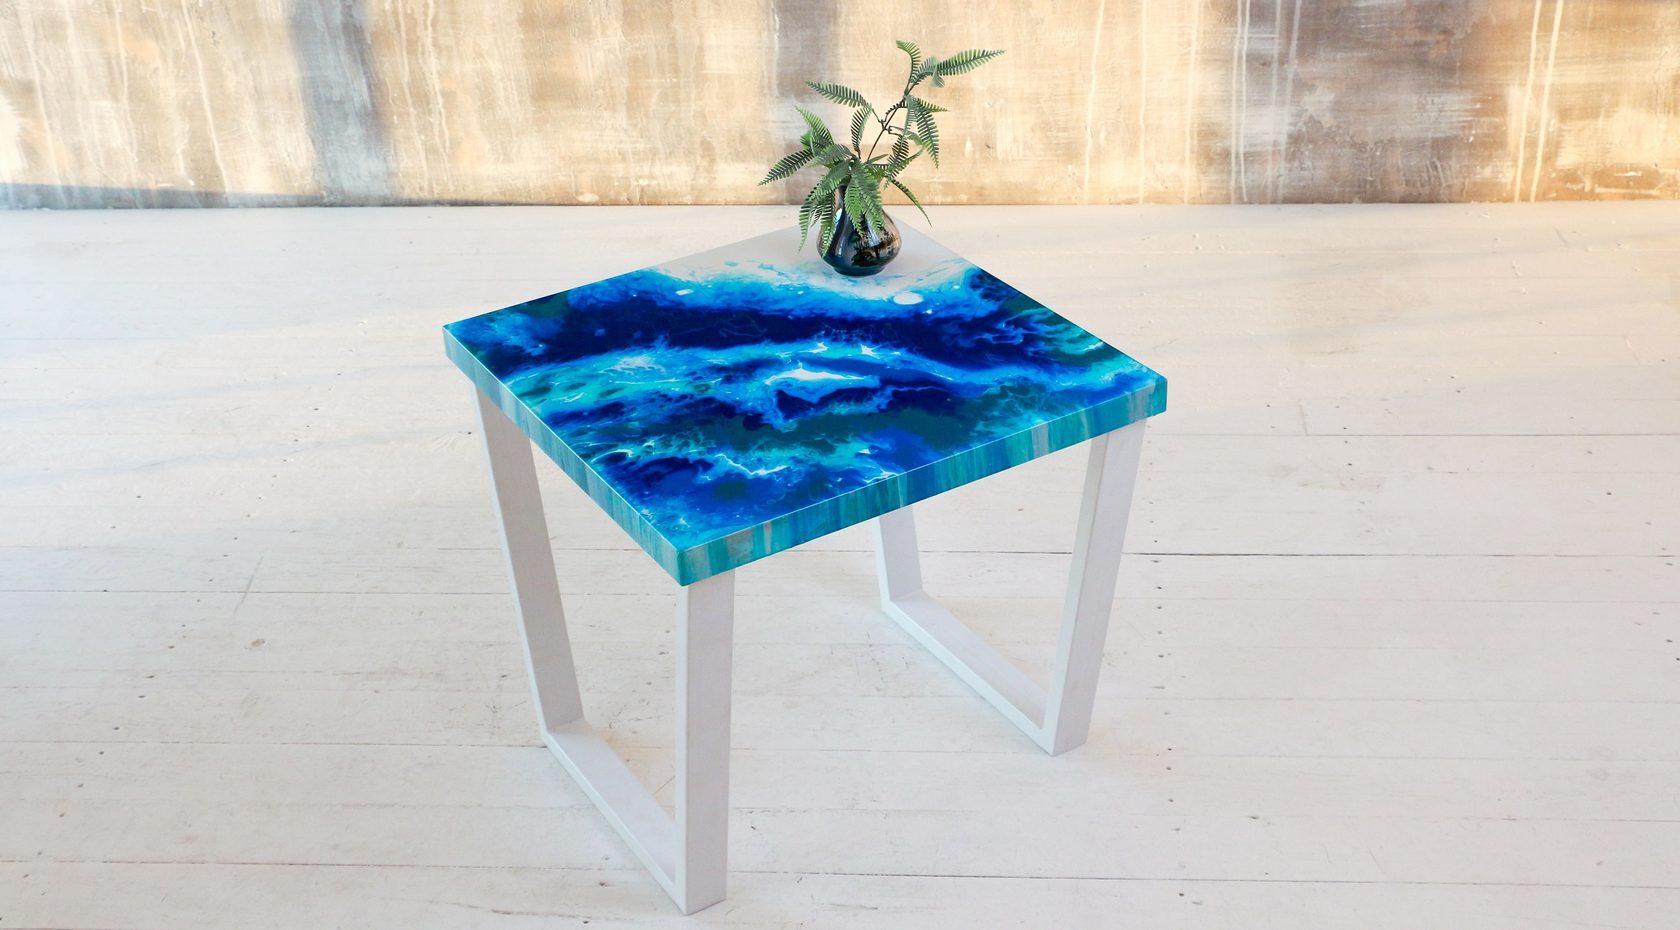
The name accurately describes the appearance. The resin insert is located between the two pieces of the wooden base. Thanks to the glossy finish, it seems that a forest river has appeared right on the table, the water in which pours under the sun's rays. Usually the table is rectangular.
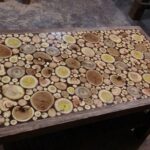
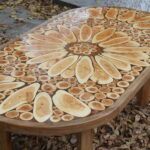
From cuts
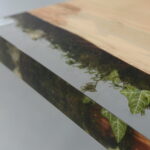
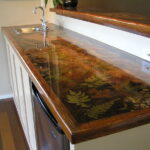
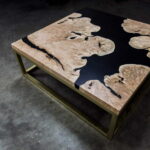
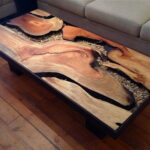
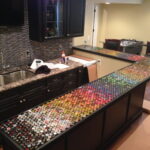
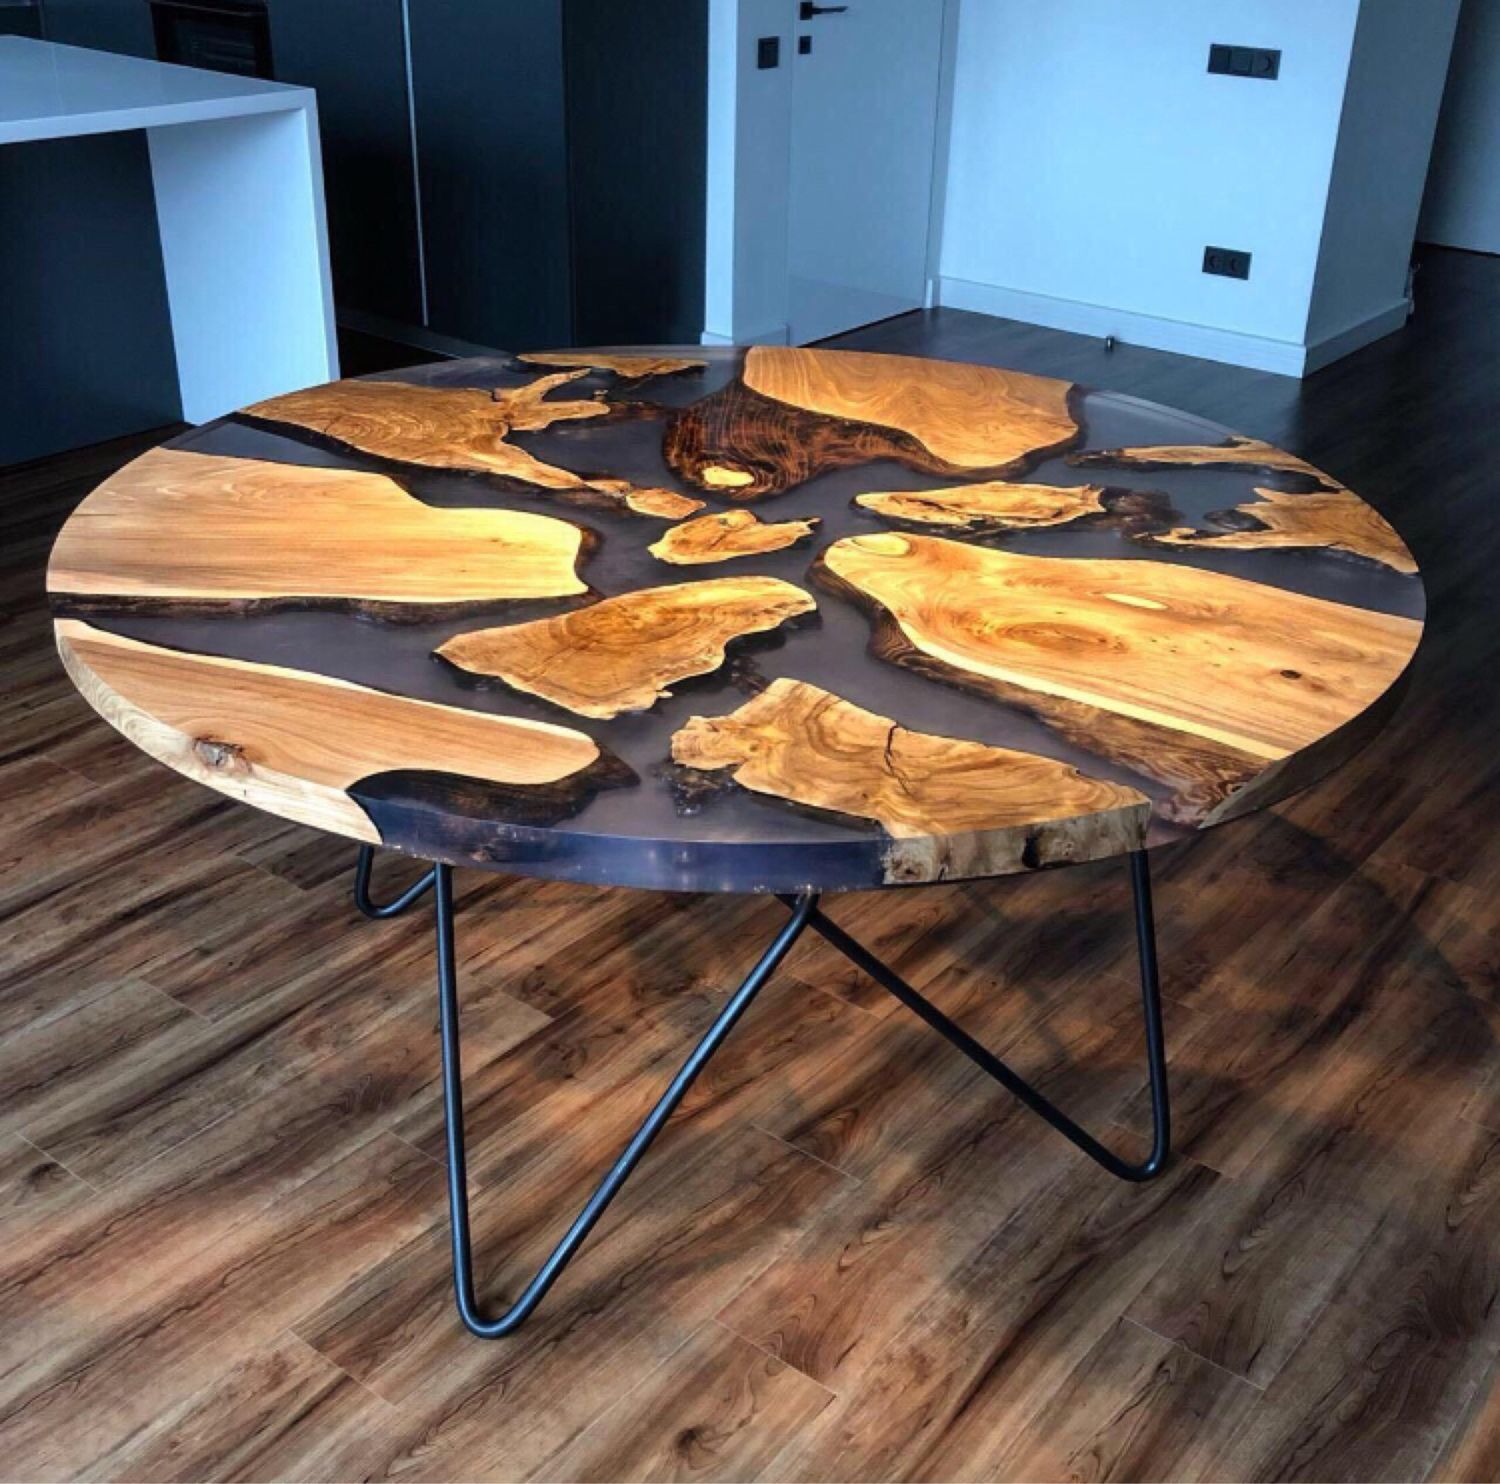
The idea is to place differently shaped wood cuts in an epoxy grout. It looks very impressive. Each product will have its own unique pattern. The shape of the table can be different, it all depends on the imagination of the author.
What is needed to make such a table
For strength and stability, you need to purchase two wooden structures. The first is a slab, the second is a support. The slab is a wide longitudinal plate made from a solid barrel. The minimum permissible thickness is 1-2 centimeters, but for strength it is better to use a thicker material. A plastic pipe acts as a connecting element. If the idea includes decor, then you need to purchase an epoxy-based glue. It will be easy for them to fix the elements.

Any additional material for decoration can be used. The main thing is to make sure that it is compatible with epoxy resin, too soft can deform ugly when pouring.
Preparing the table structure
The stage that will determine the success of the entire work. The preparation includes the preparation of resin and furniture borders.
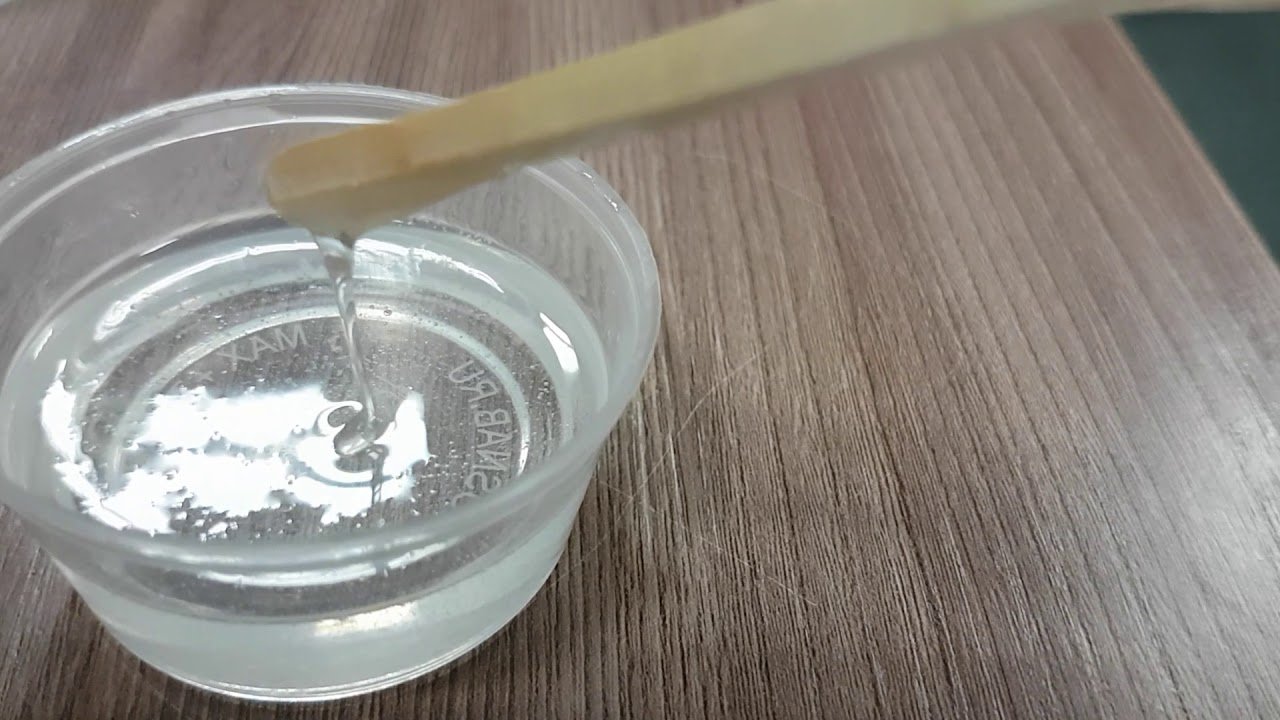
The epoxy ingredients are mixed in a 2: 1 or 1: 1 ratio. If the parameter is not respected, then the mixture will not harden and the table will spill over time or, on the contrary, harden too quickly. Then it will not work to decorate it with high quality.

Each manufacturer has its own concentration, so you can additionally use the attached instructions for each of the components. It will describe in more detail how to properly prepare the resin. This is usually two parts resin for one part hardener.
Important! Carefully thought-out furniture borders play an important role. It is worth choosing it carefully, without haste.
Assembling the structure. The smaller circle is placed on the floor, the center is previously marked on it. A pipe is glued to it. The center is also marked on the wrong side of the lid. This place is smeared with glue. Without waiting for drying, the table top is placed on the top of the rack. All surfaces are degreased and primed.
How to properly fill the table with resin
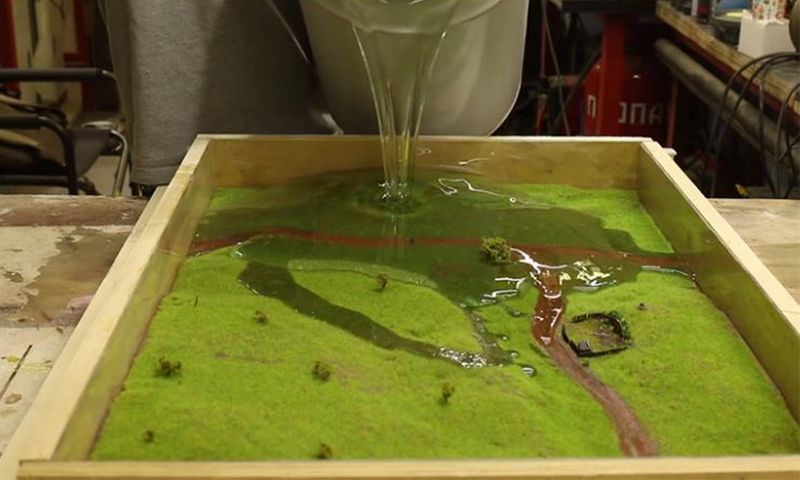
Filling occurs from the middle. This will allow the resin to flow smoothly over the surface. Additional alignment is not required; it distributes itself under its own weight.
Note! You can't start at the edges. The resin may spill out or become uneven.
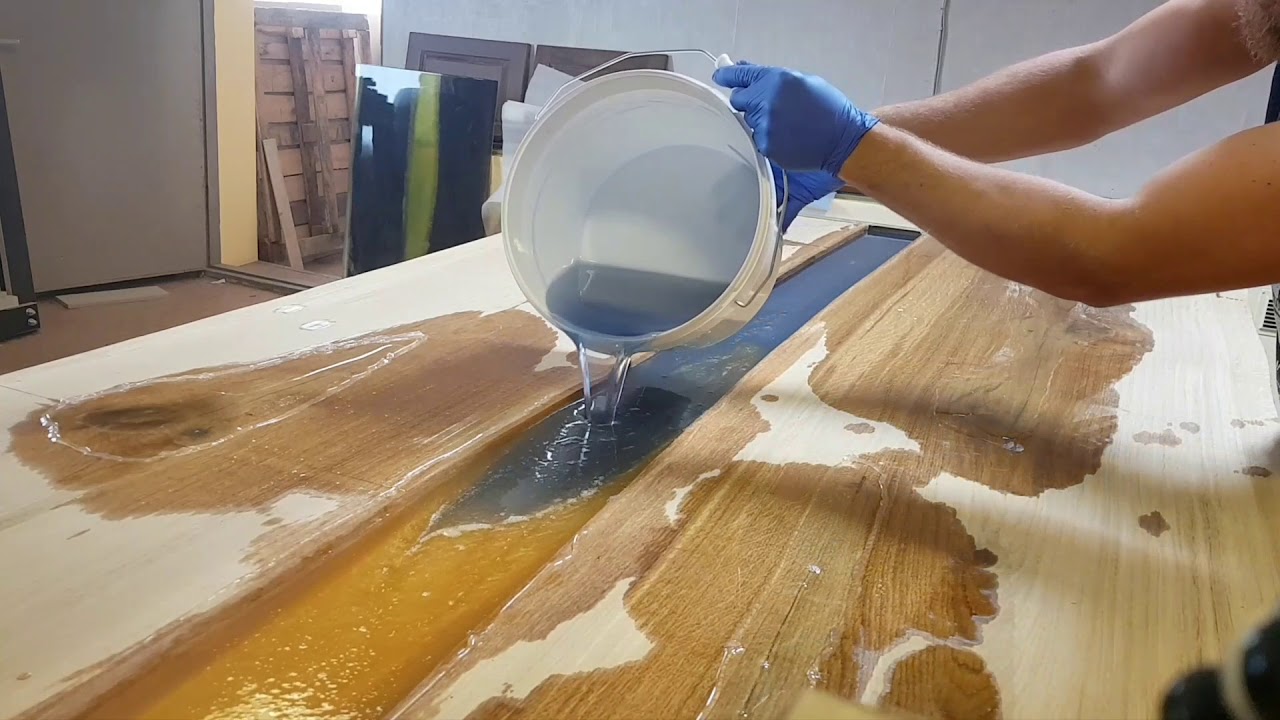
You can touch the surface with a spatula only when visually the mixture has spread. Voids may appear, and resin residues are additionally poured into them. If bubbles form, they should be carefully punctured and removed with a hair dryer. Only after that, the development of the pattern begins. At the end, the surface is covered with polyester.
Preparing the bay mold
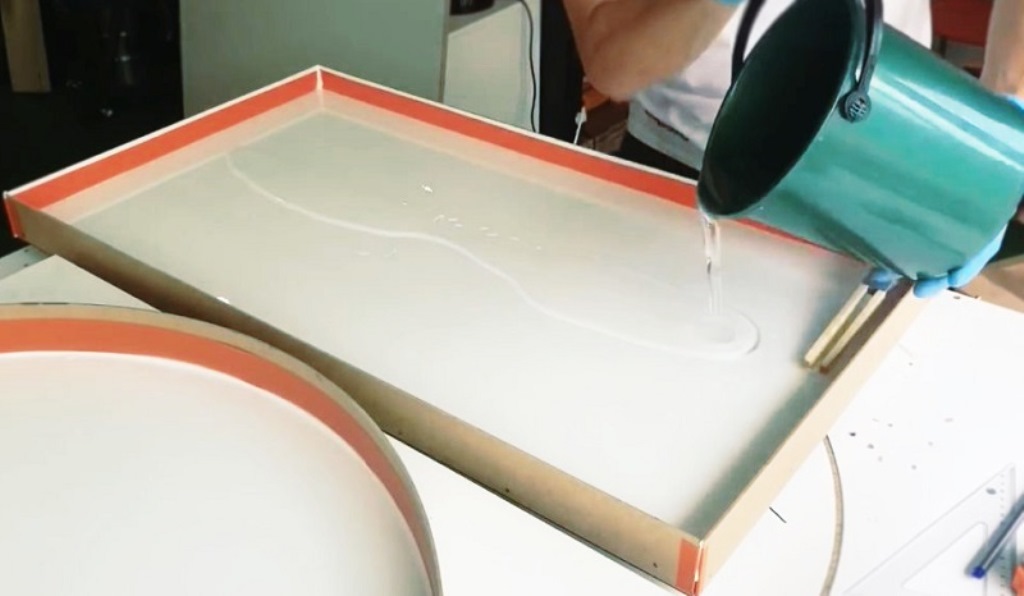
Several fittings should be done to determine the exact thickness. Decorative products are laid out, and it is checked how much they will sink to the resin. Having decided on the pattern, all the elements are glued.
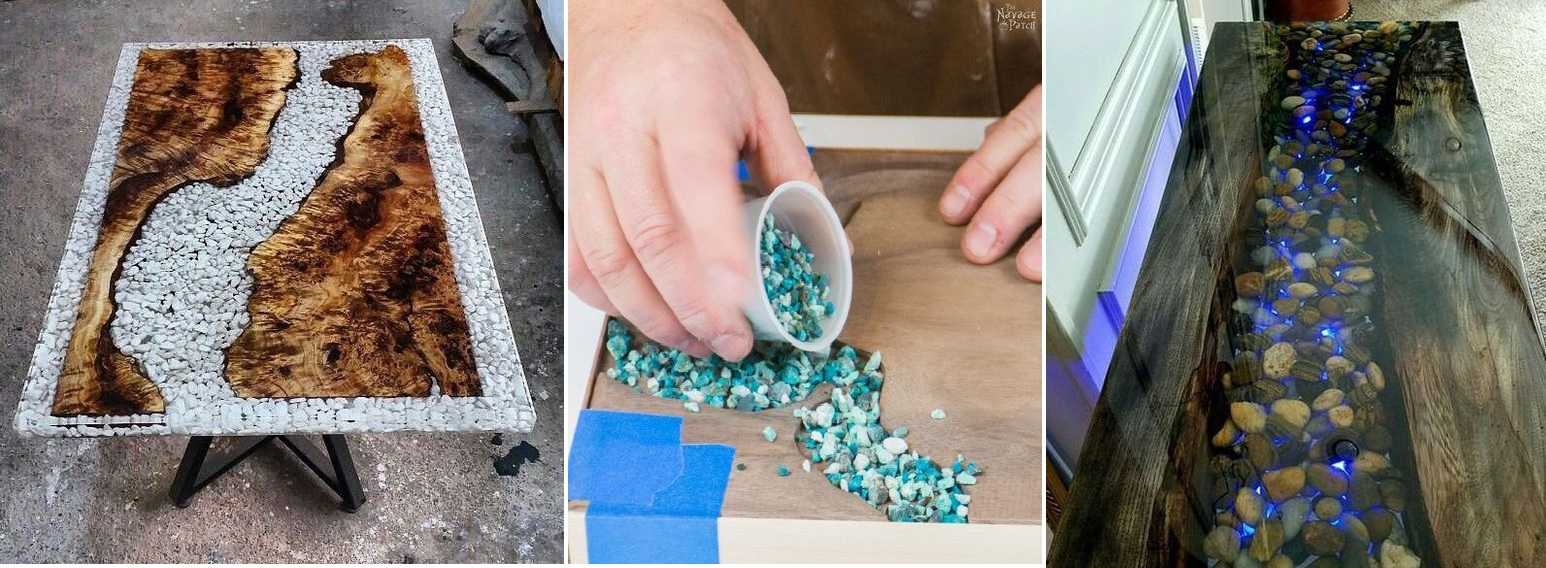
Note! The decoration should be half the total thickness.
After that, the tape is glued around the entire perimeter. This makes the finished table easier to move away from the frame.
This is all the instructions for making a table made of wood and epoxy resin with your own hands.The process is simple, but it takes concentration and a lot of time.
Video: how to make an epoxy table

