Description and manufacture of a sliding table with your own hands
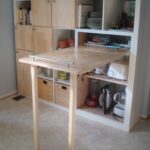
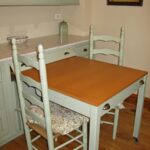
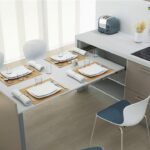
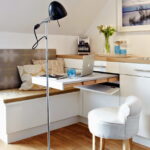
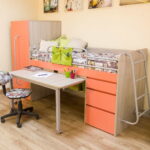
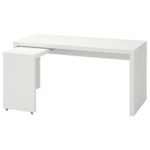
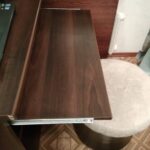
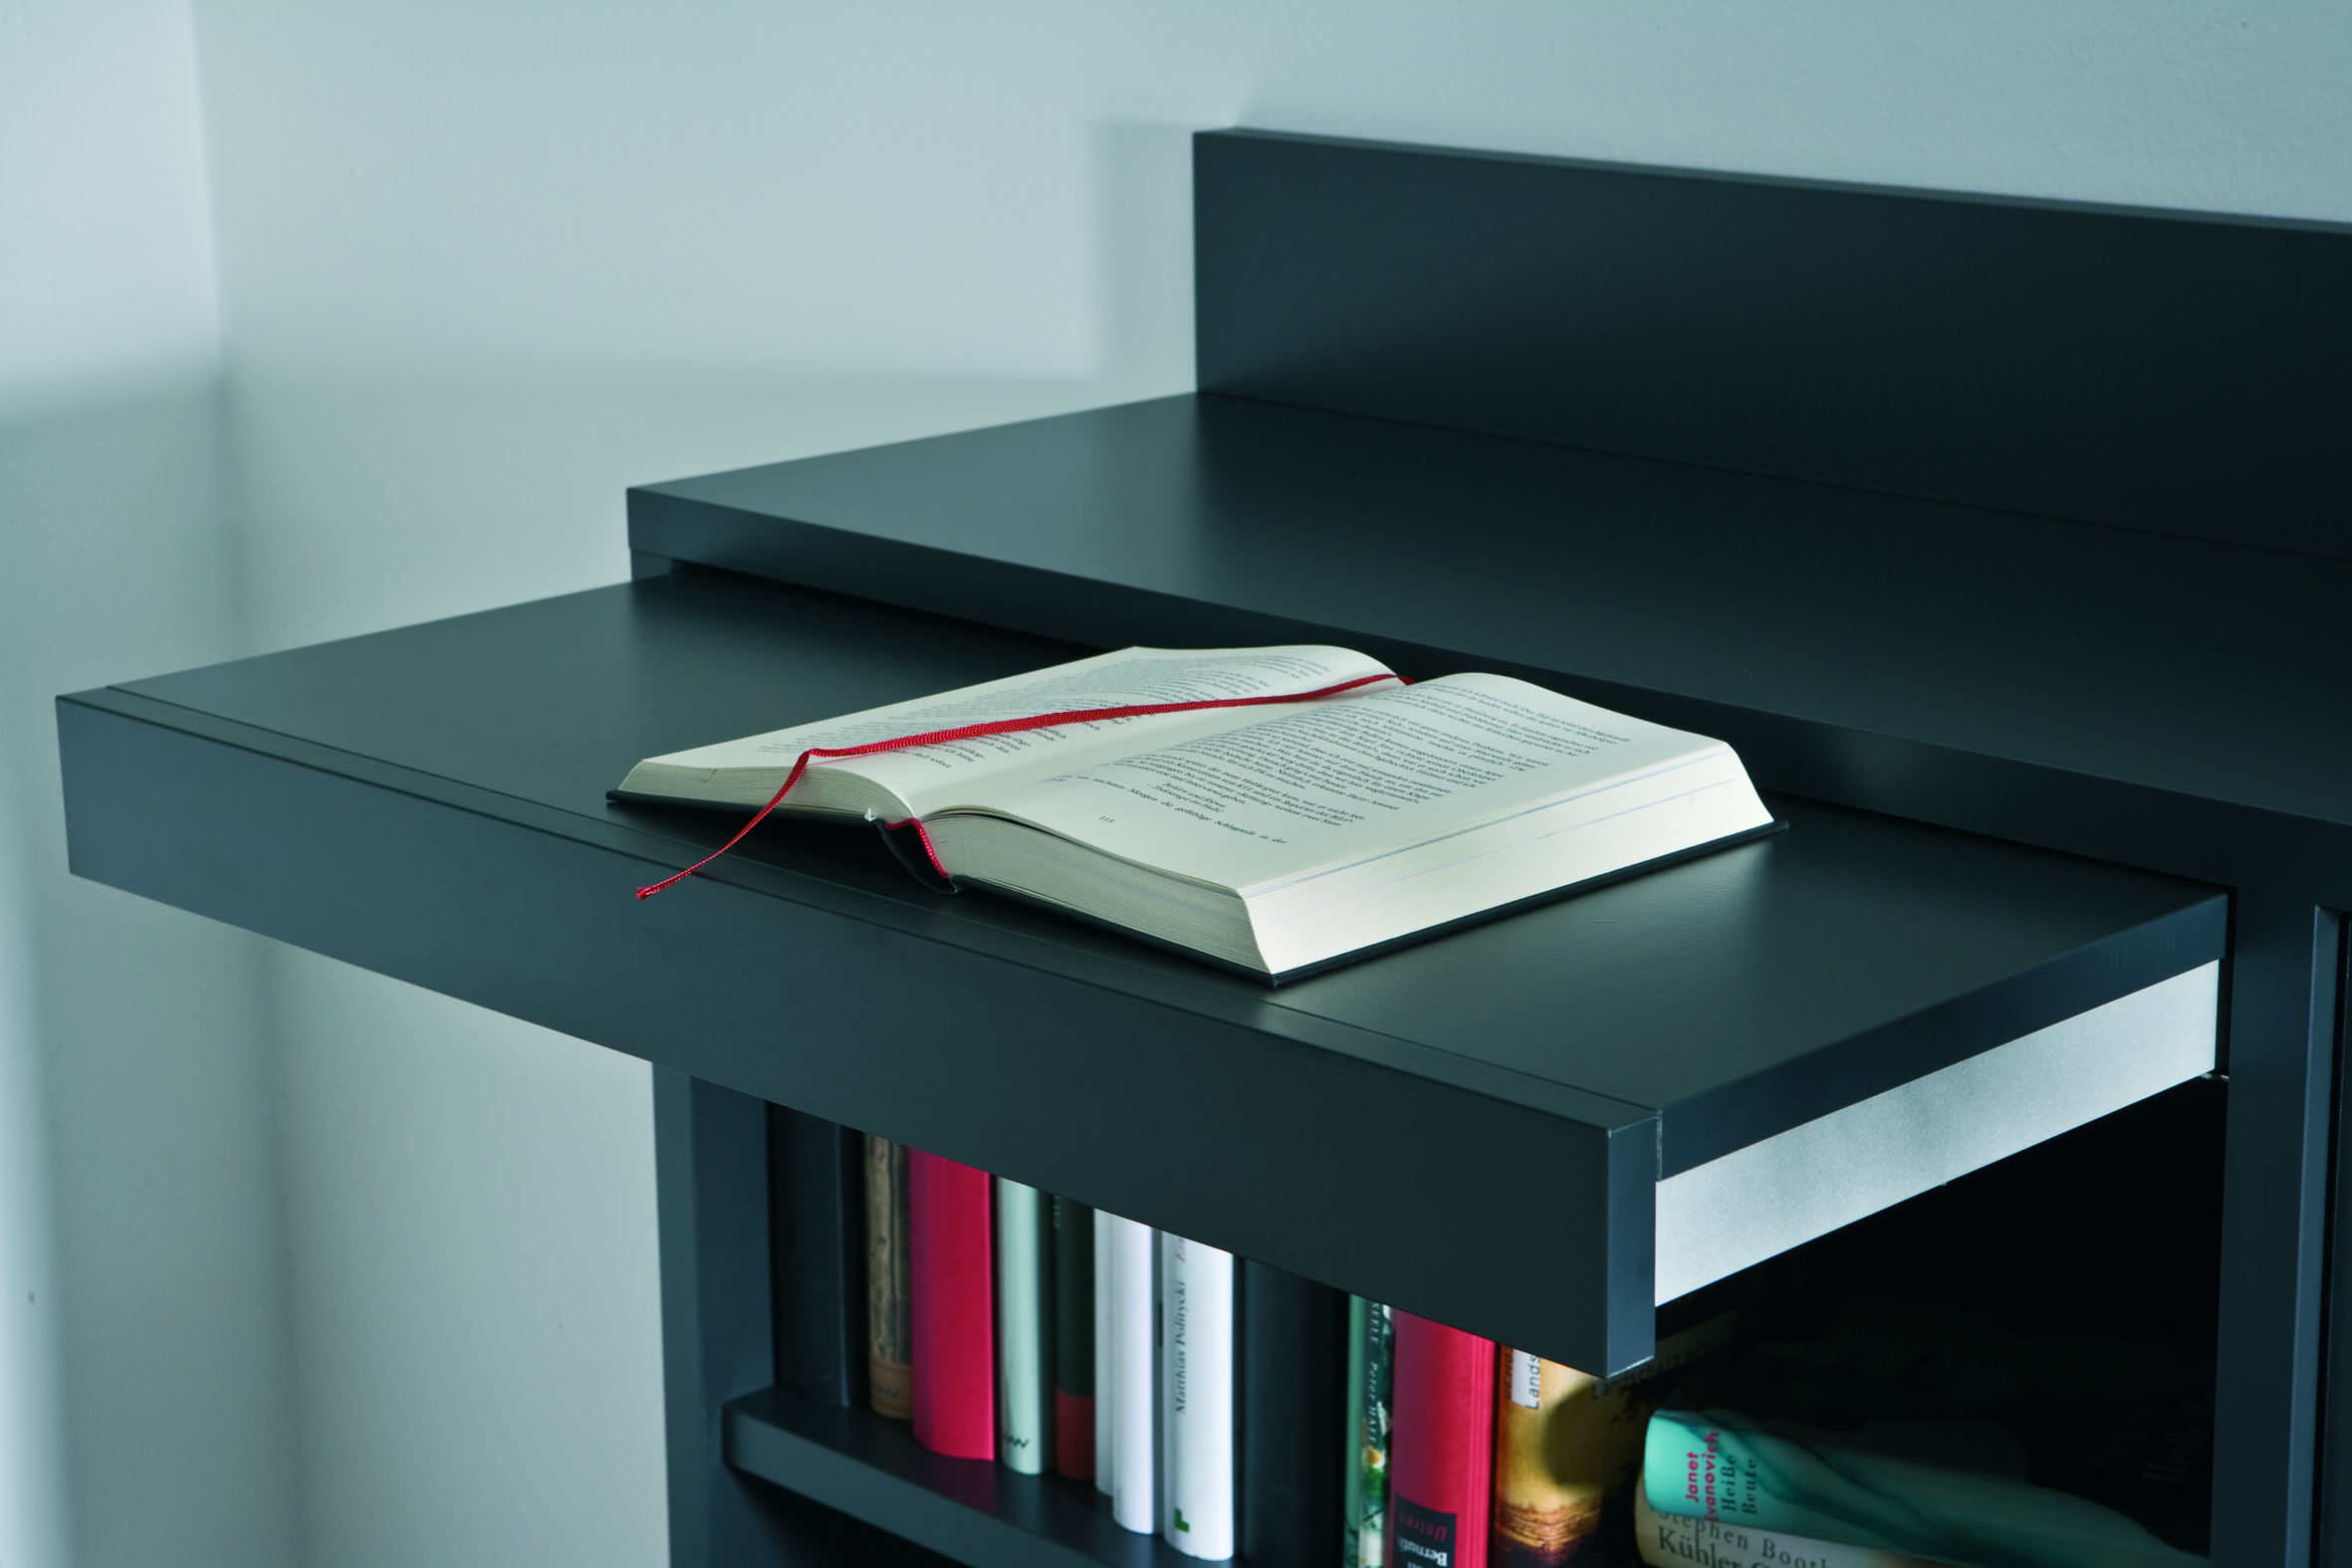
A pull-out table is a transformer designed to solve the problem of a lack of space. The design is most relevant for studios, where the kitchen is connected to the living room, which makes all objects constantly visible.
Advantages and disadvantages of a sliding table
The following advantages of a sliding table can be distinguished:
- complete replacement of the dining table for a small family;
- significant savings in space, making the room more spacious;
- the ability to create an additional work area;
- convenience and reliability during operation;
- stability provided by rigid fixation on one side.
Note! A retractable tabletop cannot replace a kitchen table for a large company. In this case, the latter can be moved to the living room, and the kitchen countertop can be used for a snack or tea.
A number of design flaws can also be distinguished:
- the impossibility of a full replacement in case of receiving guests;
- lack of mobility;
- the need for constant pushing in;
- limited materials of manufacture.
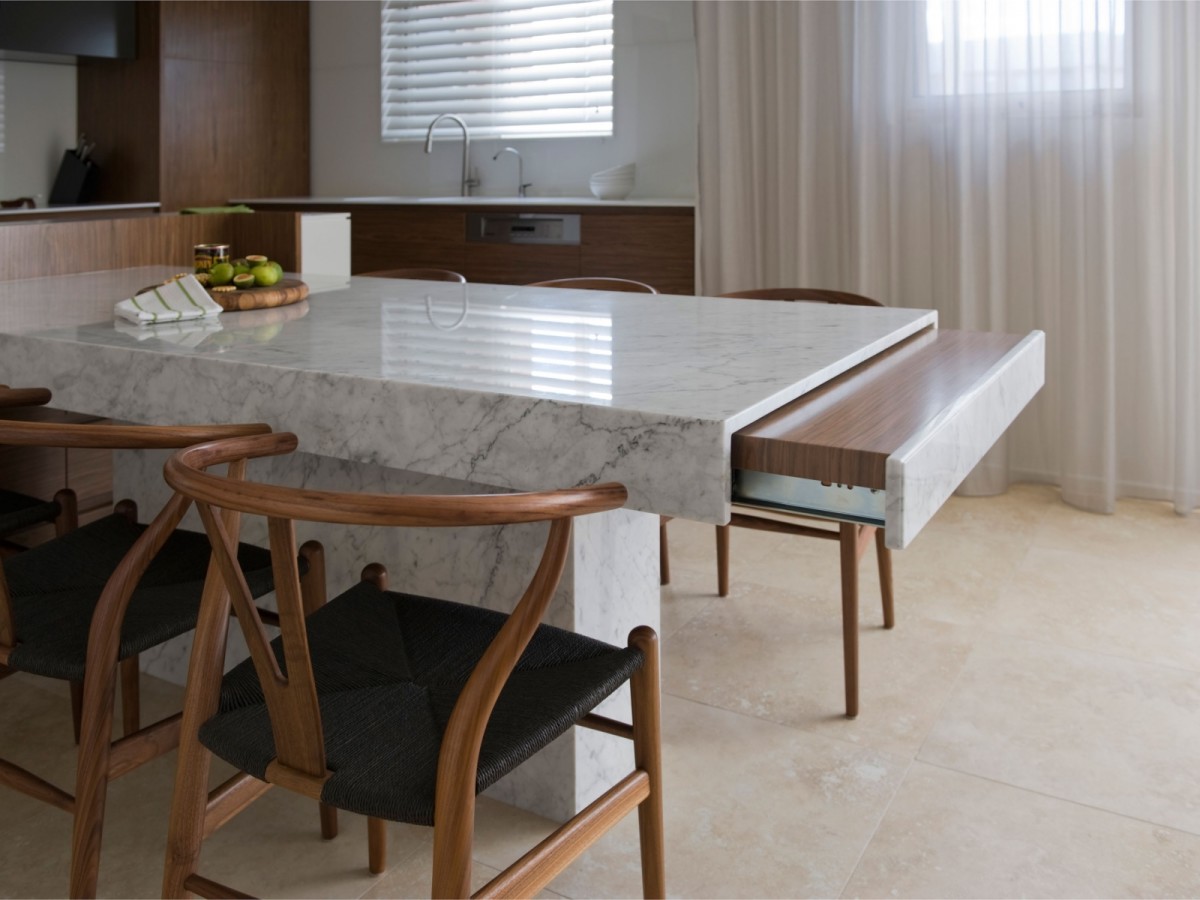
How to choose pull-out tables for the kitchen
When choosing a table model, several features should be taken into account.
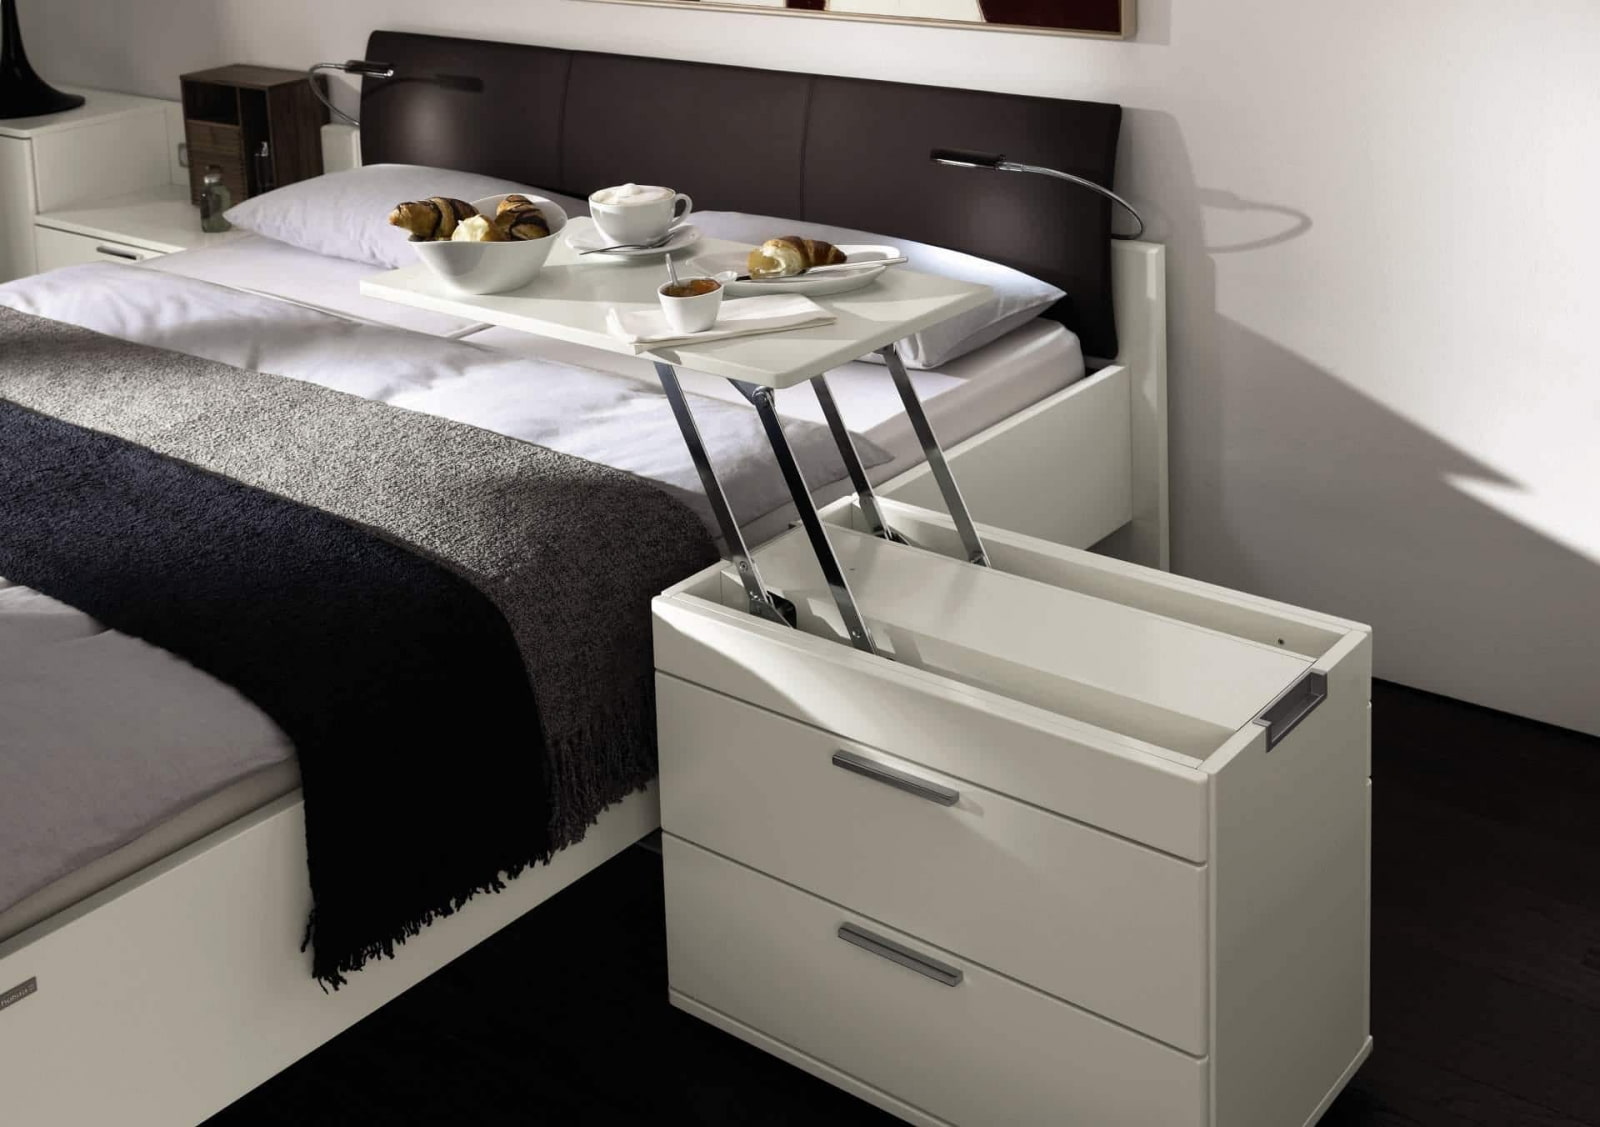
- Design. First, you need to determine the purpose of the countertop. If it is assigned the role of a dining table, then it is worth choosing a structure that has a support leg to give stability.
- Material and design. The table should completely merge with the facade of the kitchen unit. It can be made of MDF, plastic or chipboard, much less often - of wood, glass or artificial stone, due to their weight. The underframe is made of metal or wood. For cladding, you should choose the same color and design as the headset countertop.
Note! The position of the pull-out table should be considered at the planning stage of the kitchen, in order not only to obtain maximum functionality, but also to ensure an optimal match in style and color.
- Support. The main stability of the table is created by the support structure. Its presence is determined by the length of the surface and the planned load. Models equipped with legs are considered the most practical option, since they can withstand more weight, which adds functionality to them.
Do-it-yourself pull-out table
For self-production of the simplest version of a sliding table, you will need the following:
- pencil;
- table top made of postforming or furniture board;
- tape measure and ruler;
- vibration grinder;
- clamps;
- jigsaw and files for it with small teeth turned outward;
- cutter;
- universal sealant;
- rubber hammer;
- trimming overhead edging;
- square;
- hex key;
- steel tubular legs.
Note! The number of legs depends on the model. For a corner table, three of them are required, for a standard one - four.
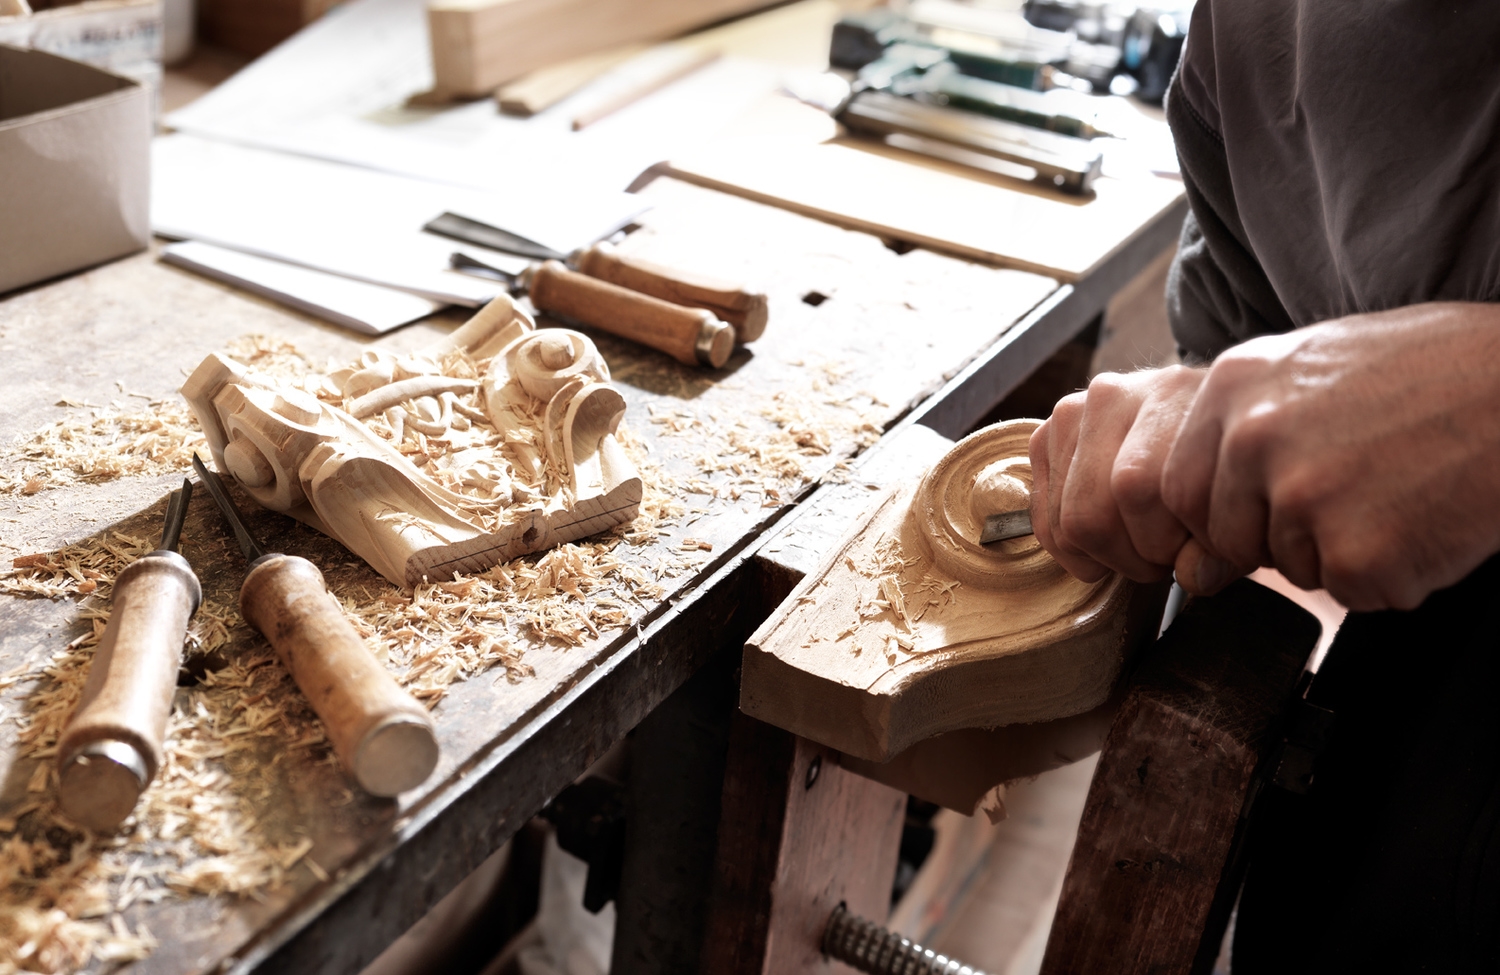
A postforming piece of the required size can be found in a construction store. In the carpentry shop with him, they often sell production waste, the cost of which is much lower, and the dimensions may be suitable for requests. The edging should be selected immediately so that it harmoniously matches the color of the plate.
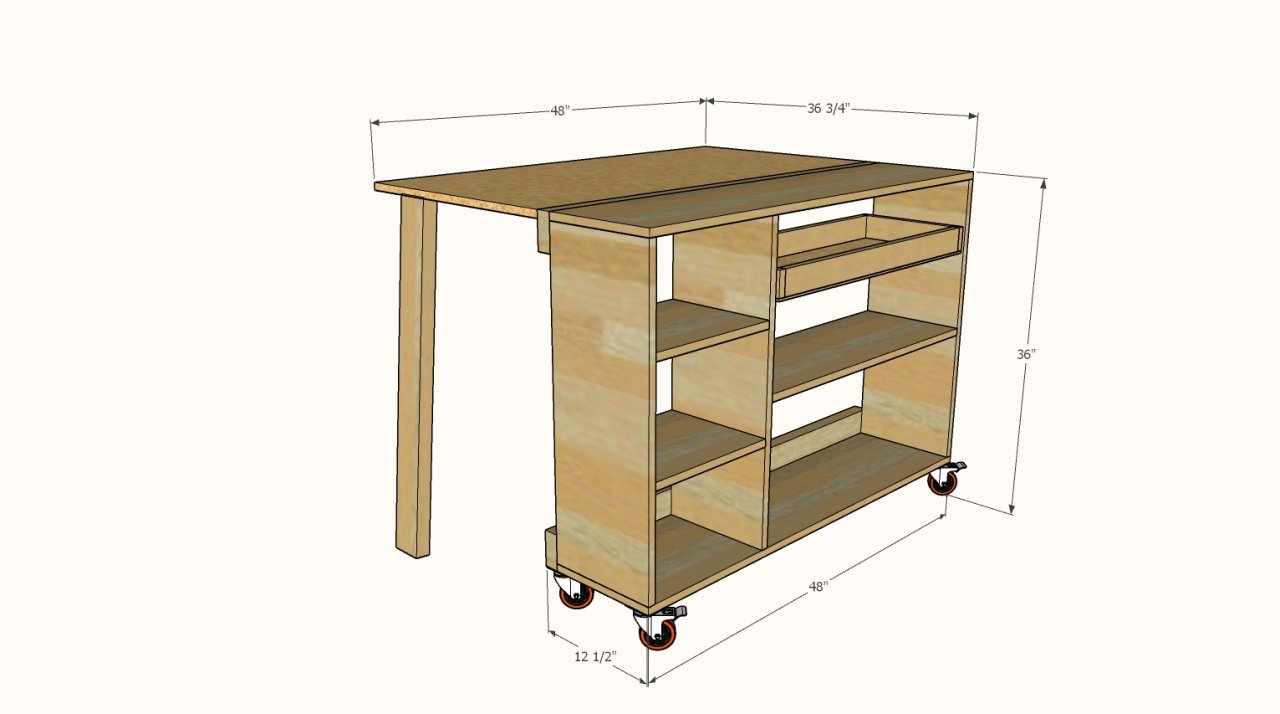
The order of work is as follows:
- Create a drawing specifying all dimensions, locations and order of fasteners.
- Apply the markings to the front side of the countertop. For a corner table, the straight sides should be slightly less than the space allotted for it. If there is a rounded side, it must be drawn with special care.
Note! To draw complex elements, you should use a pencil attached to a thread, the free end of which is attached to the corner. In this case, a radial line is drawn on the opposite side.
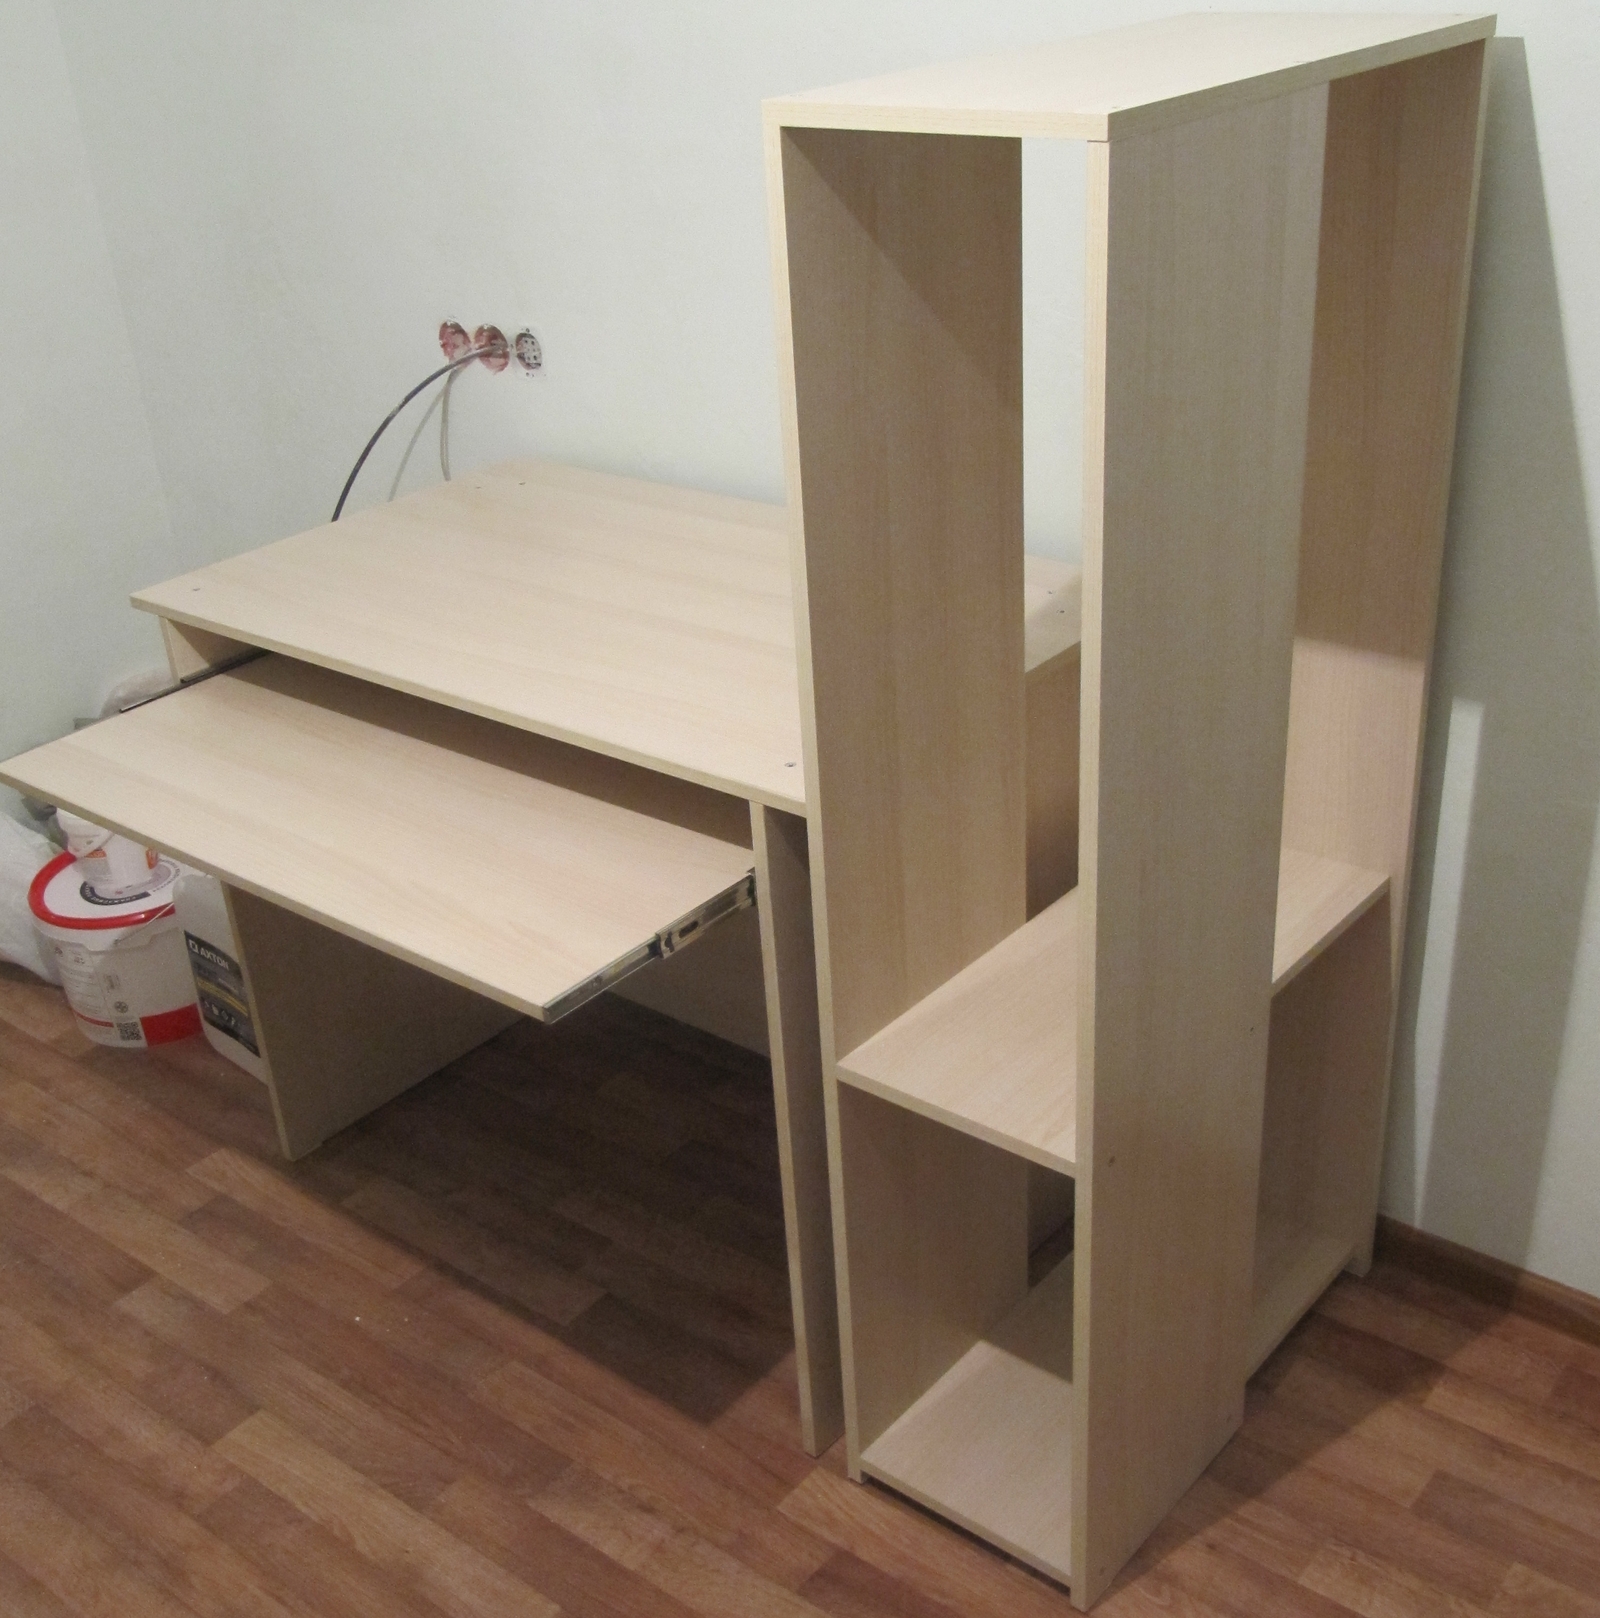
After preparing the drawings, it is necessary to calculate the required material. Asymmetrical sections should be made using a cardboard template. For rectangular models, it is better to round the corners, which will add convenience in a small room. In addition, in this case, the edging will be more securely attached.
- Carry out cutting. To give the workpiece the desired shape, it is convenient to use a jigsaw.
Important! When cutting, you should leave about 3 millimeters of stock on all sides.
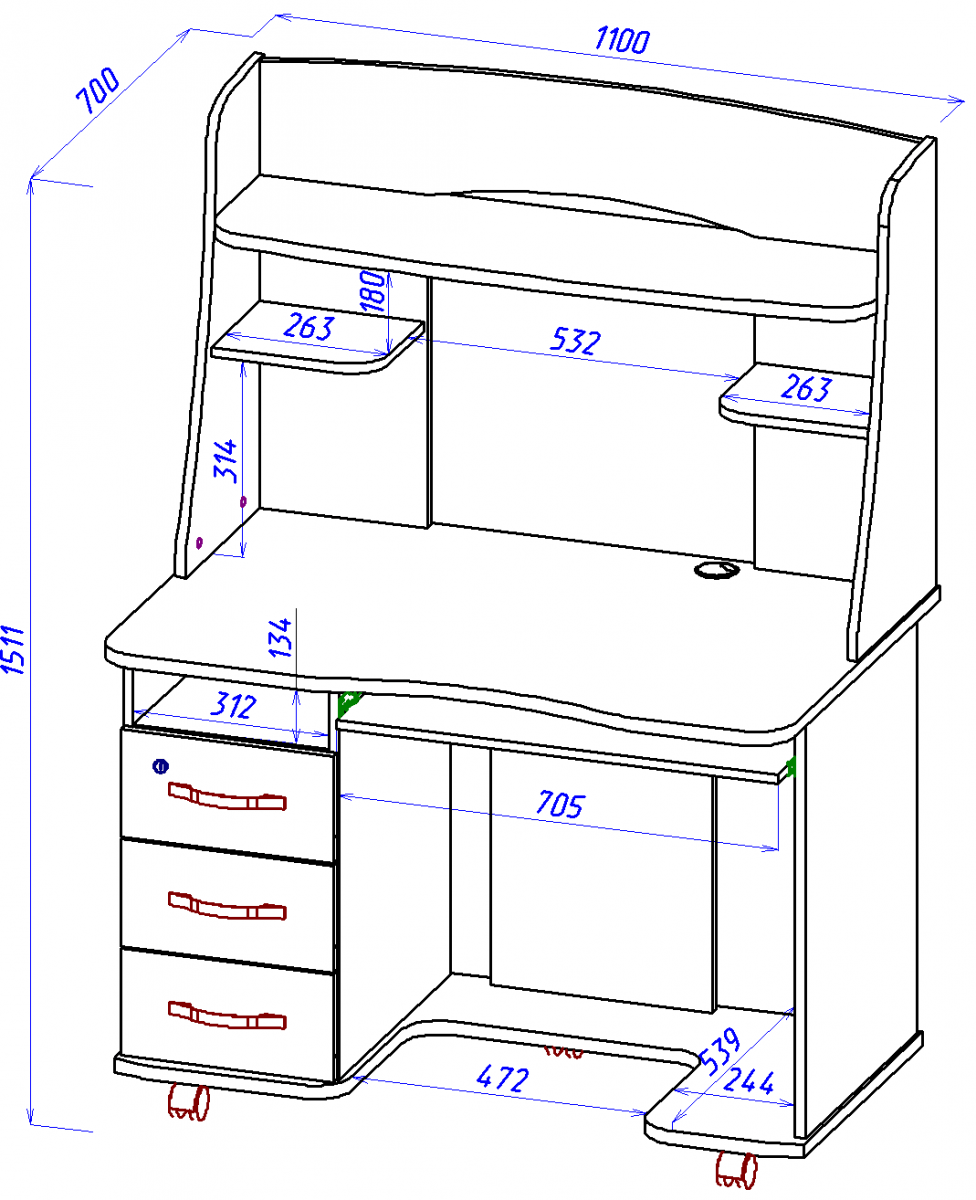
Making a drawing of the table is not difficult. In the absence of a file with a reversible position of the teeth, the cut should be made from the inside out, marking in the same place.
- To process the end face with a cutter, cutting a groove. It must certainly pass in the center, otherwise the edging will be set incorrectly. The edging can be replaced with a melamine edge, which is fixed at the ends of the table top with an iron or hair dryer. However, this method is undesirable due to its low reliability.
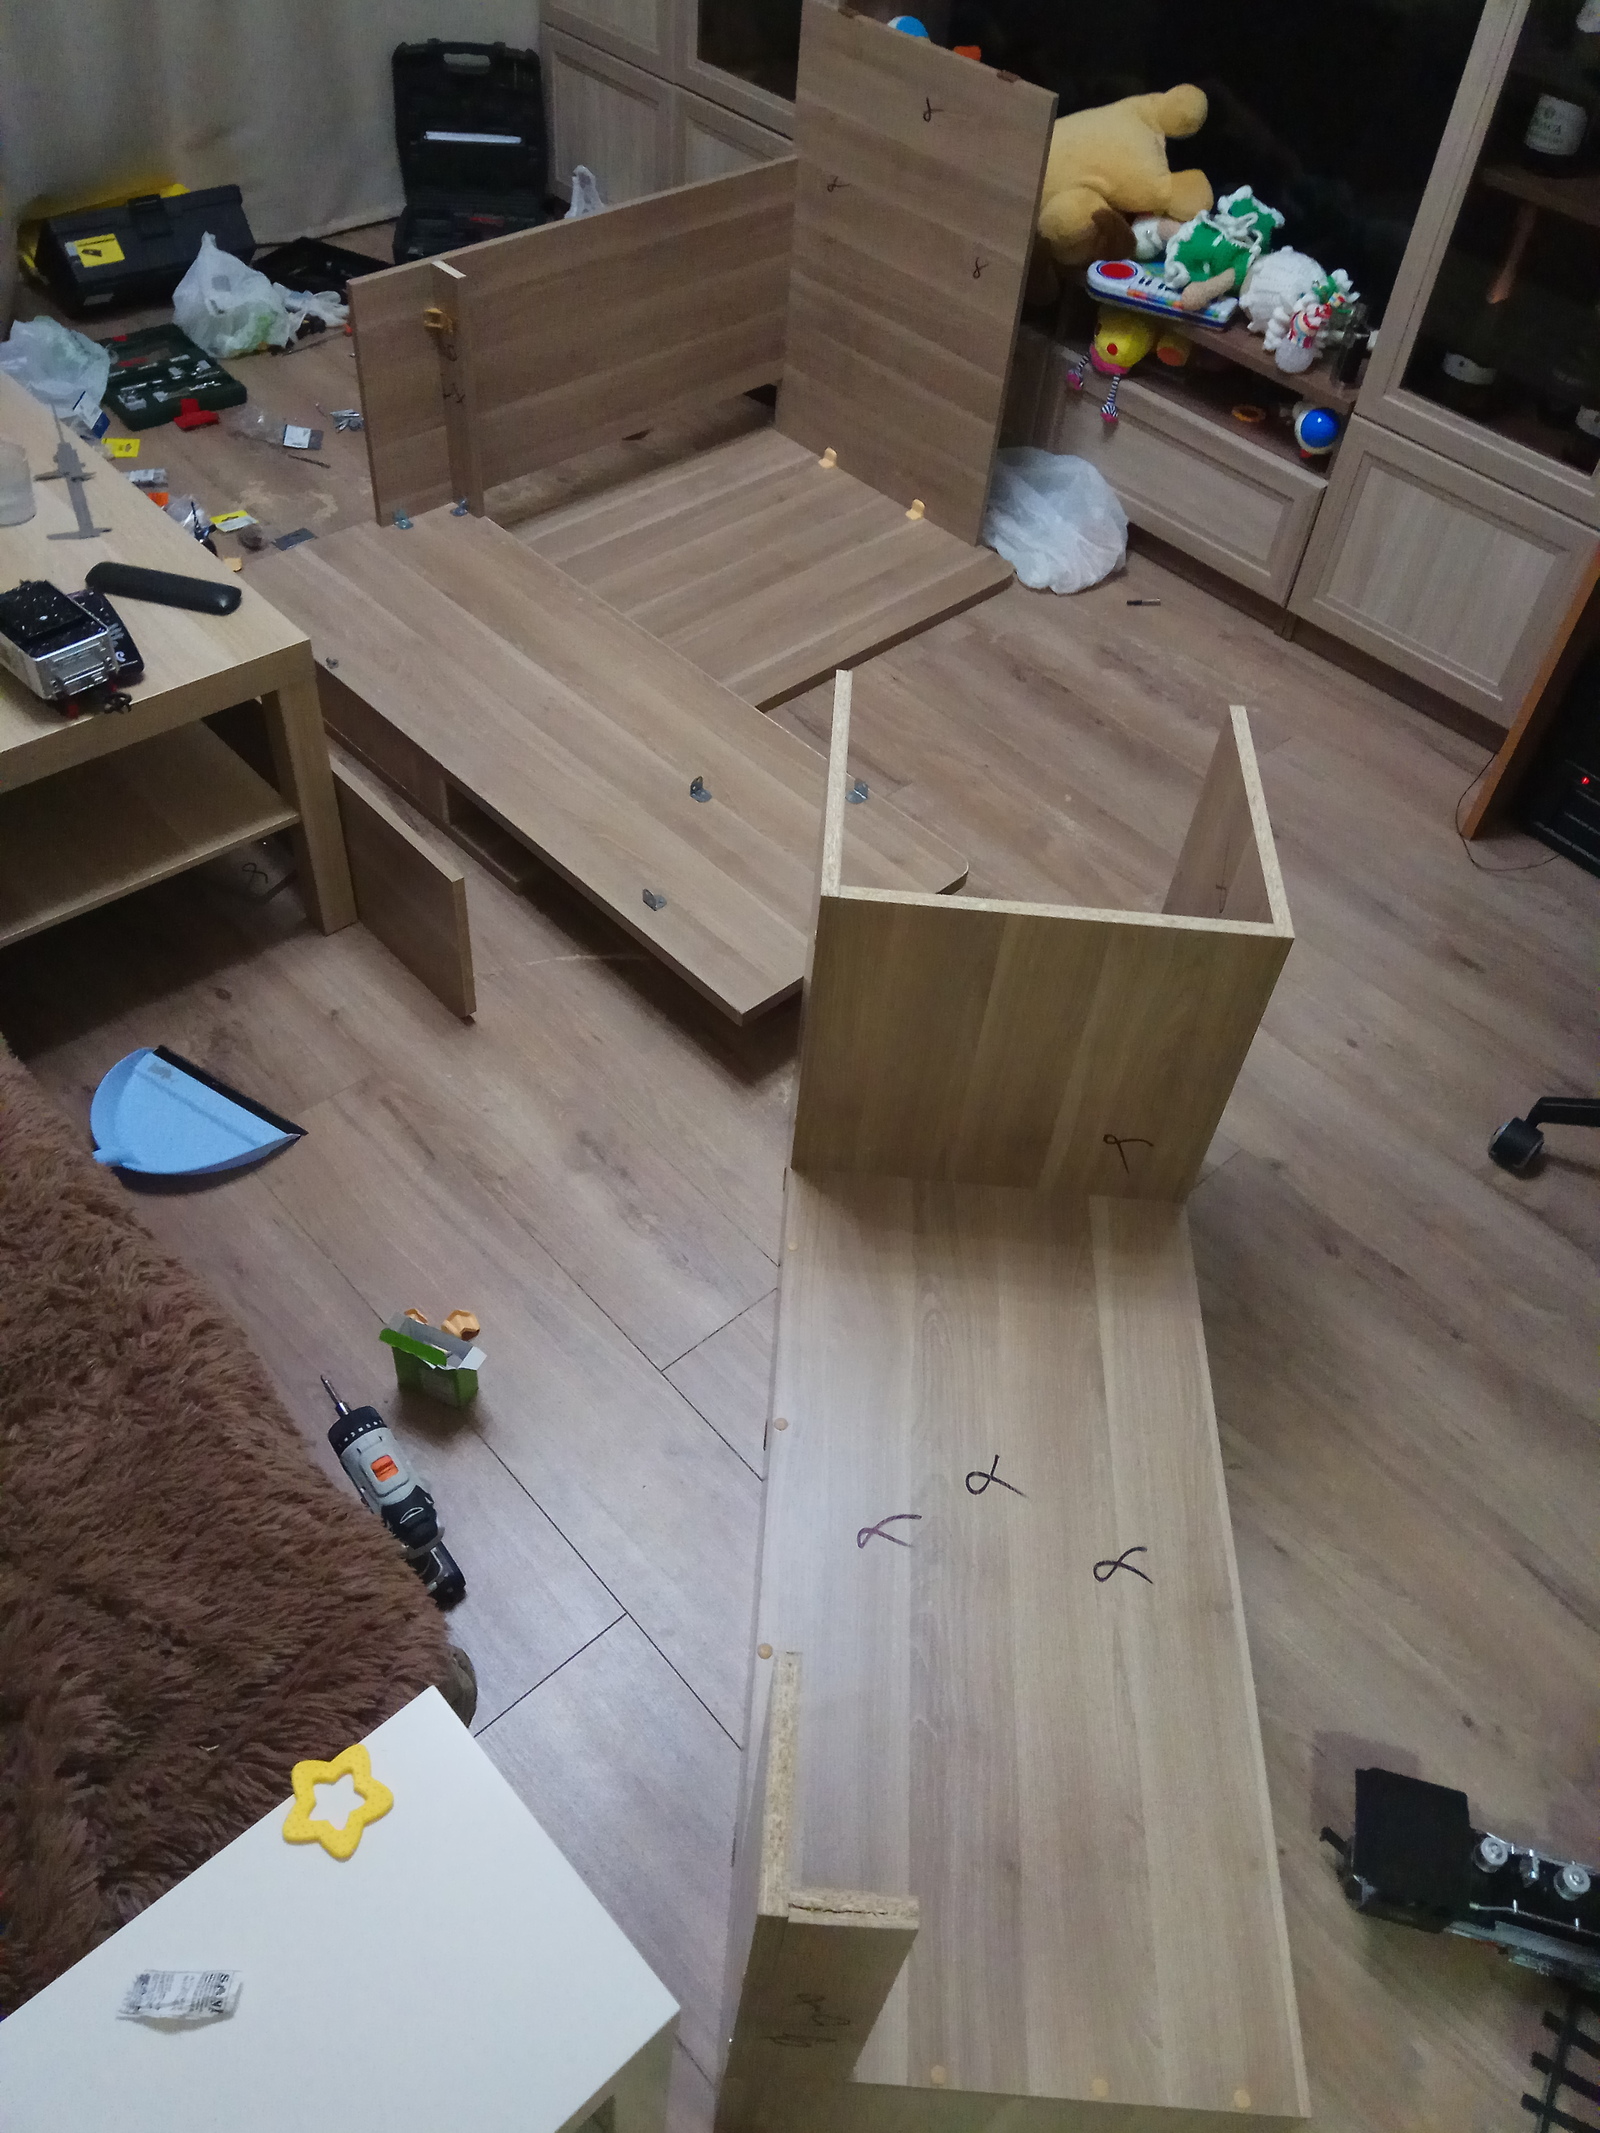
Assemble the elements with great care. Note! In order not to use edging, you can choose a furniture board as a material for the table top. In this case, it is enough to grind the end face with emery, and open the surface with tinted matte or colorless varnish in at least two layers.
- Finish. An overhead edging is required to be planted on a transparent universal sealant, which is applied to the entire area of the side to protect the inner layers of the chipboard from moisture. The edge is stuffed with a rubber hammer, after which a sharp clerical knife is trimmed at the joints.
Important! Excess sealant protruding during work must be removed immediately, since after drying it will not work.
- Leave the countertop until the glue is completely dry. The edging must be fixed using clamps, having previously placed soft gaskets under them to avoid damage to the product.
- Mark out the place for the legs. To do this, the finished slab should be laid on a cardboard spread on the floor and markings should be made on the seamy side for the bases of the legs. The place for them is determined using a square, while an indent of 10 cm is taken from the edge of the tabletop.
- Mount the holders with wood screws, the length of which does not exceed 20 mm. Twisting of the screws must be avoided to prevent damage to the plate.
Note! For a neat attachment, you can drill holes for self-tapping screws, into which you pour a little silicone.
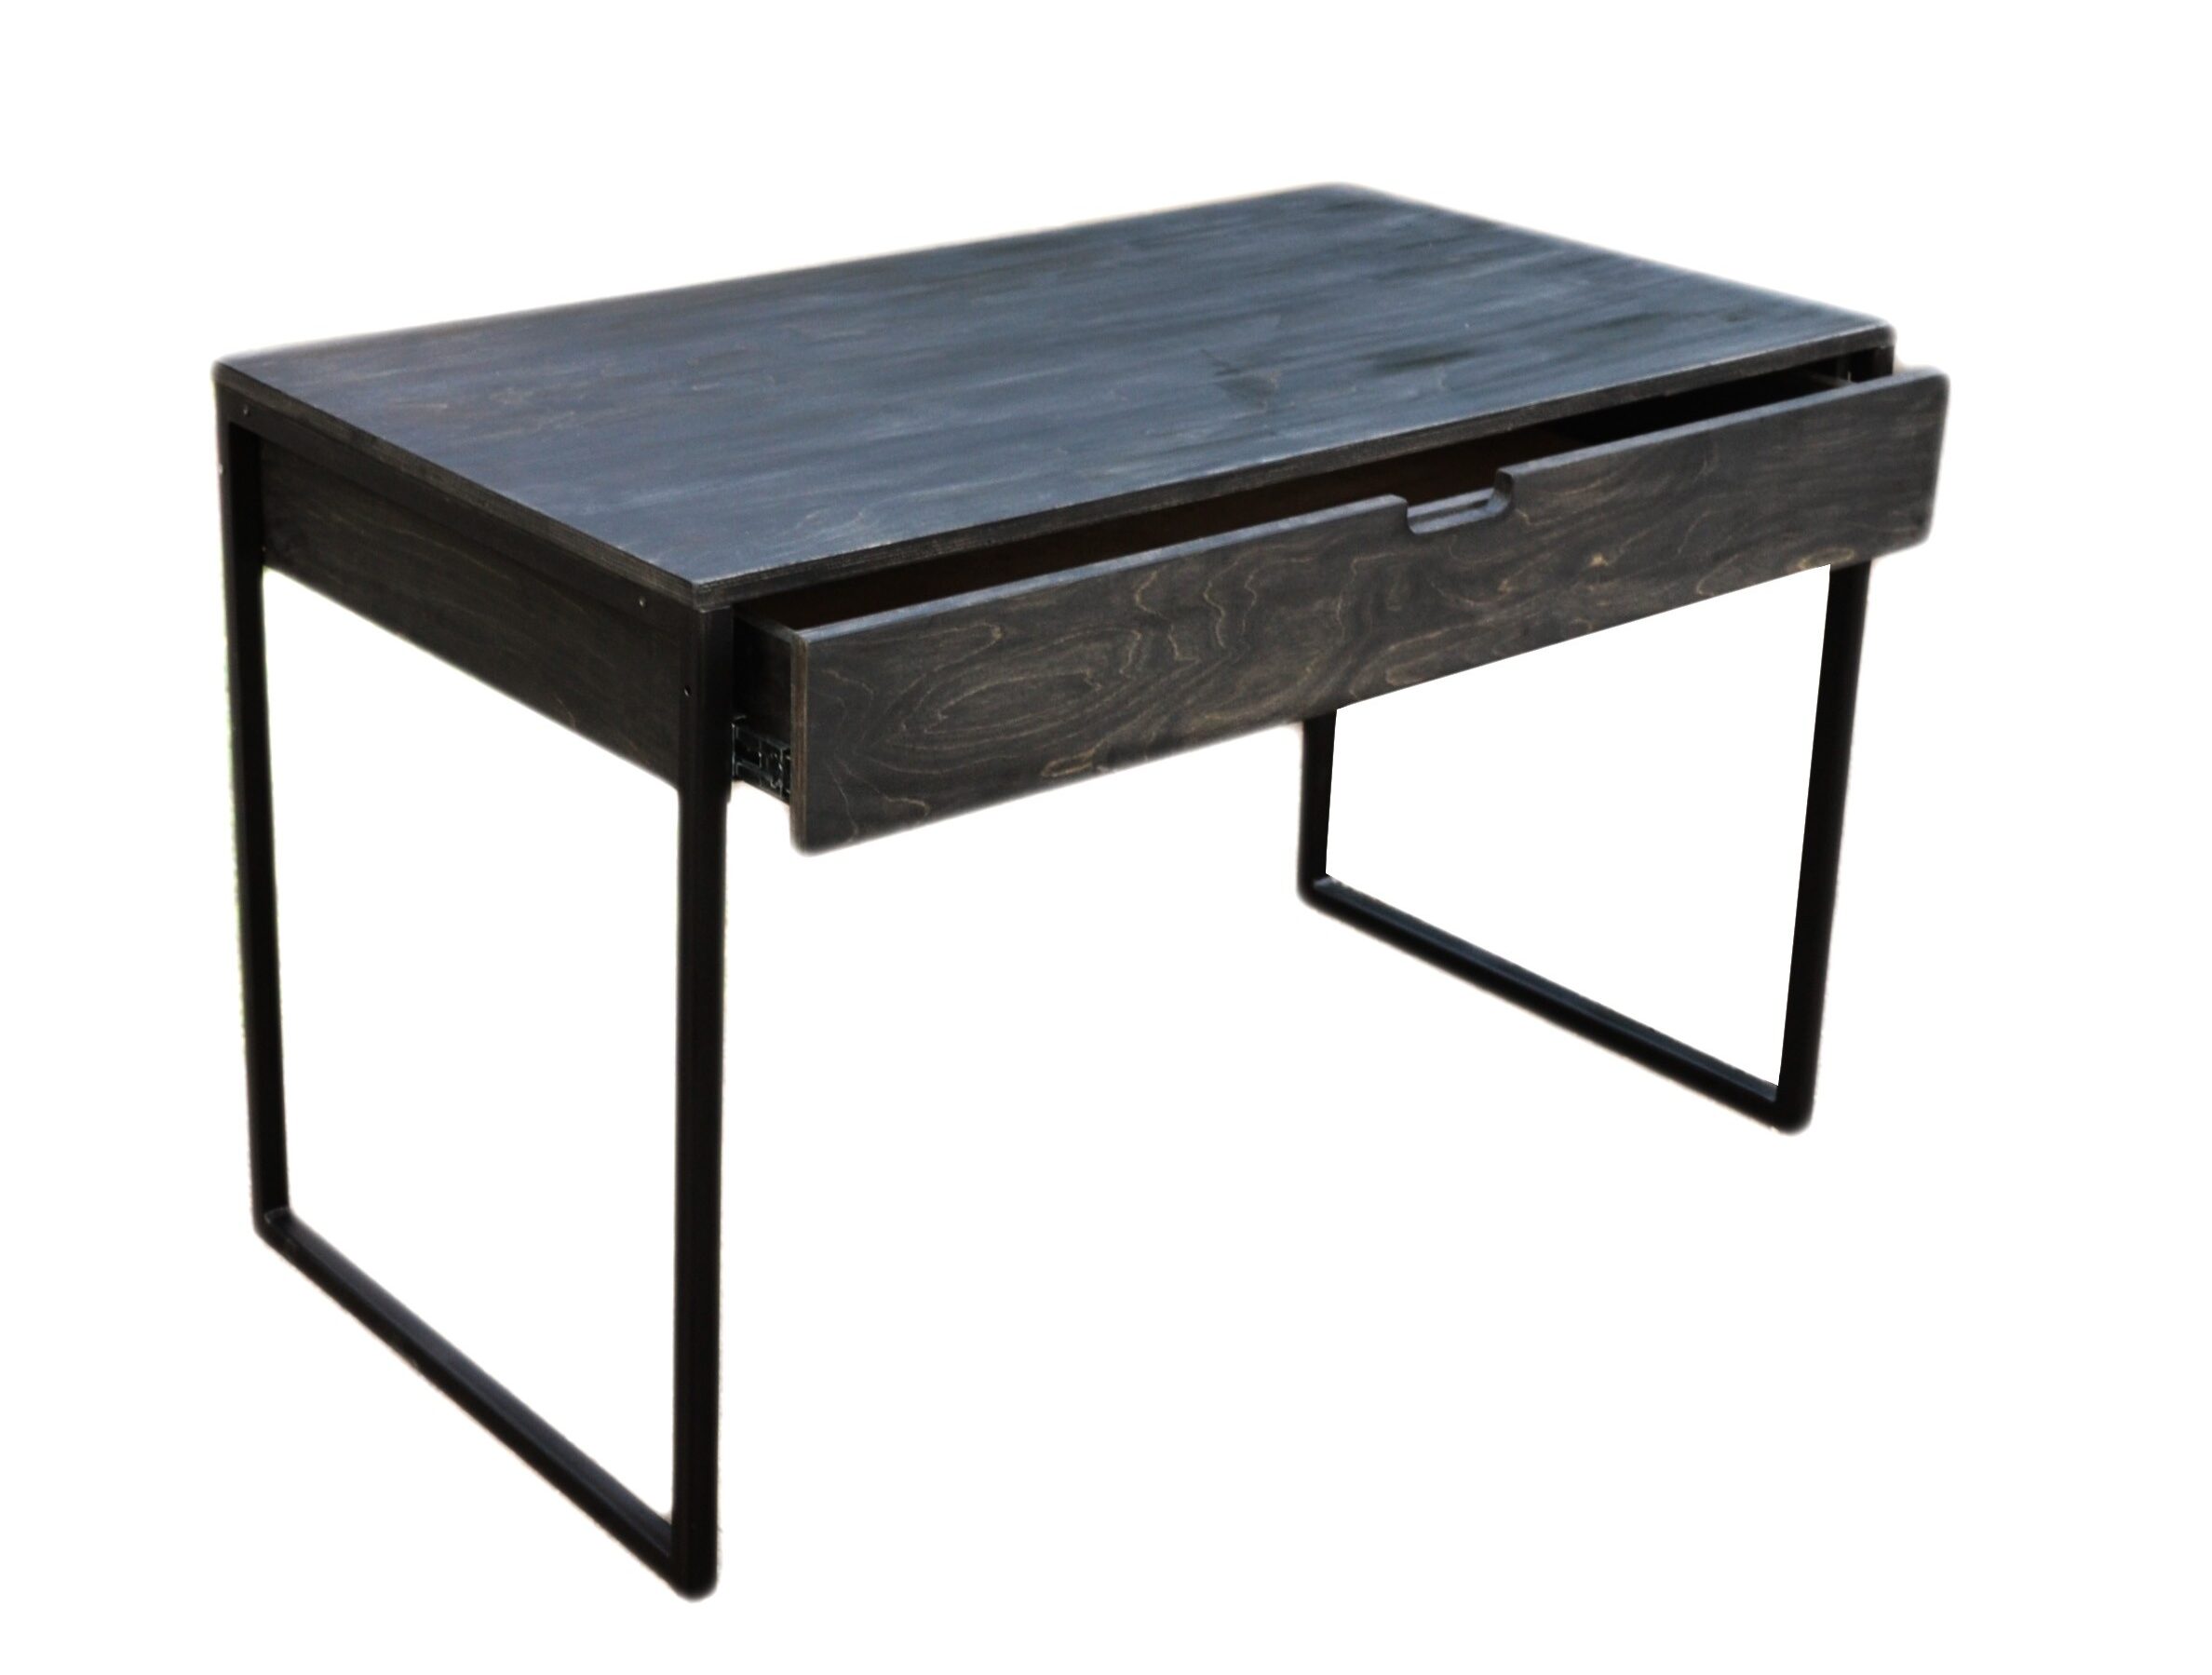
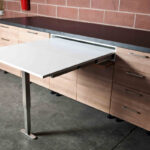
Retractable single surface (cocktail mechanism)
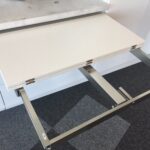
A structure of this type consists of a main tabletop and an additional block fixed to the springs. The guides are installed both on the table top and on the cabinet. Retractable fittings are either metal, with a bearing and roller mechanism, or wooden (for example, beech), lubricated with a special compound.
To ensure quiet and smooth folding, closers can be used.For a tabletop consisting of several modules, you will need to install telescopic mounts with the number of sections equal to the number of modules.
Extendable two-tier table top
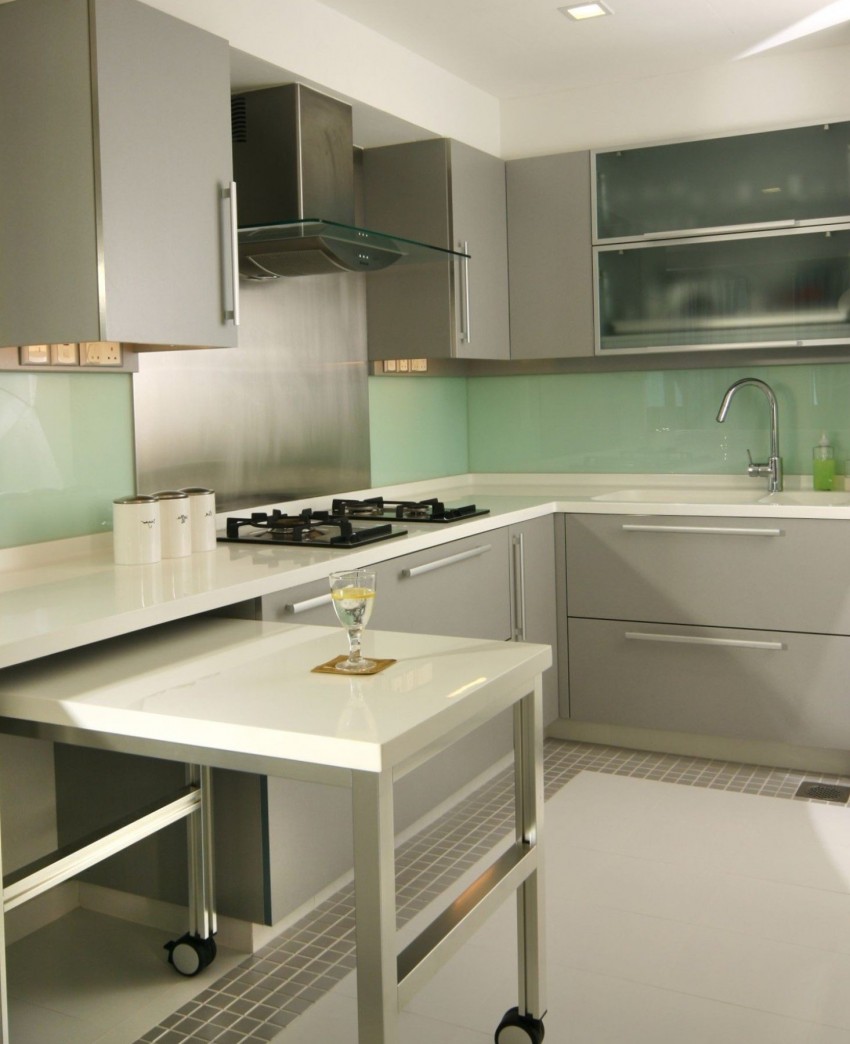
The main difference between this design and a single one with telescopic guides is its multi-layer design. The telescopic structure creates a complete working or dining surface with a large area.
A lifting mechanism can be used to align all elements into a single canvas.
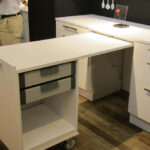
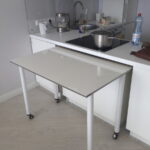
Roll-out kitchen table
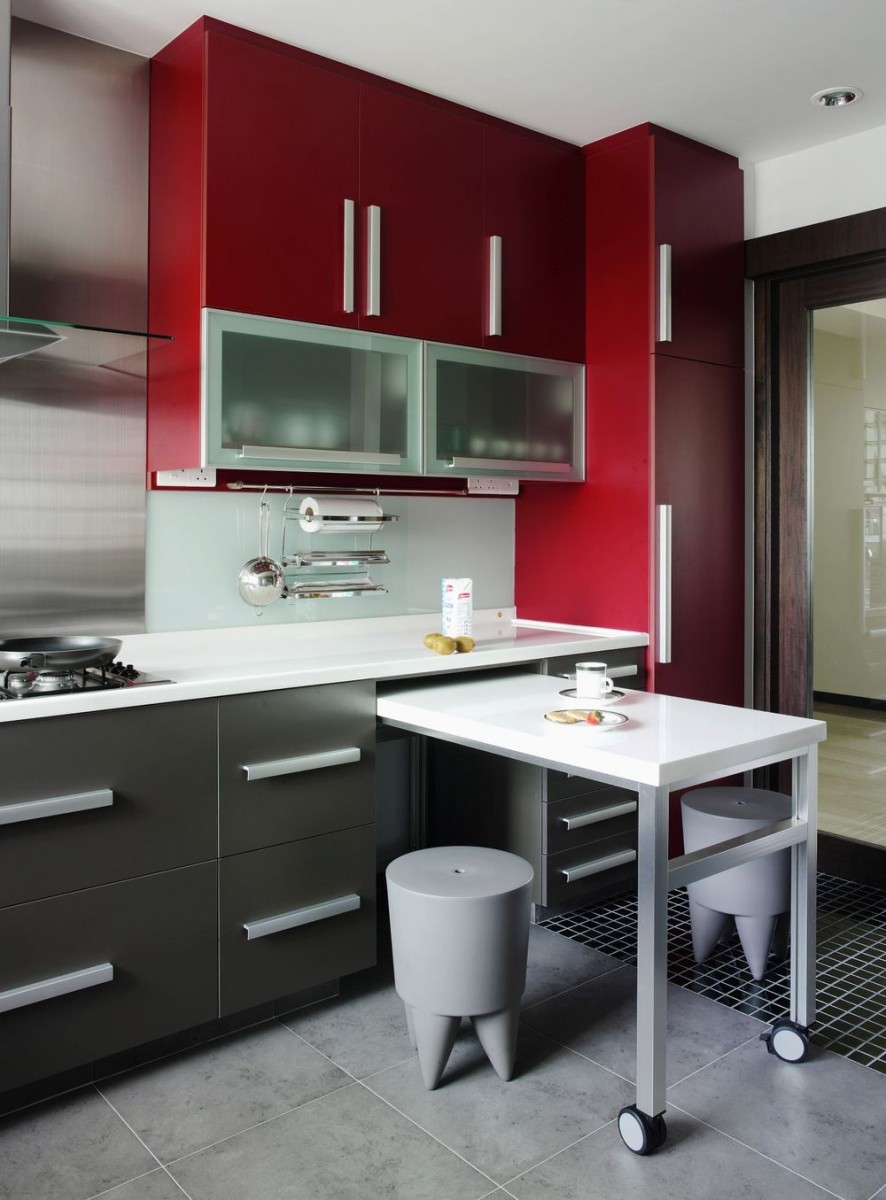
This is a complete kitchen table with a wheel support. The essence of a roll-out table from under the table top is to remove an element from the field of view when it is not required. For a small kitchen, such a design will not work, since it needs a separate space under the countertop.
With proper calculations, you can make furniture so that the roll-out table fits between the storage cabinet and the main table top. The table can be attached to the base on one side, while the free edge is equipped with a leg on the wheel. Some models have completely free movement, others contain a limiter along the edge of the table and base.
How to use a pull-out table in the kitchen
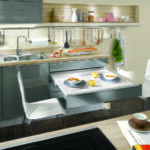
Extendable tables for small kitchens allow you to optimize your work area.
There are the following options for their use:
- Coffee table. A good alternative to a dining table for several people.
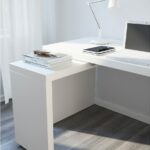
- Continuation of the working area. The pull-out surface becomes an extension of the main tabletop if necessary.
- Children's table. Allows you to keep your child under constant supervision.
- Extendable table. In this case, the dining table is complemented by an auxiliary surface. This option is suitable for large families or companies.
The use of a retractable kitchen countertop is optimal when space is limited, when compactness is valuable. With the right selection, it will become not only functional, but also a decorative piece of furniture.
Video: telescopic pull-out table
