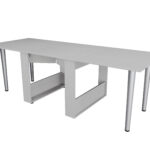
Assembling the transformer table according to instructions and diagrams
Owners of small apartments are constantly faced with the problem of lack of space in the premises to create coziness and comfort. There is no place to put all the necessary pieces of furniture and decor, and if you accommodate everything your heart desires, then your home will more likely resemble a dump.
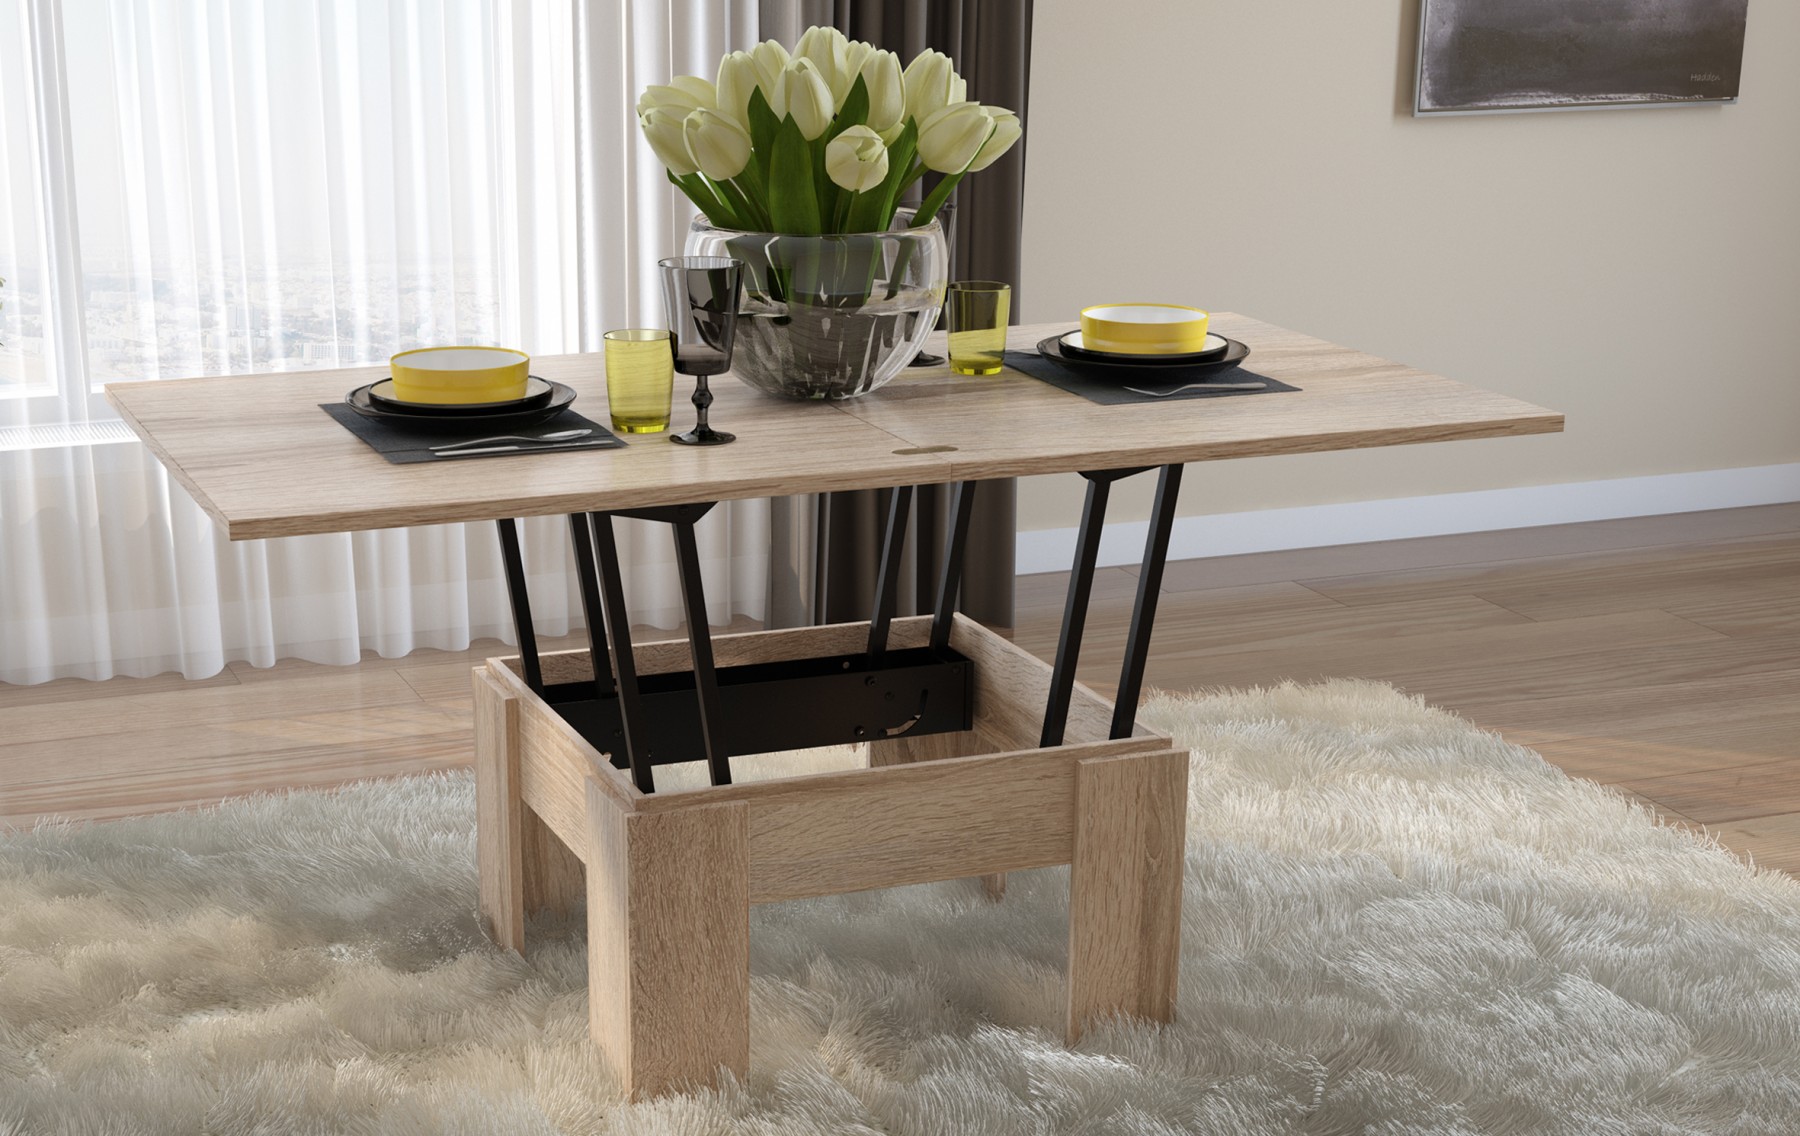
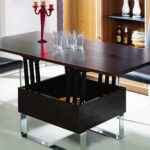
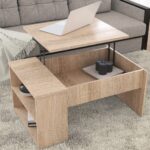
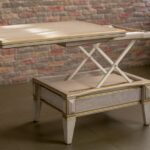
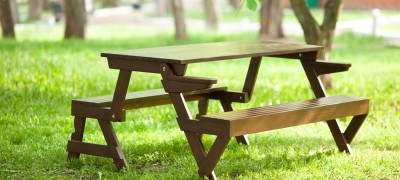
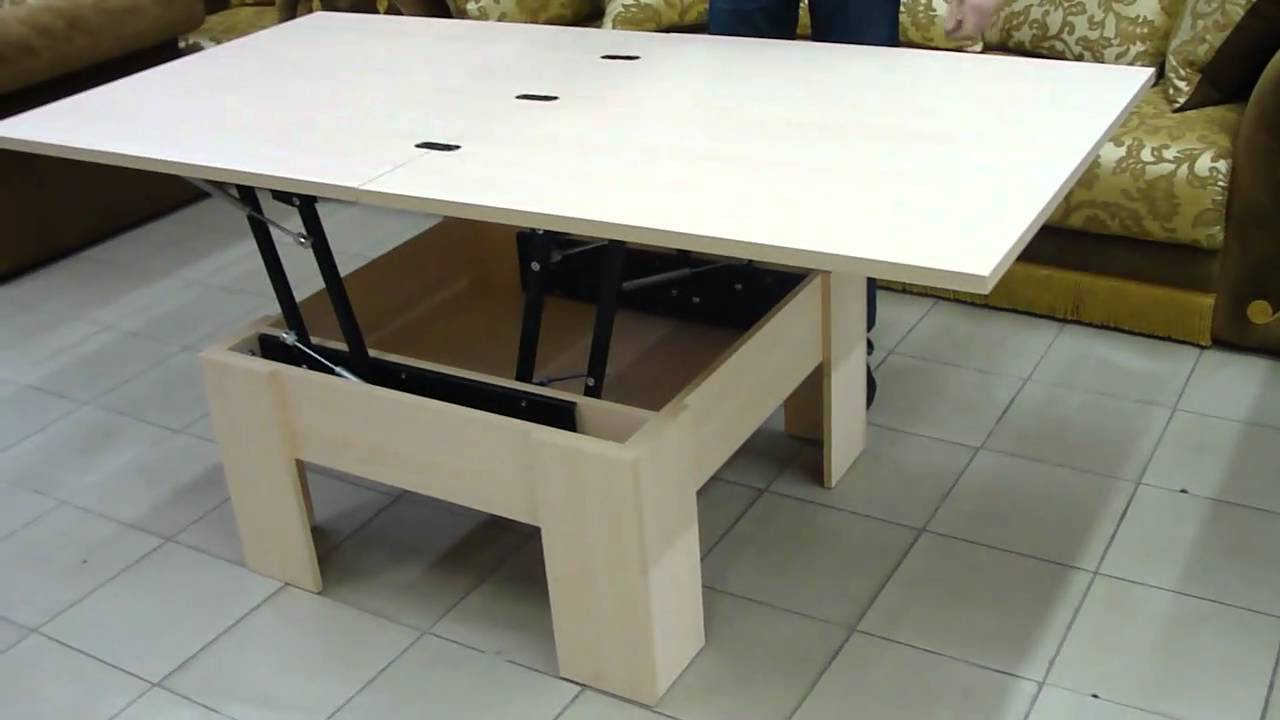
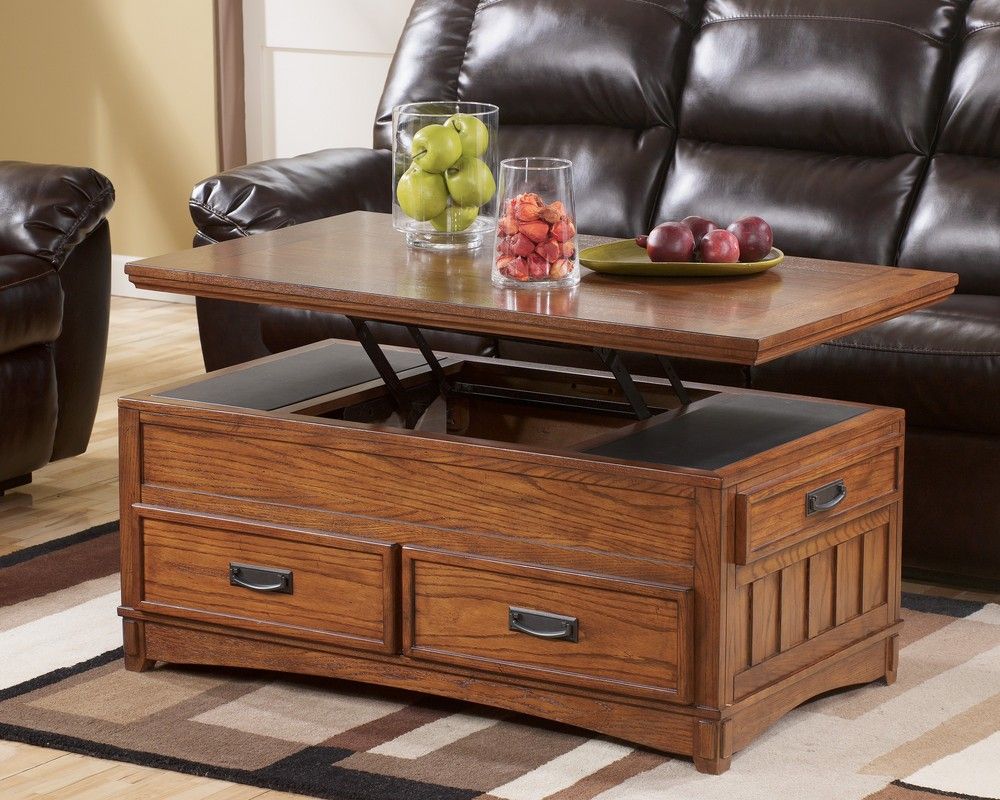
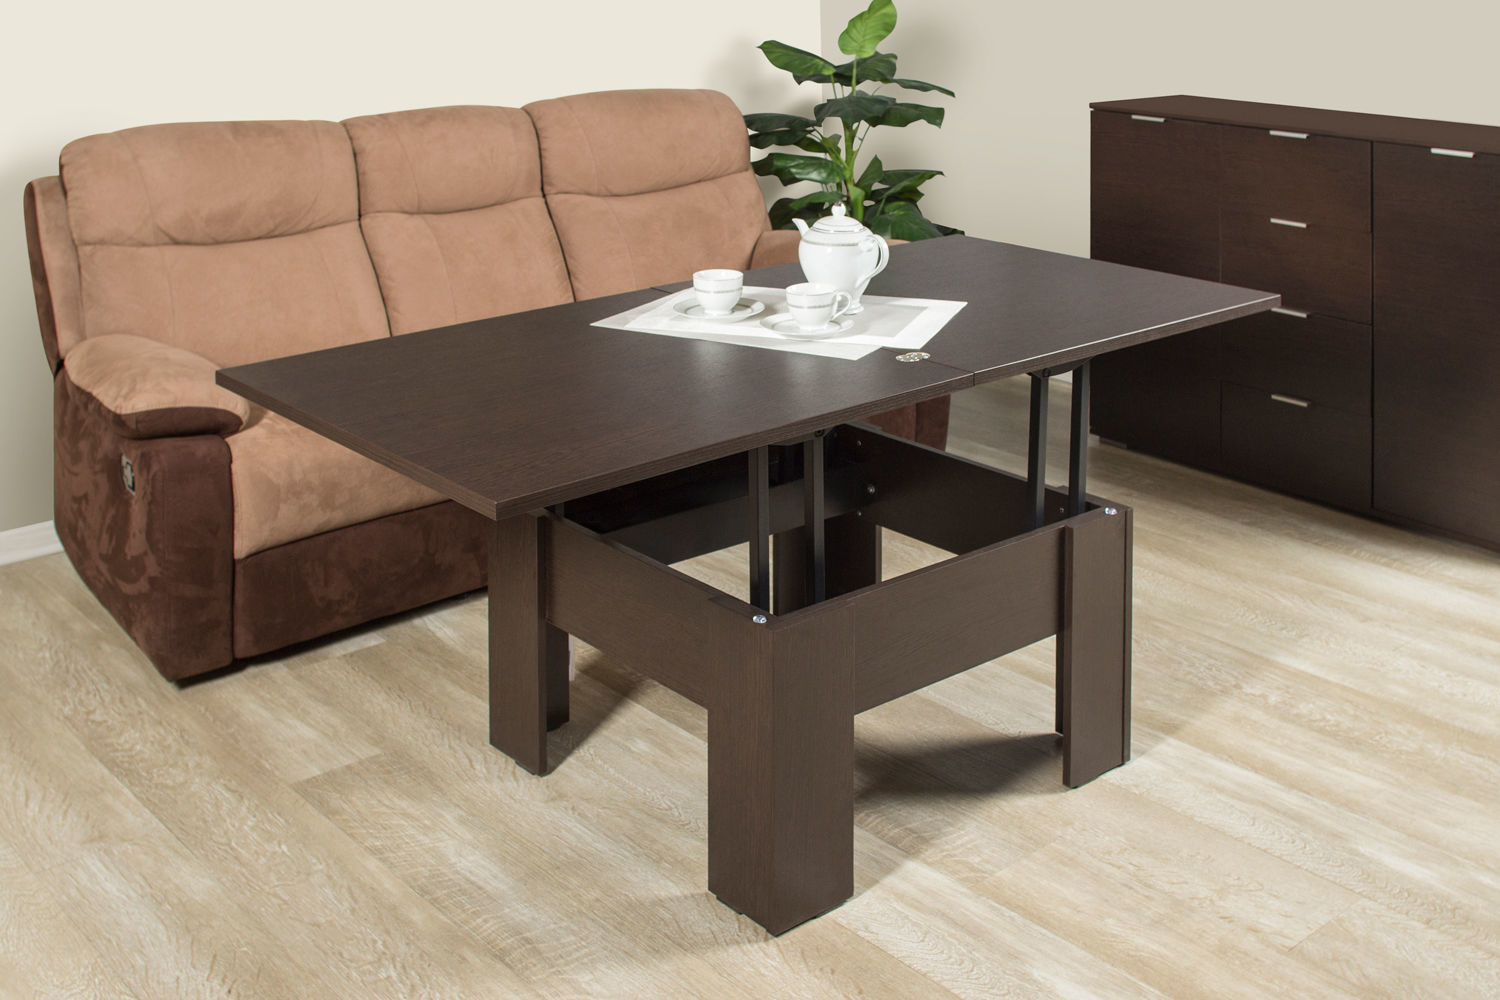
Unique furniture comes to the rescue in such situations, which in just a few movements turns into something new, allows the owners to acquire everything they need, and at the same time save a little space. For example, transformer tables, which in an instant can turn from a small magazine into a real dining one, you can sit comfortably behind them and start your meal.
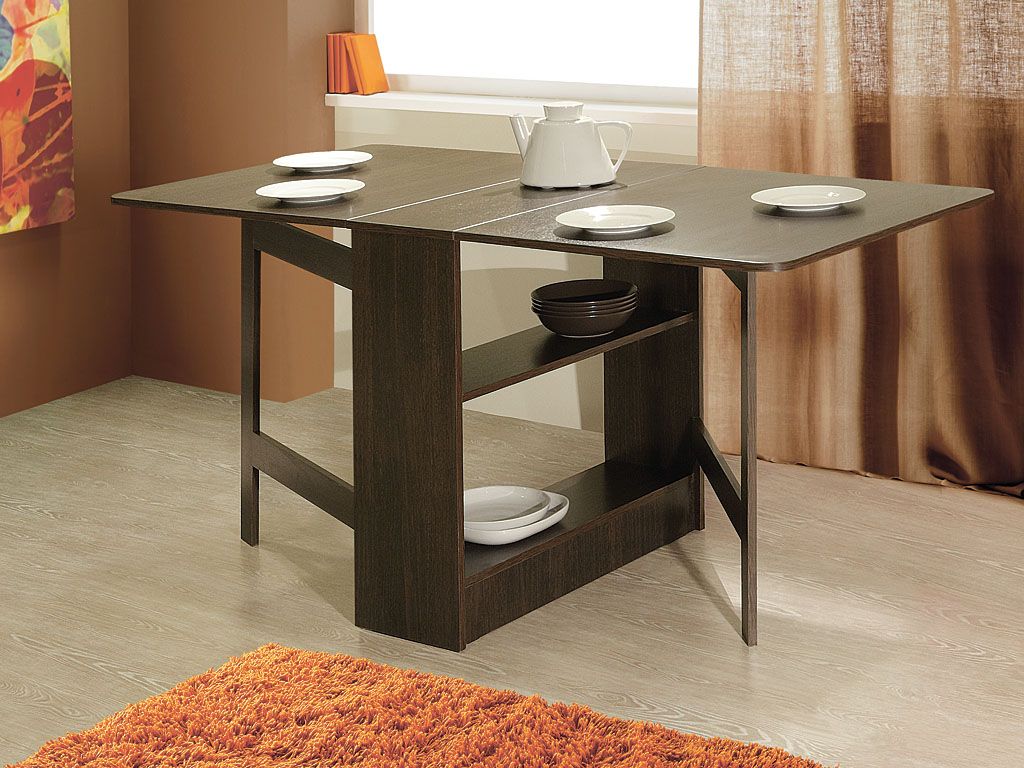
Assembling a transformer table at home with your own hands is not such a difficult task. A little patience, a set of necessary parts and tools, as well as clear instructions on how to assemble a transformer table. And in a couple of hours it will be possible to admire a new piece of furniture that successfully combines at least two functions.
What you need to build
In order to assemble a coffee-dining table, it is necessary to prepare everything for this work. Initially, get all the necessary parts and tools. This will help not to be distracted during the assembly process itself, but to completely immerse yourself in the work, to do everything quickly and efficiently.
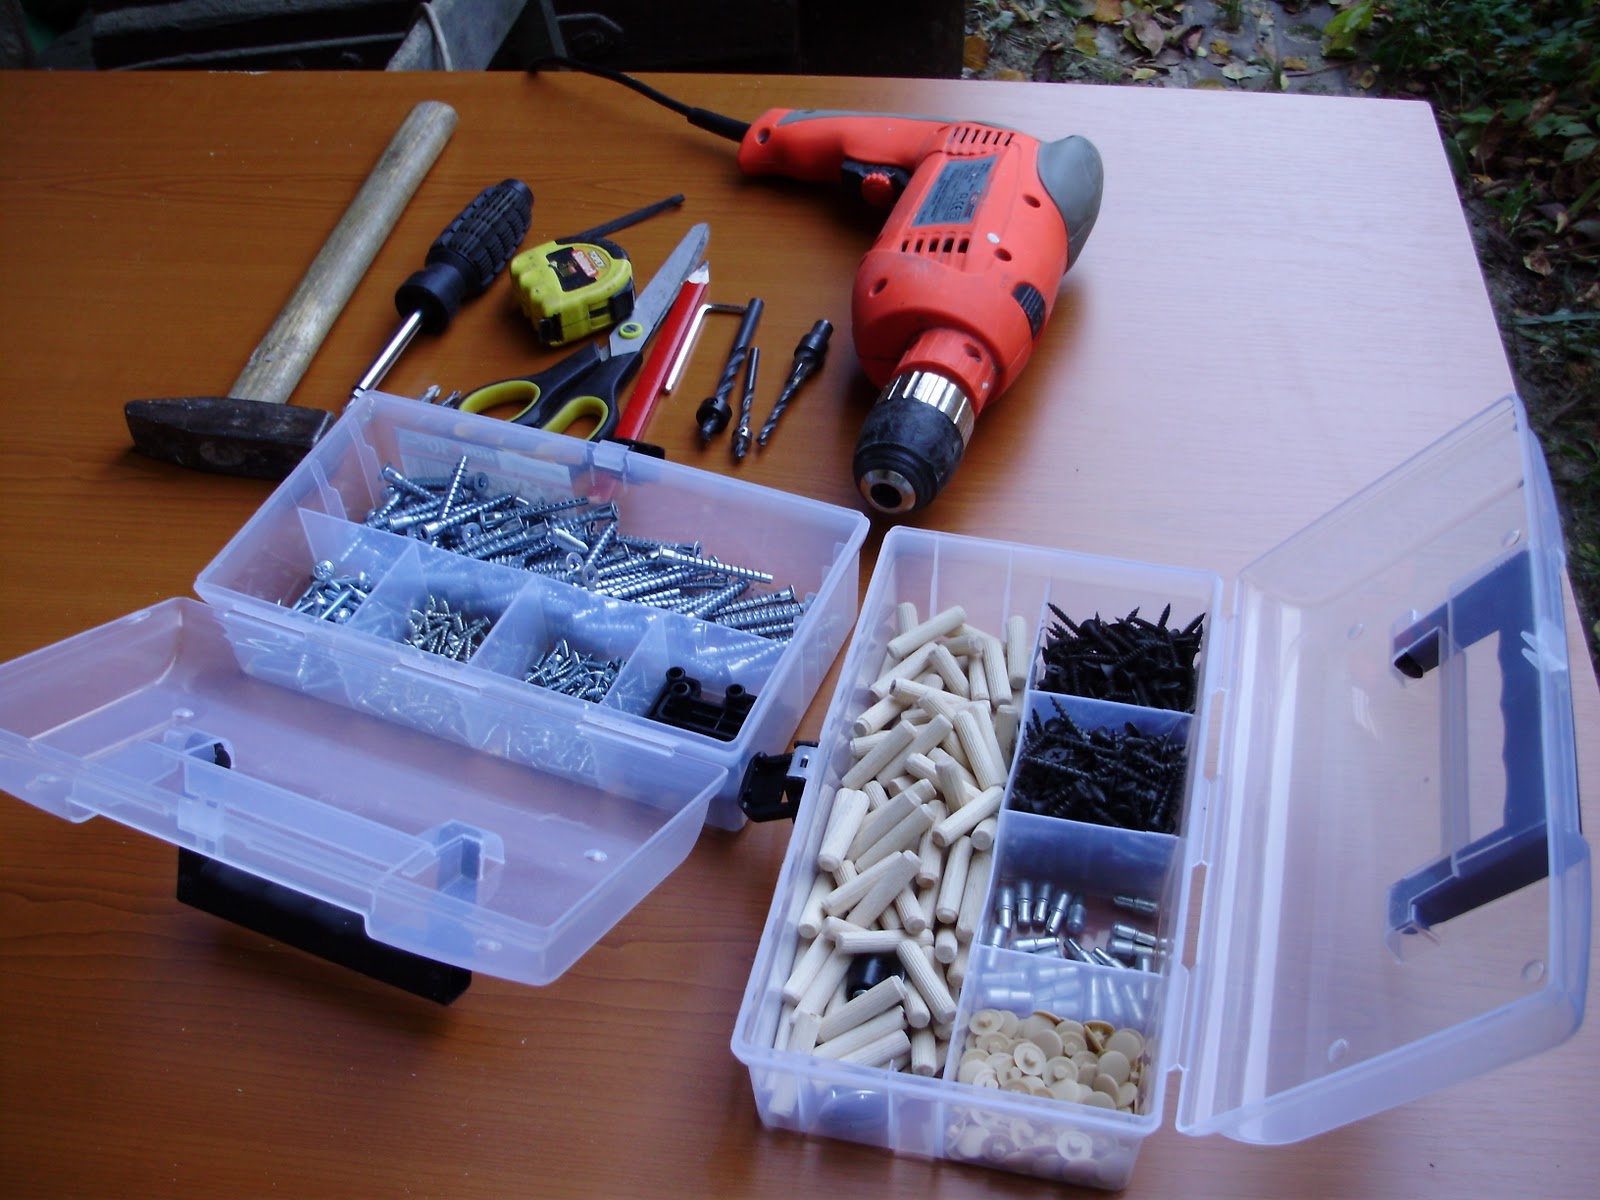
For such work you will need:
- Phillips screwdriver or screwdriver with all the necessary attachments;
- furniture hammer (other models can be too powerful and oversized and, due to awkward movement, break the part);
- a set of necessary fasteners (as a rule, they come with a complete set along with the purchased parts for assembling the transformer coffee table.
The modern furniture market offers many different models, but most manufacturers offer disassembled tables that are assembled according to a standard scheme.
Frame
Initially, the body of the product should be started. After that, the subsequent parts can be safely attached to the base. The details of the legs of the future table are being prepared and all the elements are connected in turn.
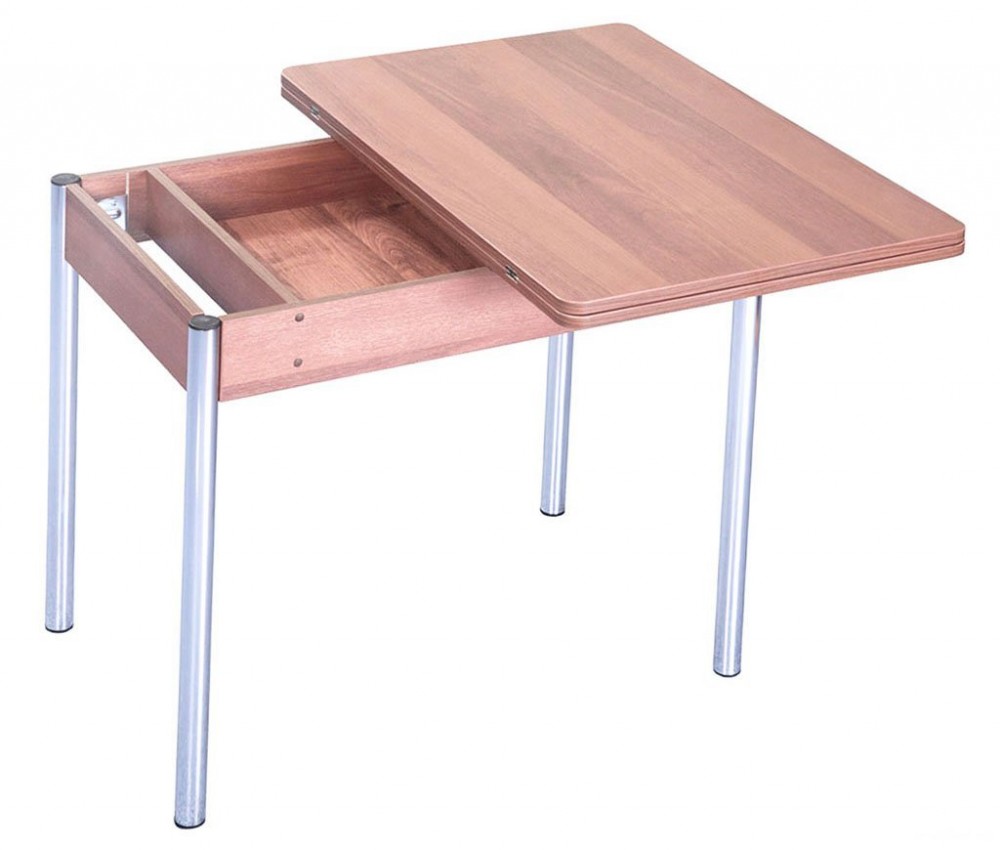
The output should be four corner legs. The leg itself consists of two elements that are attached to each other using the screws provided for this case. They can also be called eccentrics.
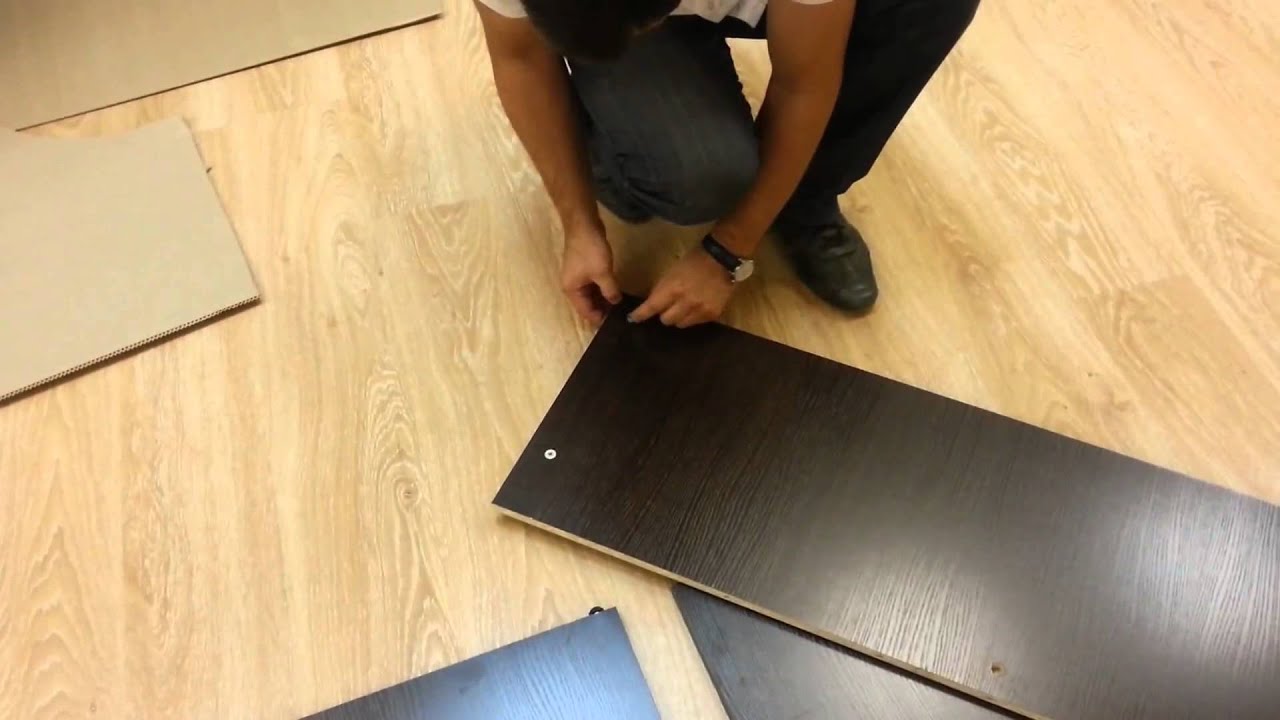
Exactly according to the same principle, the elements of the casing sides are connected. After completing this stage, at the exit, the person receives four legs and a square or rectangular body-base (it all depends on the model of the purchased table).
As soon as these elements are ready, they must be connected together. The legs are screwed to the body according to the instructions and at the exit we get a part of the table, to which the transformer mechanism can already be attached. It will perform transformation functions.
Note! If you look closely at the details of the legs and drawers, you can see that in addition to the holes for connecting each element of the legs and drawers to each other, there are other "holes". They are entrusted with another function: the installation of the lift, as well as the screed of the entire structure, which ensures the maximum tightness of the connection and possible loosening in the future as the product is used in its different variations. After the assembly of these elements is completed, you need to make sure that the special holes match with each other.
Then you can proceed to the plastic thrust bearings, they must be pressed to the lower part of the legs of the legs. Special shock absorbers are installed on the top of these elements. They will perform the function of softening the impact of the countertop during its transformation.
Mechanism
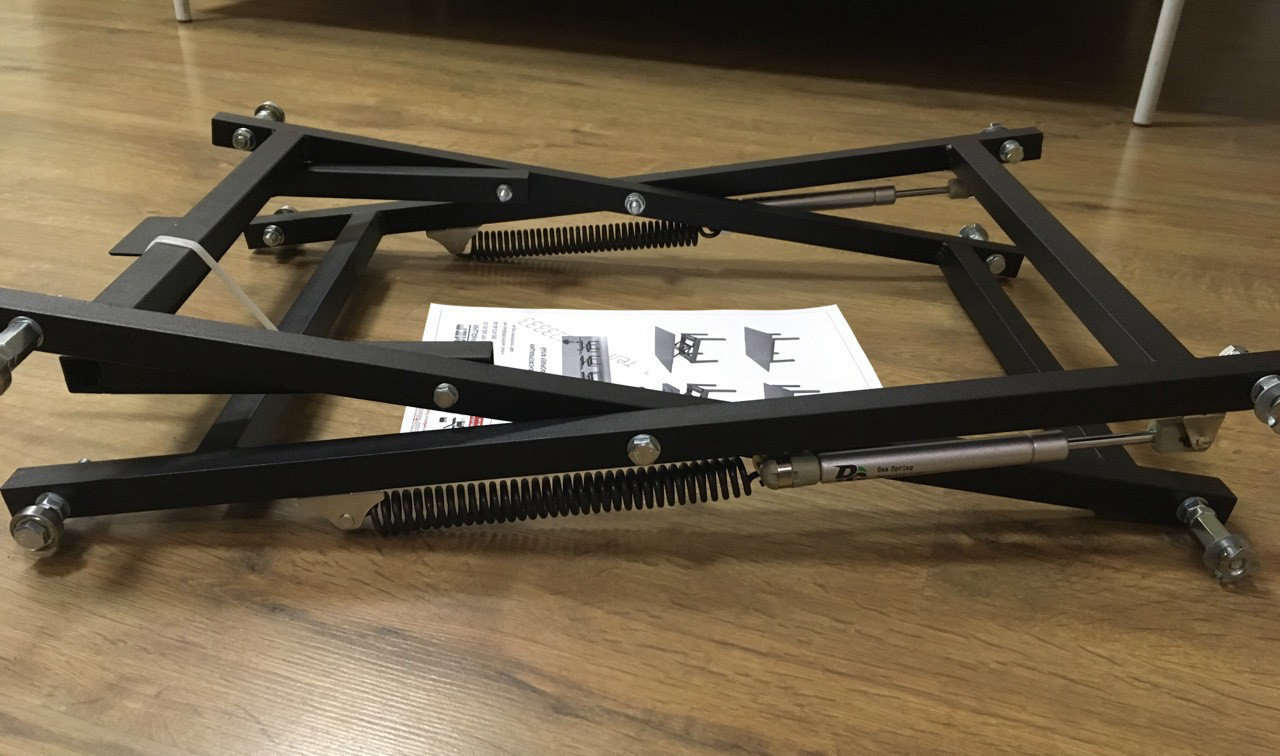
The next step will be the assembly and installation of the lifting mechanism.
To bring it into working condition, you must:
- connect the spring with one side to a special hole inside the lifting mechanism;
- there is a groove on the opposite side, the spring is attached to it with the second side using a special hairpin;
- screwing the lifting mechanism to the side bars (initially you need to connect with long elements, and then with short ones).
Additional Information! The legs, which are entrusted with the function of holding the insert tabletop, are located higher than those intended for the underframe.
Table top and underframes
After completing all the above work, you can safely proceed to the next stage - mounting and fixing the table top and underframe. This stage goes as follows. With the help of specially designated screws and using a screwdriver or screwdriver, the lower flap of the booktop, as well as the underframe, are fastened.
These parts are screwed to special holder platforms. Then you should start installing shock absorbers on the outside of the underframe. With their help, when folding a full-fledged product into a magazine version, the tabletop will not receive serious blows, which will contribute to:
- elimination of strong claps during transformations;
- prevention of scratches, cracks, chips and other damage to the worktop fabric.
Then you need to fold the legs of the lift into a special box. It makes it simple, it is enough to carry out the movement from outside to inside, after which the legs will be in the right place. This will not affect the aesthetic appearance of the product, because the lower part of the tabletop successfully masks everything.
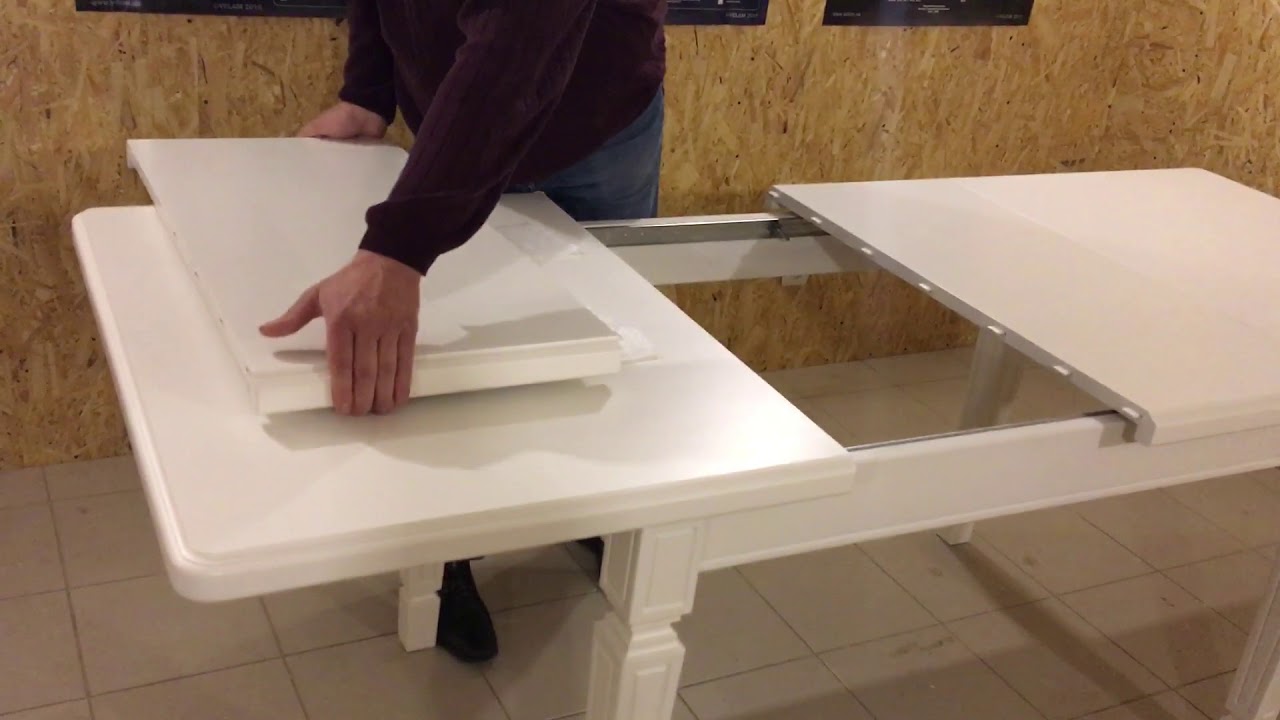
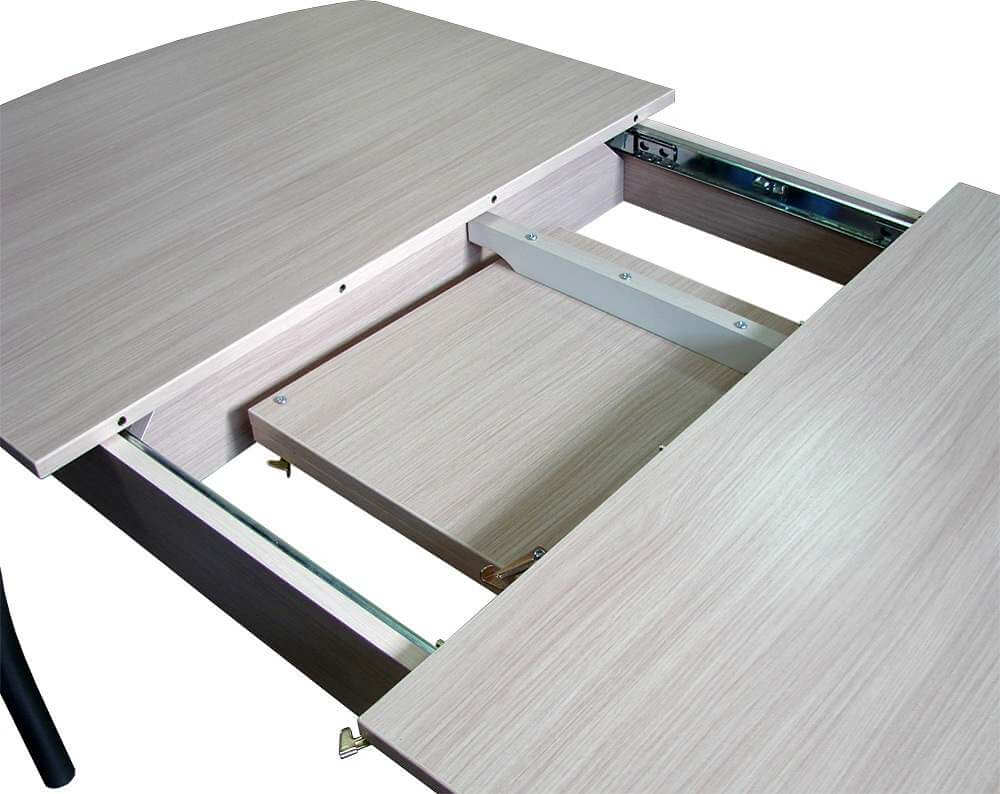
After the second part is installed on top. When doing such work, it is necessary to ensure that the end holes that are intended for hidden hinges. The center-to-center distance between them should be approximately 14 millimeters. You need to insert hinges into these holes and fix them as carefully as possible with screws.
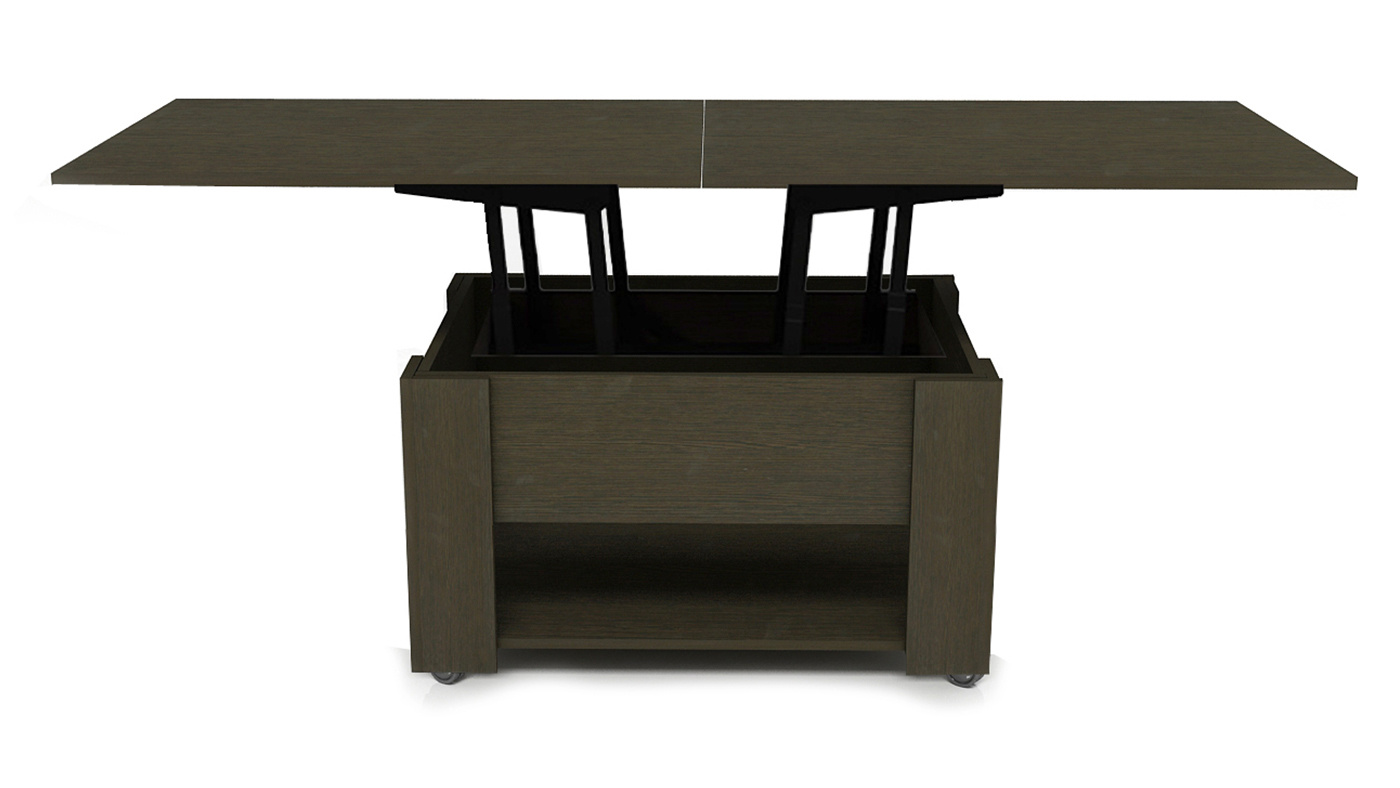
How to assemble all the components correctly
The service life is influenced not only by the quality of the materials from which the parts of the product are made, but also by the accuracy, as well as the correctness of the installation procedure.
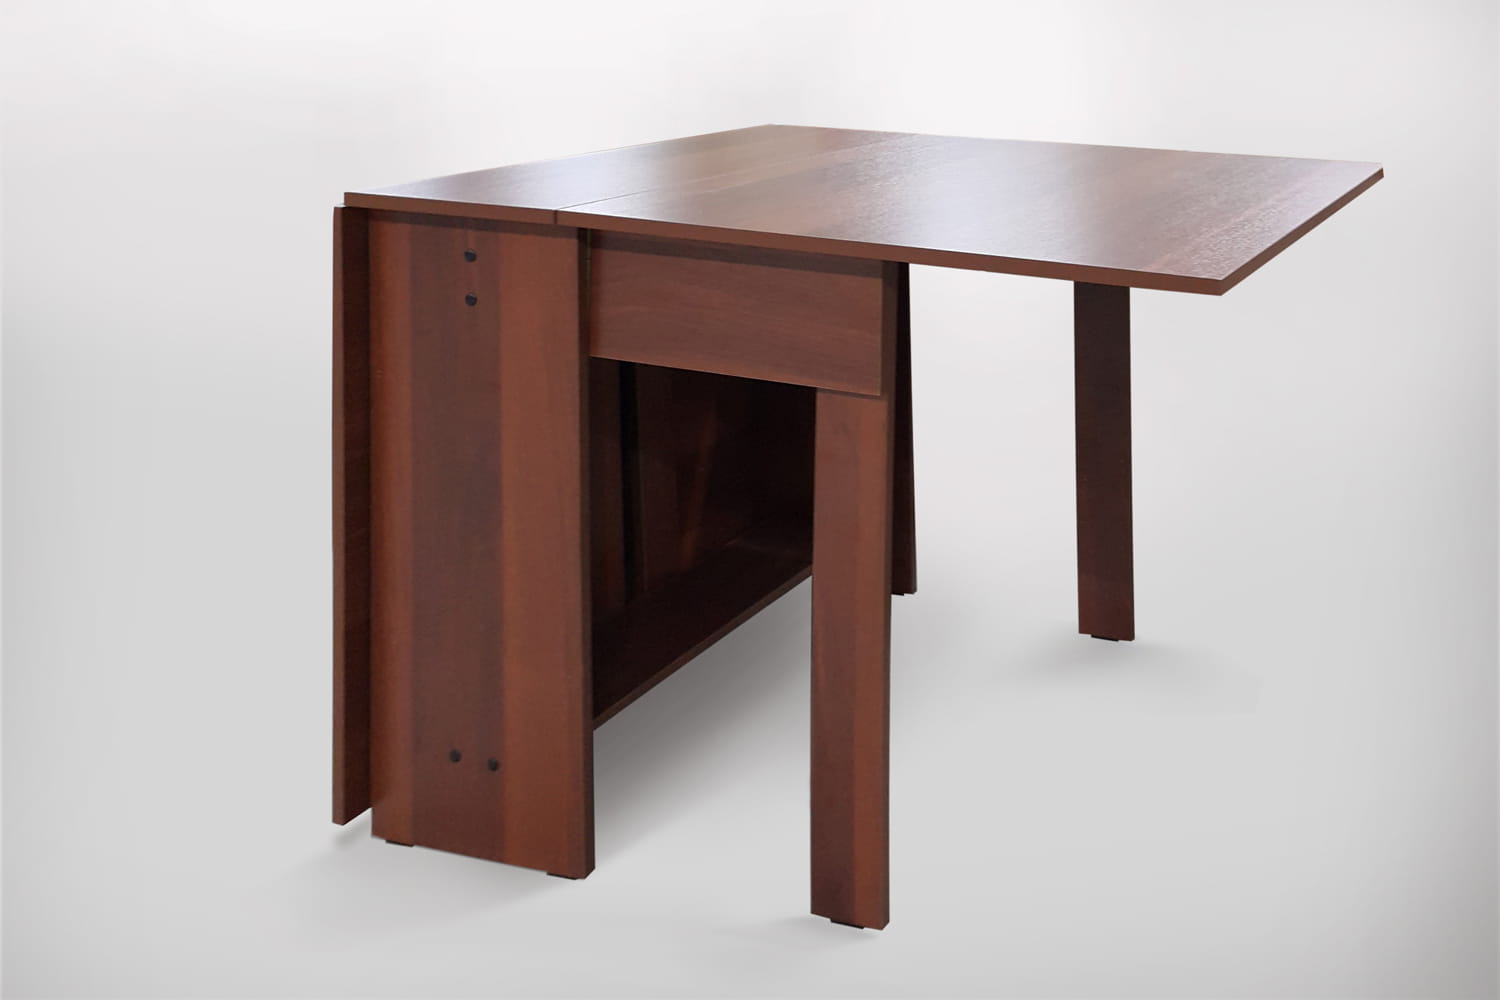
Strict adherence to all conditions and the sequence of work, the use of the correct fasteners will help create a high-quality piece of furniture that will serve for a long time and to the delight of the owners.
Circuits and components
An important factor in the work on assembling the transformer table is strict adherence to the resulting scheme. She clearly tells with visual examples what part should be attached how with visual examples, how it should look at the end of each stage of work.
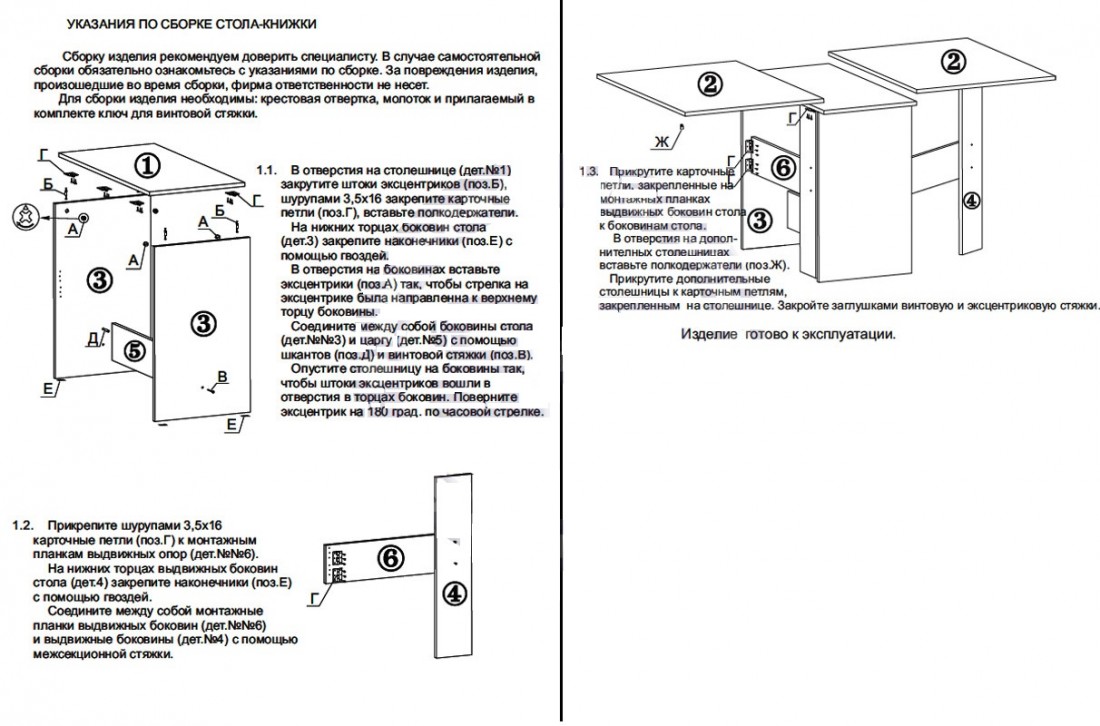
The second important detail is the components. Before starting, you need to check and recalculate the number of all parts and check with the amount that is prescribed in the diagram for the product. The absence of at least a small element may call into question the possibility of assembling the structure and its full functioning.
Assembly instructions for the table
Each transformer table has its own characteristics, transformation mechanism and the number of elements.
However, there is something that unites the instructions of each model, namely:
- adherence to the correct sequence of work;
- accurate execution of each operation;
- careful fastening of all parts.
Zhuranalny
To assemble the coffee dining transformer table, you will need assembly instructions, as well as a complete set of all parts and elements. Then each part is connected in the correct sequence.

The result is a finished piece of furniture.
Dinner
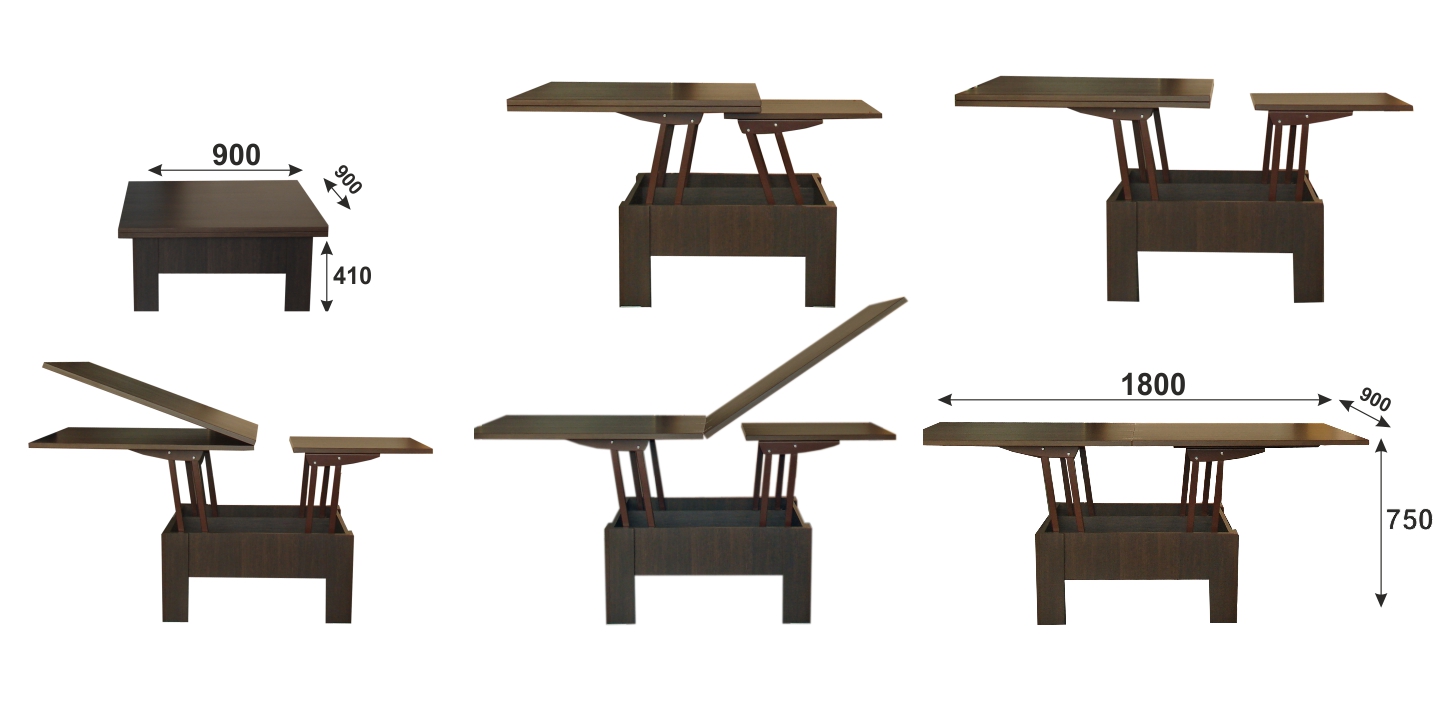
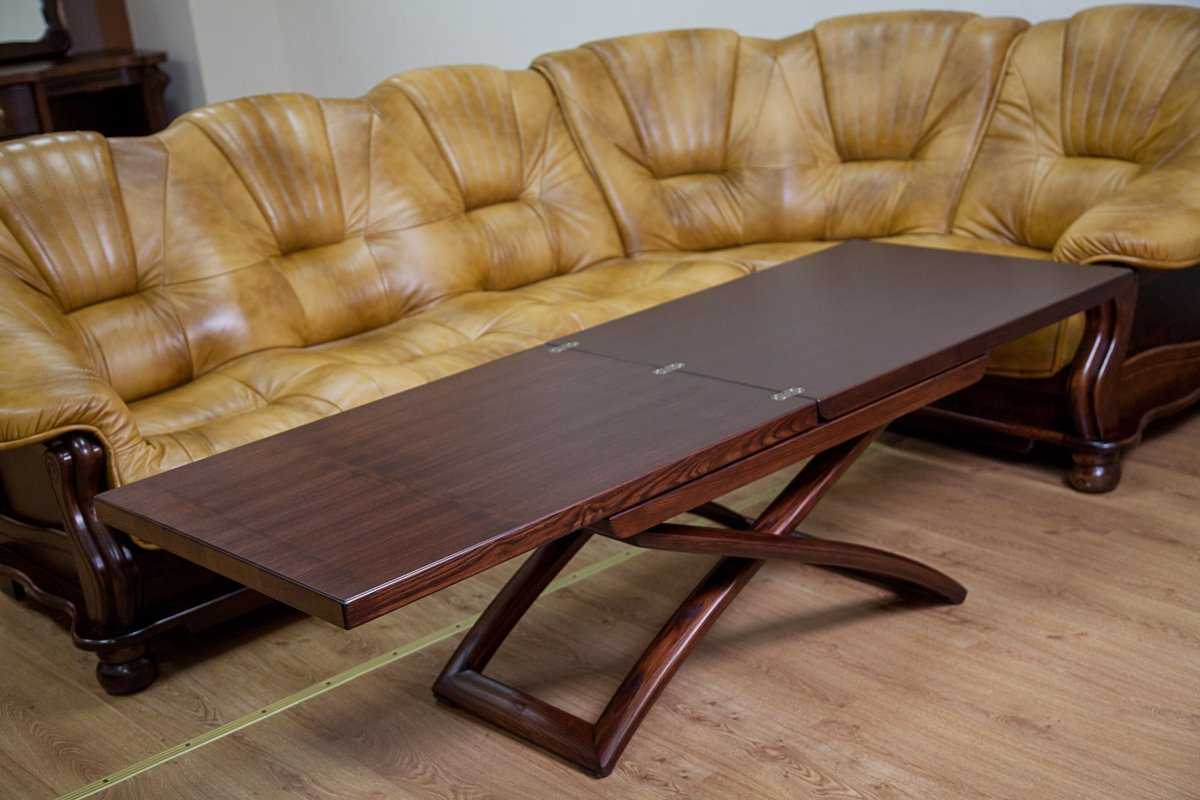
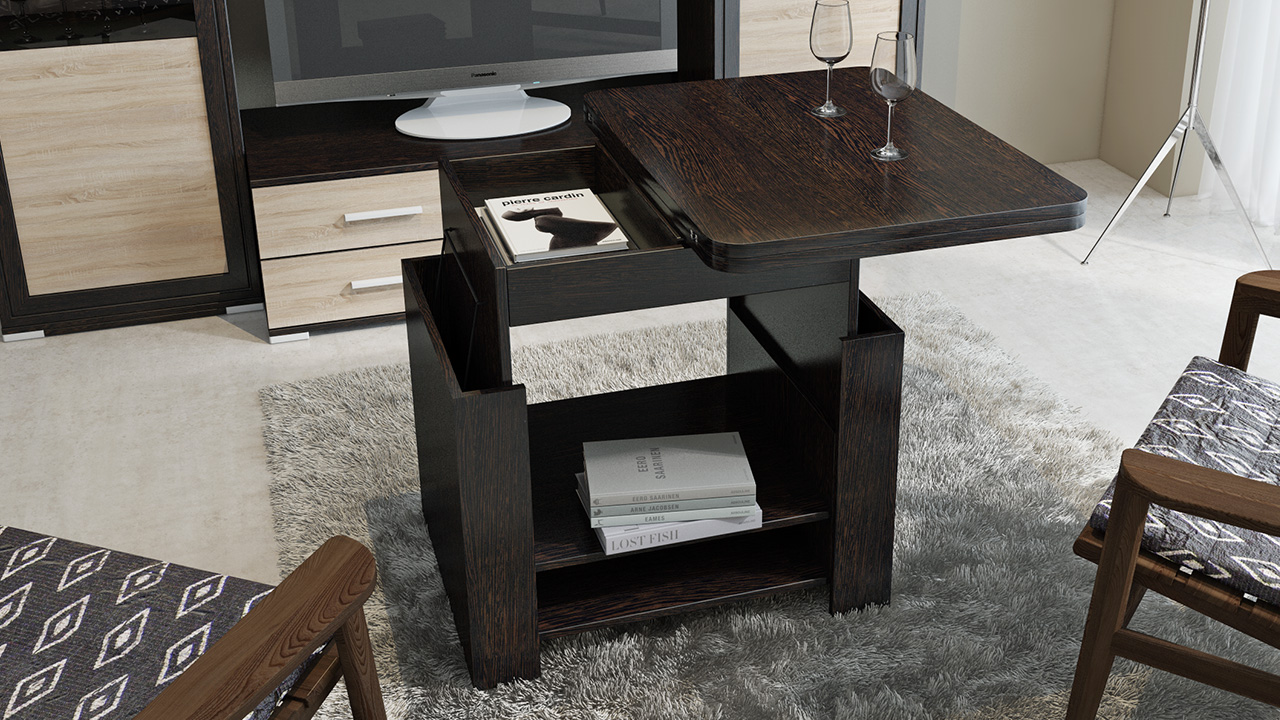
Thanks to this type of furniture, such as transformers, in two seconds a compact coffee table can turn into a dining table for several persons, a special mechanism that allows you to open the two parts of a large table top hidden in the base, and also make the product much higher.
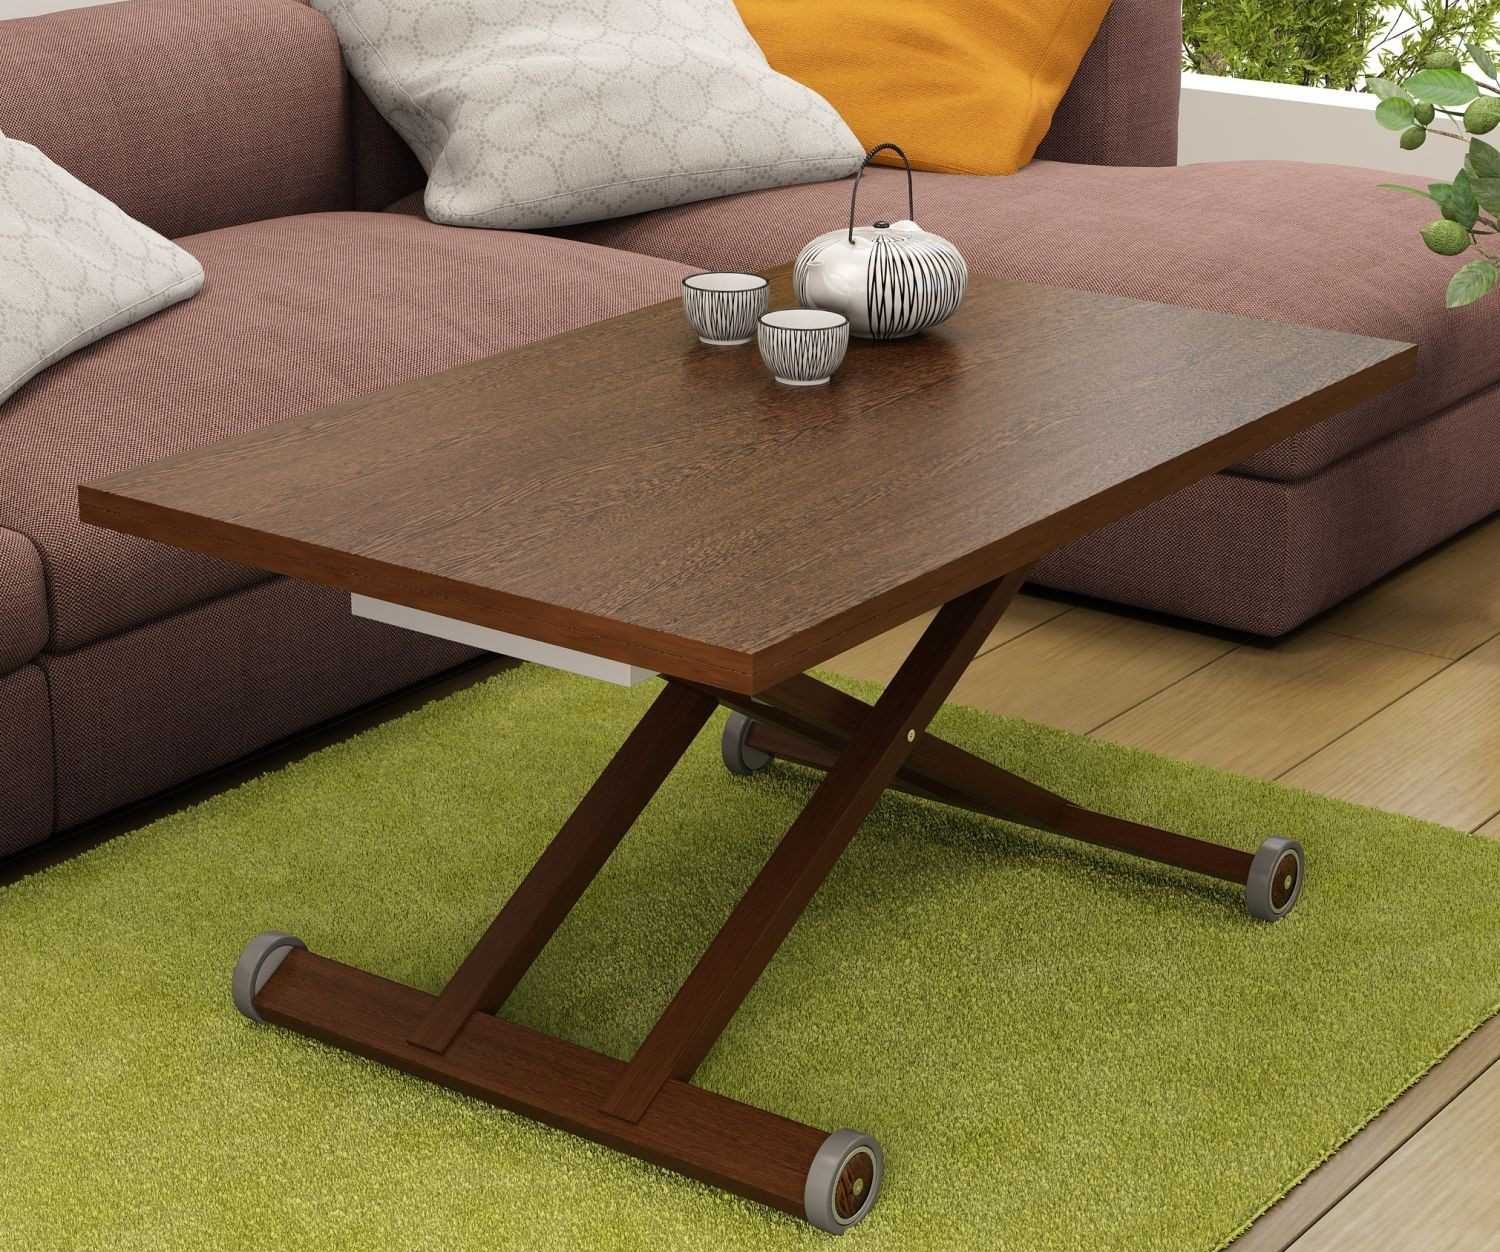
The assembled table will serve its owners for a long time. In order that after a while there were no problems with it, it is necessary to twist the connecting elements at regular intervals (about once a year) and clean the surface. For this, both an ordinary rag and a special polish can be used.
Video: assembling a transforming table
