Installing roller guides for drawers
Even in the simplest and most convenient things, there is no limit to perfection. Drawers have been known to us for a long time. However, even such an understandable thing can be supplemented and improved.
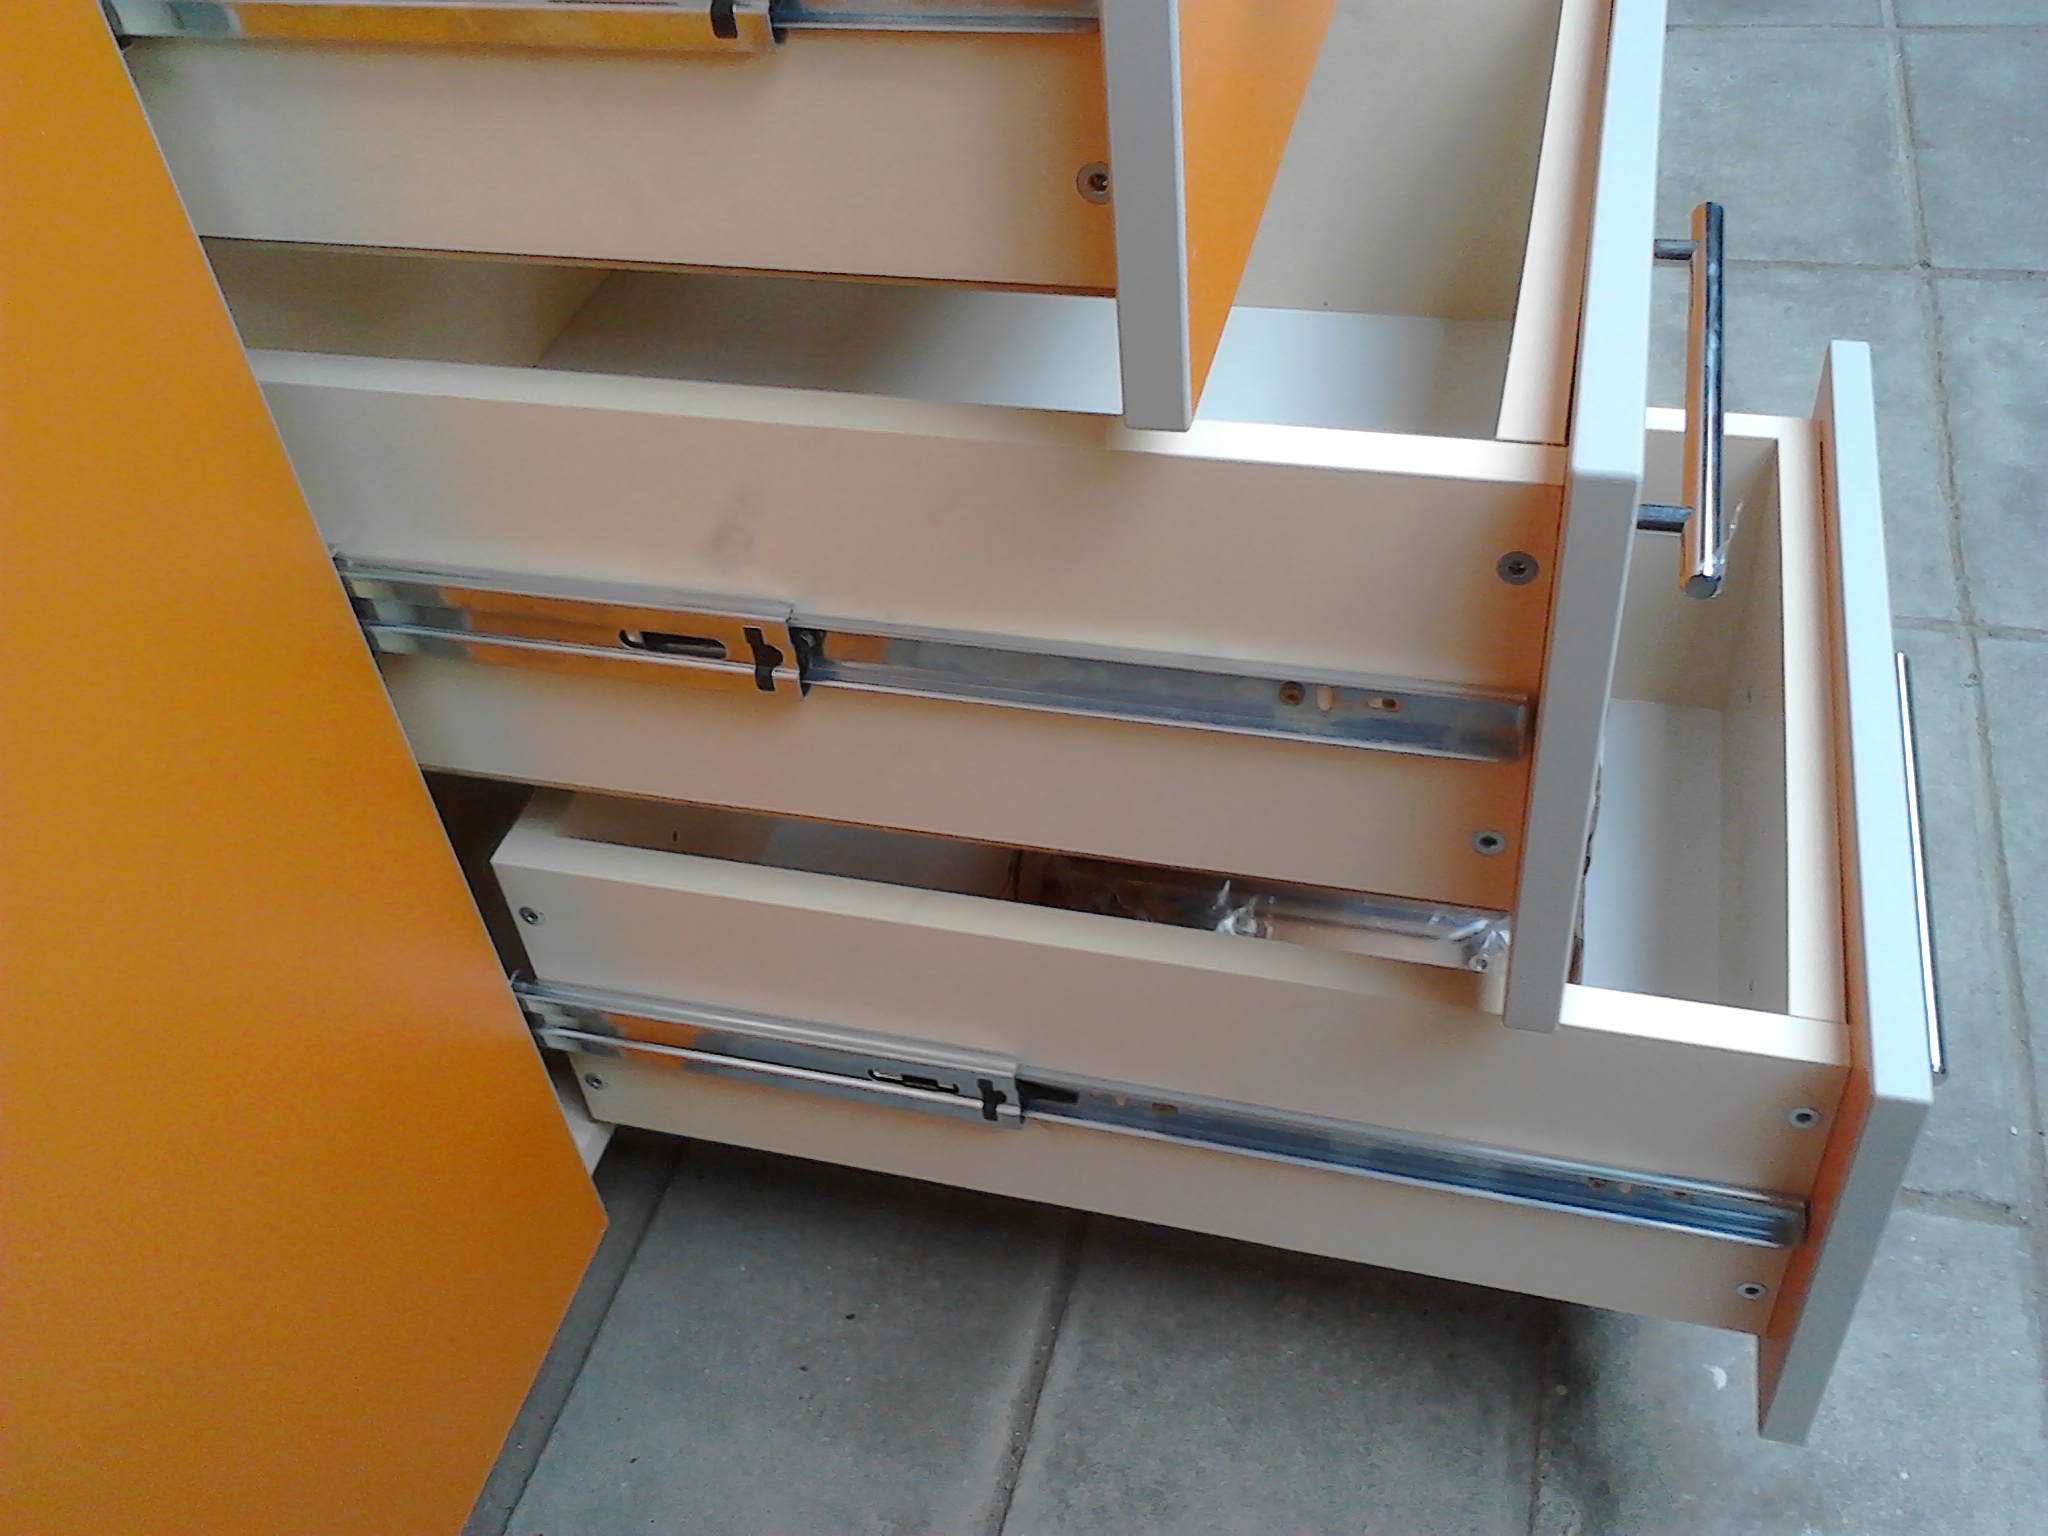
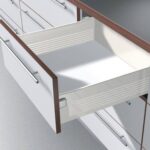
Today we will talk about the advantages and disadvantages of roller mechanisms, how they are arranged. You will learn how to attach the drawer roller slides yourself.
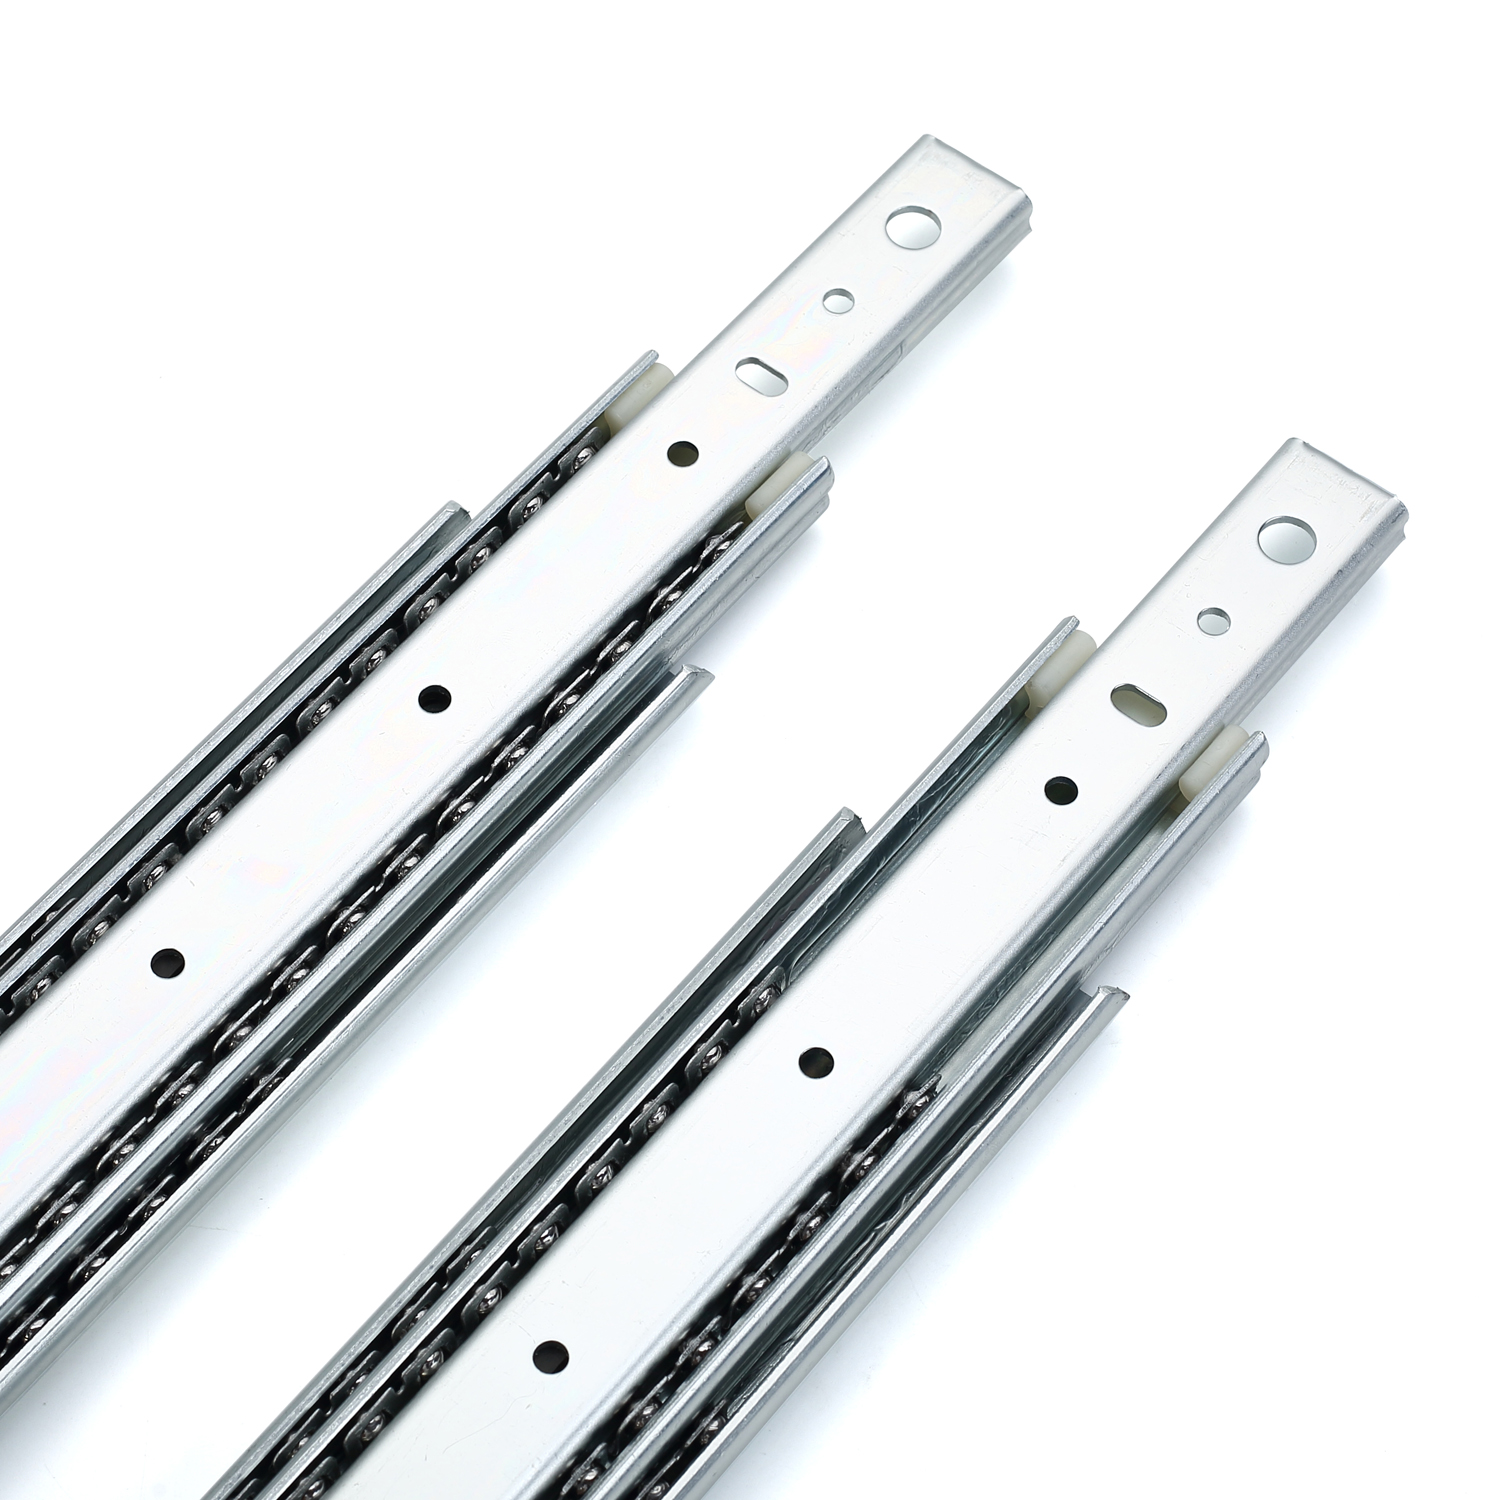
Advantages and Disadvantages of Roller Guides
Before installing the mechanism on your furniture, you need to evaluate all the pros and cons.
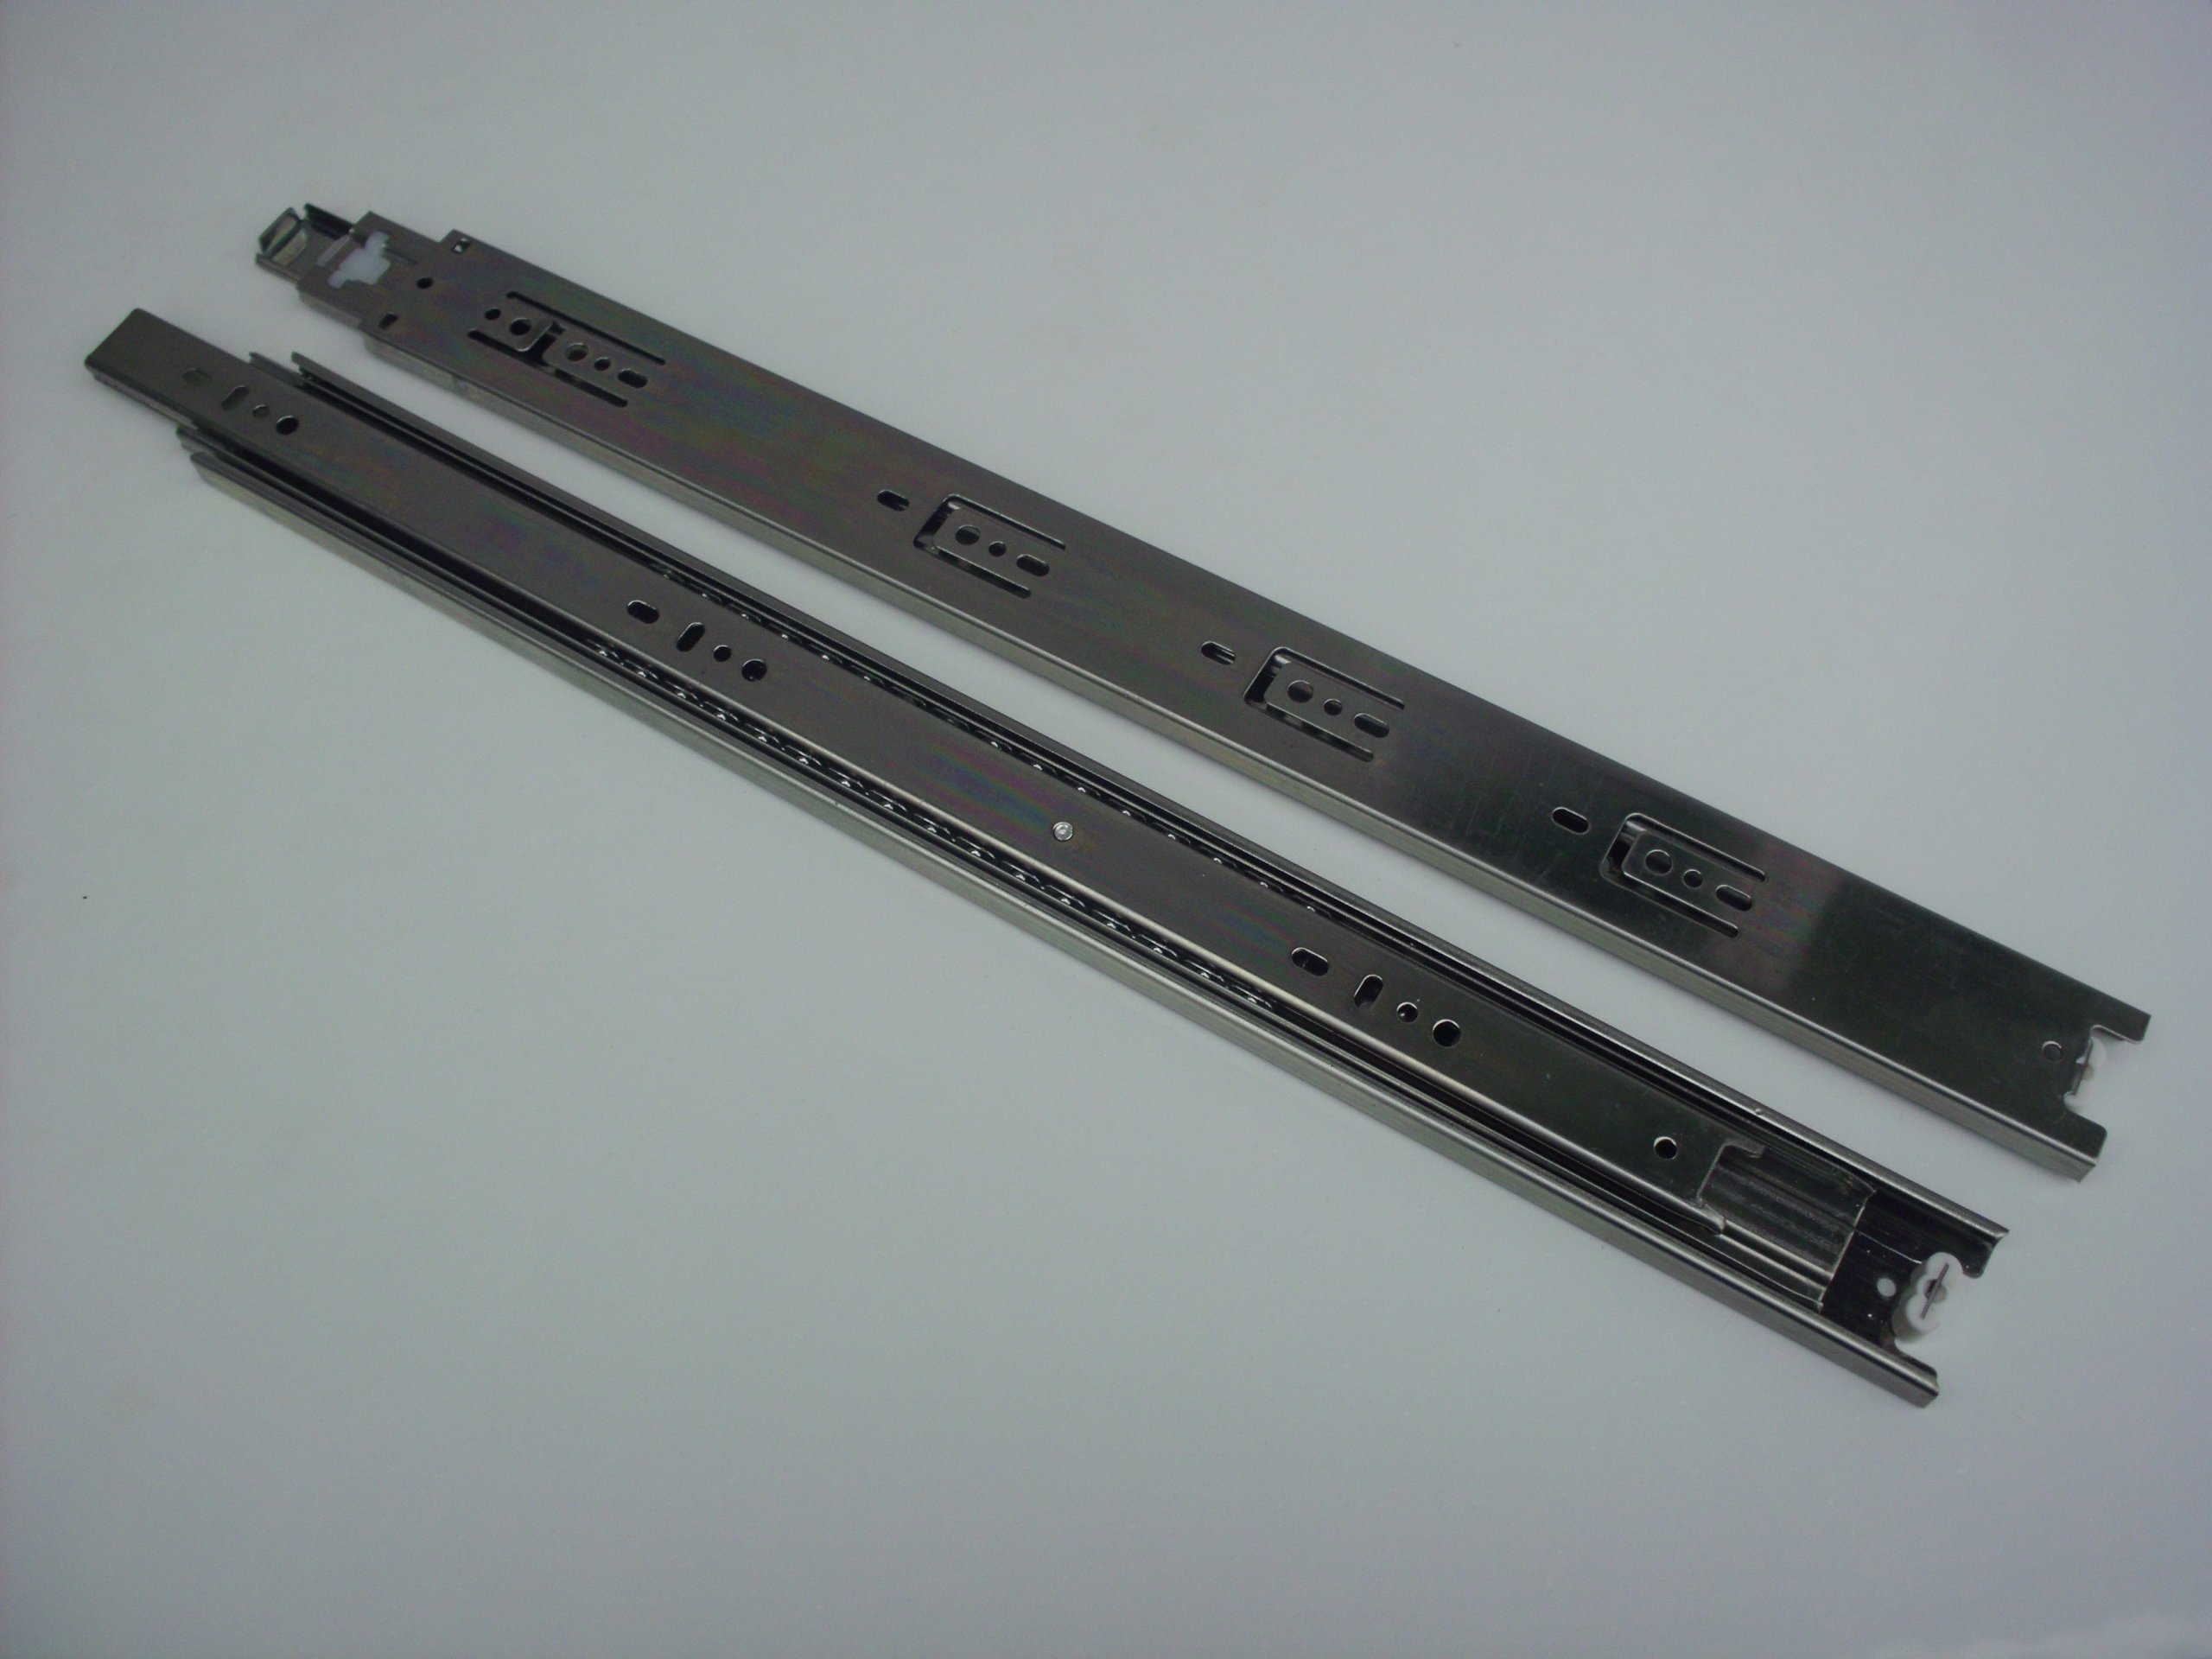
Roller guides for drawers have a number of advantages:
- the versatility of the sizes of retractable units is so great that the design is suitable for furniture of any size;
- friction of elements is minimized, which ensures durability of service;
- simplification of the movement path, making it easier for you to open and close.
The use of this technology gives many advantages, but it is also not without its disadvantages:
- Opening and closing drawers can make a lot of noise.
- Some furniture was not initially provided for the installation of additional elements, the runners simply have nowhere to attach.
Recommendation! Double-check the measurements, this will save the material from unnecessary holes and unsuccessful attempts.
Design
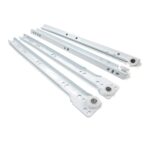
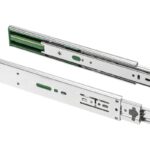
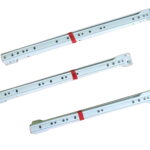
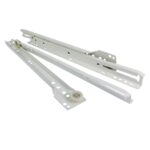
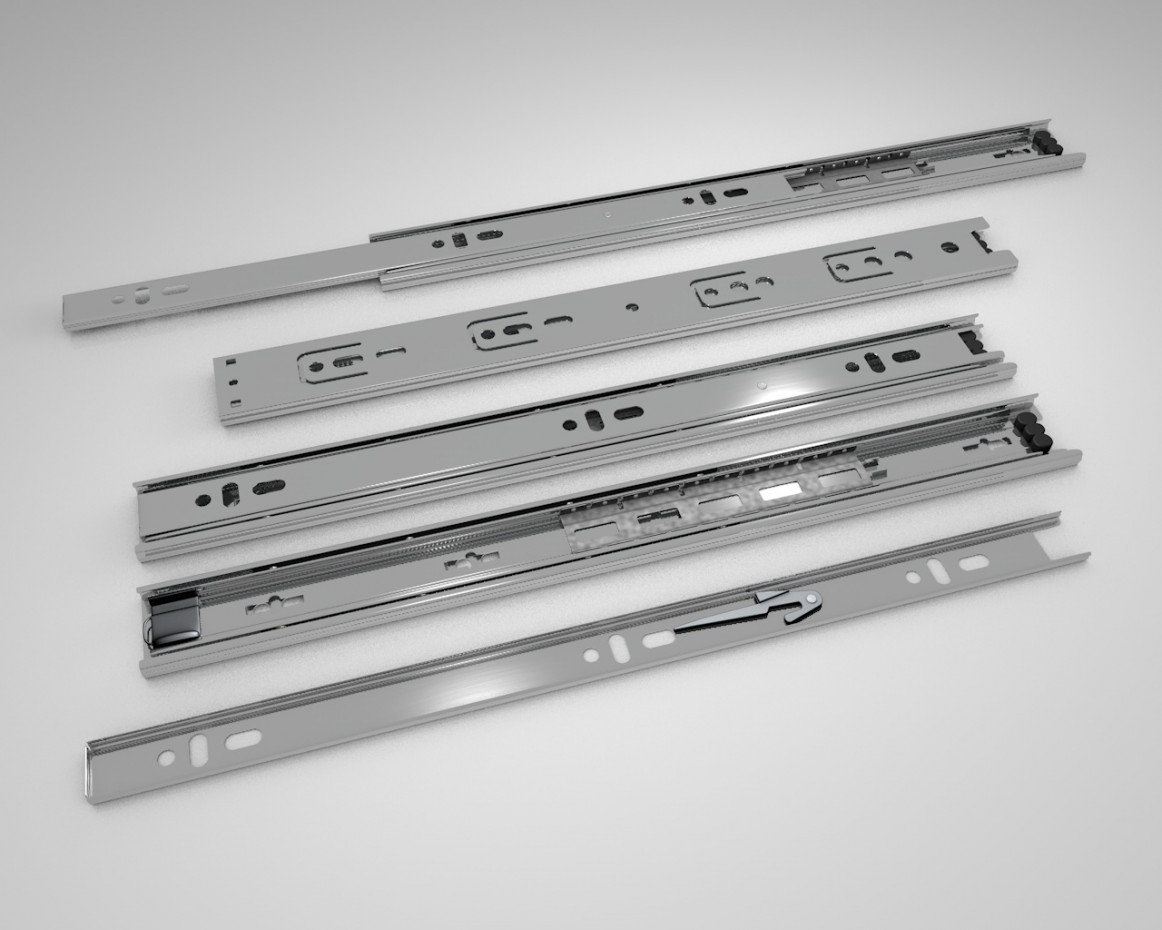
The smooth running system is of two types - ball and roller.
Both systems have the same principle of operation, however, a slightly different design.
- In the case of balls, the structure is non-separable, which limits versatility and complicates repairs. The mechanism works smoothly.
- The roller version is more reliable, but produces much more noise.
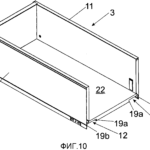
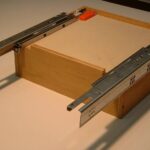
In both cases, the runners are attached to the inner walls of the table, and the guide elements are attached to the outer part of the box. The connecting element allows the entire mechanism to move, be it a ball or a roller.
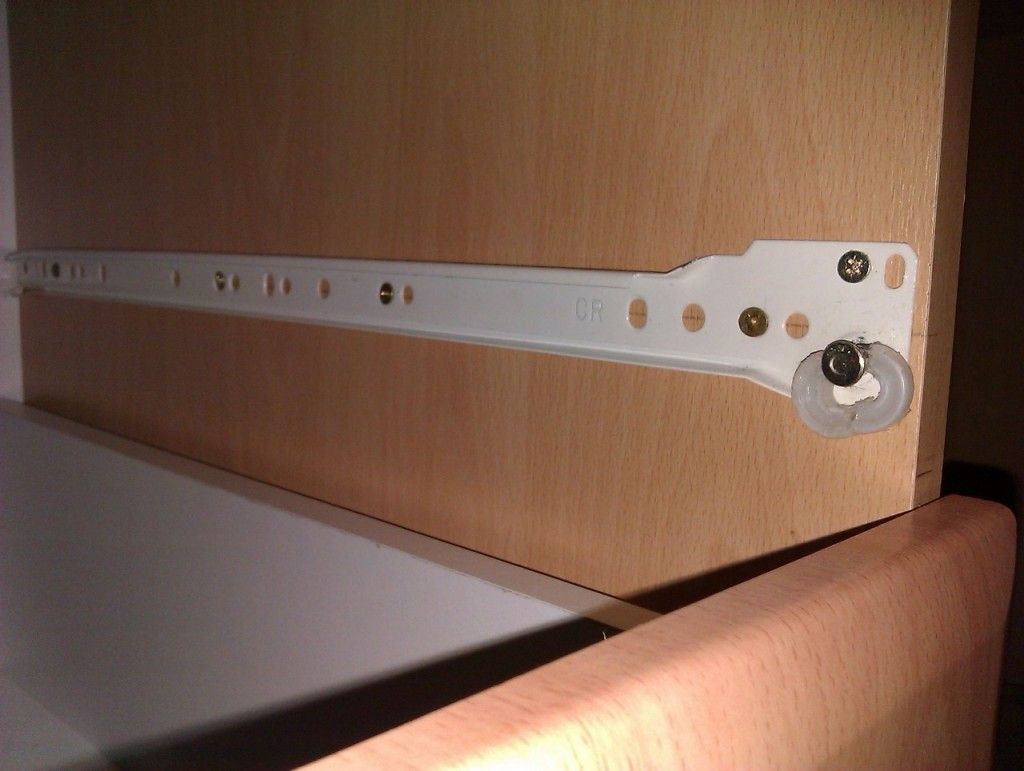
Note! To ensure safety, the design has stops. They will not allow the box to "go off the rails" in the event of a sharp jolt.
How to install them on boxes
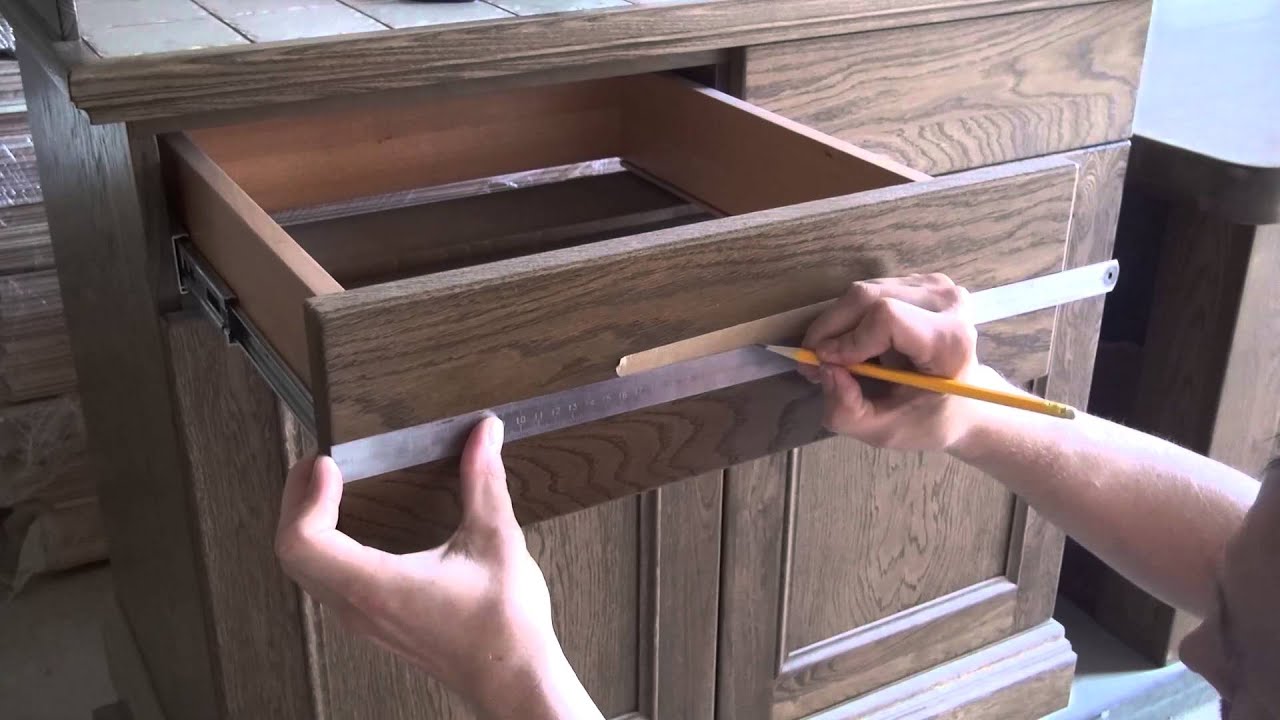
Installation of retractable systems implies the exact ratio of all structural elements, which can only be achieved with the help of accurate measurements. Indeed, runners and guides come in very different lengths, but sometimes they can go beyond the rear wall, this is also worth considering.
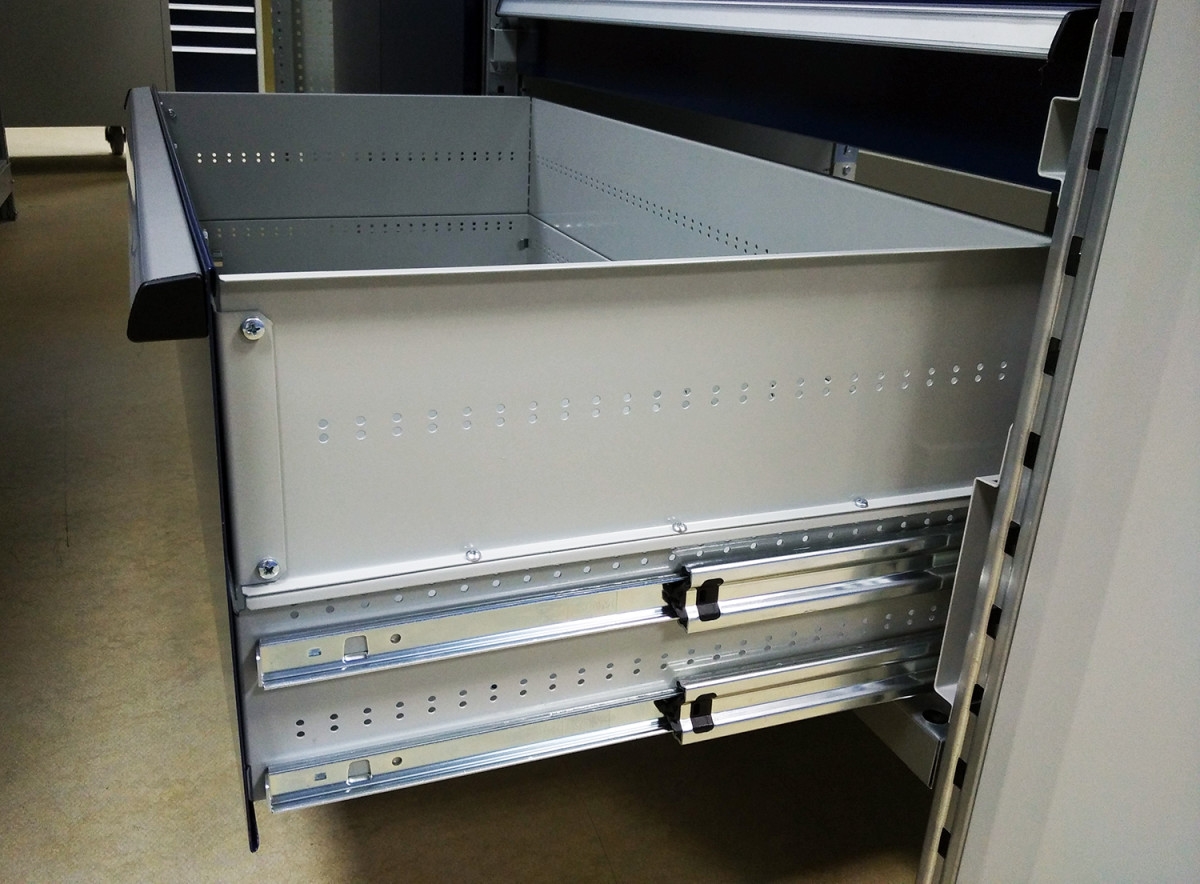
The system should be installed in several stages:
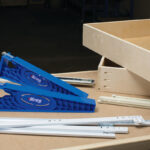
- We mark exactly what place inside the curbstone the runners will occupy - for marking we use a simple pencil.
- We fasten the elements to the prepared place using a drill and self-tapping screws.
- We mount the second part of the structure on the outside of the box.
* It is important to take into account the possible fragility of the furniture material, which is why it is recommended to use a drill, for the greatest accuracy. It is also important to choose the right screws. It is better not to use models over 32mm to avoid damaging the case.
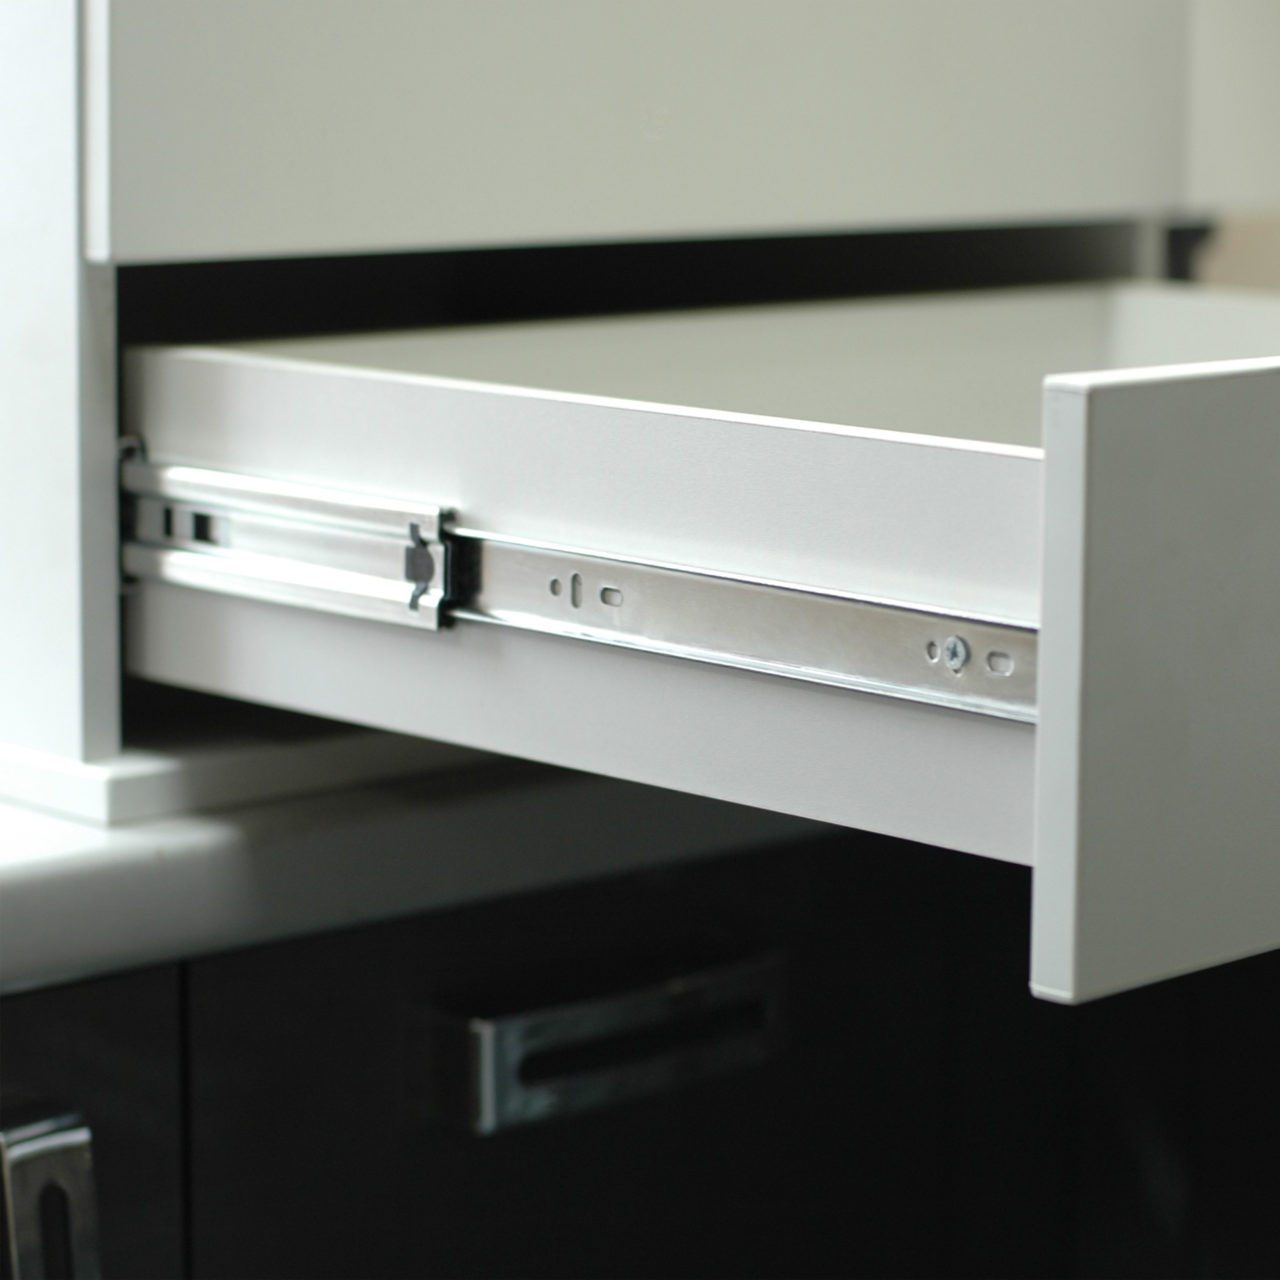
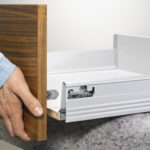
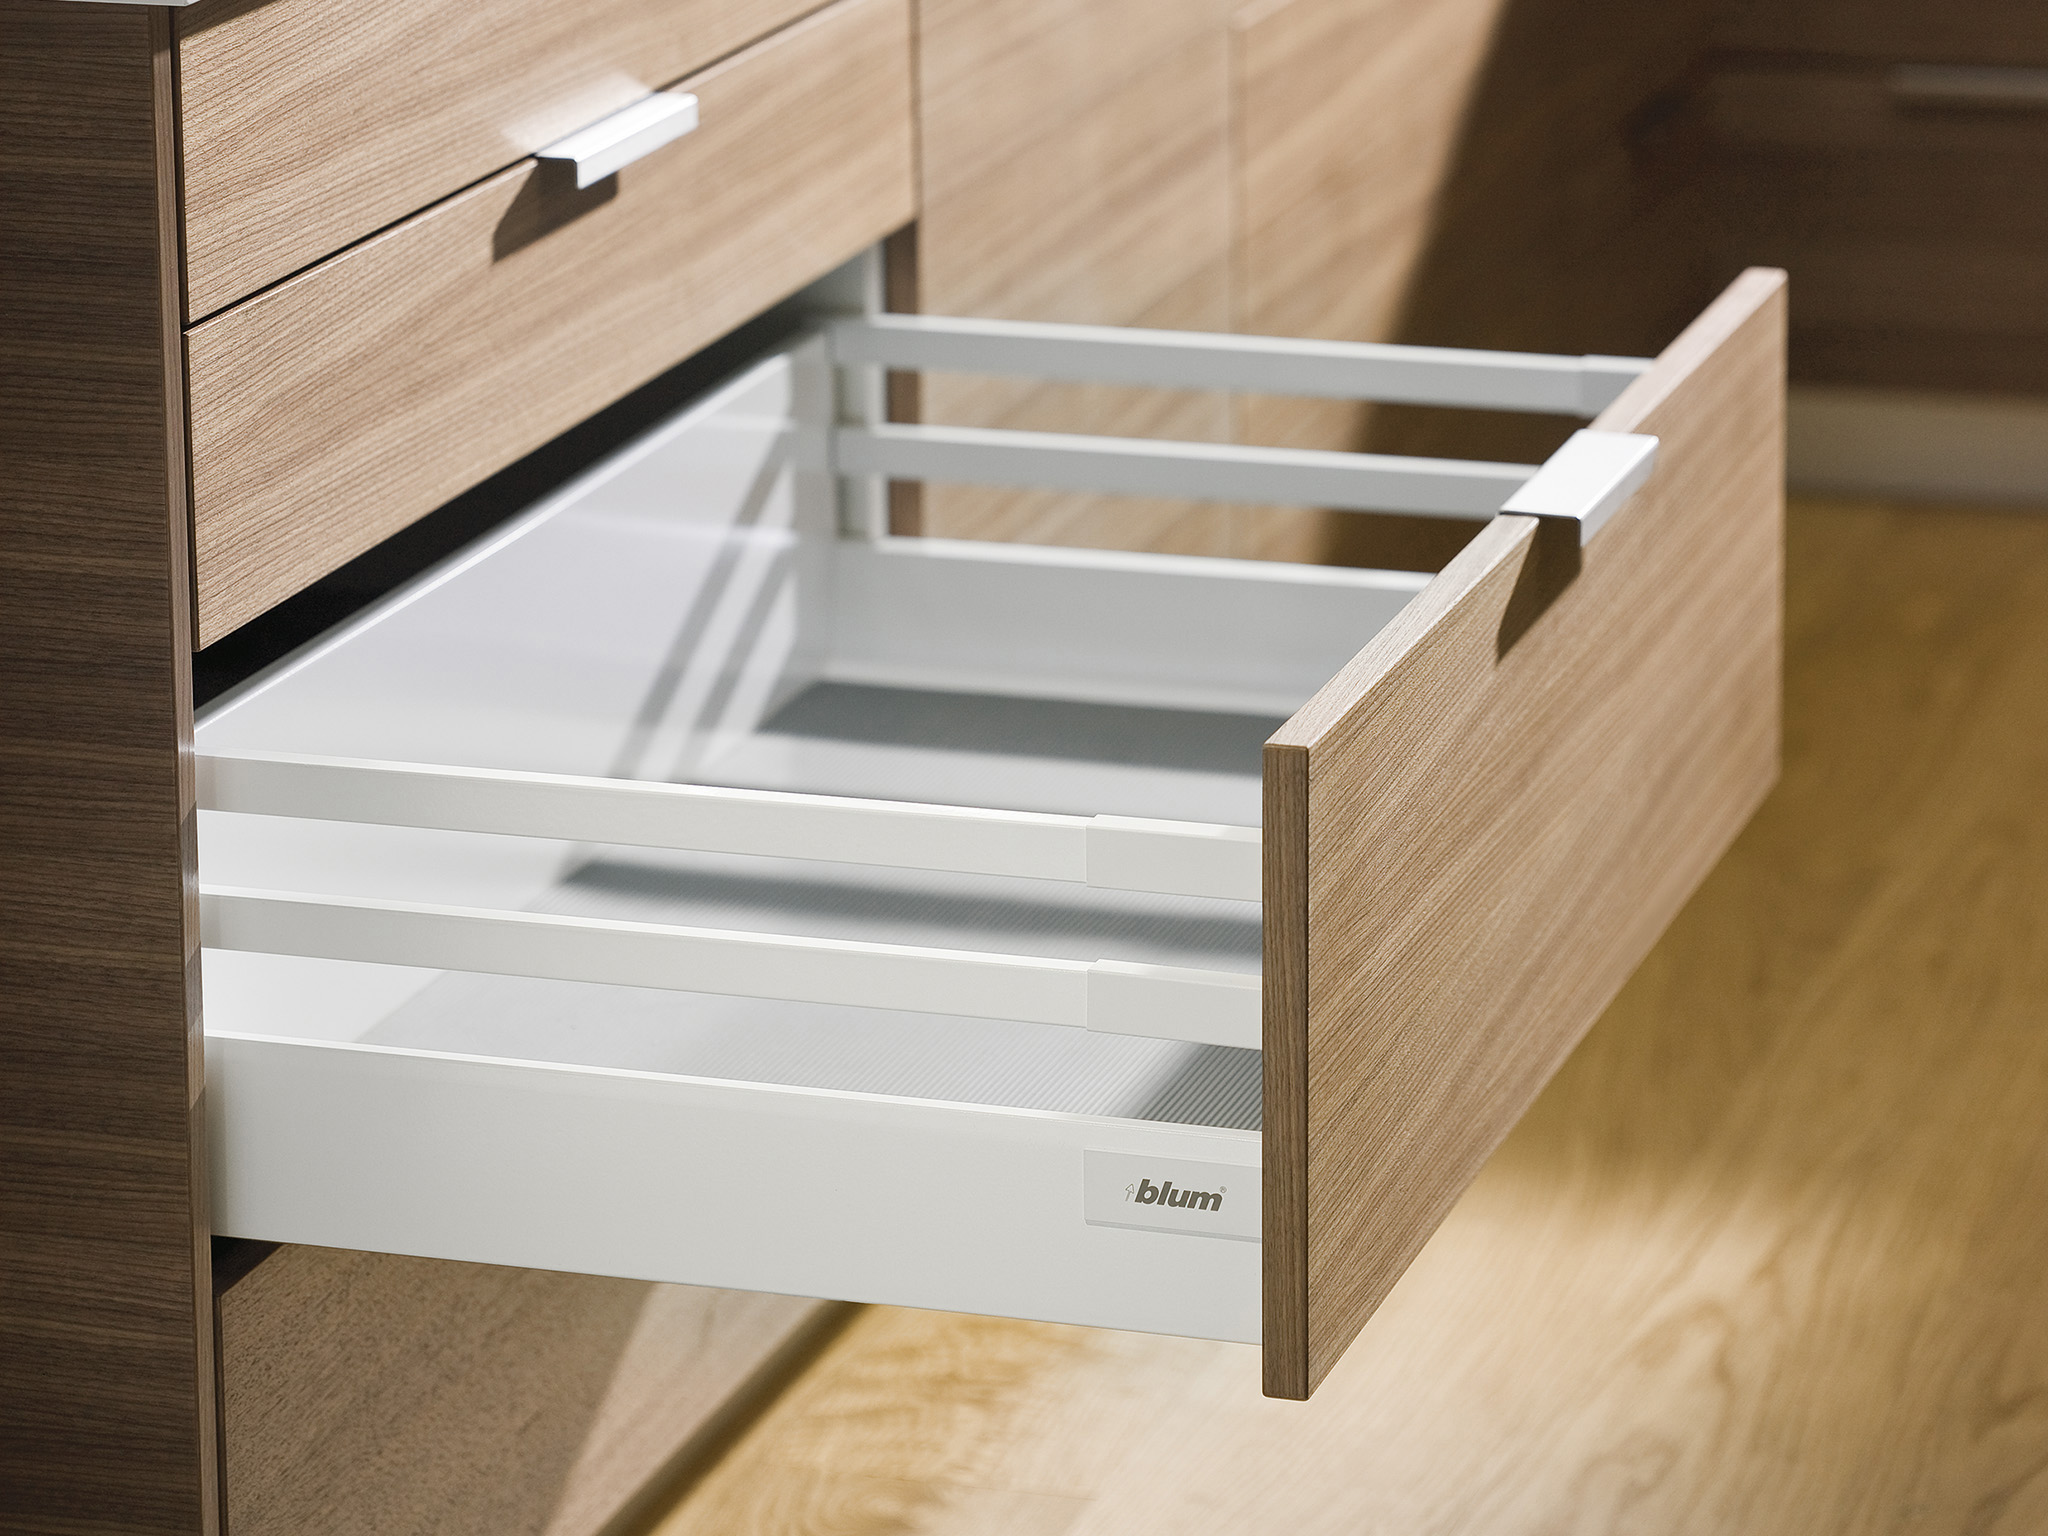
As a rule, after successful fastening of the main part, it is necessary to proceed with the facades (front walls, handles are mounted to them).
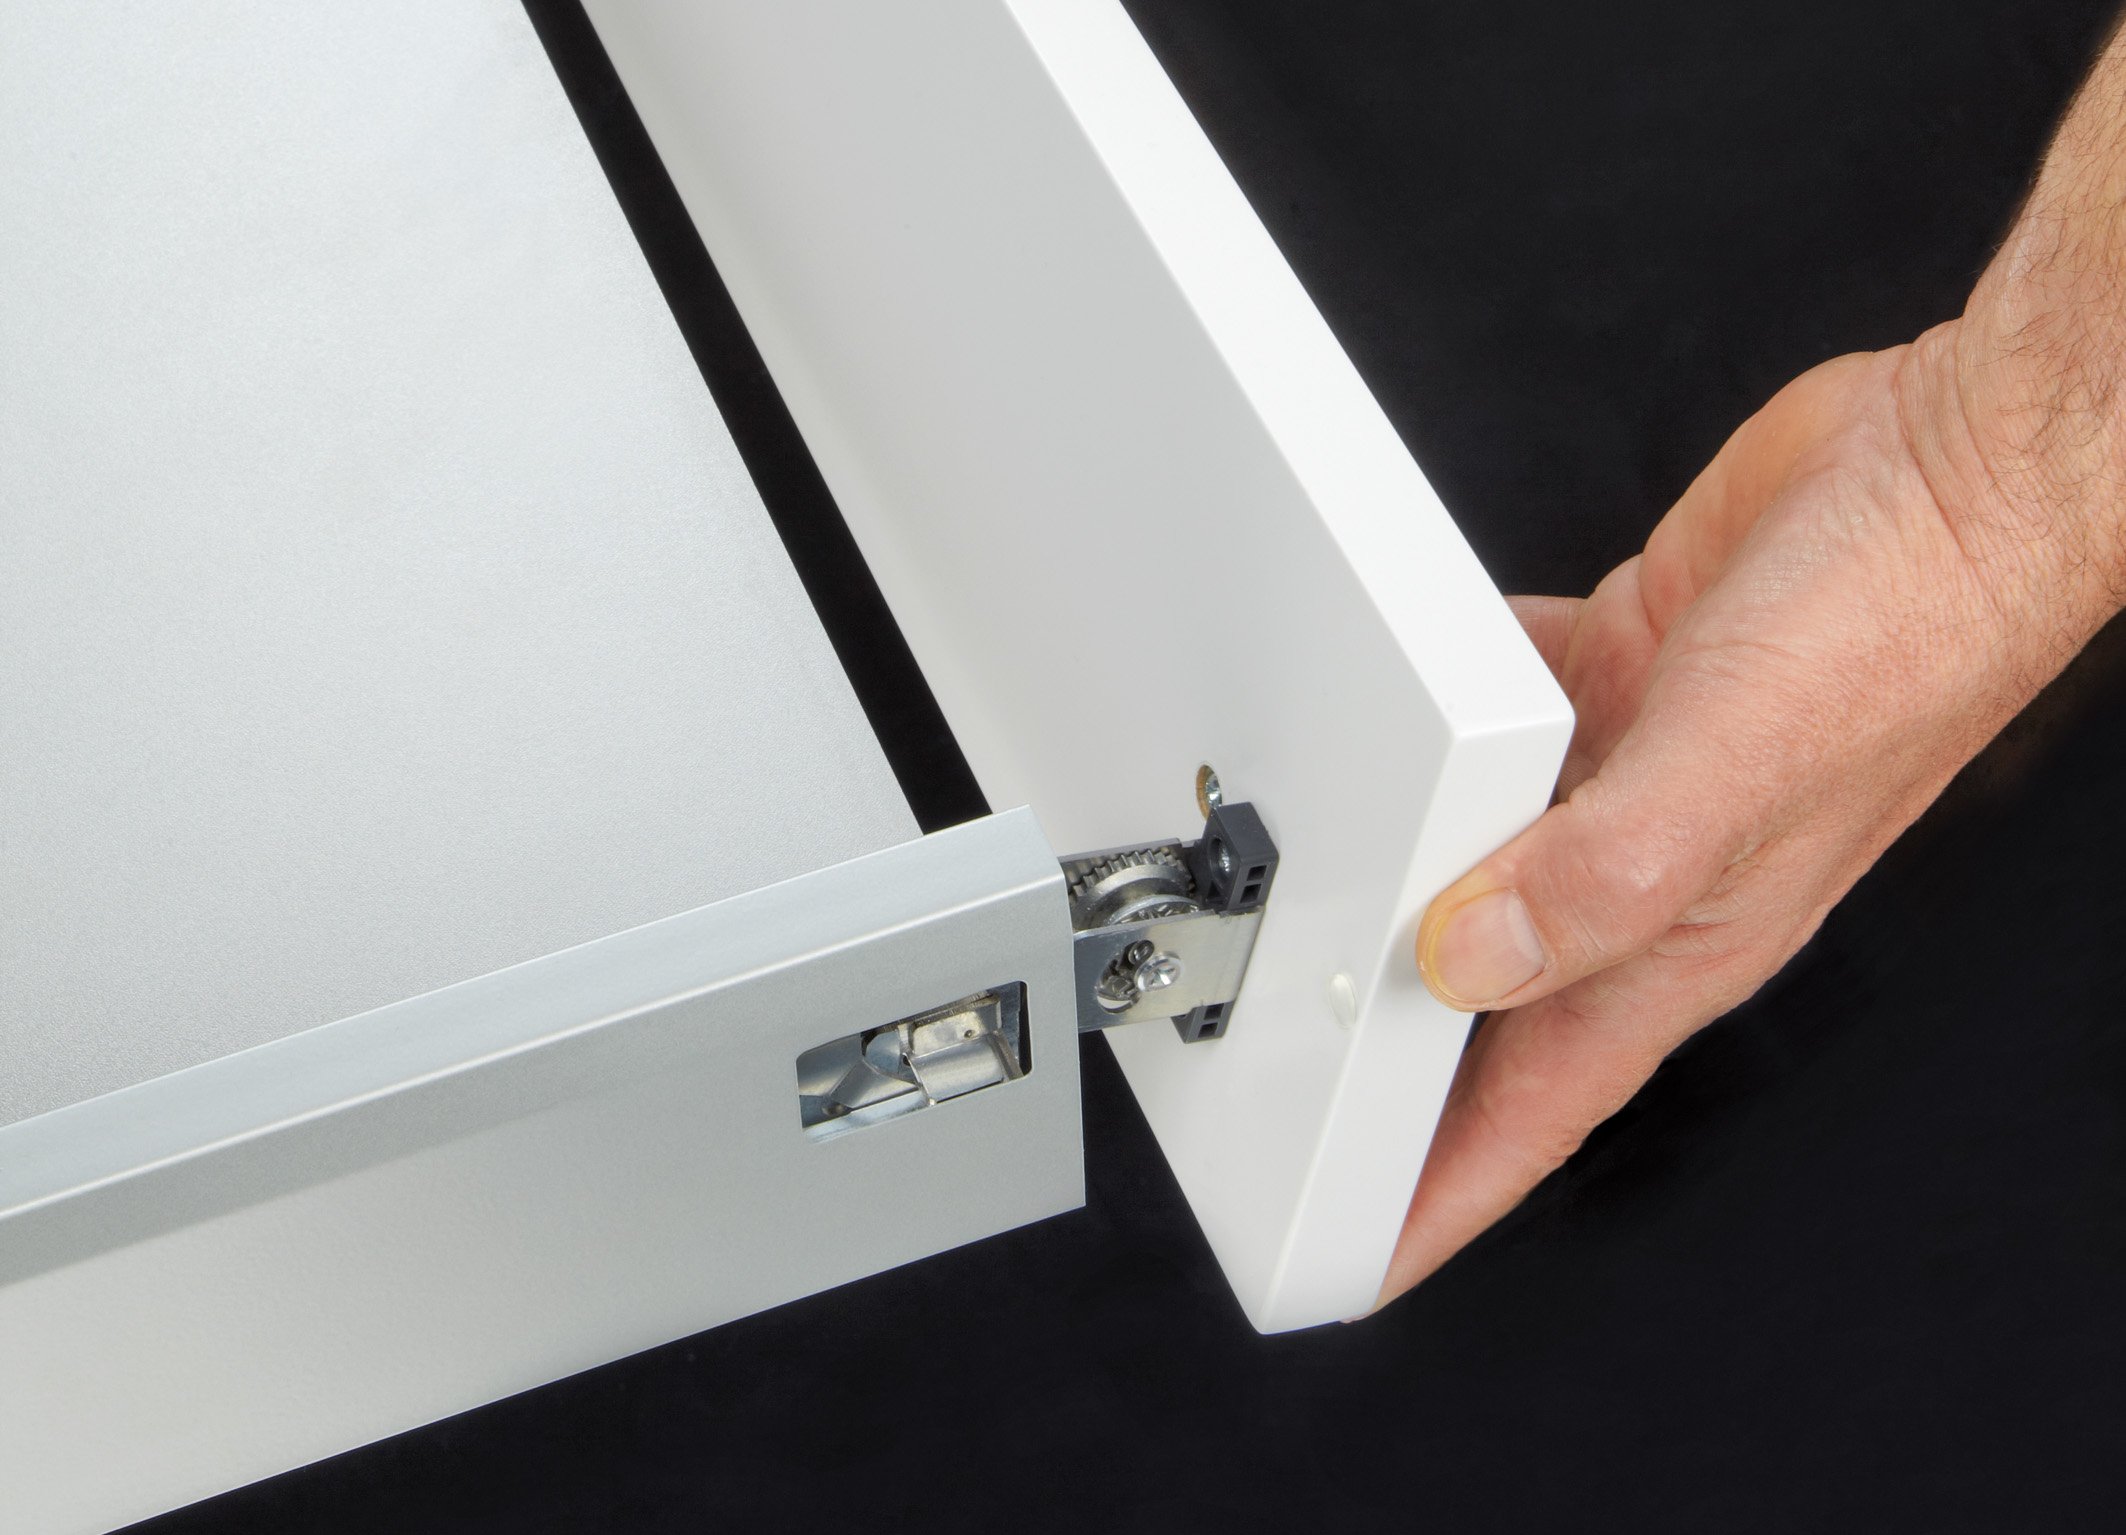
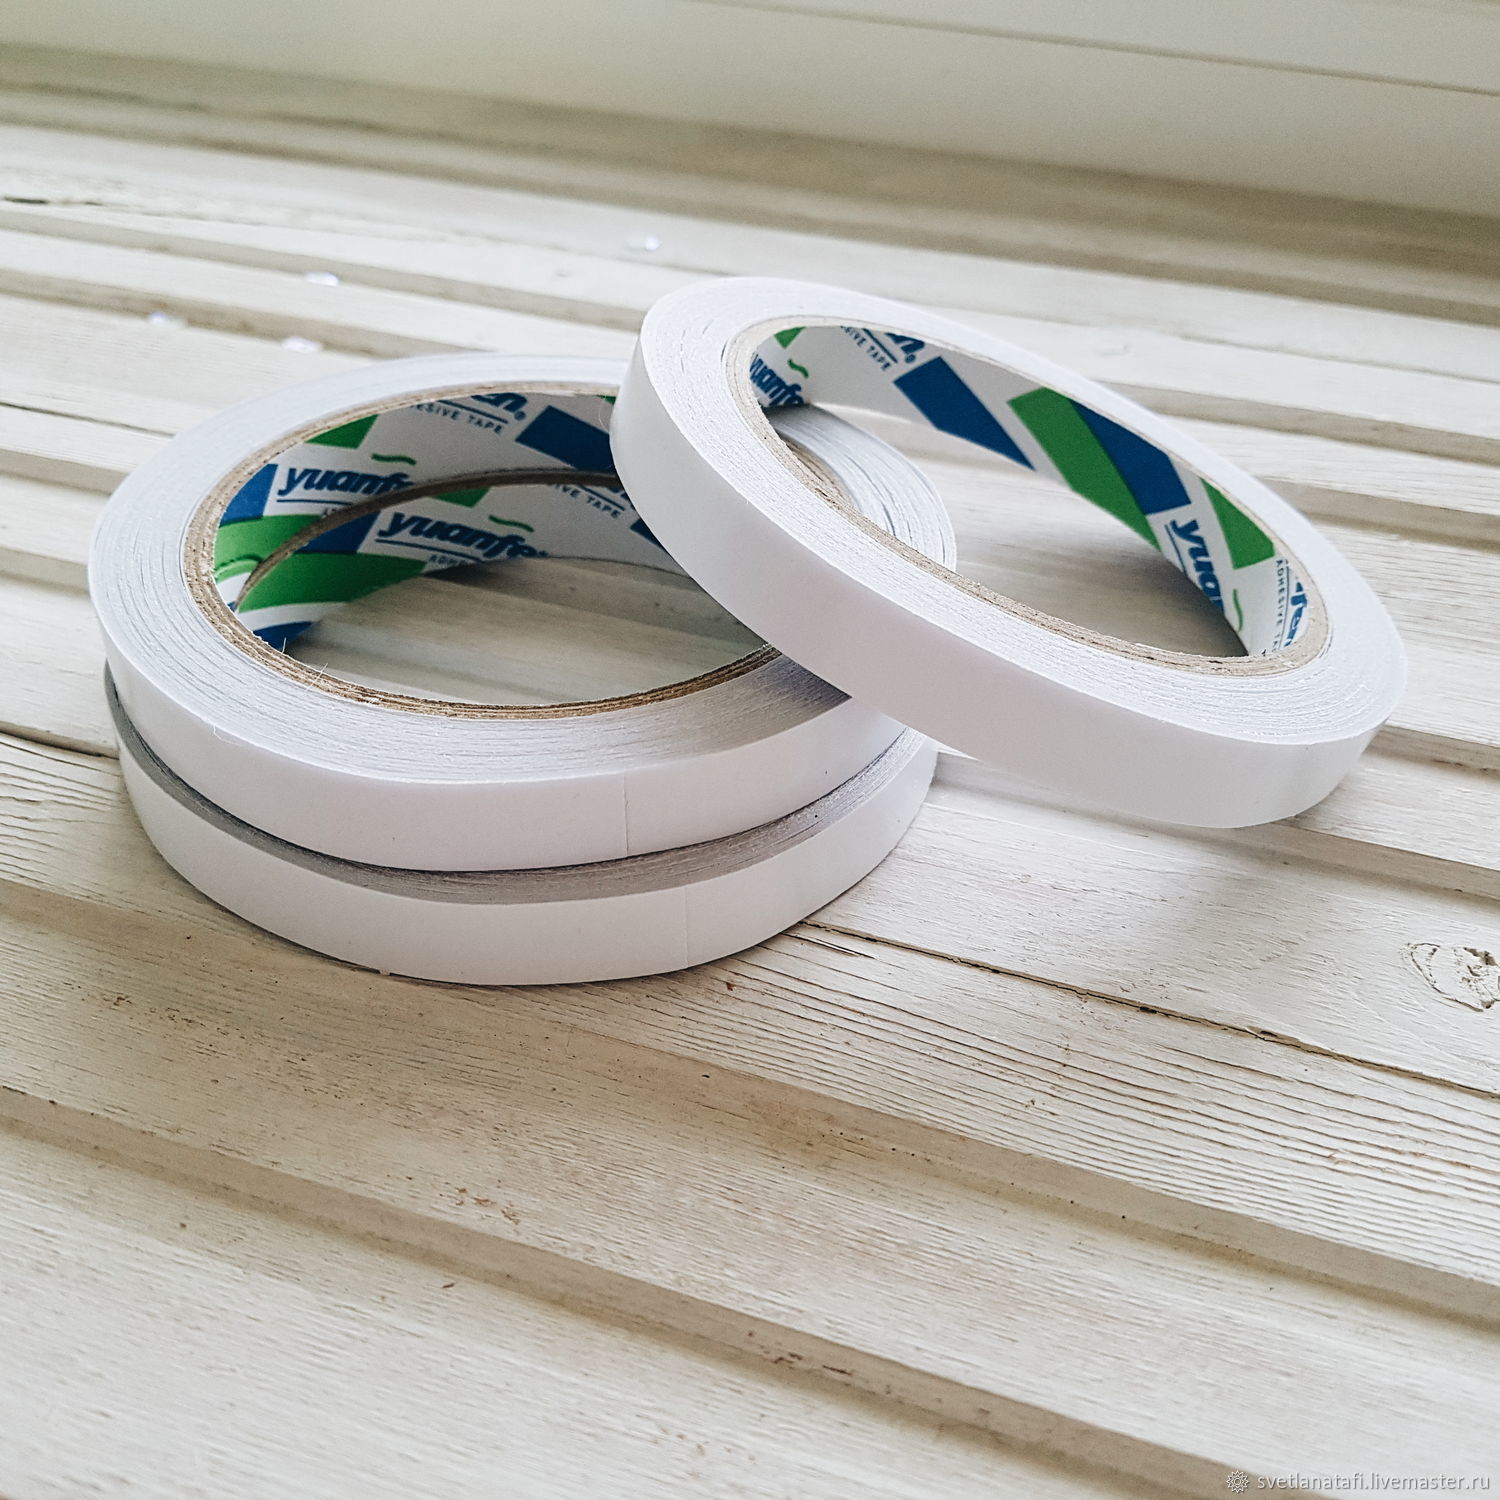
Sometimes, on the box there are prudently protrusions, and on the facade there are grooves, then the connection is more durable. In the absence of such a solution, we use double-sided tape.
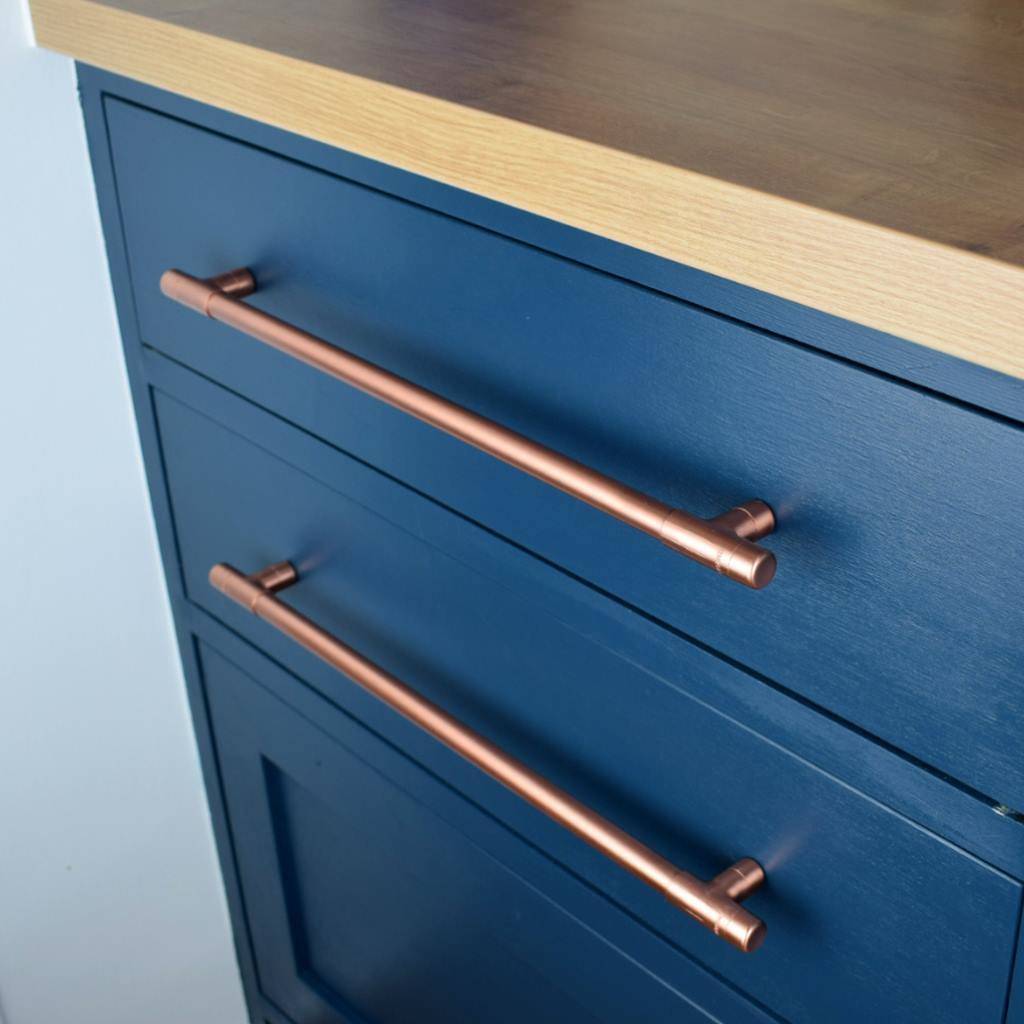
We fasten the facades in such a way that there is a small gap between them. Install the handles last with a pair of self-tapping screws.
The assembly can be done on your own, after making accurate calculations and purchasing a set of self-tapping screws. As a result, you will be able to independently adjust the smoothness of the ride and save some money by doing everything yourself.
Video: roller guides for drawers
