Halloween Pumpkin Crafts
Many are looking forward to the end of October to celebrate Halloween. It is better to start preparing in advance in order to acquire the main attribute - a pumpkin product. And even more than one!

- What can you do with your own Halloween pumpkin?
- How to make a pumpkin for Halloween
- How to make a pumpkin look scary or beautiful
- How to make pumpkin decorations with your own hands
- Finally
- VIDEO: How to cut a pumpkin for Halloween with your own hands.
- 50 variants of original Halloween pumpkin decor:
What can you do with your own Halloween pumpkin?
In general, pumpkin is such a cute vegetable that, in extreme cases, you don't even need to decorate it. If you don't have time to decorate some rooms, you can just put the pumpkin in a prominent place and surround it with candles and autumn bouquets. But with at least one composition, it is worth thinking about how to make a Halloween pumpkin more interesting? And leave enough free time for this.
How to make a pumpkin for Halloween
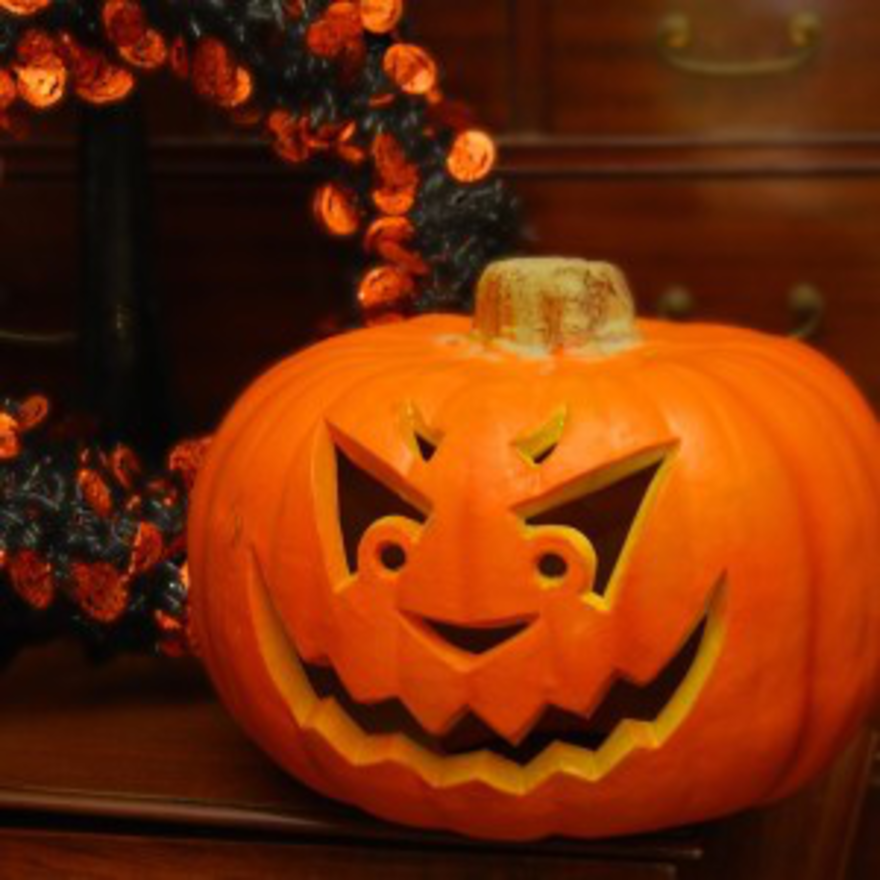
Traditionally, the vegetable itself was used for crafts for the holiday. Armed with imagination and a knife, funny and scary little men, animals, fairy-tale characters were carved from the pumpkin. Now, other variants of the Halloween symbol are also common: made of paper, cardboard and textiles. But first things first. To begin with, how to make a pumpkin for Halloween pumpkin.
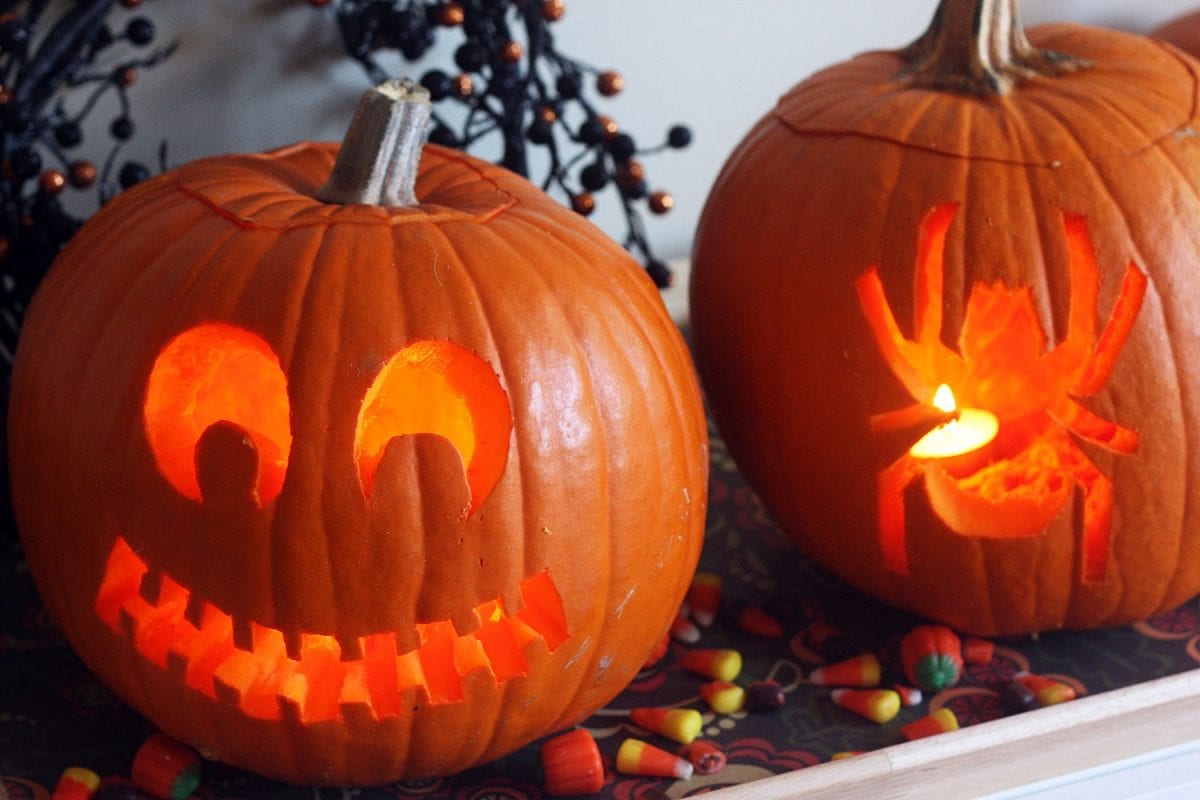
Pumpkin
Before you start carving the fruit thoroughly, cover the table with old newspapers or oilcloth, as there will be a lot of dirt in the process.
Follow a few universal tips when working on a pumpkin:
- Prepare knives of different sizes and sharpen well. If you want to make small patterns, you can use metal cookie cutters and a hammer.
- Use a permanent marker to mark the desired pattern on the surface. If you are not good at drawing, print a ready-made template from the Internet on thin paper, glue it to the pumpkin and pierce along the contour with an awl
- Take out the pulp from the pumpkin with a large spoon and only after you have punctured the peel, otherwise the pumpkin may break. Try to leave the walls as thin as possible - then the finished product will be stored longer.
- You can dry the inner surface much faster if you put crumpled newspapers in the pumpkin: they absorb juice well. Just change the periodically already wet paper to dry, and also turn the pumpkin on different sides.
- At the very end, rub the skin of the pumpkin with sunflower oil, and then it will shine beautifully.
If you did not do the craft on the last day, it is better to rinse and dry the pumpkin, and also degrease it with a cotton swab dipped in alcohol.
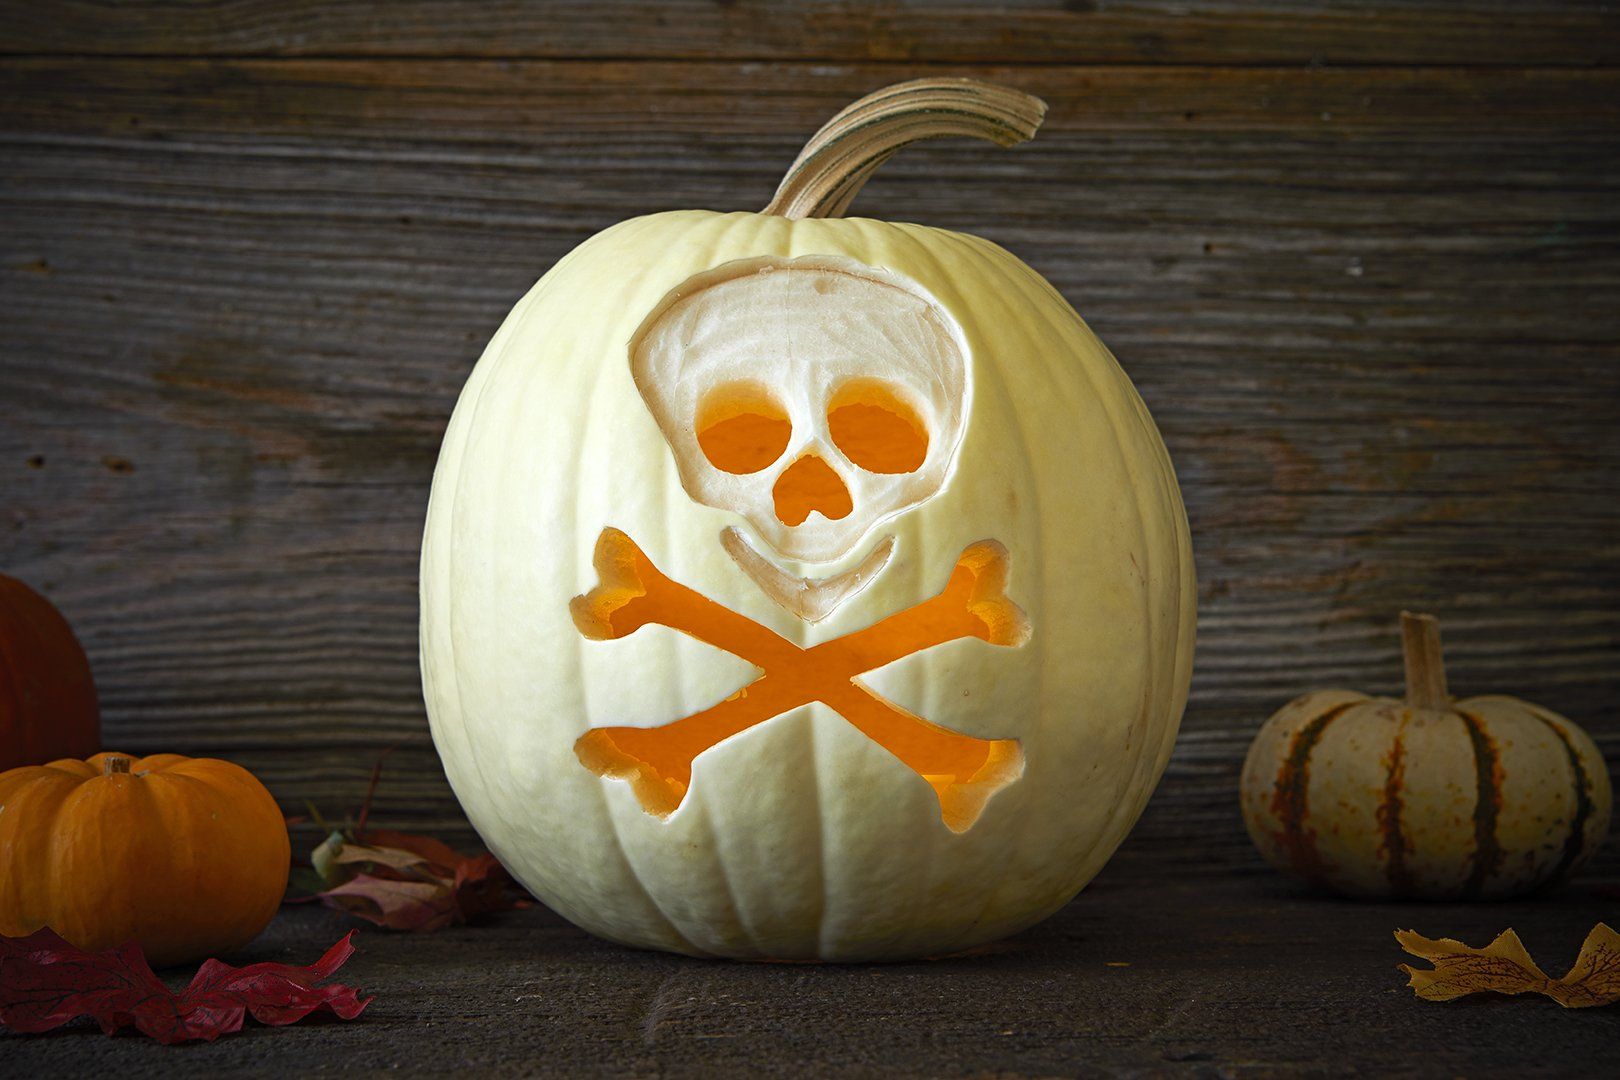
Important! Ornamental gourds are more suitable for drying than standard gourds.
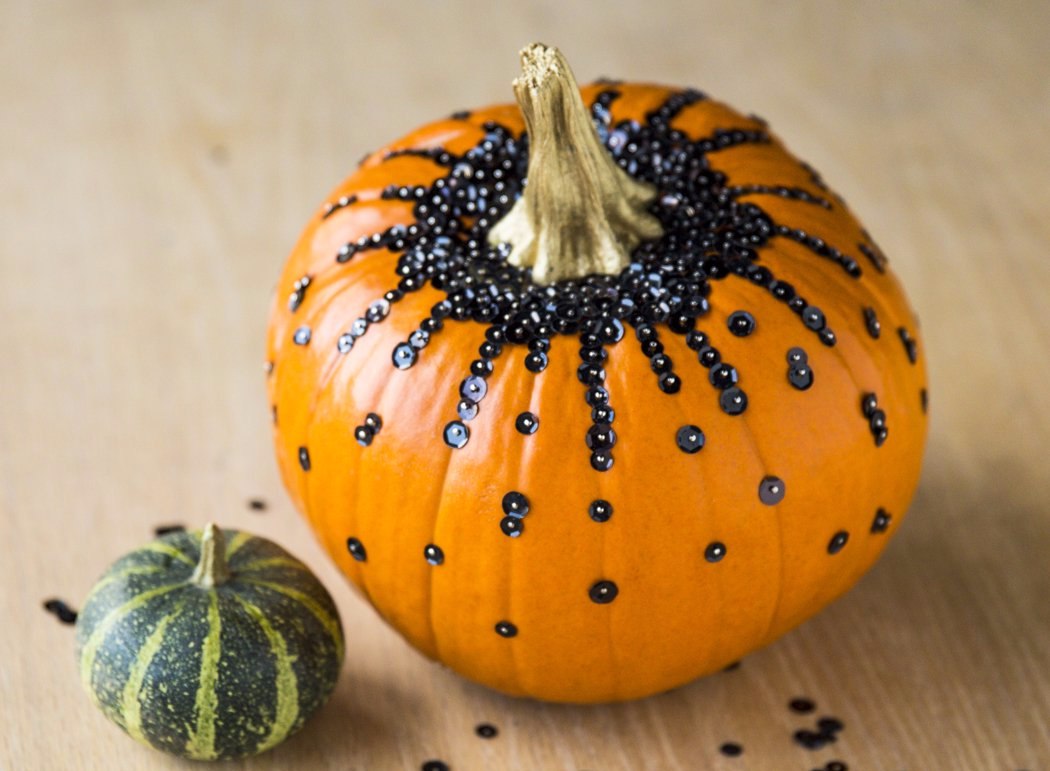
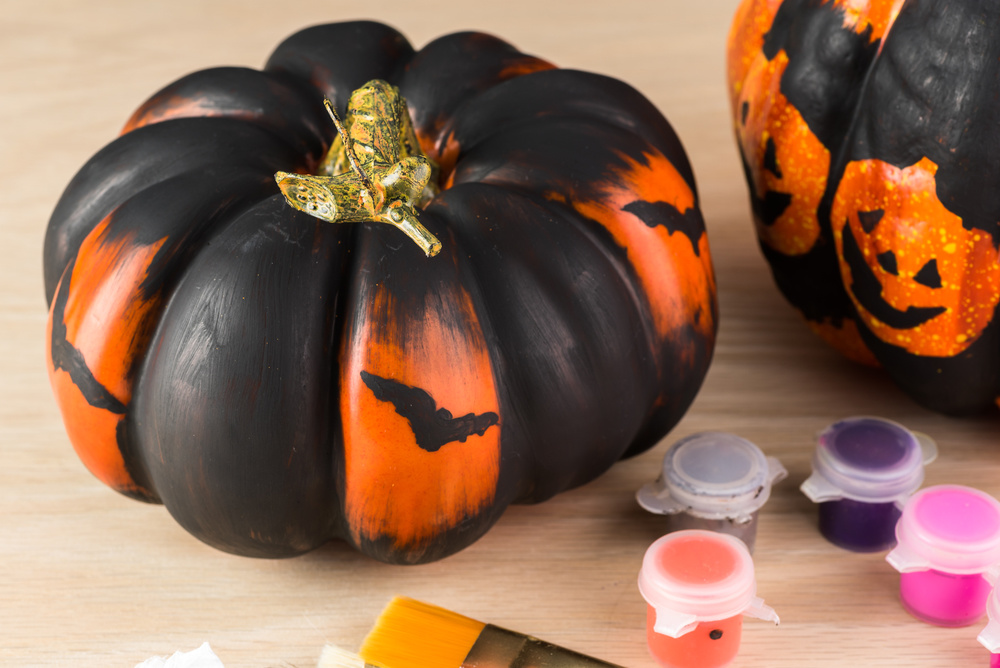
Would you like to do pumpkin carving? There are alternatives on how to give it a festive look. For example, you can glue small fruits and sprinkle them with glitter. Such a layer will dry for about 15 minutes, no more, and after that you will already have pumpkin decorations for your home.On the shiny layer with the help of glue, you can fix some message, written with beads, using hot melt glue.
From paper
Using a set of colored paper, scissors and glue, it is easy to make a paper pumpkin. In stages it looks like this:
- Take the orange A4 sheets and cut them into thin strips no more than two centimeters wide. In total, 18-20 pieces will be needed.
- Fold the resulting strips on top of each other and, stepping back half a centimeter from the top edge, sew the entire stack with thread. Secure the knot. Now connect one end of all the strips to the other. If you did everything right, you will have an arc.
- Straighten it gently, spread the strips in a circle. So the round orange pumpkin itself is ready.
- Take green paper and cut out a piece with wavy edges. Glue it up to cover where the thread was attached.
- Cut out three triangles from black paper: these will be the eyes and the mouth. Also, make the mouth in the form of a strip with teeth. Glue the resulting facial features onto the pumpkin. Ready!
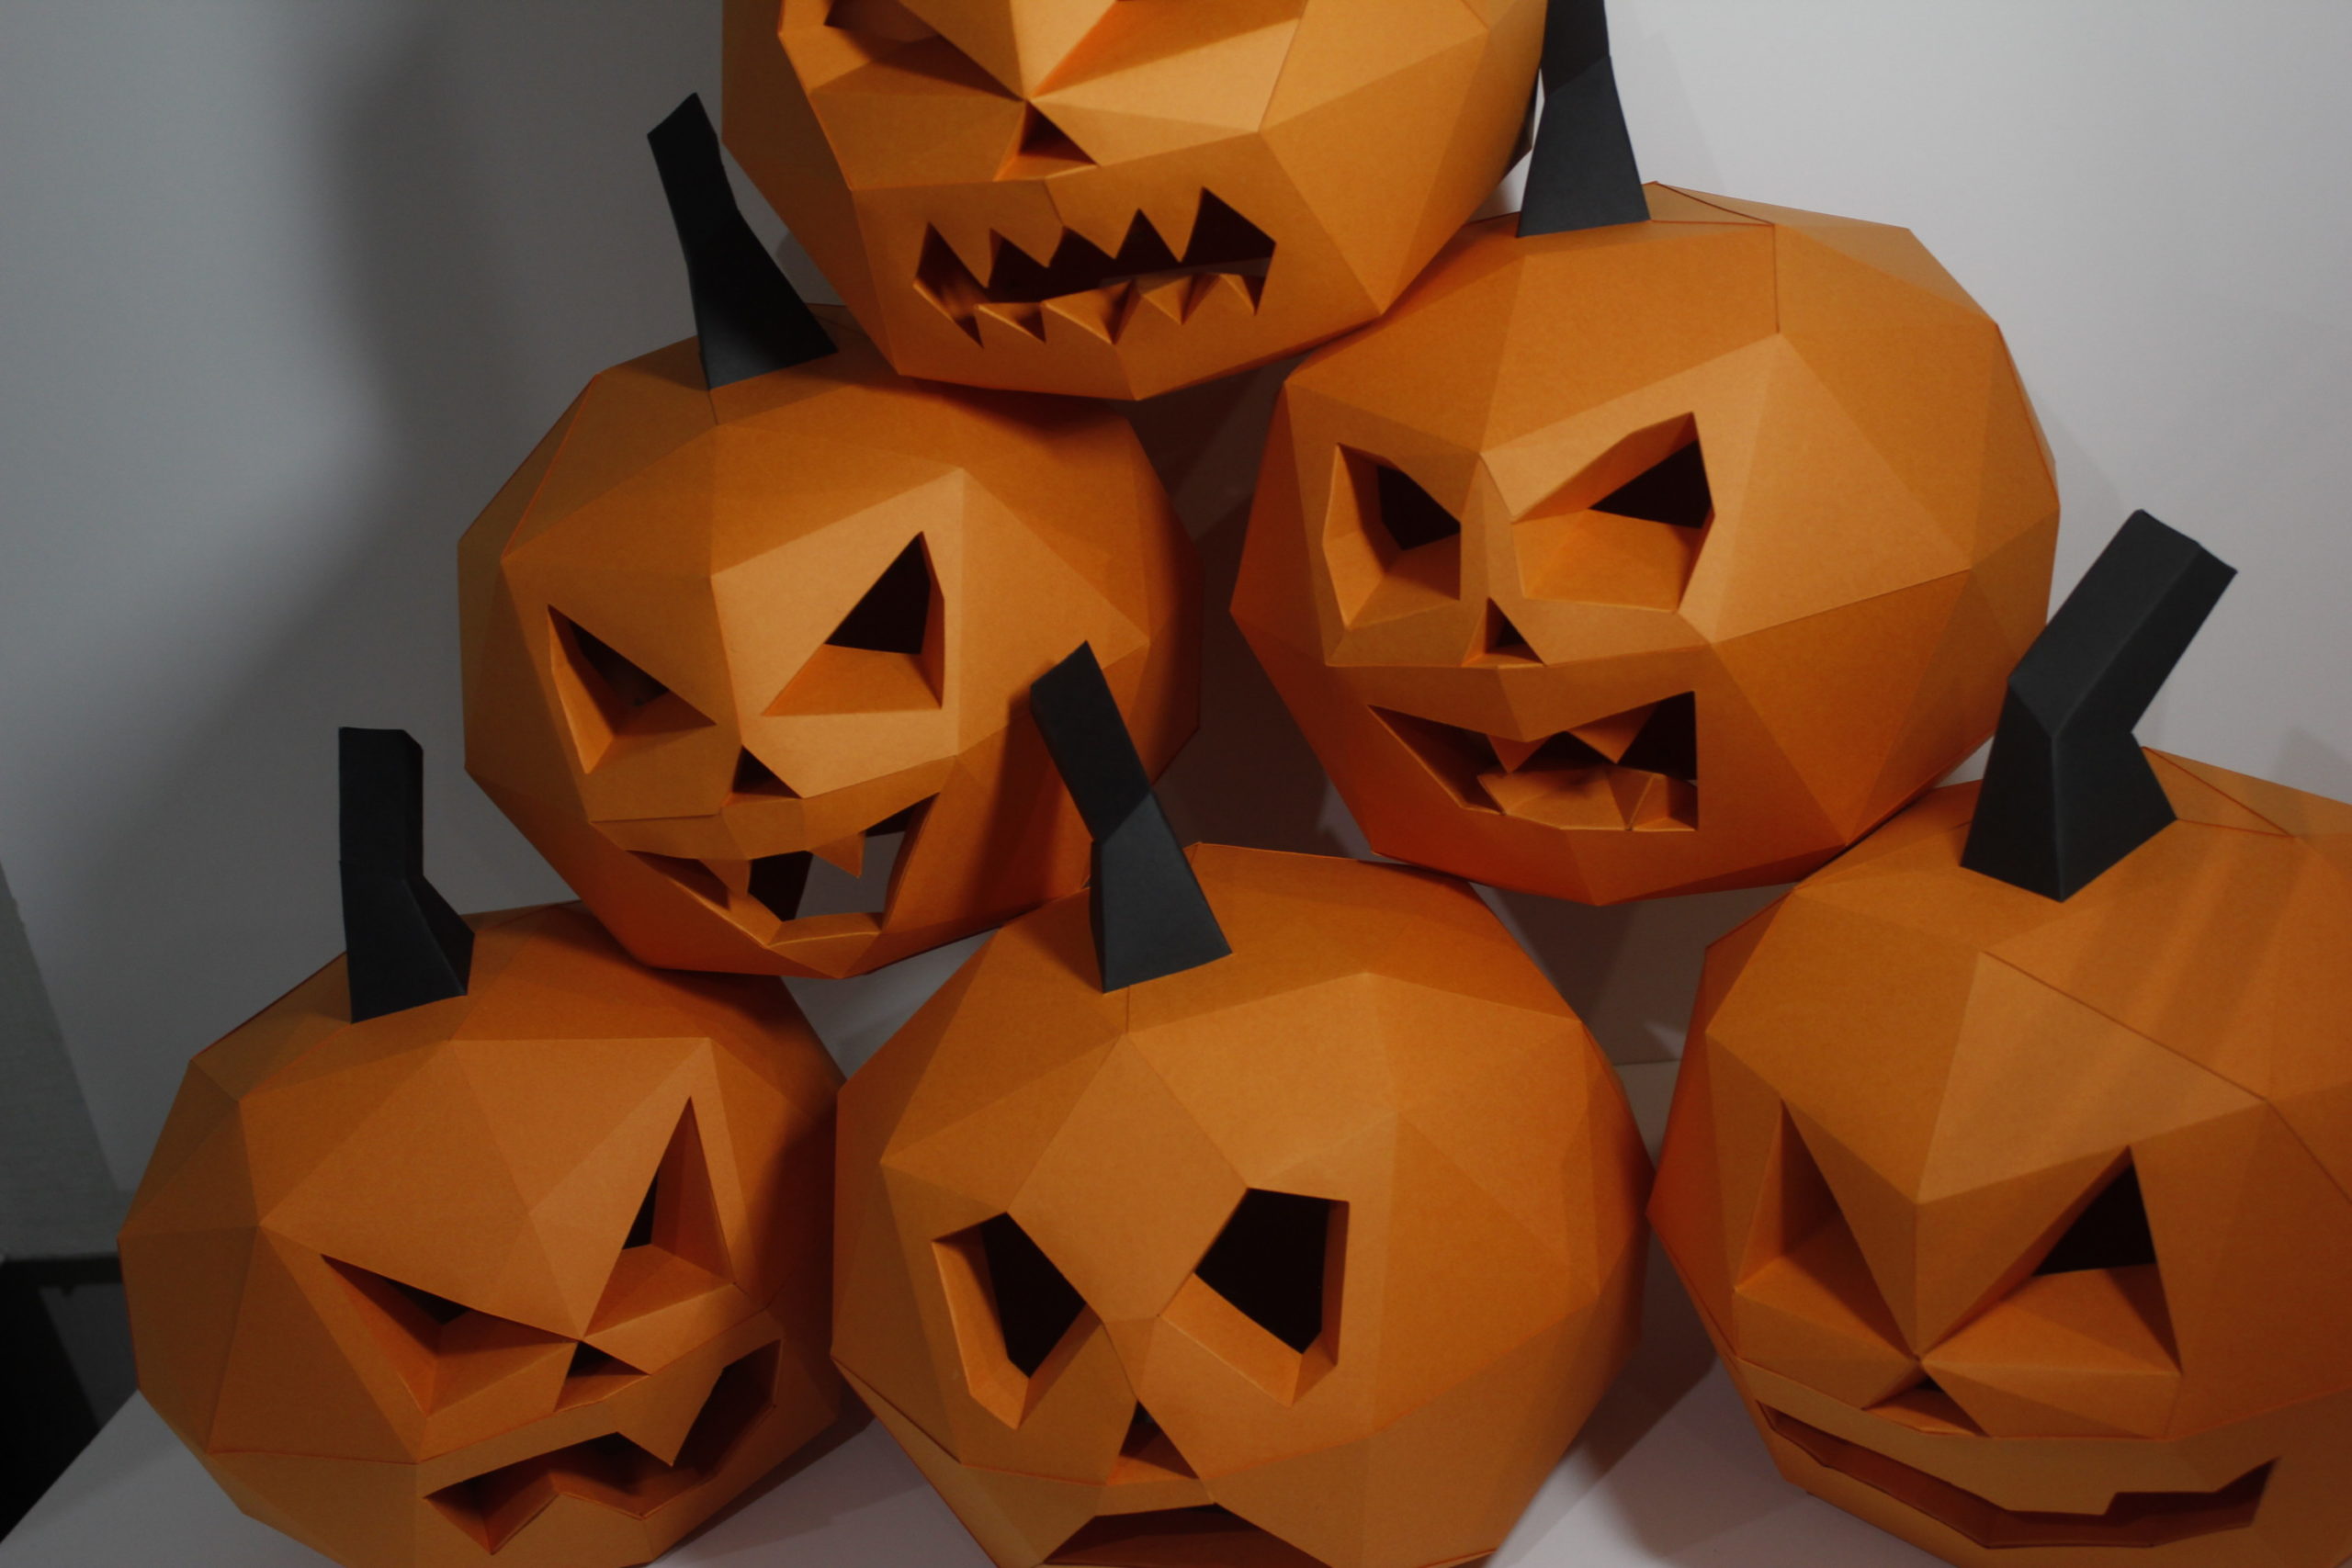
The craft can be hung anywhere on the wall or on a chandelier. In general, a paper pumpkin is suitable not only for home decoration, but also as a gift for guests.
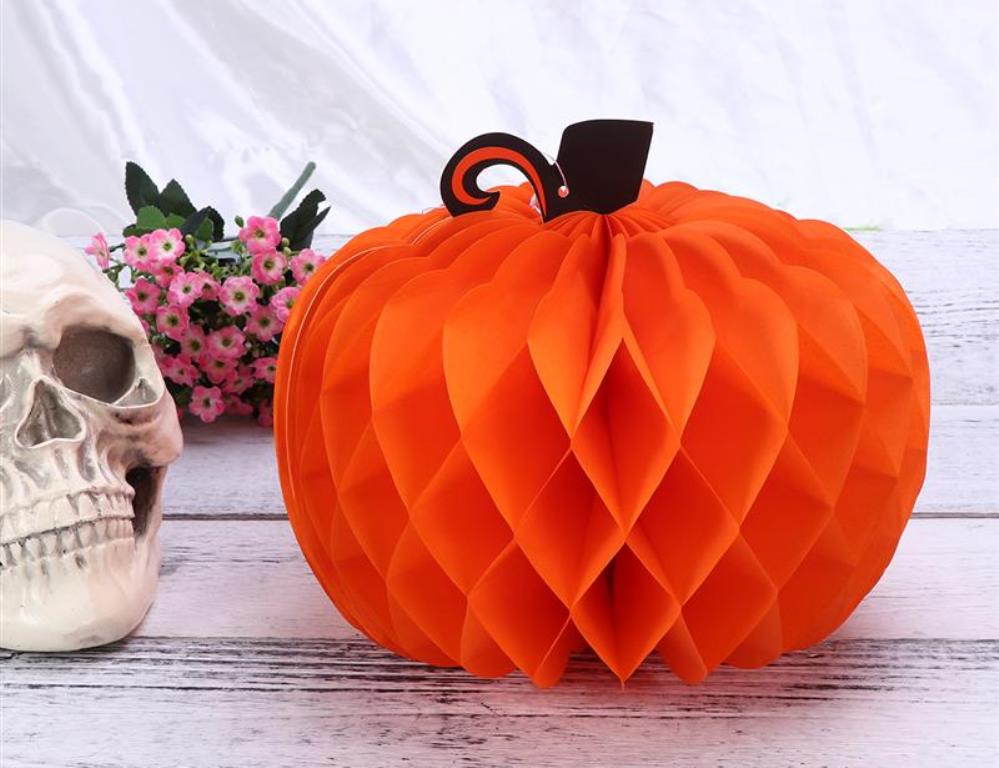
Another interesting thematic craft is paper masks. The easiest way is to pick up a template on your computer, and then print it on orange cardboard and cut it so that you can apply it to the pumpkin. Solid color masks will look confusing, so arm yourself with a black marker and walk along the contours of the drawing.
Made of cardboard
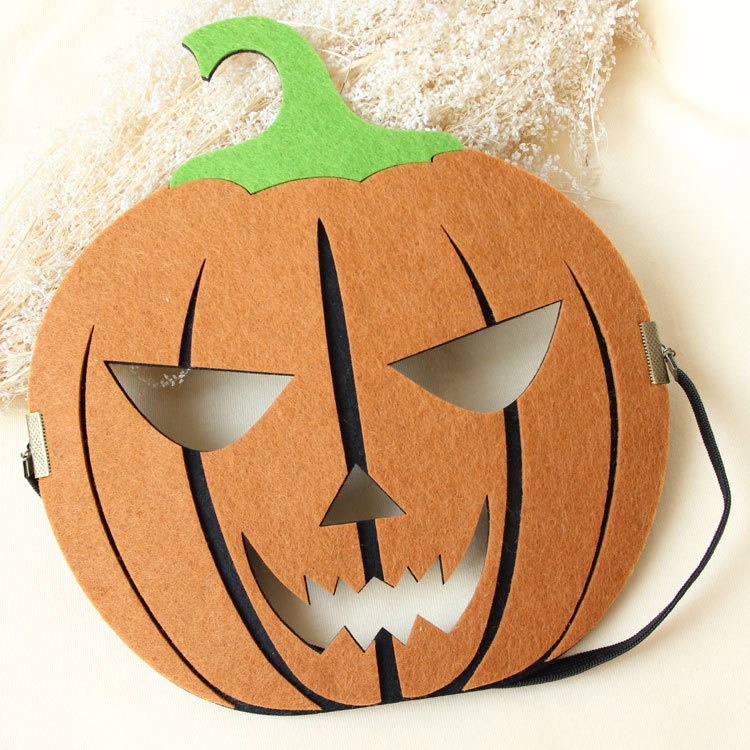
Such a non-voluminous craft can be made with little children. They will draw a pumpkin on a sheet of orange cardboard A-4, and you will cut it out. And then - and the features on the pumpkin. You can decorate a window or mirror with a craft.
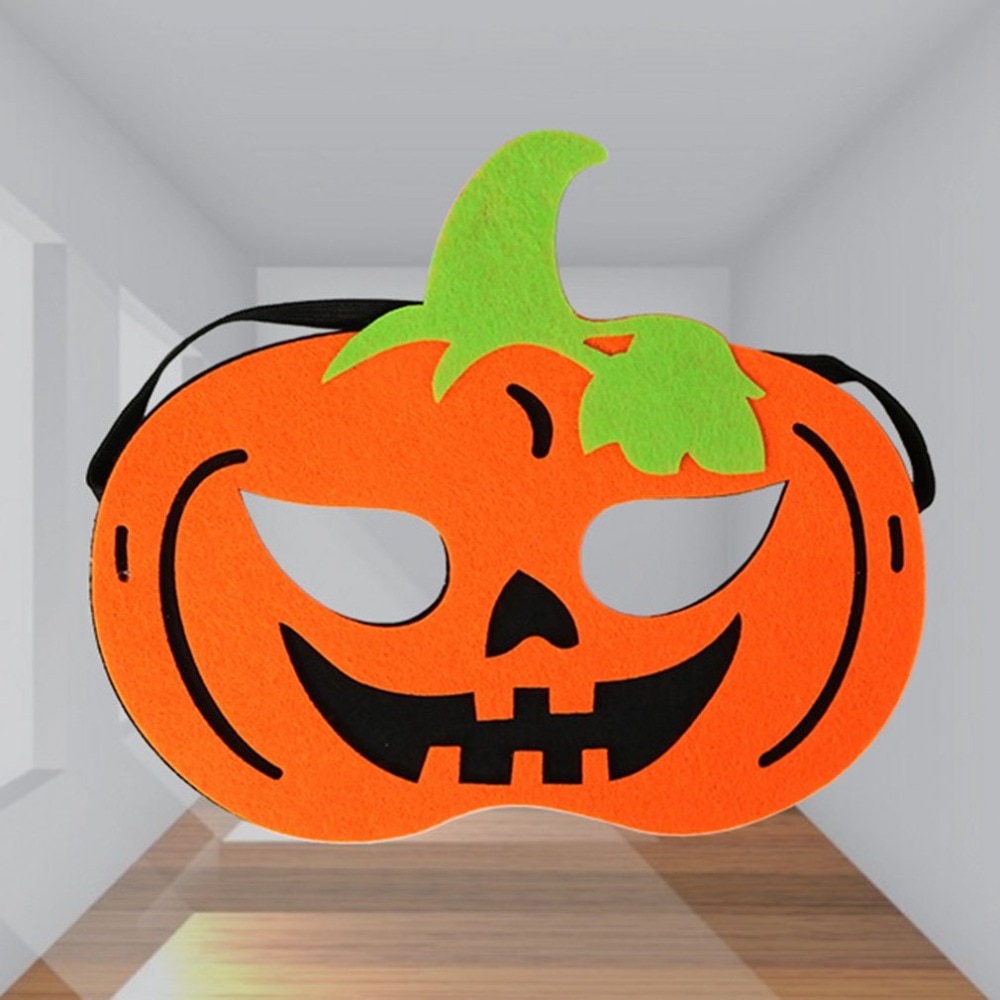
You can also make bulky handicrafts out of cardboard that are not quite standard in shape. If you fold orange cardboard in the manner of gift wrapping and draw on the surface with a black marker, you get a nice and useful cardboard pumpkin.
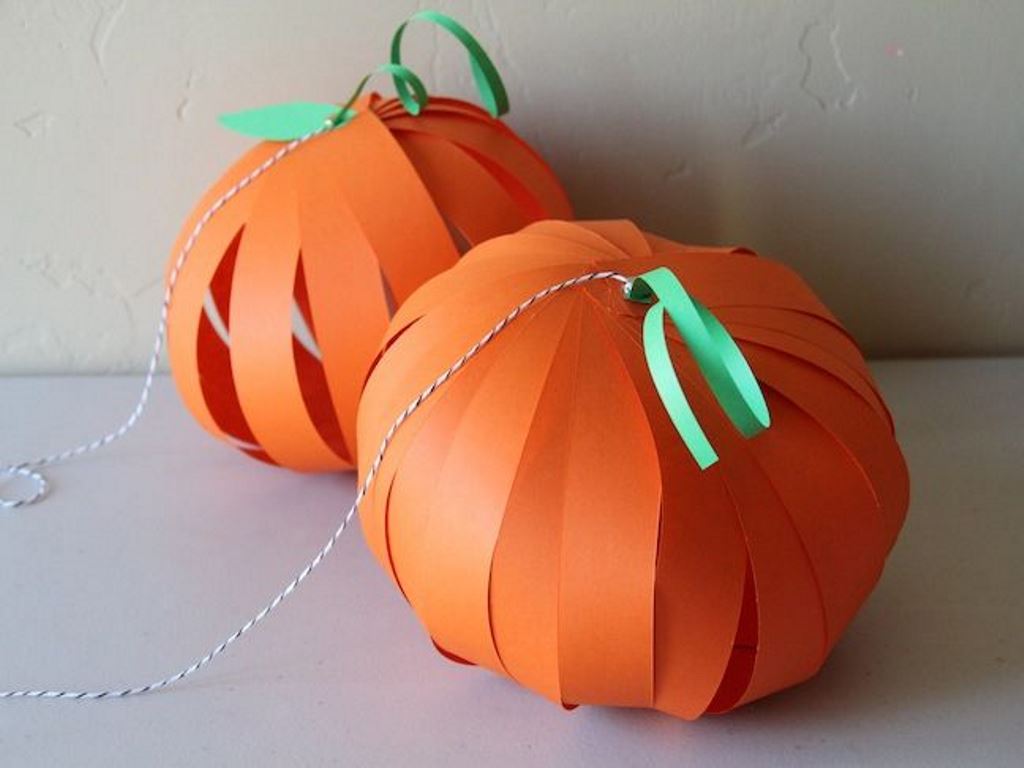
For ease of manufacture, you can fold a sheet of cardboard in the same way as for cutting out New Year's snowflakes, i.e. in half right side inward. The face drawing will be done at the fold line. After that, all that remains is to cut everything and flatten the fold line.
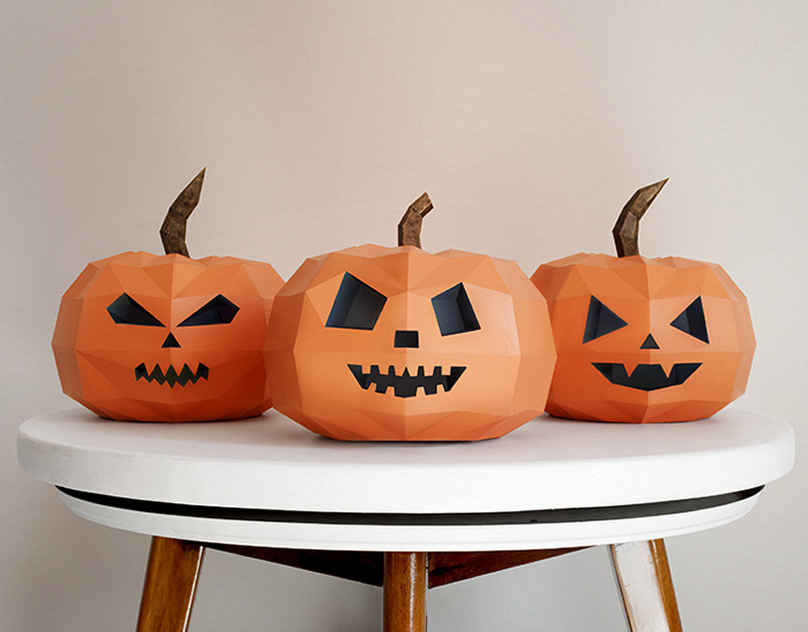
From textiles
The main advantage of textile pumpkins, unlike natural ones, is that they can be stored indefinitely. Once you've sewn them together, you can use them on Halloween every year.
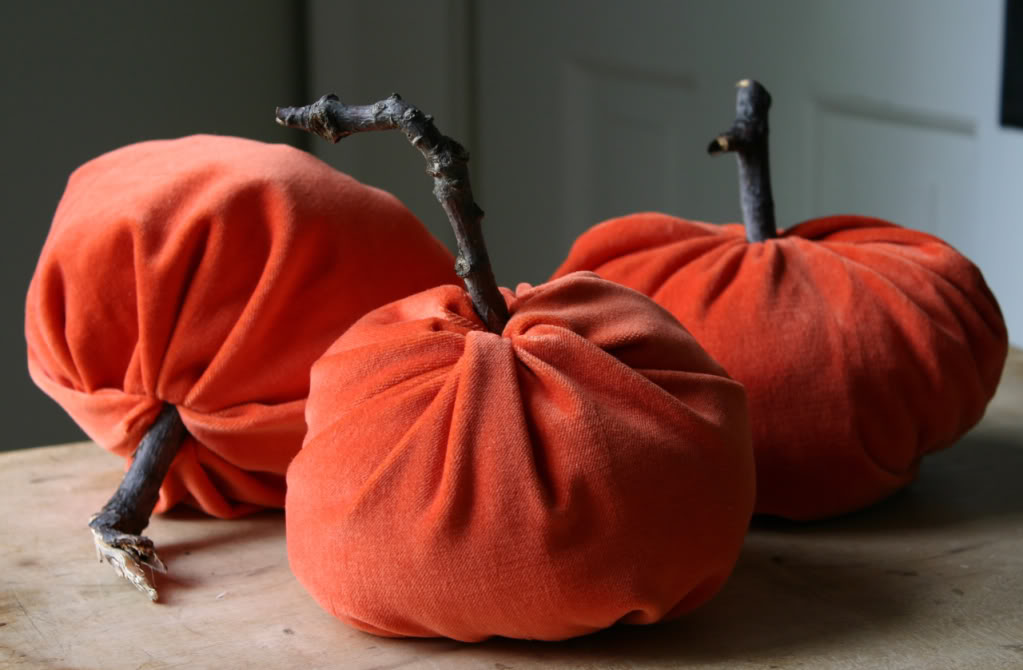
The second plus is that you are practically unlimited in materials. Any fabric is suitable for the base, and beads, rhinestones, feathers, buttons and whatever your heart desires for decoration. You can even fill pumpkins with cotton or fake fluff and turn them into round pads.
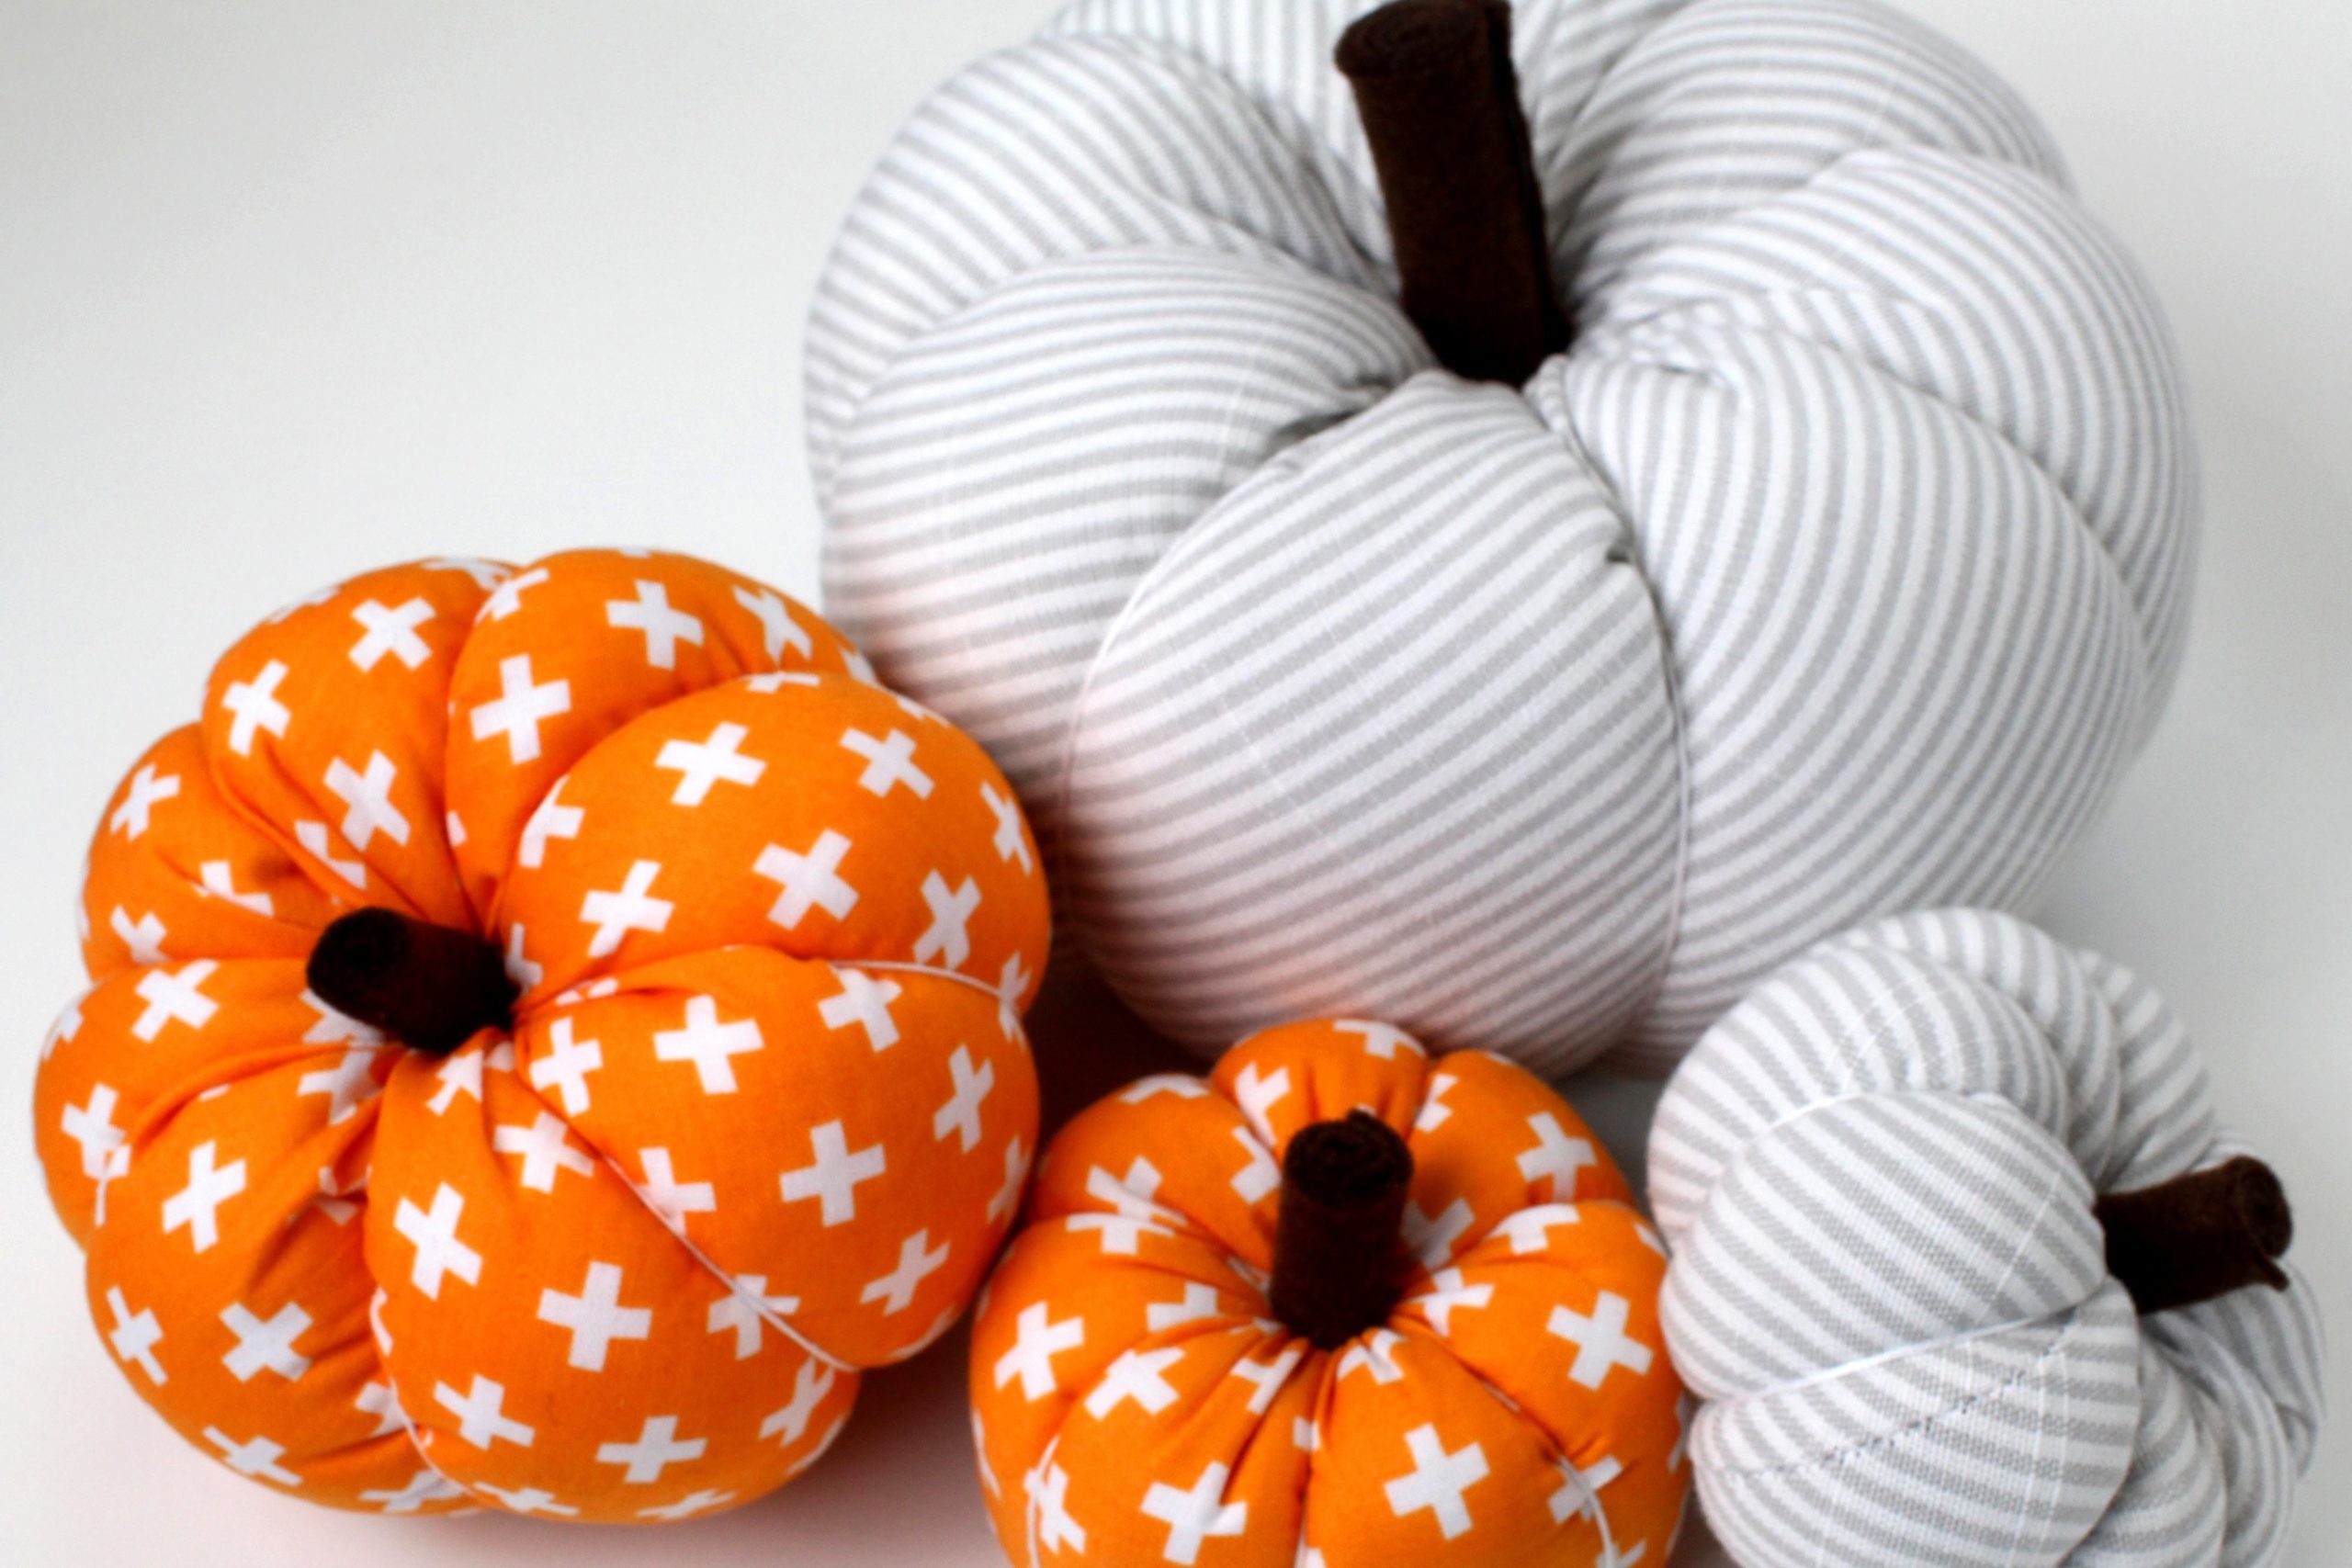
And with all this, no special sewing skills are needed.
Here is the easiest way to make a do-it-yourself pumpkin out of fabric:
- Prepare a piece of orange fabric 40 cm by 80 cm or larger. Less is not worth it, because this craft will be pulled together with a rope, which will visually decrease.
- Fold the fabric rectangle right-side in and sew the edges.
- Now step back a couple of centimeters from the edge and sew with a basting stitch. Pull the ends of the thread together to form a bundle of fabric. Secure the knot.
- Turn out the workpiece.If you did everything right, you will have a pouch.
- Fill it in more tightly with padding polyester. Some people advise placing a plastic bottle in the center to keep the finished product in shape, but this is not a practical solution.
- Use the basting stitch again, then pull the ends of the thread together and sew the edge.
- Now arm yourself with a canvas rope and form with it the divisions on the pumpkin. Twist the long ends into a ponytail and secure with glue. That's it, the pumpkin is ready!
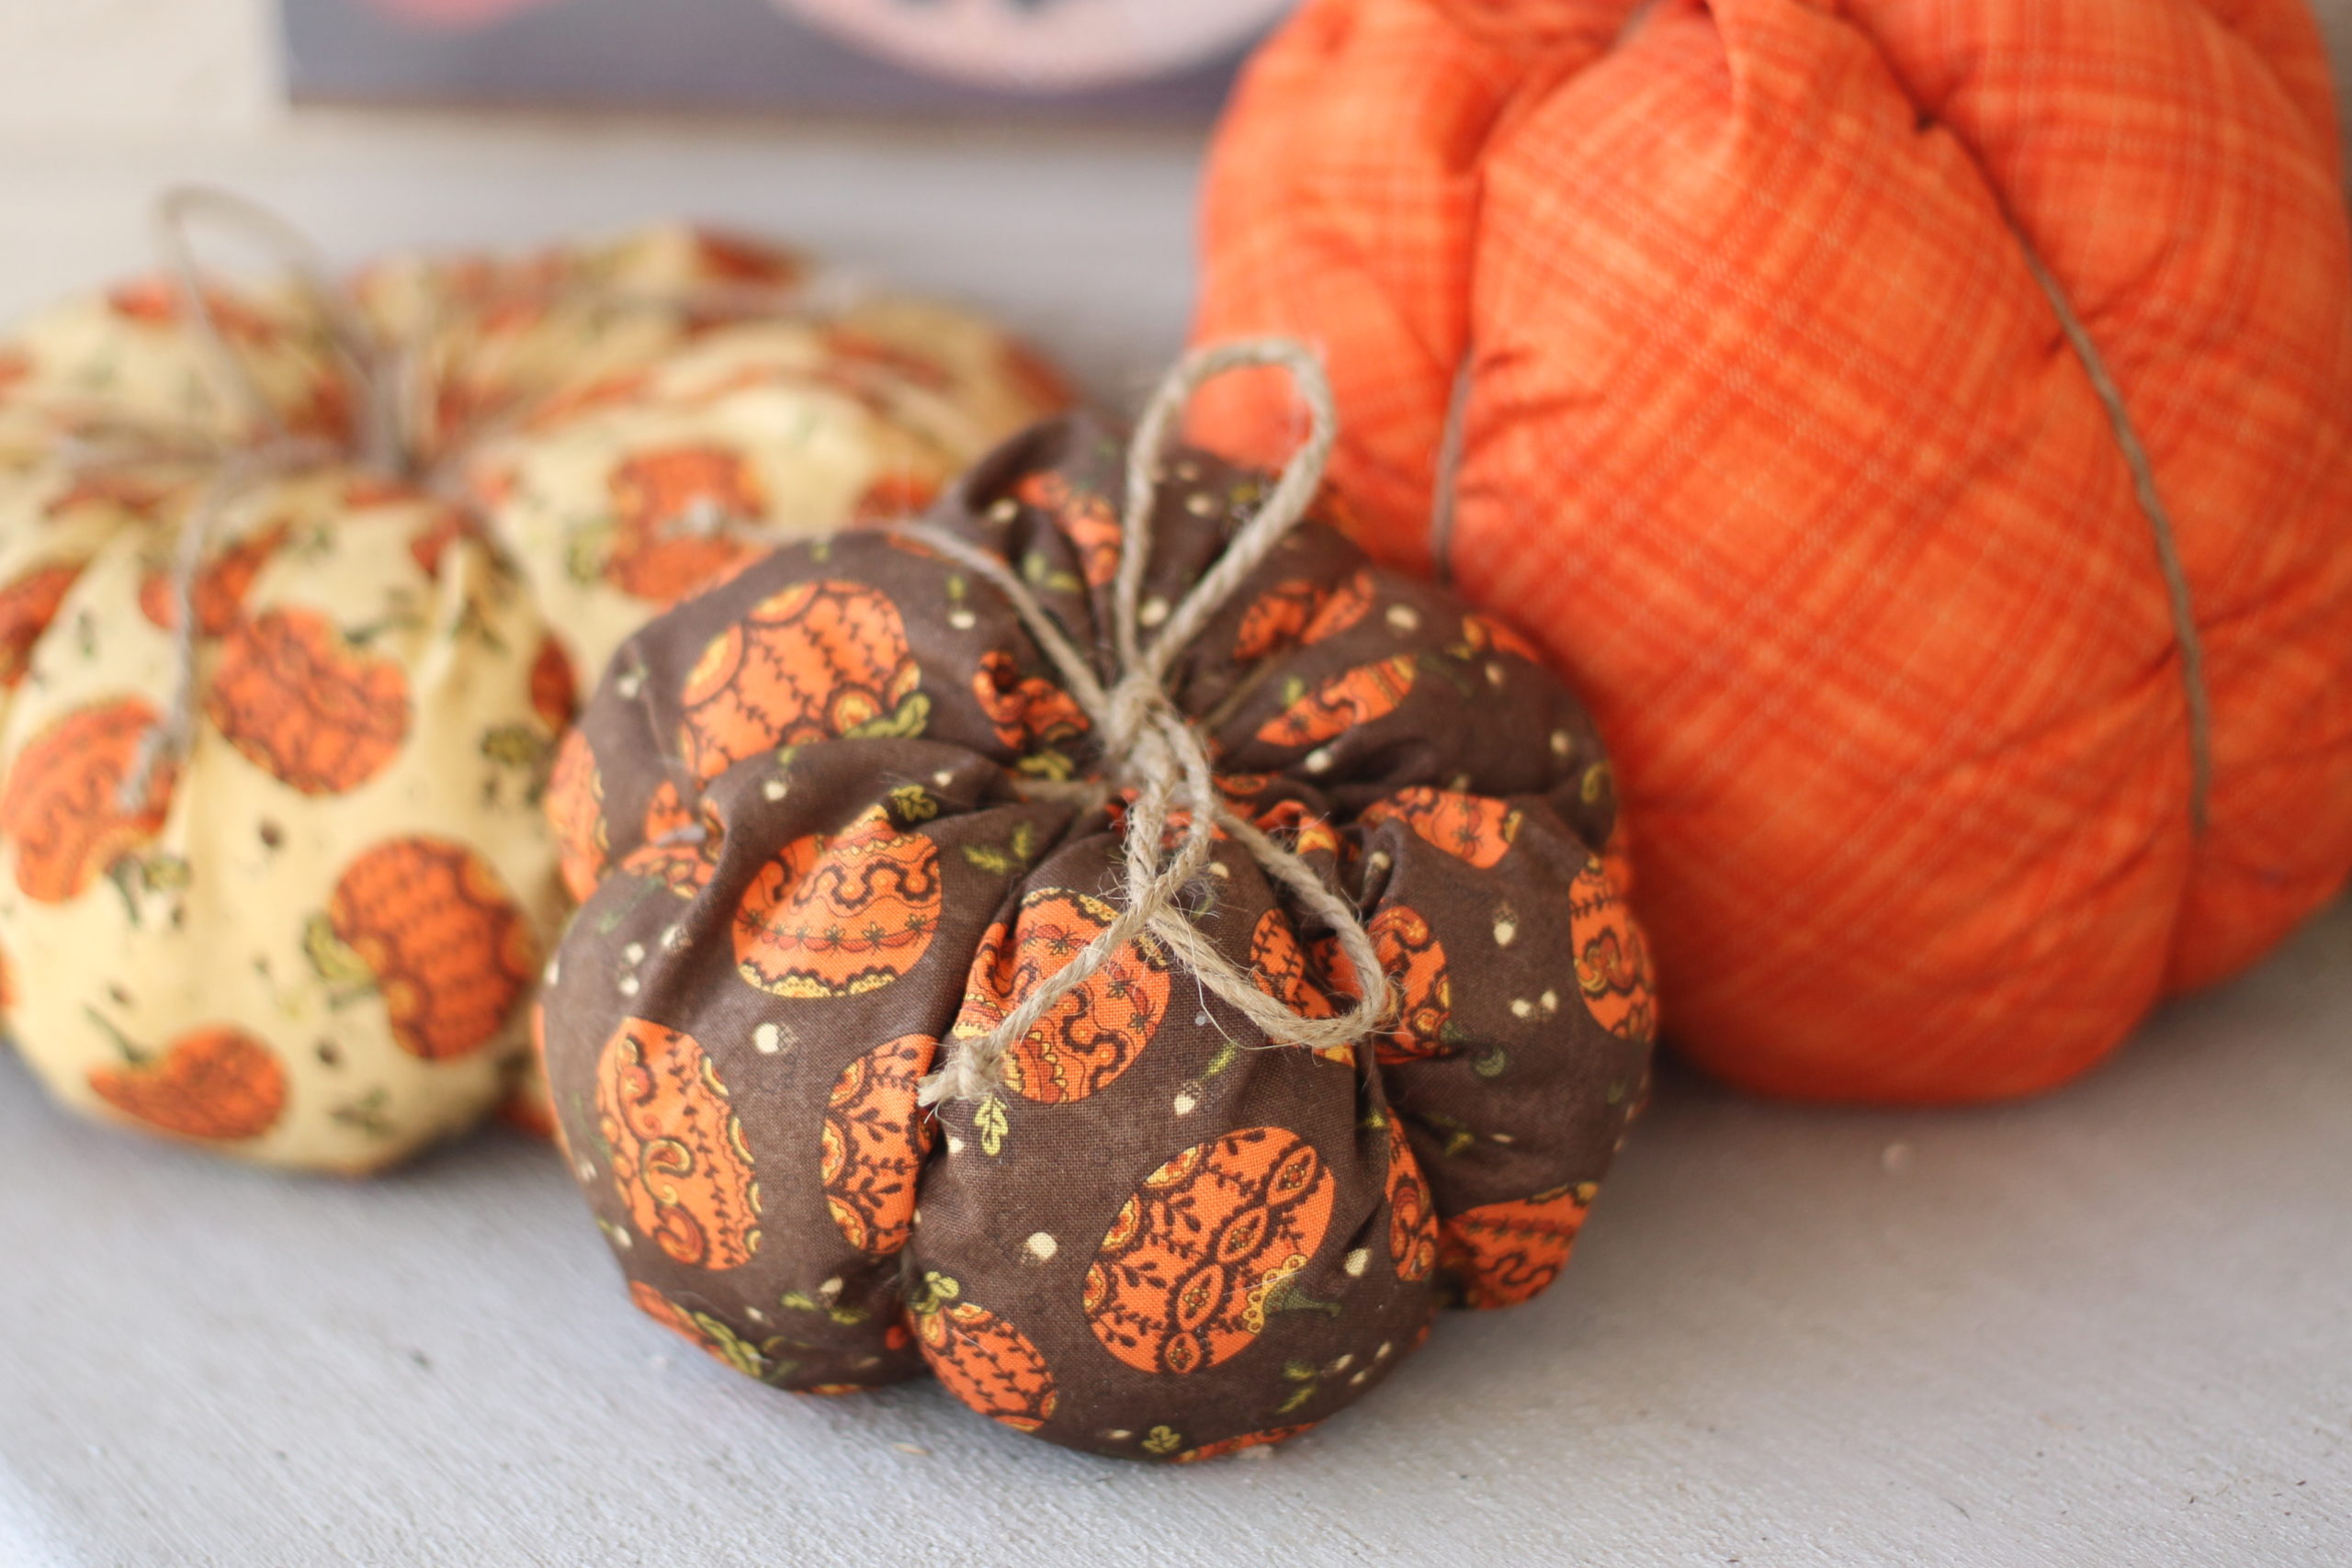
Use this method or come up with your own.
How to make a pumpkin look scary or beautiful
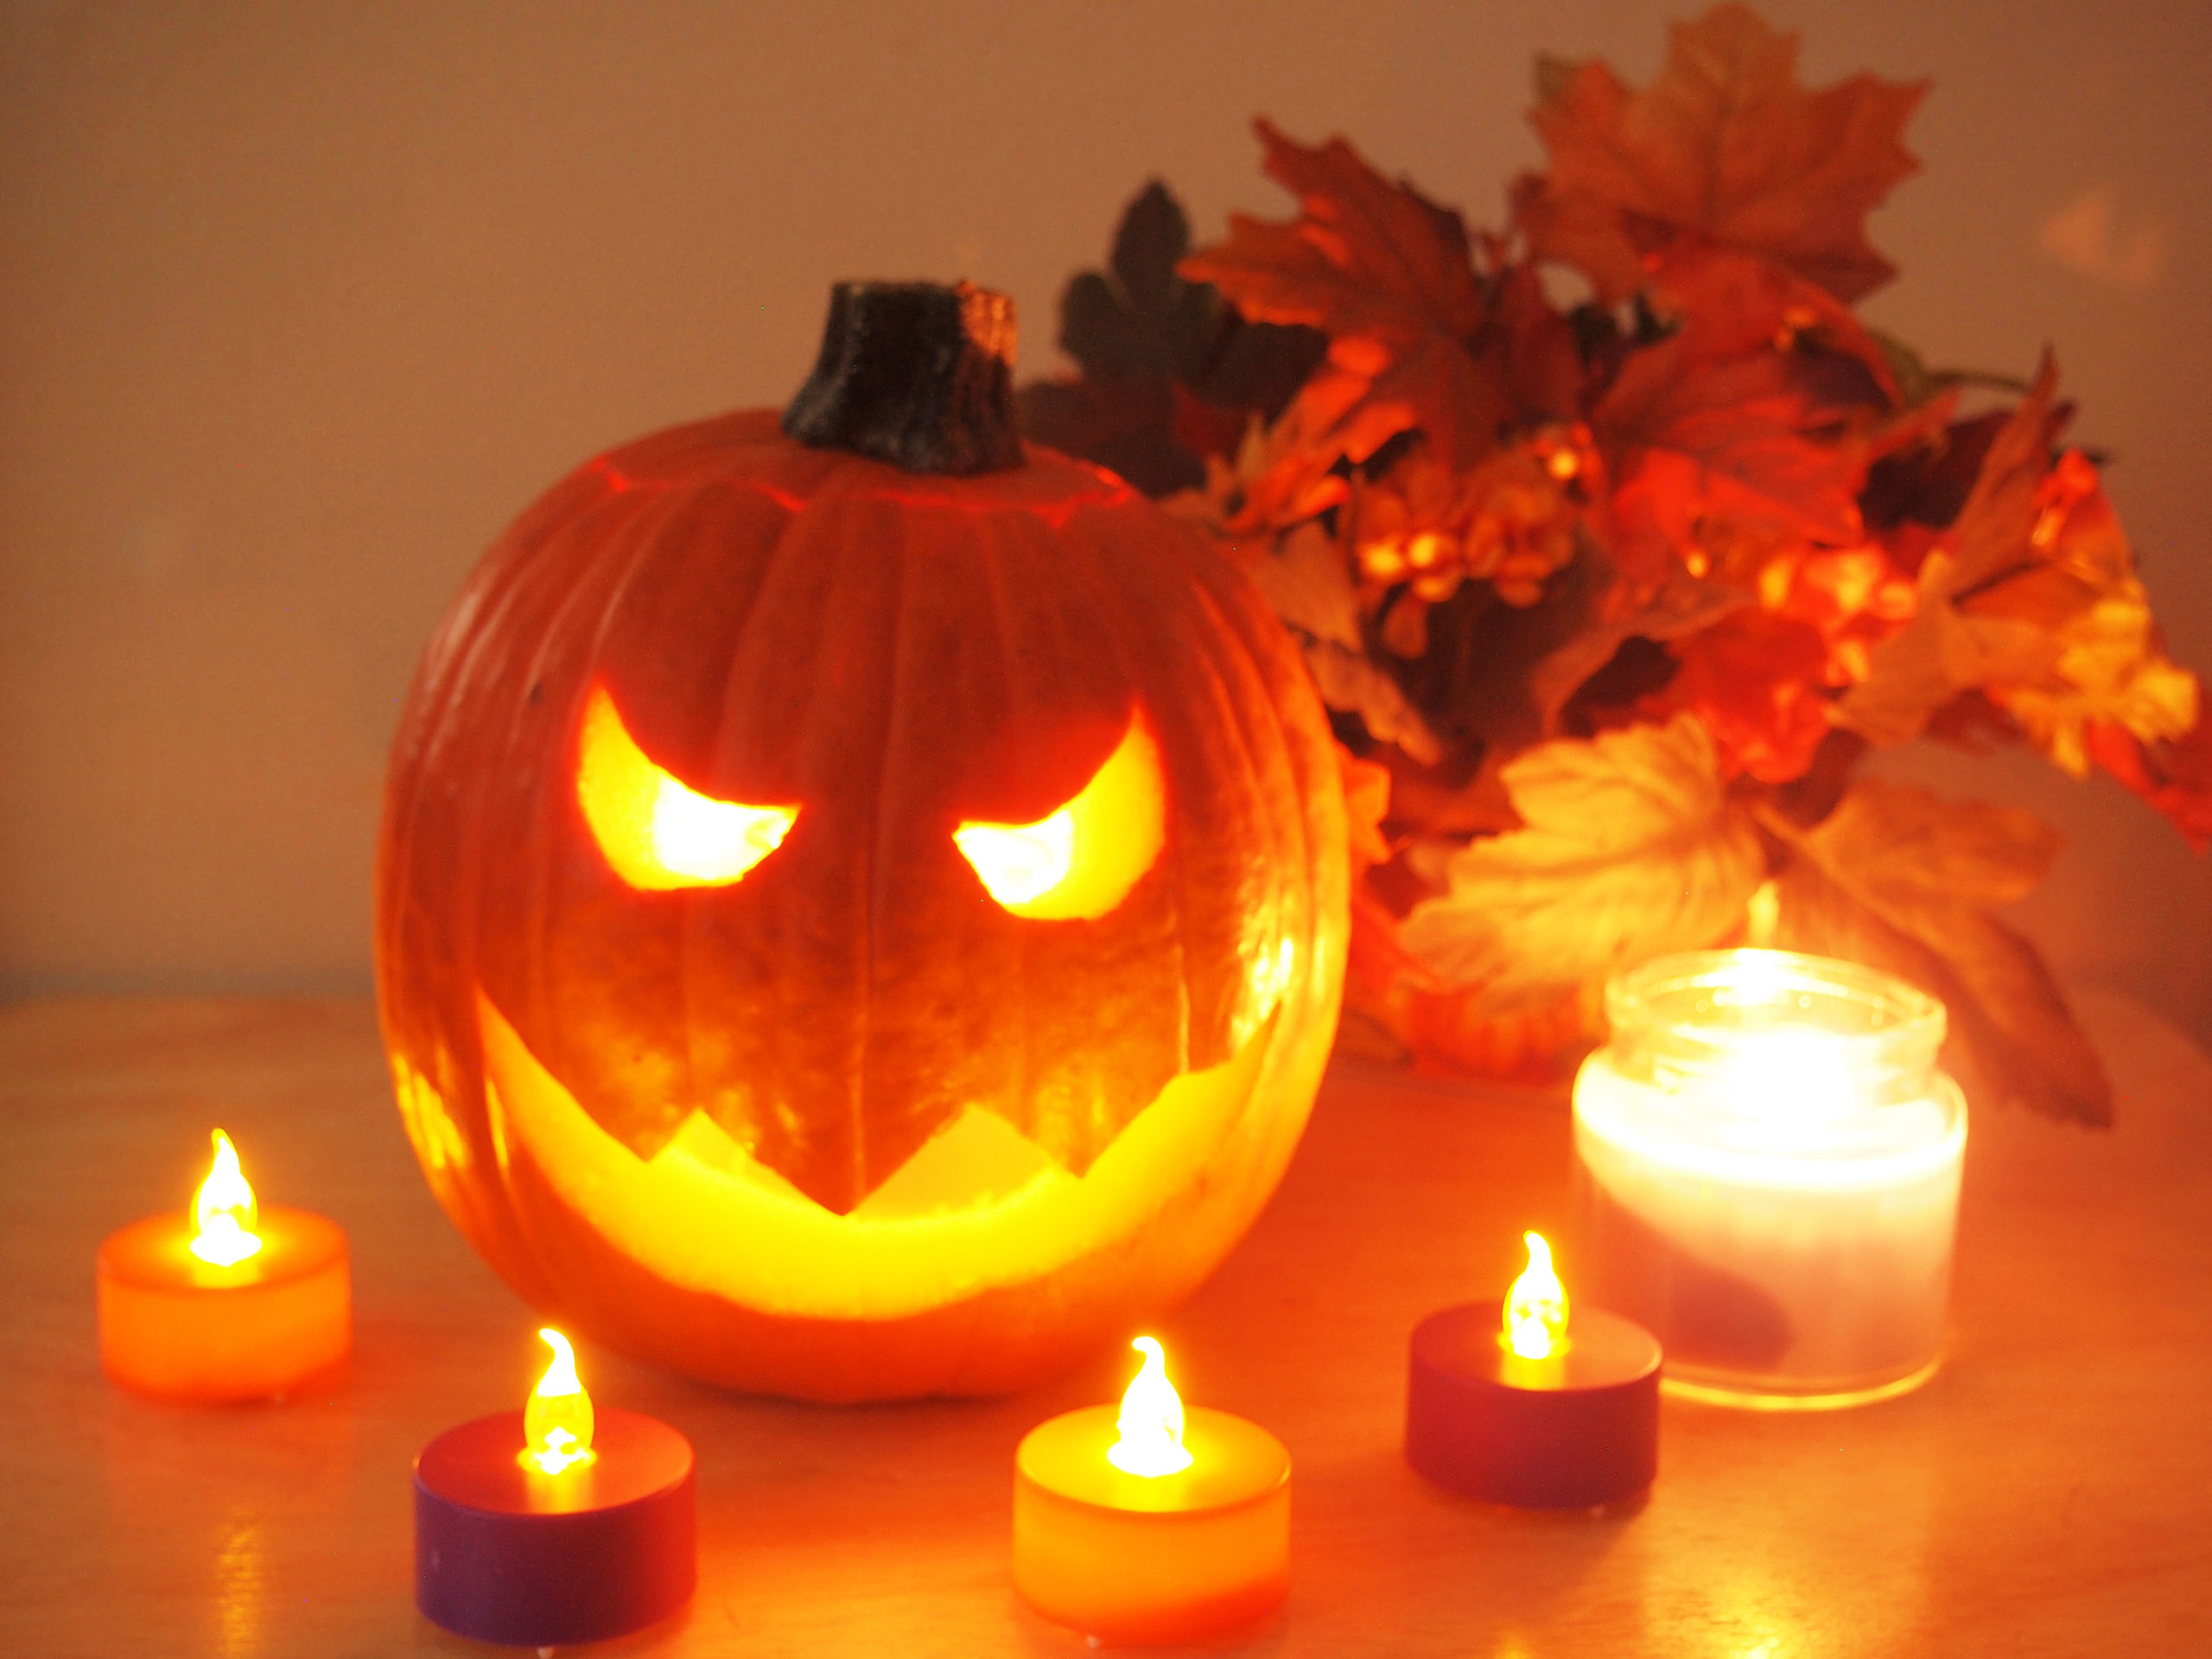
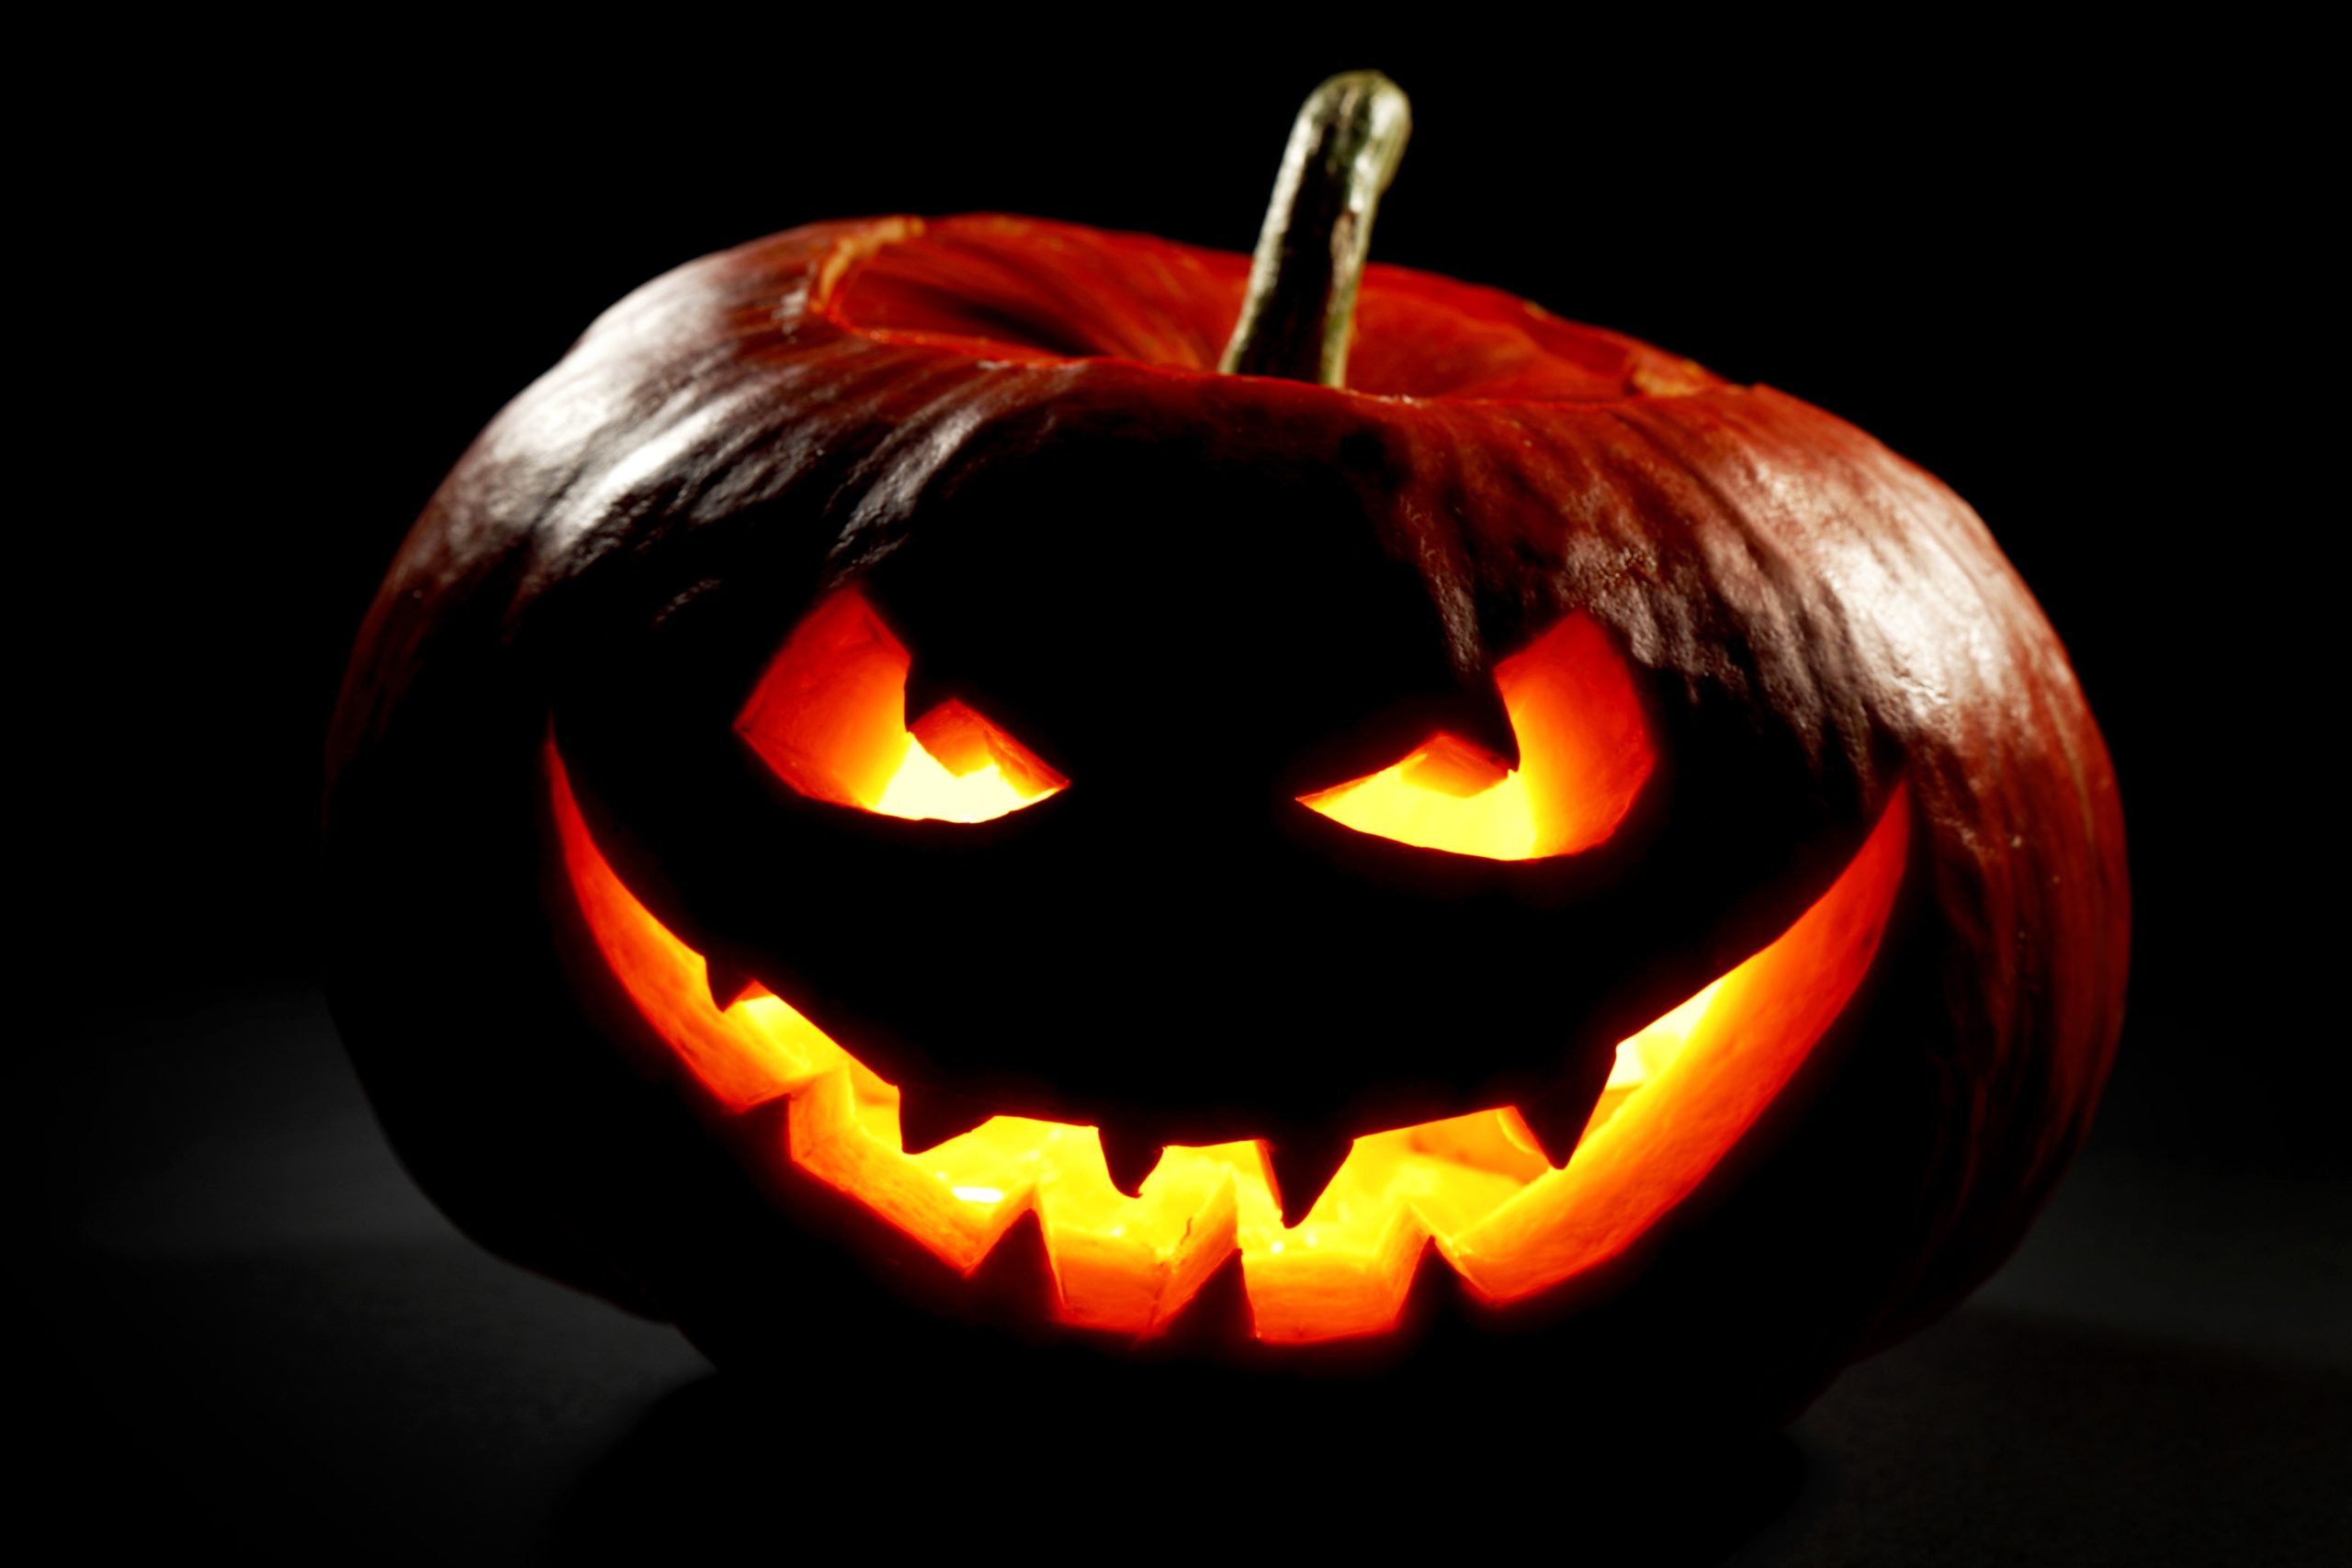
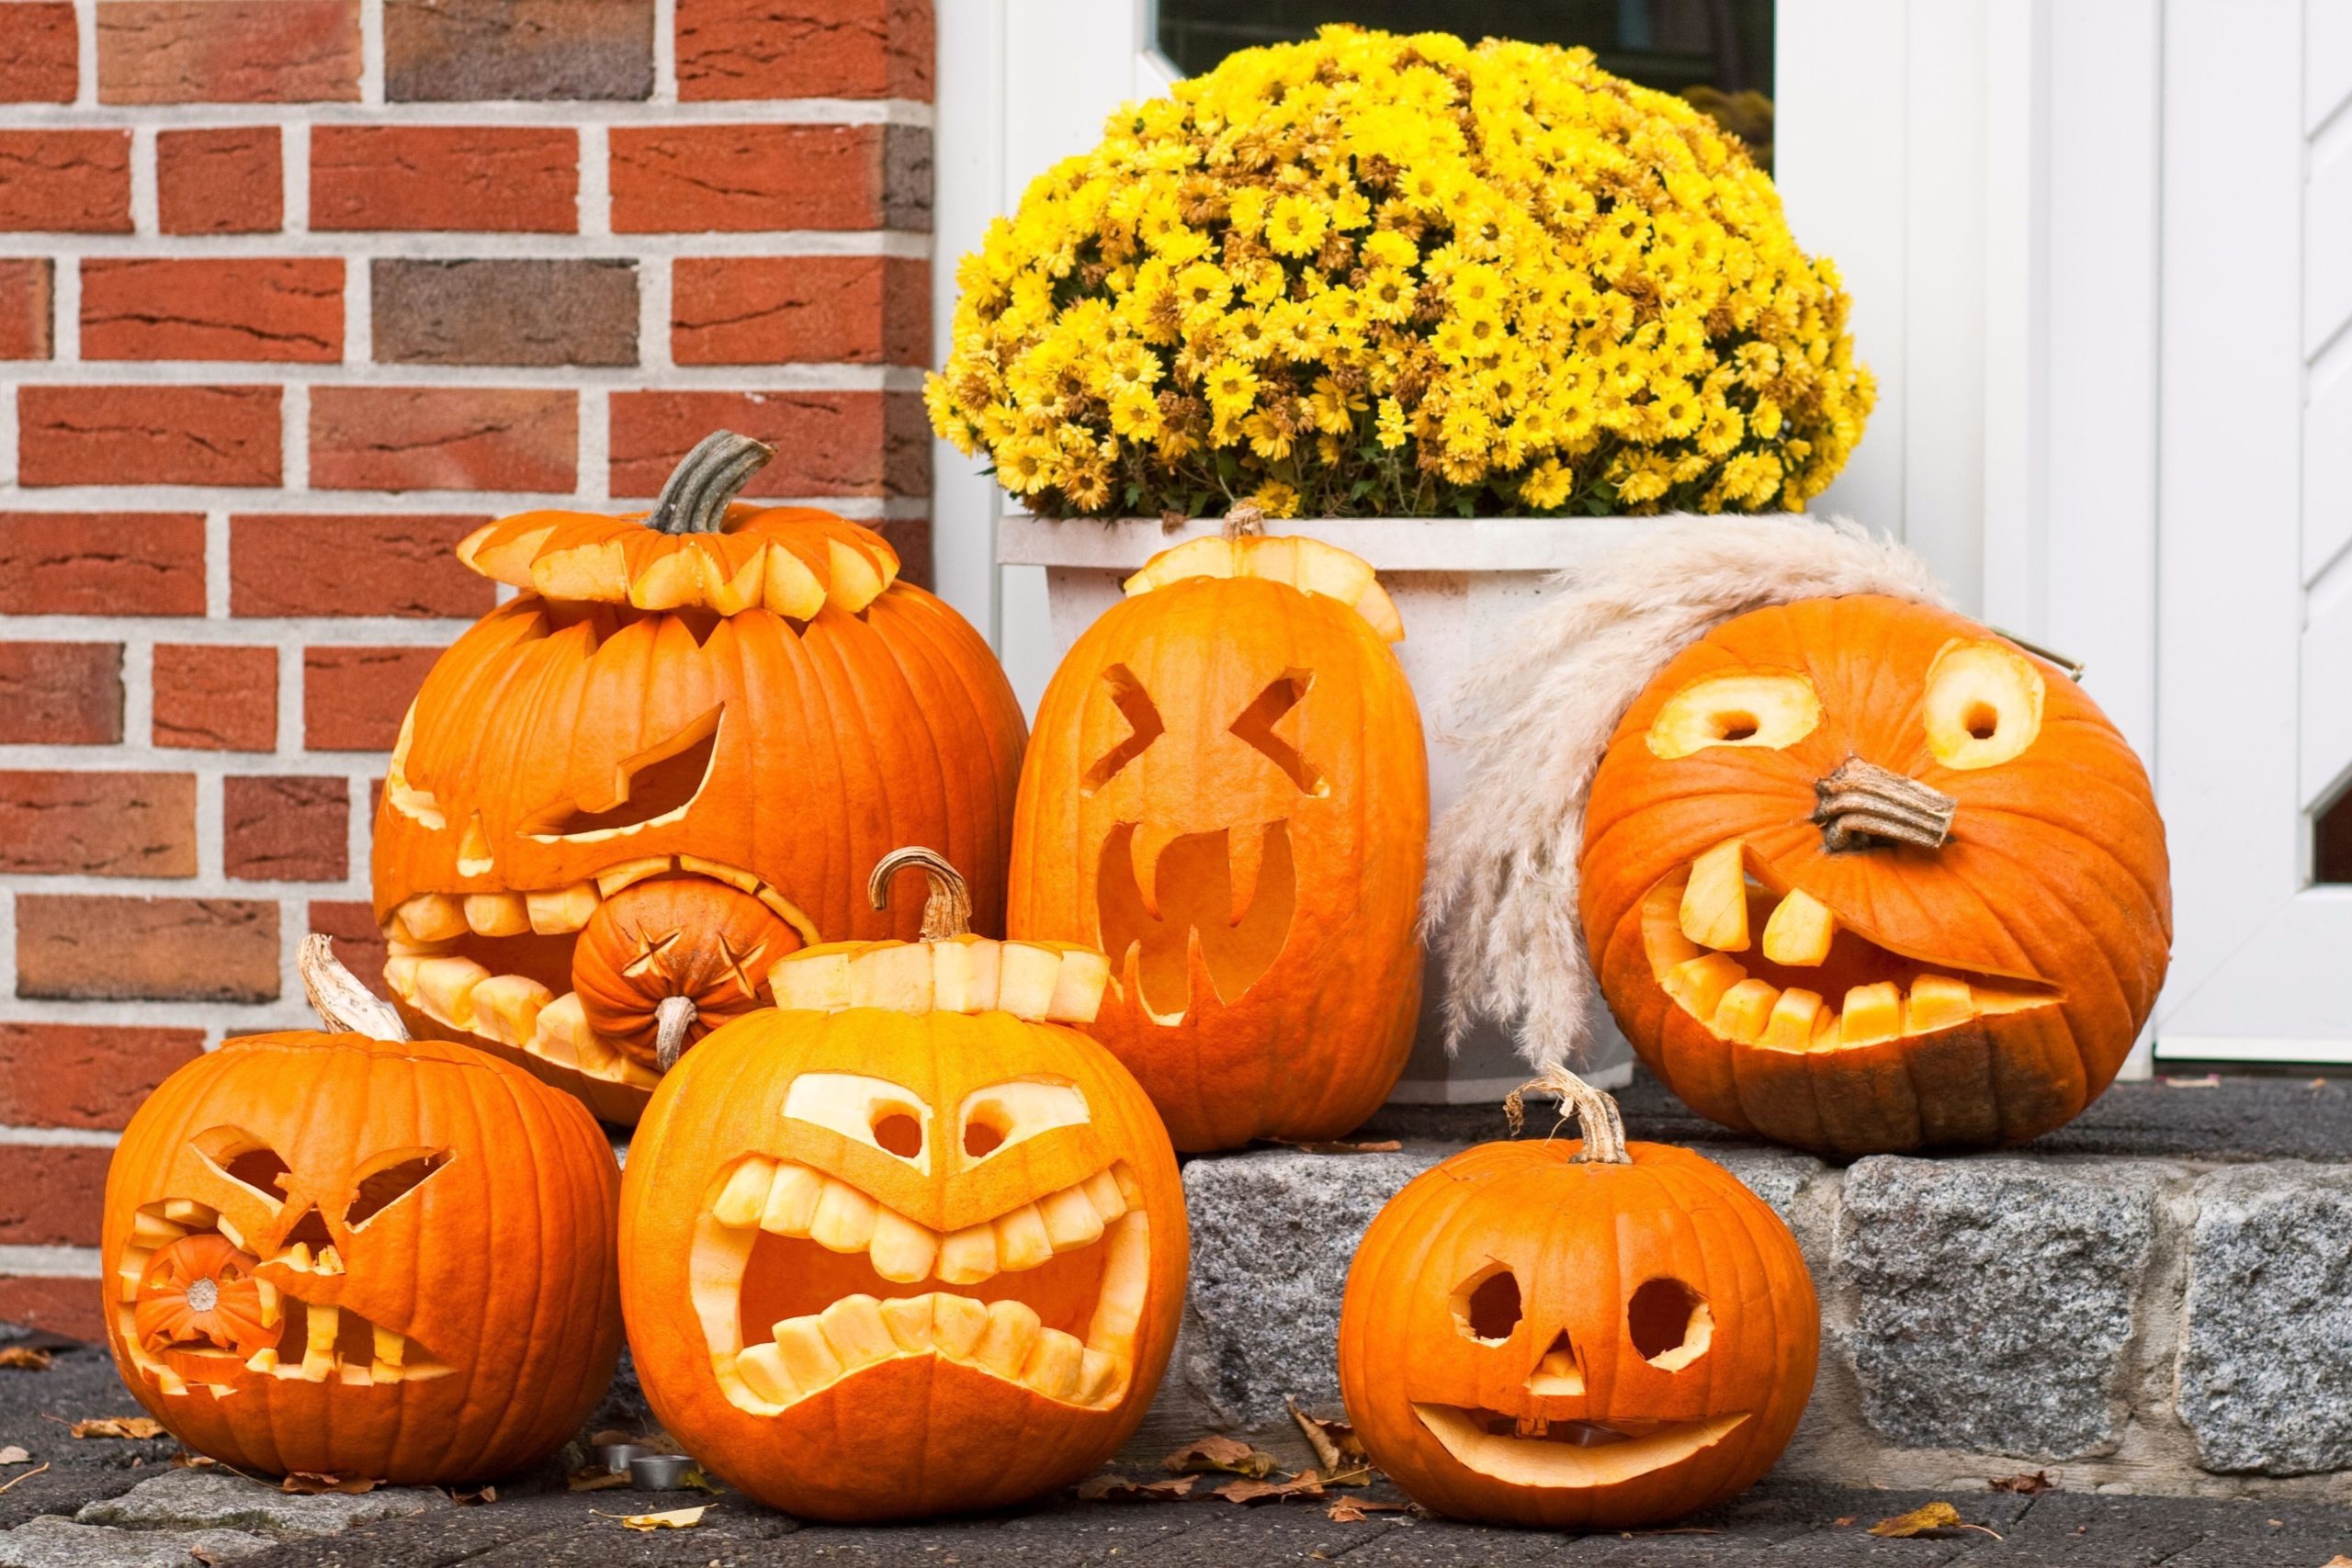
Surely you are familiar with the legend of Jack the Lantern, whose soul still wanders the world in search of reassurance. It is to this character that we owe the origin of the holiday. And if you like creepy stories, you can make Jack from the pumpkin. To do this, cut out the triangular eyes and nose, and make the mouth frozen in an ominous smile - in the shape of a crescent moon with two fangs.
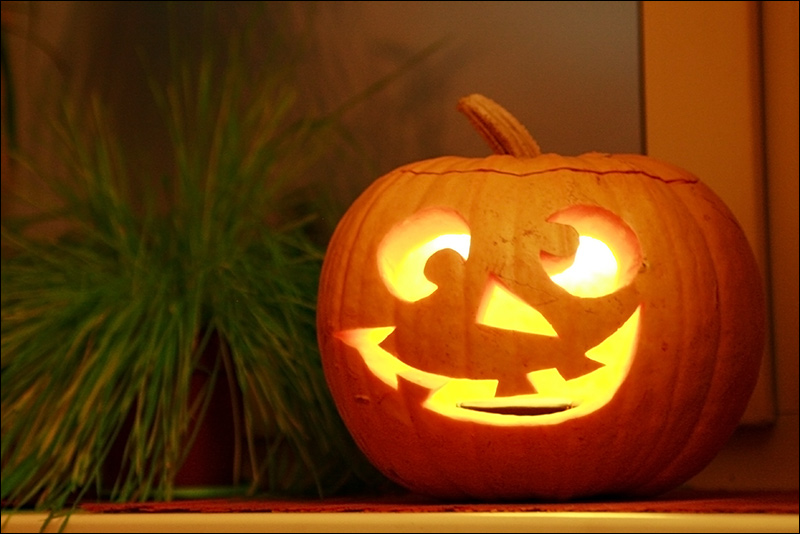
If the legend of Jack inspires fear in you, and you just want to celebrate, pay attention to the beautiful pumpkin decor options.
How to make pumpkin decorations with your own hands
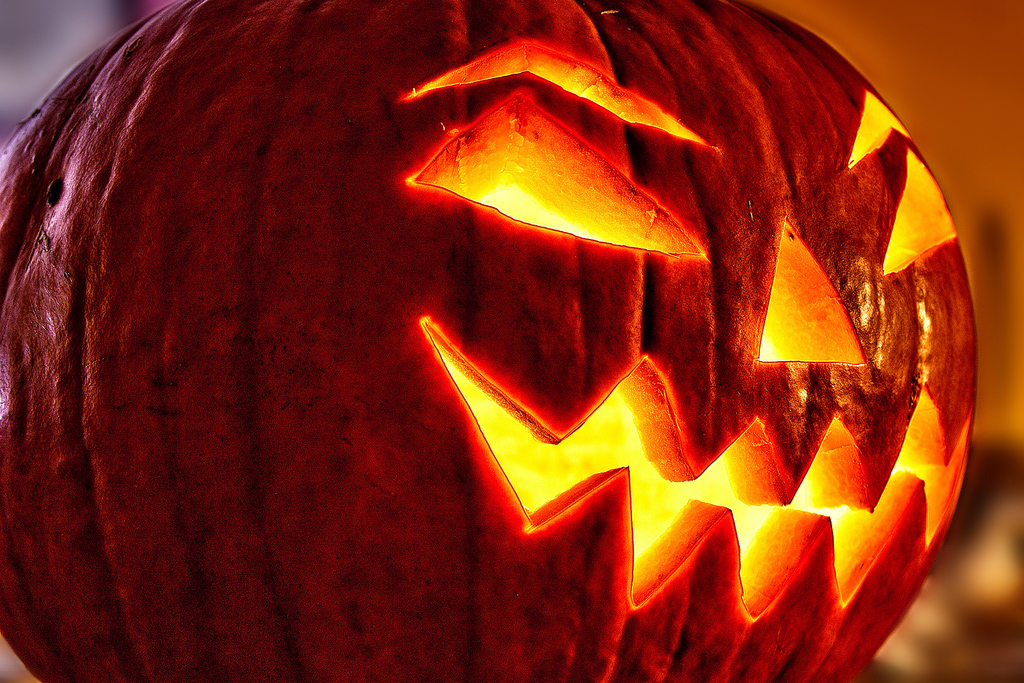
The pumpkin can be made an original light source. To make a carved lantern, you need to cut through a neat pattern in the skin. Light from within will pour through it. If this is your first time trying something like this, take a larger pumpkin as a base: it will be easier to cut something on it. Arm yourself with a special carving knife or clerical knife. As a last resort - with an ordinary nail file.
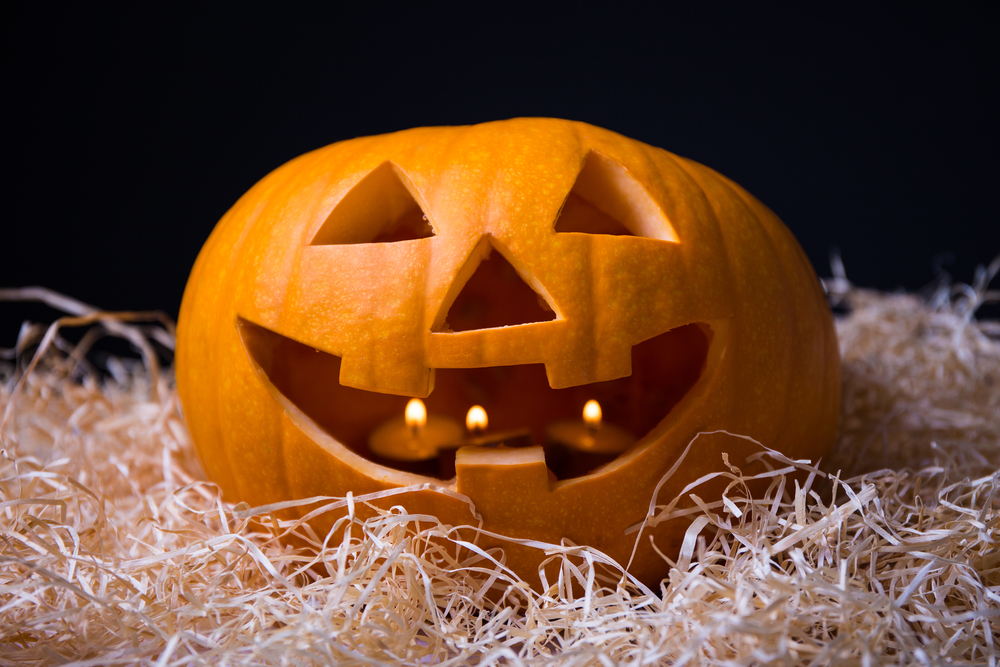
Note! To prevent the pumpkin from cracking, it is better to first cut out the pattern, and only then remove the pulp.
Tea candles or a neatly laid electric garland are usually used as the light source that will be inside.
Small pumpkins can easily be turned into candles by pouring melted wax or paraffin into them and inserting a wick. And from a large pumpkin, you can make a vase by simply cutting off the top and taking out the pulp. You can put any autumn flowers such as marigolds inside. Wheat, thistle, and other plant survivors in the cold streets are fine too.
If you opt for fresh flowers, it makes sense to cover the inner walls of the pumpkin with foil and put a moist oasis inside.
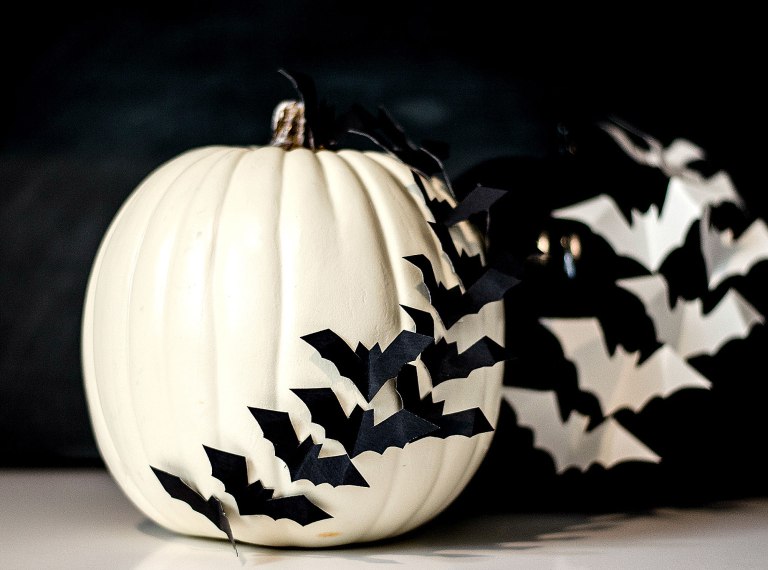
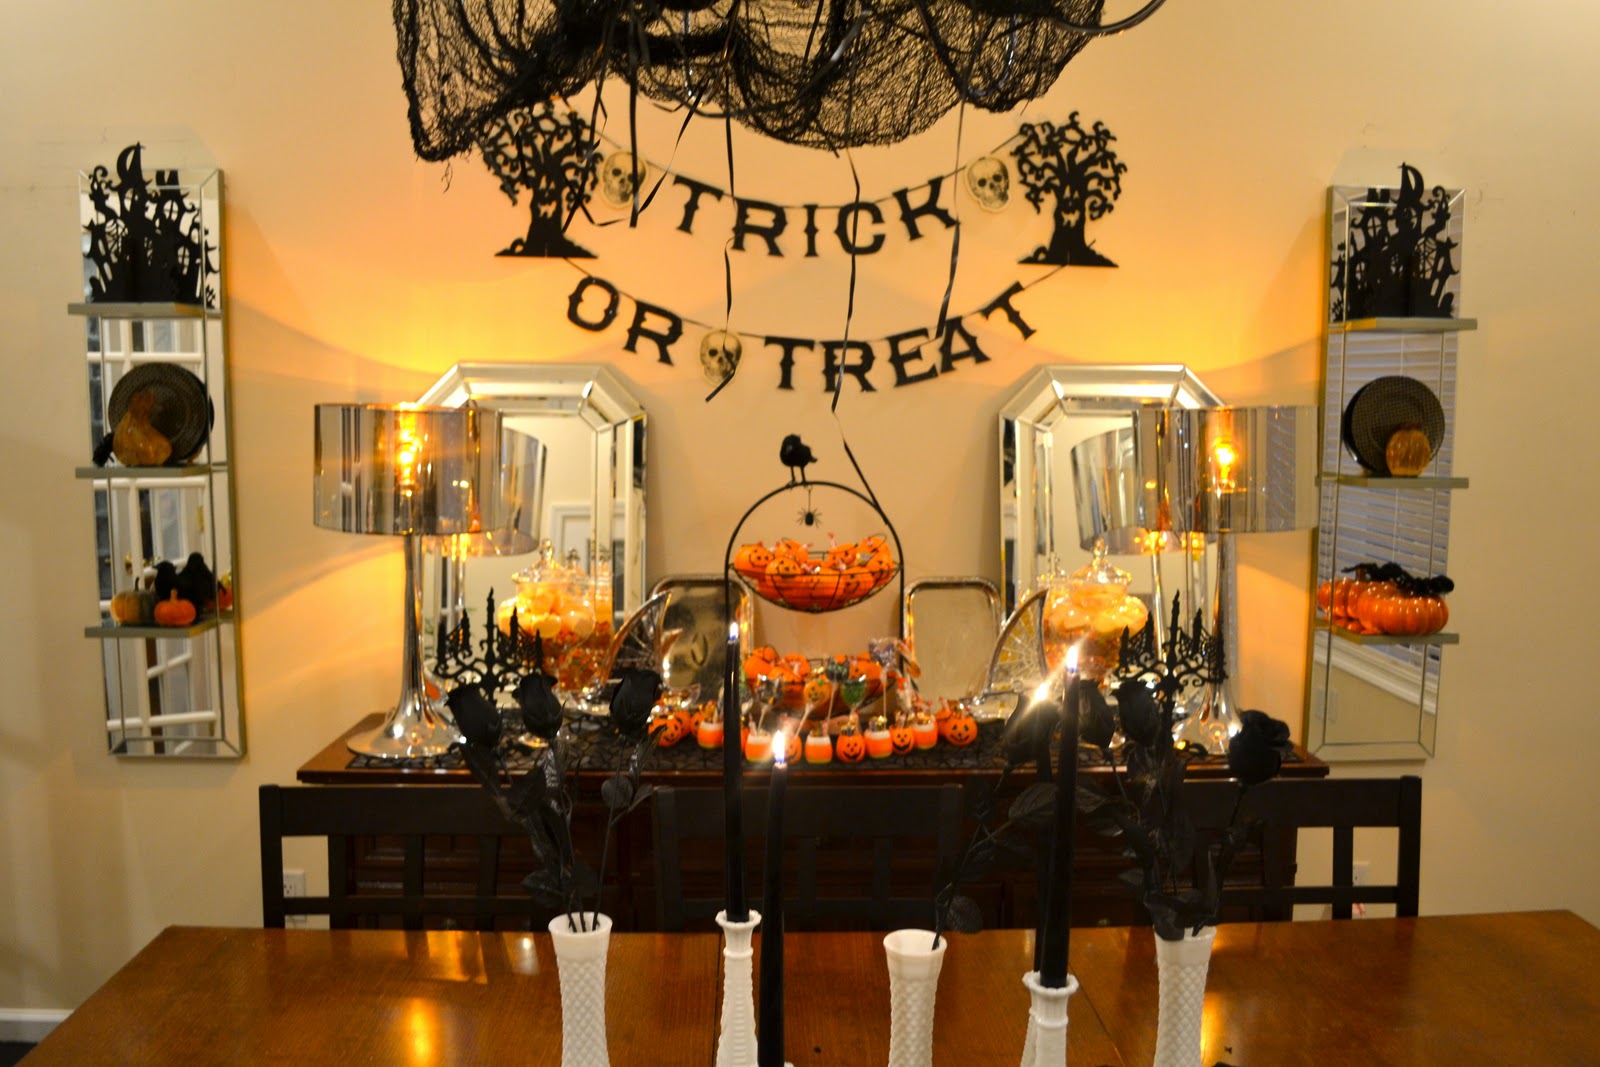
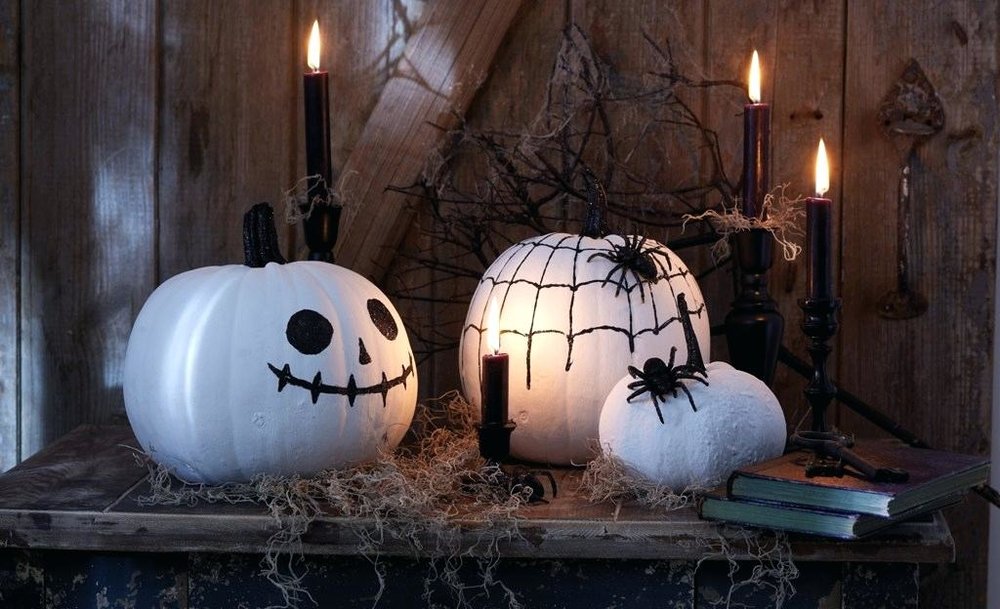
Important! One pumpkin is not enough for a festive decoration. A composition of several pieces and additional decor are required: cobwebs, skeletons, bats.
Garlands suspended from the ceiling can be combined with banners on the walls, and the served table will be in harmony with the features of the selected textiles.
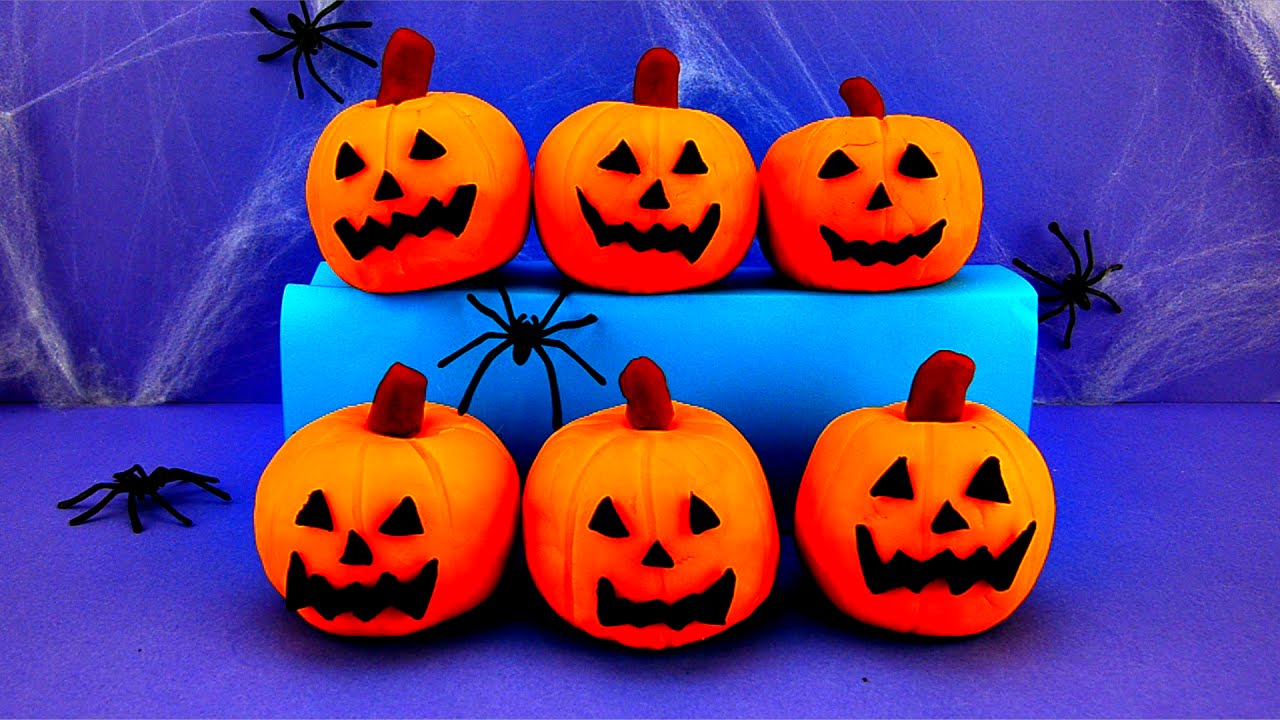
All kids can also do a thematic craft if they have plasticine. The pumpkin is made from an orange block, and the black one is used to make the facial features and the cloak.
Finally
Now you know how to make a Halloween pumpkin with your own hands and create a festive atmosphere in October. Buy pumpkins of different sizes, depending on your needs, and get creative!
VIDEO: How to cut a pumpkin for Halloween with your own hands.


