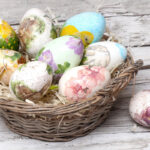
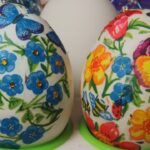
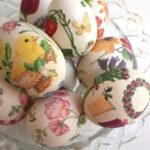
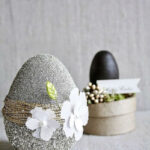
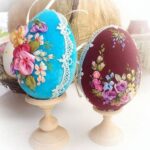
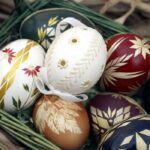
How to decorate eggs for Easter with your own hands from napkins
Every year people celebrate the bright holiday of Easter, the main symbol of which is the egg. Housewives have different attitudes towards their decoration and decor. Some simply paint in onion husks, while others create real masterpieces.
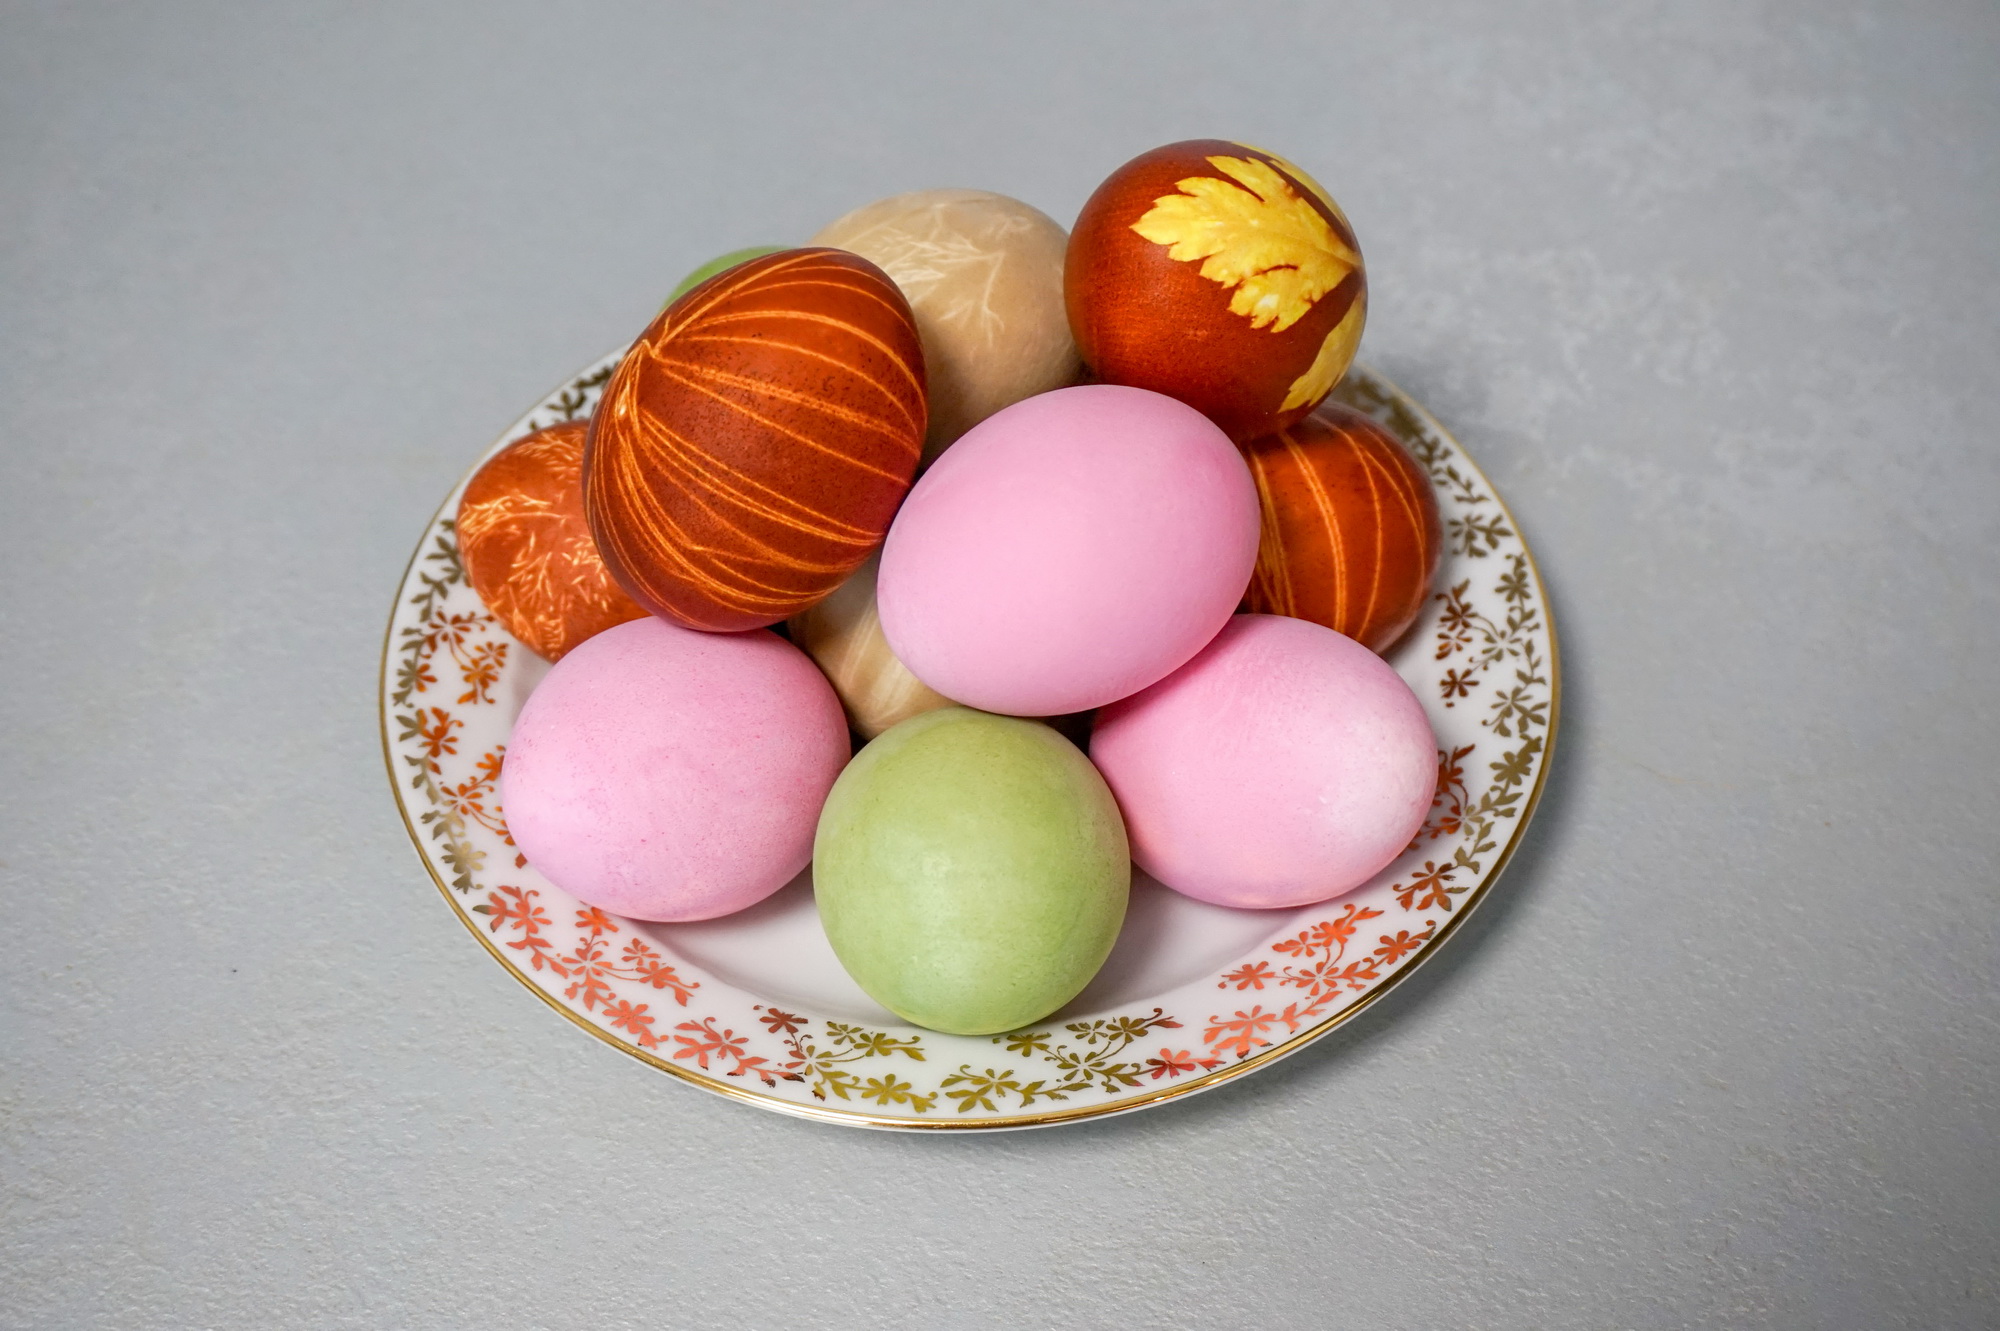
There are also those who buy finished products created by folk craftsmen. There are many ways to turn an ordinary chicken egg into a work of art, and a designer's imagination can be limitless.
Features of decoupage technique
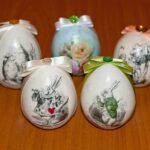
Decoupage is an amazing decor technique that allows you to make bright and stylish jewelry out of ordinary objects in a simple and affordable way. The bottom line is to stick small images on the workpieces and fix them with varnish. The process is quite simple, but it takes care and patience.
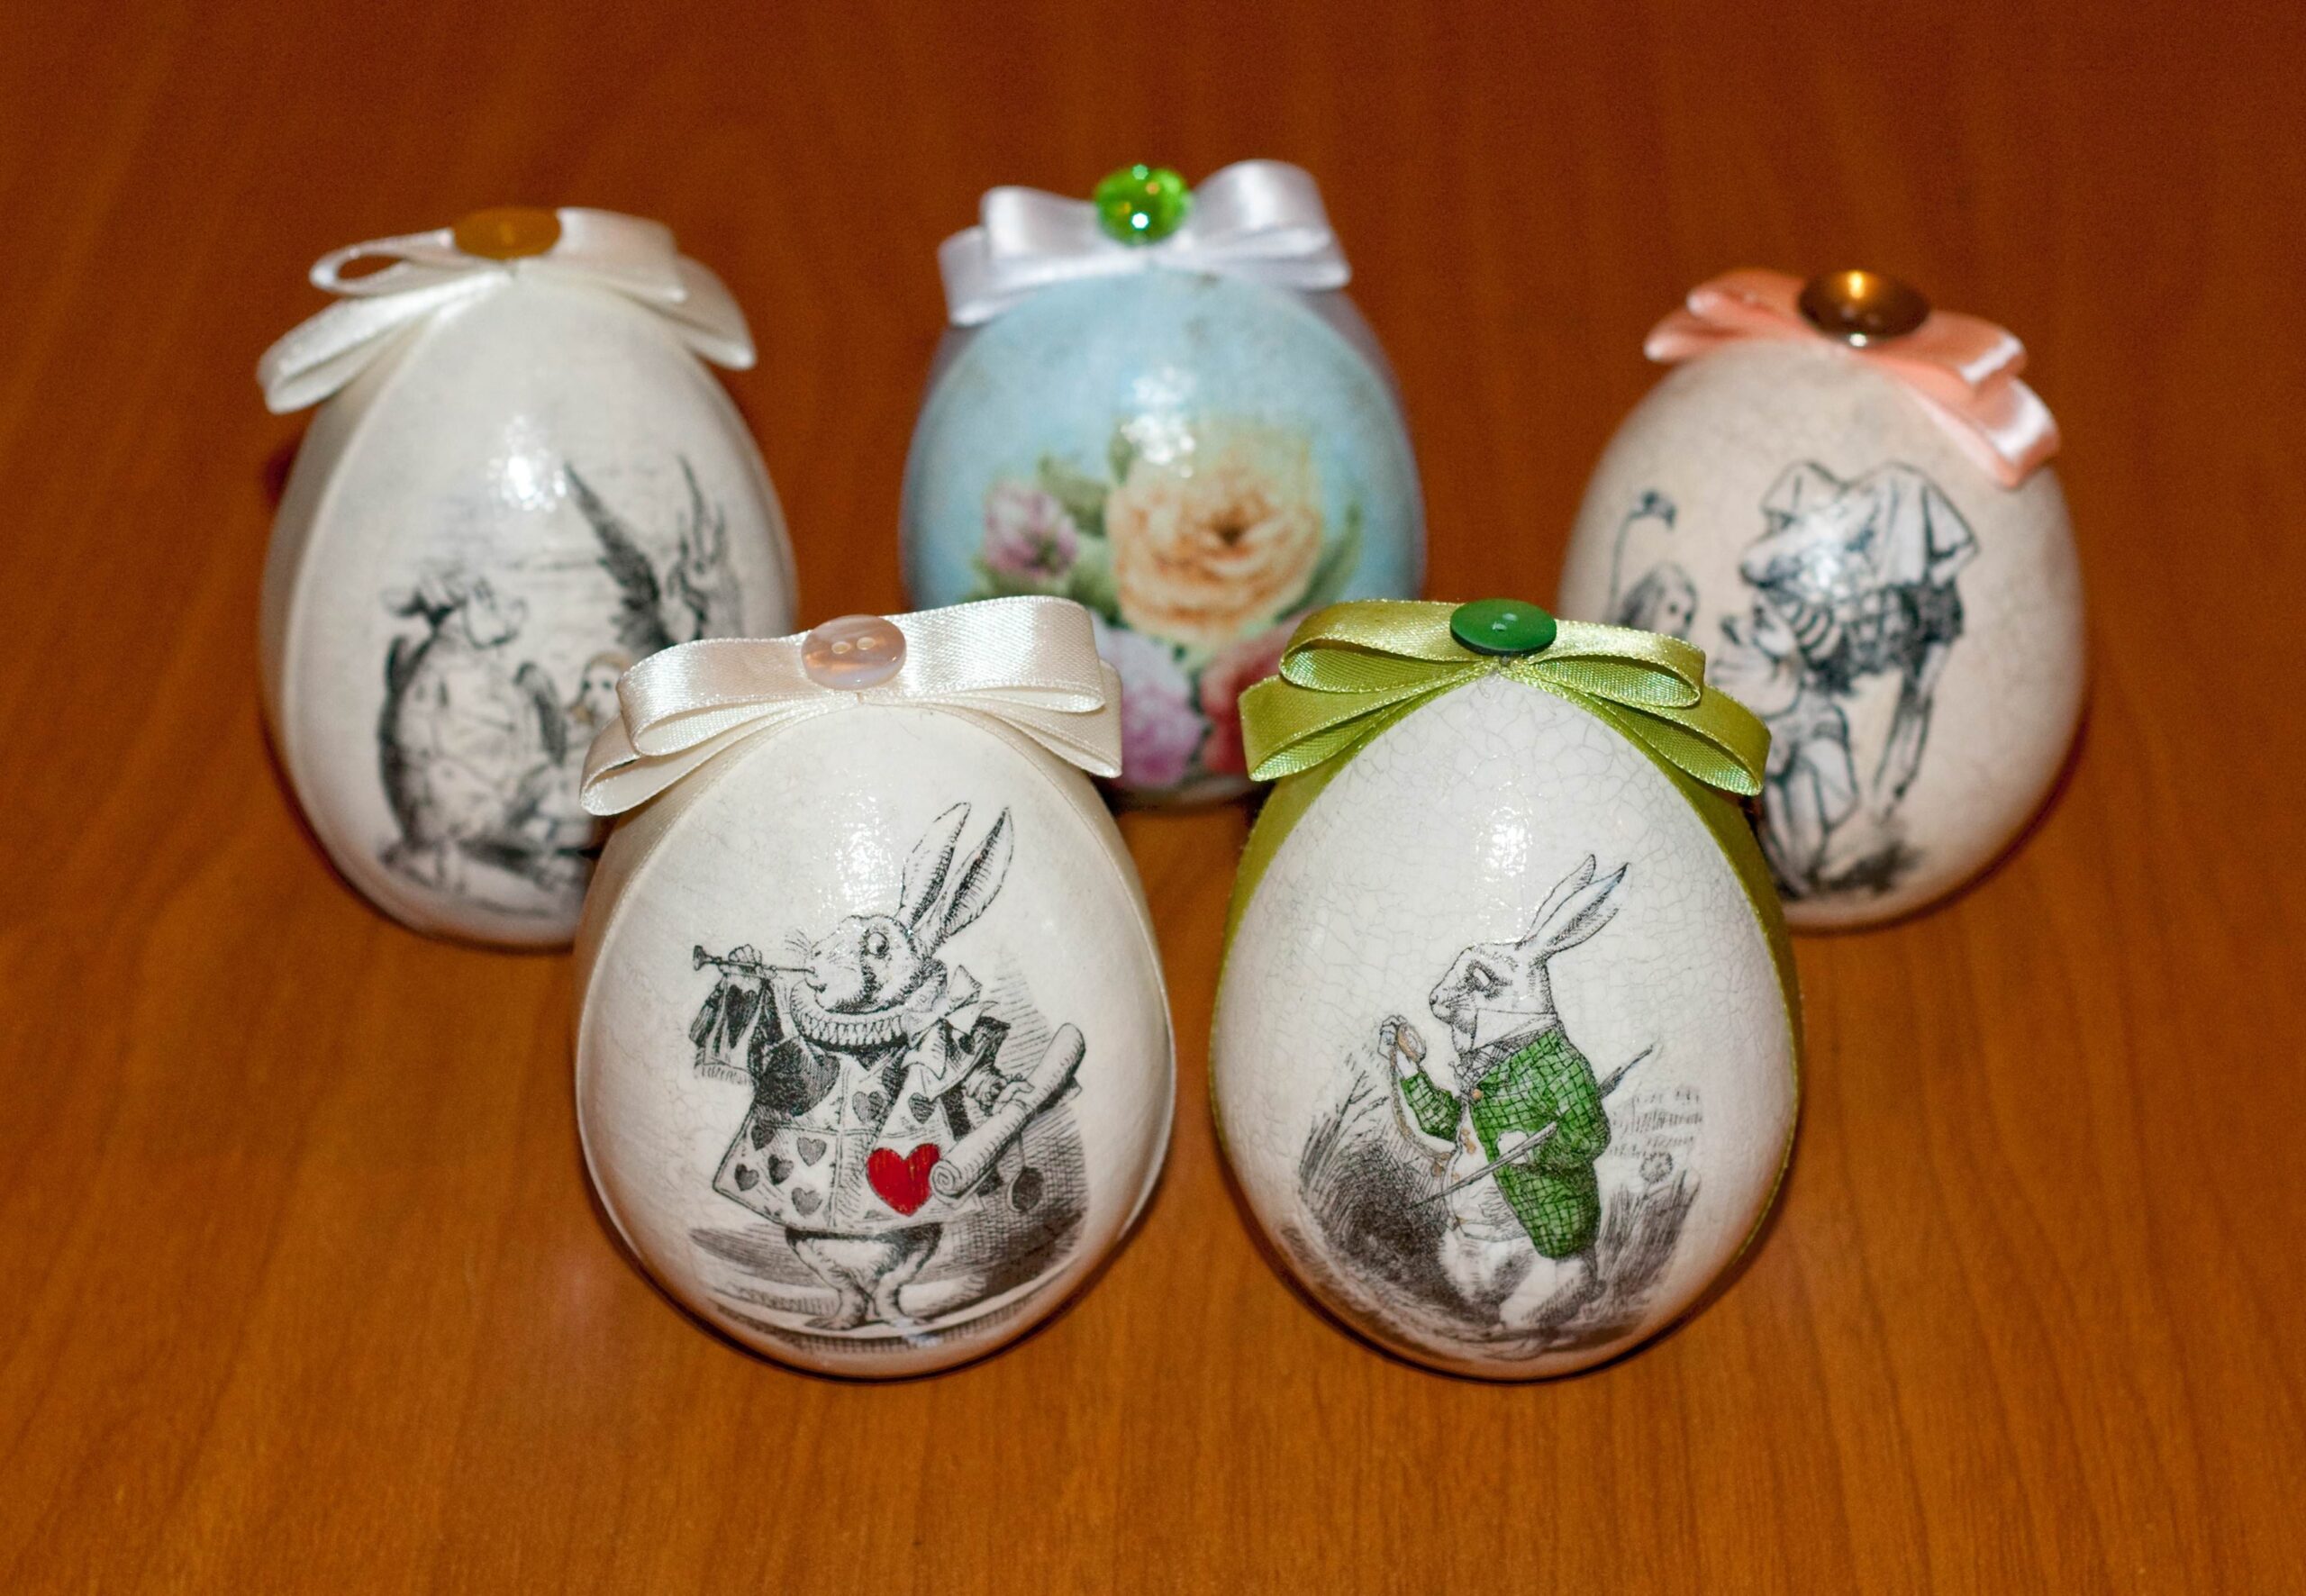
This technology was presented to the world by France. Its possibilities are almost endless. Decoupage can be done on the following surfaces:
- wood;
- ceramics;
- plastic;
- metal;
- cardboard;
- the cloth;
- leather;
- soap;
- candles;
- nails;
- and much more.
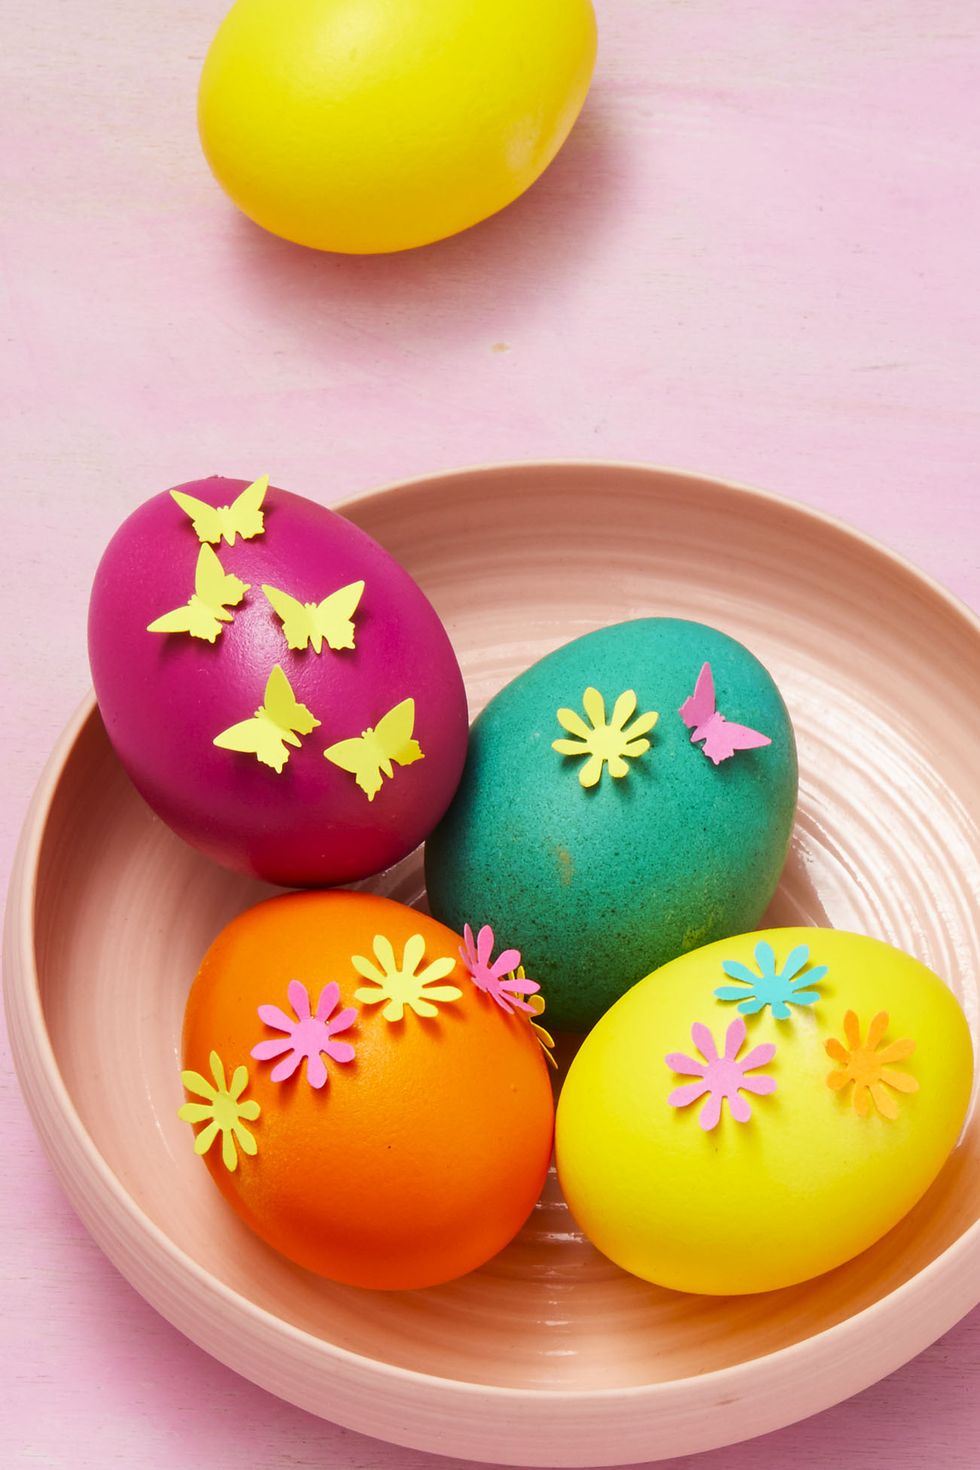
Any surfaces are suitable, however, if using substrates that do not absorb soil and paint, a special primer should be used.
In this technique, you can decorate not only items for the home, but also the office, as well as souvenirs for weddings, anniversaries, birthdays, New Years. These can be wine glasses, bottles, flasks, boxes, paintings, photos, vases and much more. You can also decorate your favorite dishes and any items in the kitchen.
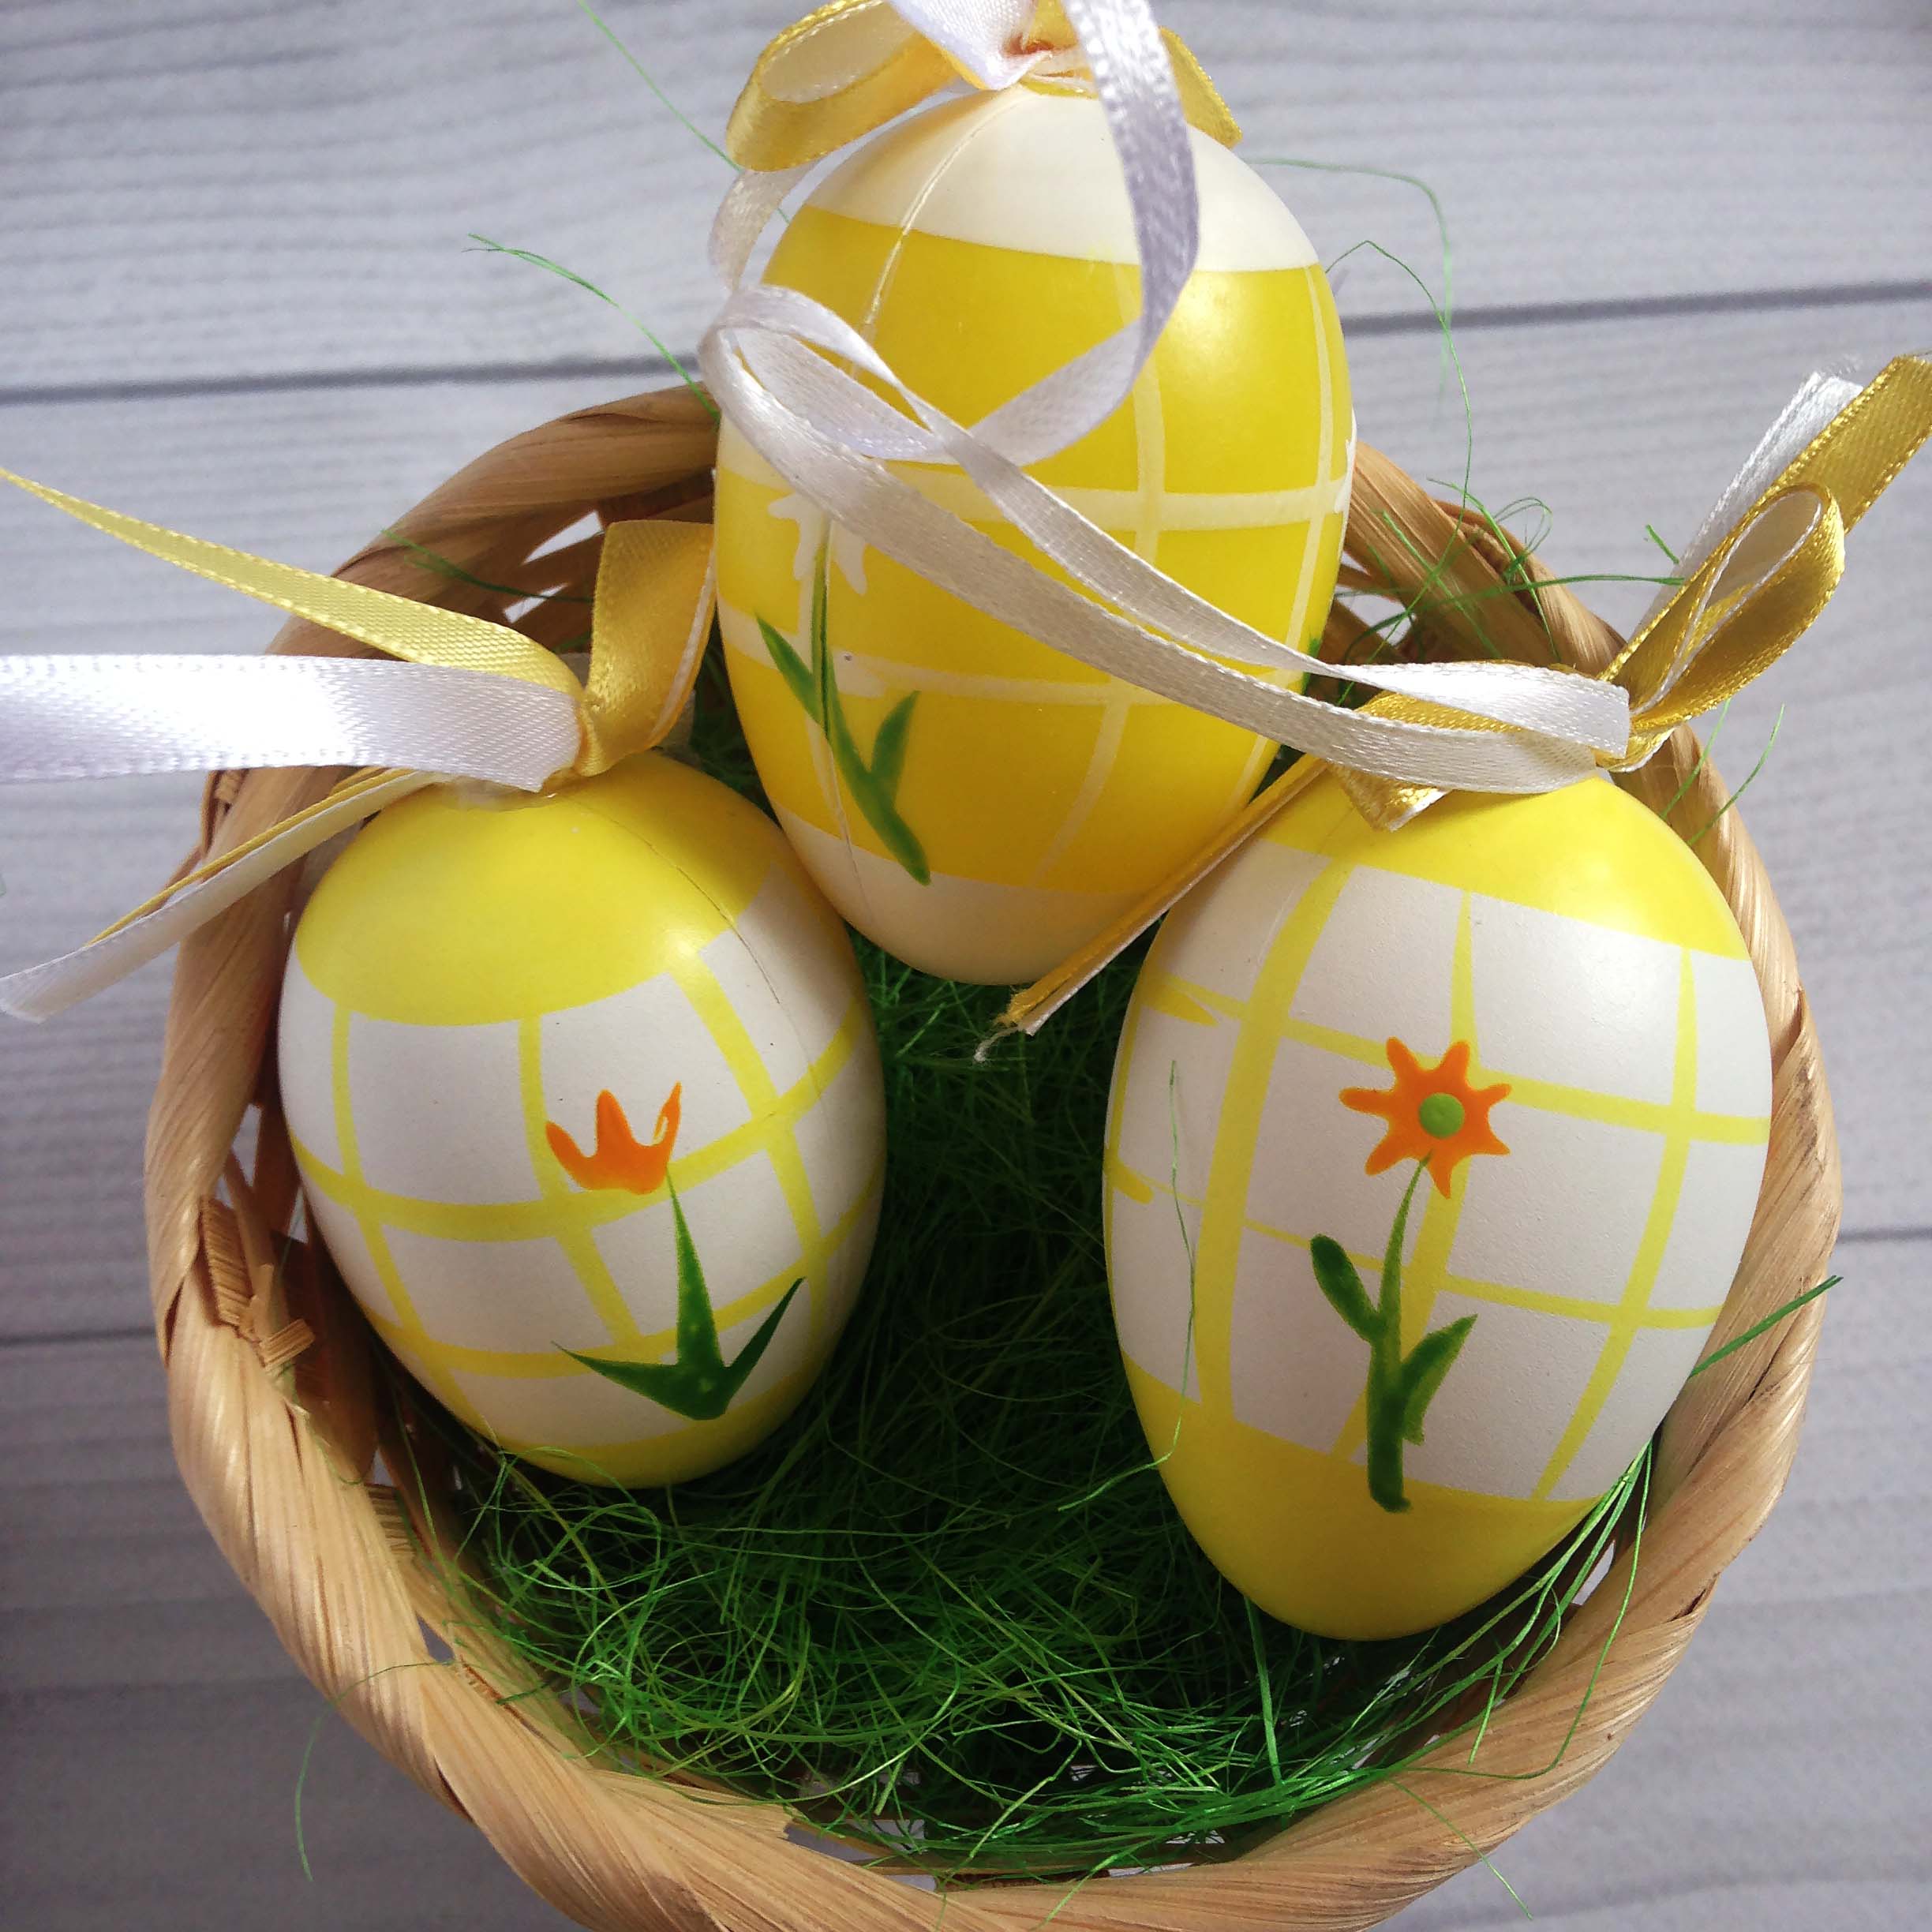
Decoupage on fabric is napkins, tablecloths, pillows, handmade curtains. For work use:
- Blanks or items for decoration.
- Images: printouts, photos, newspaper and magazine clippings. Beautiful napkins and decoupage cards.
- Glue: special or regular PVA.
- Acrylic paints, varnishes and primers.
- Brushes, sponges, sandpaper, coasters.
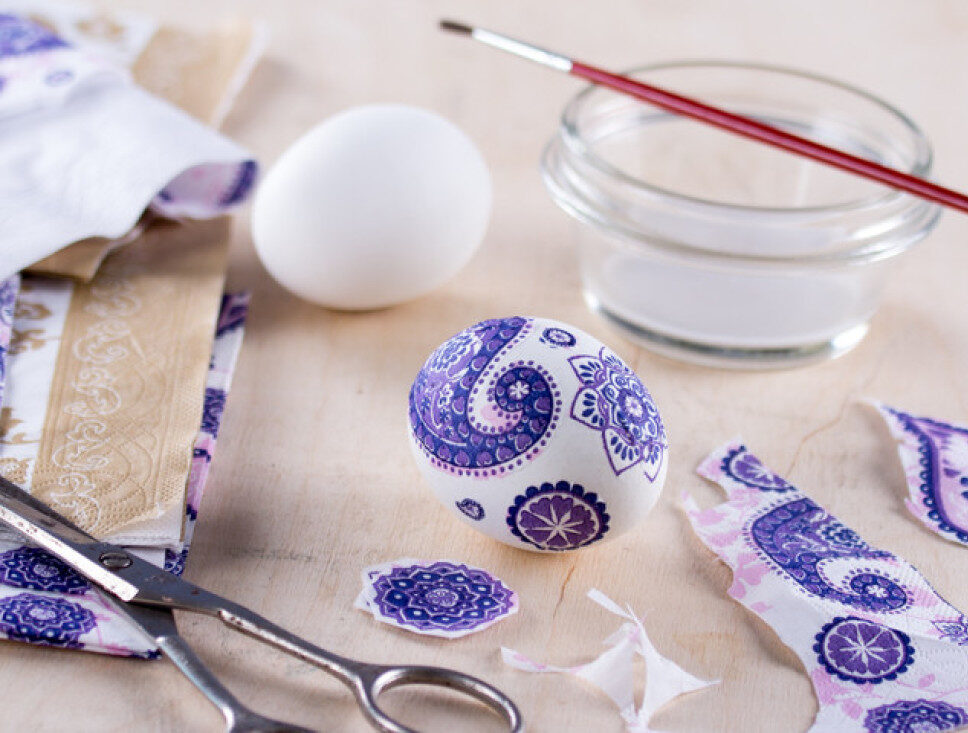
This technique has long been successfully used to decorate Easter eggs. It allows not only masters, but also simple housewives to realize their most cherished desires and daring creative ideas.
How to make decoupage with napkins for Easter eggs
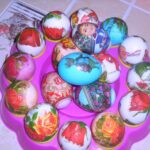
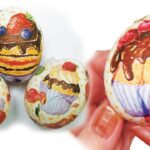
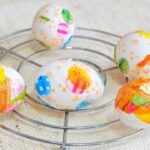
Decoupage eggs in a napkin for Easter is a snap. To do this, you need to look through several master classes and choose the most suitable one, prepare everything you need for work.

For beginners, you can draw up and write down a step-by-step work plan.
What you may need (materials and tools)
For work, you should prepare:
- Base: it can be natural or wood, plastic, ceramic or foam.
- PVA glue or egg white, starch paste.
- Acrylic varnish, paints, brushes, scissors, sandpaper, sponge.
- Napkins, decoupage cards, magazine clippings.
Step-by-step execution instructions
The process of performing work using decoupage technique consists of several stages.
Surface preparation for work:
- sanding;
- applying primer to the base;
- gluing a decoupage element;
- varnishing;
- completion of some elements, as well as: gilding, aging, glazing, craquelure, etc .;
- final varnishing.
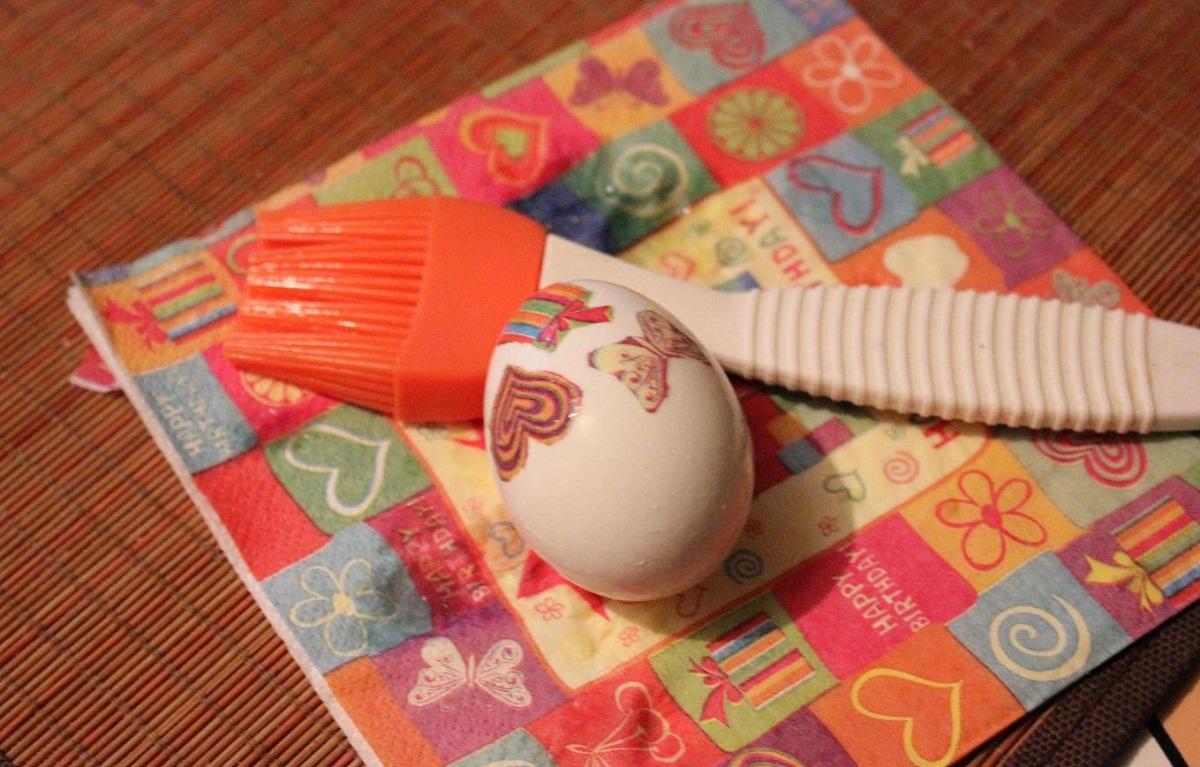
If a raw egg is used, then the contents should be blown out of it into a glass. To do this, in an egg well washed with soap, 2 holes are made in the shell from opposite sides with a thick needle. A tube is inserted into one of the holes and the contents are slowly blown out into the glass. A clean and dry egg is ready for use.
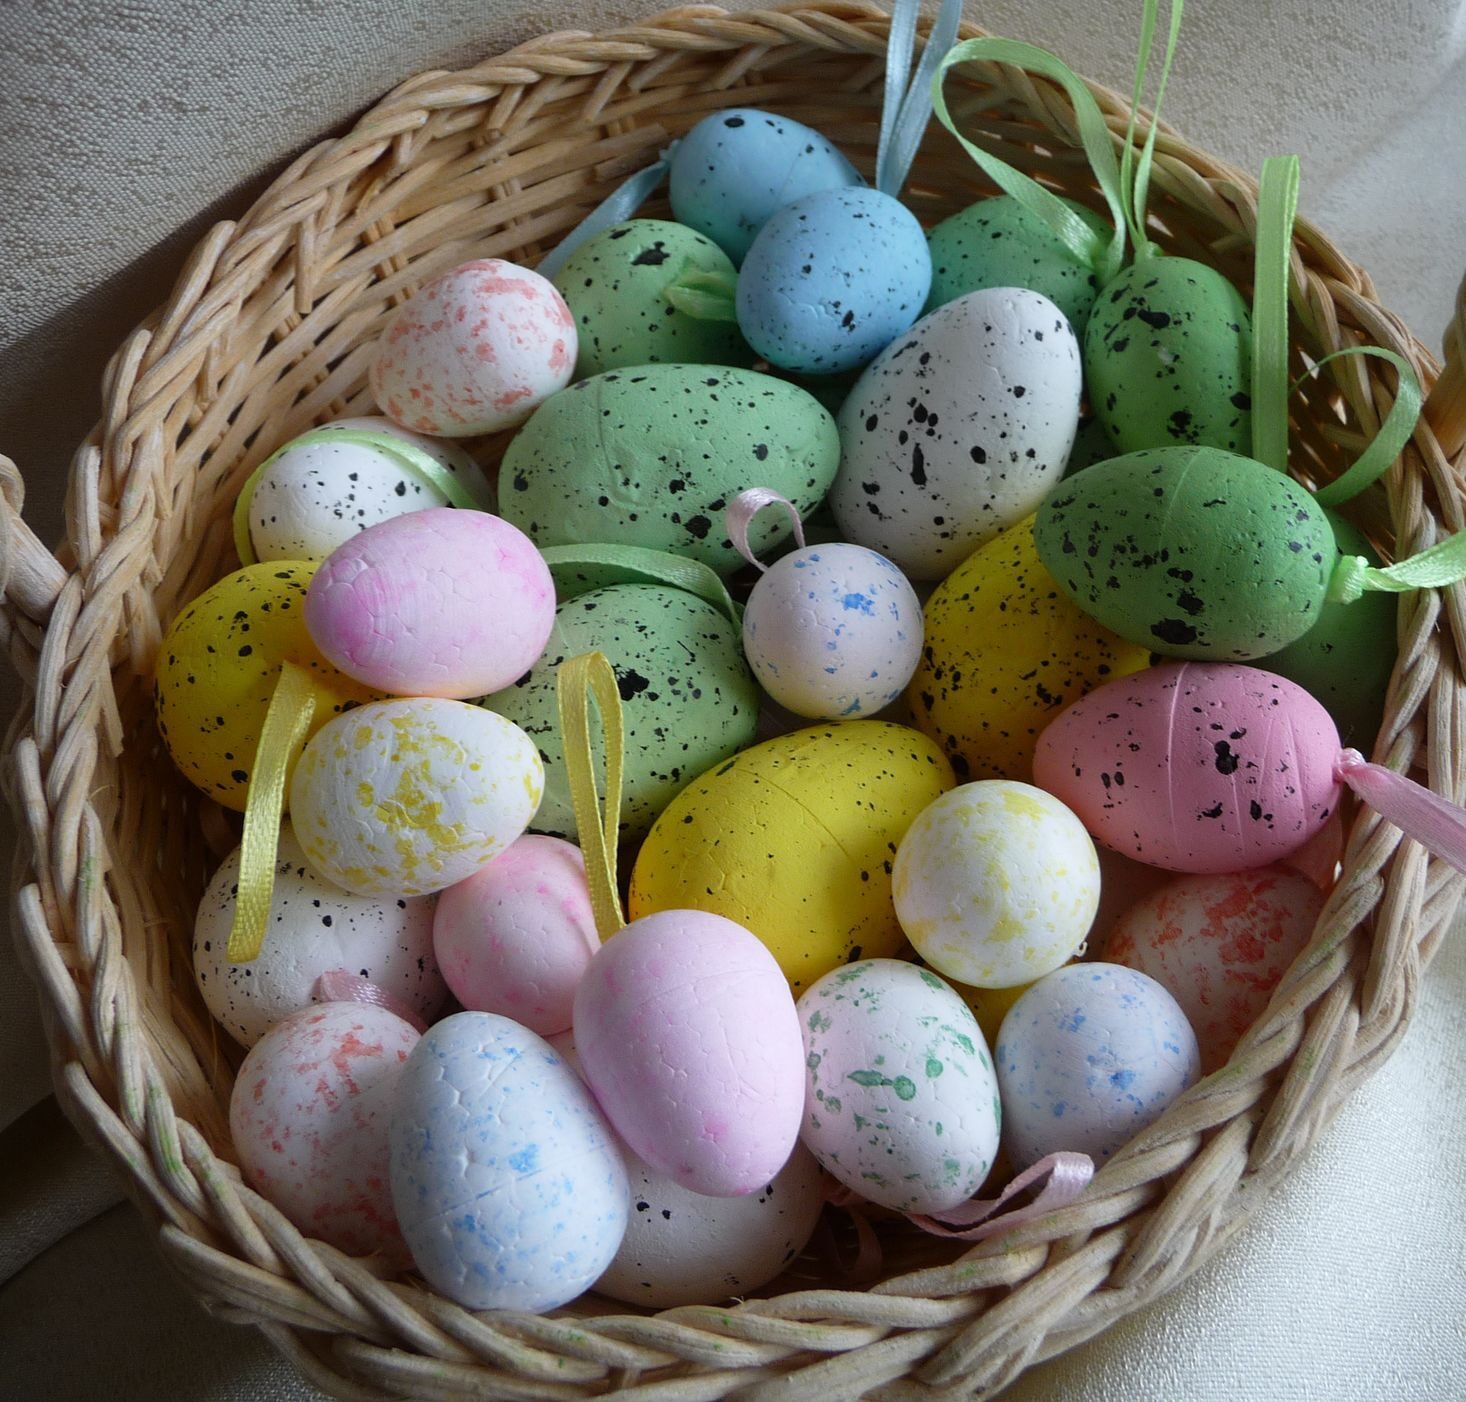
Wooden blanks are comfortable and durable, they are just perfect for creativity, however foam eggs are also quite strong and light, which is very good when working with children. Decoupage on such blanks is the simplest way for creativity with your child.
Progress:
- The foam is treated with wet sandpaper.
- Coated with acrylic paint - you can only use water-based varnishes and paints, otherwise the workpiece will melt. You can paste over the workpiece with just a white napkin using acrylic varnish.
- Then a classic decoupage with drawing is performed. Special glue or acrylic varnish is used here.
- The work ends with varnishing.
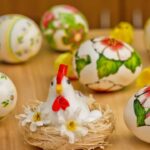
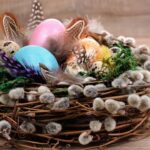
- You can stick a skewer into a soft base and fix a bow on it. You can prepare a small wreath of willow twigs and fix decorated eggs on it — a wonderful decoration for the Easter table.
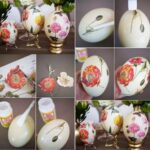
How to make decoupage from napkins on a wooden egg:
- The workpiece is processed with sandpaper.
- They are primed with a solution for wood or PVA clamps.
- Cut out the drawing, apply it to the base with a brush and glue.
- After drying, the irregularities are treated with sandpaper.
- Decorate with beads.
- A thin layer of gilding is applied with a sponge.
- Varnishing.
The solid wood base allows for many other techniques: aging, scuffing, craquelure and others.
Additional design ideas
Eggs for Easter can be beautifully decorated with your own hands, both from napkins and with the help of other improvised means. Consider the most original ways of festive decoration.
With confetti
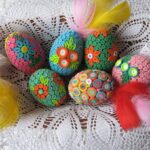
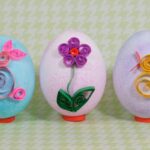
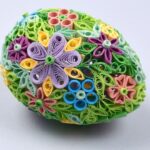
For work, it is better to pick up a wooden base or empty clean eggs. You will also need PVA glue, long strips of paper for quilling up to 3 cm wide and a tool for working in the quilling technique.
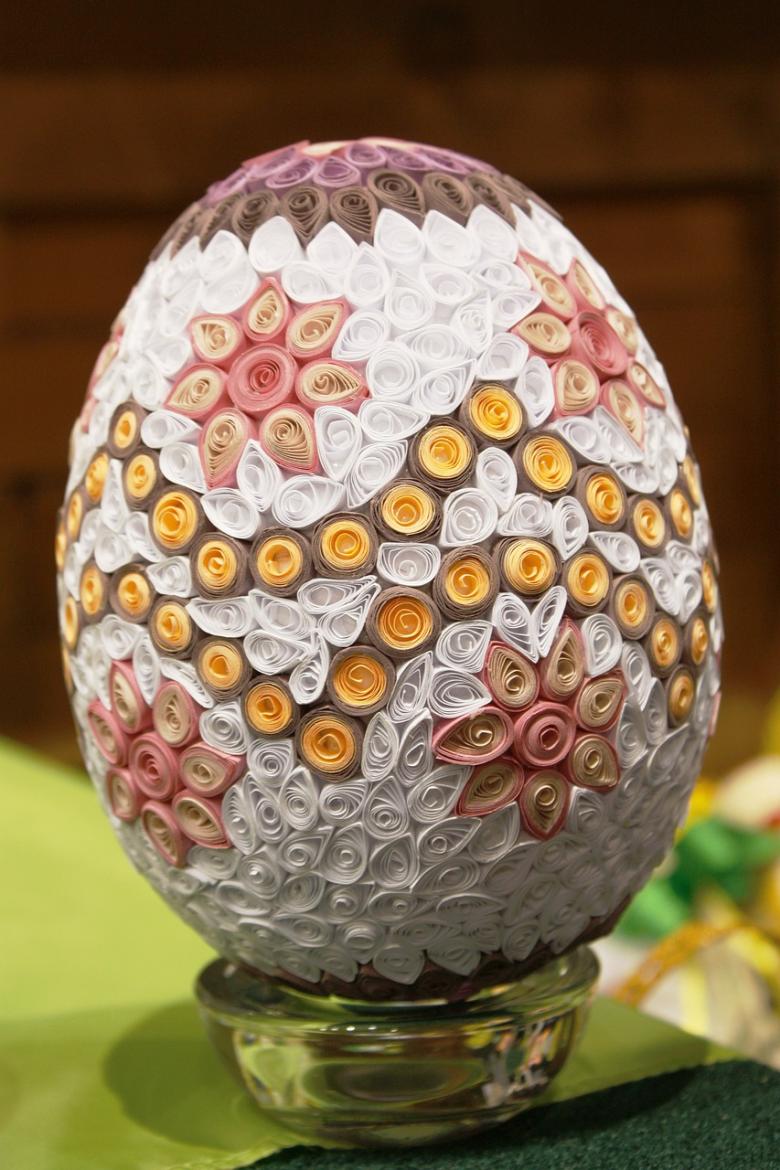
Decorating blanks in this style is not difficult at all. Using special tools, paper ribbons are slightly twisted, and then with PVA glue, one end of the strip is attached to the egg and with slightly relaxed fingers, they begin to create a variety of shapes in the form of flowers, butterflies, snowflakes or just openwork shapes.
A little imagination and patience will help turn ordinary eggs into a bright designer decoration for a festive table decor and any room.
With butterflies
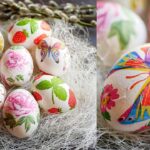
Eggs decorated with fluttering butterflies look festive and very original in spring. For work you will need: napkins with images of flowers and butterflies, glue, acrylic varnish, white paper, a brush and scissors.
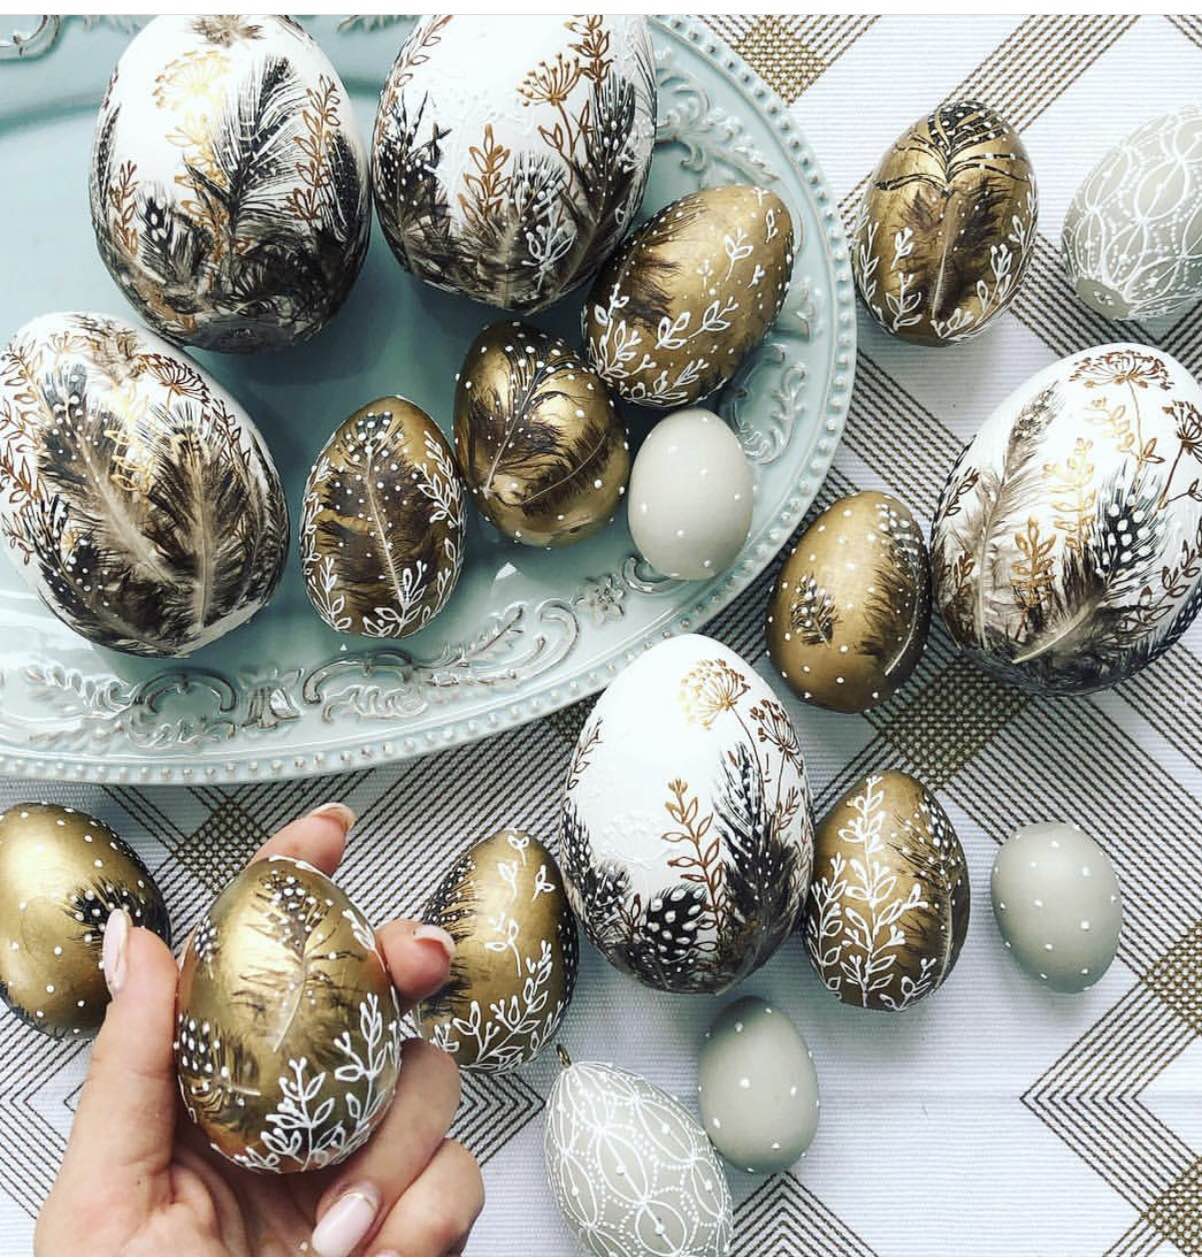
The work consists of several stages:
- Images of butterflies are cut out of napkins and pasted onto paper.After drying, they are cut out and an identical pattern is glued to the white side so that the butterfly looks as close to natural as possible. After drying, the wings are slightly bent, forming an imitation of flight, and a layer of acrylic varnish is applied.
- While the butterflies are drying, a pattern in the form of flowers is applied to the egg using decoupage technique. You can use regular egg white as the glue. After drying, the drawing is varnished and allowed to dry completely.
- Bulky, bright, fluttering butterflies are glued to the finished egg.
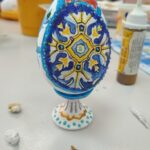
- The masterpiece is placed on a special stand or crystal glass.
Such an egg is certainly not for food. But, to please the kids with delicate butterflies, on quite edible Easter dyes, you can use ordinary sugar fondant.
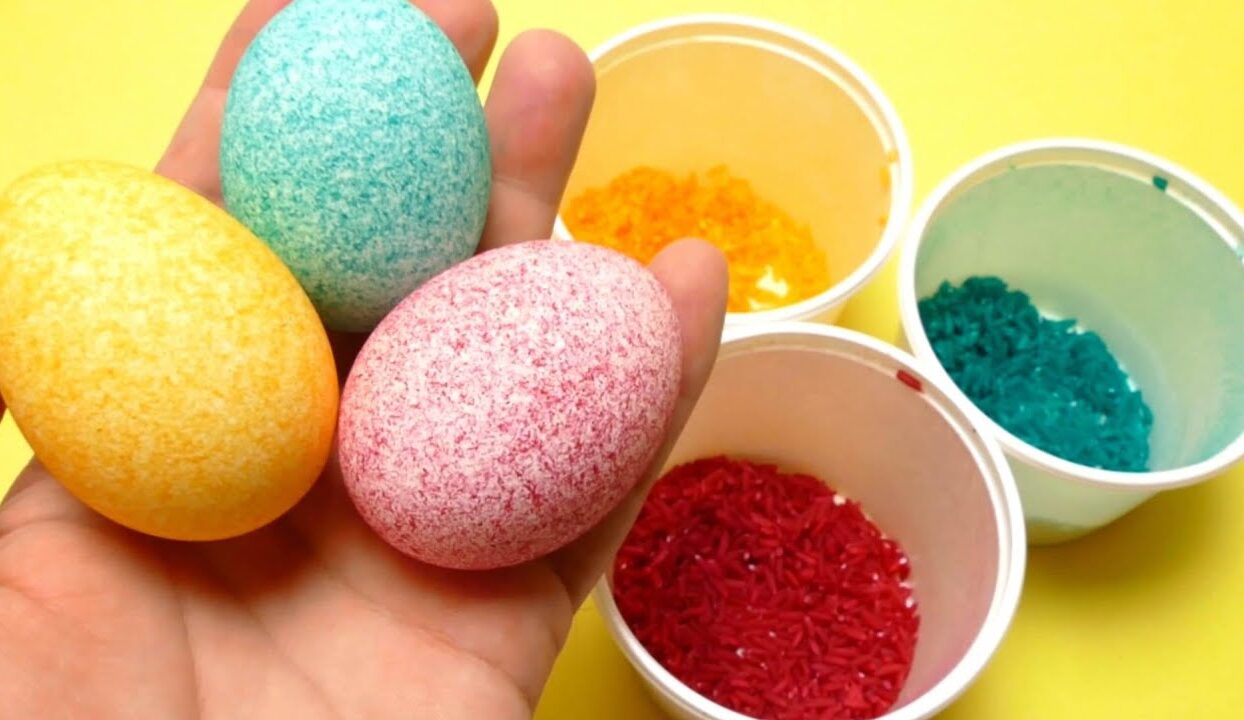
To do this, you need to dissolve sugar in a very small amount of water to obtain a thick syrup, pour it into a pastry syringe - and you can draw on eggs painted in different colors. First, the drawing is applied to one side, dried, turned over and applied to the other part. For fixing, cover with several layers of egg white.
With semolina
You can apply a picture using different types of cereals: semolina, rice or couscous. To complete the work, you will need an egg or piece of wood, cereals, matches and a candle. First, light a candle and apply a pattern to the shell with dripping wax.
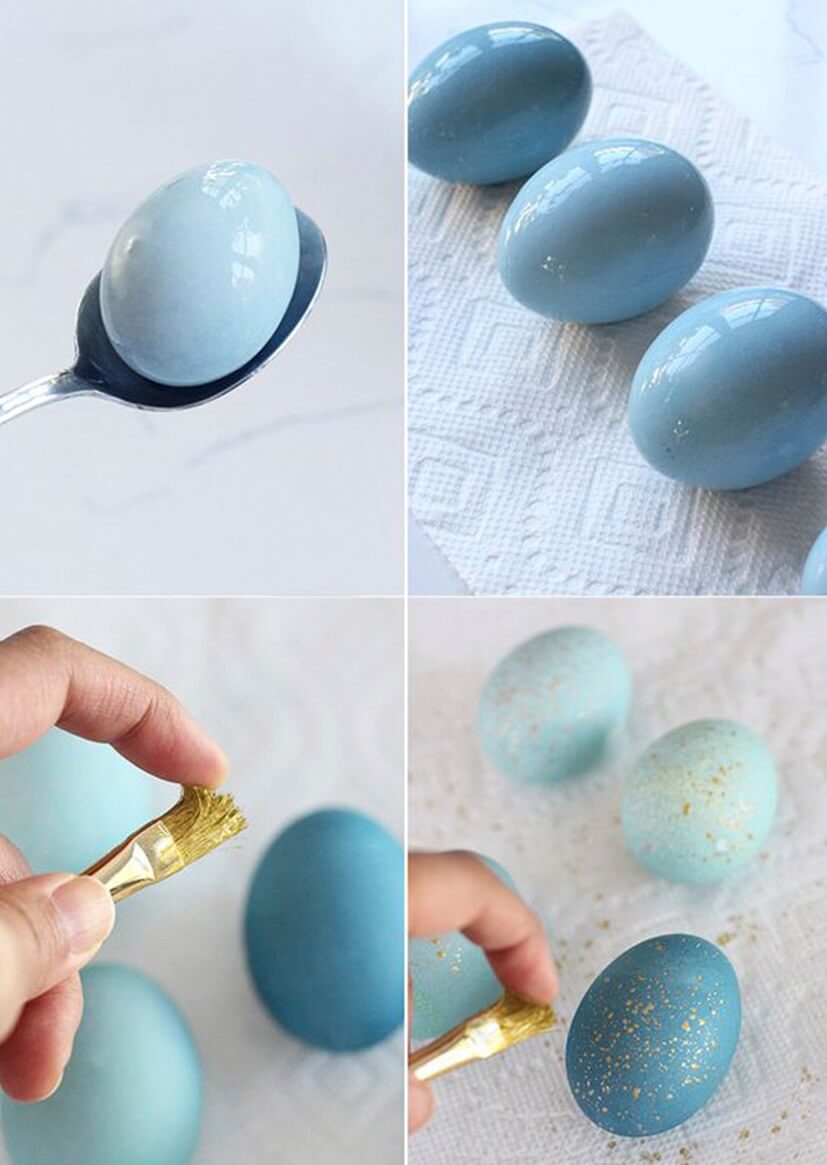
While the wax is not frozen, it is sprinkled with semolina, and if the drawing is made of several elements, it is applied fragmentarily. After applying each individual part, the egg is rolled in semolina. After the wax has completely hardened, the surface is lubricated with vegetable oil to give shine.
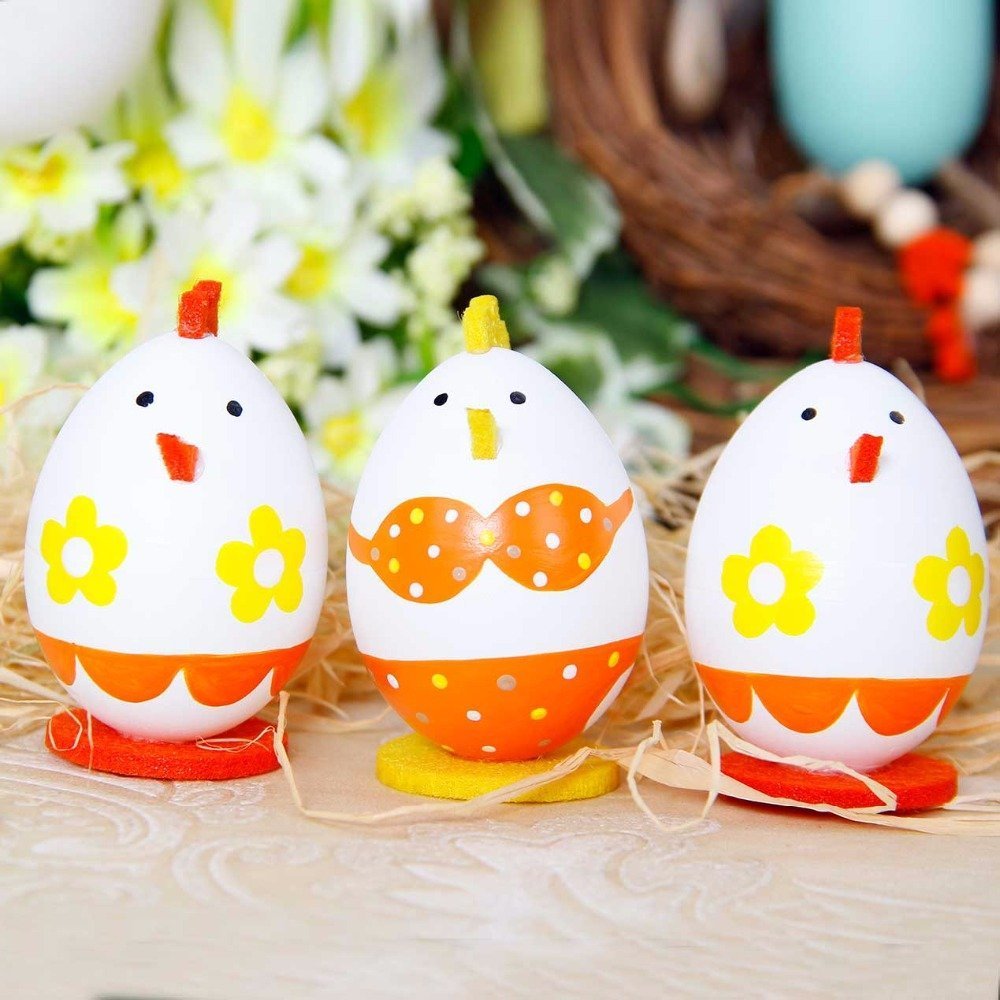
If the workpiece is used as a decoration, then it is coated with acrylic varnish for strength. Wax or paraffin for drawing can be replaced with PVA glue. This design is suitable for both regular white eggs and dyed ones. Groats can be used both natural and colored.
Antique decoupage
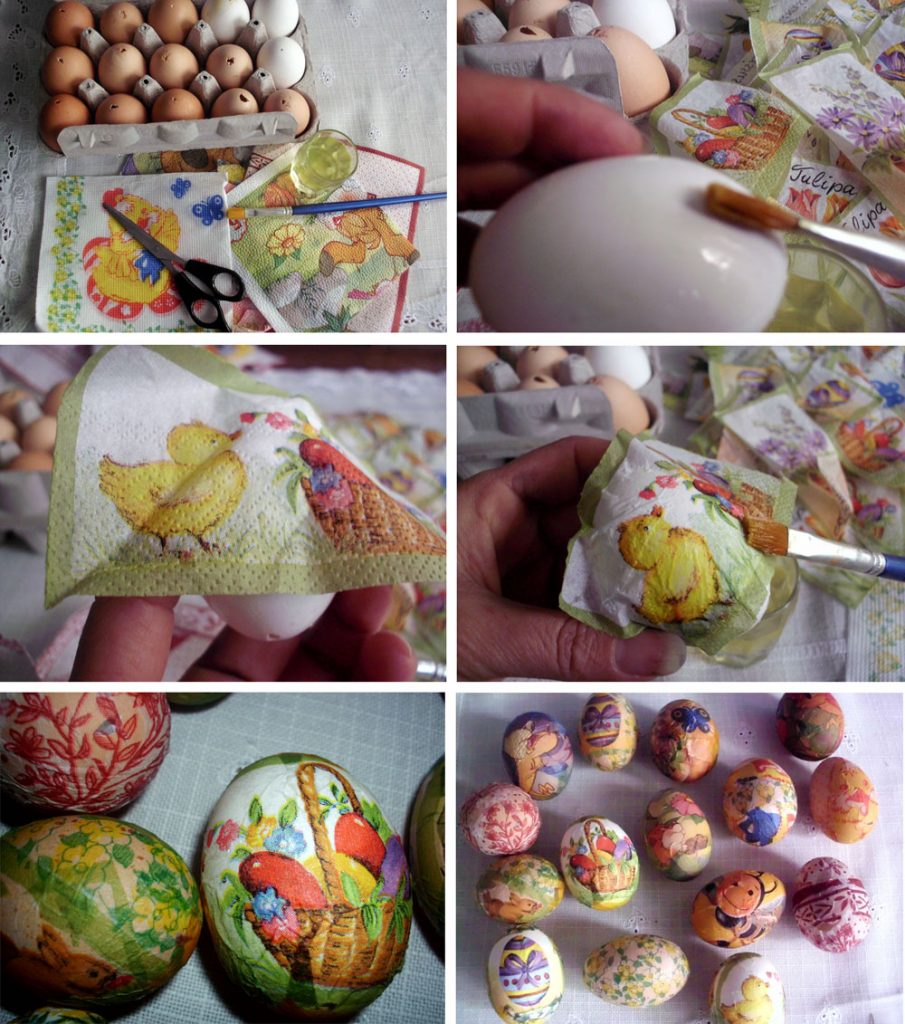
For work you will need: a printer, printing paper, a brush, PVA glue, acrylic varnish, scissors. The selected pattern is printed on the paper using the printer. It can be either color or black and white. It is cut out and covered with several layers of varnish (after each application, they are expected to dry completely).
After such a procedure, the drawing becomes very dense and it will not be possible to gently stick it on the surface of the egg. To do this, it is dipped for 8-10 minutes in a bowl of water and gently with your fingertips begin to roll out the bottom layer of paper. The result is a very thin, almost transparent, slightly stretching pattern. It just fits perfectly on the surface of the egg.
Using a brush, the shell is lubricated with PVA and the pattern is glued, smoothing it and expelling air bubbles with a brush. After complete drying, the egg is covered with a layer of glue or varnish. This technique is used for souvenirs, they should not be eaten.
Patchwork decoupage
This type of do-it-yourself decoupage practically does not differ in terms of the sequence of execution from the usual one. Here, instead of paper drawings, small fragments with images on fabric are used.
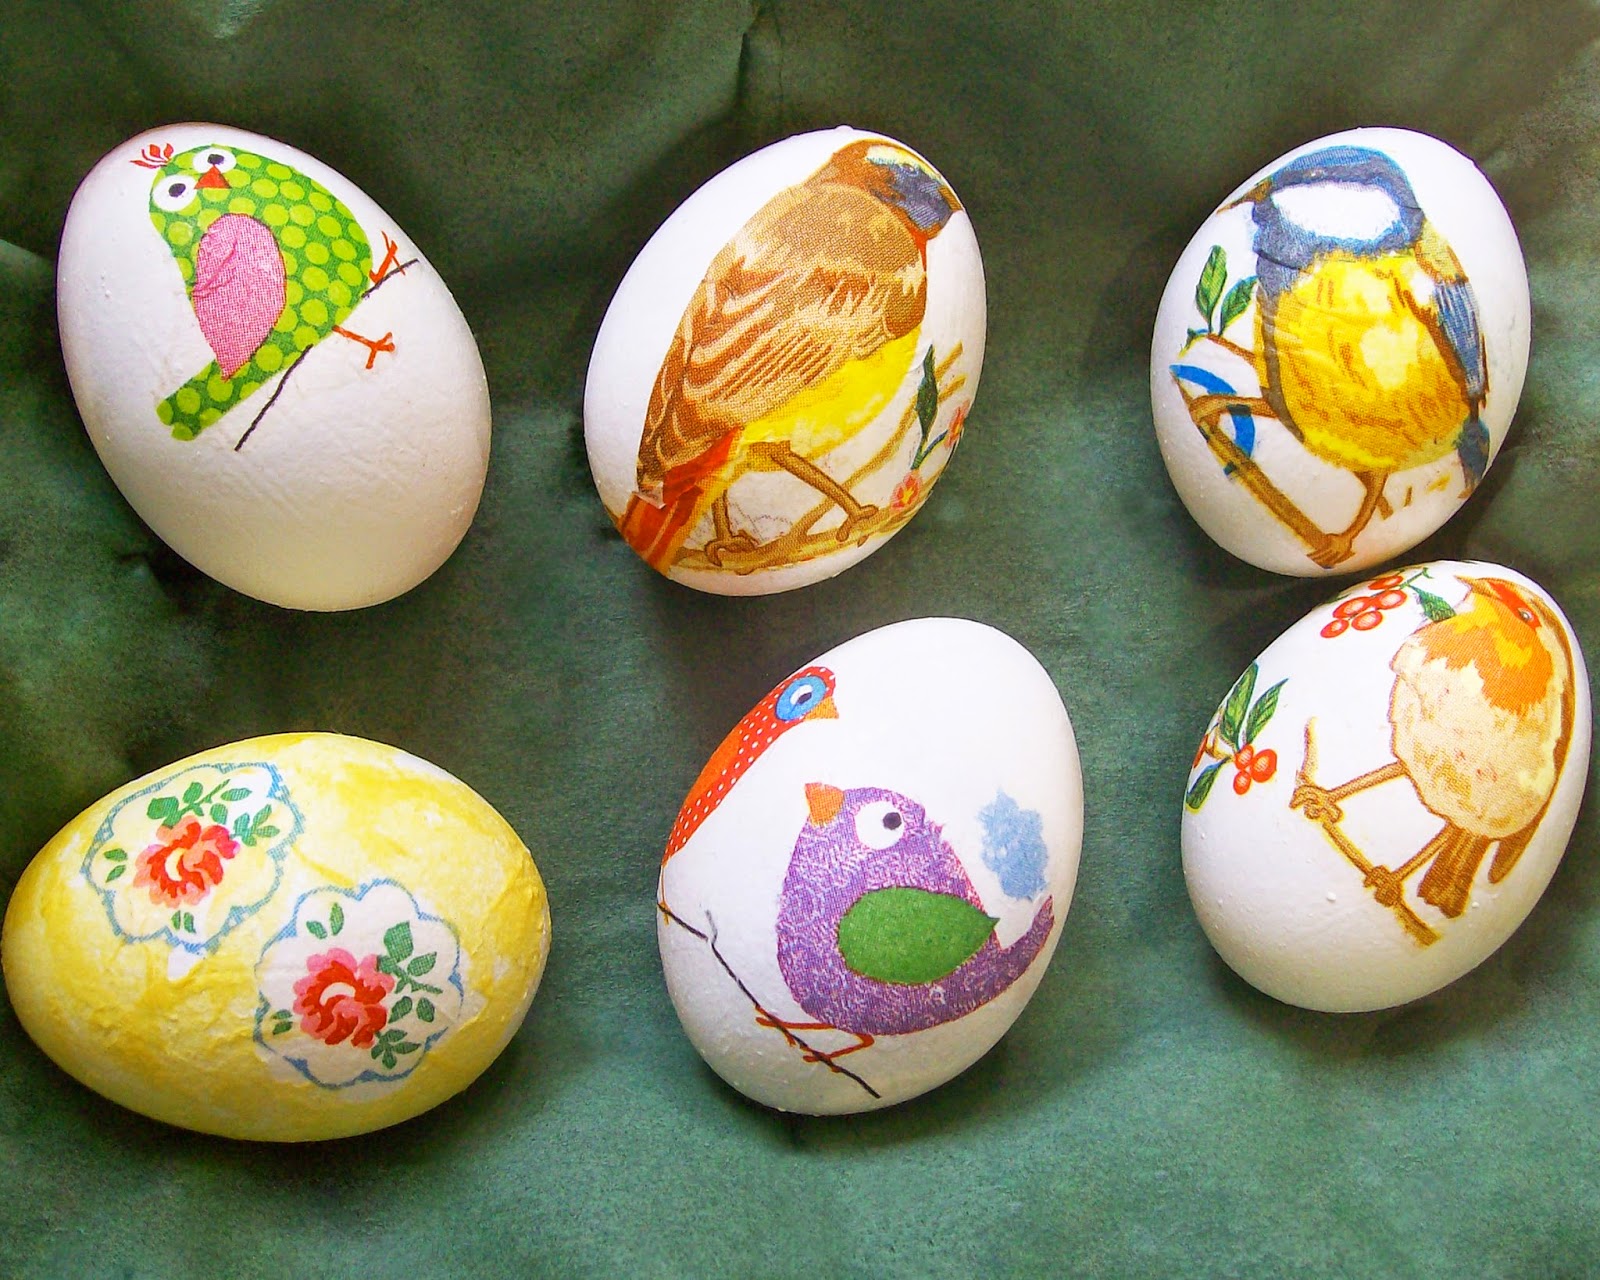
They are glued with PVA or special decoupage glue on a cleaned and primed base, and then covered with a layer of acrylic varnish.
Examples of homemade decoupage
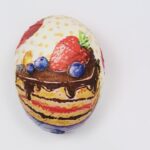
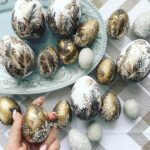
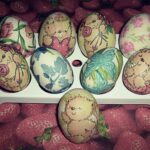
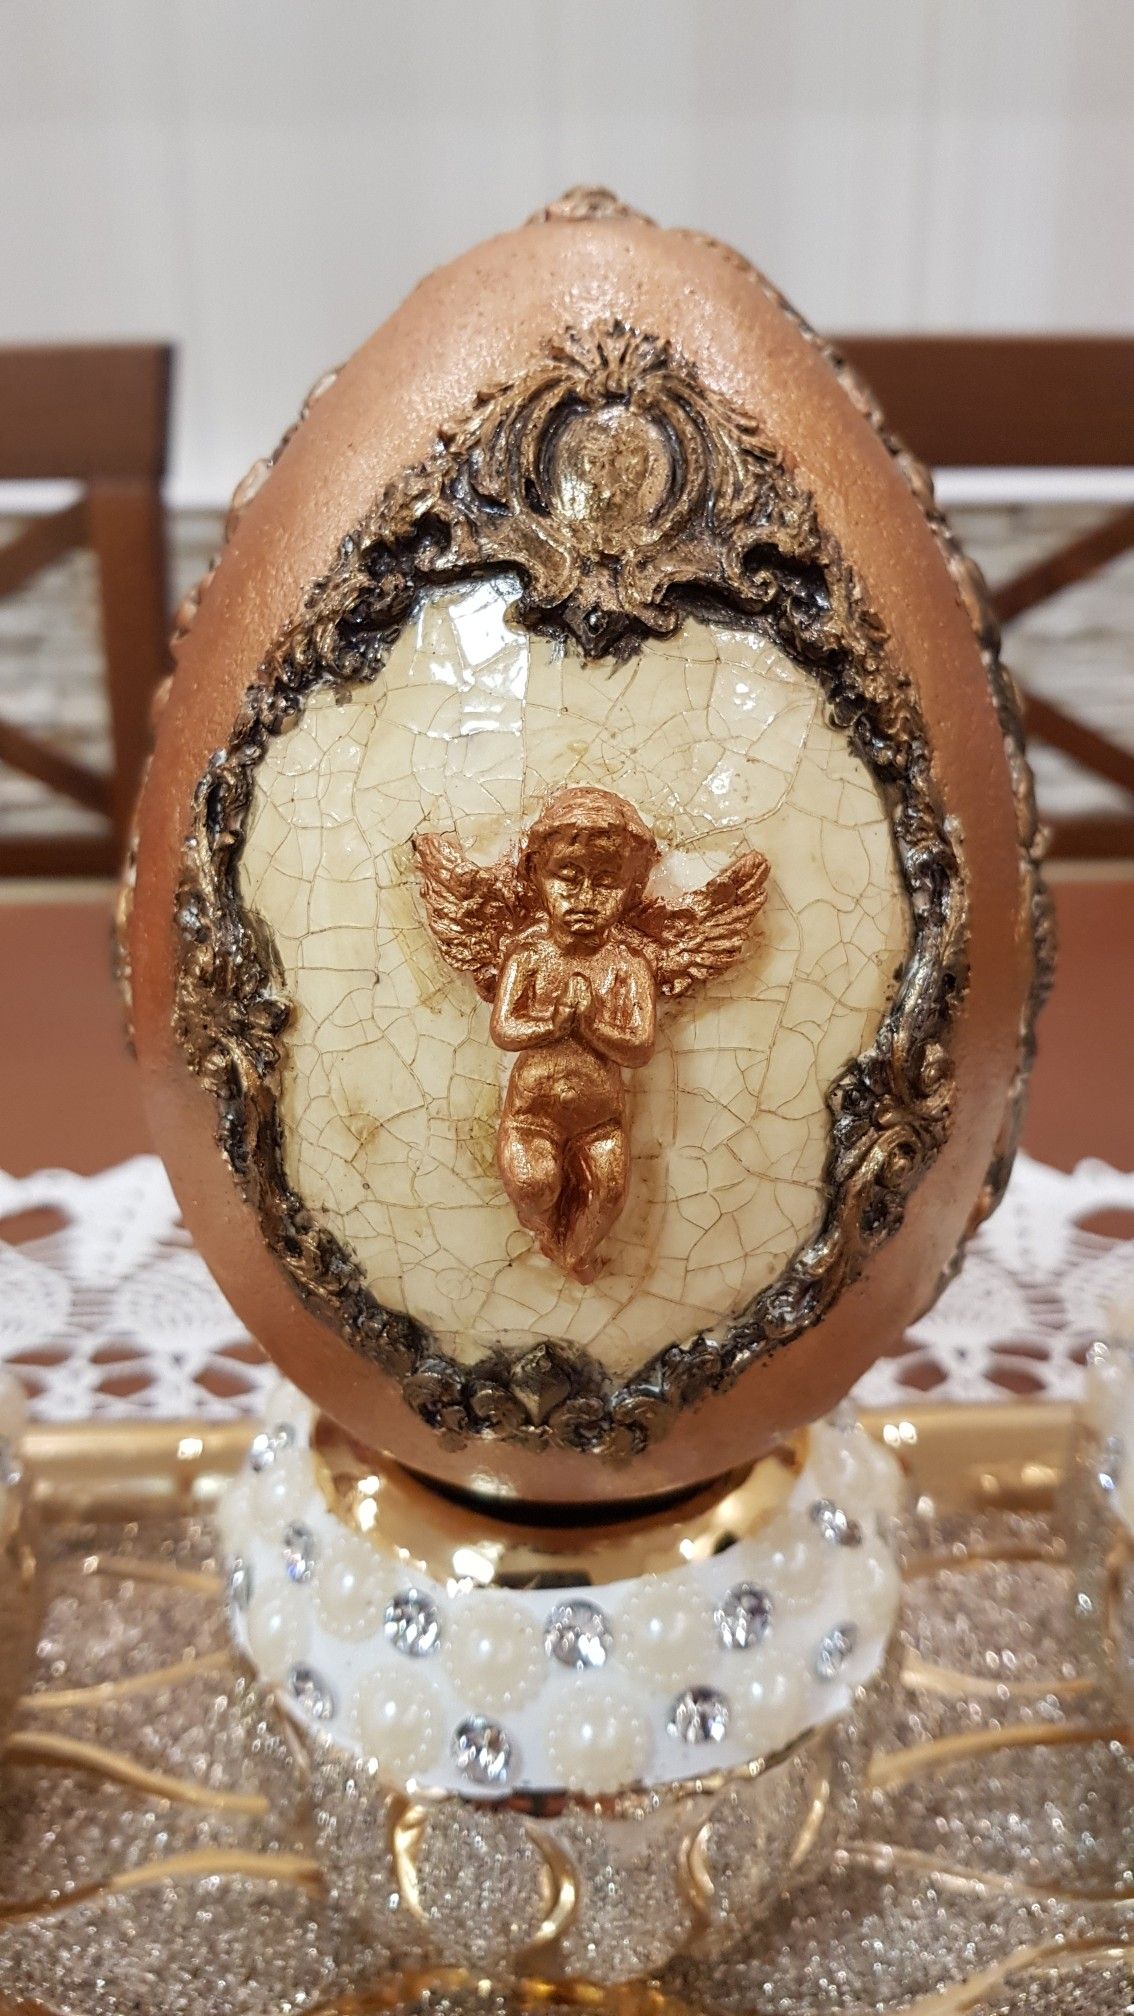
To make the decoupage style egg look even brighter and more unusual, you can add a craquelure effect.To do this, small pieces of shell are glued to the painted surface using PVA glue. After complete drying, a drawing is glued onto this workpiece on a napkin, dried well and the finished work is covered with acrylic varnish. To enhance the shine effect, a barely noticeable layer of gilding is applied to the eggs.
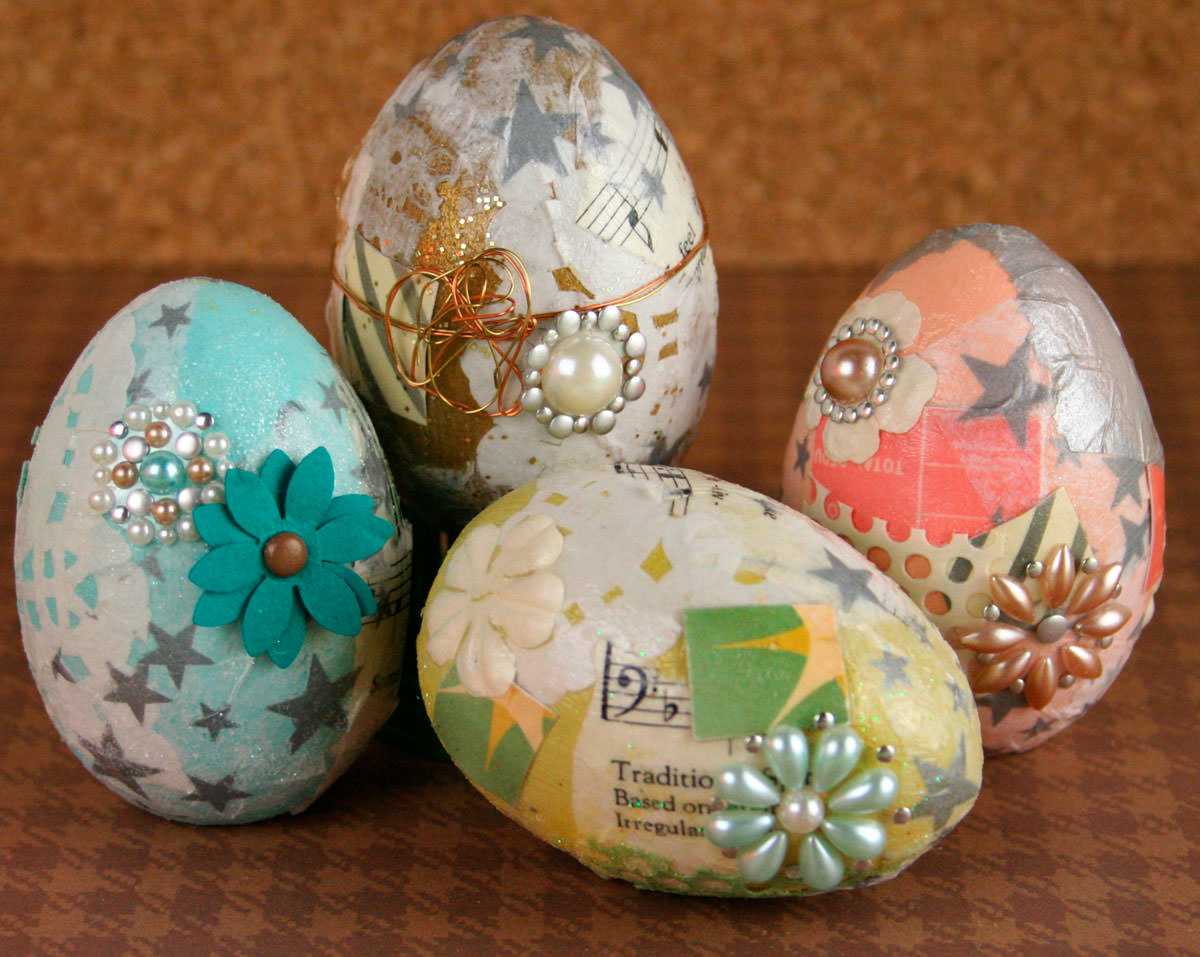
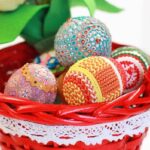
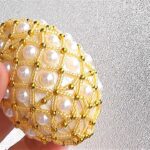
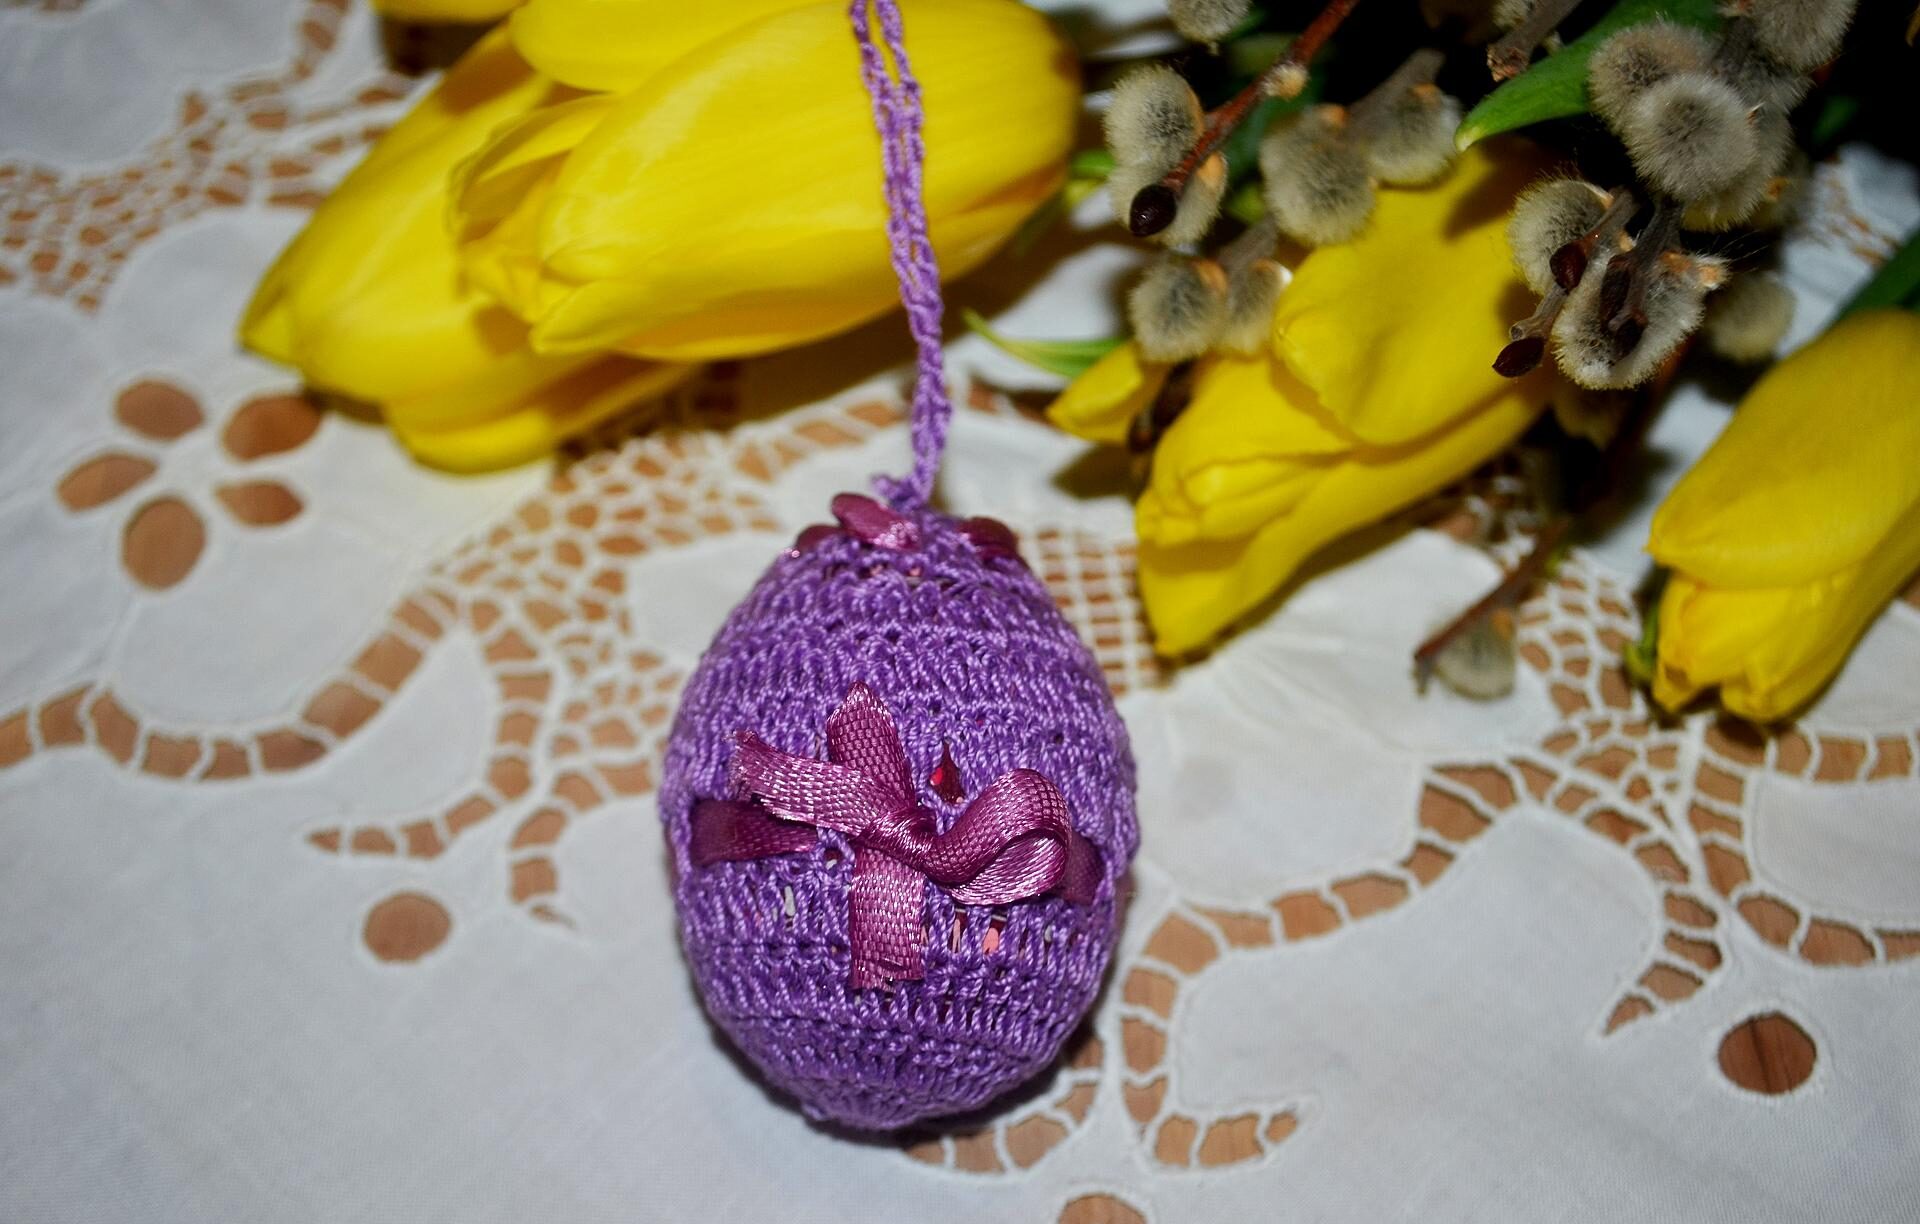
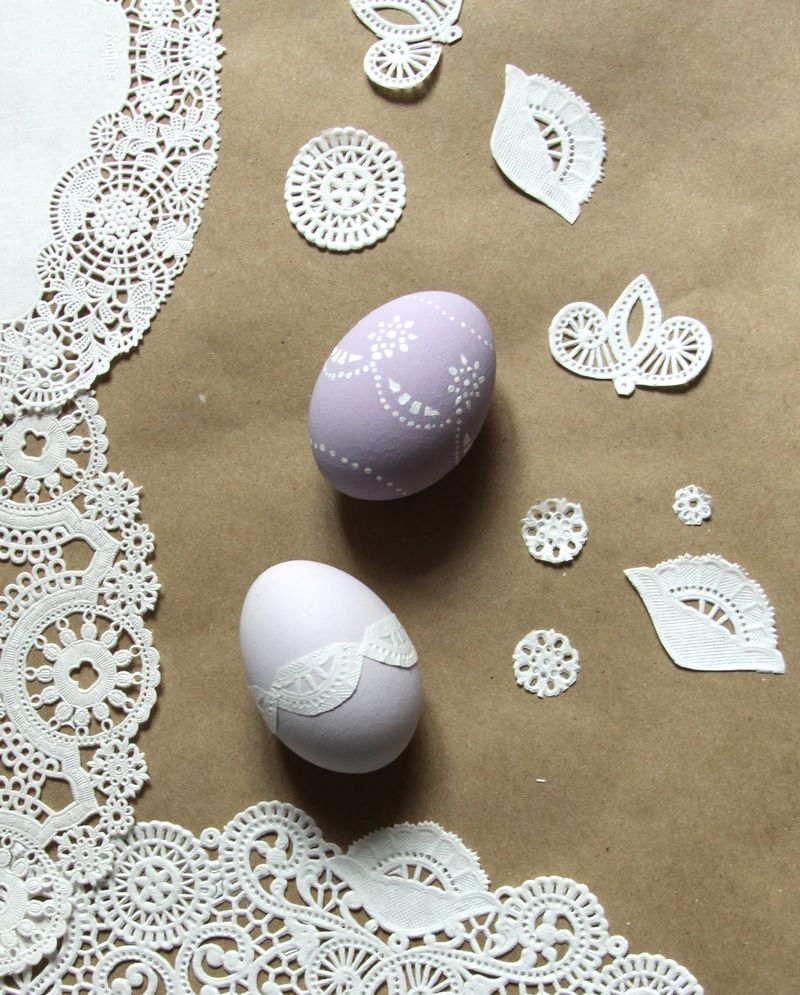
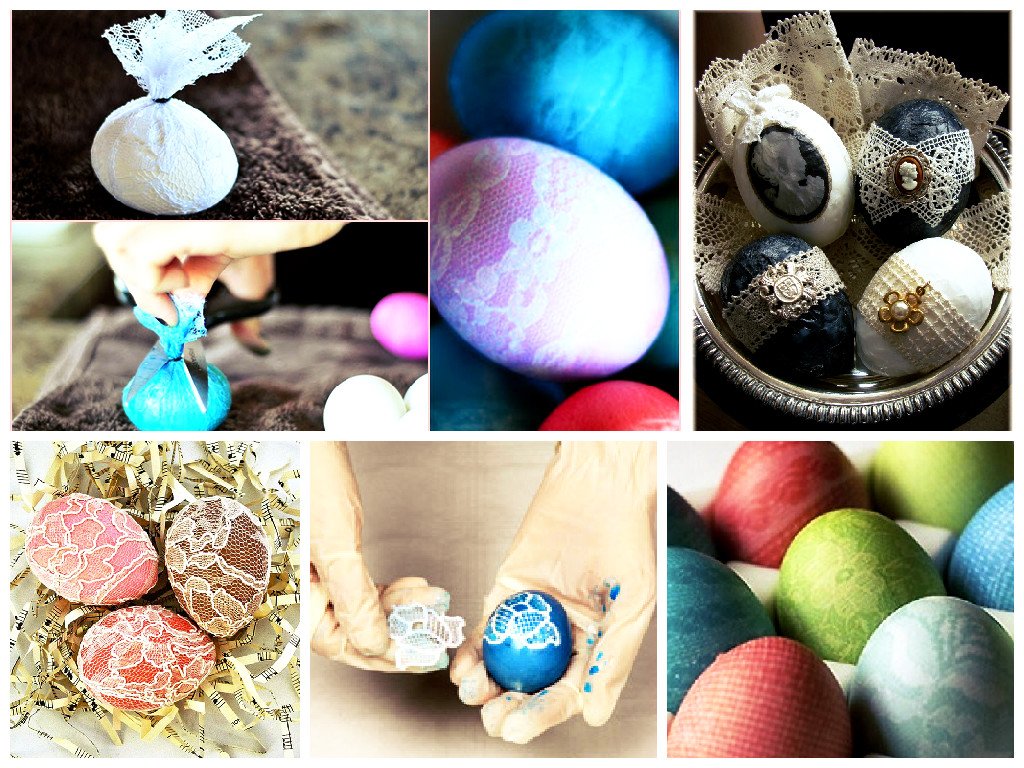
For those who do not have a lot of free time, you can simplify the task and not glue the broken shells, but simply cover the drawing with a special varnish with a craquelure effect. The technique of performing work in the decoupage style allows you to use not only paper or fabric drawings, eggs decorated with lace elements, complemented by beads, sequins or rhinestones will look very interesting and unusual.
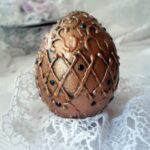
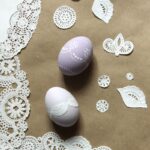
To make such souvenirs, you will need small interesting fragments of the pattern cut from old lace. With the help of PVA glue, they are glued to a white or painted base, dried and varnished. It is dried again and decorated with beads, covered with gilding or a barely noticeable layer of silver. Finally, cover with several layers of varnish. These Easter eggs look like real masterpieces.
A little creativity, time, patience and a piece of your warmth, invested in the creation of Easter eggs, will pleasantly surprise your family and friends. Such decorations will be the best gift on the bright holiday of Easter.
Video: decoupage of Easter eggs - master class
