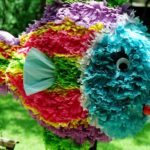
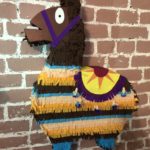
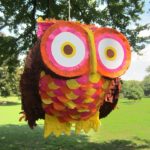
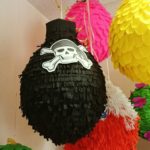
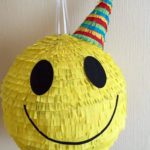
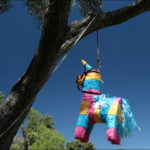
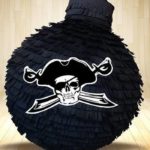
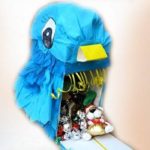
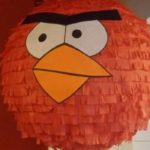
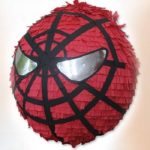
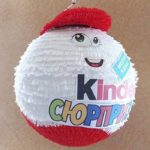
DIY festive piñata
The pinata is a fun toy that decorates any festive event. Regardless of whether it is a birthday or anniversary, this kind of entertainment is suitable for different occasions. In most cases, it is filled with sweets, small figurines, nuts, whatever you like. If you are wondering how to make a piñata, you can check out the video on the net. Detailed instructions will facilitate the manufacturing process.
How to make a piñata with your own hands
An original festive accessory is not difficult to make; on average, the work will take you three hours. The finished product will delight both children and adults. The main condition is to stock up on desire and improvised means.
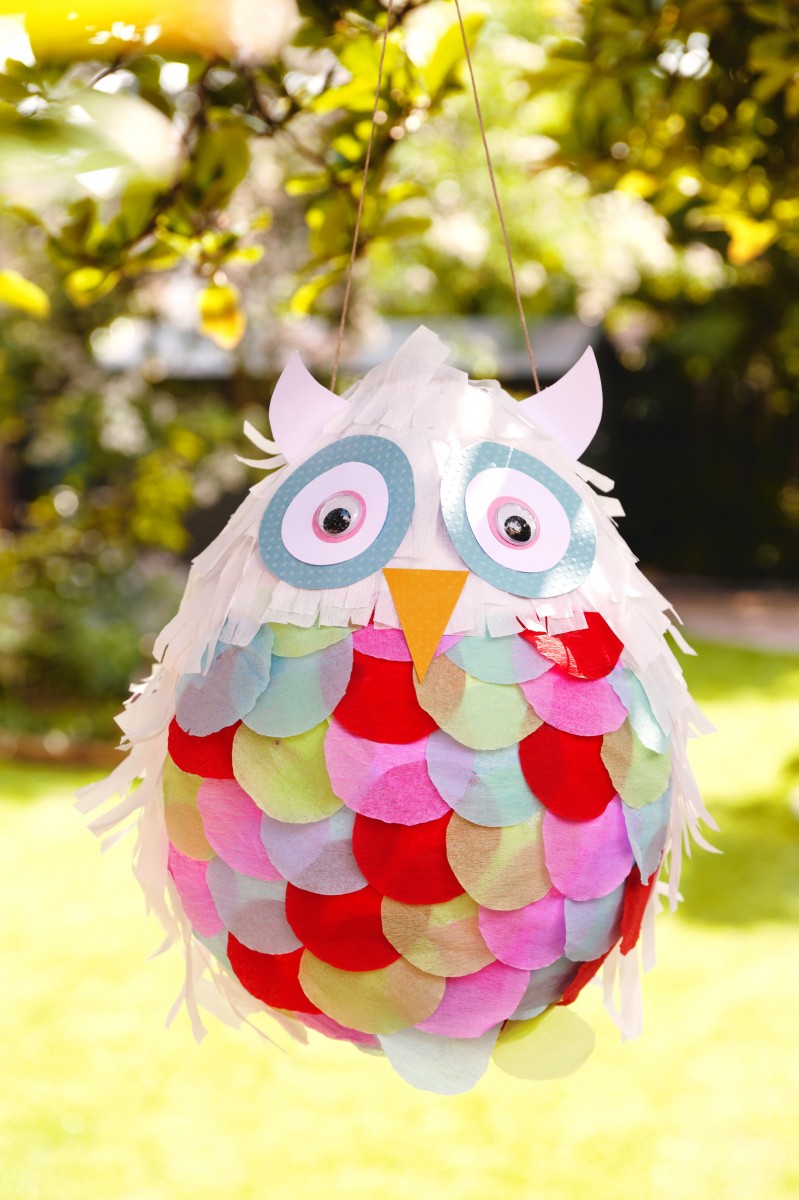
Required tools and materials (paper or cardboard)
You will need regular materials to create a piñata. Such a craft does not require large investments and the use of expensive equipment. Prepare in advance:
- balloon, so that when inflated it reaches a large size;
- paper sheets or old newspaper;
- PVA glue or any other adhesive;
- fastening tape or twine, a piece of wire;
- paper or corrugated cardboard of the desired color;
- scissors, stationery knife;
- awl, scotch tape;
- if necessary, party caps may be needed.
Making a pinata with cones
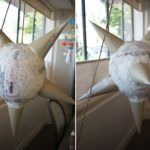
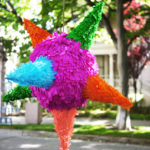
If you want something extraordinary, the variant in the form of cones looks original. This colorful attribute will become a real masterpiece, giving a fireworks of colors and gifts. You can make such a craft as a pinata with your own hands at home, the instructions for making which are given in the article will help make a holiday in the house.
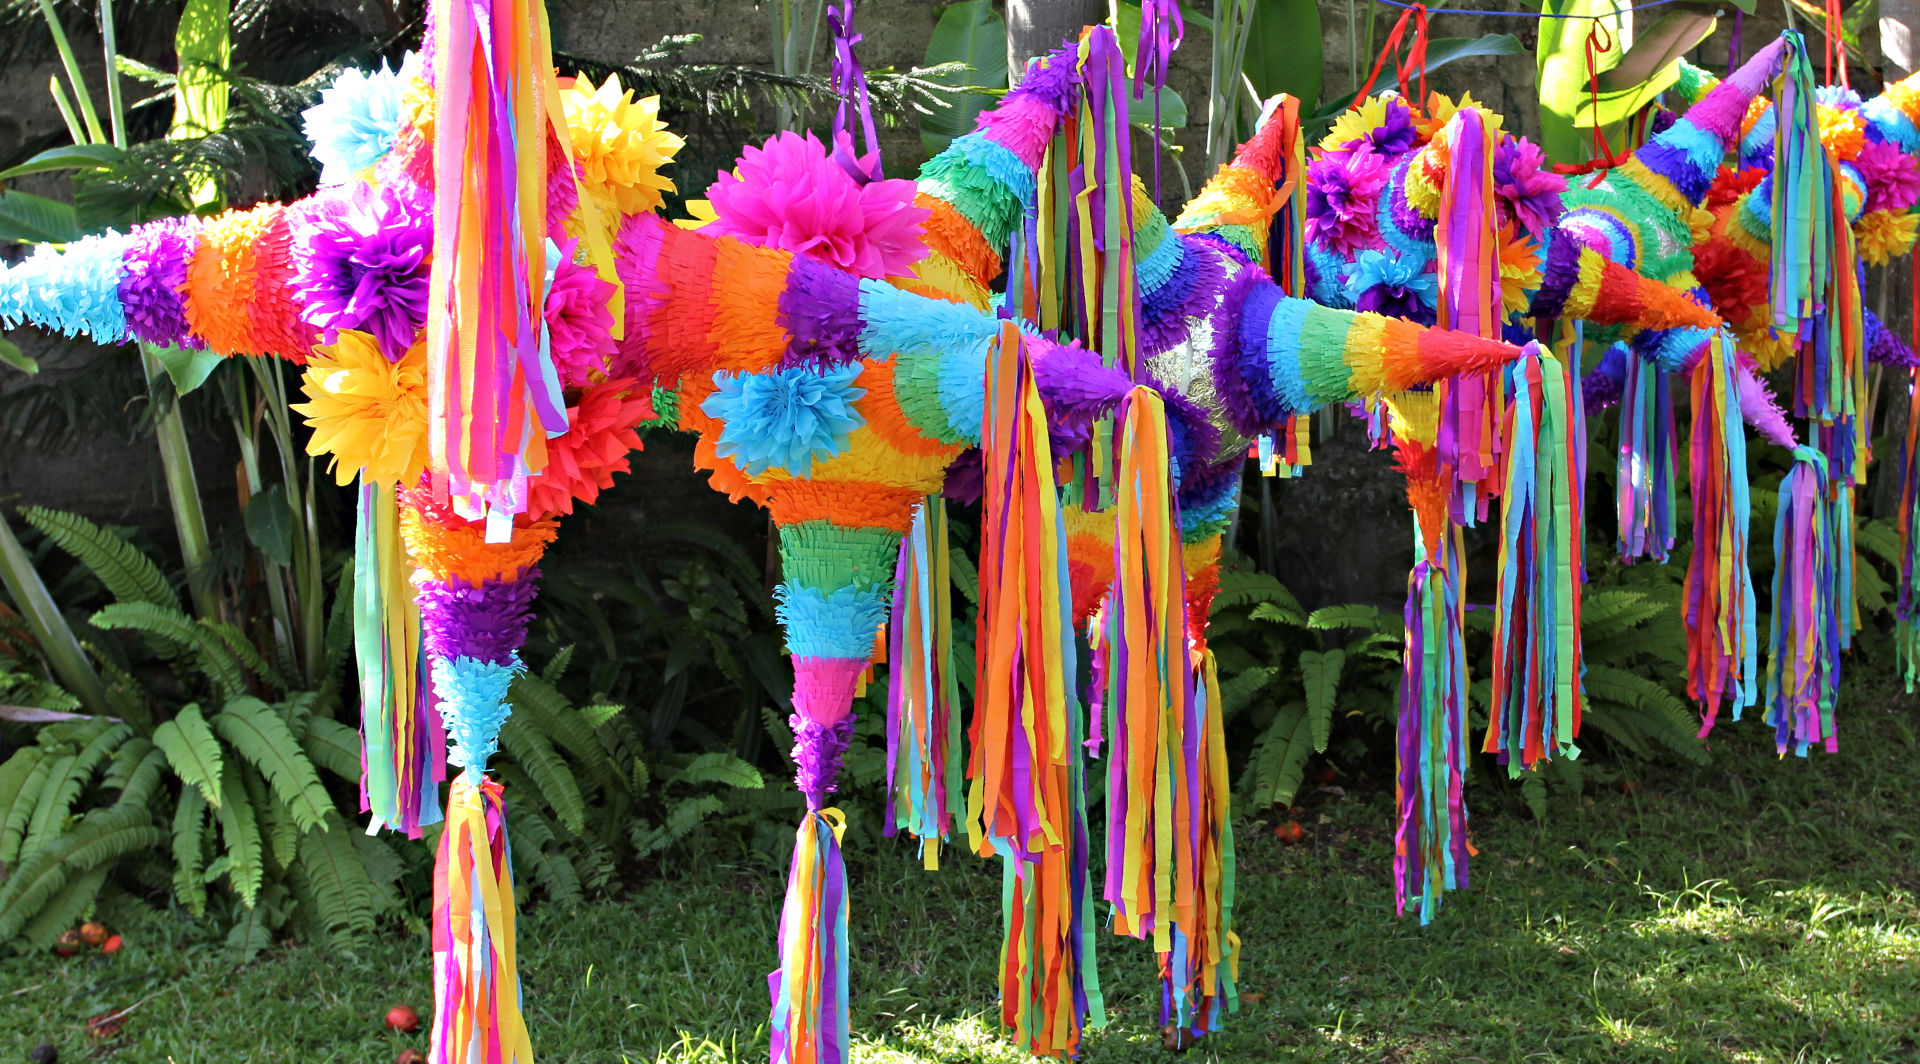
To get started, rely on the master class. Make step by step to get an original product:
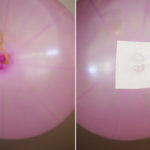
- The first step is to make the body of the future piñata. To do this, inflate the balloon by fixing it with a thread. It is better to glue tape on the tail to eliminate unnecessary fragments.
- Prepare paste. To obtain a mixture, you must take equal proportions of flour and water. As a result, a thick solution should come out.
- Cut the newspaper into strips, then place them in the prepared mixture. Then glue them onto the balloon.
- Now you can hang it up and continue to practice papier-mâché. After creating the first layer, let it dry well. Next, you need to gradually glue the remaining layers. When everything is glued on, the workpiece is left intact until it dries completely.
- Manufacturing of cardboard cones. Draw templates, cut them out. Then roll up and secure the joints with tape.
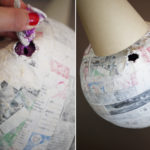
- In the next step, make a small hole in the papier-mâché blank. Release air from the balloon.
- Carefully cut out a circle with a diameter smaller than the cone. Now you can remove the deflated ball from the inside.
- Using a utility knife, carefully poke a hole on the back.Tie a rope or braid with a double knot through the opening.
- It's time to fill the piñata with all kinds of sweets. After filling with everything you need, close the hole, additionally securing it with tape.
- Glue the cones to the body of the piñata. Their number depends on your idea.
- Finally, you need to decorate the finished product. For these purposes, use crepe - paper. You can cut it into thin strips, making a fringe. Apply a layer of glue over the workpiece. Wrap the base with this element. Try to keep the fringe down. Continue decorating the frame until there are no gaps left. Cones are decorated in a similar way. All is ready.
Round pinata
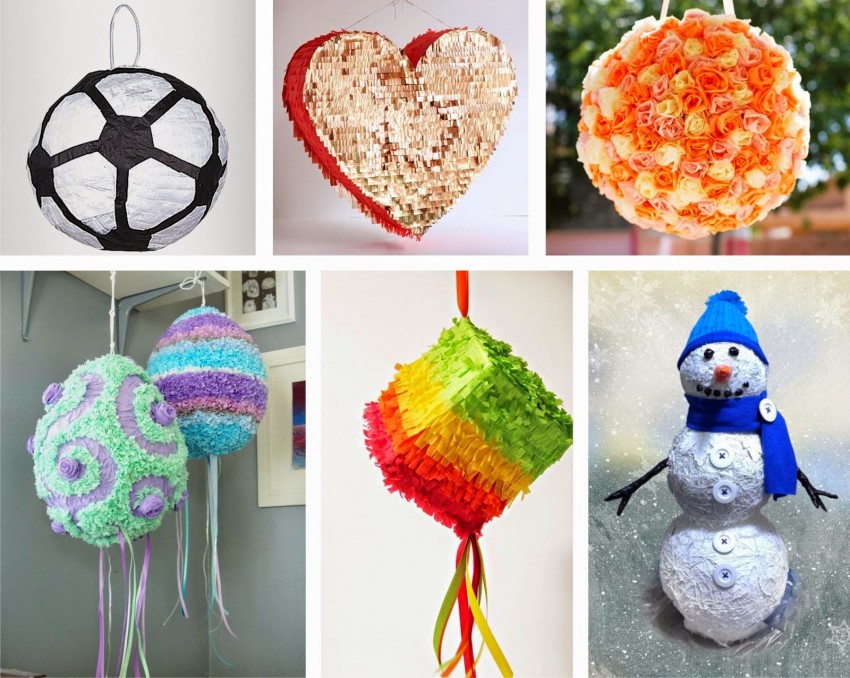
Using some simple steps, you can create a round piñata that looks like a soccer ball:
- First you need to pump a latex balloon with a pump, tying the ends with a thread;
- Making a frame from papier - mache on the basis of paste;
- After waiting for it to dry completely, cut the tail of the ball in order to easily deflate it and get it out of the base;
- Then you can fill the piñata with various little things. You can put sweets, chewing gums, key rings. After which it should be hung by the fasteners;
- At the final stage, it is recommended to decorate the product.
Decorating the piñata
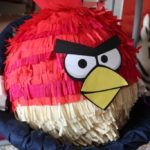
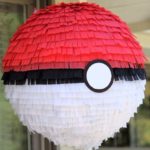
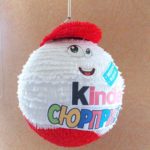
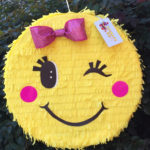
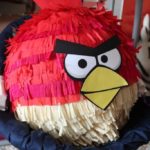
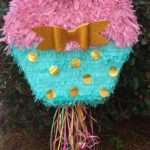
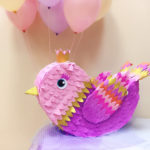
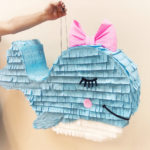
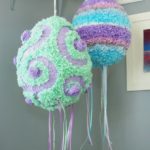
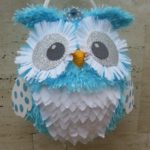
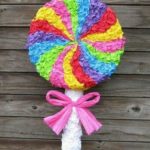
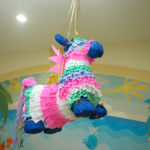
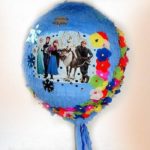
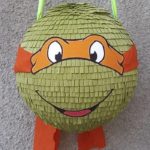
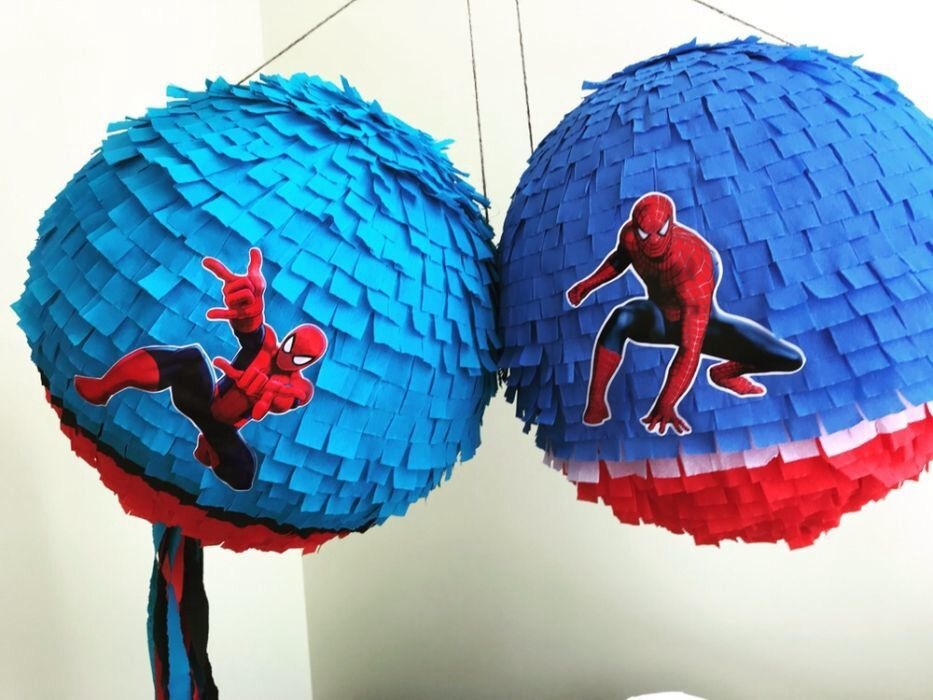
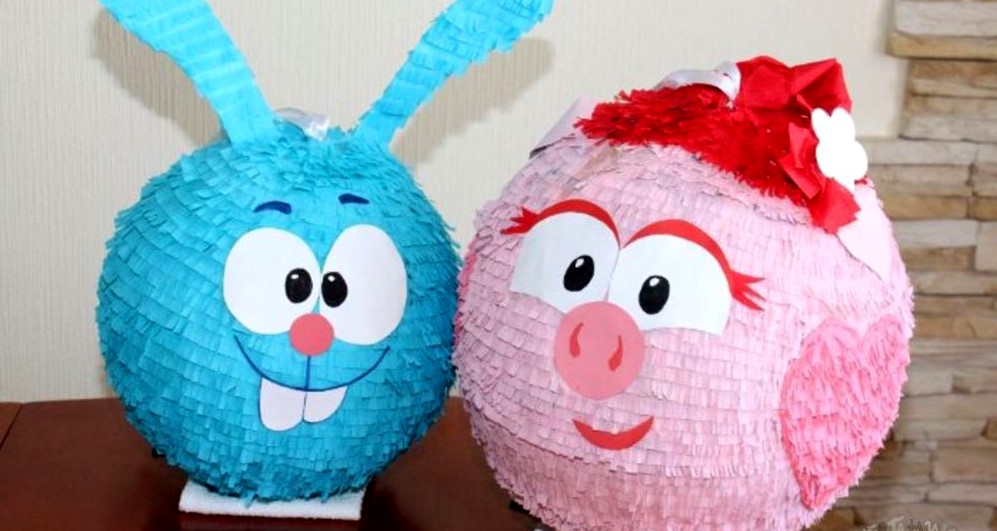
Decorating a piñata is a creative process. You can apply any colorful palette or paint with acrylics. Pictures with the image of popular fairy-tale characters look original, which are easy to glue.
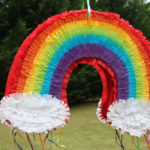
If you are planning a friendly party, use a colored decoration using corrugated paper in different shades. Bright foil will also work. From these materials it will turn out to create a disco ball or a bright star.
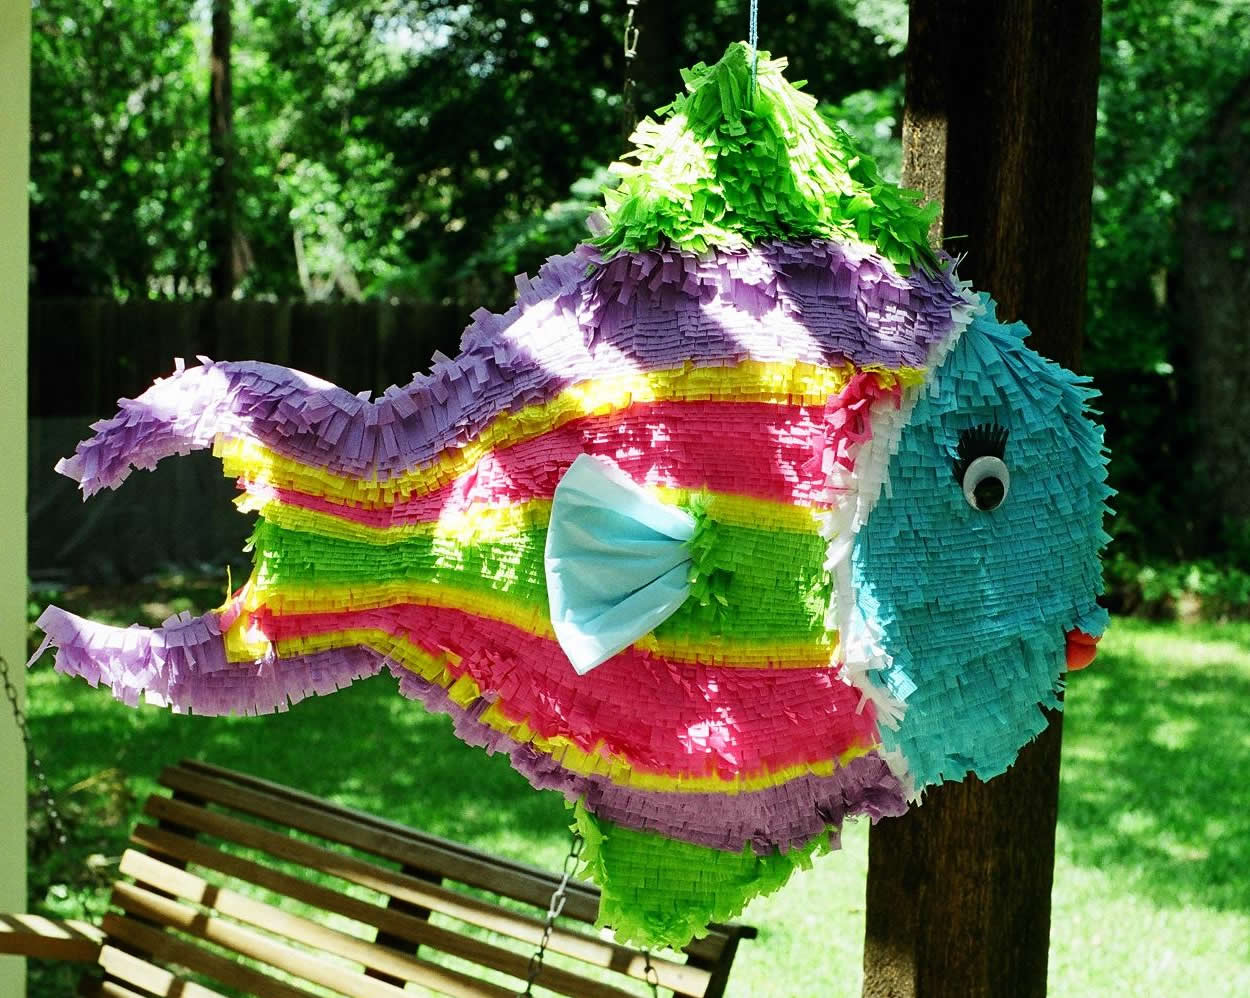
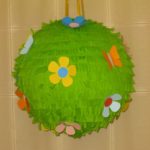
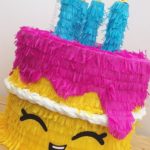
For a birthday, it's best to decorate the piñata with the numbers of the upcoming holiday event. Little princesses will love toys decorated with flowers, stylized by the sun.
Halloween pinata
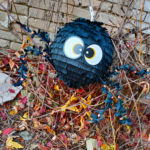
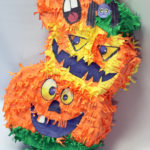
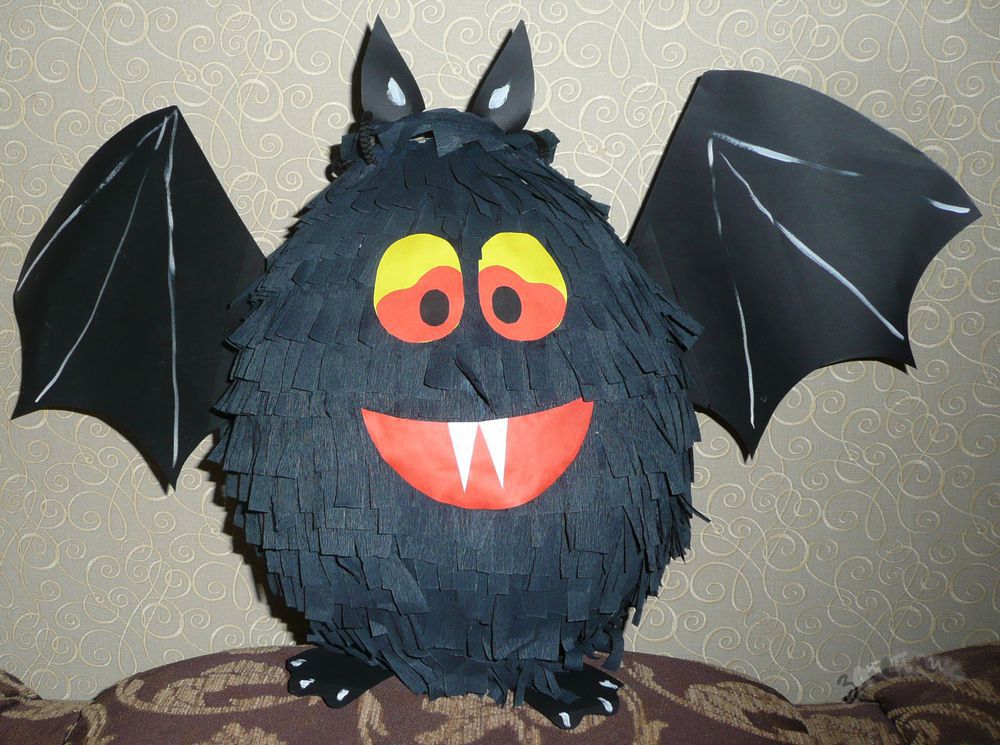
Planning a fun Halloween is hard to imagine without entertainment. You can make a piñata in the shape of a pumpkin or a bat, or a small ghost figure will add a special atmosphere. To make a bat, you need two balls, glue, tape, black paper. The first step is to inflate the balloons, one should be small, it will serve as a head. Then secure them with tape. Then glue layers of paper on them, letting each dry well.
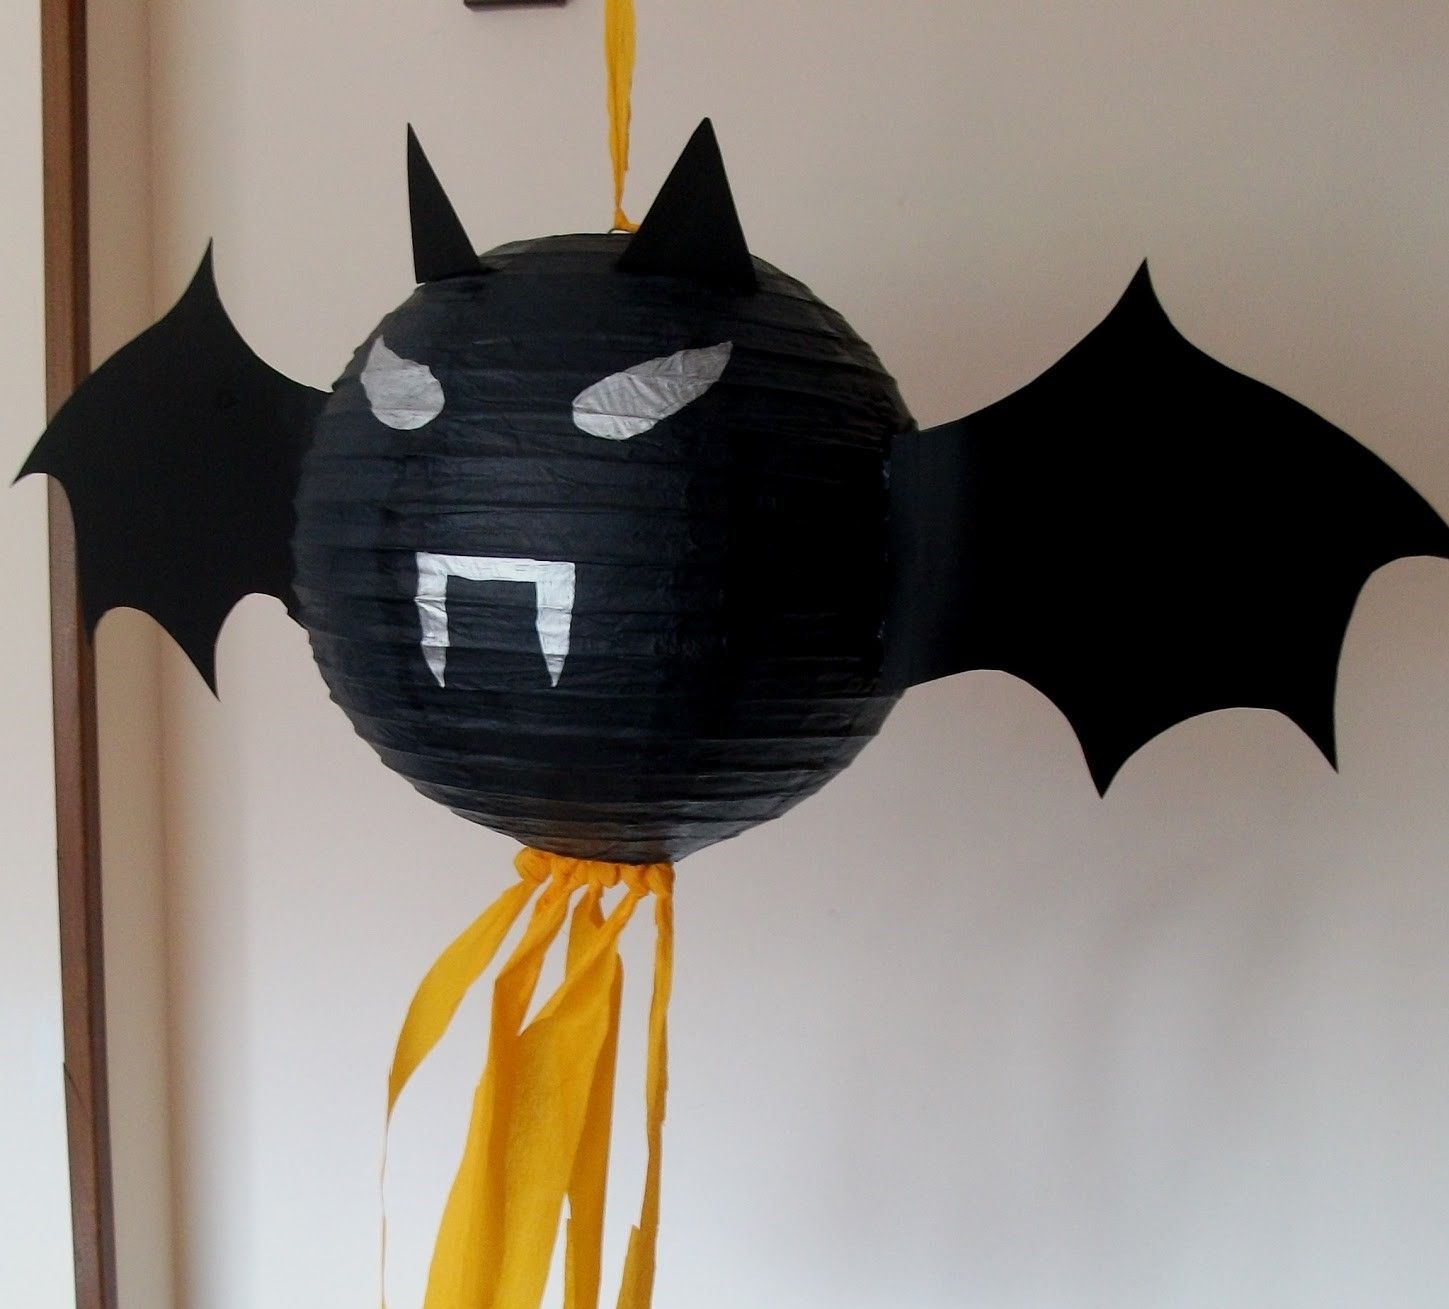
Once you've reached the strength of the mouse's torso, you can pierce the ball and pull it out. Next, fill the piñata with the necessary ingredients. Use black cardboard to create the wings. After cutting them out, fix them. Eyes, teeth and ears need to be glued to the head. The finished version can be hung in the room.
For Christmas and New Years
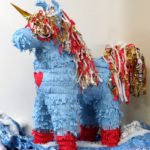
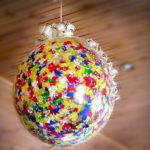
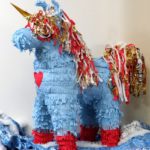
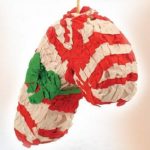
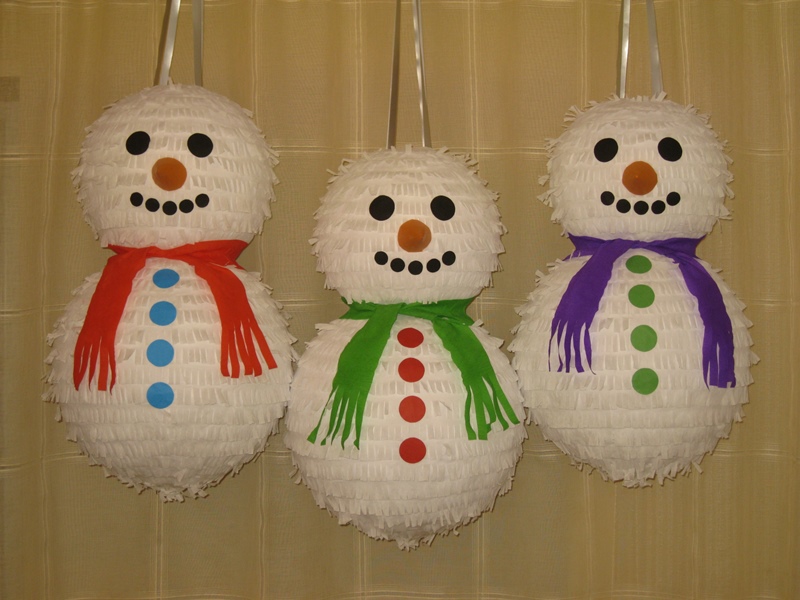
For such holidays, it is worth making a piñata, which displays the New Year's attribute. It can be in the form of Christmas balls with bright confetti inside, snowflakes, in the form of a snowman, a unicorn. Filling is done with predictions, small gifts for the whole family and guests, holiday cards are also suitable. Try to convey the festive mood in every little detail.
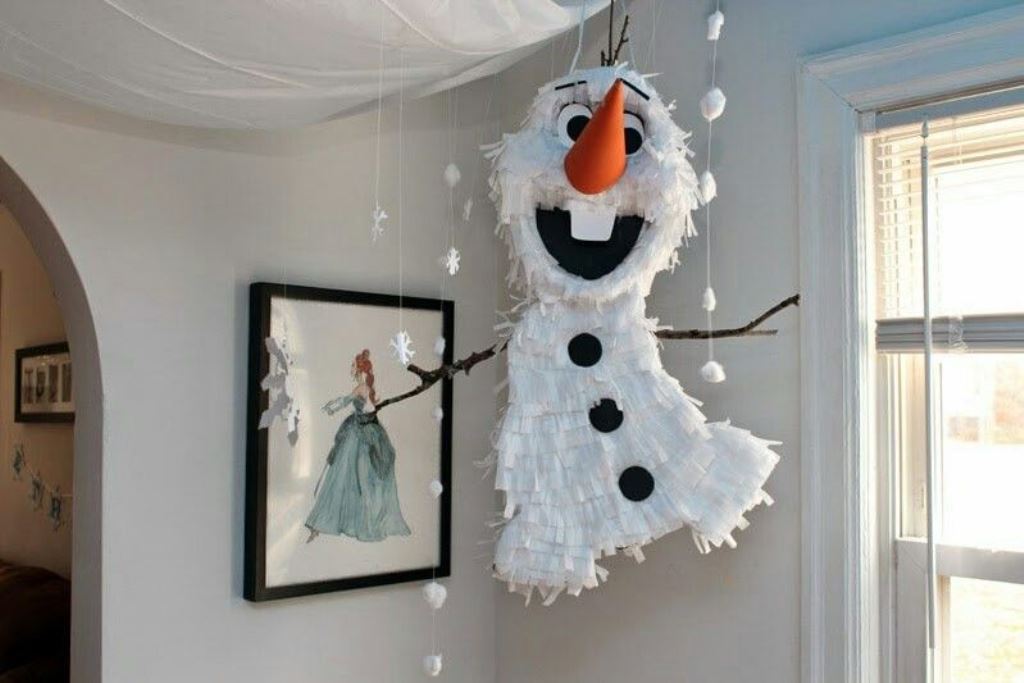
For the New Year's piñata, you will need materials identical to the usual ones, the only condition is that the decoration must be made in accordance with the theme. It is better to take the ball of an oblong shape. When all the papier-mâché layers are dry, remove the ball.Glue the upper part with colored foil, tie ribbon bows on top. Then make a decor - snowflakes from corrugated paper.
What can you put in a piñata
Depending on the theme, the piñata can be filled with the following elements:
- mini-candies, lollipops;
- serpentine tape;
- confetti of any configuration;
- souvenir money;
- notes with wishes and predictions;
- small toys;
- bracelets, key rings, hairpins;
- rose petals.

It is not recommended to fill with heavy objects with sharp edges.
How the piñata is broken
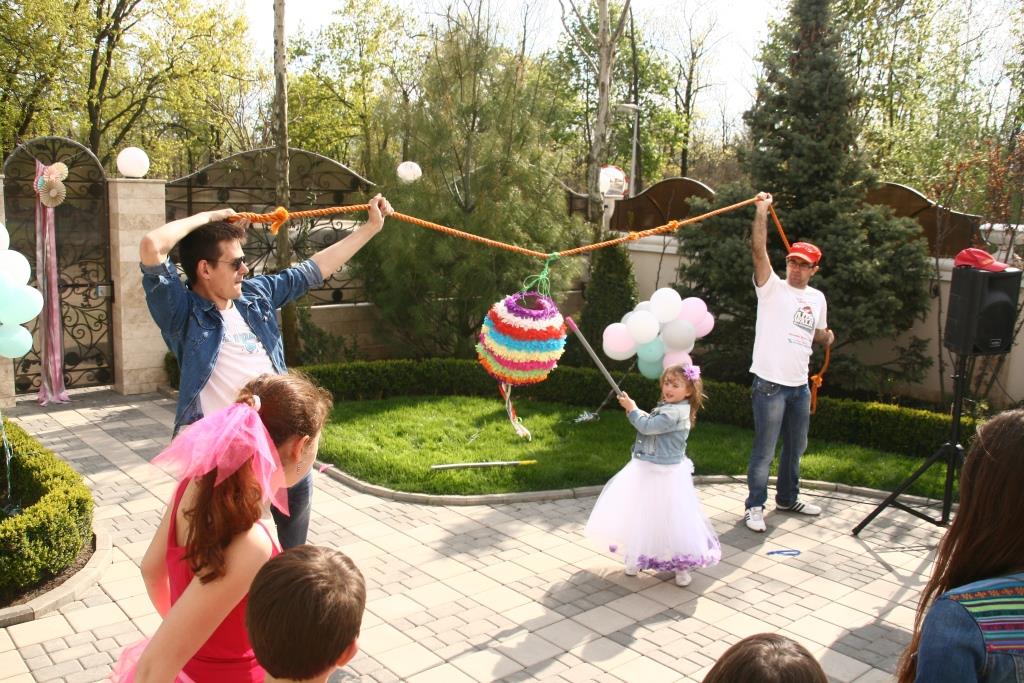
After choosing a suitable location for the piñata, hang it up. Gather guests around her. The hero of the occasion is invited to the center; if you wish, you can blindfold. He is given a stick, then unwind it. With loud chants, applause and prompts, the hand must hit the piñata in order to break it. In case of failure, another child can try his hand. The game lasts until someone is able to break the toy. After that, everyone begins to collect sweets or gifts that are poured out.
Conclusion
A large toy piñata, which owes its invention to Mexico, will become a real decoration at any holiday. You can hide various small things in it, from sweets to toys. No special skills are required to make it. Basic materials: balloon, glue, paper or cardboard, shoebox, scotch tape, scissors will do. Colored corrugated paper, foil, paints, stickers, tape are used for decoration.
It won't take long to create such a cracker, but the result is worth it. Any holiday will leave only pleasant memories, when some are beaten, others are collected. If the event is going to be outdoors, a tree will do the trick. If indoors, make fasteners by placing it in a suitable place.
For the New Year, a pinata in the form of a Christmas tree, snowflake, snowman, Christmas tree toy is suitable. For a wedding anniversary - a piece in the shape of a heart.
VIDEO: How to make a piñata with your own hands - 4 ways.

