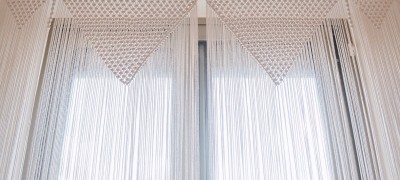
How to sew curtains in the kitchen with your own hands
In order to make the interior functional and exclusive, try to sew curtains with your own hands. The modern assortment of materials and tools guarantees a decent result. A room with hand-made curtains is always distinguished by extraordinary comfort.
Features of the model for the kitchen
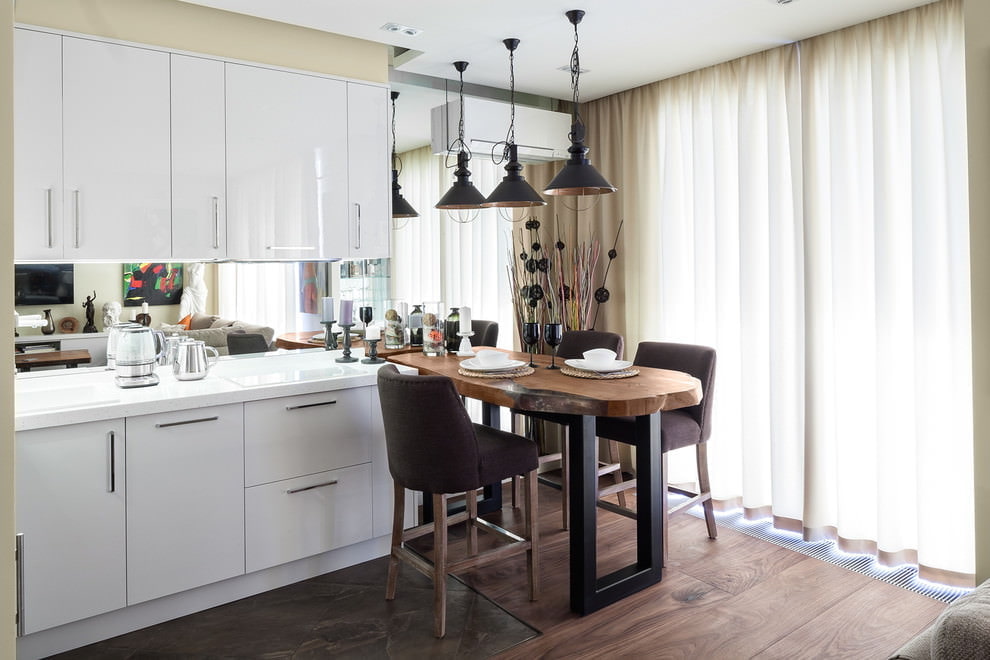
The main requirements for curtains in the kitchen: practicality, functionality and visual appeal. It is better to give preference to materials that are resistant to dirt and are easy to wash (or clean). Recently, curtains made of fireproof fabrics have become more and more popular for maximum safety.
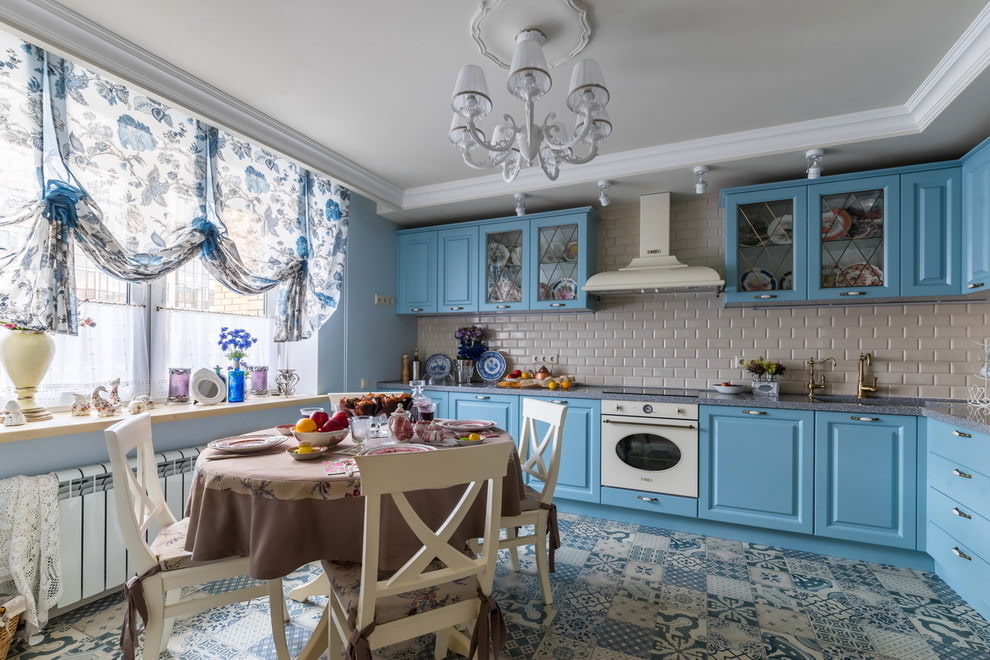
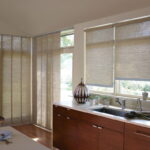
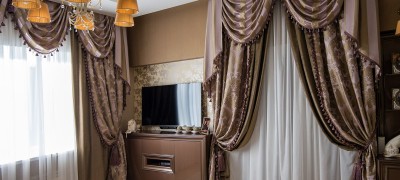
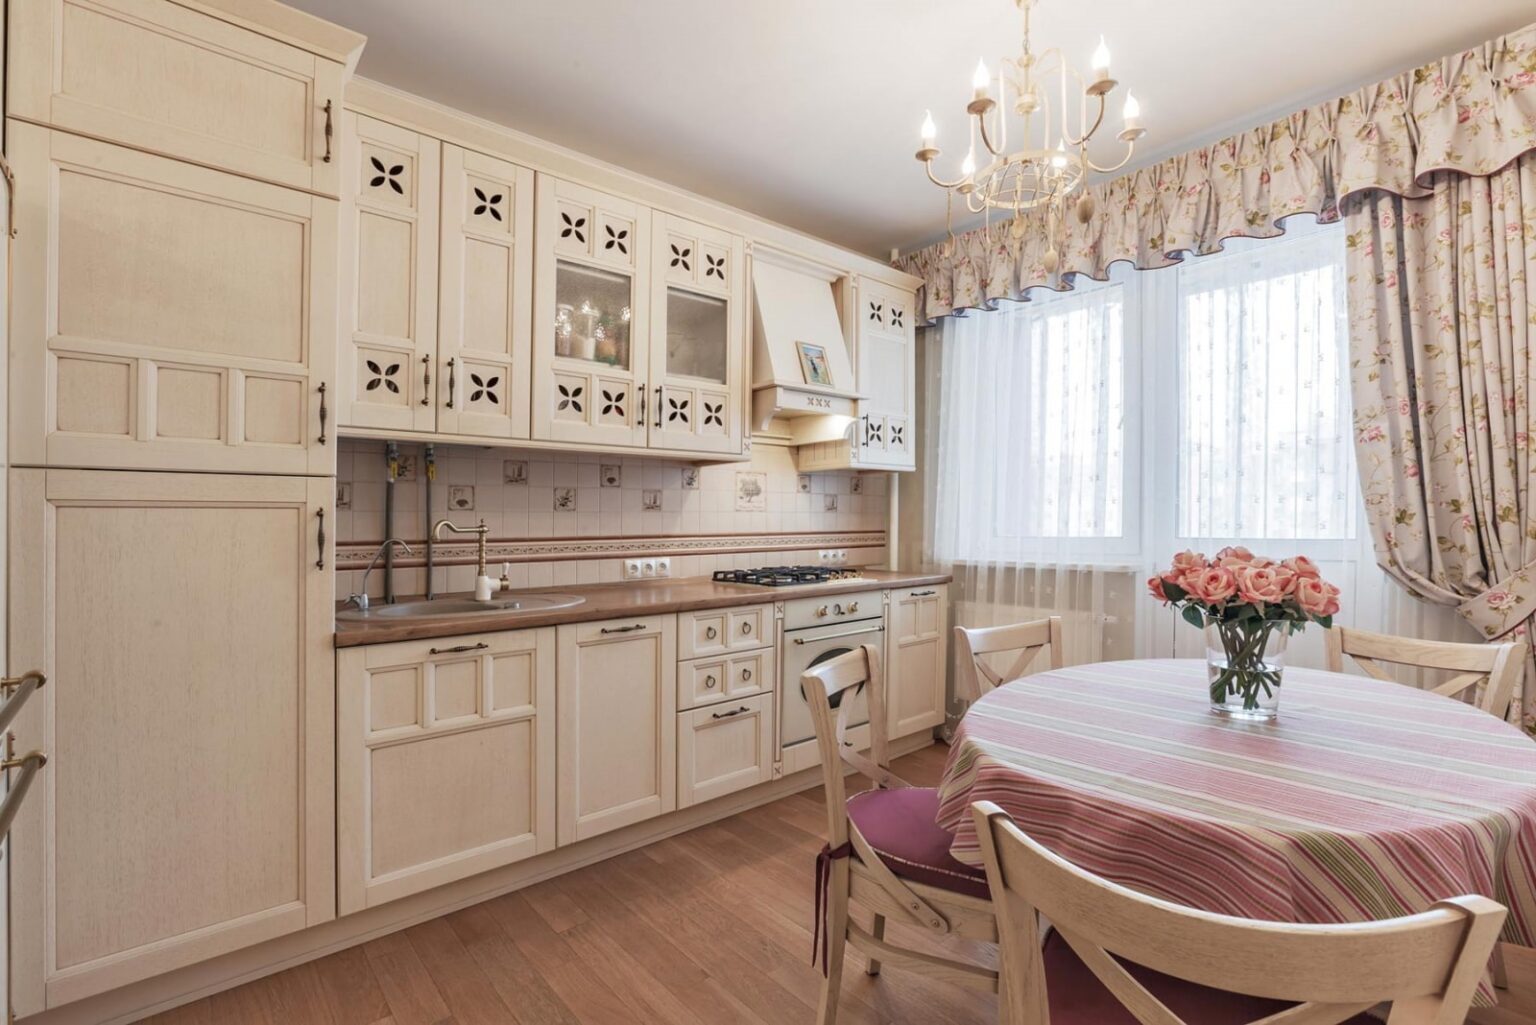
The model is chosen according to your personal preference. If you are sorely lacking free space in the kitchen, give preference to short curtains made of light translucent fabrics. If your kitchen space is large enough, you can choose voluminous multi-tiered models with lambrequins and swags.
It is also necessary to take into account the shape of the window opening and its dimensions. And remember that kitchen curtains are rather a decorative element designed to complement the overall interior and make your stay in the room cozy and pleasant.
Color solution
The opinion that kitchen curtains can be of any color is absolutely wrong. Although the kitchen is designed to be as functional as possible, no one has canceled the style and beauty. The right decision is to choose a color to match the wallpaper and upholstered furniture, or, conversely, play on contrast.
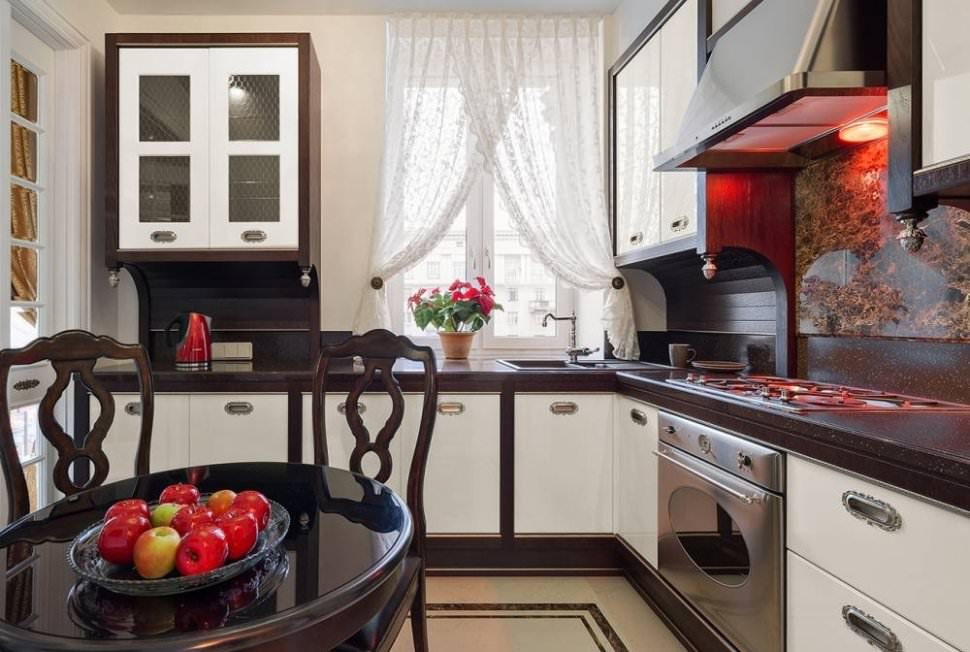
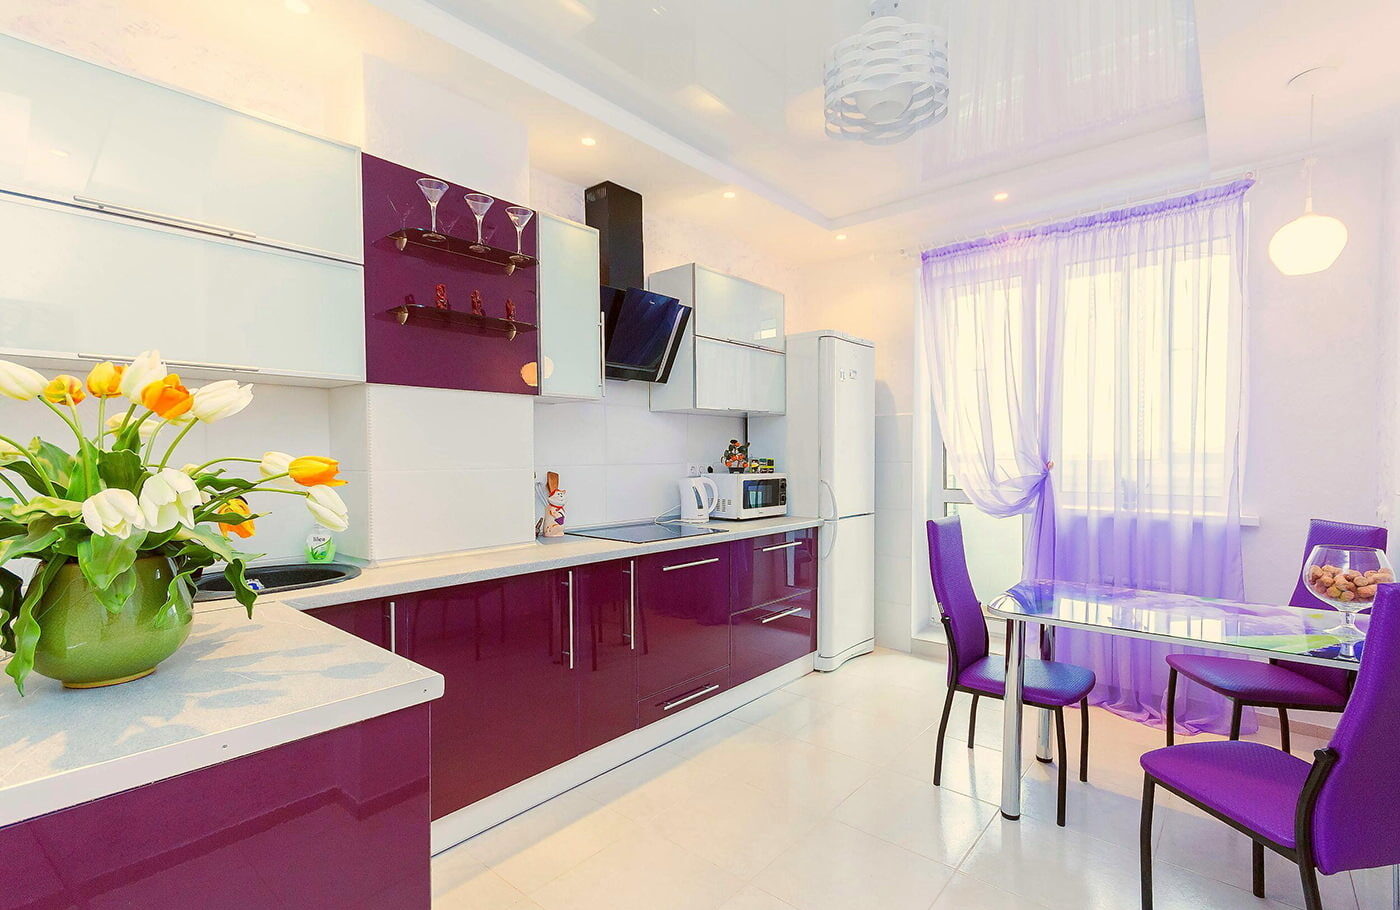
For soft transitions, it is recommended to choose curtains that are a shade lighter or darker than the color of the finish. And for bright combinations, designers are advised to choose colors located in the color wheel exactly opposite the main shade. For example, the following combinations are very effective: red and green, blue and yellow, purple and orange.
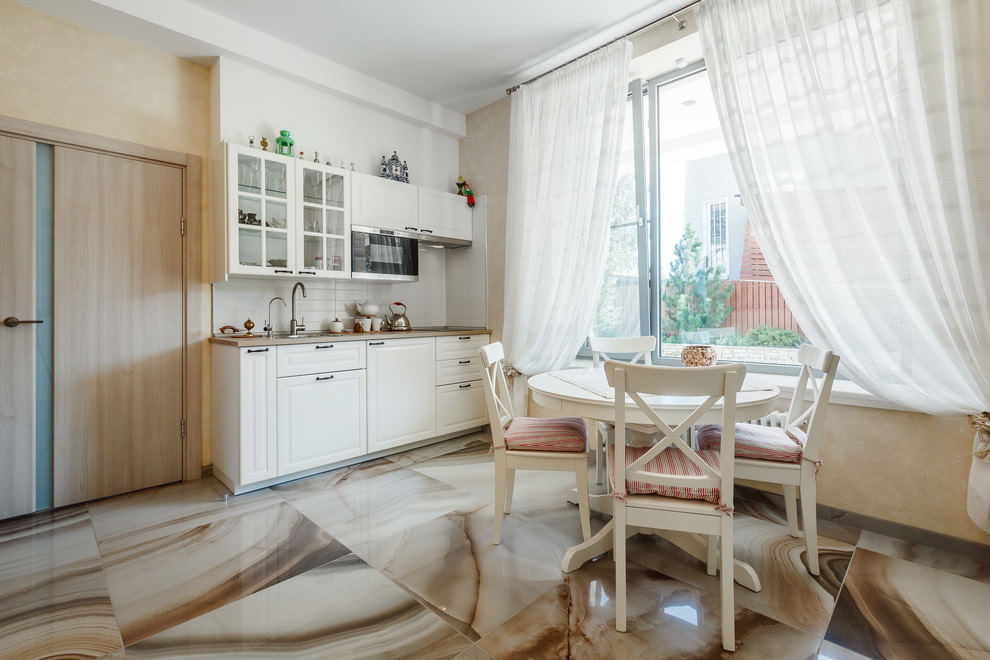
Correctly chosen "color duets" will not be annoying, but on the contrary will allow you to create a striking design.
Calculation of the required materials
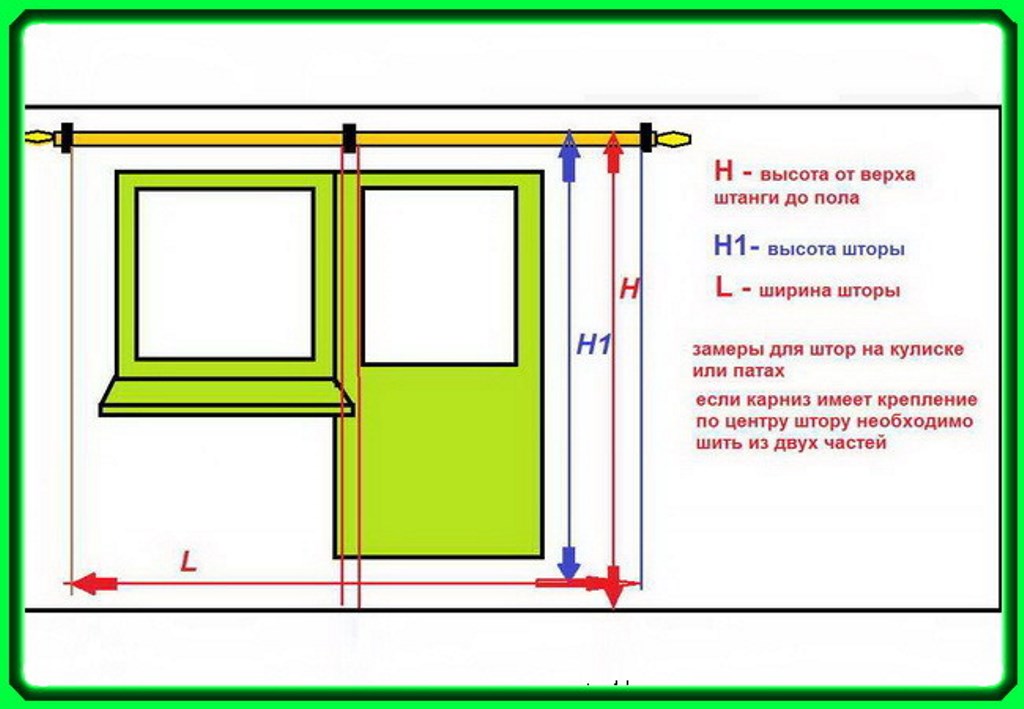
For the manufacture of most curtain models, only two measurements are required: the width of the window opening, and the length of the product (from the cornice to the window sill, to the floor, or at a distance of 15 cm from the floor).
If you plan to make an unusual model from several parts, then the material consumption will increase significantly, because you need to take into account allowances for seams, folds, drapery, and also provide for fastening to the cornice.
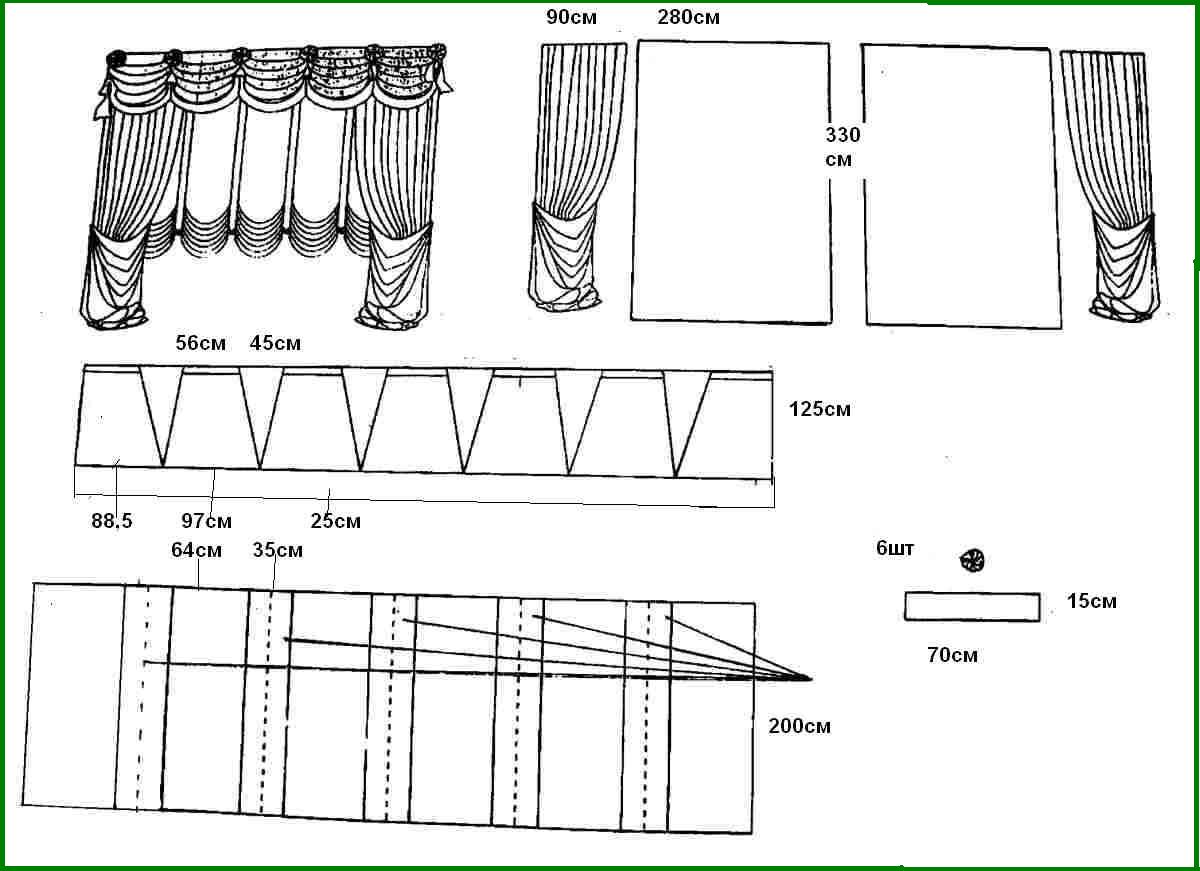
To create a beautiful drapery, a coefficient is used when calculating the amount of fabric. Standard - 2.In other words, to obtain smooth folds, the width of the window opening is doubled. However, if you require a "thicker" drapery, the ratio may be different. Also, the coefficient varies depending on the material, its thickness and texture. There are no strict rules in this matter.
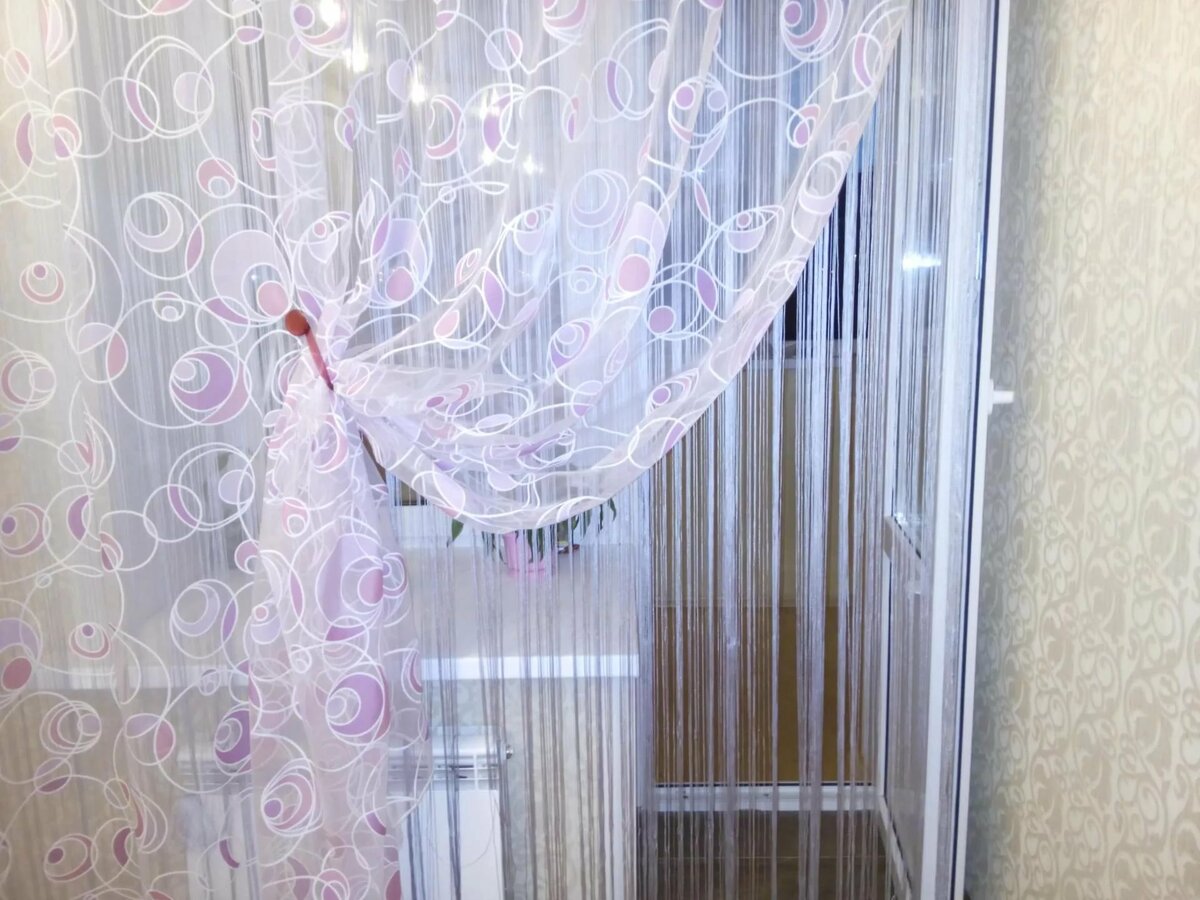
Transparent and translucent fabrics
To calculate the required amount of tulle (veil or organza), the functional part of the cornice (the gap along which the canvas will move) is multiplied by 2 or 2.5. If you are sewing curtains from organza, nylon or veil, then it is enough to add 2 cm on each side.And if the edge is located at the bottom of the canvas, then the increase should not be made.
Curtains
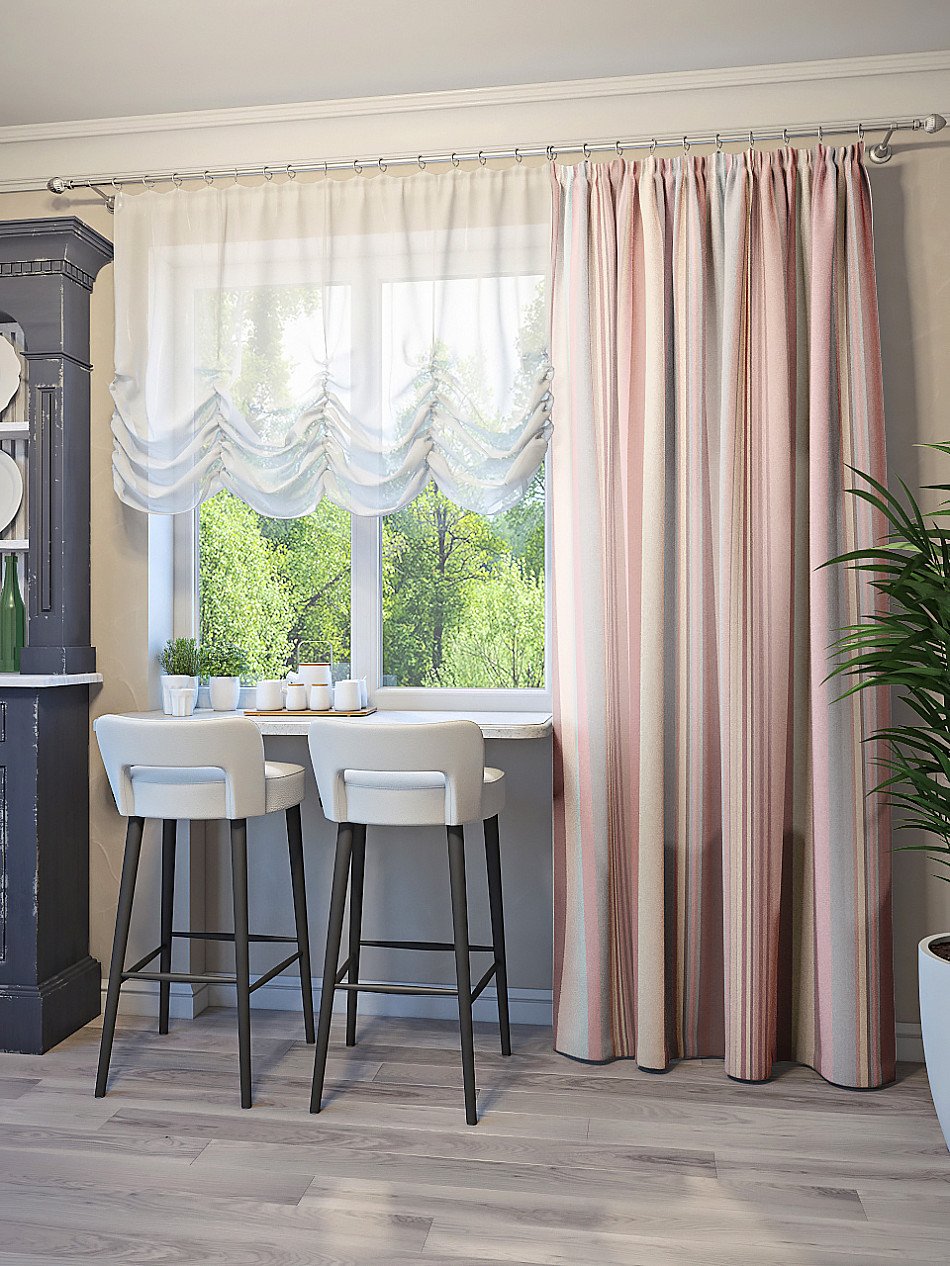
These canvases are usually denser and more textured, which means that the coefficient is different. For drapery in width, 1.5 is enough, and for increments on the seams on the sides and on top, add 4 cm. On some fabrics, the needles leave unattractive holes, and then the fold is made using a special adhesive tape.
How to take measurements
You can take measurements from the window opening in the following way. Using a construction tape measure the width of the cornice. If the cornice is attached to the wall, then the distance from the tip to the tip must be taken into account. If you have a ceiling mount option, then measure the width from edge to edge.
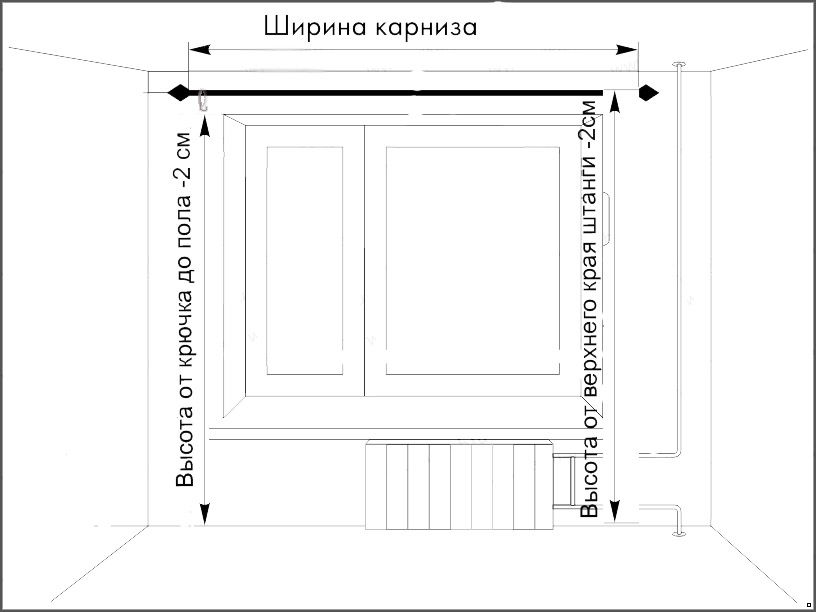
The height of the web is measured as the distance from the top edge to the desired bottom.
The most common options for the length of the curtains:
- 1 cm above the windowsill;
- 10-15 cm below the windowsill;
- 1 cm above the floor;
- 15-20 cm above the floor.
When deciding on the length of the canvas, consider the method of attaching the curtain to the cornice. For example, if the curtain will be attached to volumetric loops, then the length of the loops must be subtracted from the total length of the curtain. If you prefer fastening with eyelets, you will need to measure the distance from the top point of the cornice (where the eyelet touches the cornice) and add 3 cm.
Features of sewing different models of kitchen curtains
An important nuance, if you are going to sew your first kitchen curtains, you should not choose a complex multi-tiered model and very expensive material. Start with simple straight curtains with hinges or ties, and as your sewing prowess matures, you can learn something more interesting.
Bright prints and unusual texture do not require any exclusive cut. Believe me, the model will look impressive thanks to the fabric.
Be sure to wash the fabric before sewing. Almost all canvases exhibit slight shrinkage. And in order to avoid an unpleasant surprise later, it is better to foresee this nuance.
Consider in advance the weight of the finished curtain. If you plan to use blackout fabric, then not every fastener will be able to "cope" with it.

Granny curtains
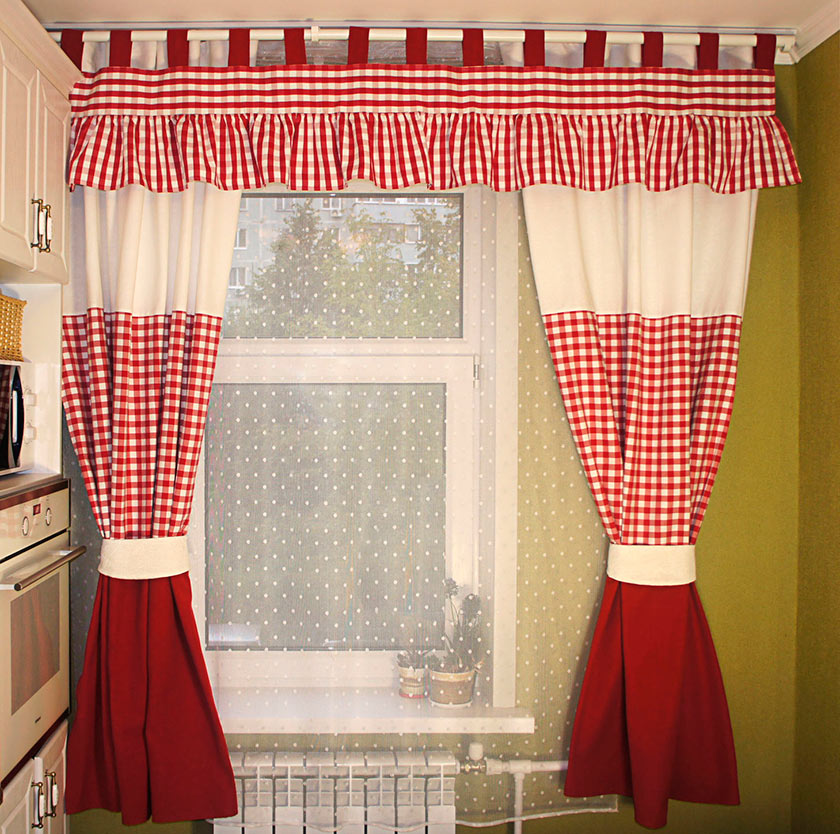
The simplest, and at the same time, the most effective option. Short curtains for the kitchen are a classic of the genre. They are two rectangular shortened canvases.
If you want to sew these curtains with your own hands, here are a couple of simple guidelines:
- Using fabrics with the addition of synthetic fibers for sewing, you will save yourself from such "troubles" as the skew of the fabric or deformation;
- Do not choose too dense and heavy fabrics, the ideal option is cotton with the addition of synthetics or linen.
Curtains
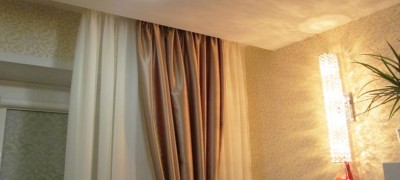
They are used both as an independent element for window decoration and to create a worthy company for dense curtains.
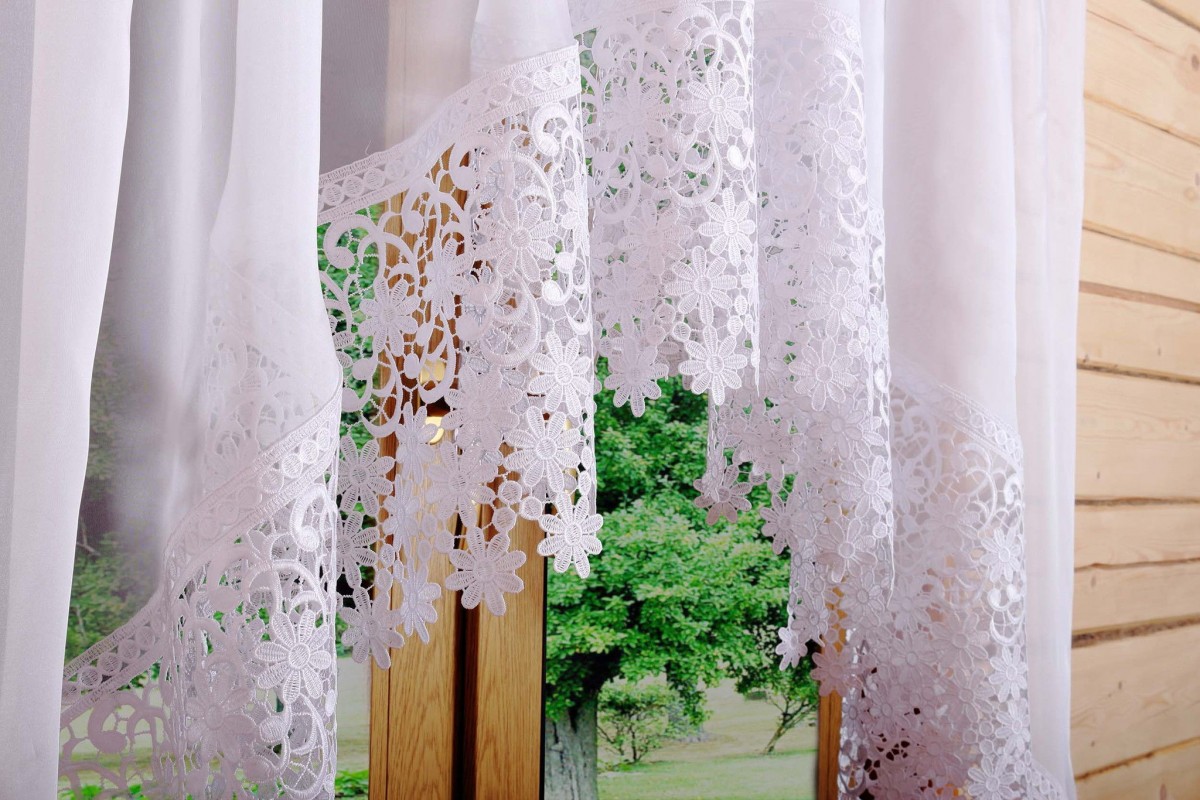
Most often, tulle, nylon, organza, veil are used for the manufacture of curtains. The fabrics are very light and can be easily damaged if handled carelessly. Overlock or braid is usually used for processing the edge. Processing the hem "hem" will require certain skills and accuracy.
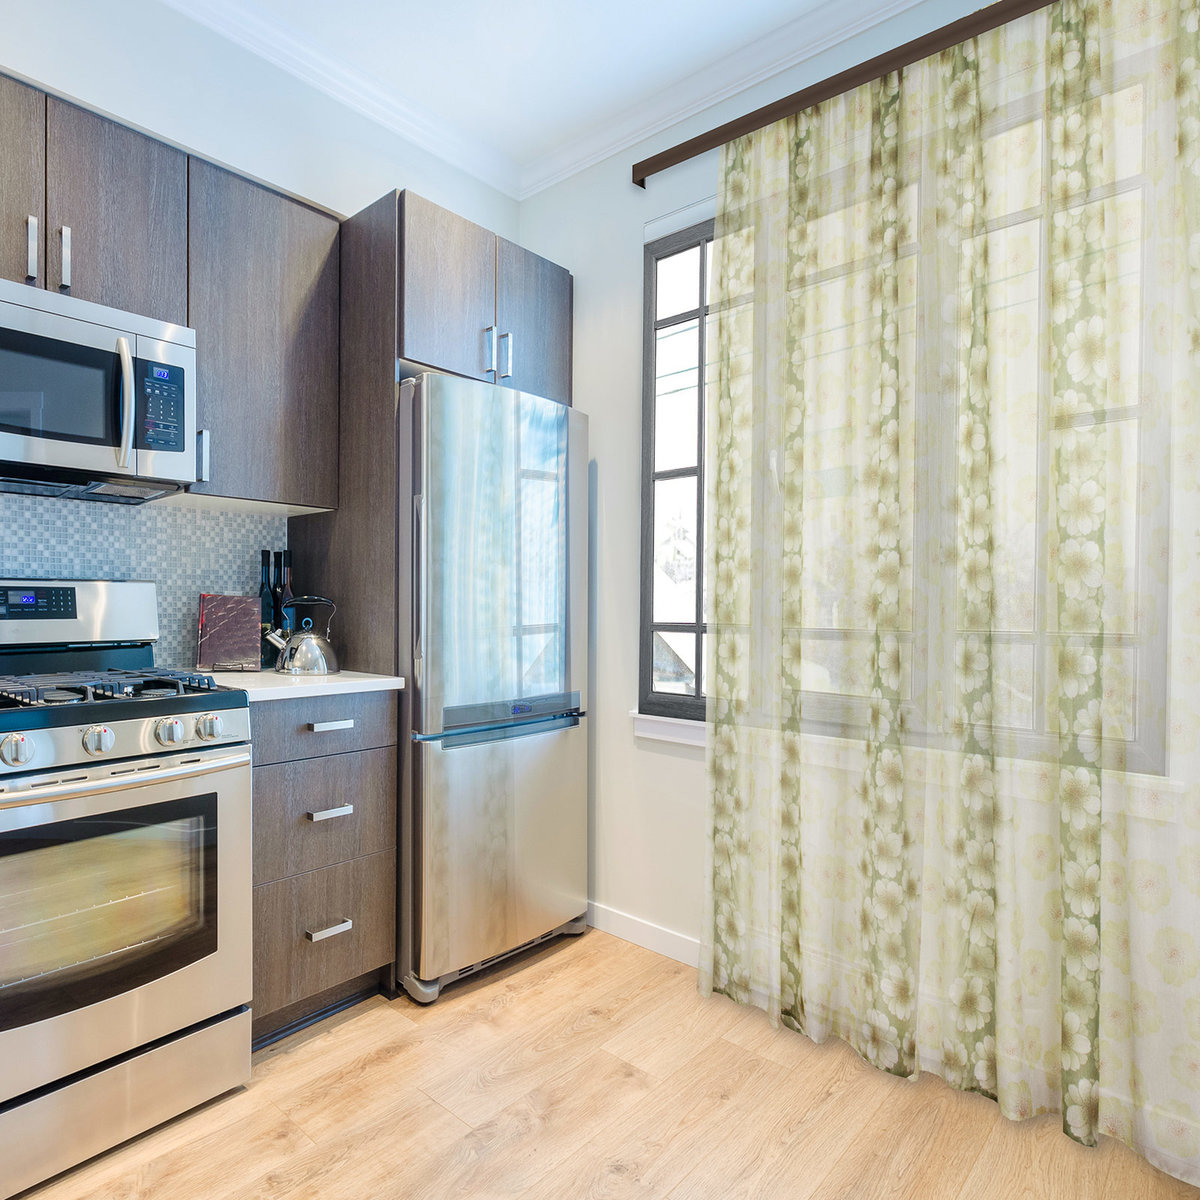
Sewing procedure for a conventional straight curtain
So, step-by-step instructions for sewing straight curtains:
- Measure the length and width, take into account the allowances for seams and folds in the calculations. If there are two curtains, then take into account the overlap of the canvases;
- Prepare the fabric for processing: dip it in warm water, gently squeeze and iron the slightly damp material;
- Open according to calculations;
- Finish the side seams and sew a curtain tape to the top for an even drape.
And if straight curtains do not require from you any serious skills or patterns, such models as Roman, Austrian, French cannot be made without having a pattern of curtains for the kitchen with a step-by-step description.
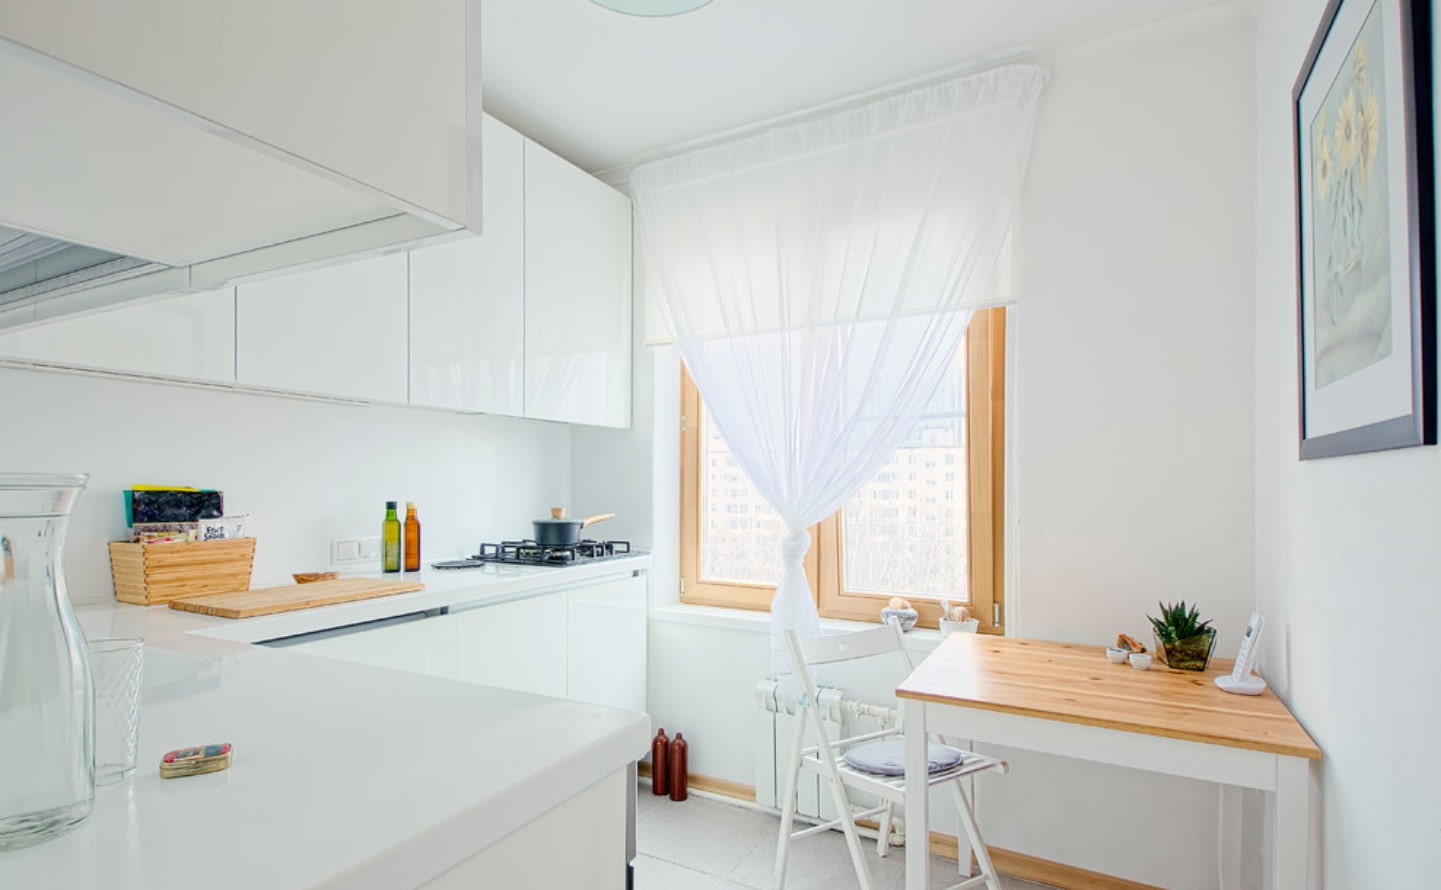
Classic arched curtain
Short arched curtains are sewn from a thin translucent fabric. In the finished form, the curtain will look good if you take a factor of 2.5 when calculating the width of the canvas.
To give the shape of an arch, first, the fabric of the required width is cut, and then a semicircle is formed in the lower part. The radius is chosen arbitrarily, it all depends on how long the fabric will be in the central part of the curtain in the finished form.
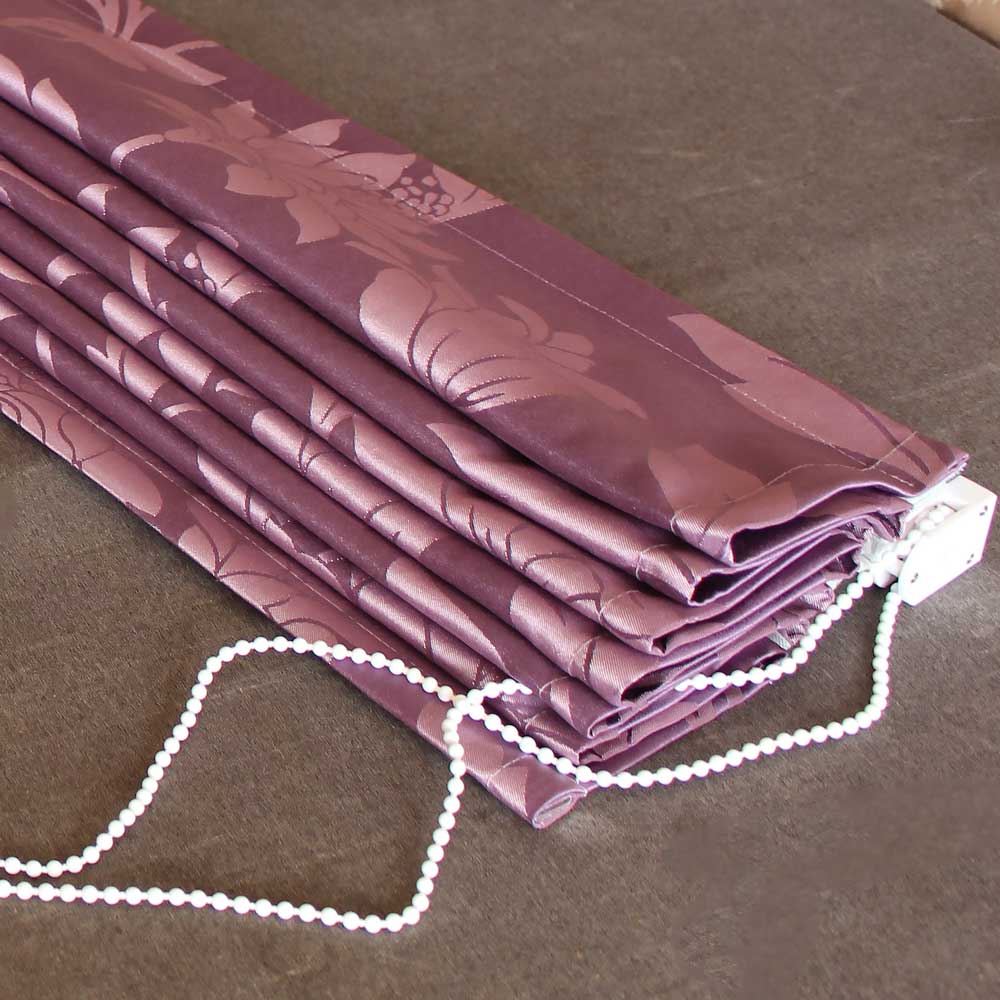
Roman curtain
Not the easiest option for a novice craftswoman. But nevertheless, if you wish and some skills, as well as if you have the necessary consumables, you may be able to create such a masterpiece.
You will need directly a medium-density canvas, pins, fastening rings, as well as rigid strips and a curtain tape.
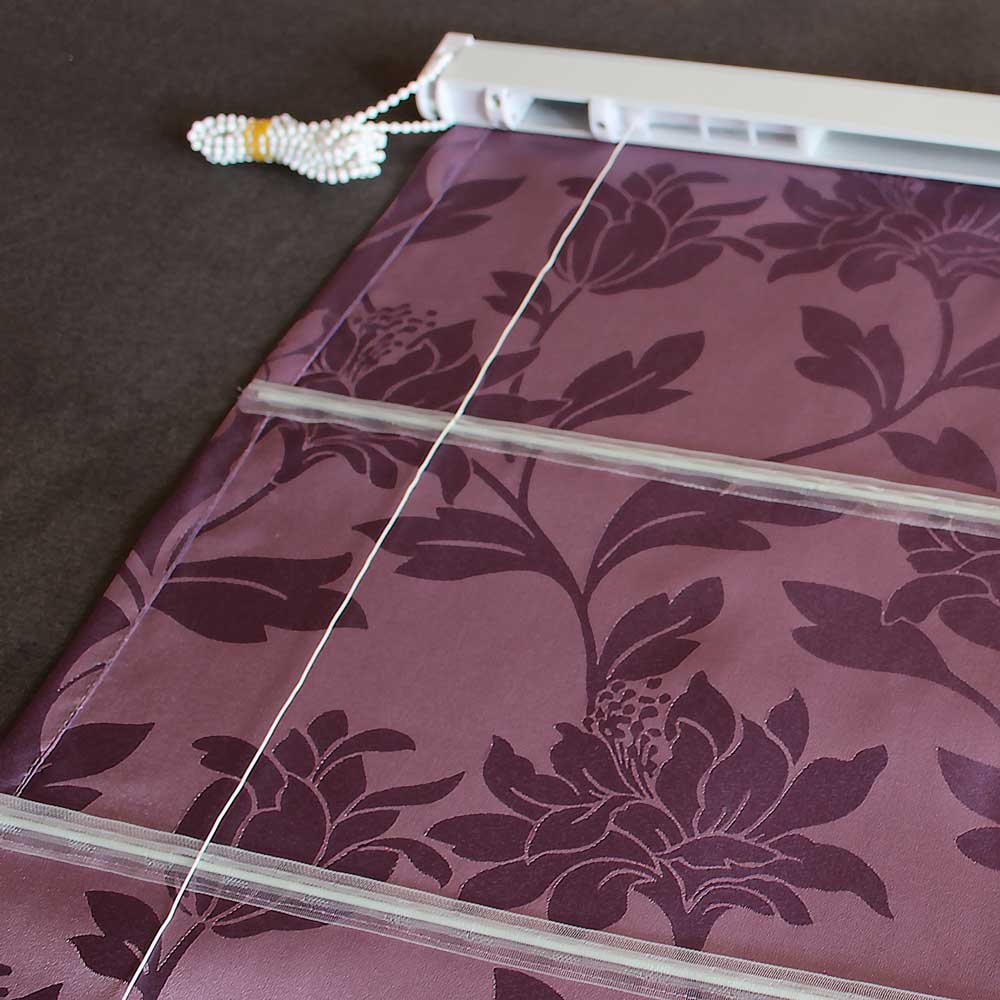
In the classic version, the fabric of the Roman shade has from 3 to 5 folds. But even this amount may vary depending on your preferences and circumstances. The folds are made at the same distance from each other. A textile tape is attached to the fabric cut at the planned locations of the folds. Rings are attached at the edges of the canvas and in the middle.
After the Roman blind is completely sewn, the canvas is attached to the cornice, and the cords are threaded through the rings and also attached to the cornice.
French curtains
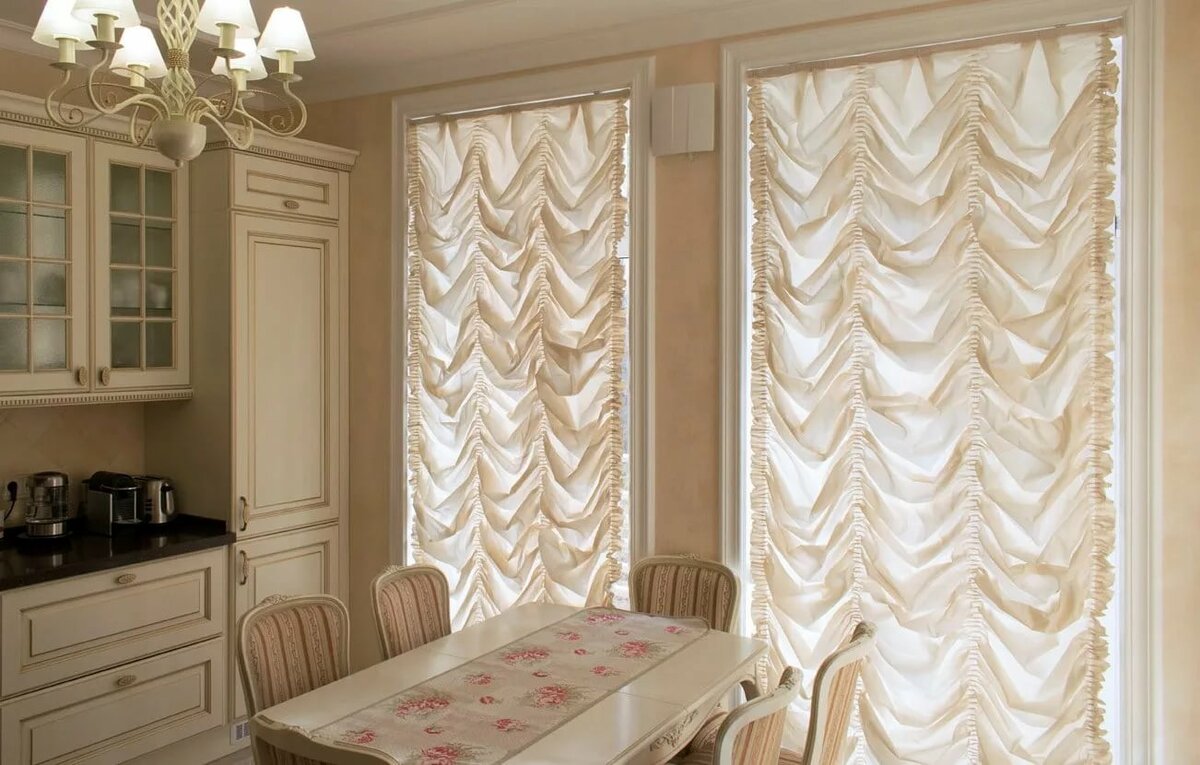
A very effective model, ideal for large kitchen areas. A distinctive feature of the design is easy assembly along the entire length. Usually such curtains do not rise or move, but you can also find models with a lifting mechanism.
Obviously, for the manufacture of French curtains, fabric will be required much more than for the rest. And again, the main thing is not to make a mistake in the calculations: for the correct width, a factor of 1.5 is applied, and for the height - 2.
Drawstring curtains
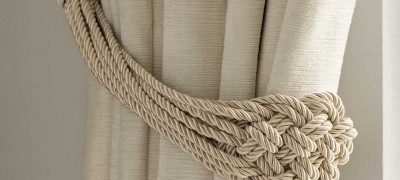
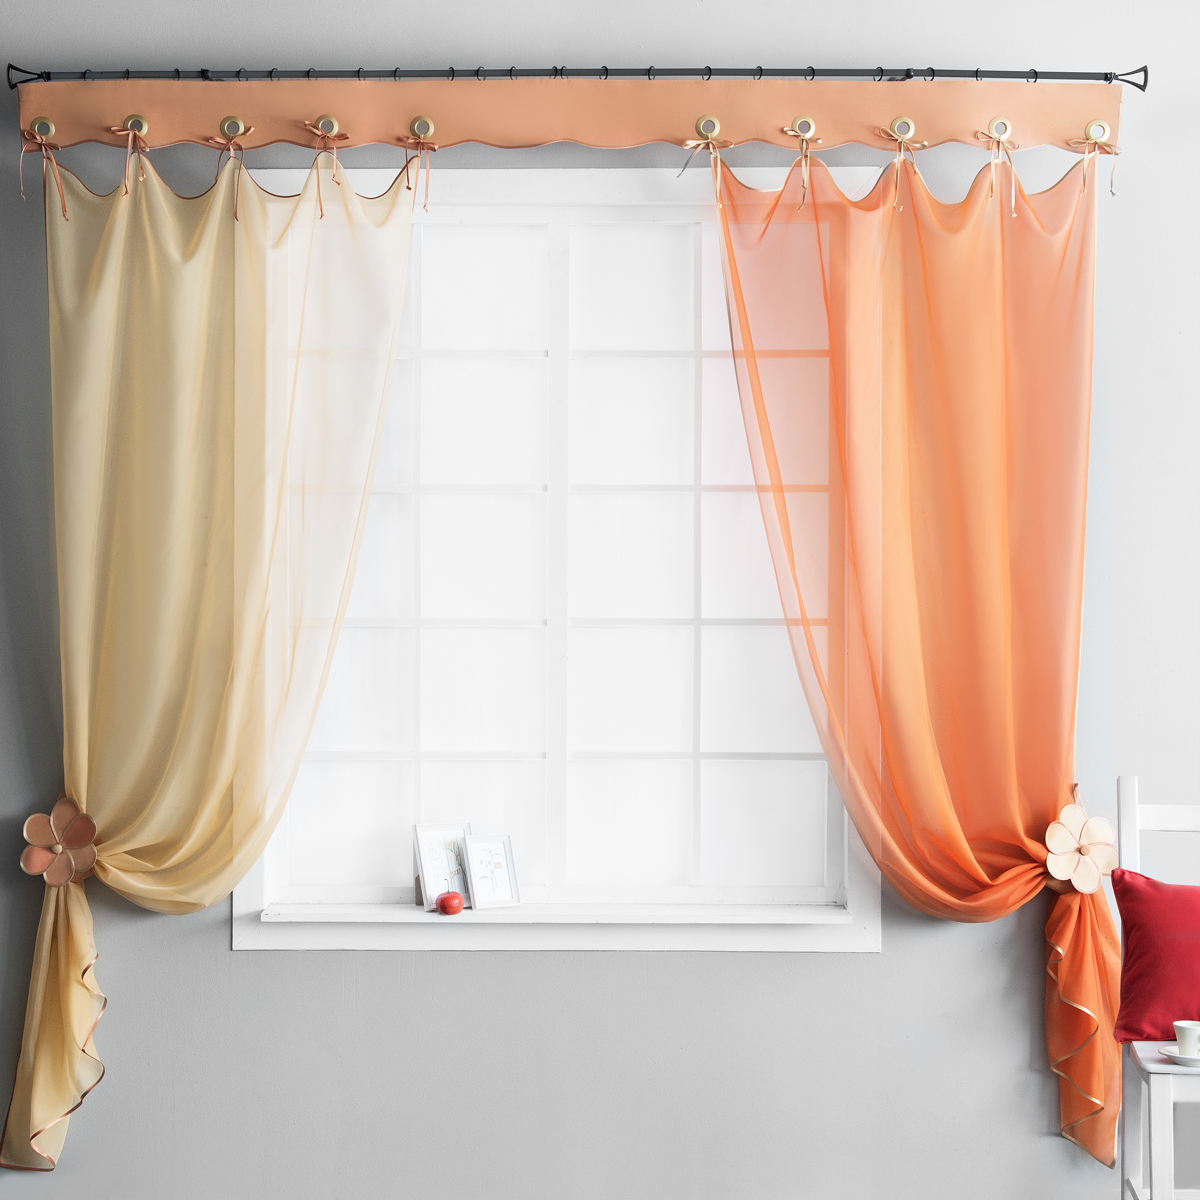
The model is not complicated in execution and spectacular in appearance. Ties are fixed along the upper edge of straight canvases at an equal distance from each other. As the latter, you can use ribbons, fabric or cord.
Hinged curtain
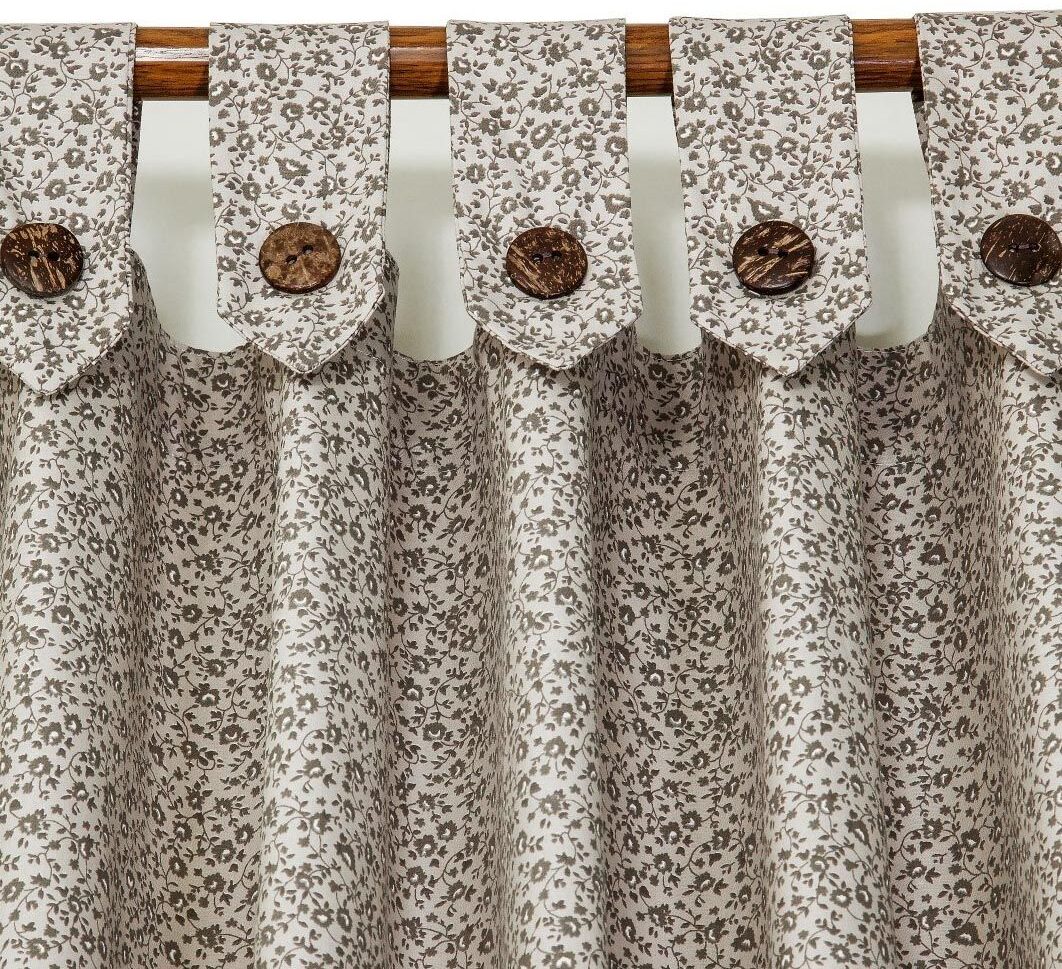
This option is somewhat reminiscent of the previous one, only the canvas is not attached to strings, but to loops that are held on the curtains by means of buttons, Velcro or buttons. For a striking appearance, the distance between the hinges should not exceed their width.
Modern technologies and a rich assortment of materials, tools and all kinds of devices, allows you to create handmade of a decent level. And the main advantage of do-it-yourself kitchen curtains is the perfect size and exact fit into the overall design concept.
Video: DIY curtains for the kitchen


