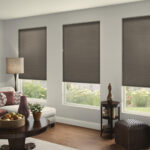
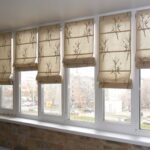
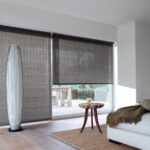
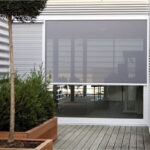
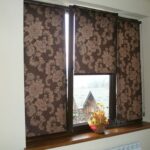
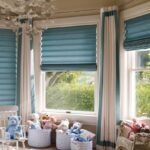
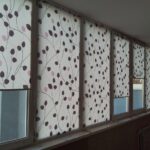
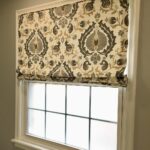
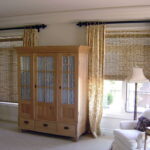
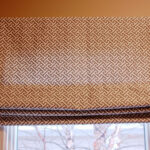
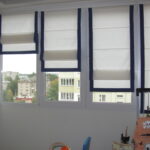
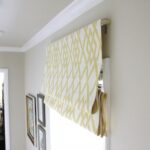
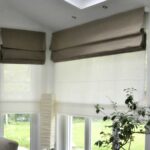
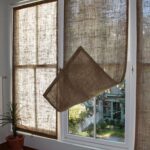
How to make roller blinds with your own hands
Balconies and loggias in apartments are a big plus. The room immediately seems larger, there is always a lot of light in the room. But the last factor has two sides of the coin - a lot of light is good, but if there is too much?
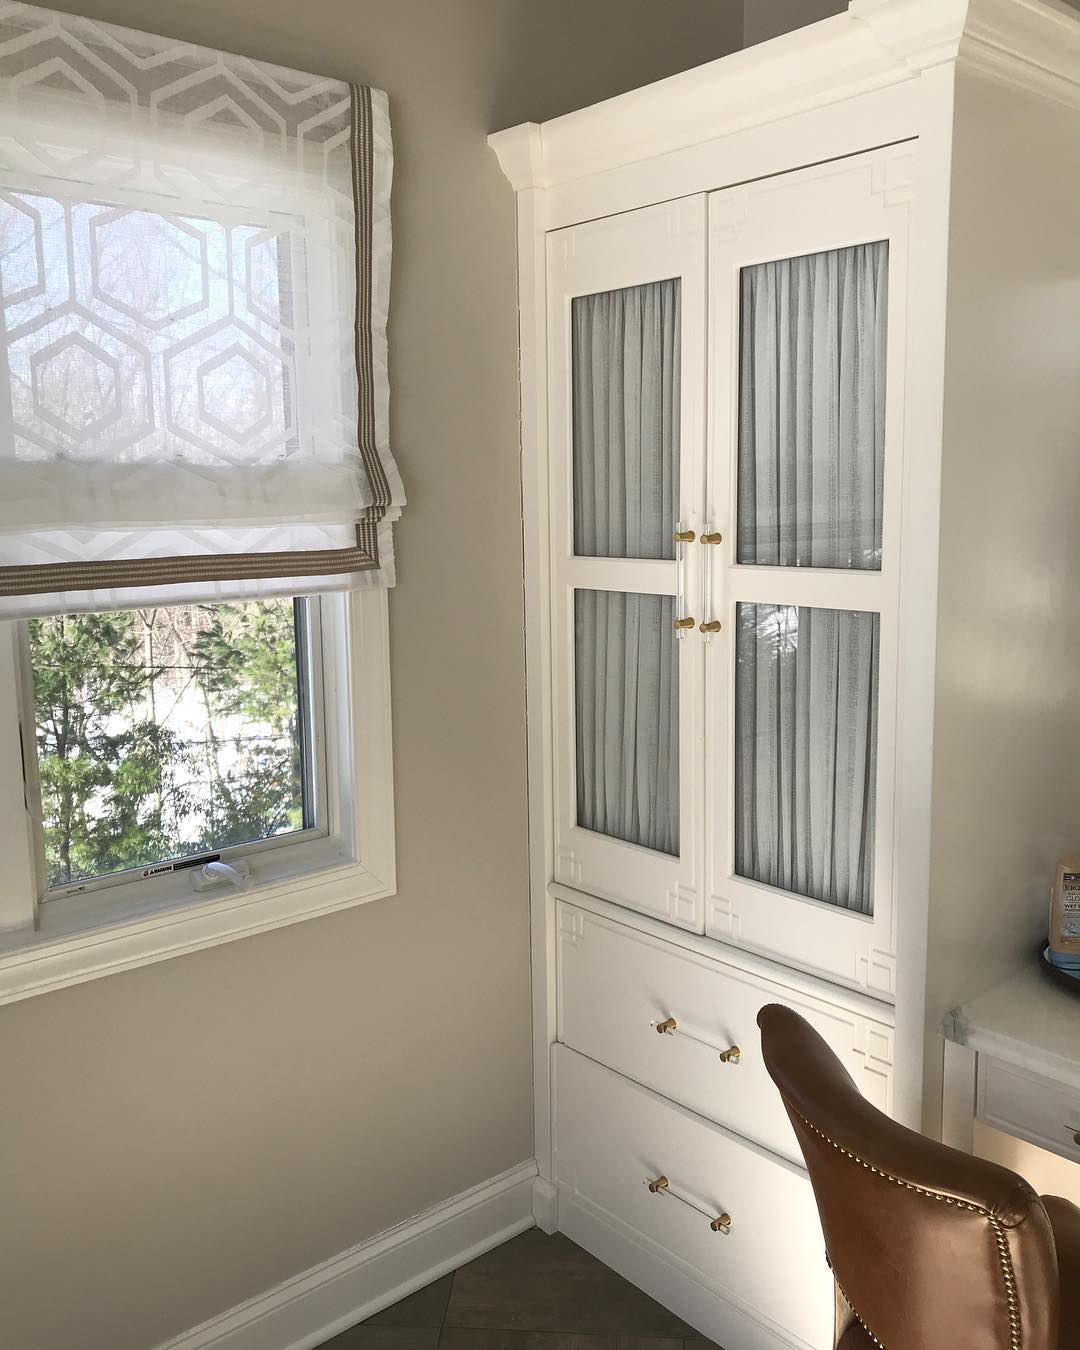
How to find canvases that are suitable in size and texture to protect from sunlight and effectively complement the interior? Not finding a suitable option in the store, you have to think about how to make your own roller blinds.
Advantages and disadvantages
Before starting to create an interior masterpiece with your own hands, you should carefully study the structure, deal with its strengths and weaknesses in order to decide whether such a model will be suitable for you.
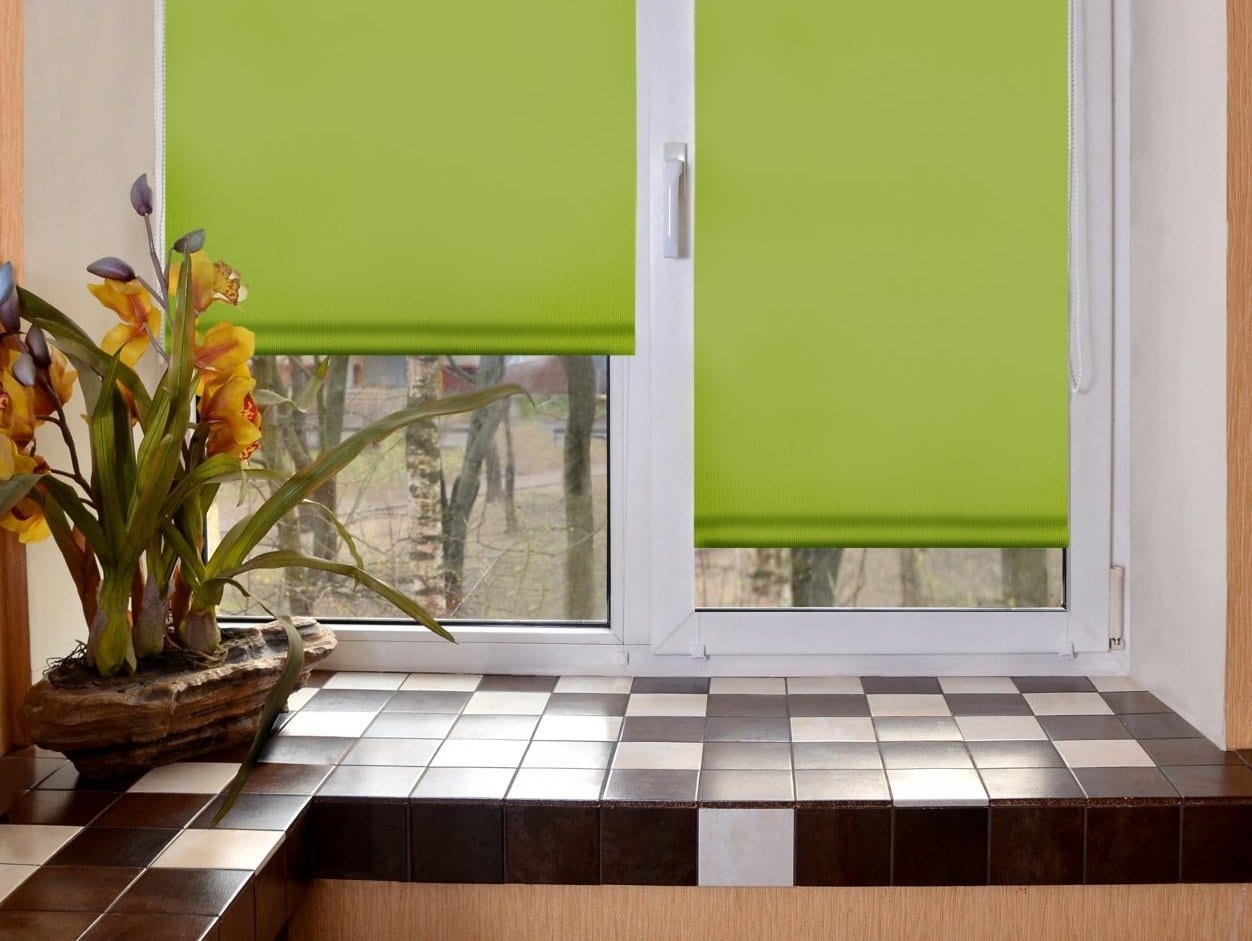
Advantages:
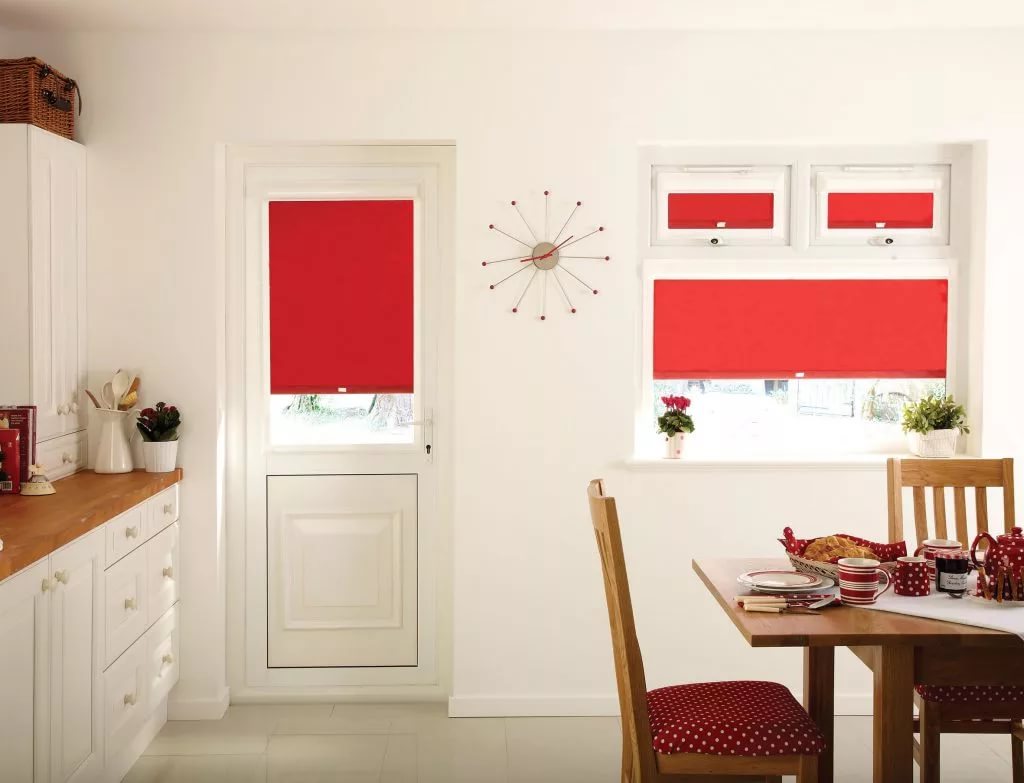
- Substantial space savings. Compared to tiered curtains, roller blinds take up a minimum of space.
- Maximum practicality. Despite its modest dimensions, it is the roller blinds that provide reliable protection from bright sunlight and prying eyes.
- Roller blinds do not interfere with the opening and closing of windows or balcony doors, unlike bulky curtains and tulle.
- There are options for using roller blinds: alone or complete with conventional curtains and tulle.
- A variety of models allows you to choose the right option for any interior solution.
- Since very little material is used for such curtains, you are provided with serious financial savings.
- Simple design control system.
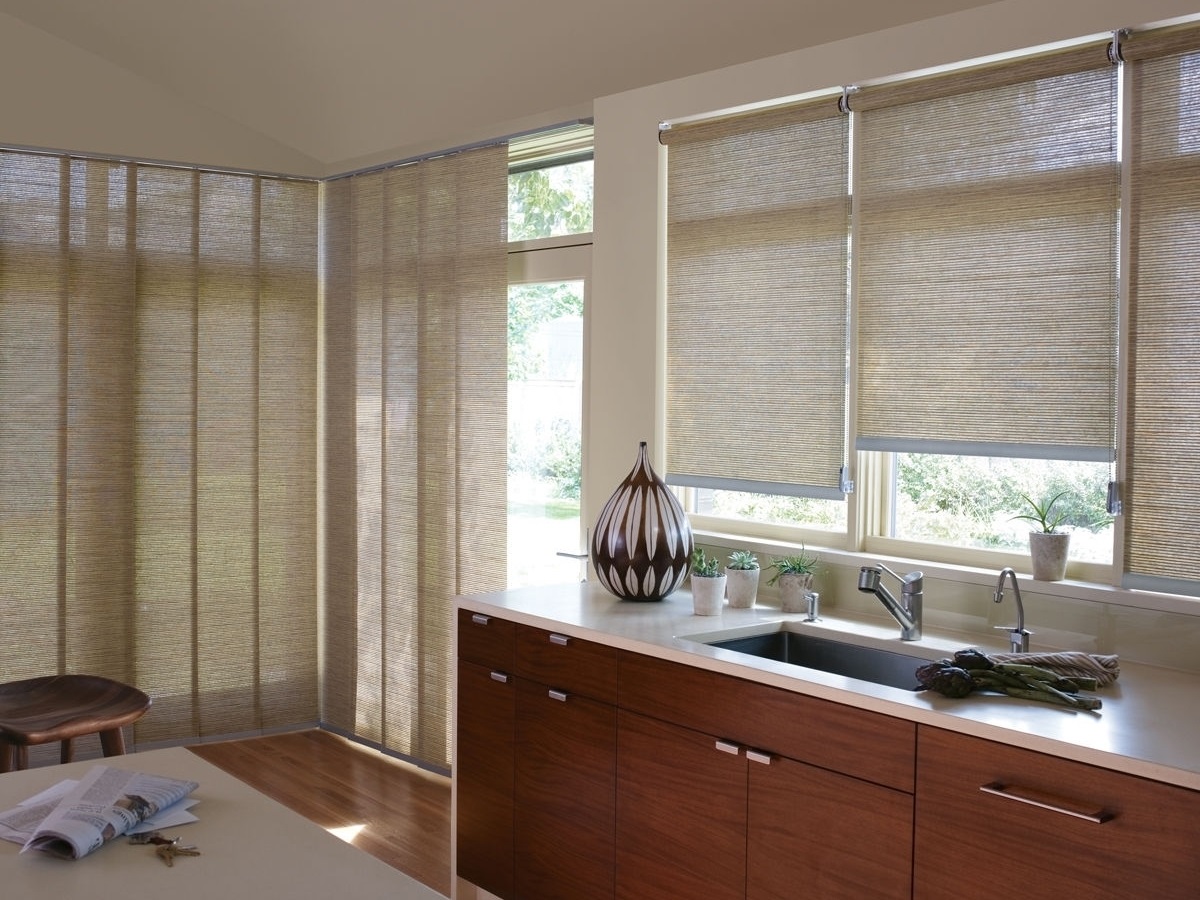
- A wide range of materials from which you can make roll cloths.
- Ease of installation and maintenance.
Disadvantages:
- It is not always possible to accurately regulate the flow of light when it comes to partial opening (closing) of a window.
- If the curtain does not have transparent inserts, then there is no way to create a soft twilight in the room.
- There are inexpensive models, the mechanism of which quickly fails.
- If one curtain of impressive size is used for a large window, there may be distortions when opening and closing.
Design features
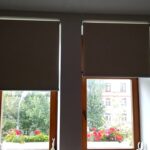
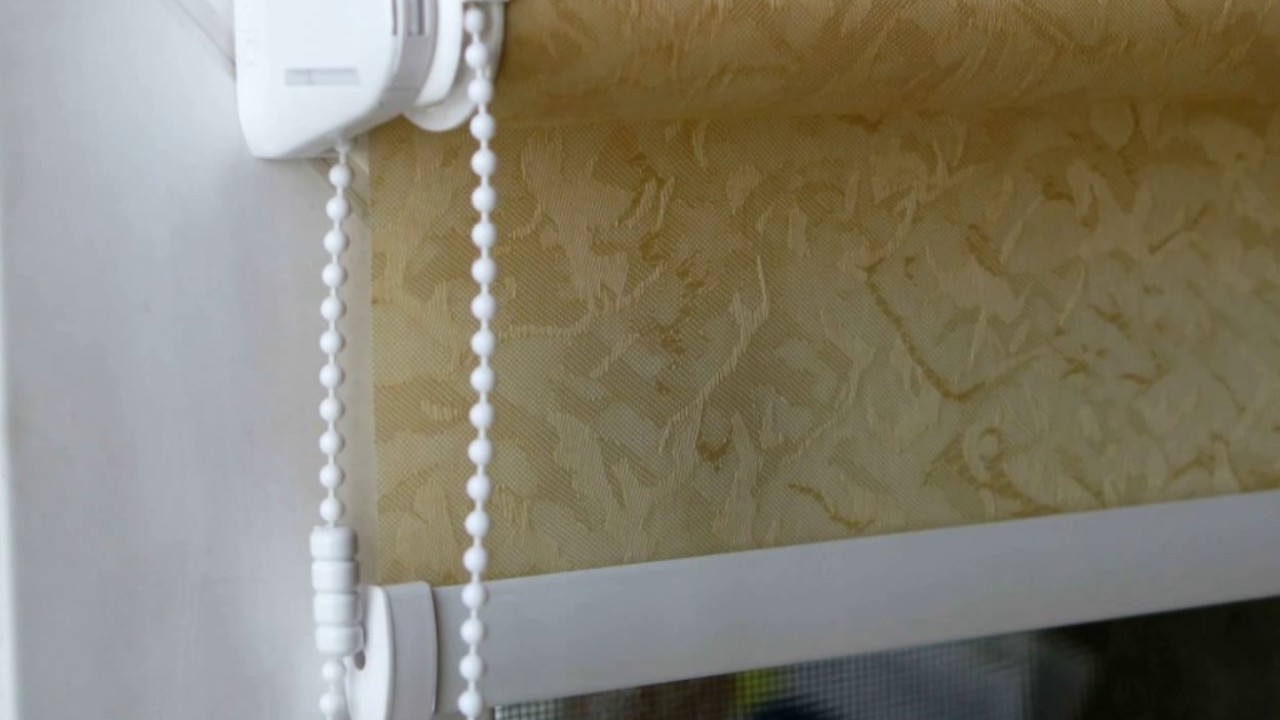
Roller blinds are a structure made of a roller and a canvas that is rolled over it. The classic position of the roller is at the top. Another required attribute is a chain or lace, thanks to which the roller rotates and winds or unwinds the curtain. A weighting agent is attached to the lower part of the canvas, providing a straightened state.
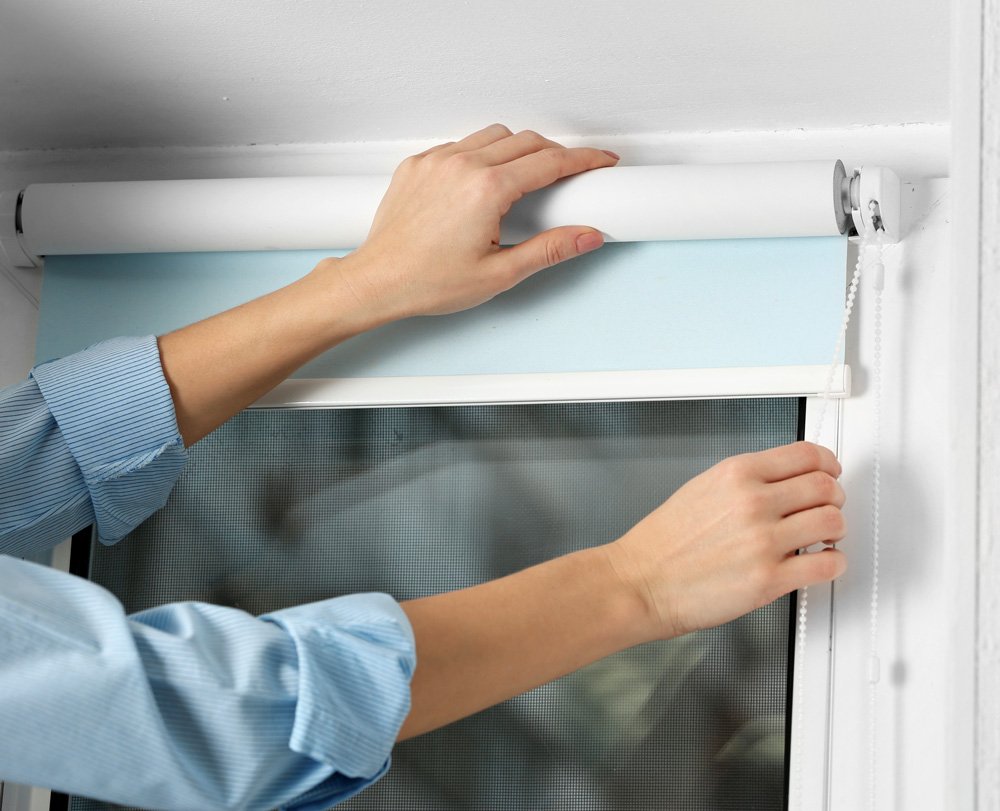
If you decide to make roller blinds with your own hands, then it is better to do the following: attach the bar to the bottom of the canvas, and then it will perform two functions at once: a roller and a load. In a certain position, the curtain is fixed with a tape or cord.
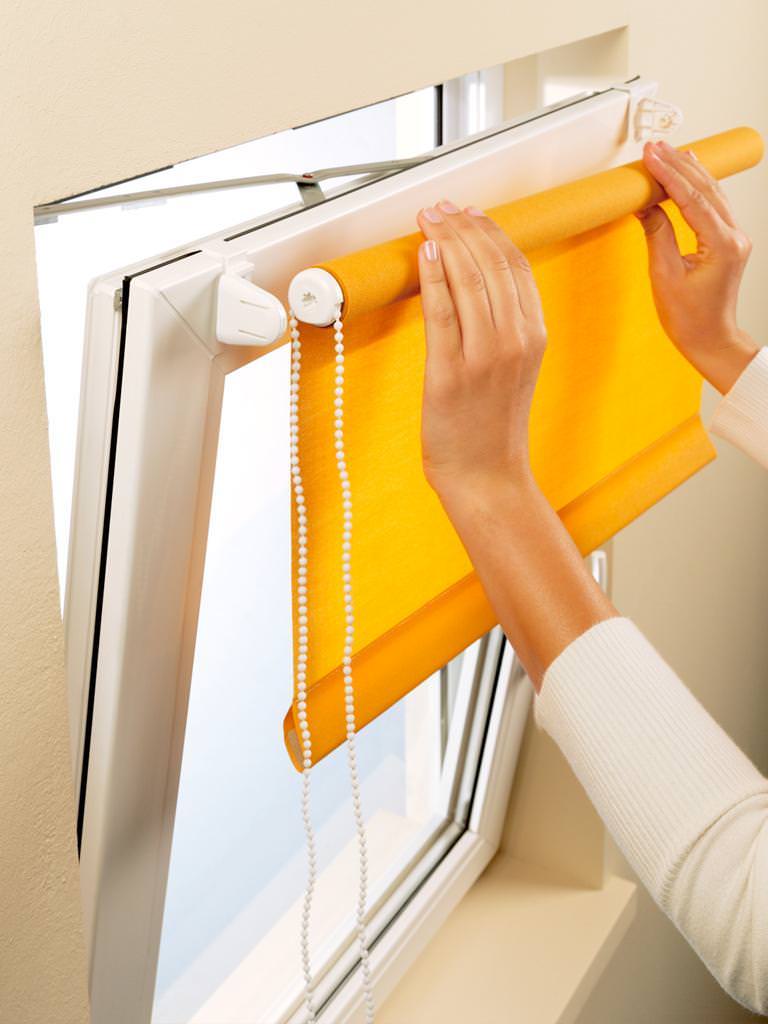
In general, the principle of operation of roller blinds is the same, if there are differences, then they are insignificant.So, for example, some models can "boast" of additional elements that either improve the appearance or make the design more functional.
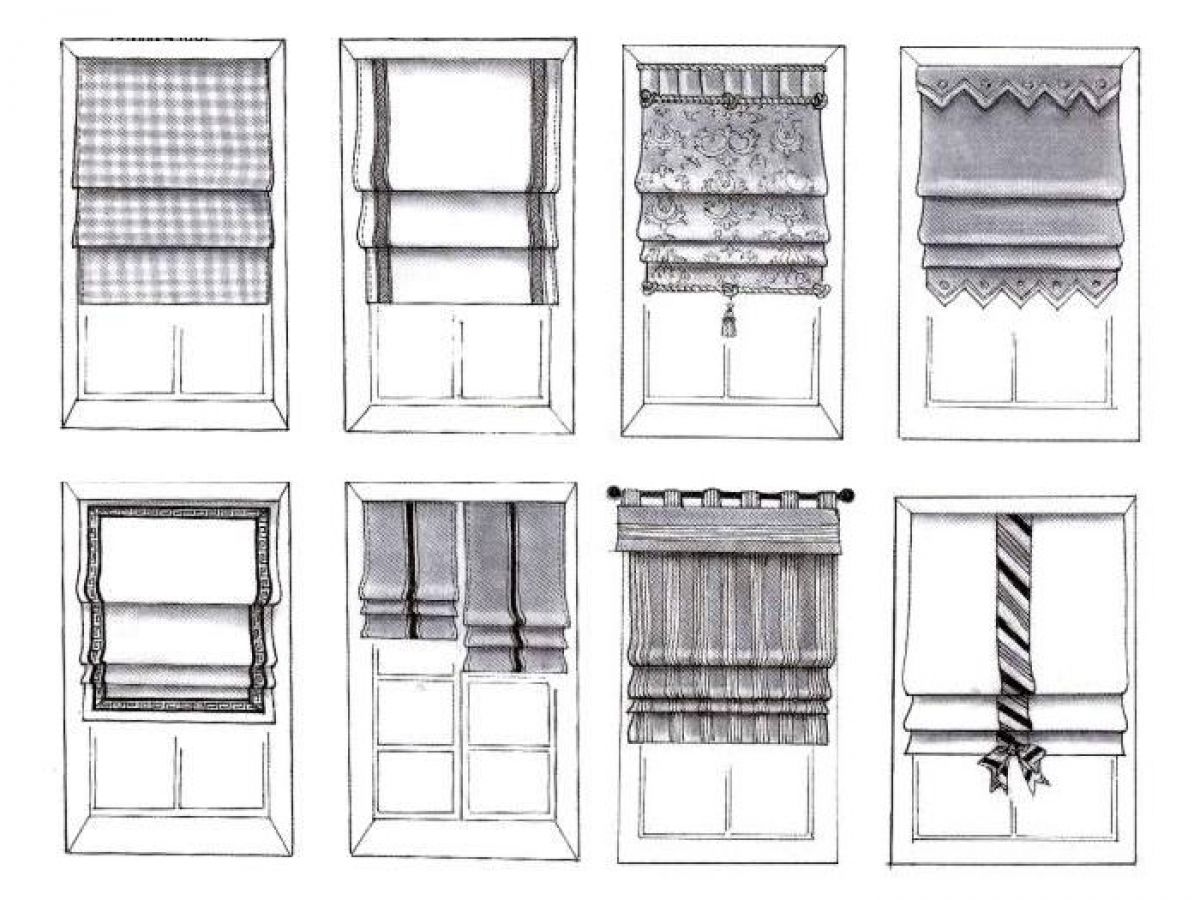
For example, vertical tape guides. Thanks to them, you can avoid skewing the canvas. Also, in some models, a roller box is provided, which protects the curtain from dust and dirt, and also gives the structure a complete look. Models with a box are also called cassette models.
Types of lifting mechanisms
The lifting mechanism is an important component of the roller blind design.
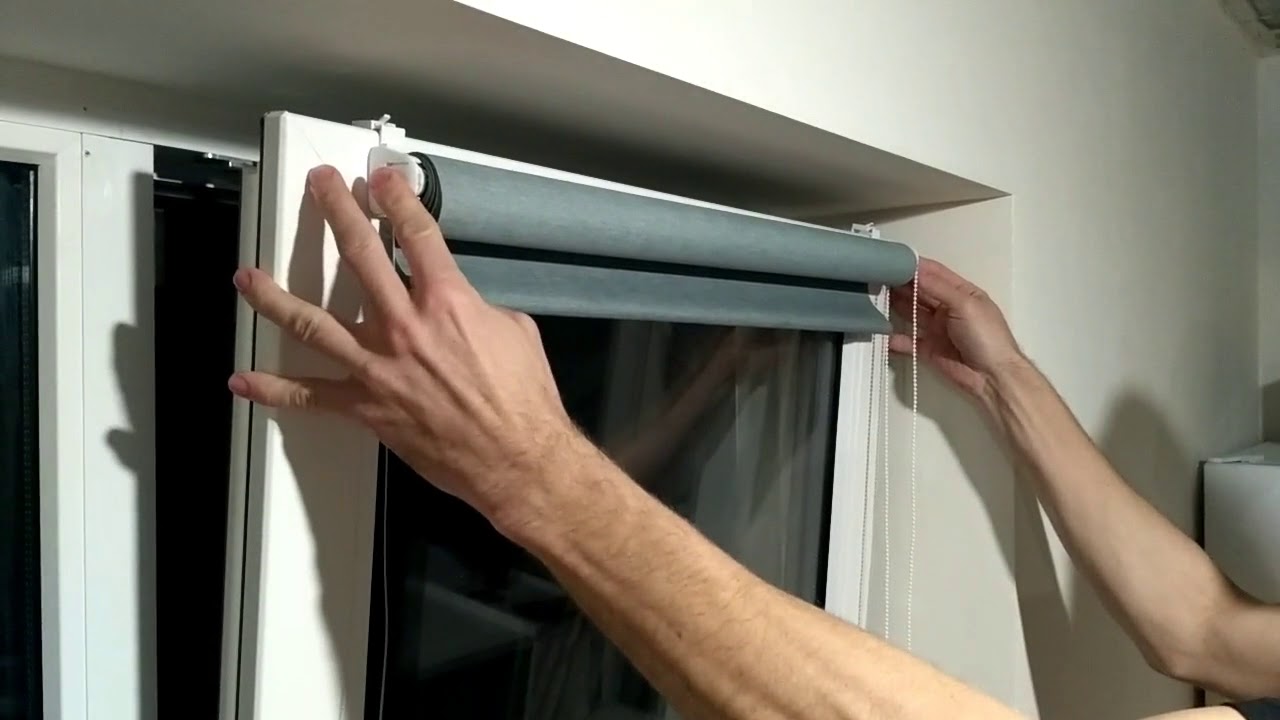
The following options are distinguished:
- Chain system. Lifting the canvas is carried out using a rope, chain or cord. The rope is thrown over the drum and then attached to the bottom of the canvas. When pulling on the cord, the roller begins to rotate, raising or lowering the louver. In order to fix the curtain in a certain position, clips, garters or other holders are used. Such designs are appreciated for their affordable cost and long service life, and are very reliable systems.
- Spring loaded. Such a system can be installed both from the top and from the bottom, or it can be attached from both sides. When fastened from the side, fabrics with varying degrees of light transmission can be used and the result is a highly functional day / night design. The handle installed on the lower plumb line will cope with the function of the chain. In general, the design is convenient, the main drawback is that the springs quickly fail.
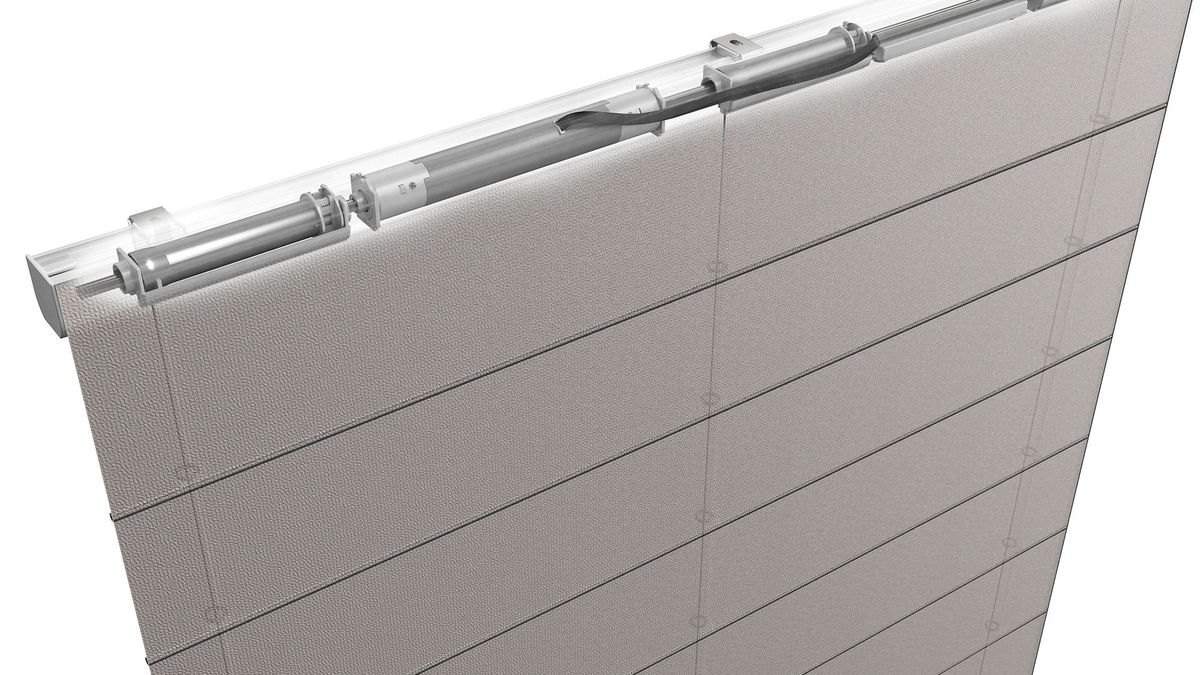
- Electric drive. The undisputed leader in convenience, very easy to operate. However, you will have to pay for a high degree of comfort - these are the most expensive designs. The canvas rolls up and unfolds due to the electric motor, which is turned on by a button or remotely. Most often, such mechanisms are used for panoramic windows, or for high and wide window openings.
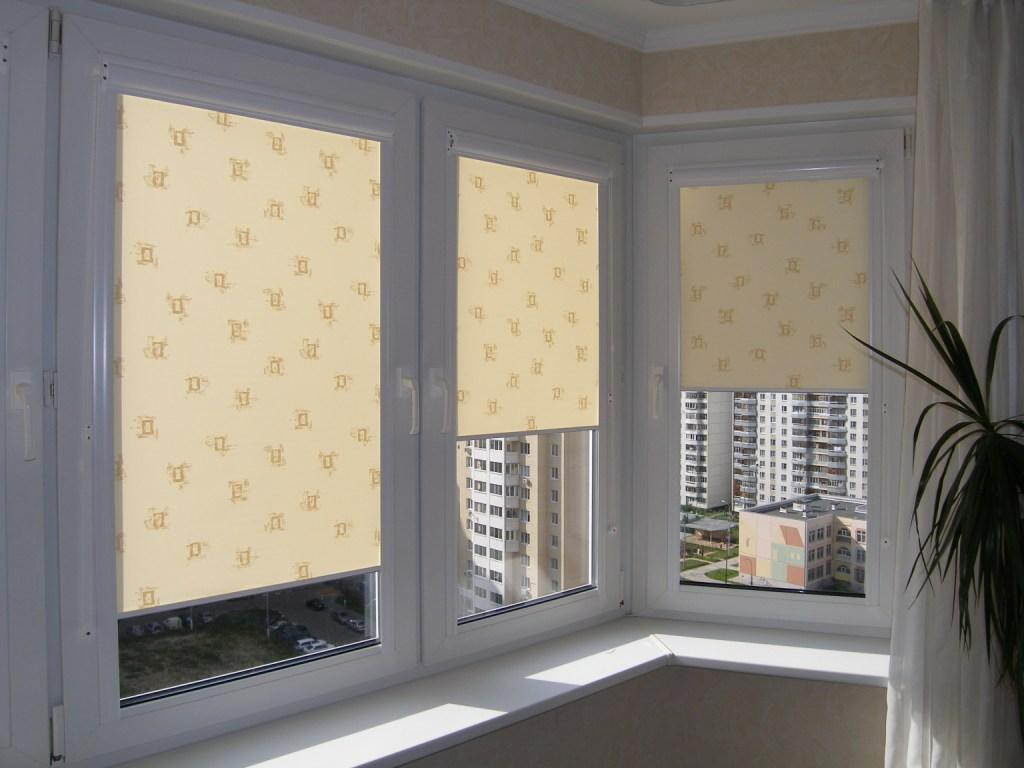
In case you decide to create rolls with your own hands, you will have to be content with a chain control system. More functional spring or electric models are best purchased off-the-shelf. As a last resort, then you can change the canvas to the one that you like.
Fabrics for roller blinds
The most popular fabrics for roller blinds are such fabrics as linen, cotton, polyester, nylon. Also in demand are combined fabrics, for example, polyester with the addition of cotton, viscose or satin. The main advantage in the durability of fabrics: they do not fade in the sun, are resistant to mechanical stress, are unpretentious in care, and, as a bonus, are pleasant to the touch.
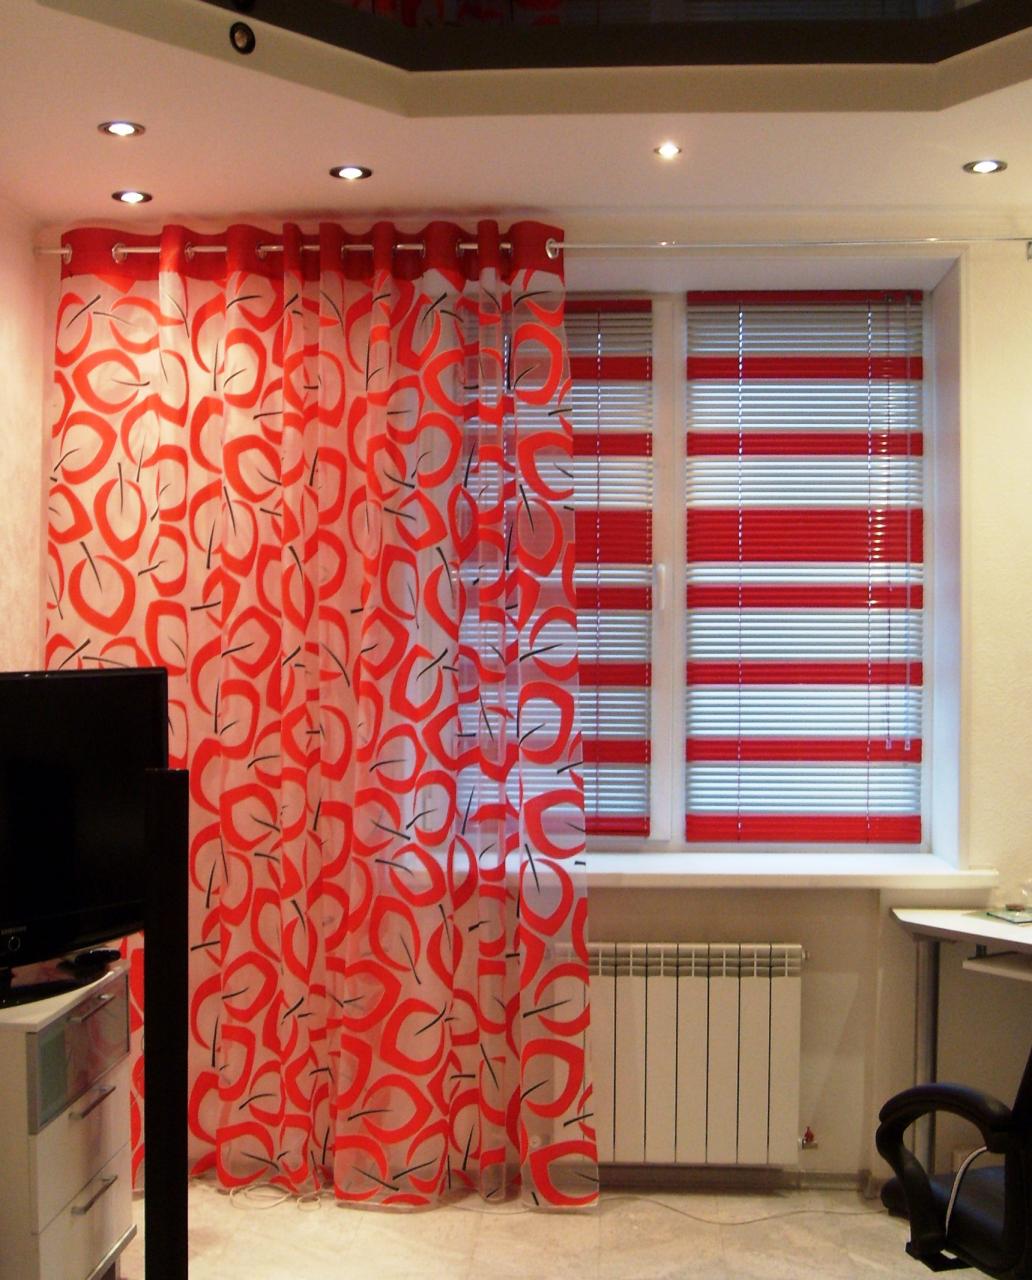
Due to the impressive assortment of colors, you can choose curtains that perfectly complement almost any room design. An important point that deserves attention in the process of choosing curtains is the degree of their transparency.
There are the following types:
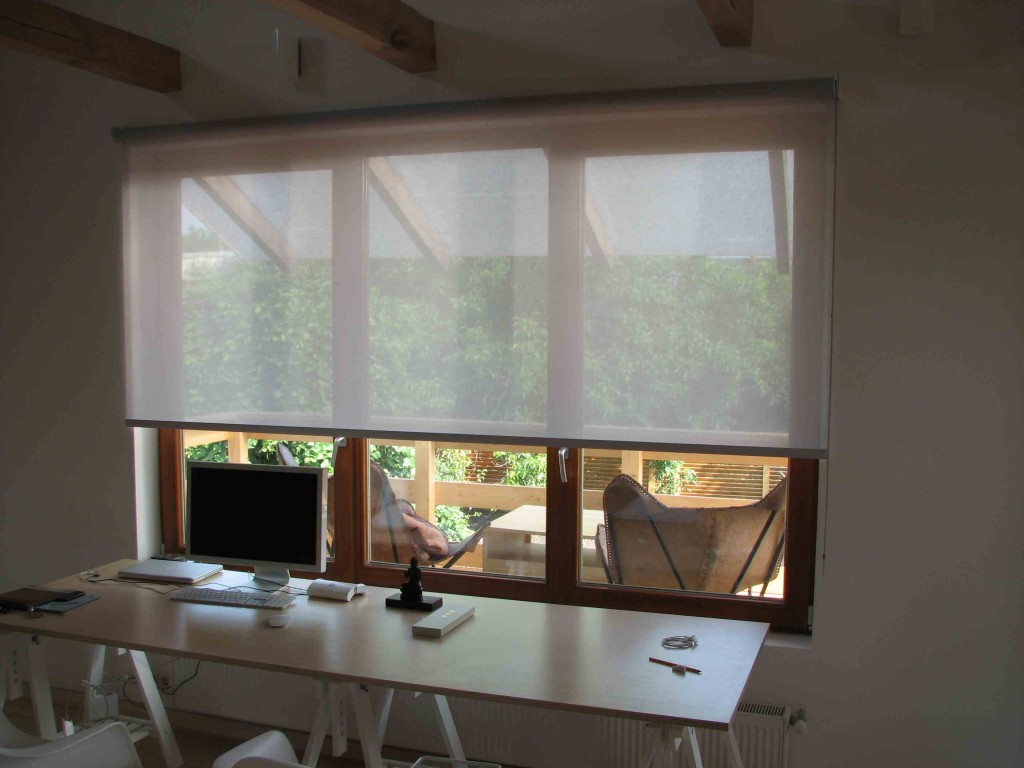
- Translucent and transparent. These are satin, cotton and silk. They scatter light well, but, alas, they cannot provide a decent twilight or complete darkness. These curtains are considered the best option for daytime sun protection.
- Dimaut. This material has a medium shade level. According to some reports, dimout delays up to 70% of the light, therefore it is considered a universal solution for rooms of any functional purpose.
- Blackout. This fabric guarantees you 100% protection from light and complete blackout. Ideal for laboratories and home theater rooms. Often used in bedrooms and children's rooms.
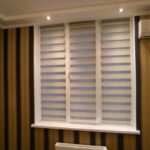
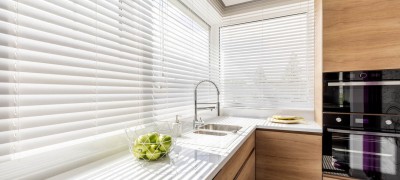
- "Zebra".The material got its name for the alternation of translucent and matte stripes. Almost an analogue of classic blinds. The displacement of the stripes determines how much the room will be lit or darkened.
Having decided to make roller blinds yourself, you should be especially careful about the choice of material. So, for example, canvases with the wrong side are not suitable for the windows of the first floor, since the wrong side will be obvious to everyone. Therefore, it is better to opt for double-sided canvases, equally attractive on both sides.
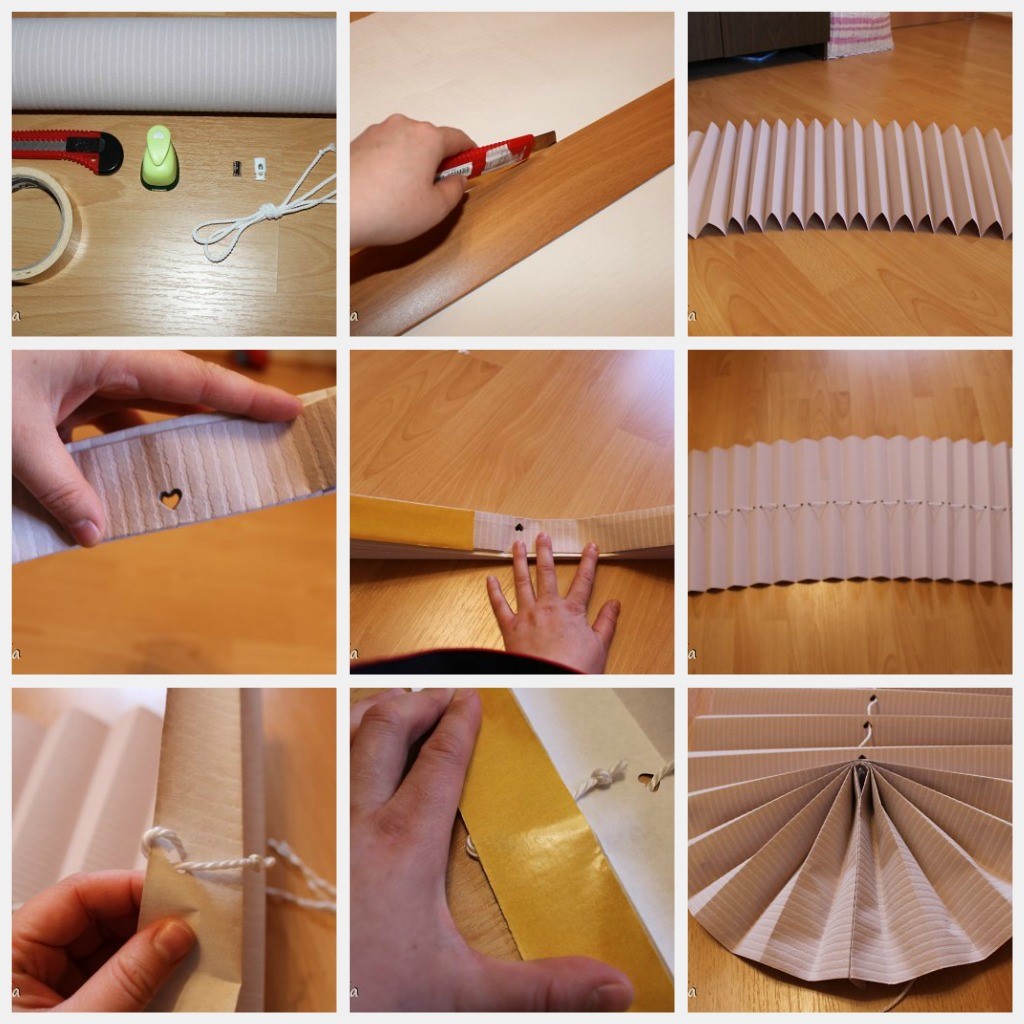
For kitchen curtains, it is better to purchase fabric with a special protective impregnation against moisture, odors and dust, and for residential premises - with an antistatic treatment. Sometimes roller blinds are made without the use of fabric at all - wallpaper plays its role. The process is very simple and quick, however, such a structure will not last long.
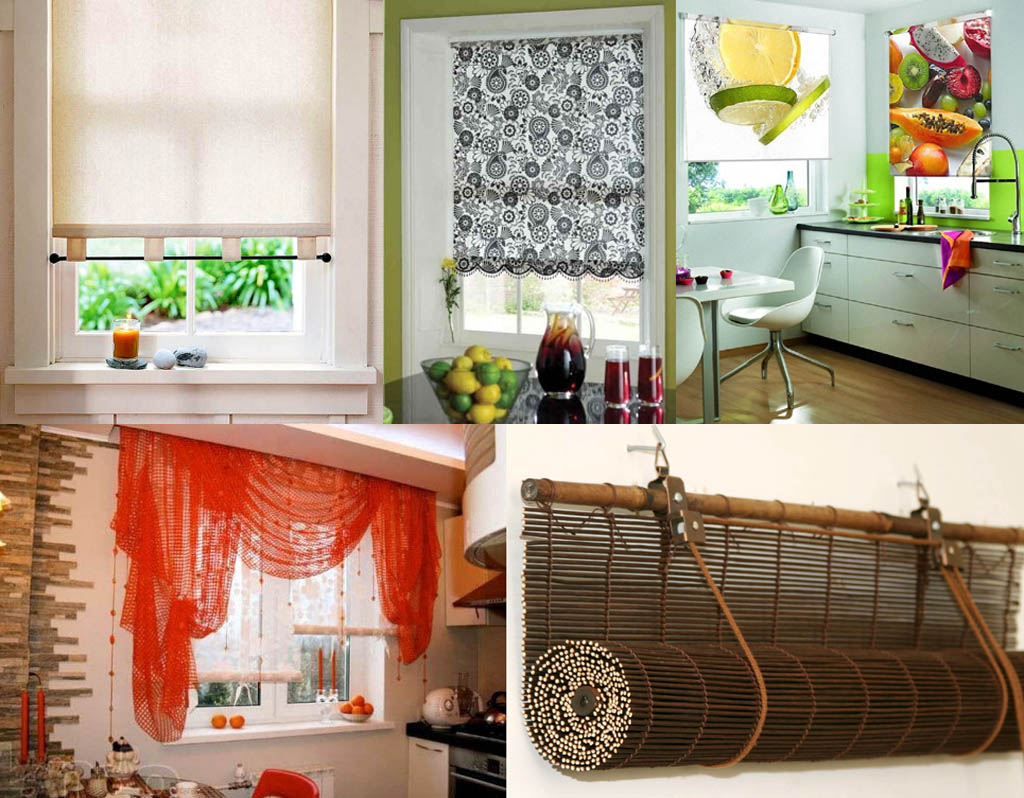
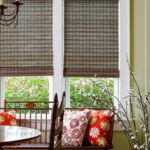
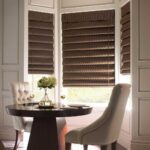
Some craftsmen create blinds from bamboo or wood. Such curtains look stylish, however, due to their impressive weight, they cause a lot of inconvenience to their owners: being in motion due to a draft, such designs create a lot of noise, which gets boring very quickly. In addition, this eco-friendly material cannot boast of a large assortment of colors.
How to make roller blinds with your own hands
You should start with measurements. In the end, the well-known saying: measure seven times, cut one - has not yet been canceled.
In order for the curtains to clearly perform their function, you need to decide on the area that they will occupy. The structure can occupy the entire window opening, frame, or only the sash.
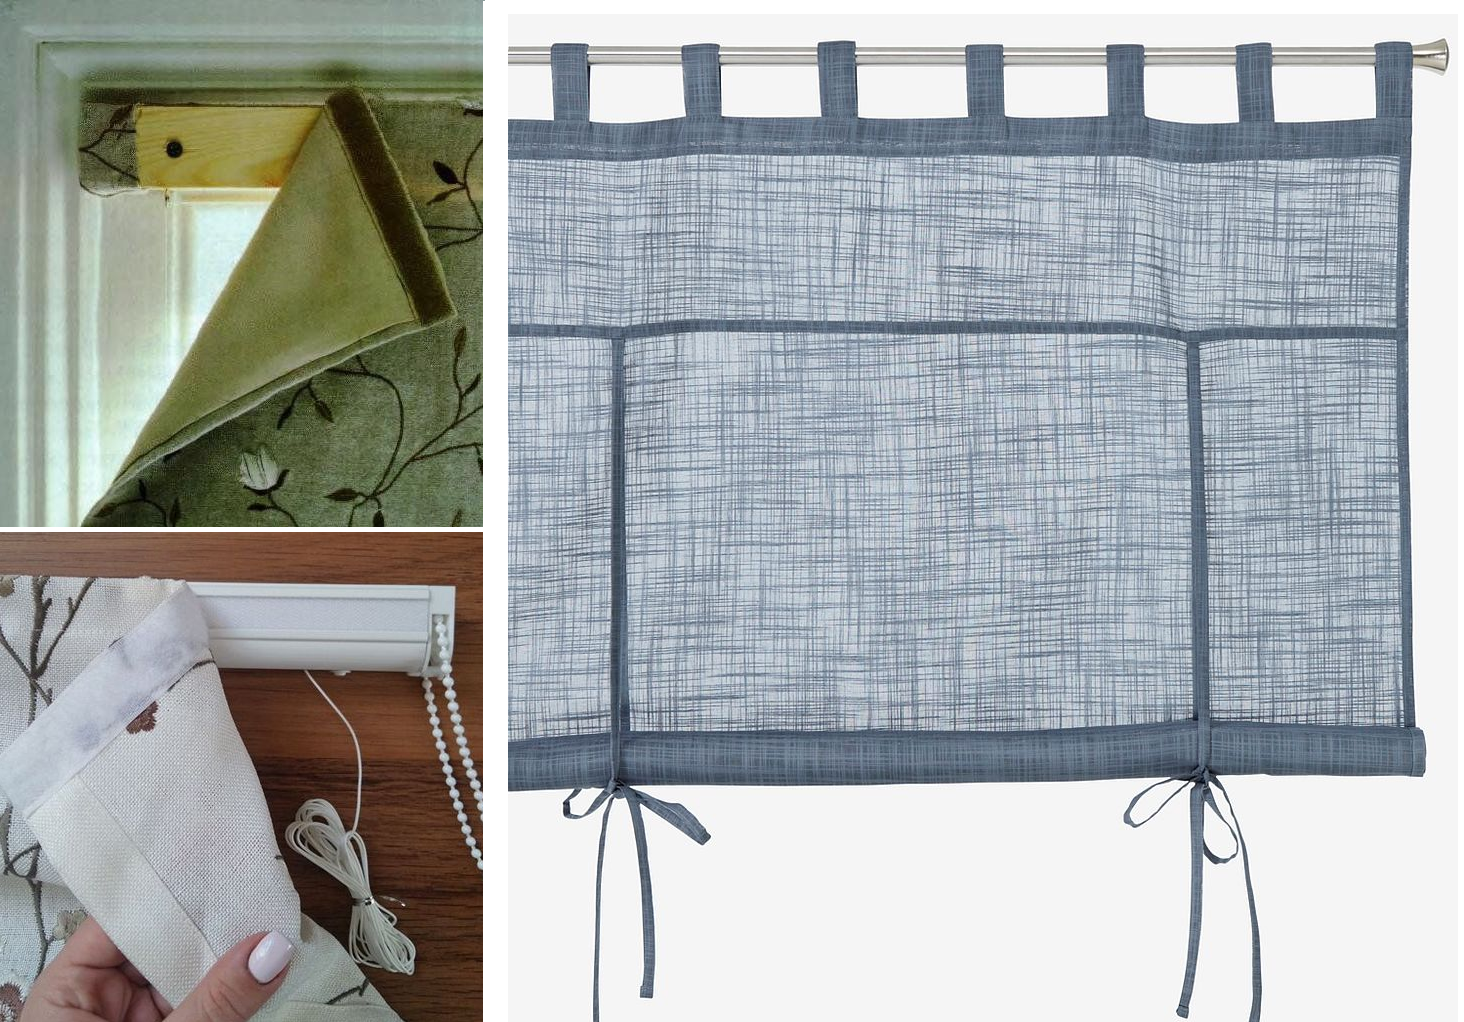
If you plan to make roller blinds for a balcony door, then the last option in this case is the most suitable, as it will allow you to freely open and close the door.
Having taken measurements from the window (opening or frame), another 3-4 centimeters are added to the resulting value for allowances and about 15 centimeters for attaching the roller and creating a pocket for the weighting agent. On each side, there should be 15-20 free centimeters for processing the folds of the canvas.
All these increases are relevant for the fabric without a seamy side. If you purchased a canvas with the wrong side, then the increments need to be increased, since the fabric will need to be stitched and turned inside out. In the case when two different fabrics are taken, you need to make two identical patterns with the same increments.
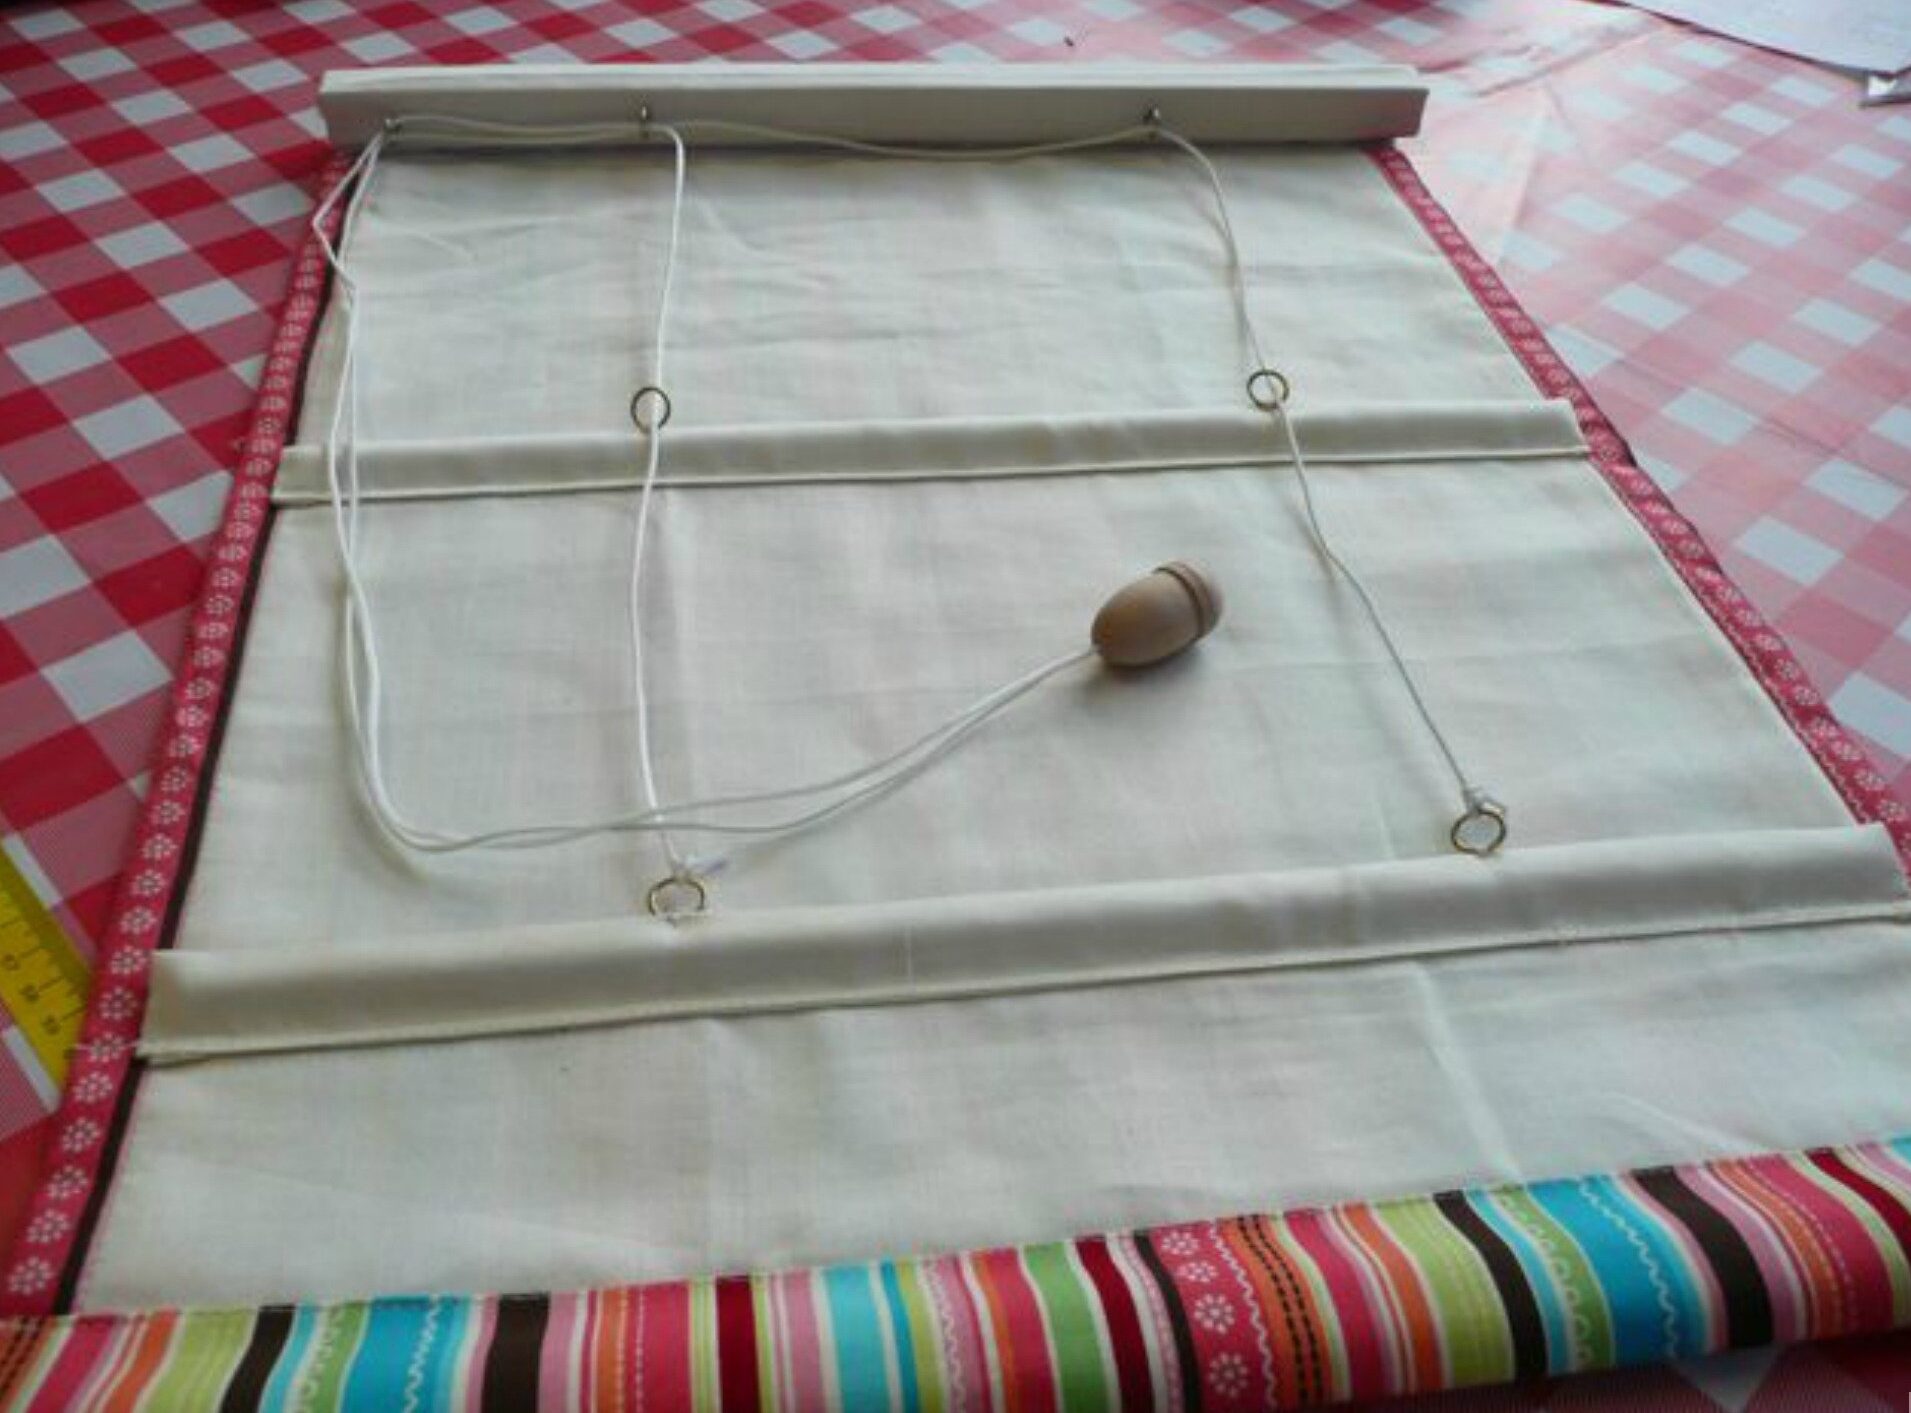
Materials and tools
- As a roller, you can use a bar made of aluminum or a wooden round bar with a diameter of 25-30 mm (practically, improvised materials). Even part of the cornice will do. The length of the roller should be the same as the width of the fabric without seam allowances.
- For fastening to a wooden frame, you can use a regular rail with self-tapping screws. And for a plastic window, double-sided tape is used.
- A plastic pipe or wooden bar is suitable as a weighting agent. Their length should be slightly less than the width of the fabric, since the weighting agent should be covered with a fabric on all sides. Some people prefer to leave the edges free so that the weight can be removed before washing.
- Hooks, screws.
- Decorative clip (satin ribbon, silk, cord). Its length should be about three times the length of the fabric.
- Velcro for fastening the tape (the length is equal to the length of the wooden strip).
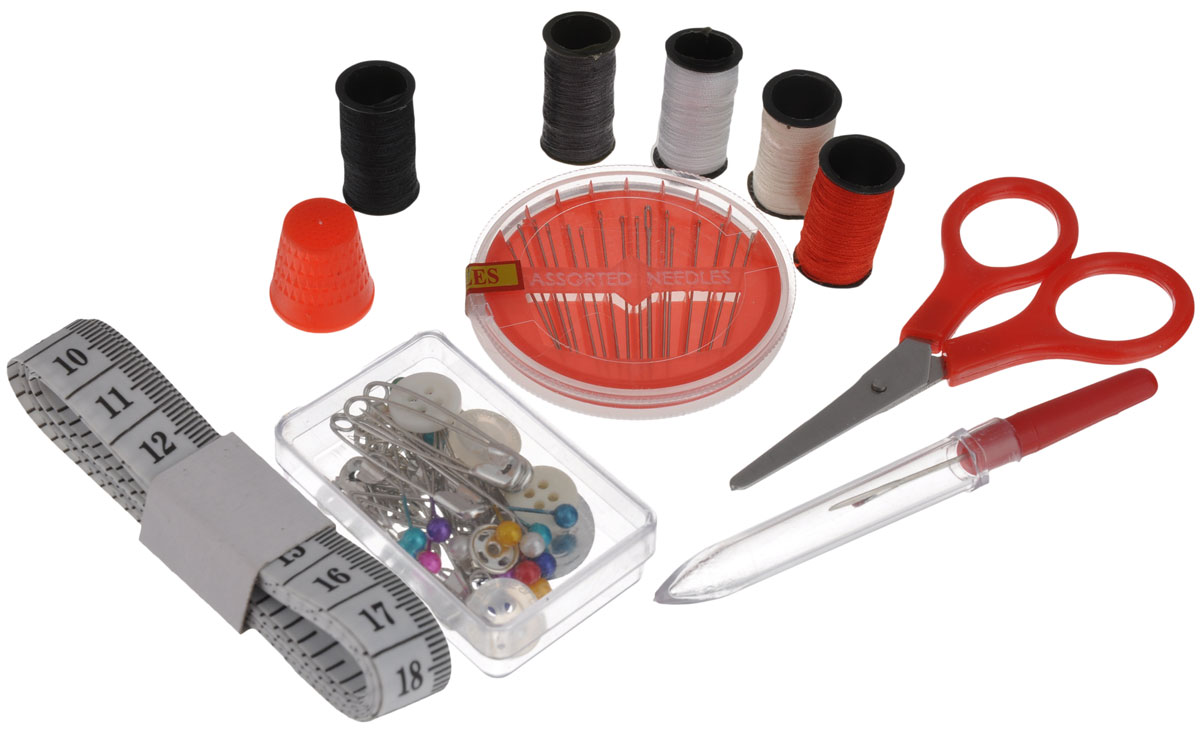
- Sewing machine, thread, stapler, level, screwdriver.
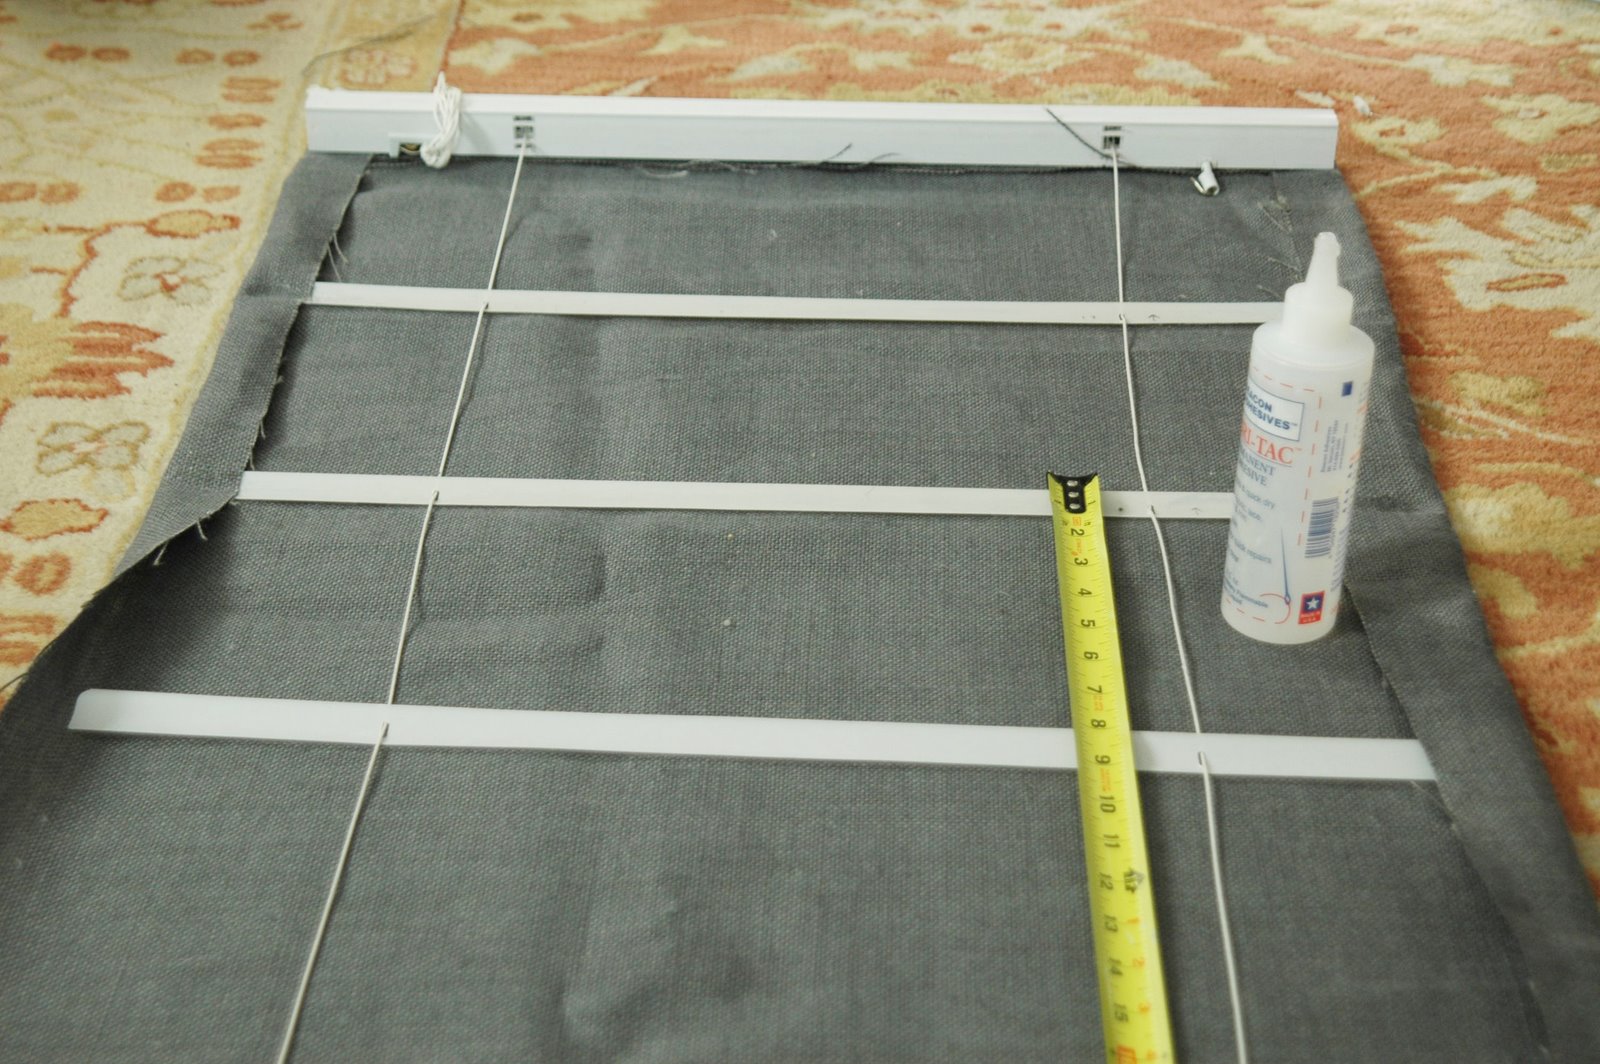
If there is no desire (and maybe even the opportunity) to make the mechanism yourself, you can purchase a ready-made structure from brackets, a drum, a plastic chain and adhesive tape. And then you just have to make the canvas.

Create a roll cloth
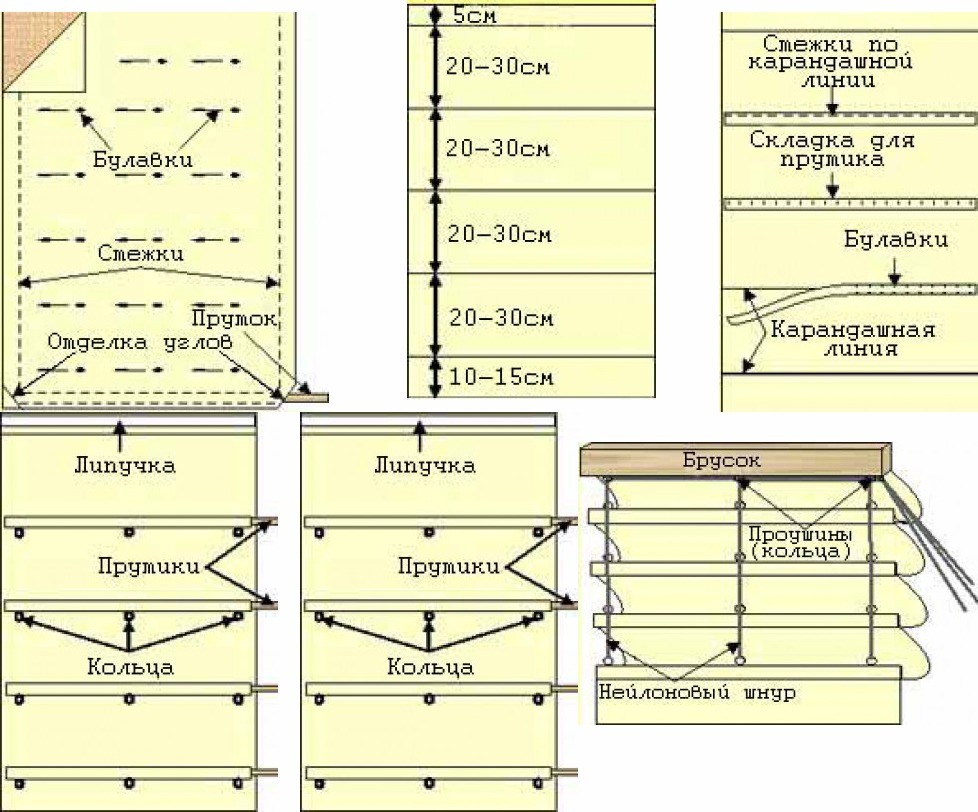
- According to the measurements taken, the canvas is cut. If the fabric is with a wrong side, then the two parts are folded with the front side inward, stitched and turned inside out. The edges are carefully processed and steamed.
- In the lower part of the curtain, a pocket is outlined, and a load is placed there. Either from all sides, or only from above. Someone prefers to leave one side "free" and sew a button with a loop or a zipper to it.
- The holder bar is wrapped in the fabric on the other side and fixed with a needle and thread or a stapler. Some people prefer to use Velcro in this case.
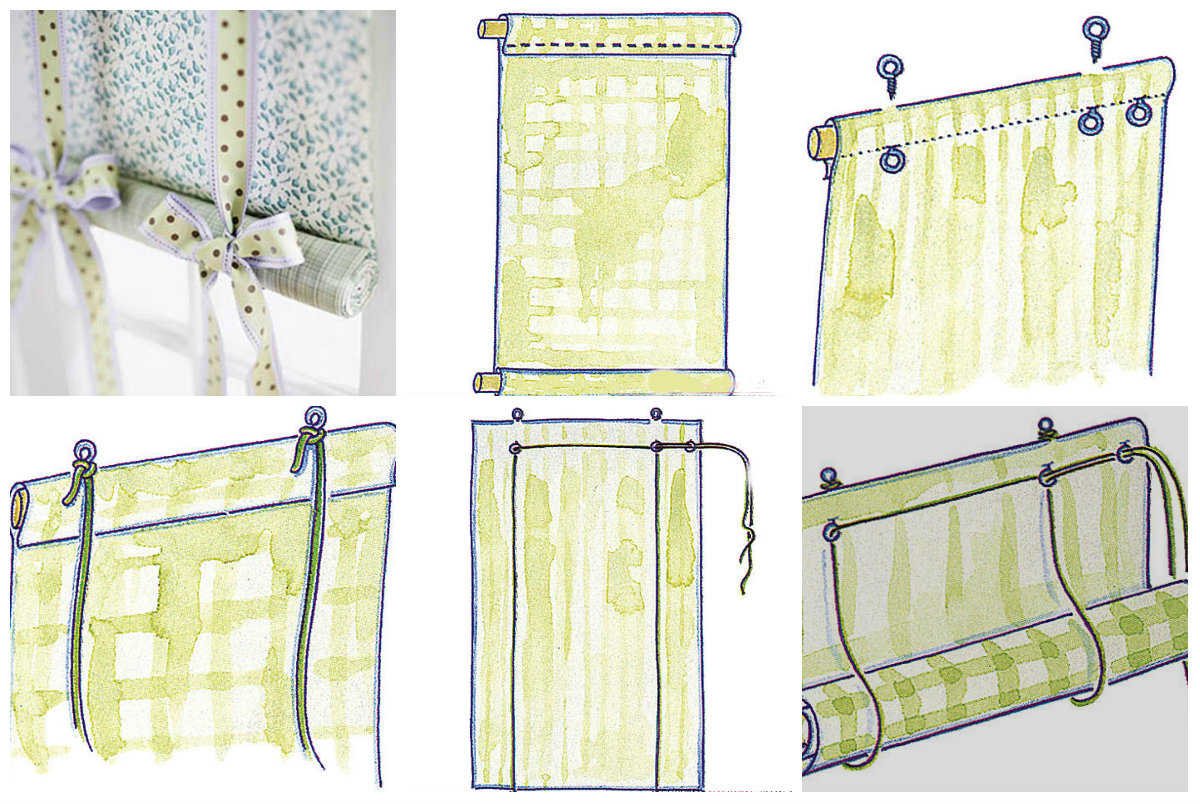
- Self-tapping screws are screwed into the bar on the back side and a decorative cord is tied to them. On the front side, rings are attached with narrow strips of fabric.
- The retainer cord is pulled down the length of the canvas, brought out to the front side and passed through the rings. A self-tapping hook is screwed into the wall and a cord is tied on it.
As you can see, making your own roller blinds is not as difficult as it seems at first glance. Even novice craftswomen can do this. The main thing is to follow the instructions clearly.
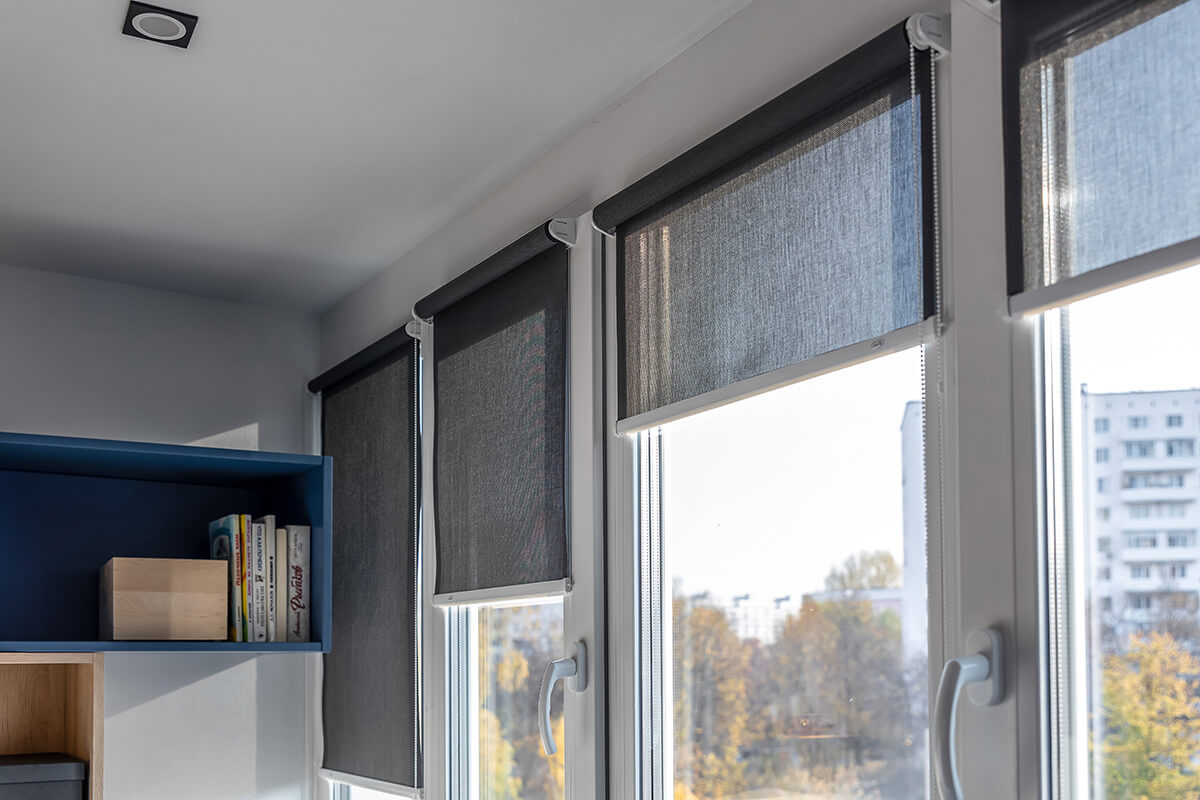
But in this case, you get an exclusive design option for the window opening. Moreover, interior items created by their own hands fill the room with a special atmosphere of warmth and comfort.
Video: how to sew a roller blind easily and cheaply
