How to make a Roman blind with your own hands
Roman blinds are a convenient and original way to design a window space. It can be used both as a full-fledged curtain and as a curtain. Due to the simplicity of the device, it is not at all necessary to buy it in the store; you can make the structure yourself at home. In this article we will tell you how to make roman blinds with a photo demonstration with your own hands from fabric step by step.

Making a Roman blind with your own hands
The peculiarity of this style is the division of the canvas into parts that are raised or lowered with a cord or chain. They can be attached to the window space with or without a cornice.
Design and pattern (taking measurements)
There are many design options for Roman blinds. It all depends on the fabric, drapery and the length and depth of the sections.

To determine the size of the canvas for making patterns, you need to take into account the following parameters and measure the values:
- The future curtain should go down to the windowsill, but not lie on it;
- On the sides, the canvas should overlap the window by 10-12 cm;
- The height of the eaves location depends on its type: on the window frame, inside the window space, above the window;
- It must be remembered that the fabric is tucked up from below and from above. In the first case, it is necessary to insert a weighting agent - 5 cm. In the second, it is 9 cm for a curtain tape for Roman blinds;
- The number of folds is always odd. The size is calculated as follows: 5 cm is subtracted from the height of the curtain and is divided into 3, 5, 7 or 11 depending on the number of folds.
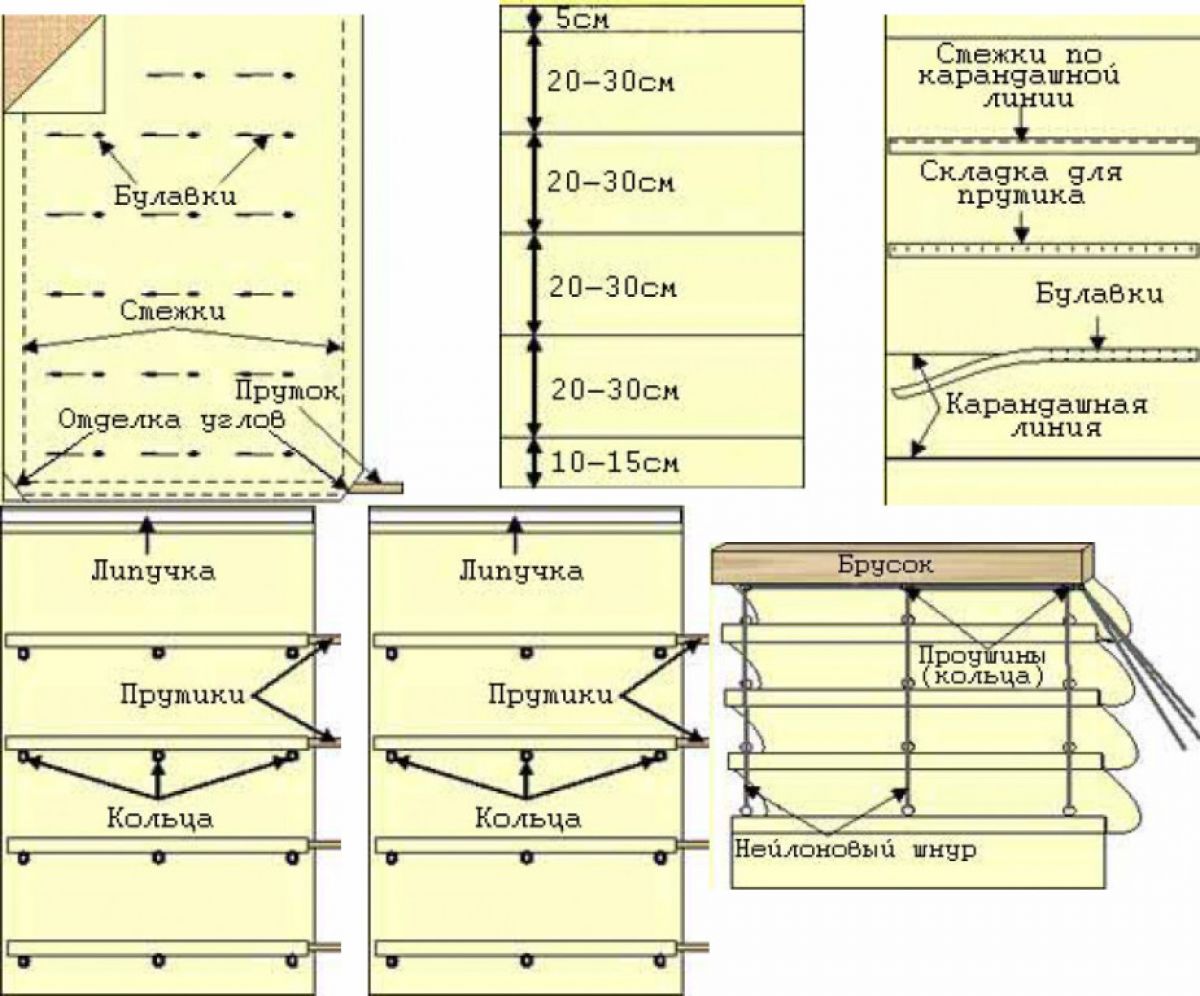
Important! The more folds, the narrower they are.
Selection of tools and fabric
In order to make a Roman blind on your own you will need:
- fabric for the front and back side;
- sewing accessories;
- weighting agent;
- plastic rings;
- curtain tape with a sticky surface;
- 7-8 metal or wooden pins;
- three cuts of the cord at the rate of 2 lengths and 1 width of the curtain;
- rods or plates made of wood, metal;
- nails and hooks.
Unlike curtains, a Roman blind does not require a large amount of fabric, so any materials can be taken to make it.
Cotton is usually used for the reverse side.
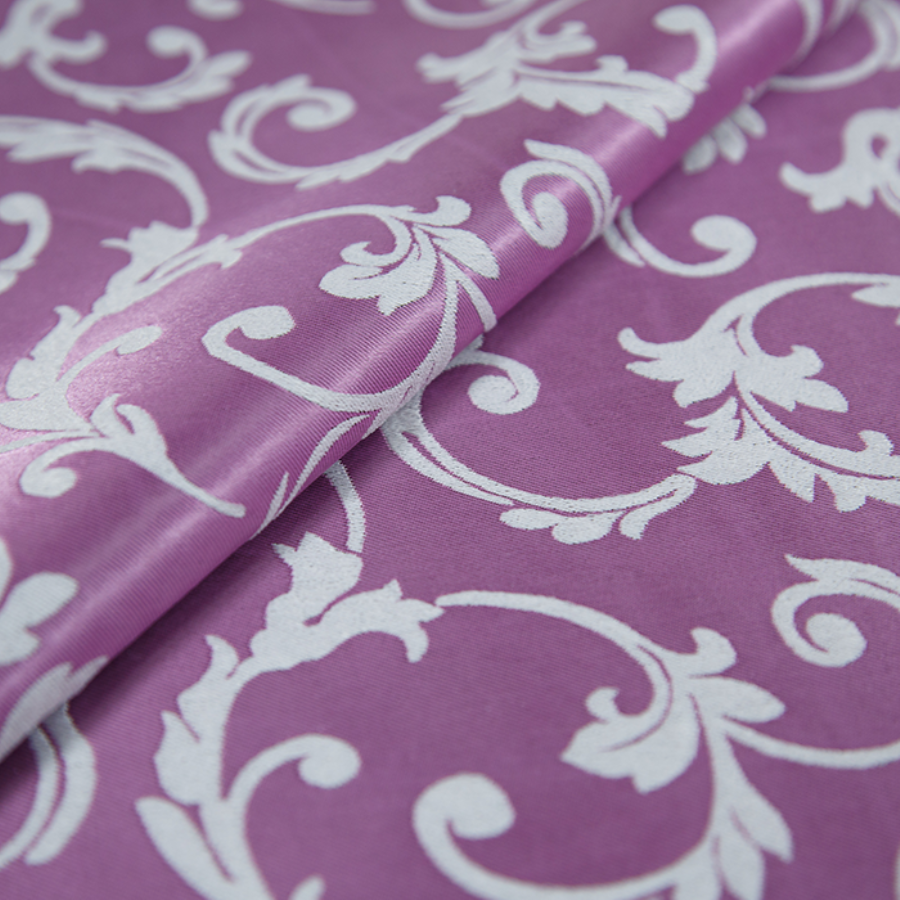
Important! It must be remembered that the cut of fabric on the front side is always taken more than the previously made measurements: 10 cm in width and 14 cm in length.
Making curtains
The fabric that will go to the lining must be carefully ironed. An indent of 2 cm is made on it. This distance is tucked up and ironed.
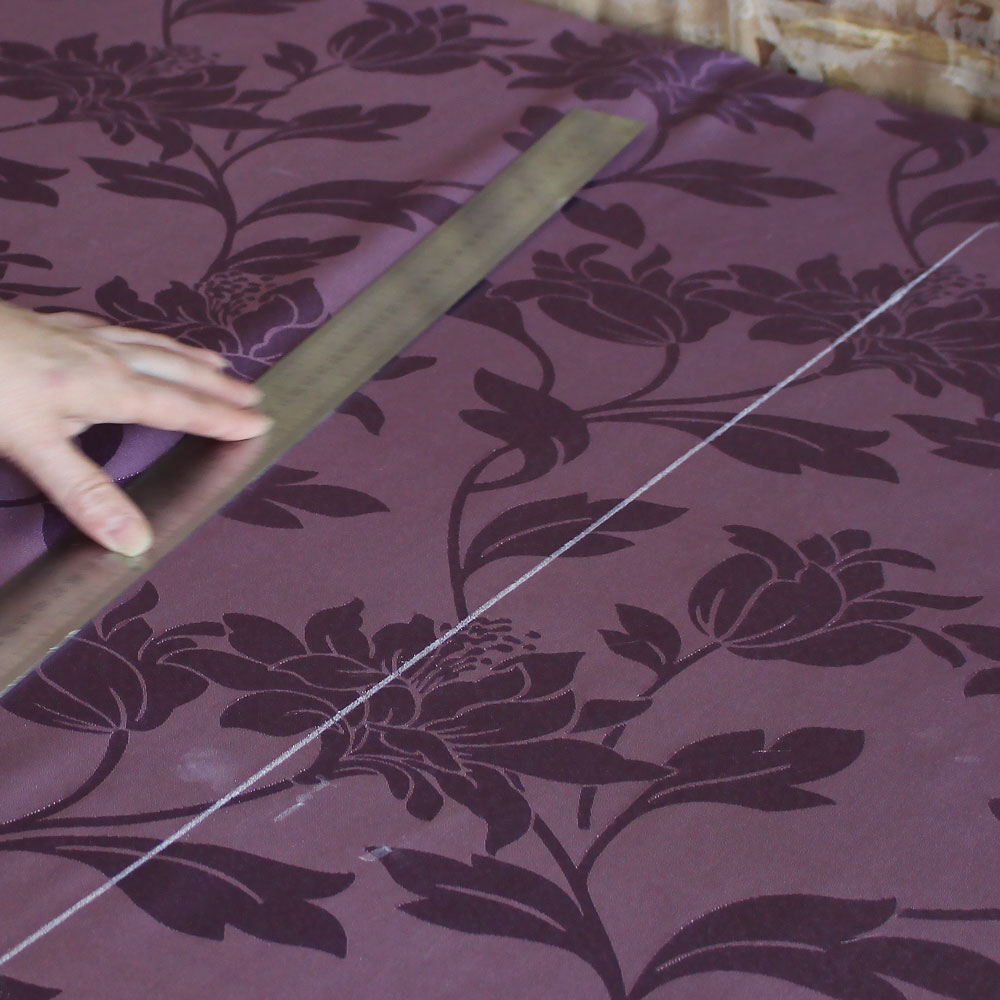
In accordance with the previously made calculations, chalk marks the places where the places for the rods will be located, marking the boundaries of the sections.An indent of 1.25 cm is made from them and verticals are indicated. The fabric is bent along the resulting line, and stitched vertically. This process is done for all pockets.
The main curtain fabric is also carefully ironed. A 9 cm bend is made from the bottom. The remaining sides are folded by 5 cm. The resulting deflections are carefully ironed. A curtain tape is sewn on top, right on the fold line. The main fabric is fastened with pins with a lining.
Important! As a result, the fabric for the back side should be 2 cm larger than the front side at all edges.
The lower part of the canvas is folded in half. This is necessary to form a pocket in which the weight will be placed. The resulting area is covered with a seamy fabric. Both parts are sewn with a hidden seam. The only area that remains unattached is the corner through which the weight bar will be inserted into the pocket.
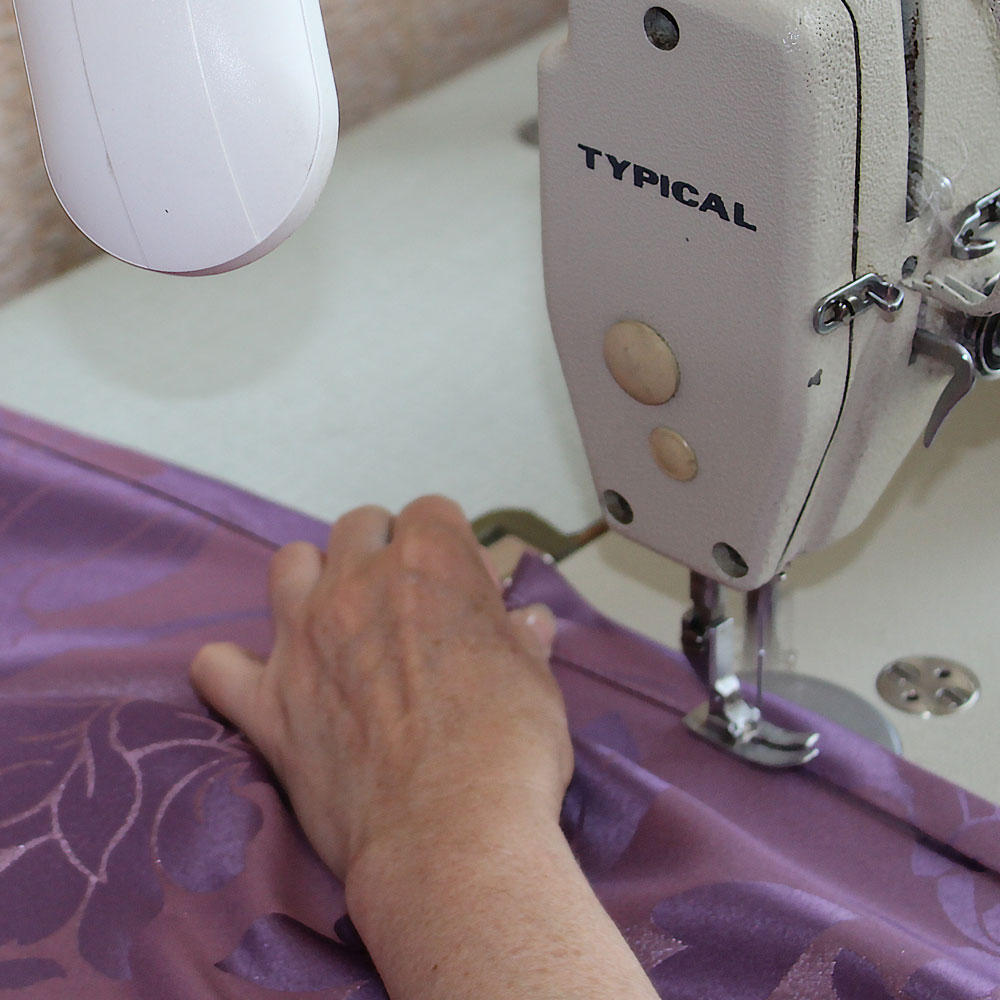
The upper area with the curtain tape is also folded over and sewn with a hidden seam. Equally, at a distance of 30-40 cm, it is necessary to mark the places for placing the plastic rings. From both sides to the outer ring, 10 cm should remain. Where the rings will be attached, the front and back fabric are sewn with several seams.
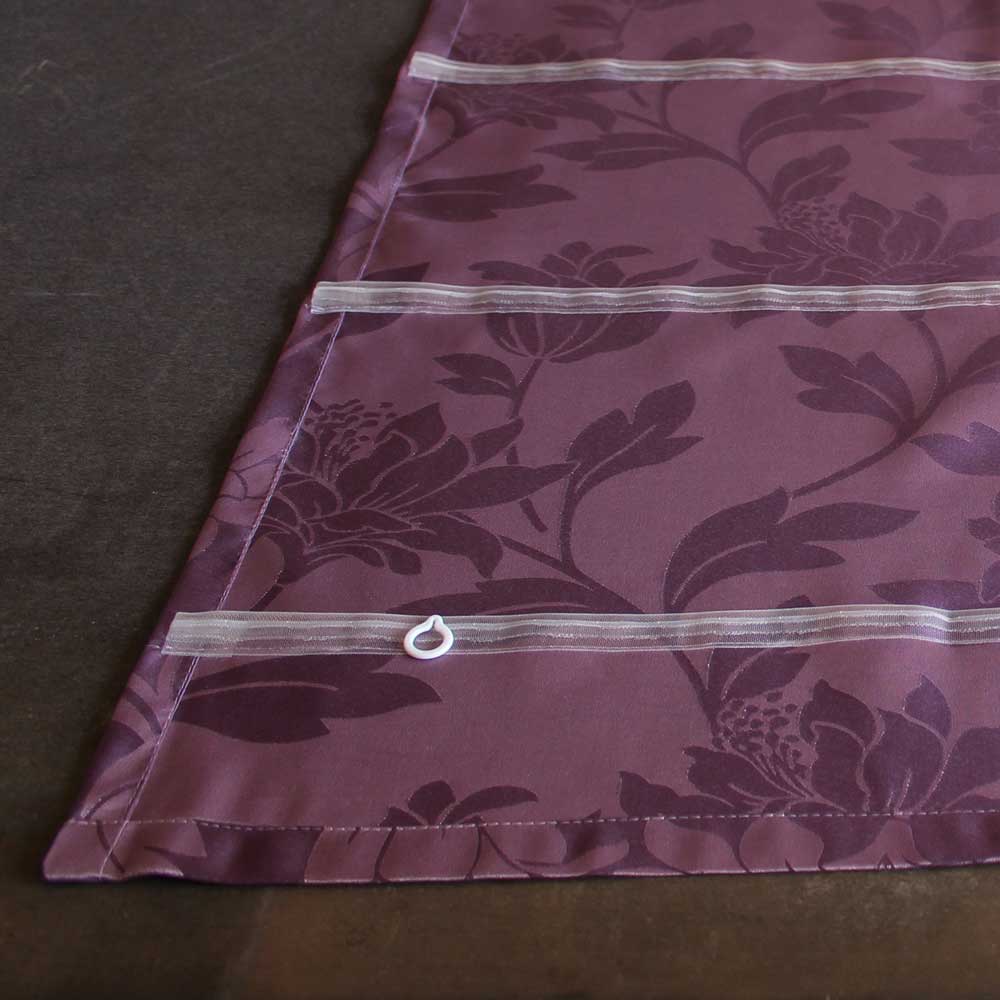
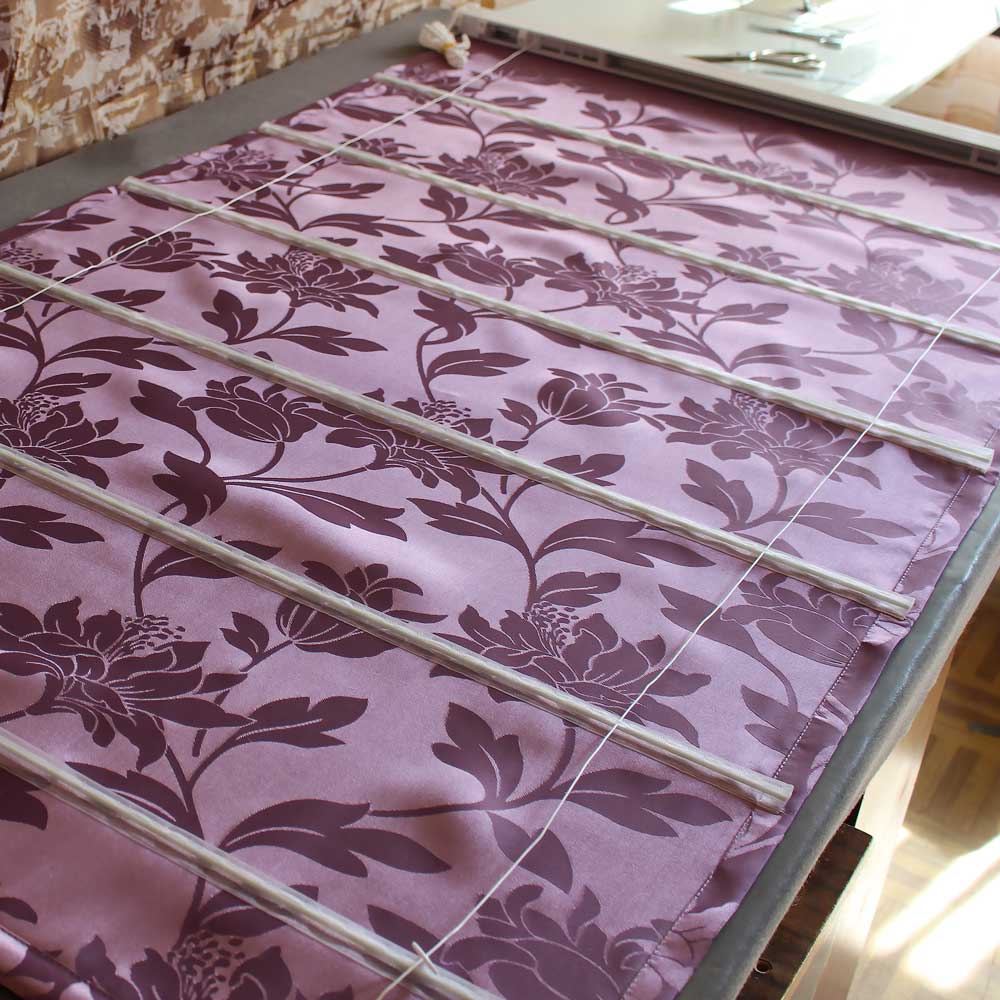
Prepared twigs are inserted into the ready-made pockets of the canvas. Then the rings are sewn. Cords are threaded through the rings, which are fixed on each of the rings. After everything has been ready and the canvas is installed over the window space, you can adjust its length according to your taste and desire.
Decorating
To give Roman blinds even more originality, you can resort to decor.
Most often, the following elements are used to decorate this type of window leaf:
- Curtain tape. With its help, you can create neat and interesting folds, focusing on the places of their transition.
- Fringe adds lightness and playfulness to the product. It is located along the bottom edge of the canvas, but you can attach it at the boundaries of the sections.
- Tassels add charm to the curtain. They can be placed either in a dense row or symmetrically, two on each side of the canvas along the lower edge of the curtain.
- Bows can be placed along the edges of the curtain, thereby creating vertical segmentation.
Important! When decorating curtains, it is important to know when to stop. Do not hang jewelry on the canvas if it has a complex and interesting print.
How to properly assemble and hang a curtain
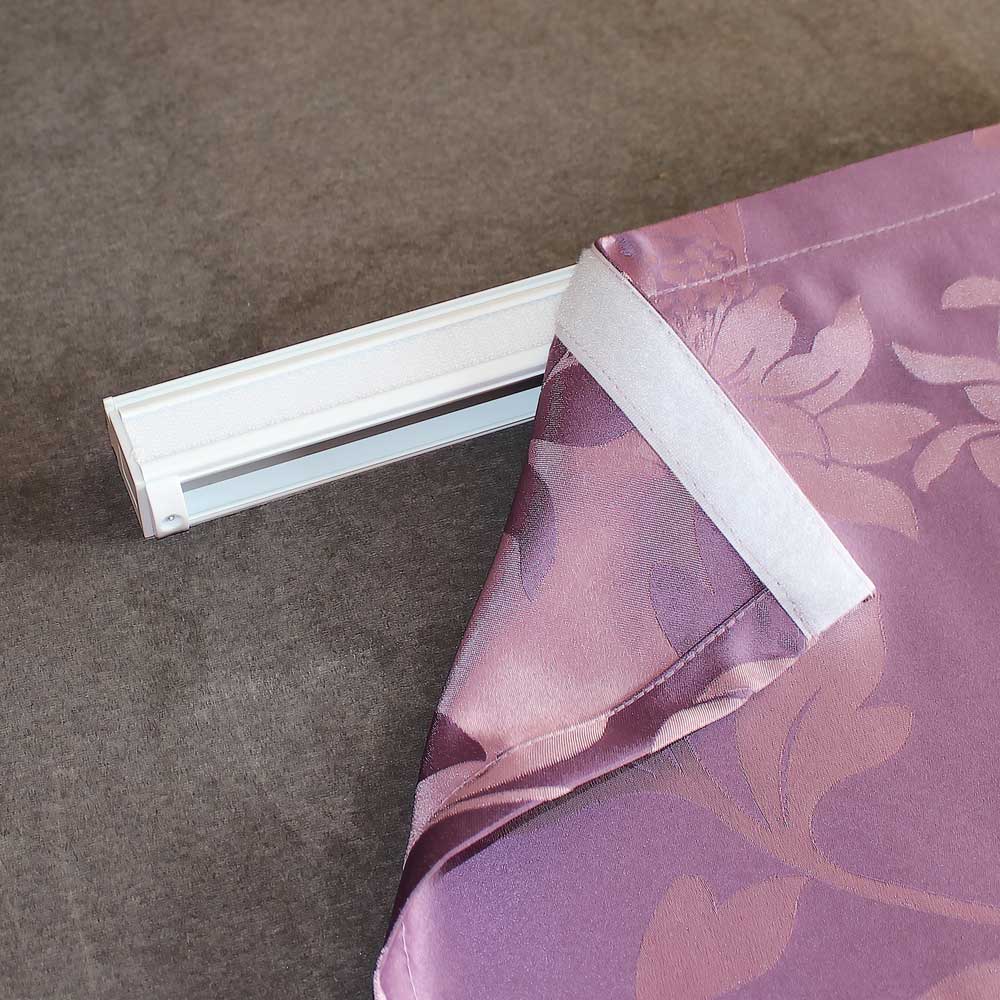
Above, a method for creating Roman curtains with your own hands was described along with a system that is responsible for adjusting the position of the canvas. Such a curtain can be arranged without a cornice, for example, on a Velcro tape, which is attached with one side to the window frame and the other to the curtain, or furniture brackets.
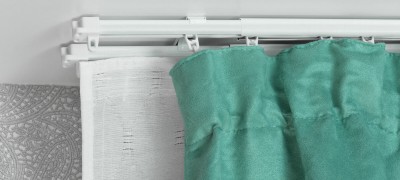
Or you can choose a cornice in the store specifically for a Roman shade. This is a structure that is mounted on a wall or in a window opening, and the canvas is fixed on it. The product is usually designed so that the length of the fabric can be adjusted.
The choice of the curtain rod depends on its size and the place where it is planned to place the curtains.
Selection of place and cornice
There are three types of curtain rods for Roman blinds:
- Mini Roman cornice has standard dimensions that correspond to the parameters of windows installed in most high-rise buildings in the country. This type of construction is installed directly on the window frame.
- Classic - designed to accommodate Roman blinds only in the window opening. It has a standard size, which is suitable for a full window drape;
- Beveled cornice is a type of structure that is used to be installed on windows in the attic.
The choice of the cornice and its location are interrelated. It all depends on the personal preference of the owner and the desired effect.

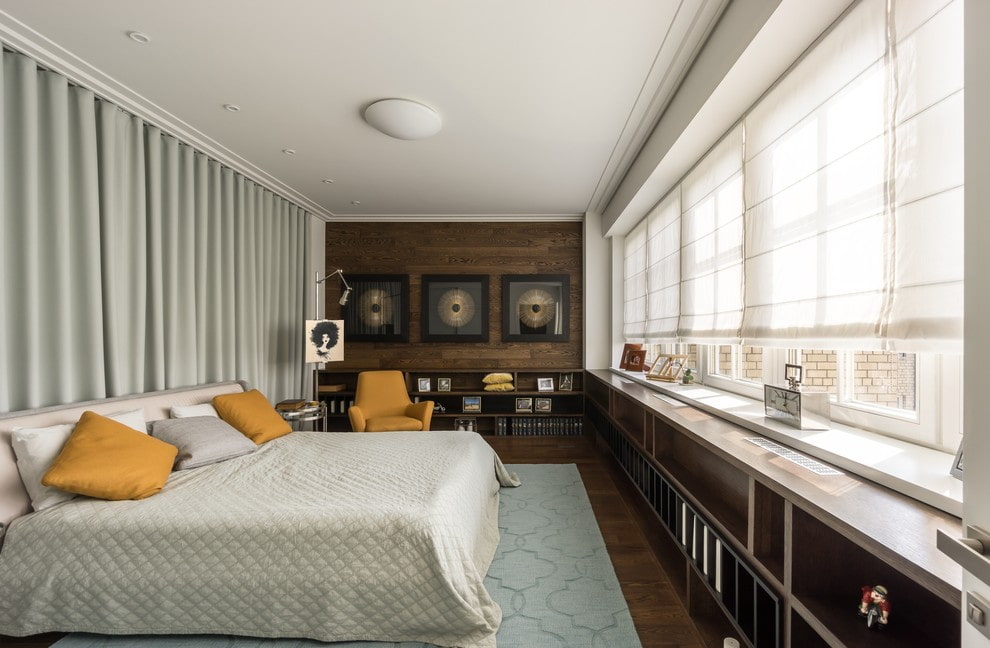
With the right choice of the color of the canvas in the lowered form, classic products can merge with the wall, creating an interesting effect of a room without windows. The mini type visually expands the room and leaves the window sill free, it can be combined with ordinary curtains.

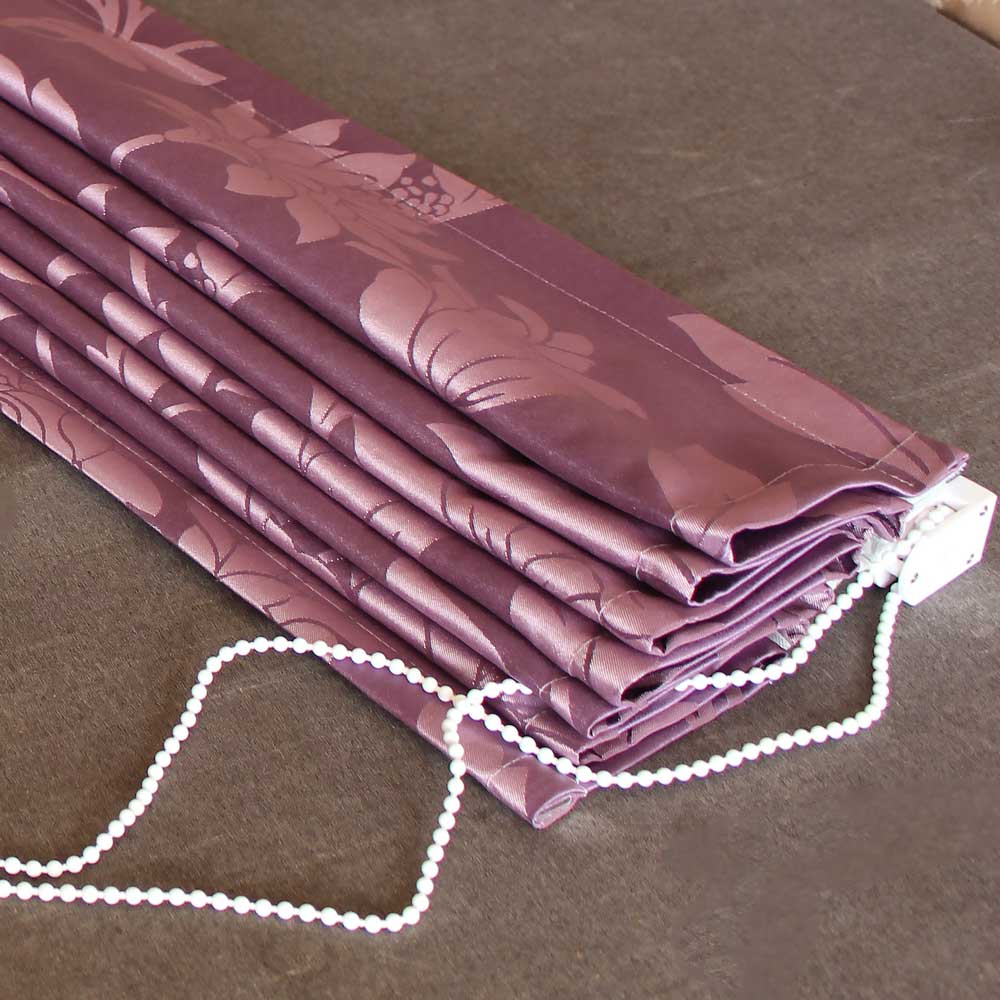
You can also choose manual and automatic curtain rod type. In the first option, the adjustment is carried out using a special chain manually, and the second provides for the presence of a remote control. The assembled structure can be safely attached.

The process of attaching curtains
Installation of Roman blinds is carried out in the following sequence:
- Correct choice of location. To do this, you need to take into account the type of cornice (the description is given above). The fabric completely covers the glass and does not cling to anything.
- Designation of points for eaves installation. With a pencil, using a level, mark the points where the brackets will be placed. If the mechanism is installed on a window frame, then the distances on it are equal to the width of the curtain, and if the structure is attached to the wall, there should be 4 mm between the supports.
- Securing the brackets.
- The device of the cornice on the brackets.
- Checking the correctness of installation by adjusting the length of the blade: if everything is good, then it will move freely.
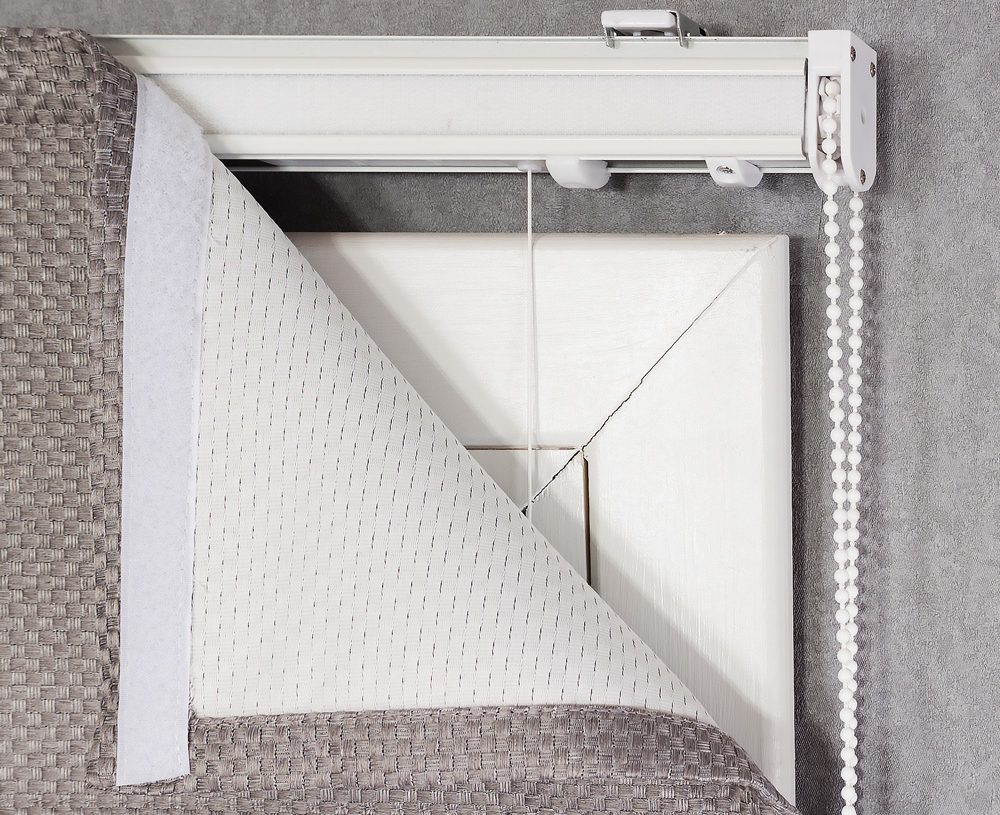
How to make repairs with your own hands
Roman blinds are equipped with mechanisms that tend to break. Sometimes this happens only a few years after the installation of the cornice, and it happens that you immediately have to think about solving this problem. You can repair a Roman blind yourself.
Breakdowns in the mechanism can be different. To understand what exactly is out of order, it is necessary to carry out diagnostics. For this, the curtain, together with the cornice, is removed and carefully disassembled. All components of the device are scanned for a problem. This may be due to the ingress of dirt or even parts of matter into it, wear of functional elements or their displacement, etc.
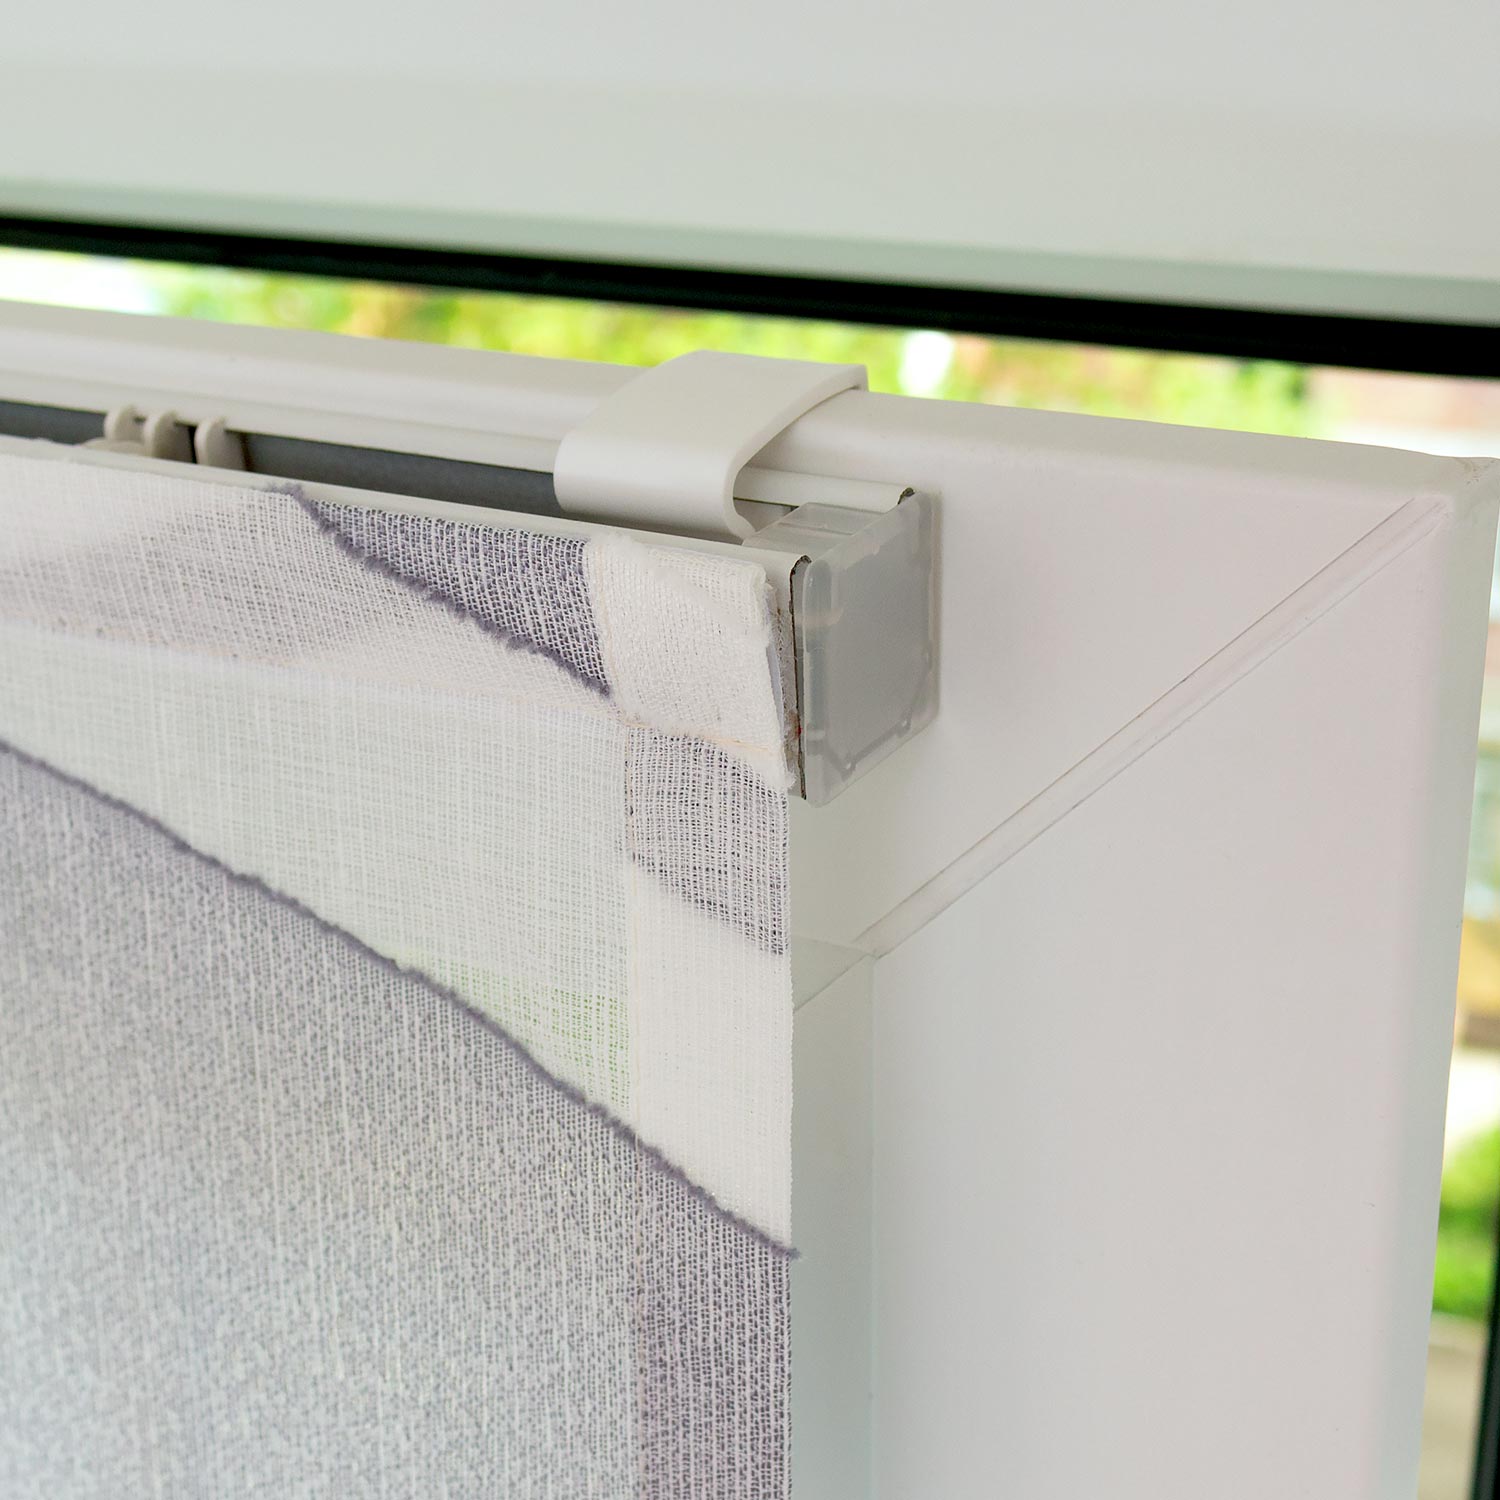
After the cause of the breakdown has become obvious, you need to eliminate it. In some cases, it is enough just to fix the moving mechanism and clean the structure from dirt and dust. Others have to replace broken parts or lubricate moving parts. In case of serious breakdowns without proper experience, it is better to contact a workshop.
Roman shades are an attractive and original design element that is also easy to manufacture.

Video: do-it-yourself Roman blind


