How to install a curtain rod on a ceiling or wall
At first glance, the installation of a ceiling or wall cornice is not particularly difficult. It seems that even a beginner can fix a fairly light structure along which the curtains will move. It is enough just to arm yourself with the necessary tools, accessories and consumables.
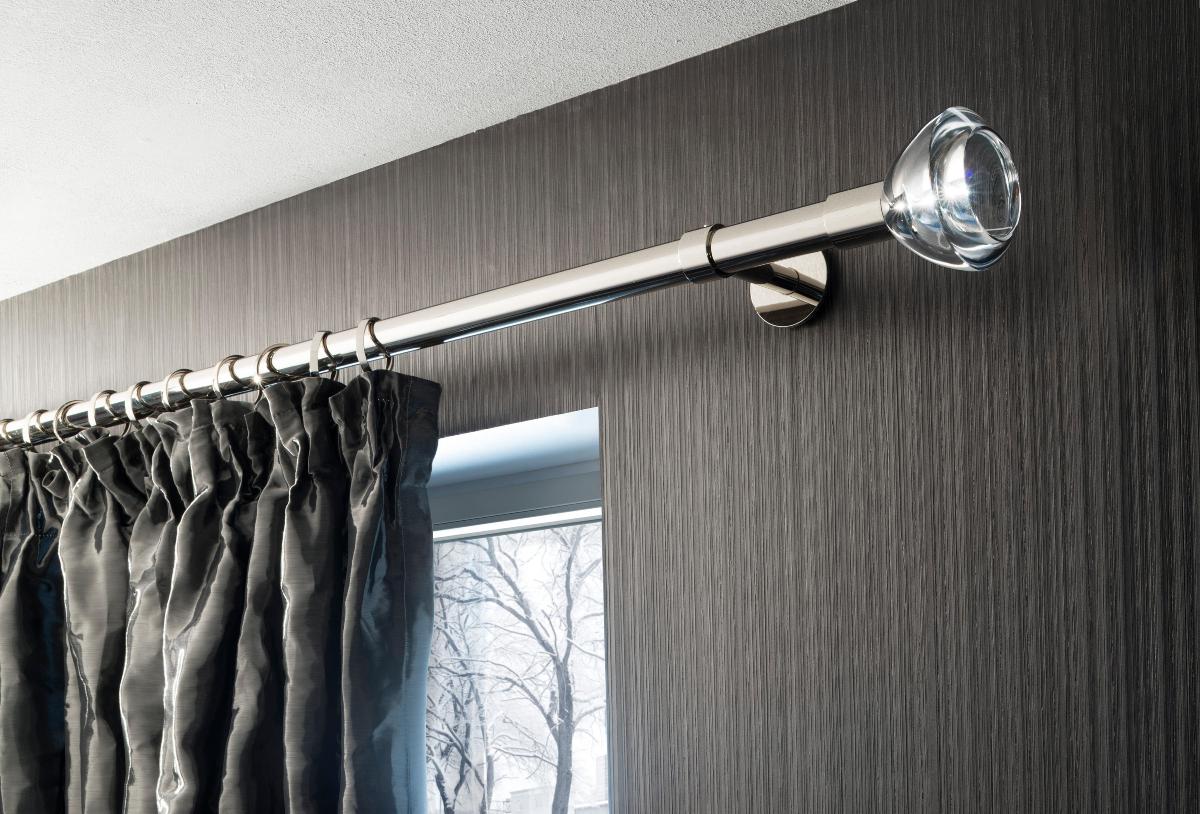
But, in fact, everything is not as simple as it seems. In order to properly install the cornice, you should carefully familiarize yourself with the features of its fixation, the expected load, choose fasteners depending on the material of the walls or ceiling. It will also not be superfluous to find out the key design developments in a particular apartment.
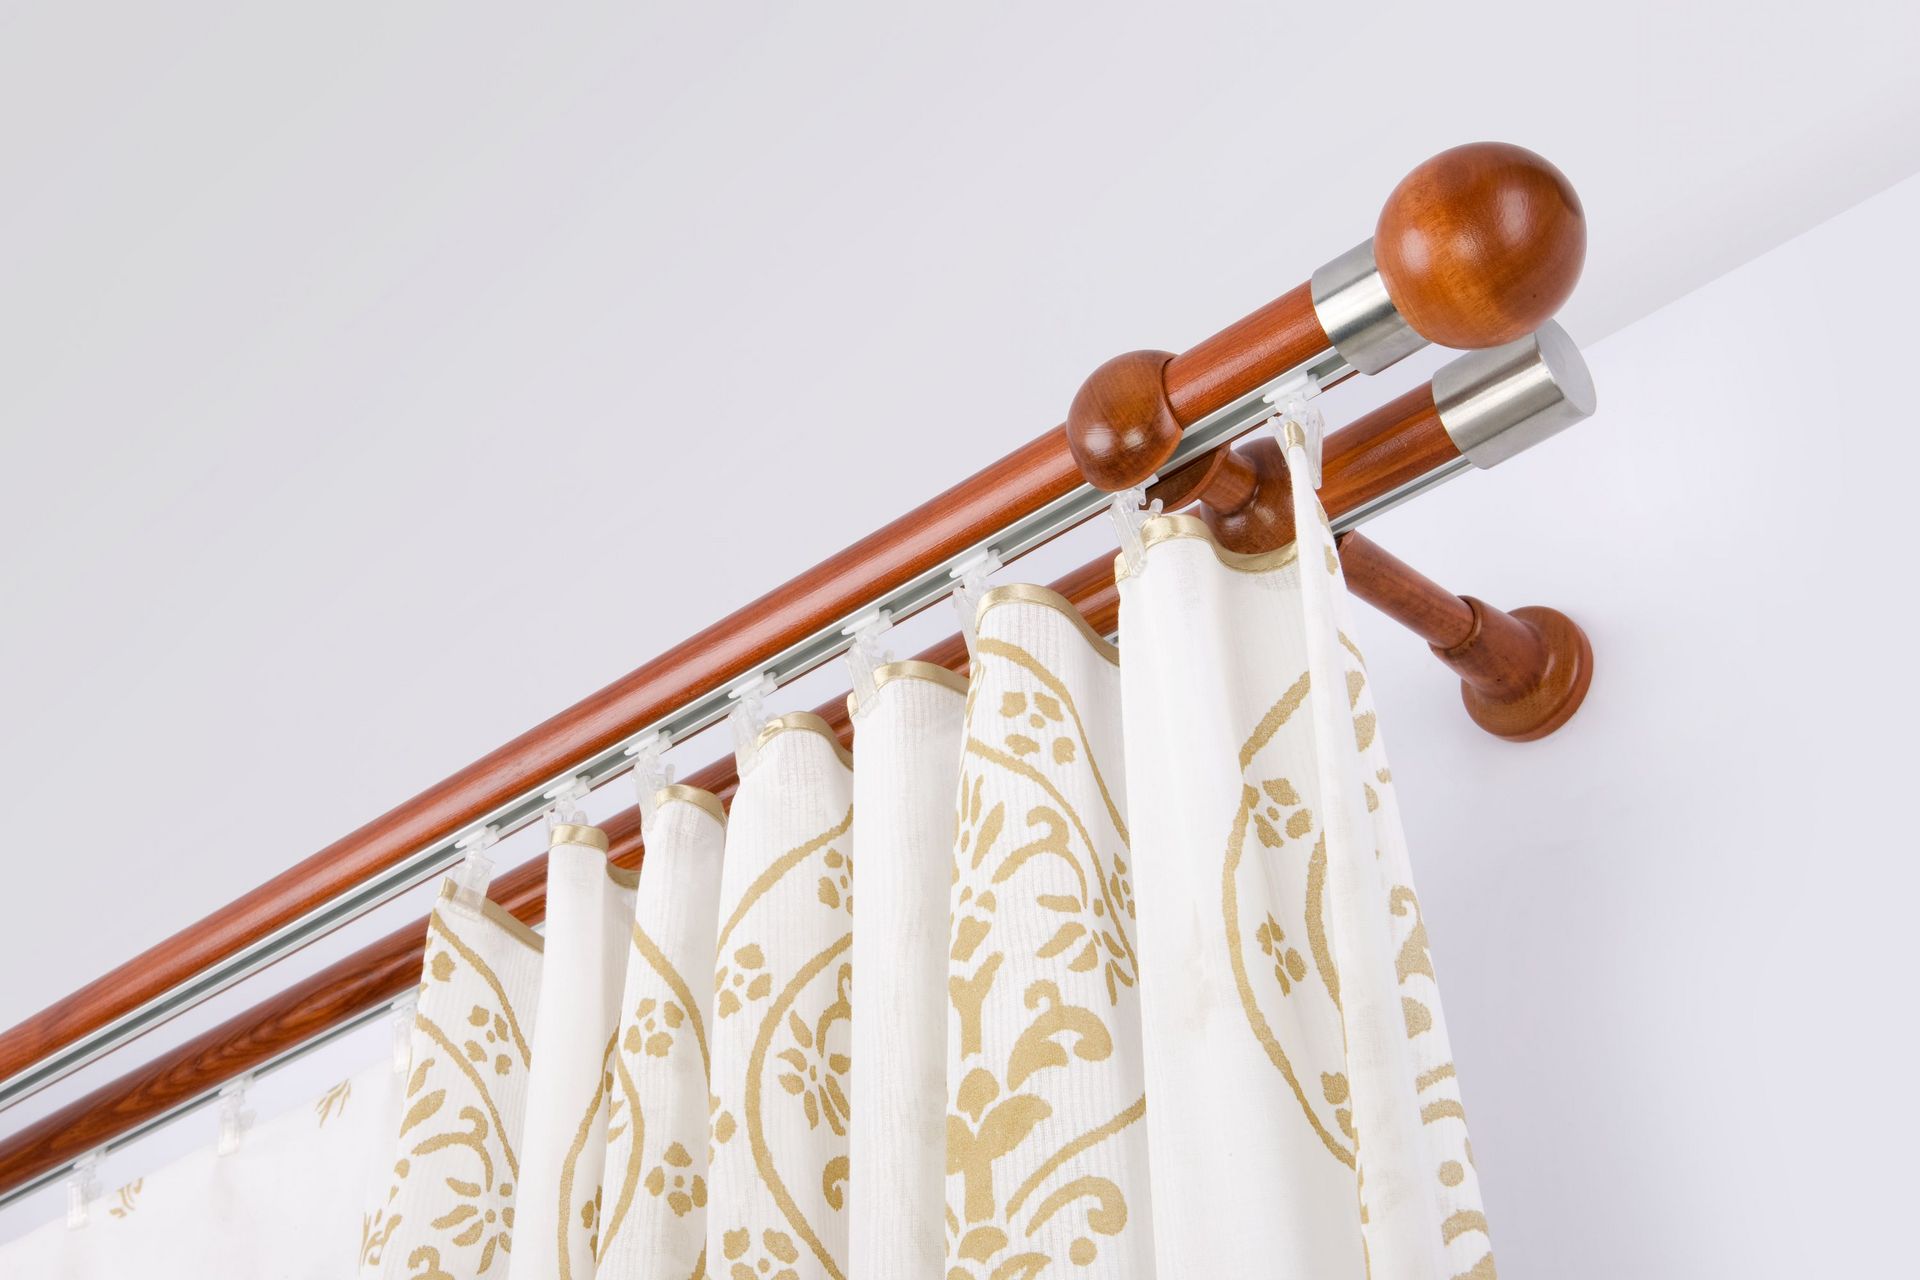
Very often, information about certain details of the organization of window decoration becomes a decisive element that allows you to mount the cornice in ideal layouts.
Note! Before work, you should carefully read the instructions for assembling and installing the purchased structure.
Accessories and necessary materials for installation
As a rule, curtain rod fittings are universal.
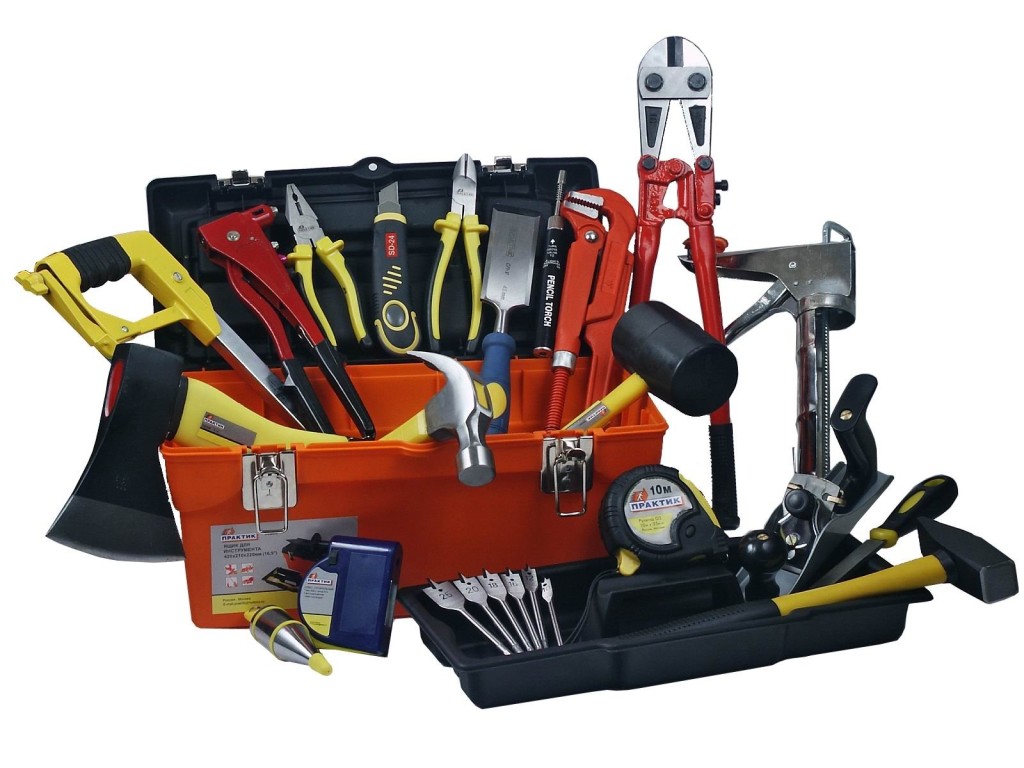
Depending on the mounting method, wall and ceiling material, the home craftsman will need:
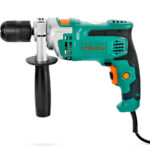
- hammer drill or hammer drill - you cannot do without them when drilling holes in concrete or brick walls;
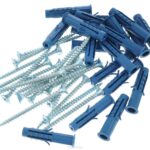
- dowels and screws of various lengths and diameters;
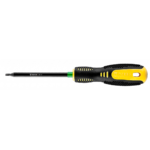
- screwdriwer set;
- control and measuring instruments (level, tape measure, ruler, pencil);
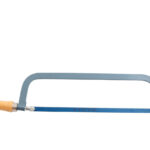
- hacksaw for metal and wood - useful if you need to cut the cornice to the desired length.
This "gentleman's kit" is enough to attach the curtain rod anywhere on a wall or ceiling. The main thing is not to forget that you should measure seven times before cutting or drilling once.
Note! When buying a cornice you like, you should carefully check the presence of all the necessary components - plugs, rings, hooks, brackets.
Choosing a place for attaching the curtain rod
The choice of the place for attaching the eaves is one of the key points in the process of organizing window finishing. Having figured out how to hang the curtain rod on the wall, you can assume that you have coped with the task by 50%.
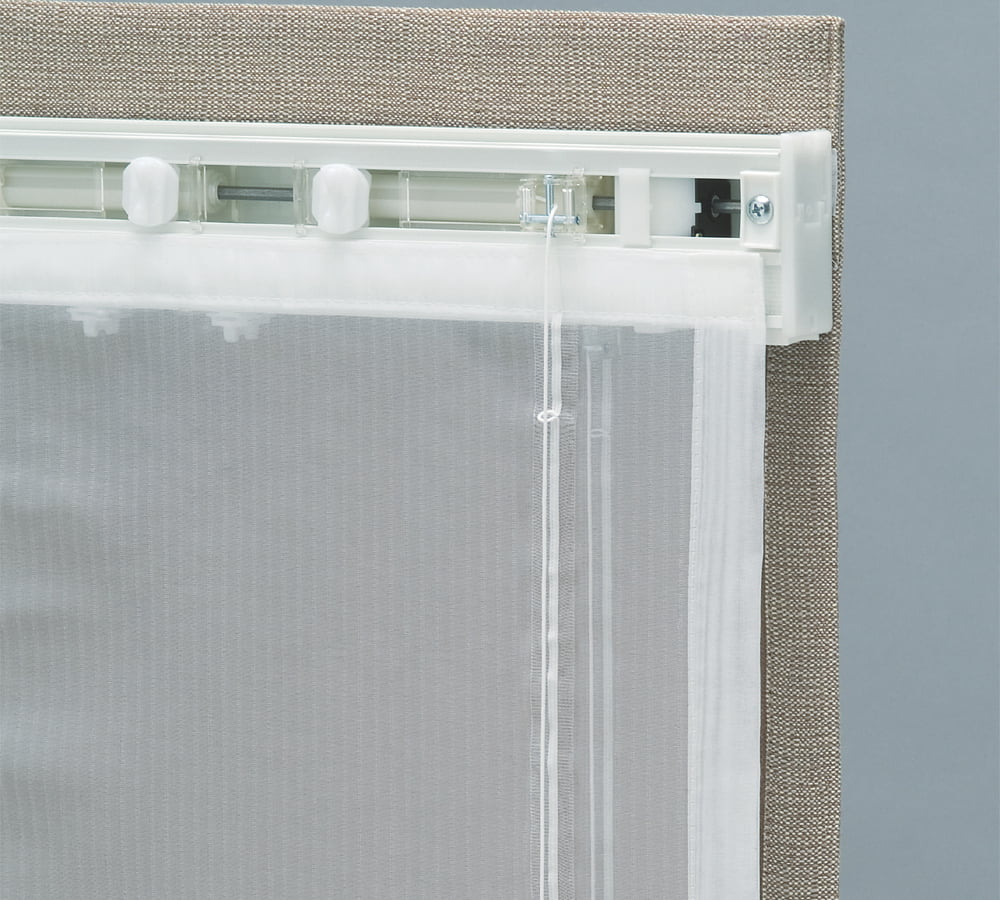
As a rule, when fixing a wall structure, the distance to the ceiling ranges from 5 to 15 cm. But, this value can vary more significantly depending on the design features of the window and the cornice model. There is no single correct or standard size.
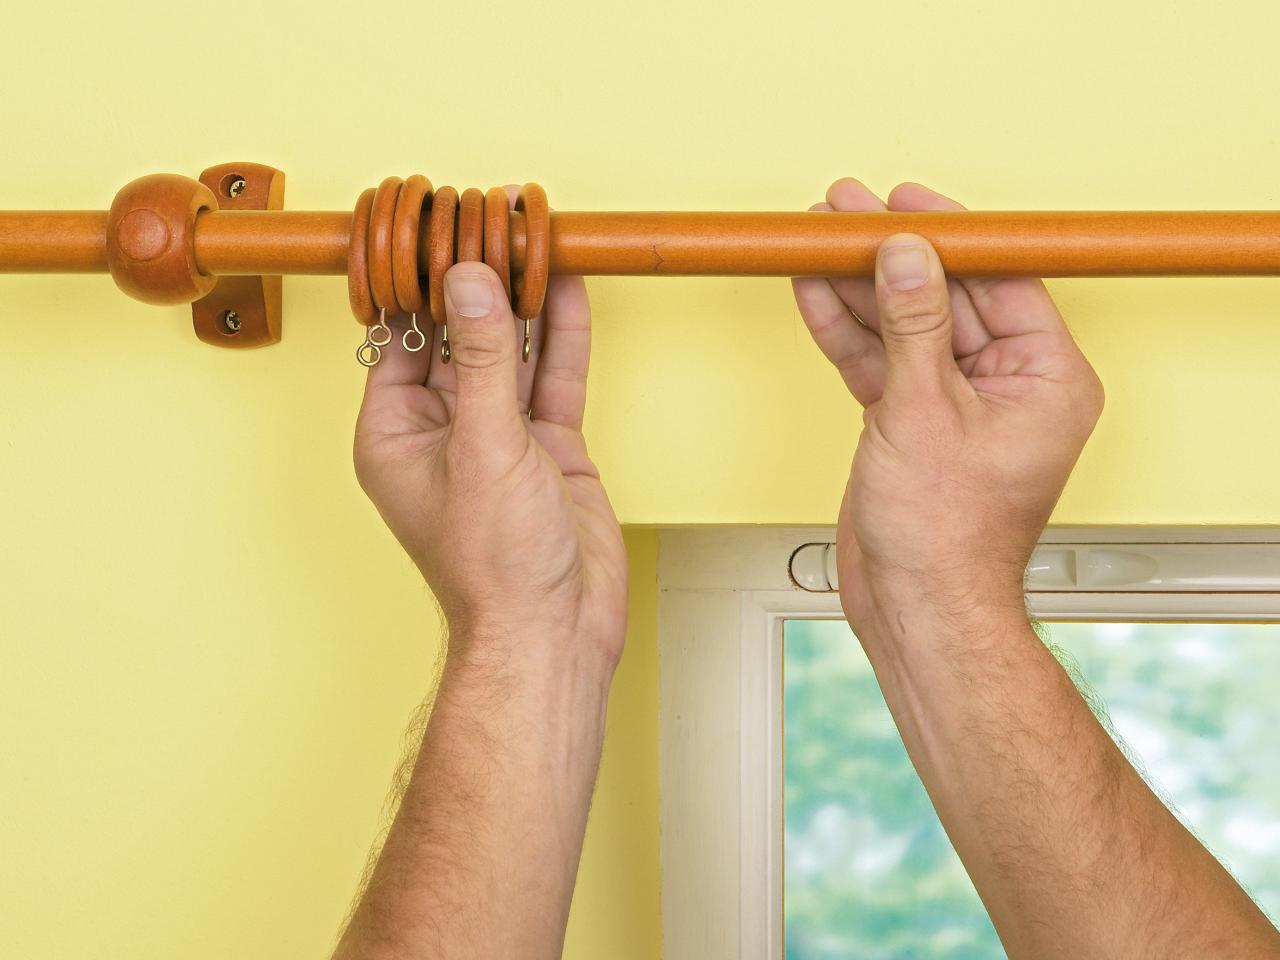
The main thing is that the curtain or curtain is convenient to take off and put on. The side view is not important at all, since no one is interested in what the end of the cornice looks like.
In the case of installing a plastic or aluminum ceiling cornice, you should also be guided by the principle of expediency and try to fit it into the interior design as organically as possible. Moreover, many modern cornices not only complement the curtain, but in themselves can become a window decoration.
Note! Before proceeding with the installation work, make sure once again that the cornice being installed will not interfere with the opening of the windows, and the curtains will not touch the window handle.
Installation site marking
Thinking about how to properly hang the curtain rod on the wall, taking into account all the distances to the corner of the room or ceiling, it is imperative to take into account the quality of the work of builders erecting walls and installing ceilings.
If you arm yourself with a banal building level and a tape measure, you can find curved walls and "right" angles in almost every room, which are far from the standard 90 degrees. Marking the points to which the cornice brackets will be attached, in this case, will become a rather difficult task.
Specialists in the field recommend when marking such "curved" rooms to push off from the plane of the ceiling, and not from the upper edge of the frame installed by "curved" installers or the building level readings installed in the corner of the room.

The line of the cornice against the background of the ceiling, in any case, should be parallel to its plane. Small vertical distortions can be easily leveled by folds of curtains.
Features of mounting the cornice
When installing a curtain rod on the wall, you should take into account the design features of the various models. There are not so many fundamental differences in their fastening, but there are still some nuances.
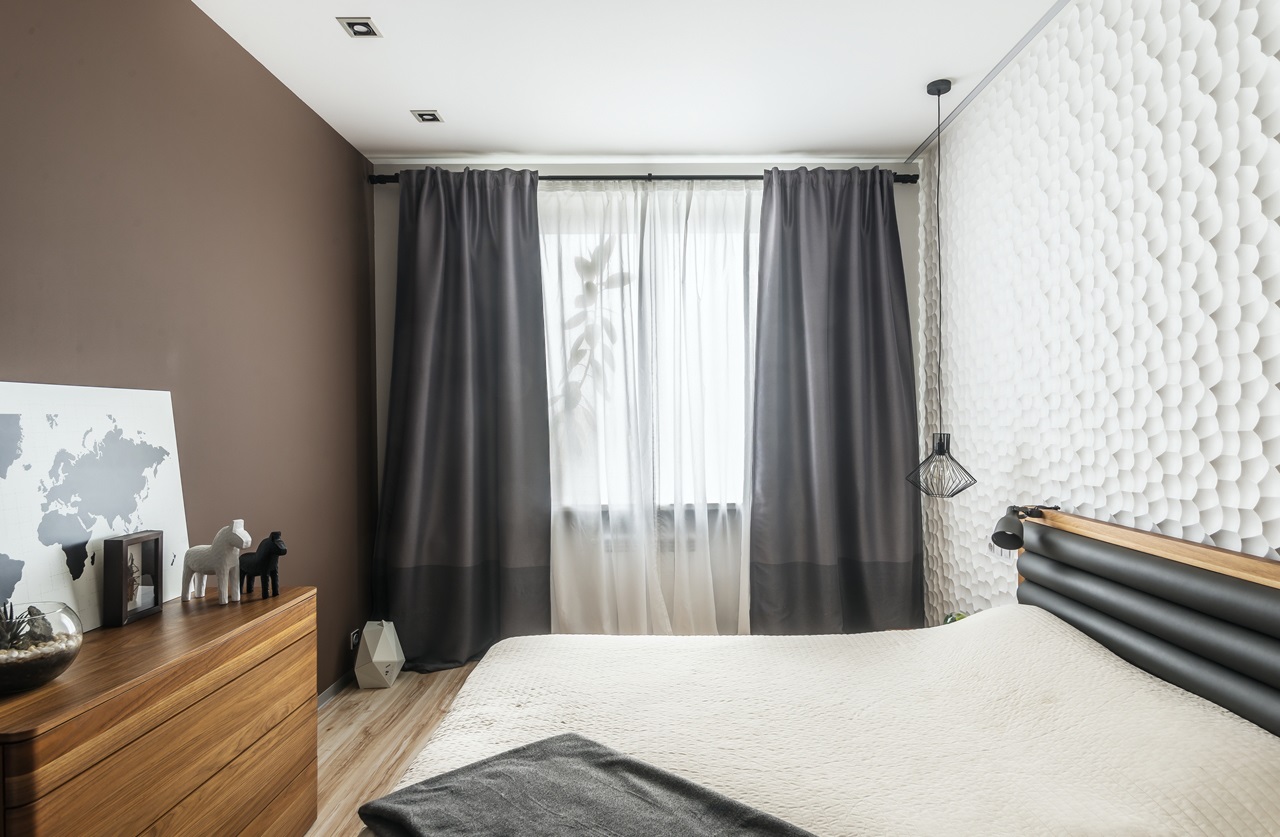
They are, first of all, associated with the possible load on the cornice and the requirements for the size of the screws used, restrictions on the minimum clearances with the plane of the wall or ceiling.
Note! If you plan to hang the cornice on a plasterboard base, then you should stock up on special types of dowels - dowel-butterflies or dowel-umbrellas. During installation, they open and provide reliable fixation of the structure.
Rail
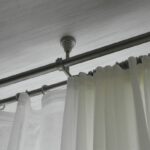
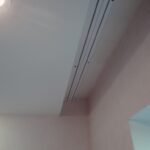
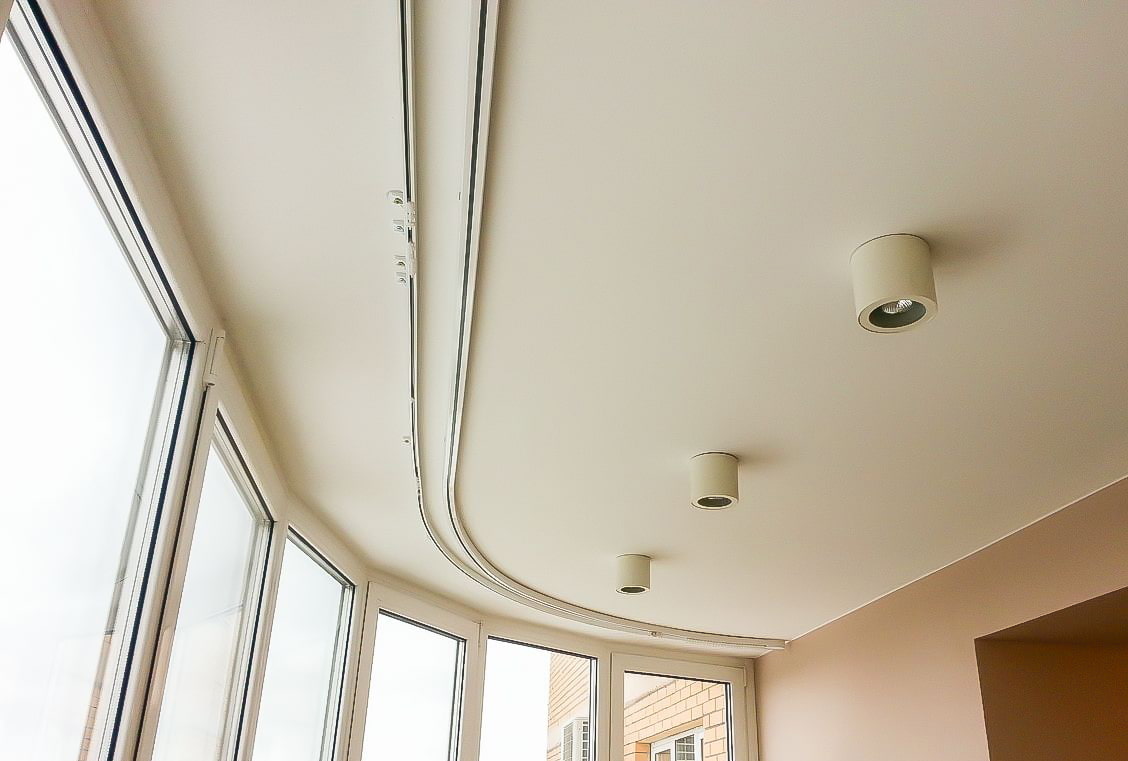
The rail cornice has been gaining in popularity in recent years. It can be hung both on the wall and on the ceiling. But, ceiling models are most often used. The most important advantage of such curtain rods is flexibility. They can be used without any problems in the design of non-standard window openings.
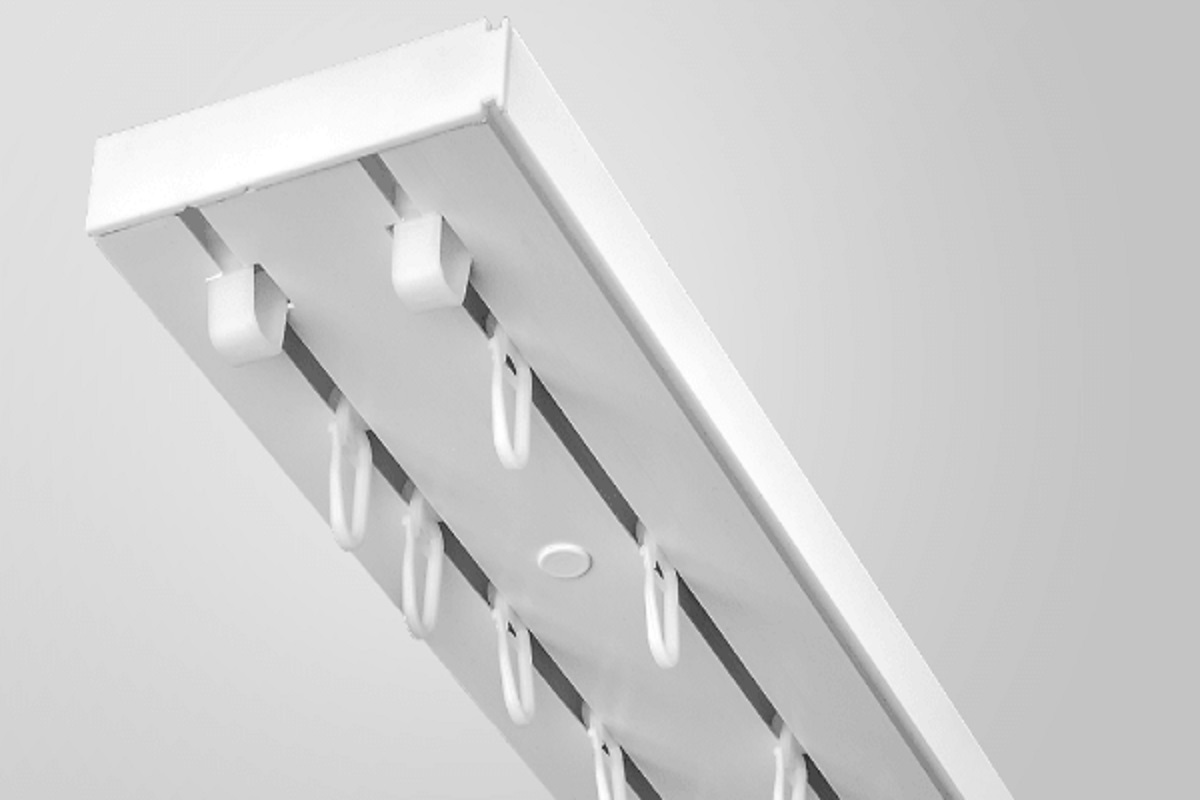
Manufacturing companies complete them with all the accompanying elements - from plugs to rings, rollers and hooks. The most modern models of rail curtain rods allow for overlapping curtain closure.
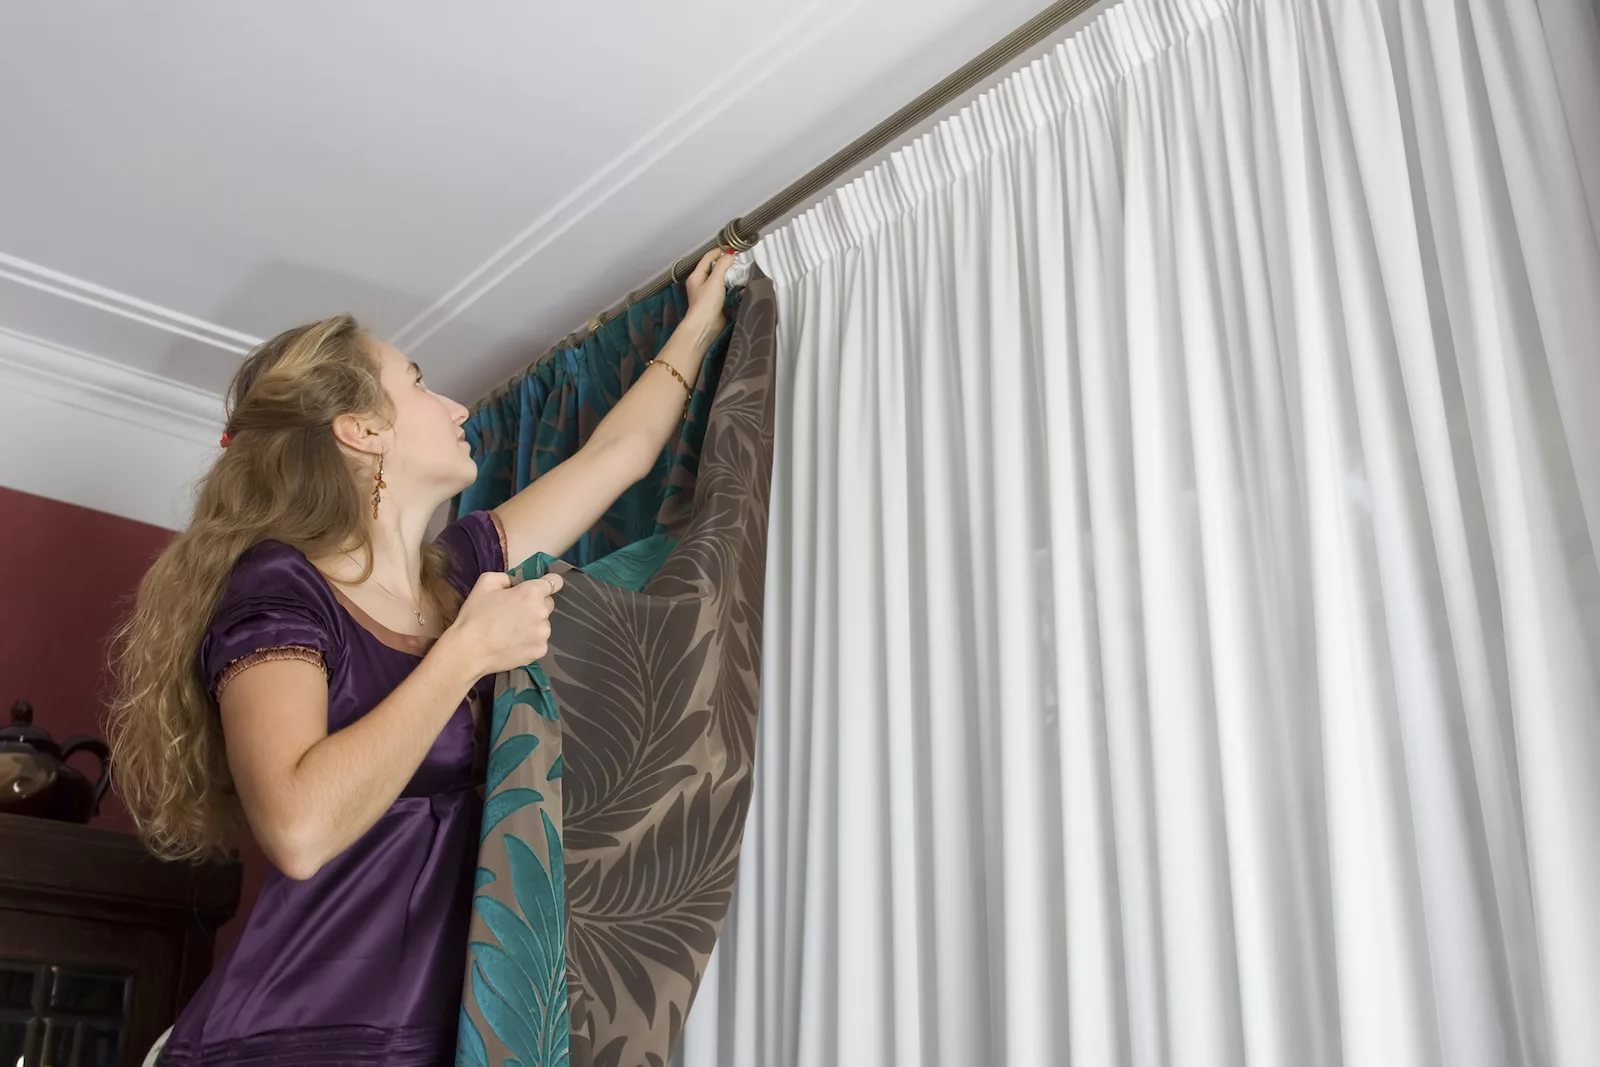
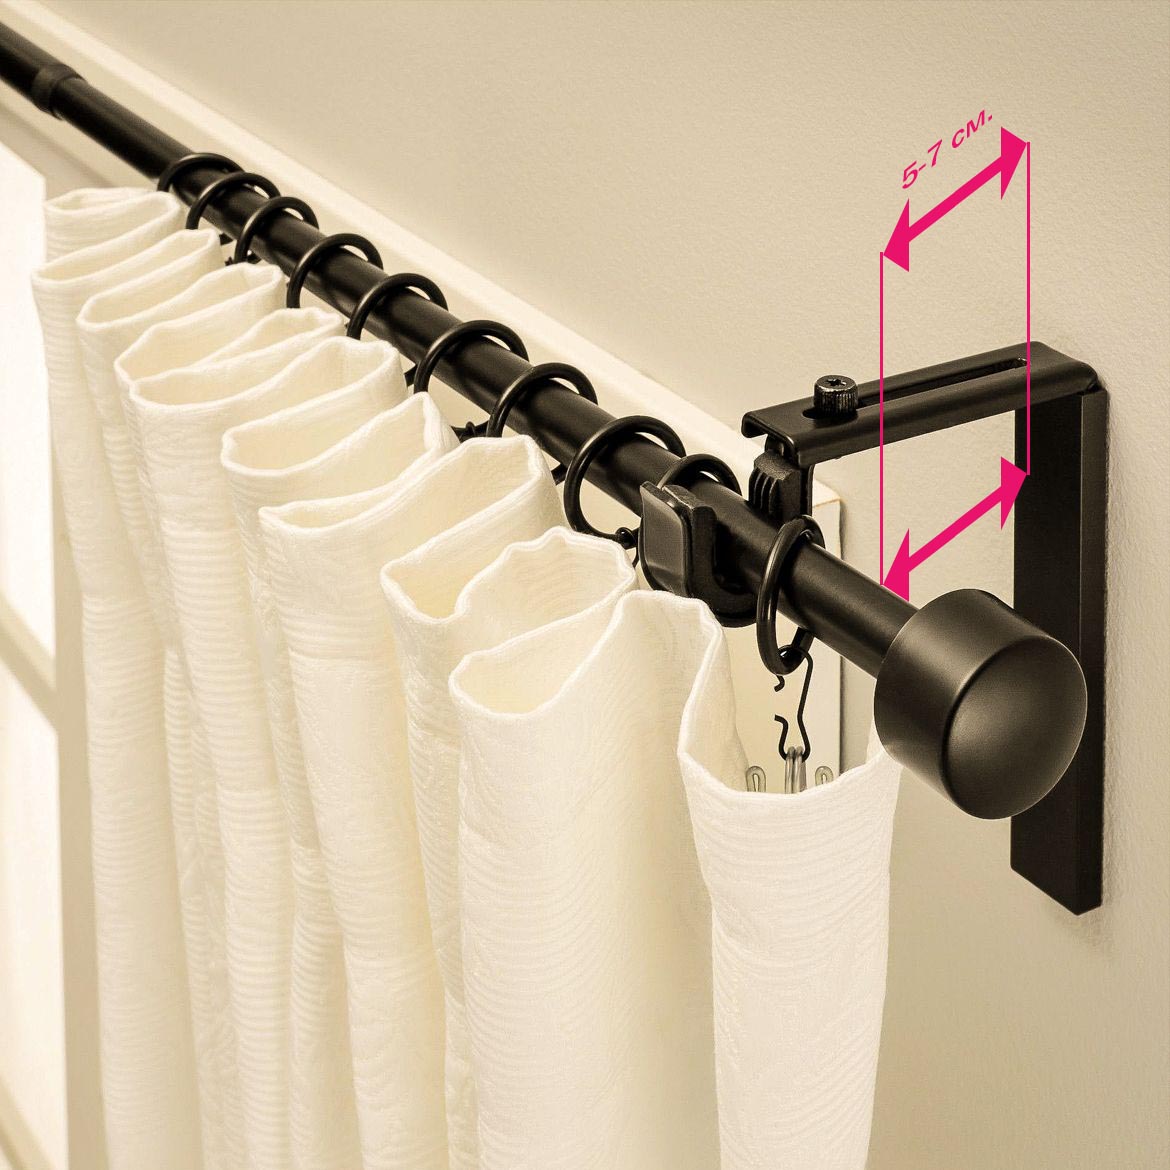
If the rail cornice is mounted on a wall, then the distance to the window opening must be at least 5 - 7 cm.To install ceiling models, the minimum distance to the wall or radiators of the heating system should not be less than 10 cm.
Krugly
The round cornice can be fully attributed to the classic options. The most important thing when installing it is to securely fix the retaining brackets, which are the basis for the guide pipes. It is along them that rings with curtains or curtains will move.
In the case of a non-standard wide window, extension cords can be used to significantly expand the cornice. The ends of the pipes are traditionally finished with eaves; various strips can also be used as decorative ones.
Of the profile
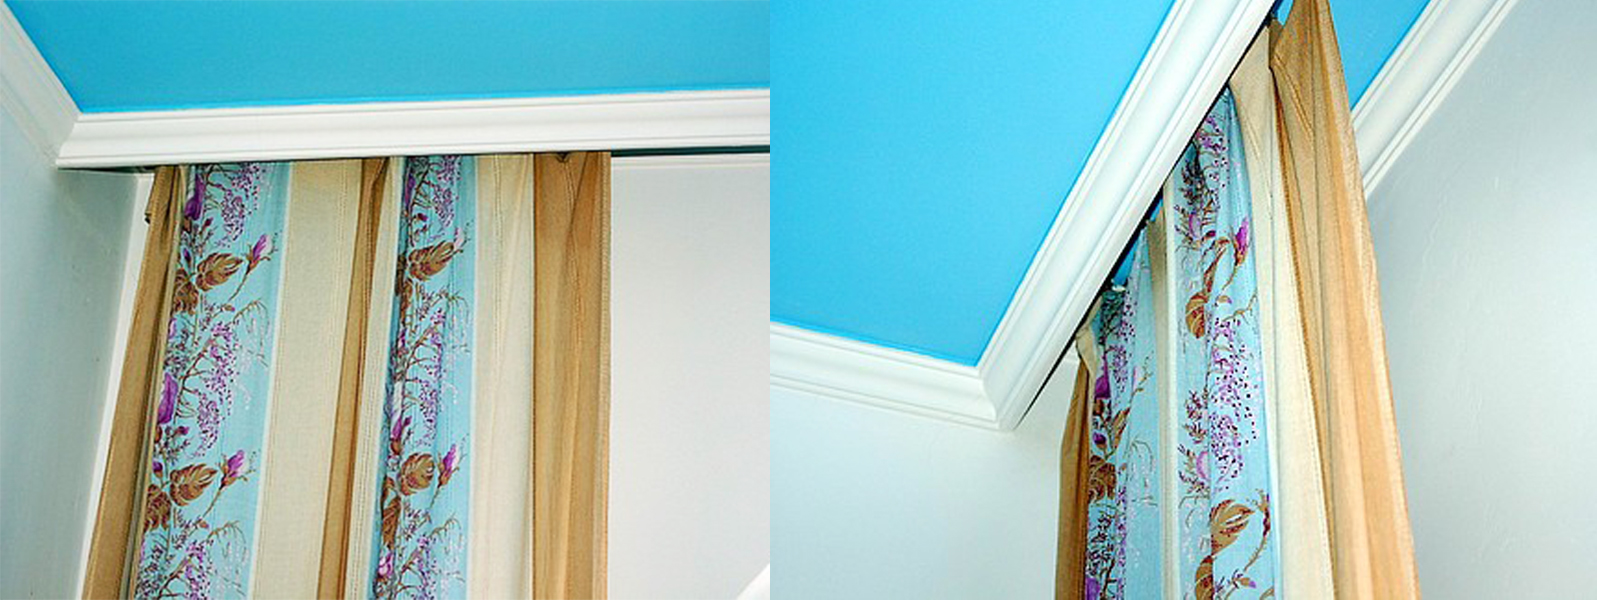
The installation of a profile cornice is in many ways similar to the installation of a rail. There are no special nuances in the fastening process. You can mount this model both on the wall and on the ceiling. If necessary, the cornice is equipped with an electric drive and a remote control. This option is not the most requested, but, nevertheless, it is popular.
String
The string model of the cornice is traditionally a combination of one (two) strings, mounting brackets and special boxes that provide tension to the working elements. Most often they are installed on the ceiling.
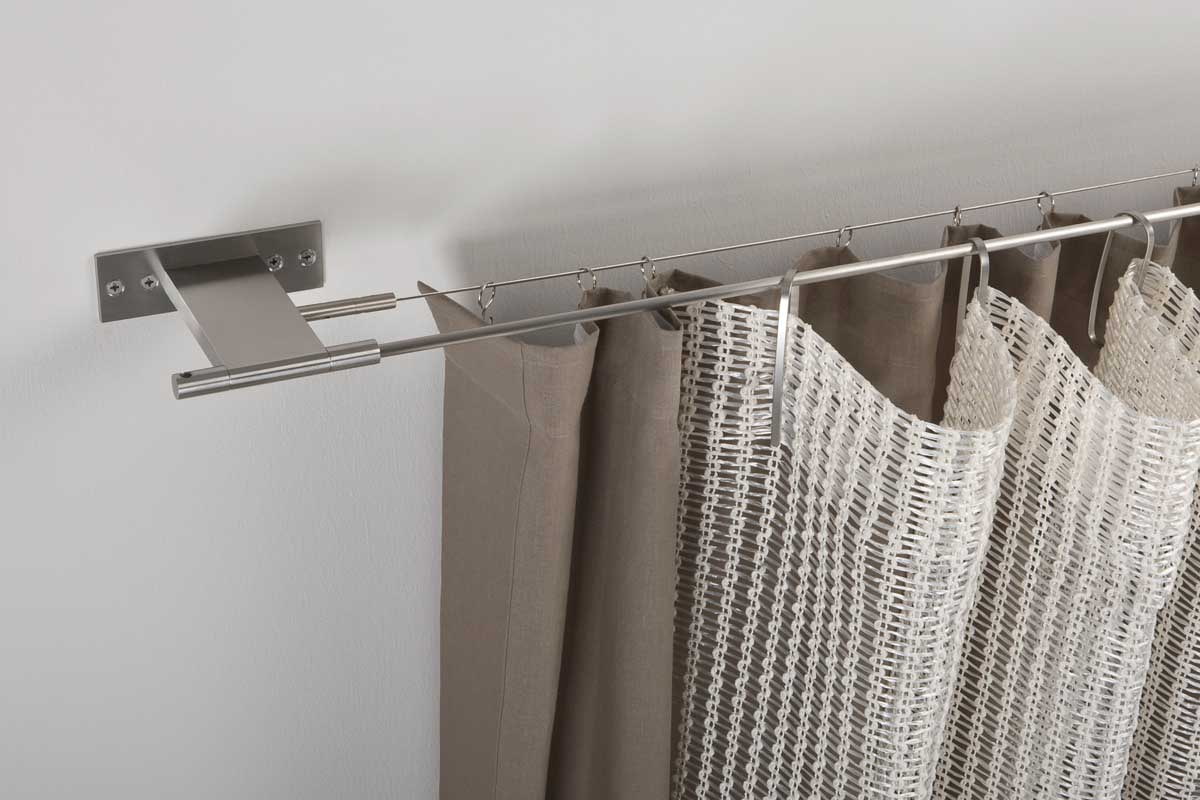
To assemble the cornice you should:
- install brackets;
- fix both ends of the string with screws in the tension boxes;
- tension the strings according to the recommendations outlined in the instructions (in the simplest case, the proper degree of tension is ensured by tightening special washers).
Baguette
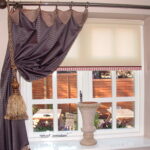
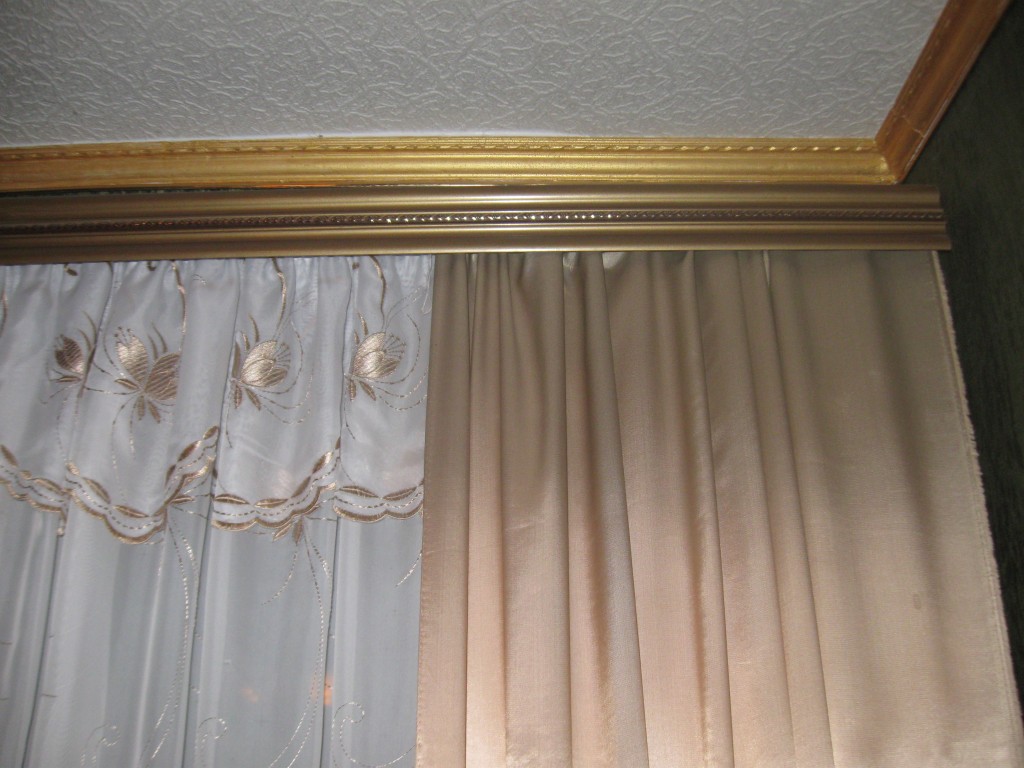
This cornice is a vivid representative of the design approach to the process of attaching curtains and curtains. By and large, we are talking about fixing a wooden or polymer molding strip, framing an exclusive lambrequin or curtain. There can be many options for designing a window opening using a baguette cornice.
Safety at work
As a rule, both home and professional craftsmen are quite liberal in their attitude to the need to strictly follow the labor protection and safety requirements when performing installation work.
Meanwhile, the use of tools powered by a 220 V electrical network in itself requires care and accuracy. If we take into account that these tools can be used in conditions of high humidity (in bathrooms, basement rooms), then the risk of electric shock increases significantly. Another "disease" of home craftsmen is the misuse of tools.
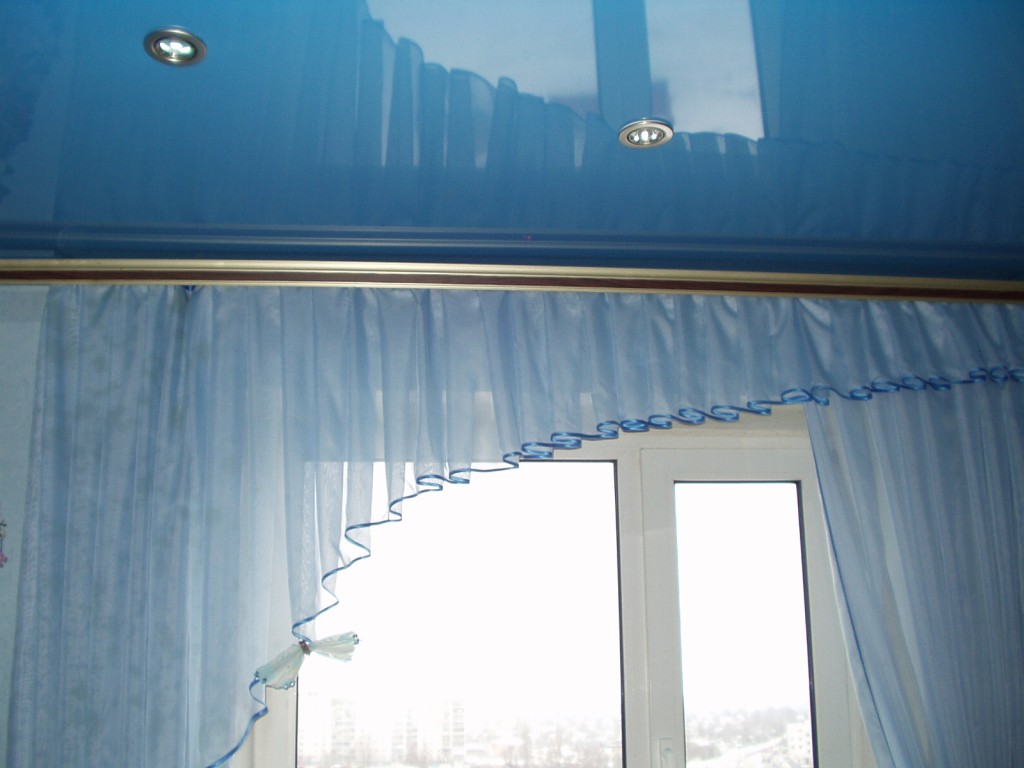
A classic example is hammering screws into a wooden surface with a hammer if you don't have a screwdriver at hand. Such actions reduce the strength of the structure and subsequently can cause the eaves to fall. It should be remembered that any curtains or curtains exert quite serious pressure on the cornice, so the installation process must be approached as seriously and responsibly as possible.
Video: we attach the ceiling cornice to the wall - easy and simple
