How to manually make eyelets for curtains
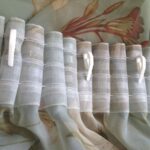
To hang the curtains on the cornice, three main types of fastening were invented - eyelet rings, universal hinges and curtain tape.
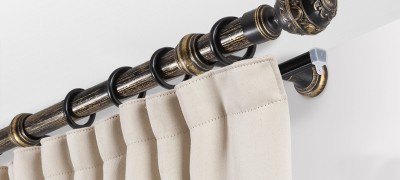
Eyelets, like universal fastening loops, are simply strung on the eaves bar and are considered the most convenient for use at home, because the curtain tape often needs to be further figured out - buy hooks on the rings, fasten the loops on the curtain tape itself, if the ready-made ones are too thin and unreliable, then hang each loop on a separate hook mount.
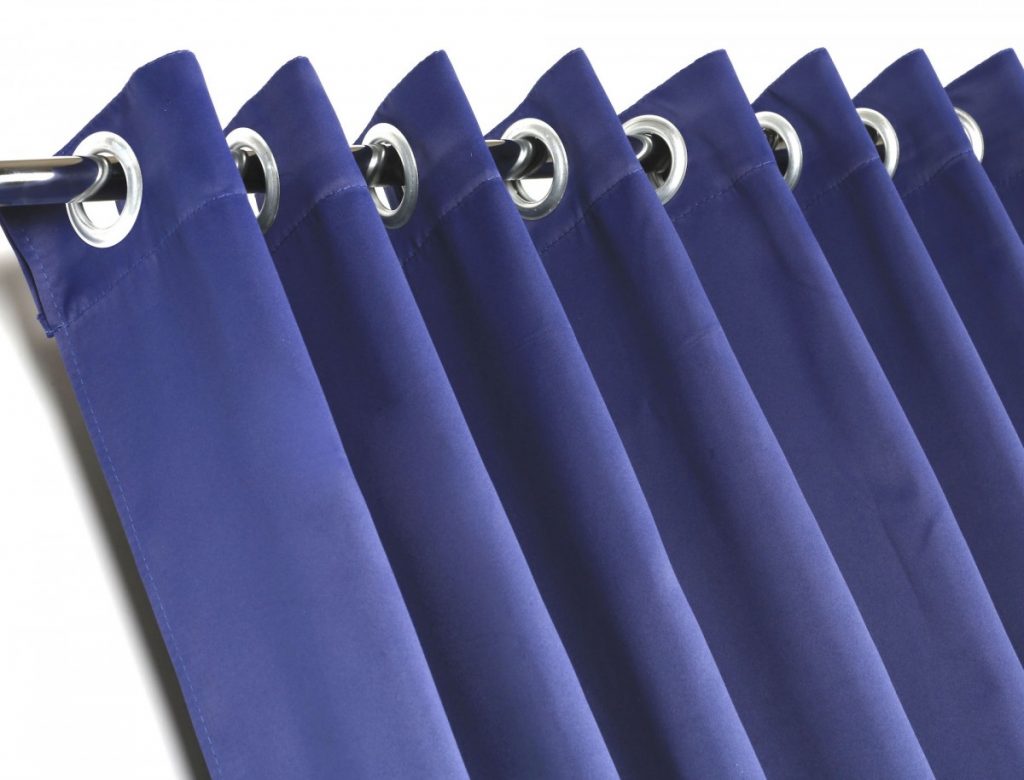
In general, in order to hang curtains or tulle on the curtain rod on the curtain tape, you need to tinker and check several times whether the loops are correctly attached to the hooks, whether everything is evenly located. Therefore, now many are trying to choose curtains on eyelets or on universal hinges, since the latter are the most convenient in everyday life.
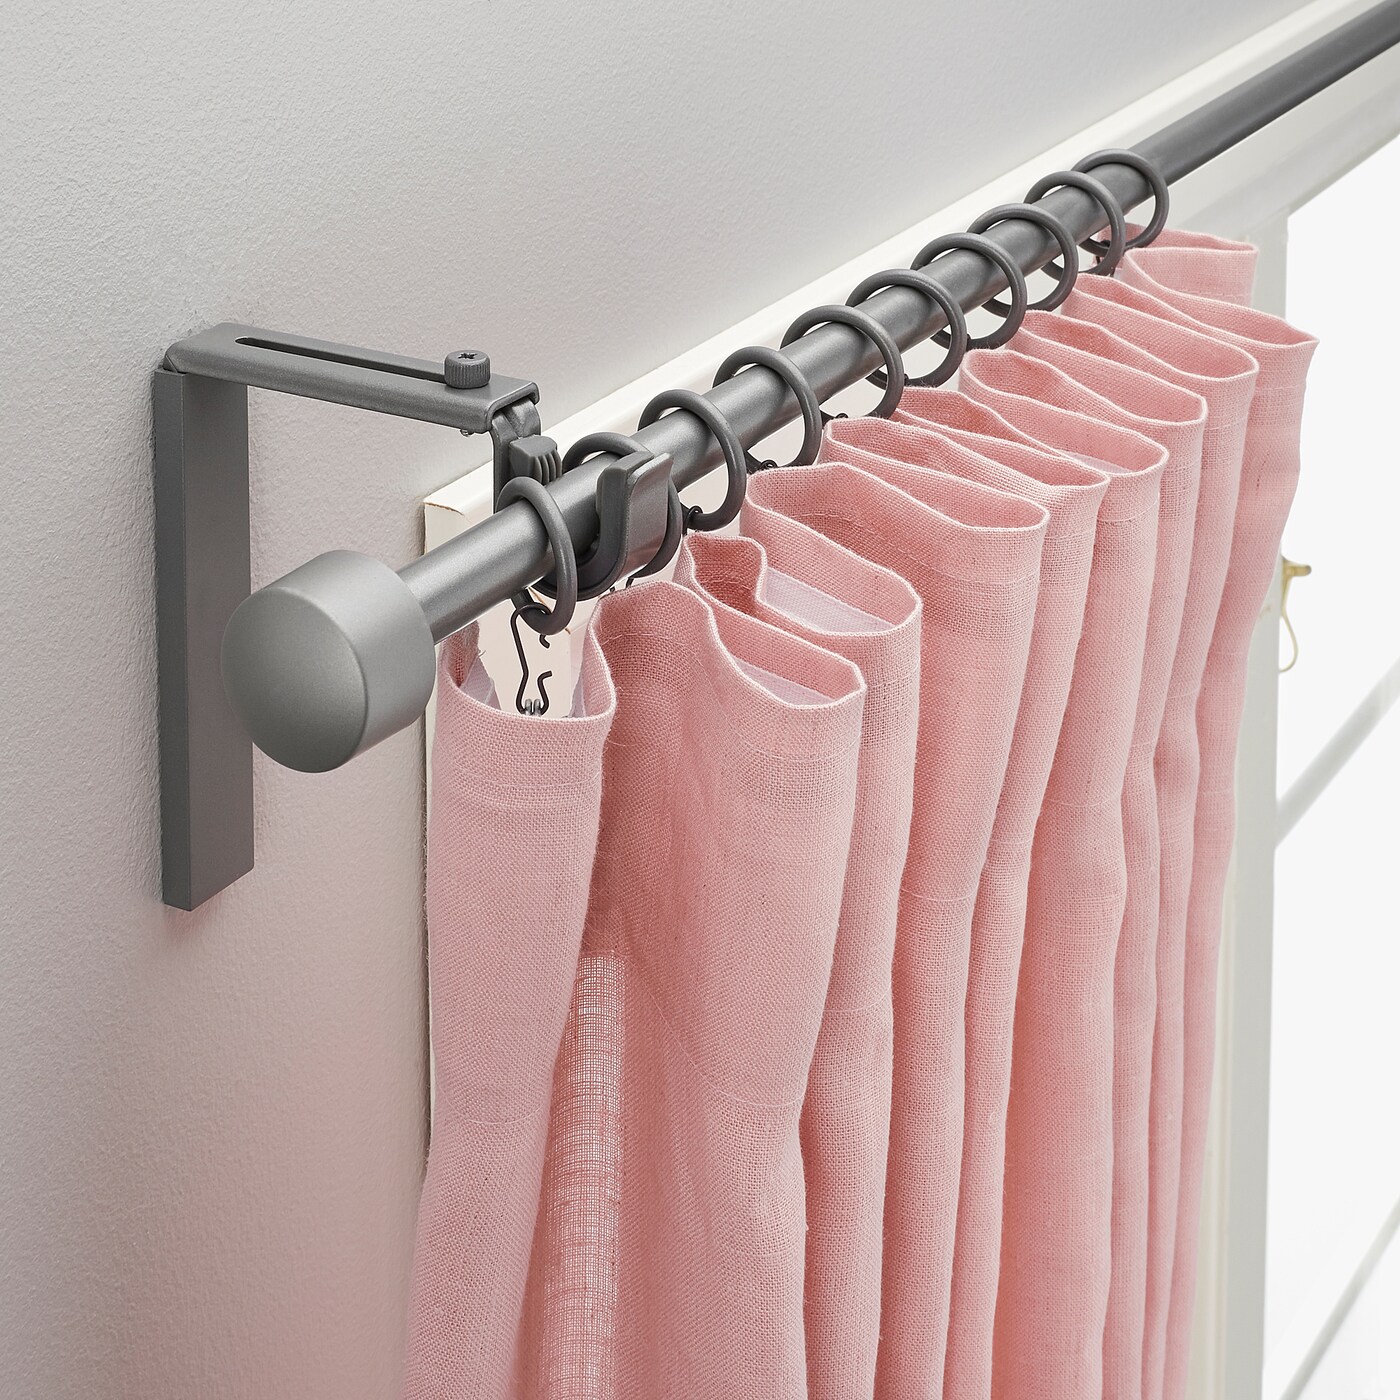
How to make loops on curtains with your own hands
In order not to complicate your life, it is preferable, of course, to choose curtains on universal hinges, but another problem may arise here - the selected fabric may not be available in the store in the format of ready-made curtains.
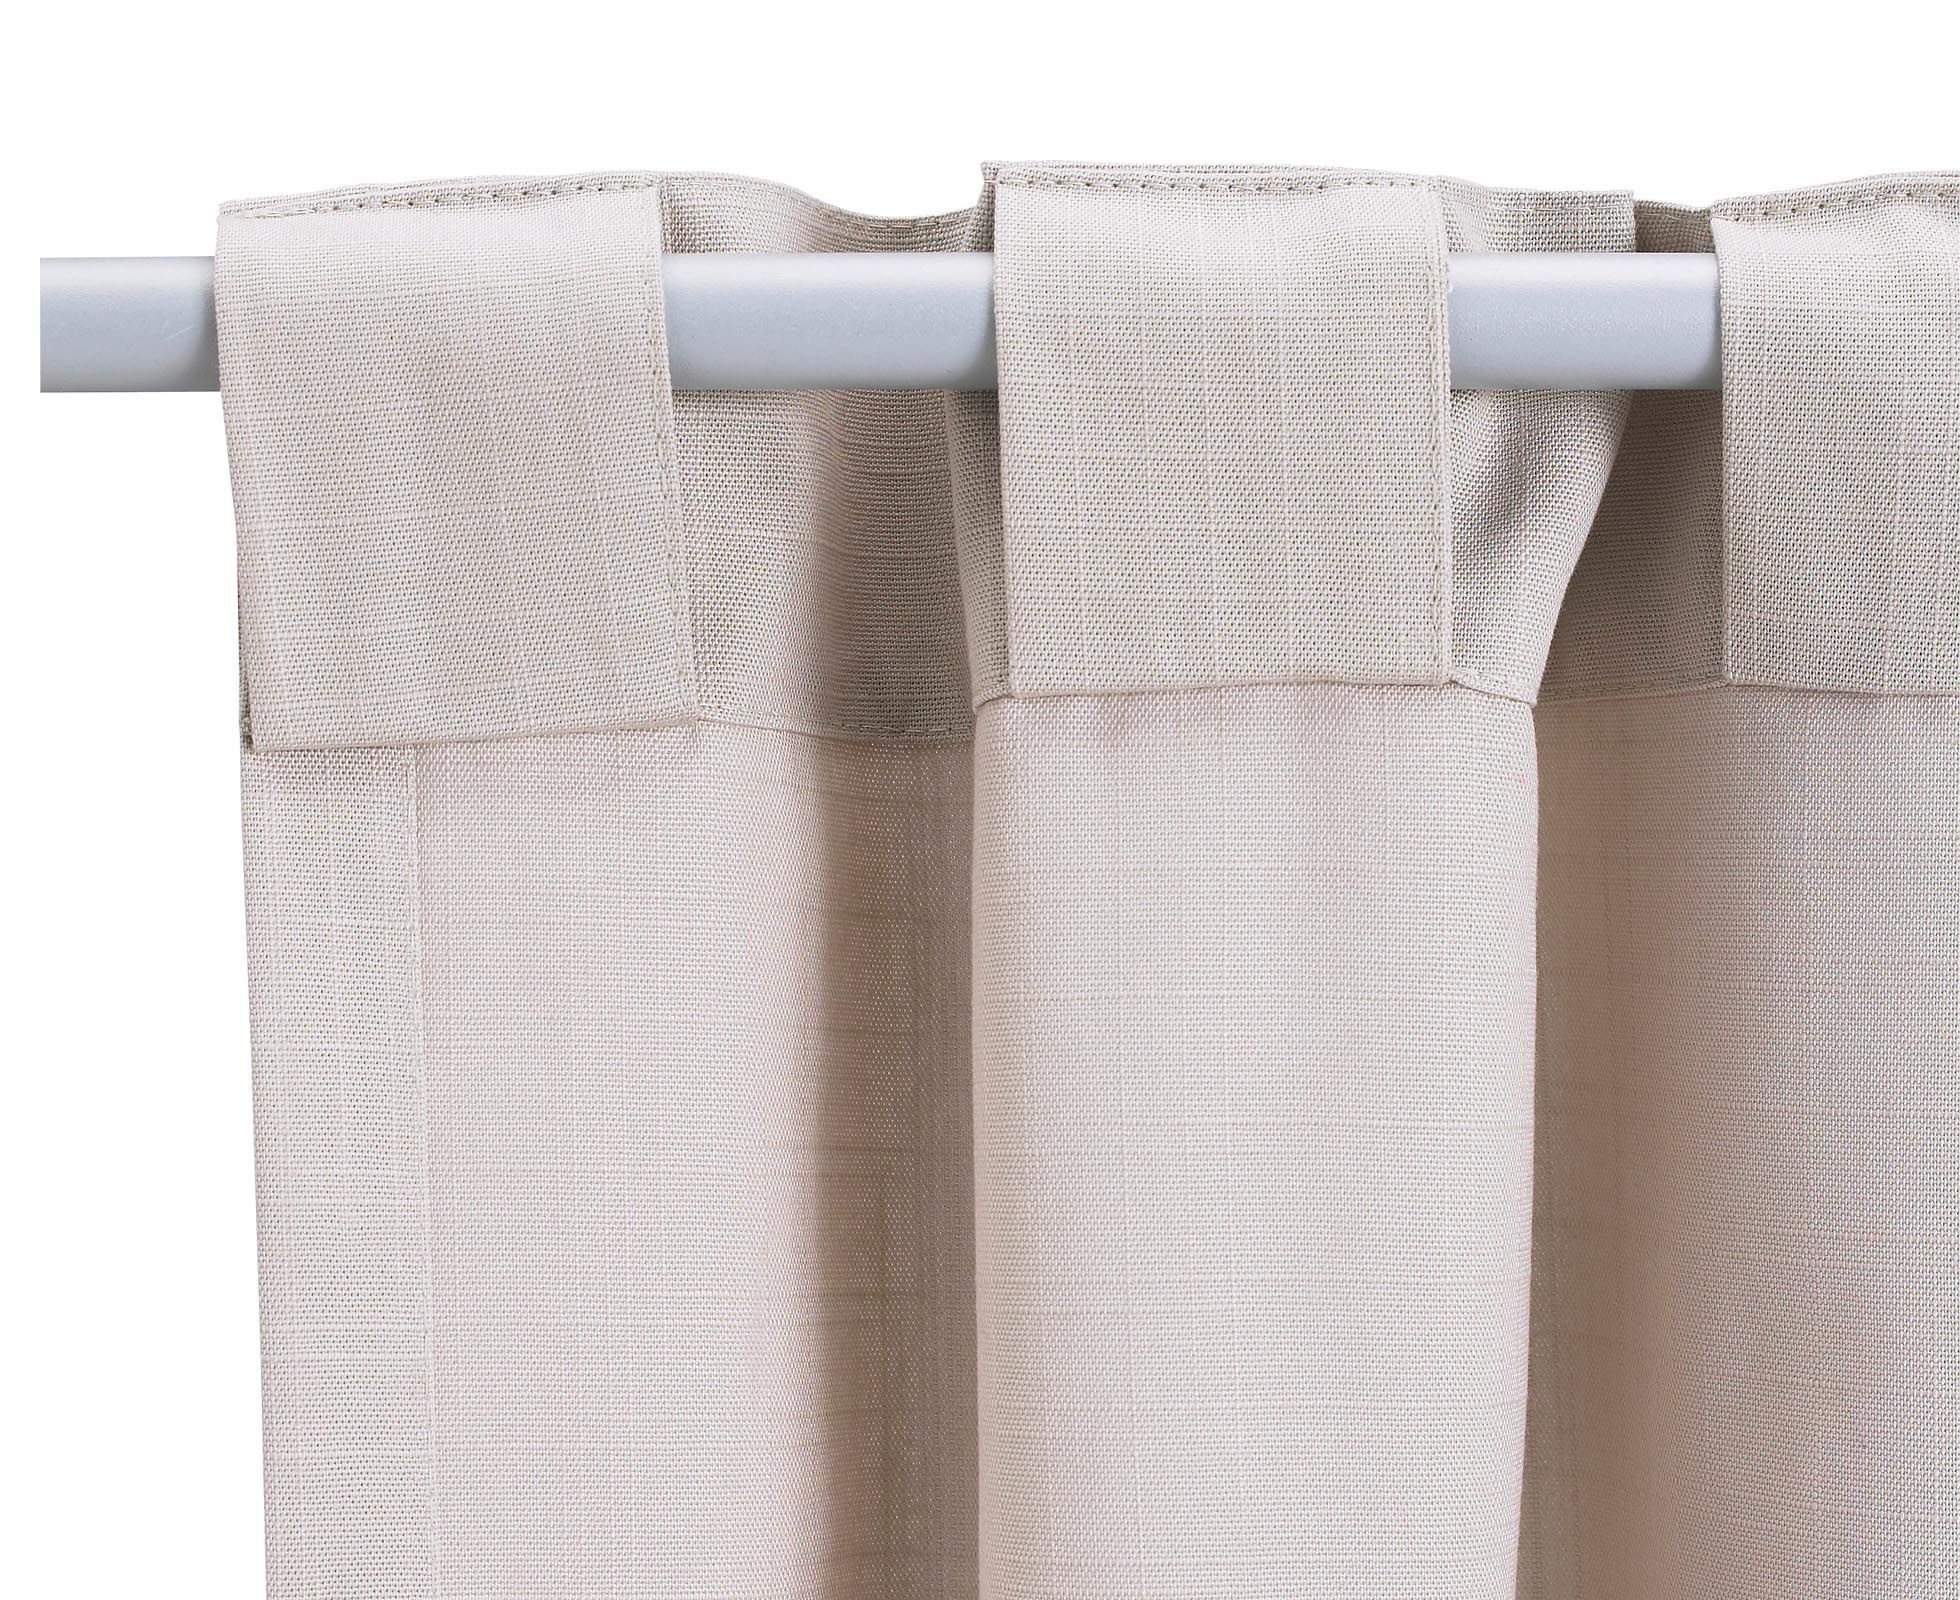
In this case, you can, of course, go and choose another material, but if this is the fabric you liked the most, you can buy it and make the loops yourself in order to hang the finished curtain on the cornice, without resorting to either curtain tape or eyelet fasteners.
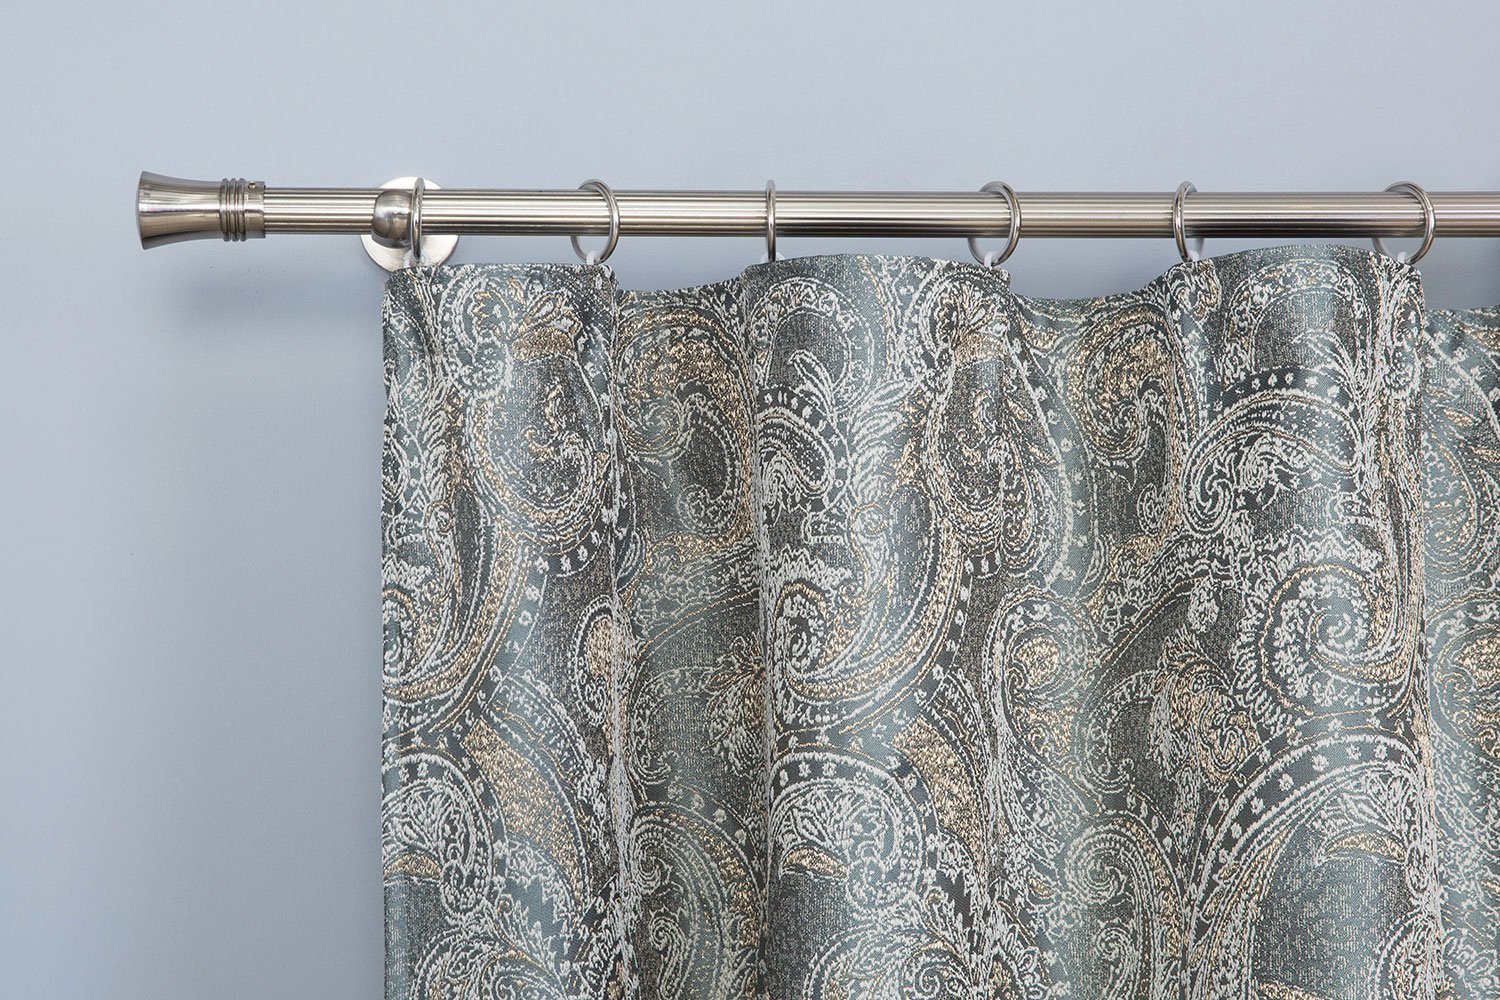
Preparing for the process
Before starting work, you need to choose a loop model, which in the future will be more convenient to use in everyday life. So, loops are divided into the following types:
- Classic. Simple products sewn onto the front or back of the fabric.
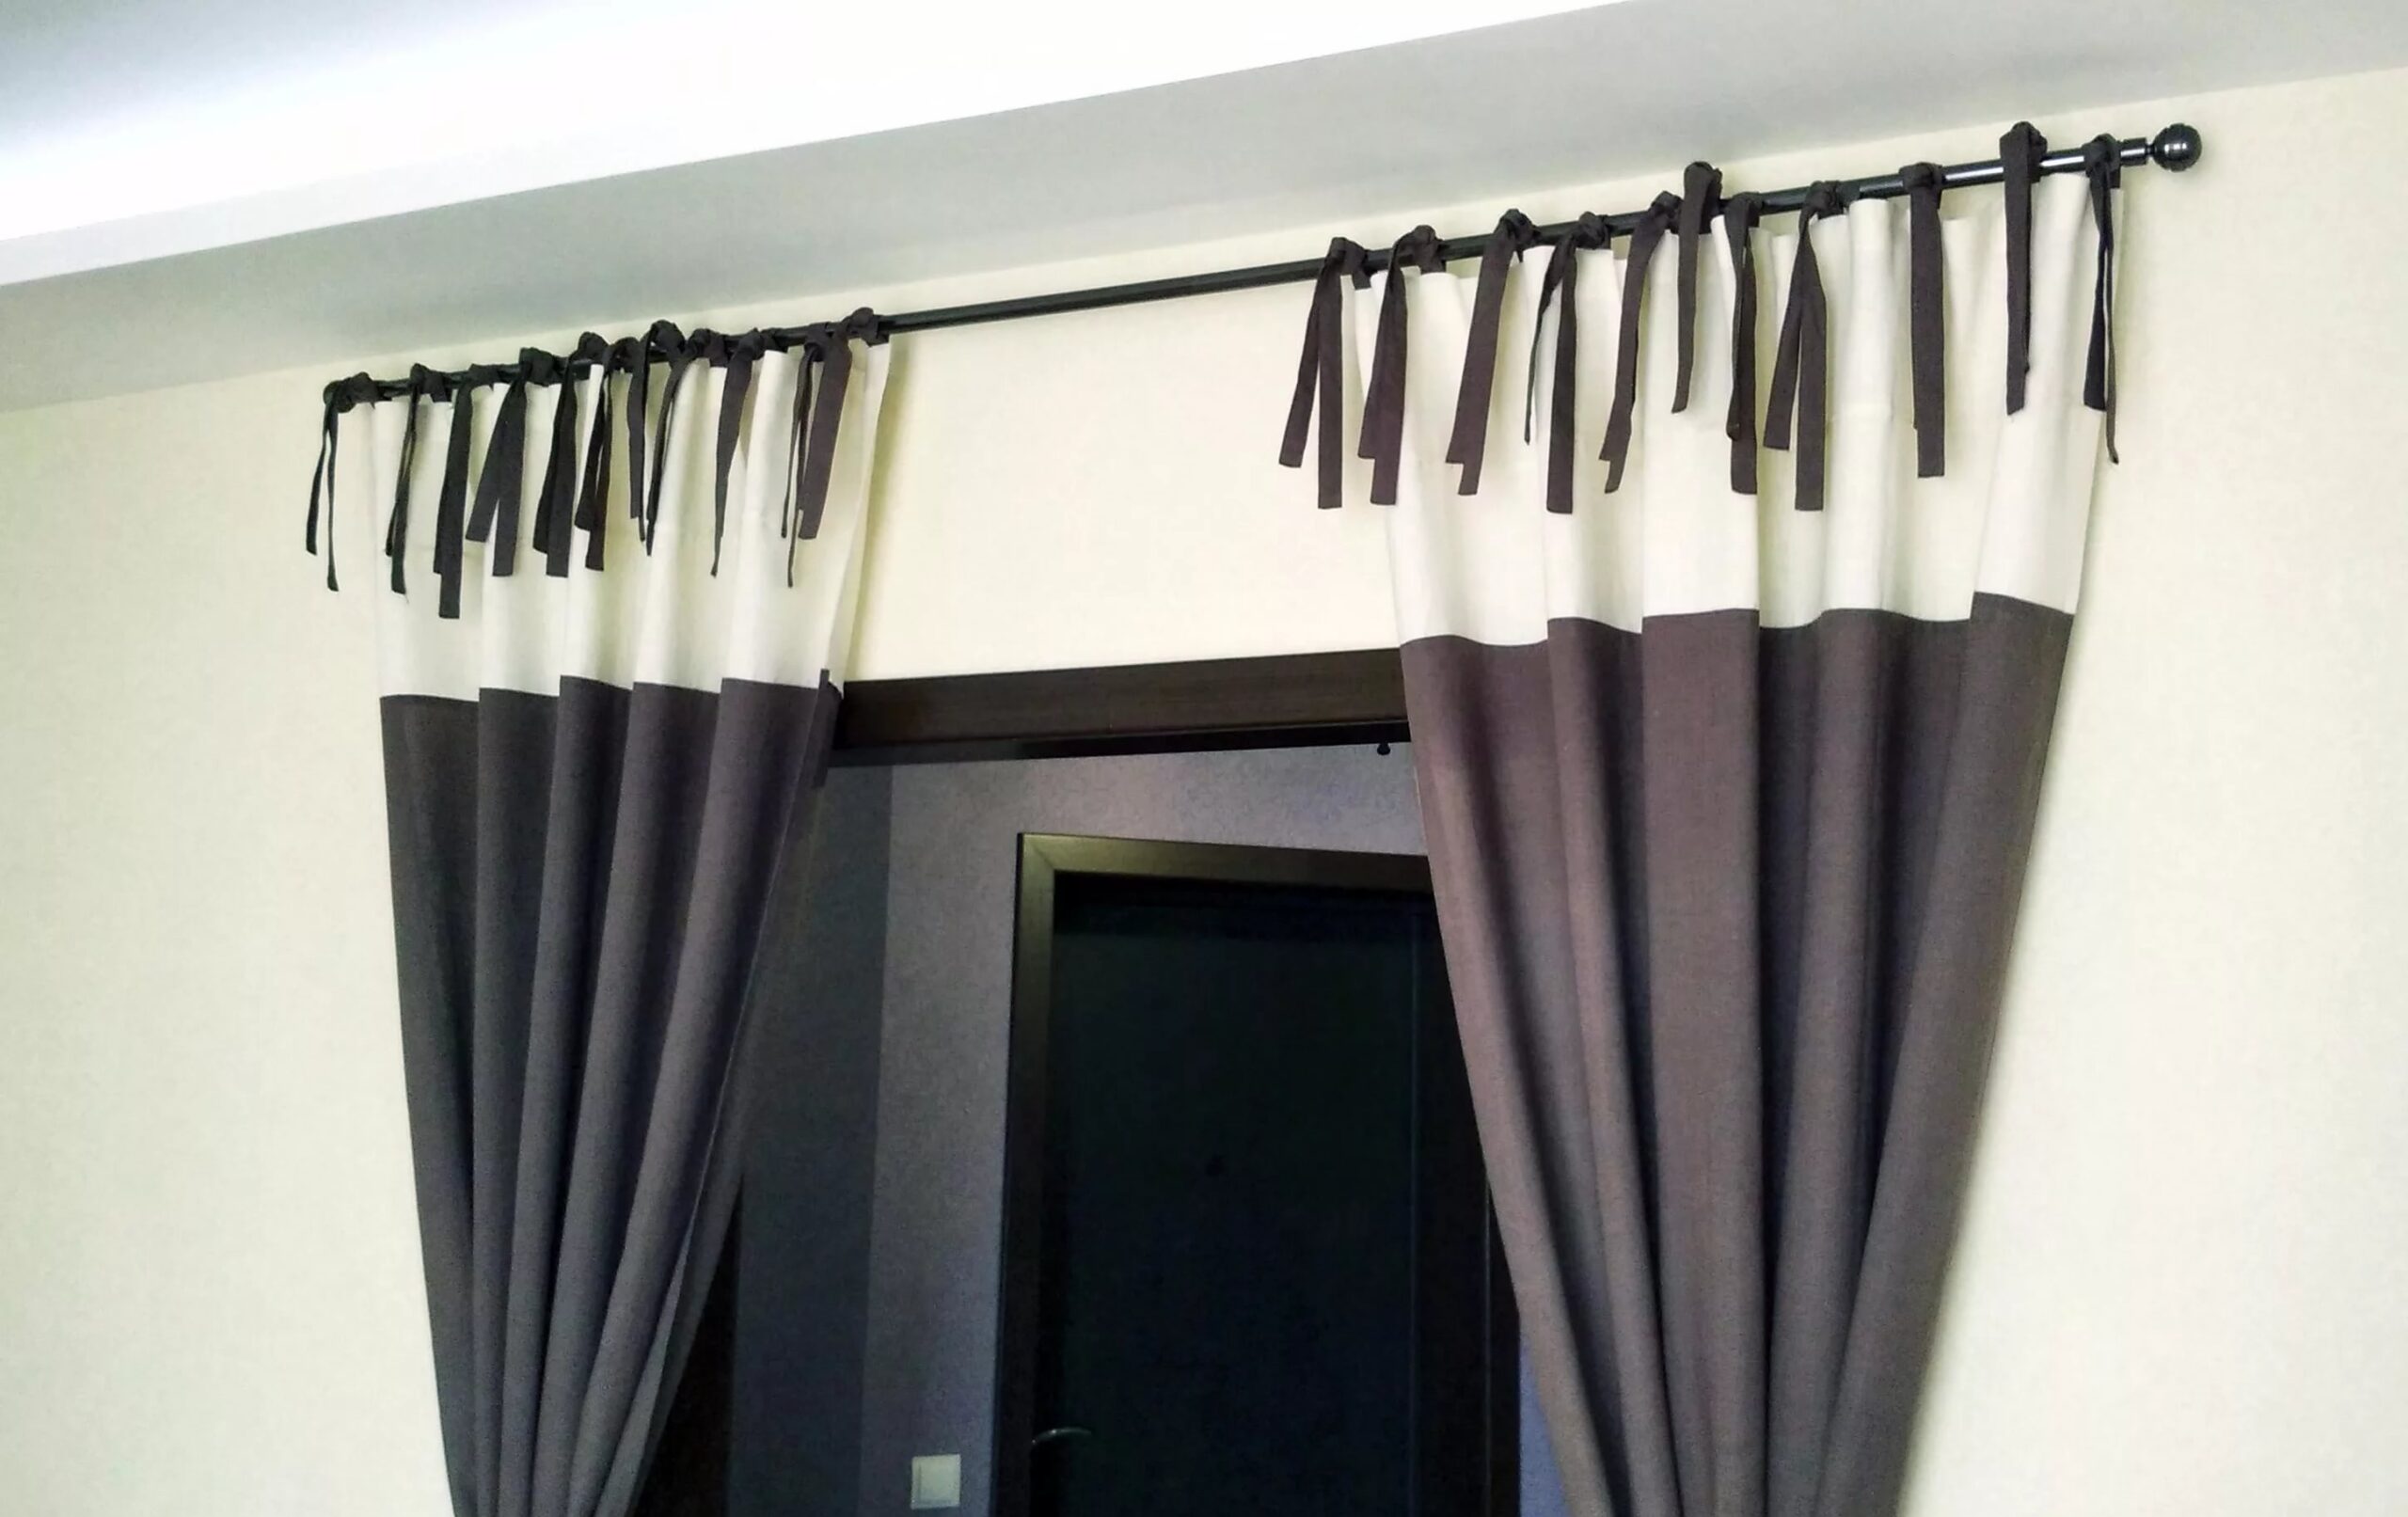
- Tie loops. They are ropes that can be tied with a variety of bows on the cornice bar, creating an additional decoration of the room.
- Buttonholes. One side of the buttonhole is sewn to the fabric, the other is attached to the button.
- Velcro loops. The principle of operation is the same, only with a special Velcro (can be bought at a sewing store)
- Original decorative hinges. It all depends on the flight of imagination: loops can be of any kind, even ties, even zippers.
Selection of tools and material
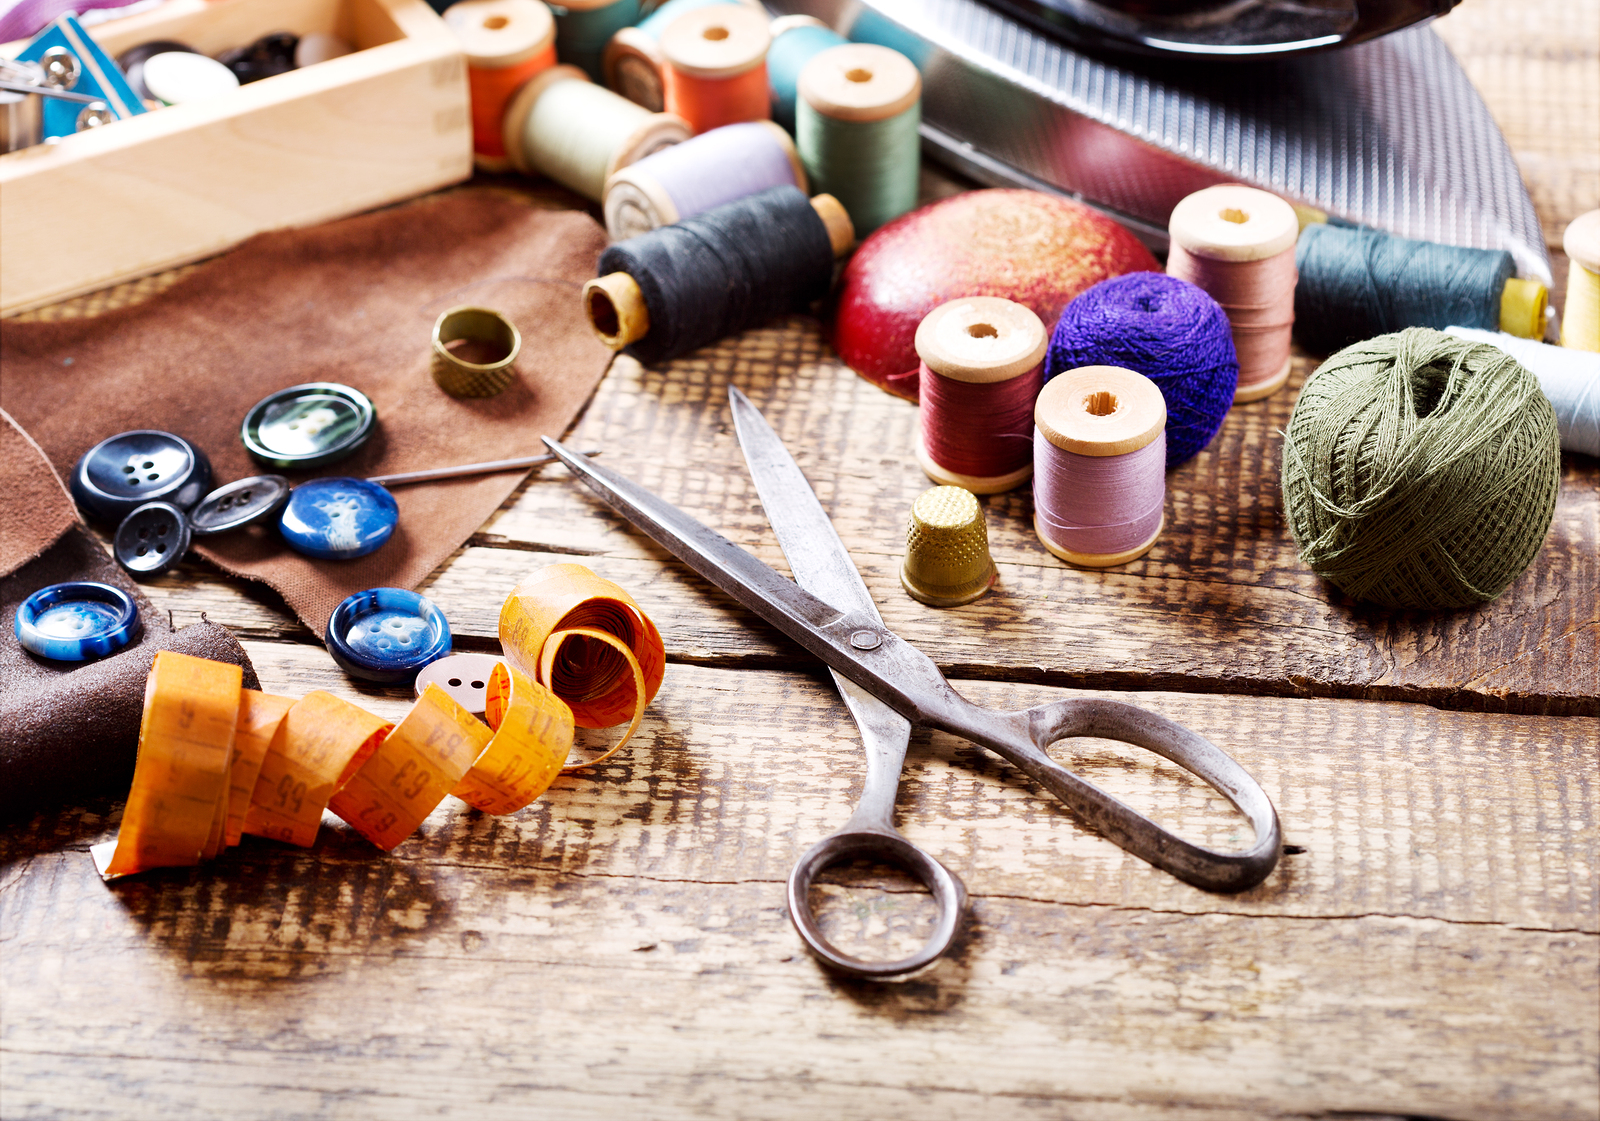
What materials should be prepared before work:
- Threads in the color of the main fabric of the curtains.
- Needles.
- Pins.
- Scissors that cut fabric.
- Ruler.
- The fabric from which the buttonholes will be made.
In addition to preparing the materials themselves, you will need to make some calculations:
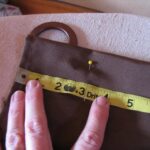
Curtain length: from the eaves down 5 centimeters + distance to the desired level (floor / window sill) + 10 centimeters (for all necessary seams). Accordingly, you will need to cut or hem the fabric from which the curtains will be made.
Creating loops
Creating eyelets for curtains usually does not take much time, if you do everything the first time (it will take more time to rip off the fabric and re-sew than the whole work, so it is better not to make mistakes.Having prepared all the materials and having done, and having checked all the calculations, you can choose which loop to make:
- Air.
- Swept.
- A loop of threads.
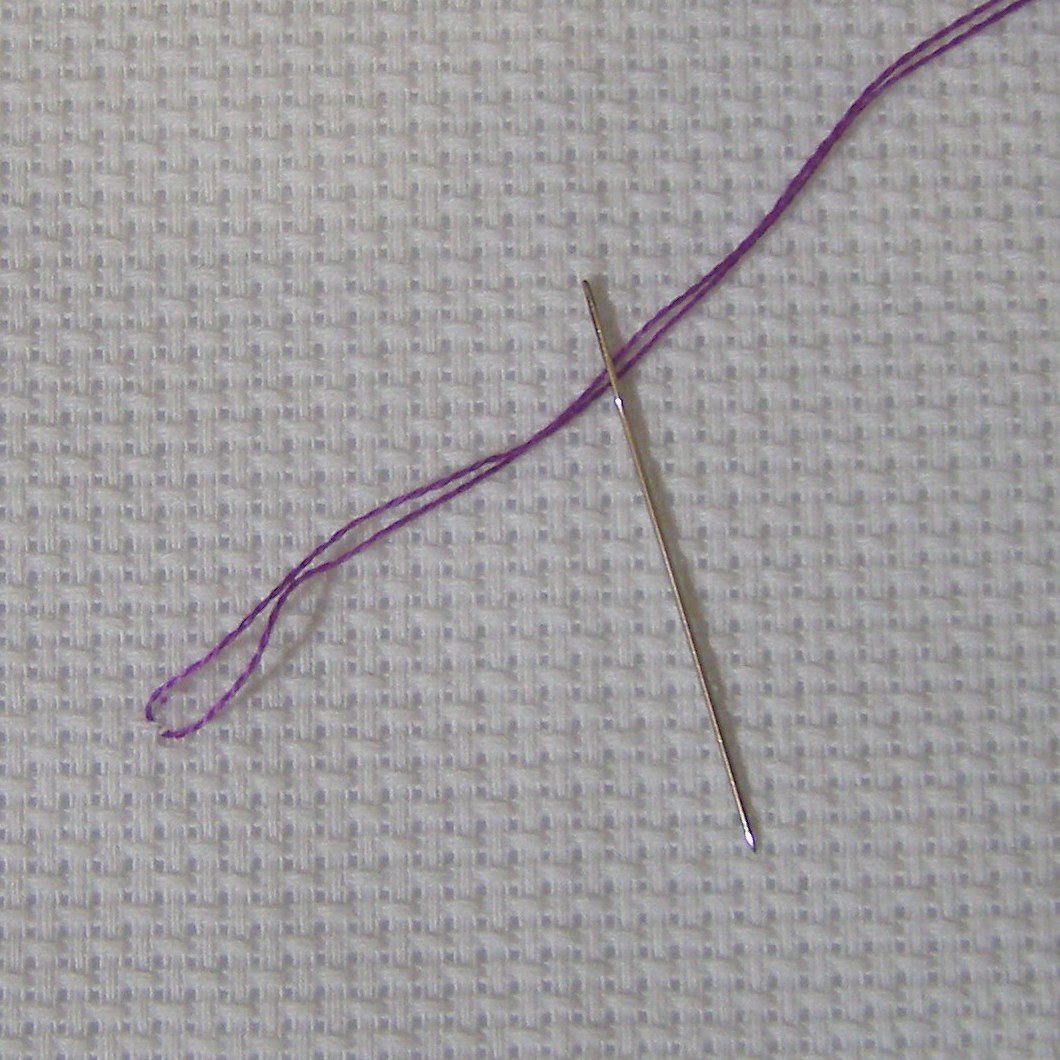
Having decided on the choice, you can get to work, just first you need to arm yourself with a needle and thread of a color suitable for the curtain fabric.
From thread with a needle
Thread loops are the easiest way to attach curtains to a curtain rod. Now there are quite a few materials on the topic "how to make eyelets on curtains from threads by hand / how to make eyelets on curtains from threads with a needle", which more or less explain what exactly needs to be done and how to make eyelets on curtains / tulle at home, but often these tutorials lack some "step by step", without jumping from getting started to the finished product.
Air loop
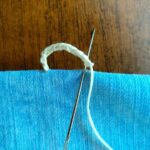
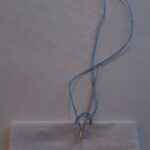
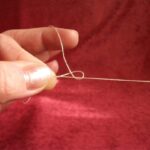
Instructions on how to make an air loop:
- Mark on the fabric (along the entire length of the edge) the places for the loops.
- Determine the length of the future structure.
- The first stitch needs to be done with a ponytail.
- The next stitch is sewn with a buttonhole (no need to tighten).
- Pass the thumb and forefinger of the left hand so that an "eyelet" appears.
- Pull the thread with the needle with your right hand.
- Thread the thread through the eyelet.
- Tighten the knot.
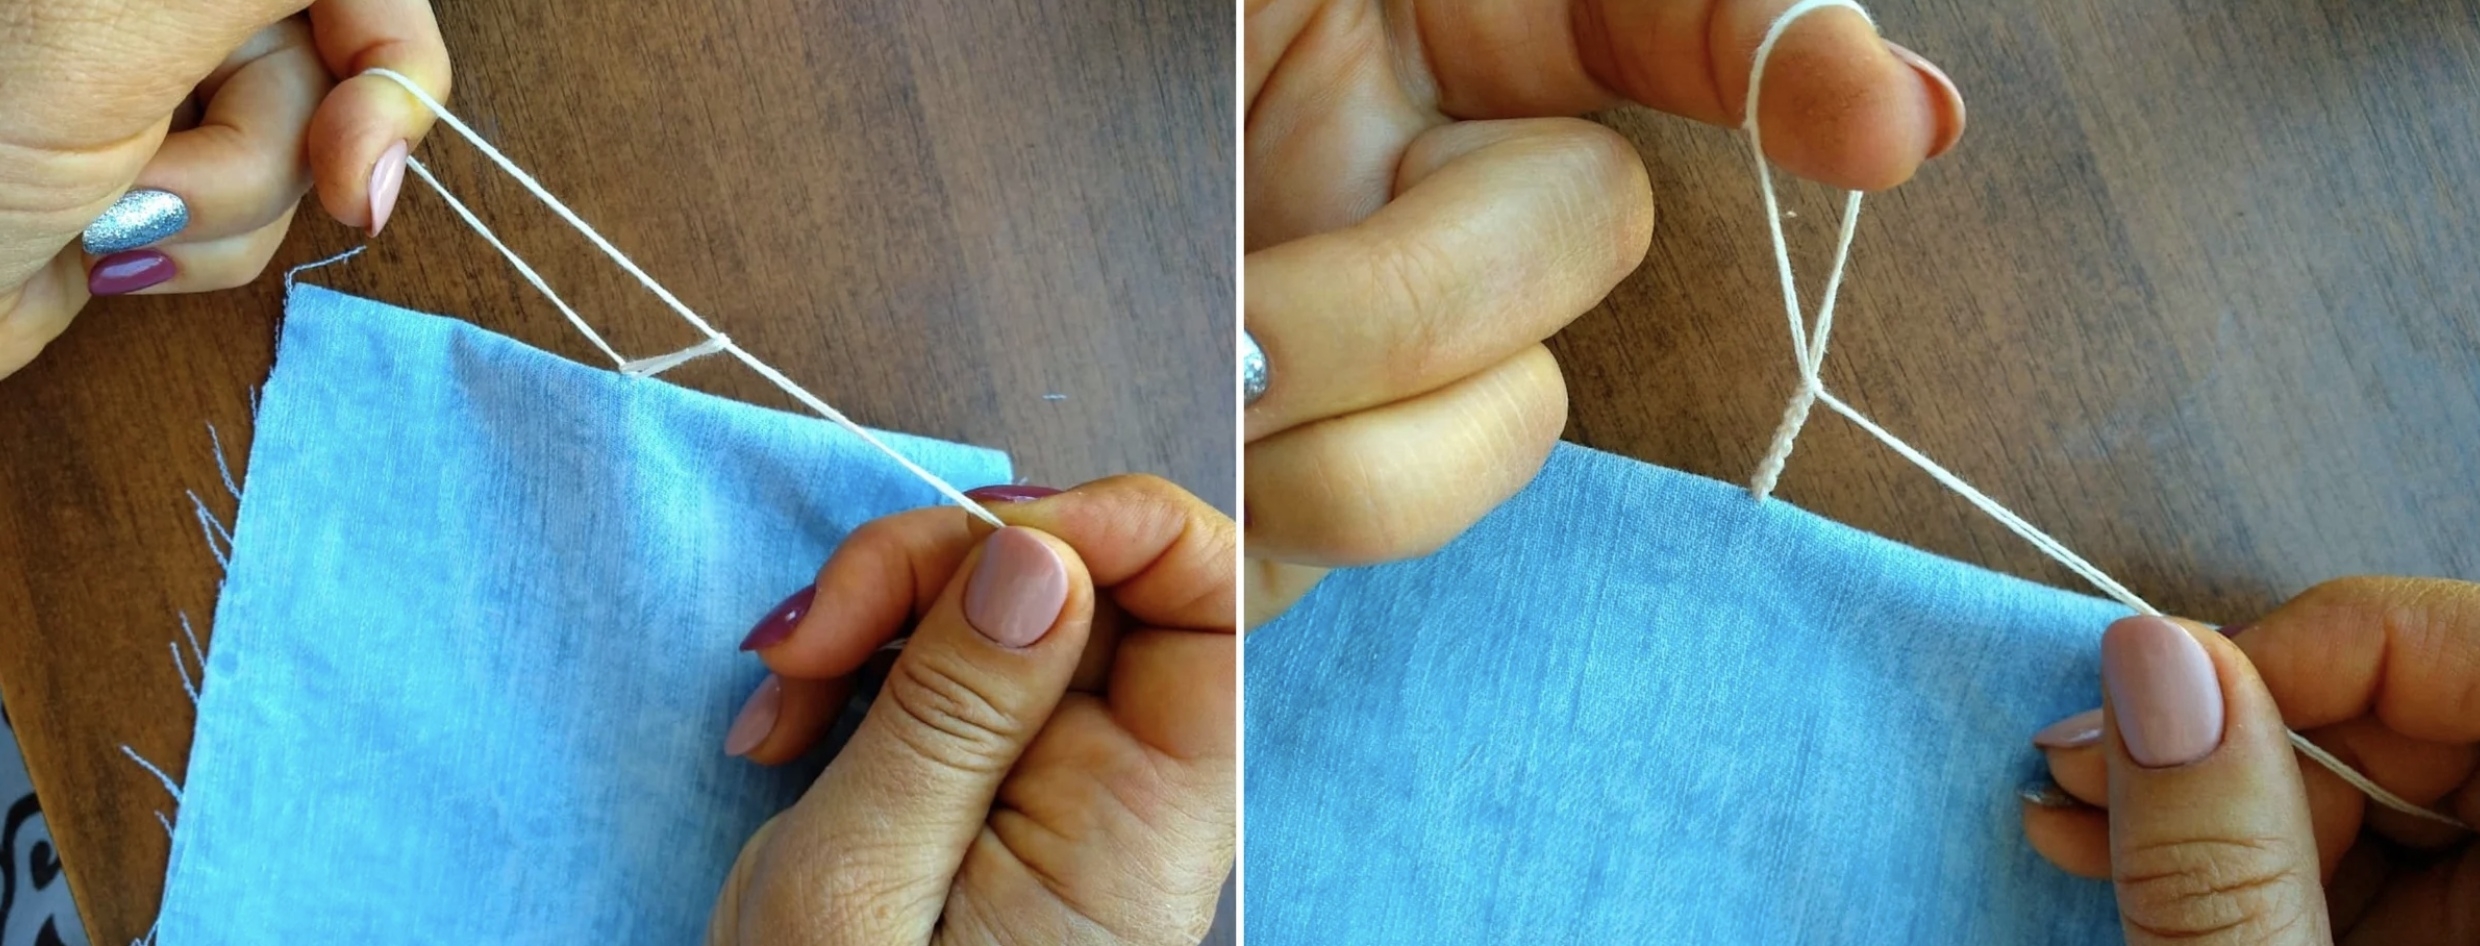
Do the same the required number of times.
Buttonhole
Instructions:
- Start making an air loop.
- Fasten a thread at each end of the curtain.
- Form a loop in several layers.
- Wrap it with special stitches.
How to hang curtains on thread loops
It doesn't take much skill to hang curtains on thread hinges on the cornice. There are two ways to do this:
- Method one. Thread the loops directly onto the rod (pipe) of the cornice, if the fasteners come out large enough and the main part of the cornice structure can crawl through them.
- Method two. Hang the thread loops on the hooks attached with rings to the curtain rod.
Pros and cons of thread loops
Advantages:
- Practicality of fastening - any eyelet can be replaced at any time.
- Reliability - a thread correctly selected for the main fabric almost completely eliminates curtains breakage.
- The beauty of the design. Thread loops look unusual and interesting.
- Can be used with almost any kind of curtain rod.
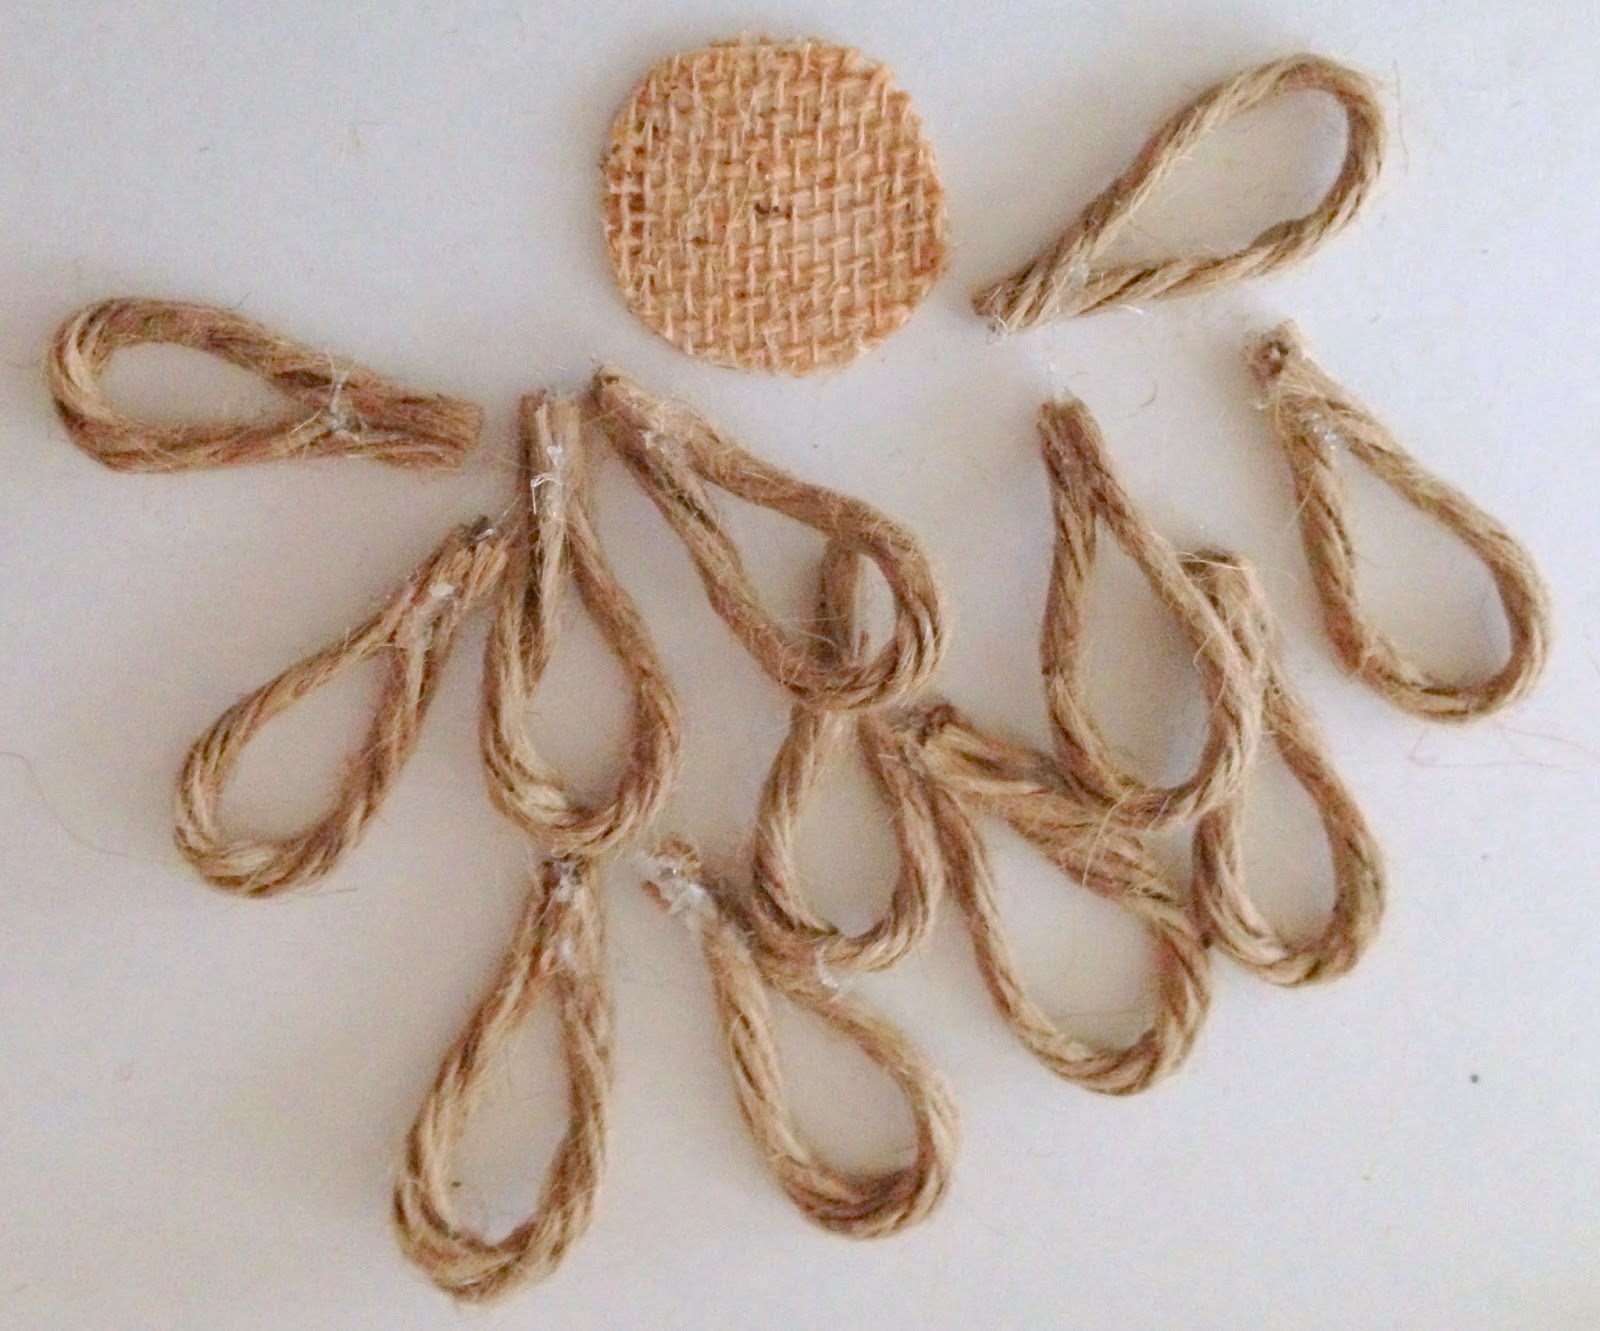
Of the minuses, we can only note that fastenings of this kind may not fit any interior of the room - if, for example, the room is decorated in the style of "minimalism", then it is better to refuse thread loops.
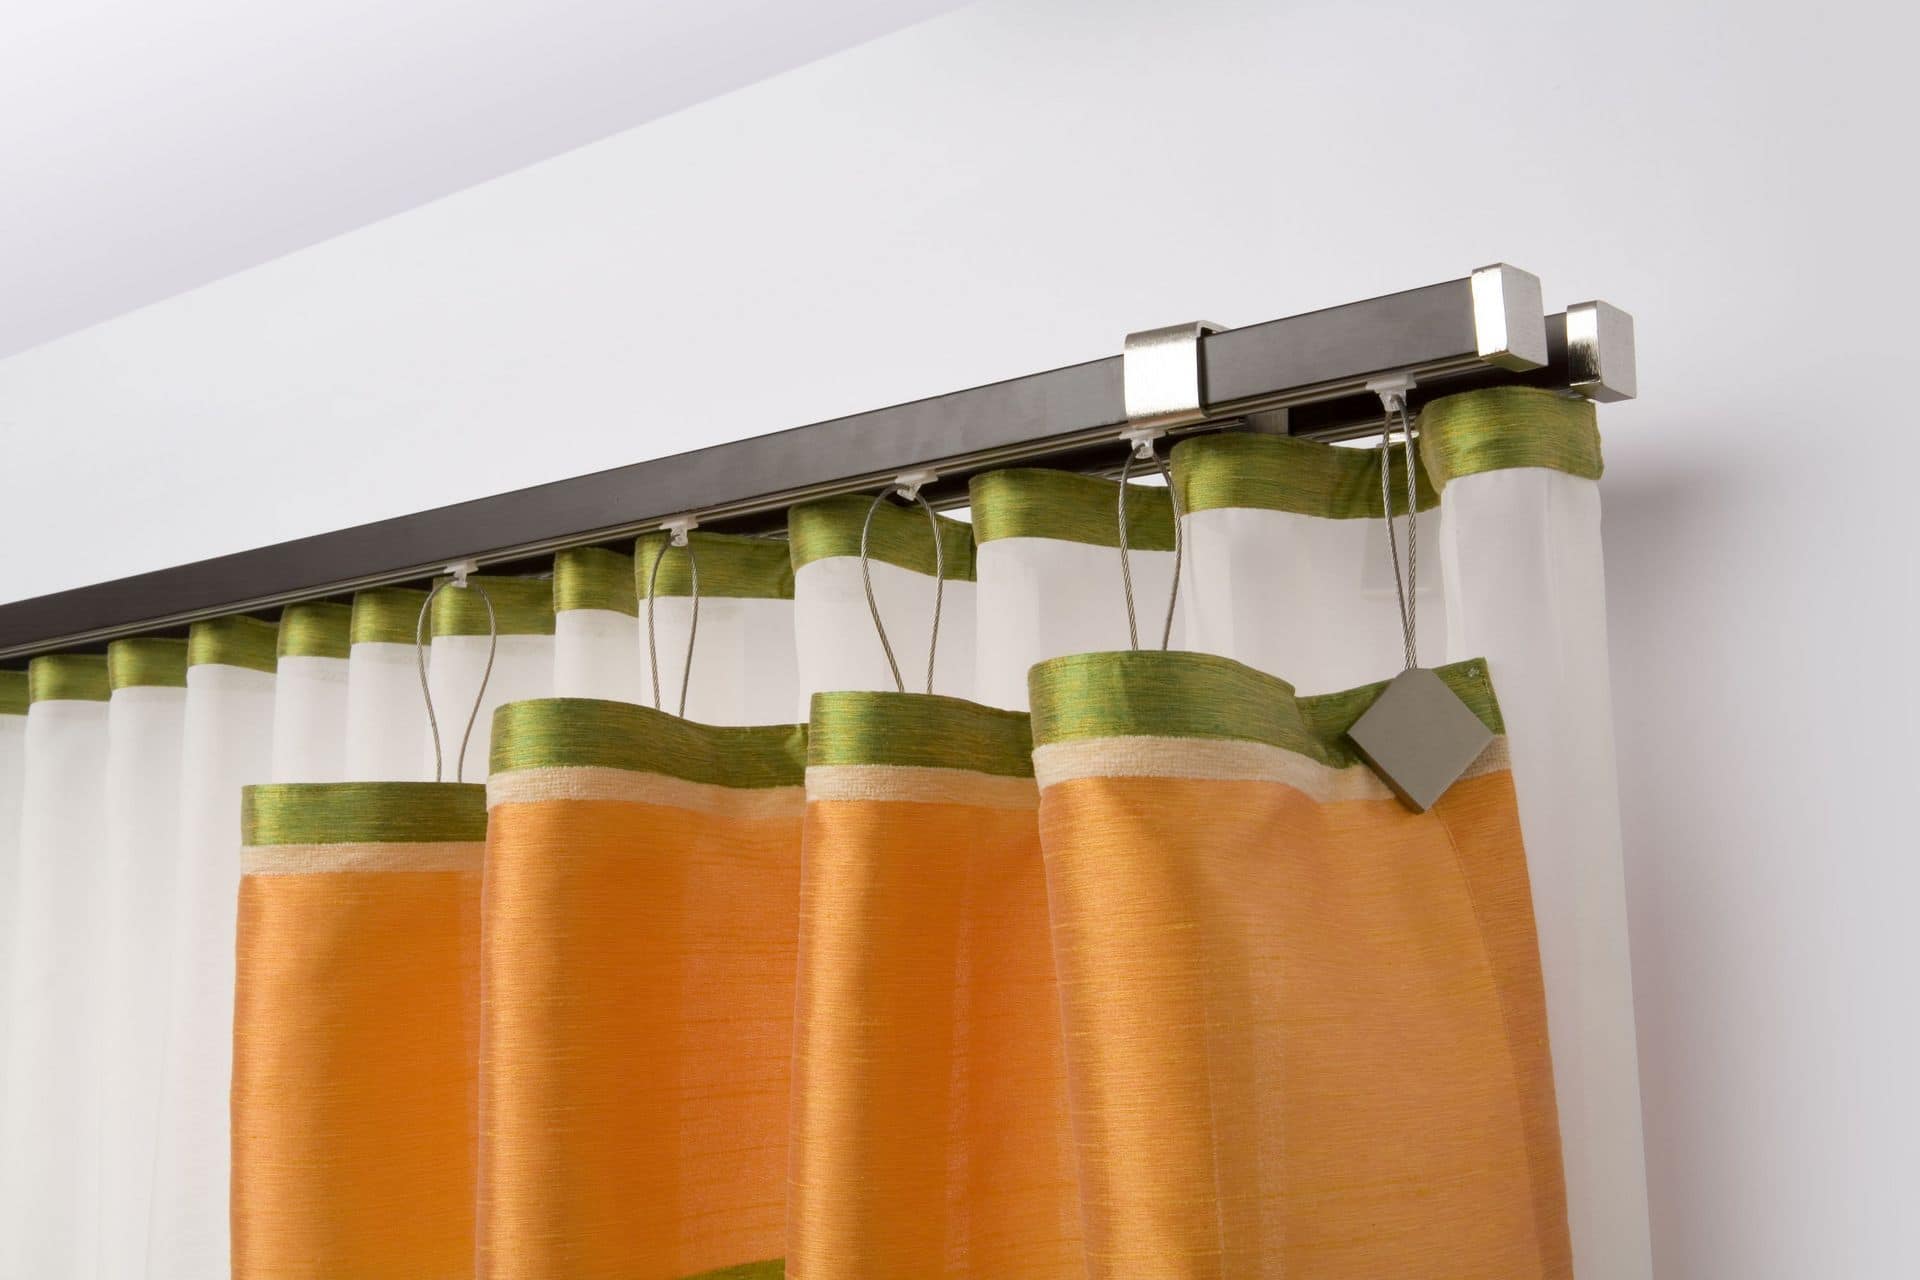
Thus, you can easily and quickly make a real curtain out of ordinary curtain fabric, which, after one evening of hard work on it, will become an excellent decoration for any room.
Video: how to make a loop on curtains
