Installation and assembly of roller blinds
Roller blinds are more and more often used every year in the design of window openings in a wide variety of rooms. They compete successfully with classic curtains, curtains and blinds.

Trying to figure out how to assemble a roller blind, it should be borne in mind that the installation features largely depend on its design. Manufacturing companies traditionally produce the following types of curtains:
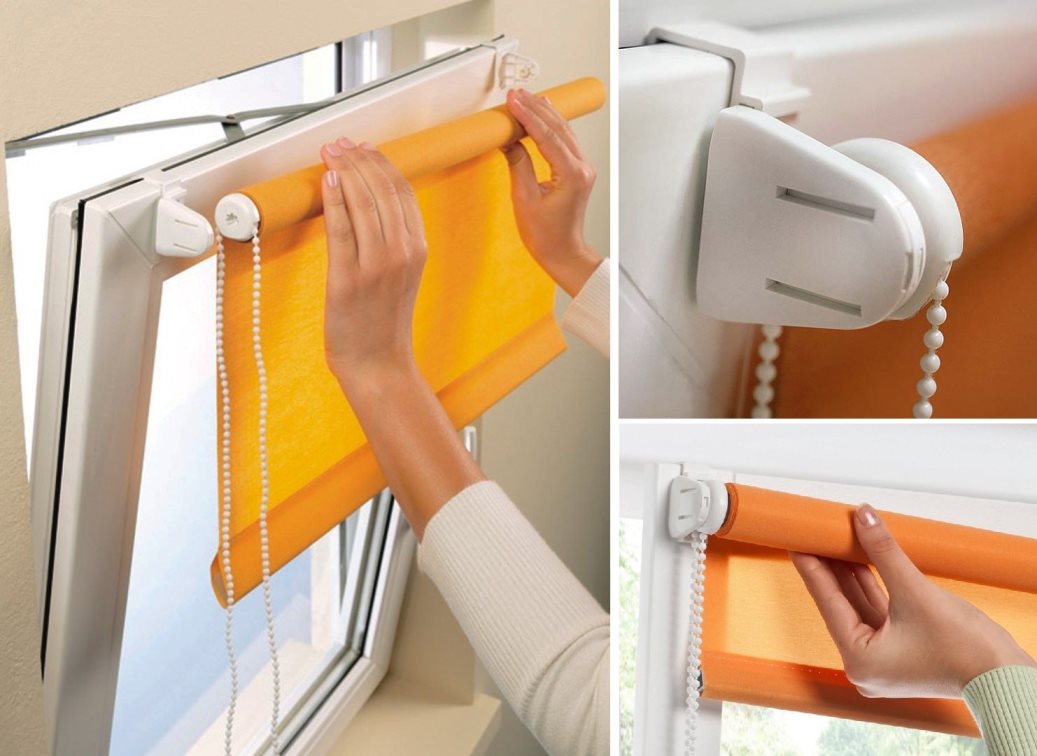
- open - the simplest option, when the canvas is wound on a shaft, which is attached to a window frame or wall;
- closed or cassette - equipped with a special box that protects the shaft and the drive mechanism;
- large rolls - they are large in size, used to curtain panoramic windows of apartments, office or industrial premises.
- mini - fixed on the window sash.

Note! Light curtains covering only one narrow sash can be attached to its upper part using double-sided tape, and heavy structures for wide windows of industrial premises are fixed with dowels and self-tapping screws.
- Step-by-step instructions for assembling roller blinds
- Installation of roller blinds on plastic windows
- How to disassemble roller blinds
- How to remove roller blinds from a plastic window for washing
- What are the mistakes when installing and assembling roller blinds?
- Video: installing a roller blind on a plastic window
- 50 design options for roller blinds in the interior
Step-by-step instructions for assembling roller blinds
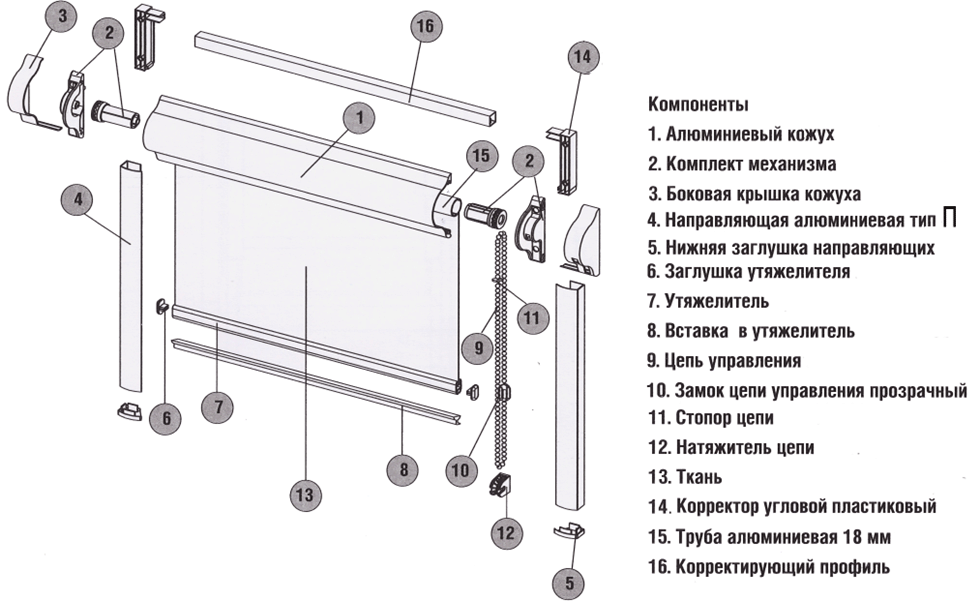
You can assemble curtains directly on a windowsill or table without any special tools or equipment, but this process requires care and accuracy. The sequence of operations for the most common open roller blinds is as follows:
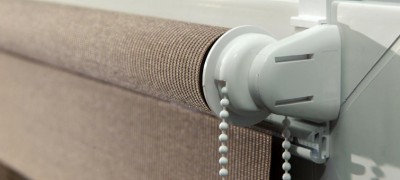
- combine the right mounting bracket and the shaft control mechanism into one unit, connecting the plastic parts until they click;
- do a similar operation with the left bracket, paying attention to the convenience of the location of the chain mechanism (it can be located both to the right and to the left of the plane of the canvas);
- connect the left and right nodes with the shaft (should fit into the shaft splines without effort);
- insert the line guide rings into the ends of the weight that secures the lower edge of the web.
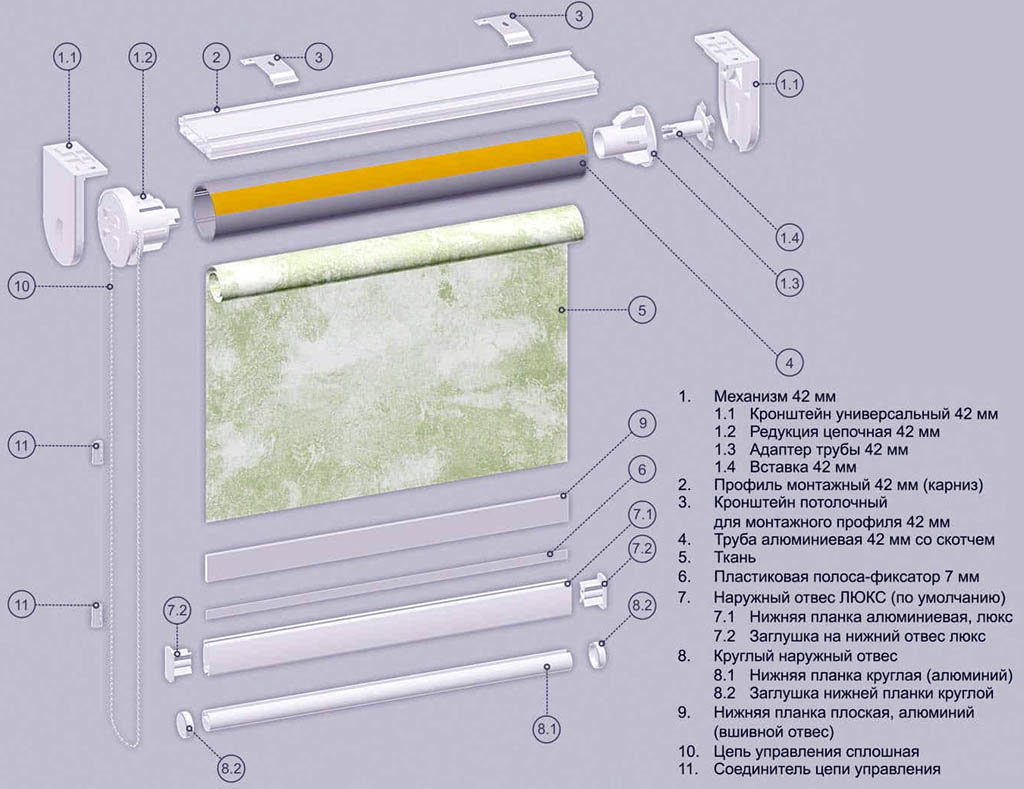
Even a beginner can perform these simple operations and assemble the curtain. It remains to install it on the window.
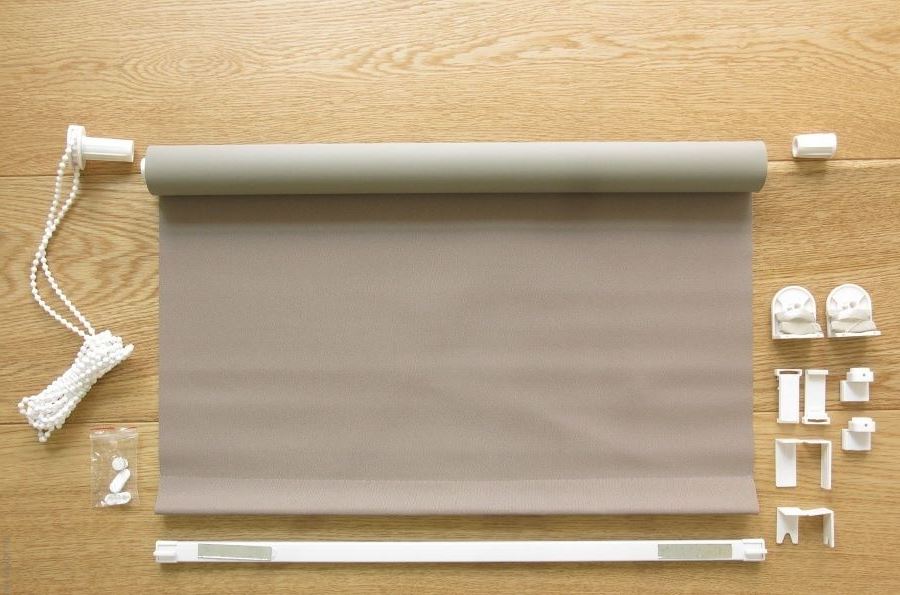
Note! You can find out all the nuances of assembling a roller blind of a specific model using the attached step-by-step instructions or by reading the recommendations on the manufacturer's website.
Installation of roller blinds on plastic windows
Installation of roller blinds on plastic windows is carried out using double-sided tape or self-tapping screws. In the first case, the working surfaces should be thoroughly degreased.
In any instructions for installing roller blinds on plastic windows, the first and most important operation is the marking of the installation points on the window frame. It is recommended to place the assembled curtain in the upper part of the frame and mark the location of the brackets with a pencil.
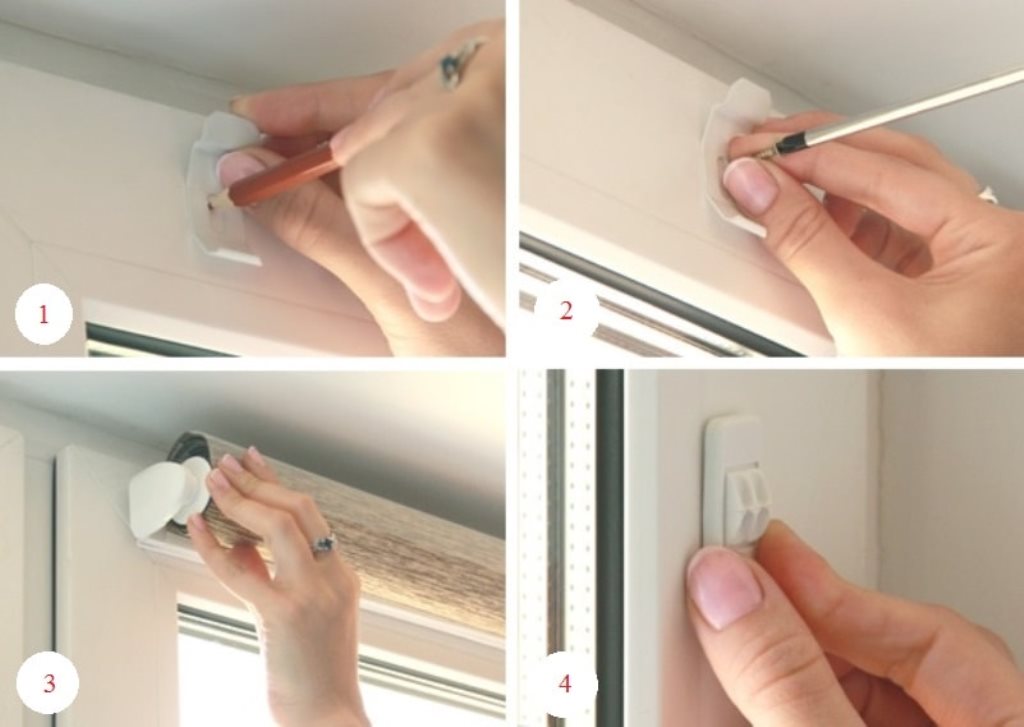
It remains only to fix the roller blind in the chosen place. For this:
- brackets are attached to the frame (without driving mechanisms);
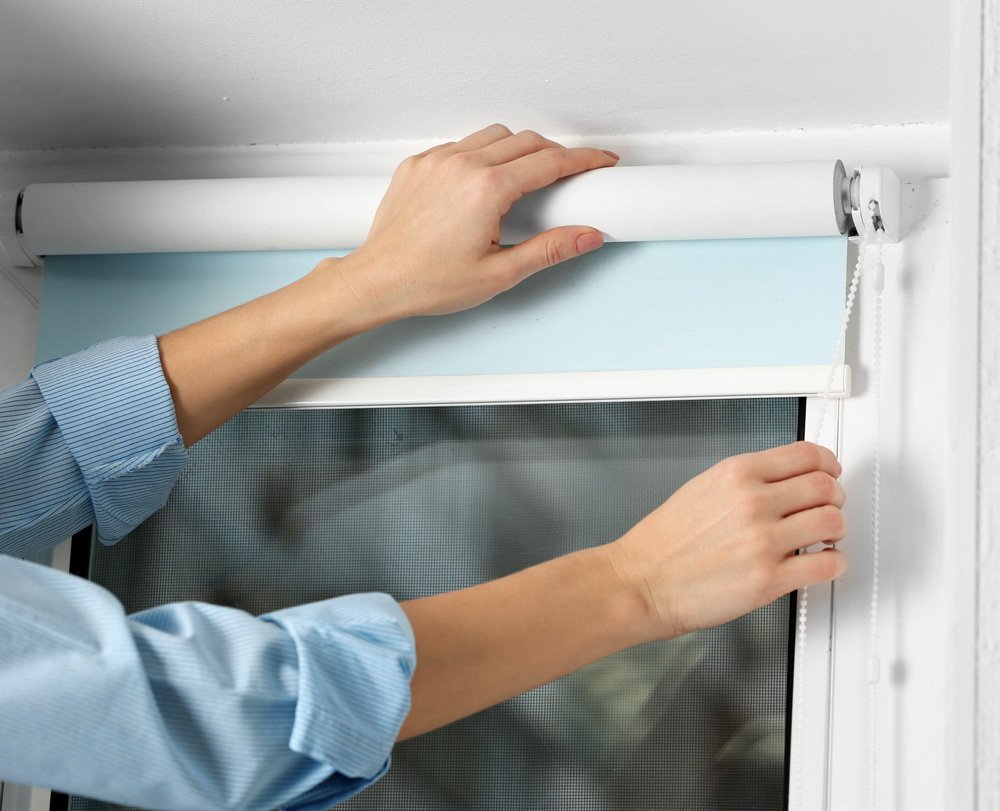
- drive mechanisms are inserted into the brackets (until they click), complete with a shaft and a wound panel;
- line tensioners are installed at the bottom of the frame;
- the upper ends of the line are fixed in brackets, passed through rings on the weighting agent and inserted into the tensioners, forming guides for moving the blade.
How to disassemble roller blinds
For complete disassembly of the curtains, it is necessary to loosen and pull out the guide line from the tensioners and disconnect the brackets from the frame by tearing them off from the double-sided tape or unscrewing the self-tapping screws. After dismantling, you can change individual curtain units or install a new structure.
Note! Double-sided tape is used only once; to re-fix the brackets, you will have to completely remove the old tape and carefully degrease the surfaces to be joined. Repeated unscrewing of the self-tapping screws negatively affects the strength of the fastening.
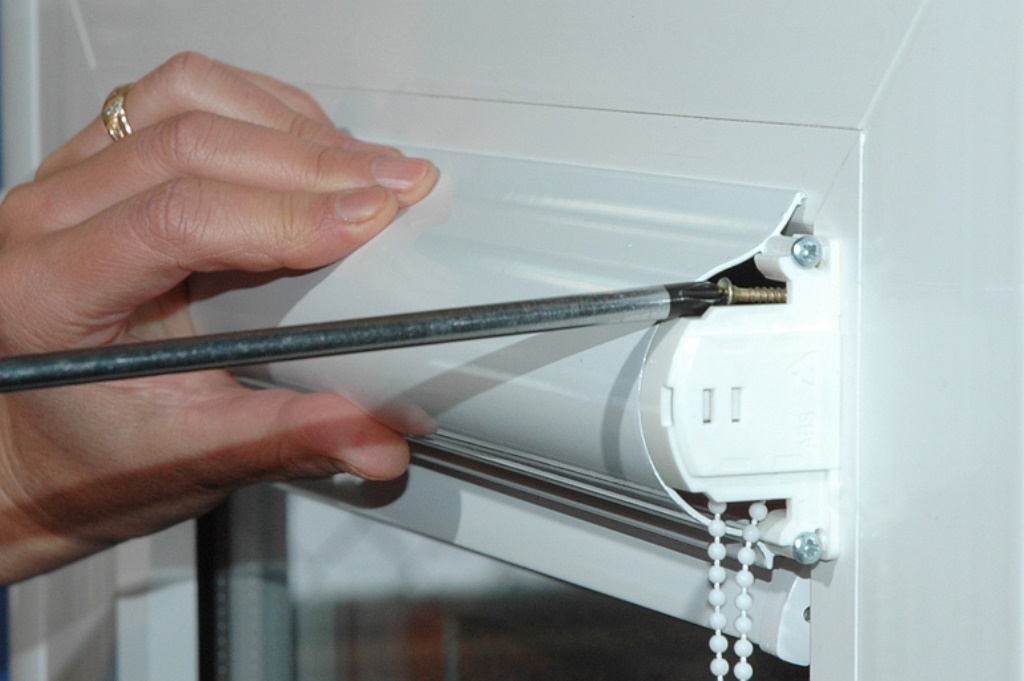
How to remove roller blinds from a plastic window for washing
In order to remove the cloth for washing, it is absolutely not necessary to completely dismantle and disassemble the curtain. It is enough to disconnect the guide line and pull out the drive mechanism together with the shaft and the curtain. To do this, you need to slightly press with a screwdriver on the catch, which ensures that the two parts snap into place.
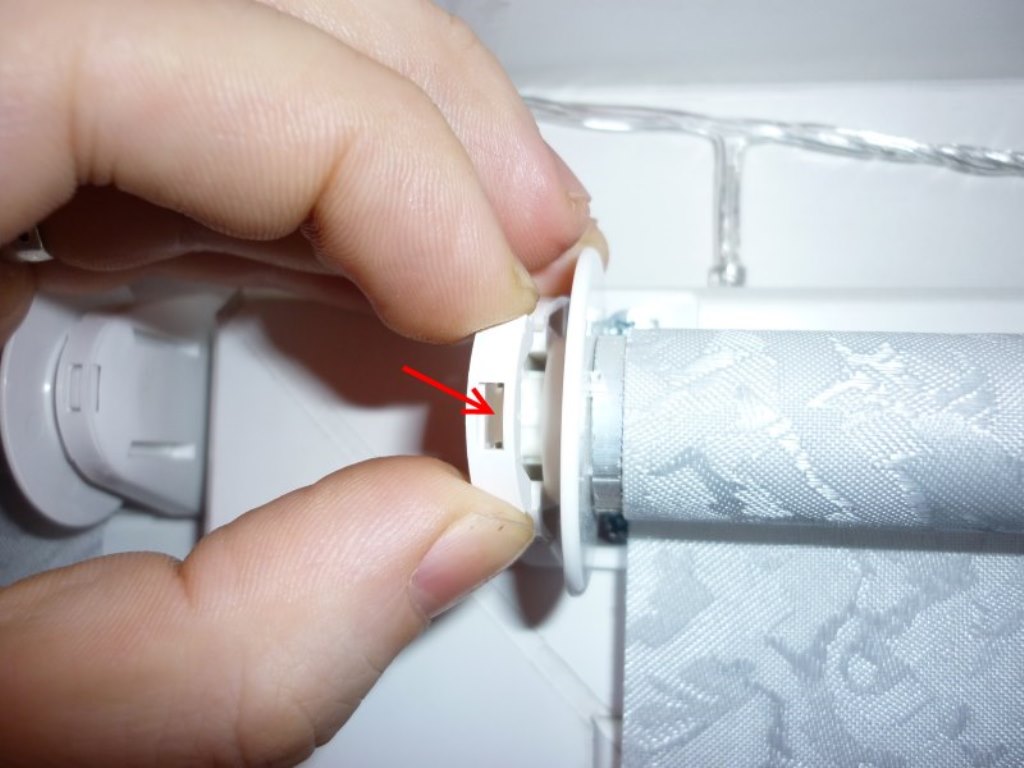
Note! After washing, the curtain should be lightly ironed, but under no circumstances wrung out.
What are the mistakes when installing and assembling roller blinds?
One of the most common mistakes when installing roller blinds is that the type of fasteners does not match the actual load and temperature conditions. Therefore, it is recommended to use double adhesive tape only for fastening light structures in rooms with relatively stable temperature and humidity.
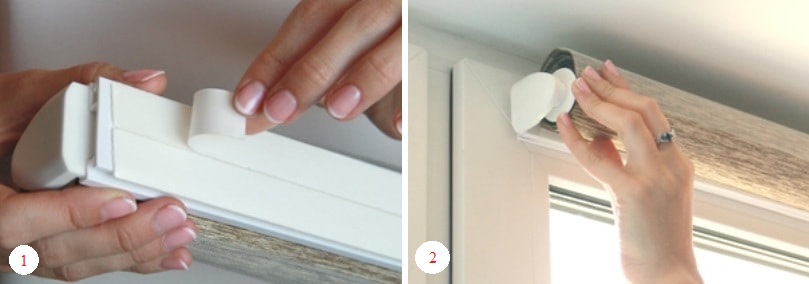
In the vast majority of curtains, all components are made of plastic, not metal. Therefore, you should not make significant efforts when assembling the curtain. If the parts do not fit together, then it is better to once again make sure that the installation is correct, and not try to connect them by force.

Errors in marking the places of installation of the mounting brackets lead to the fact that the curtain does not completely overlap the sash or window, which completely negates all its advantages.

Video: installing a roller blind on a plastic window


