What to do if the toilet leaks after flushing
Problems with the bathroom are always unpleasant, whether we are talking about a broken cistern, a leak in the toilet itself or a crack in the sewer pipes. In most cases, malfunctioning plumbing fixtures will cause water to accumulate on the floor. At best, you have to constantly collect it with a rag. At worst, neighbors come from the lower floor and present a bill for stains on the ceiling and collapsed tiles.
Or they offer to renovate a recently renovated bathroom. There is something to be discouraged, especially if the master can only come by the middle of next week. Fortunately, the question of how to fix a broken toilet to prevent water from flowing can be answered without the help of a plumber.
Signs of water leakage in the toilet
Plumbing does not always lead to puddles on the floor. A leak may not be enough for a local disaster in a single bathroom, but it is always more than enough to create a problem, which sooner or later will surely result in more serious problems. Whether the question is that the toilet is leaking from the bottom after draining the water or the connecting sleeve is worn out.
Let's list the main signs of the course:
- Condensation accumulates in the tank and piping.
- Rusty lime streaks where water enters the bowl.
- Weak head with long flush. Or, on the contrary, the flush is short.
- The inside of the toilet is always damp on the side of the cistern.
- The murmur of water is regularly heard after filling the tank.
Why is there a leak
There may be several reasons for a leak:
- Crack in the base of the toilet.
- Float problems.
- Fasteners not tightened well enough. Physical wear and tear of fasteners.
- Failure of the seal.
- Physical wear of the corrugation or cuff.
- Tank malfunction.
- Problems with the drain structure.
- Problem between toilet base and cistern.
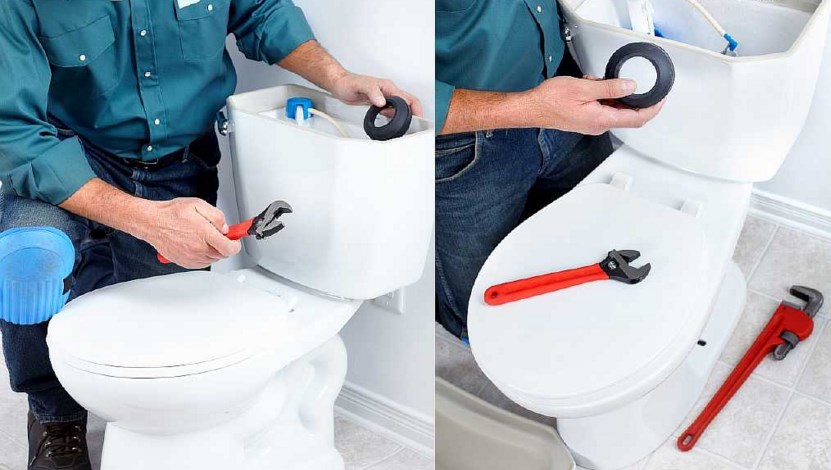
Let's take a closer look at all of the above malfunctions and ways to eliminate them.
Crack in the base of the toilet
The elimination method largely depends on the nature of the crack. It can be a small chip that does not violate the tightness of the sanitary ware. The crack can be blind, one-sided. Or it can already be seen from both sides. In the latter case, even if the toilet is not leaking yet, it will surely begin to leak more and more water over time. And if you don't fix the plumbing and let the situation take its course, everything will end very sadly.
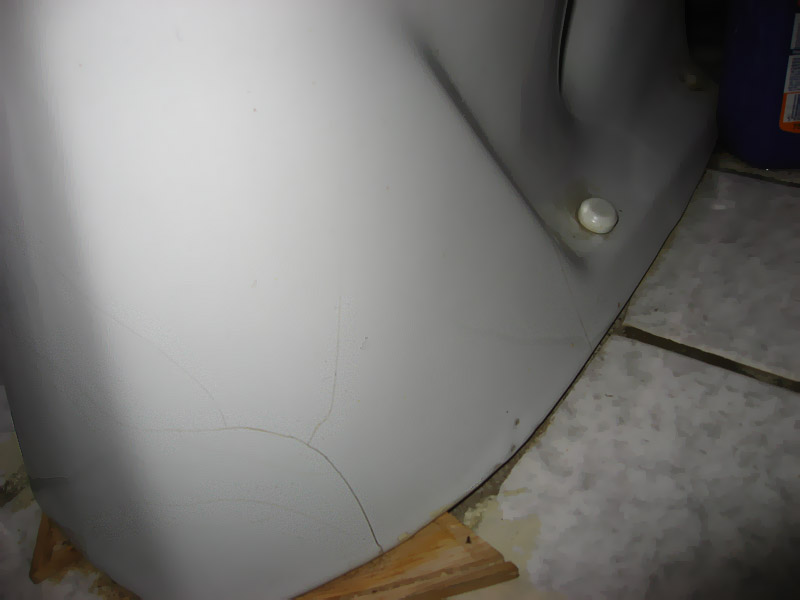
If the crack is too deep and clearly threatens the tightness of the product, it is better to replace the toilet.If the chip is insignificant and not through, you can try to glue it:
- A good all-purpose adhesive or a special ceramic adhesive.
- Epoxy resin with hardener.
- Cold welding.
- Silicone sealant.
It is advisable to glue small cracks if the tank or bowl is slightly damaged and the chipping does not threaten the tightness of the product.
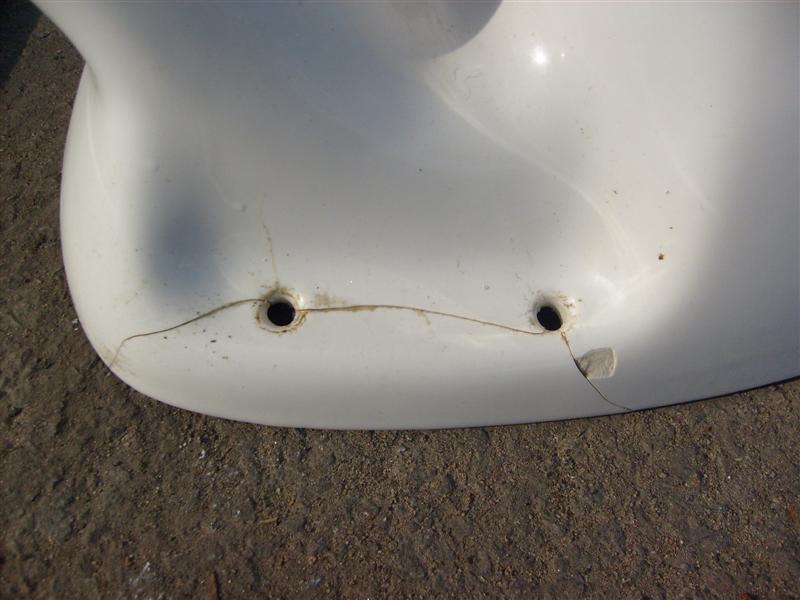
Note! Even the strongest glue will not return the structure to its former strength! Do not overload the repaired area. Handle him as carefully as possible.
General algorithm of actions when gluing minor faults:
- Prepare the adhesive.
- Clean the damaged area from small pieces of ceramic and dirt.
- Wait for the area to dry.
- Degrease the surfaces to be repaired with gasoline or acetone.
- Apply glue to the broken piece of faience and press it to the place of the chip following the manufacturer's recommendations (you should first read the instructions).
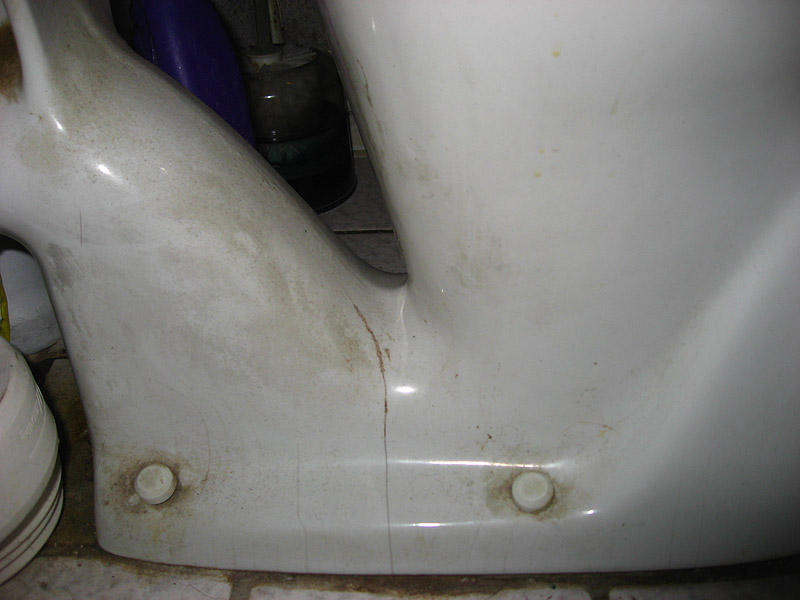
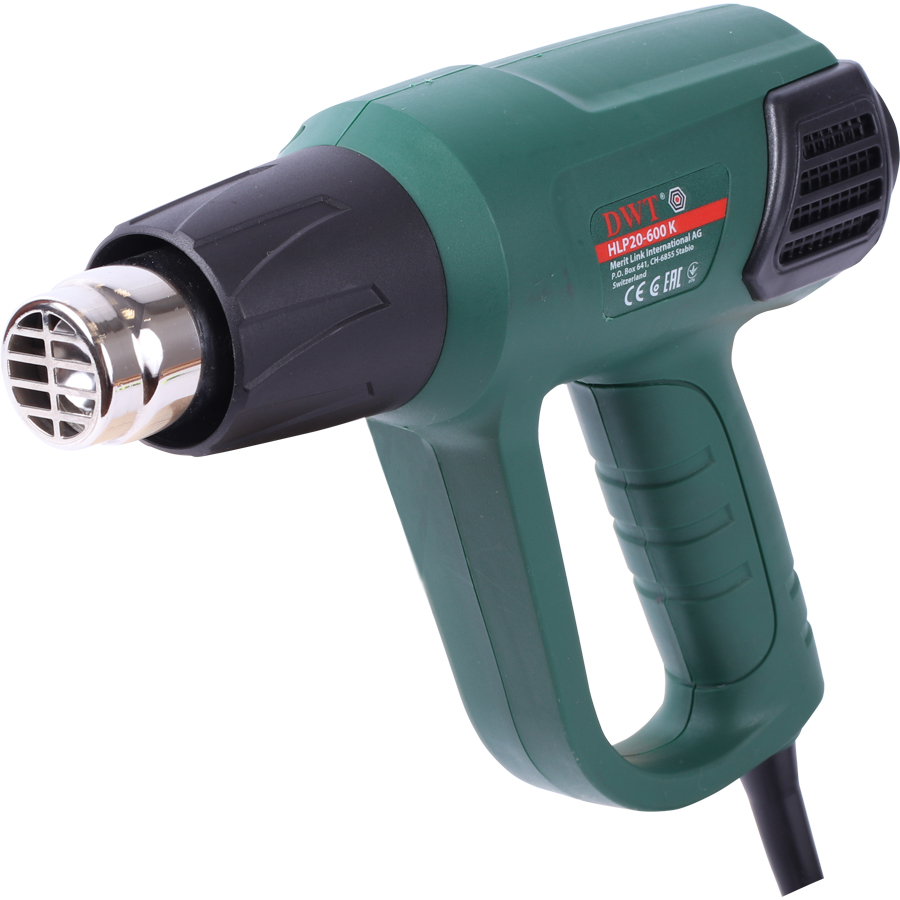
You can speed up the drying of the bonding site using a household or building hair dryer. Drying time depends on the adhesive used. If half an hour is enough for the sealant, then it will take four hours for cold welding.
You can try to fix a larger through-hole, but gluing a deep crack in the base of the toilet is only suitable as a temporary measure. Moreover, it is very temporary. The toilet should be replaced as soon as possible. If you do decide to repair, use a hardened epoxy. In addition to the work algorithm described above, it is worth pre-drilling two holes along the edges of the fracture and making an incision with a grinder in half the wall thickness along the edges of the crack. Use a ceramic drill for drilling, and a stone disc for a grinder.
Poorly tightened fasteners
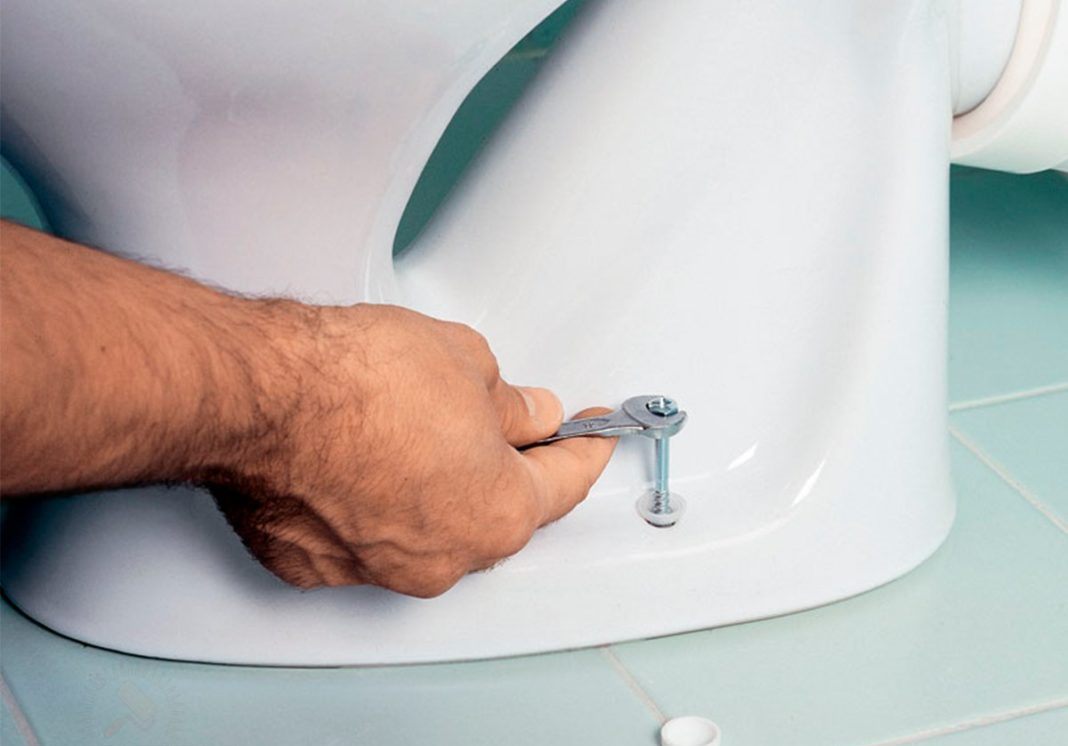
The simplest case is that the fasteners are not tight enough. It is not difficult to eliminate - just tighten the fasteners. However, the leak can be caused by other reasons.
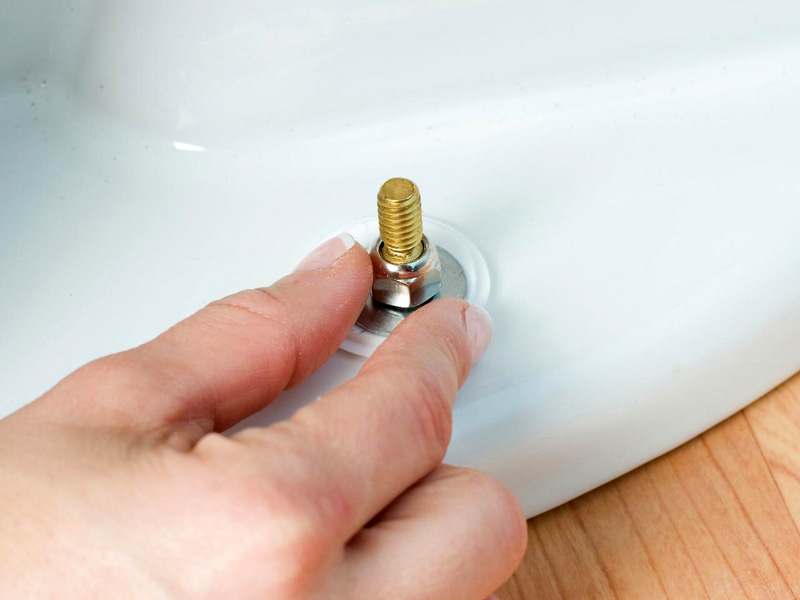
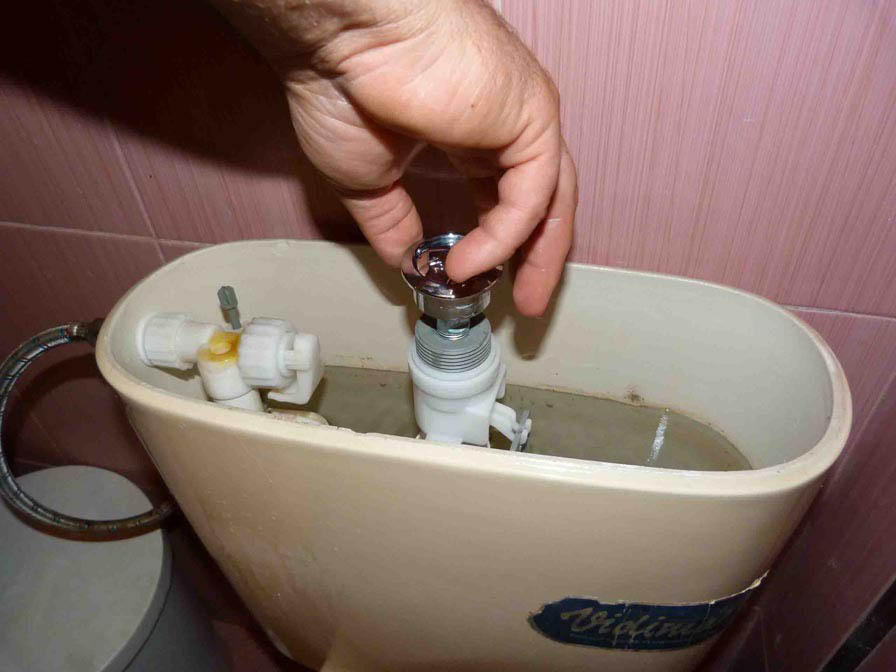
The device of the fastening system is quite simple: two washers and gaskets on both sides and a metal bolt with a nut. If plastic washers and gaskets can stand for an eternity without mechanical damage, then the bolt rusts over time, and water begins to seep through the thread that wears out due to corrosion. There is only one way out - to replace the bolt. Typically, this should be done every 3-5 years.
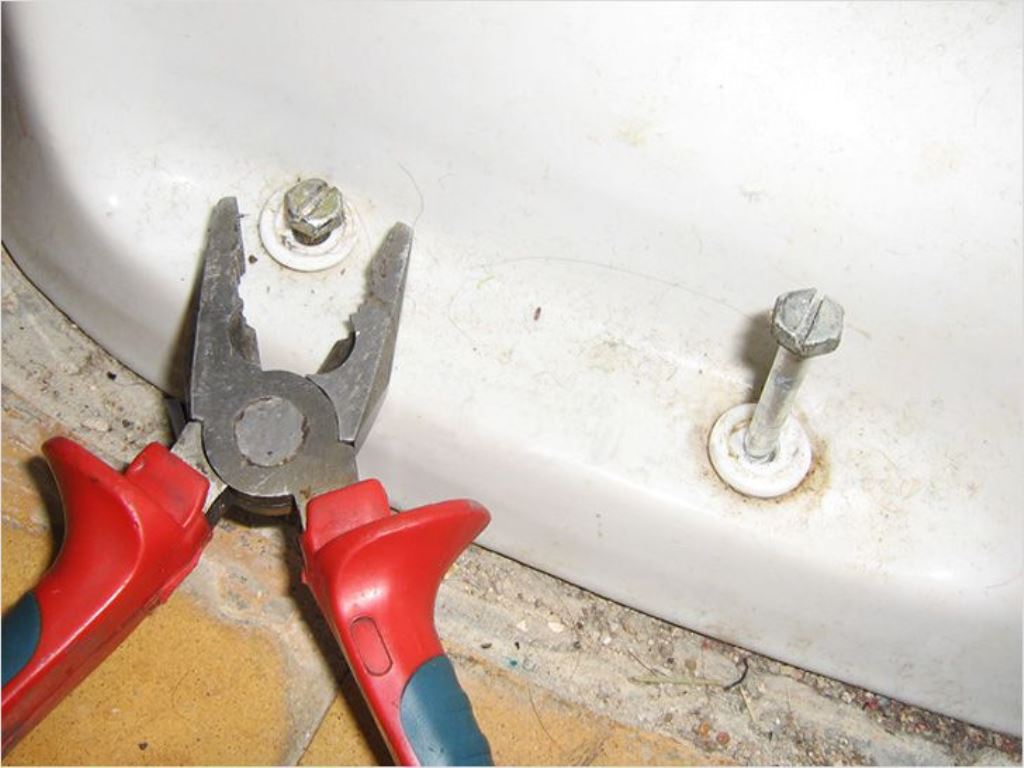
Note! You need to tighten the fasteners evenly, on one side and on the other. Otherwise, the tank will be installed skewed, which is fraught with new problems.
Worn cuff or crimp
The corrugation is very convenient in terms of connecting the drain to the sewer, however, it also wears out over time, breaks down and begins to leak. This problem is easy to deal with on your own.
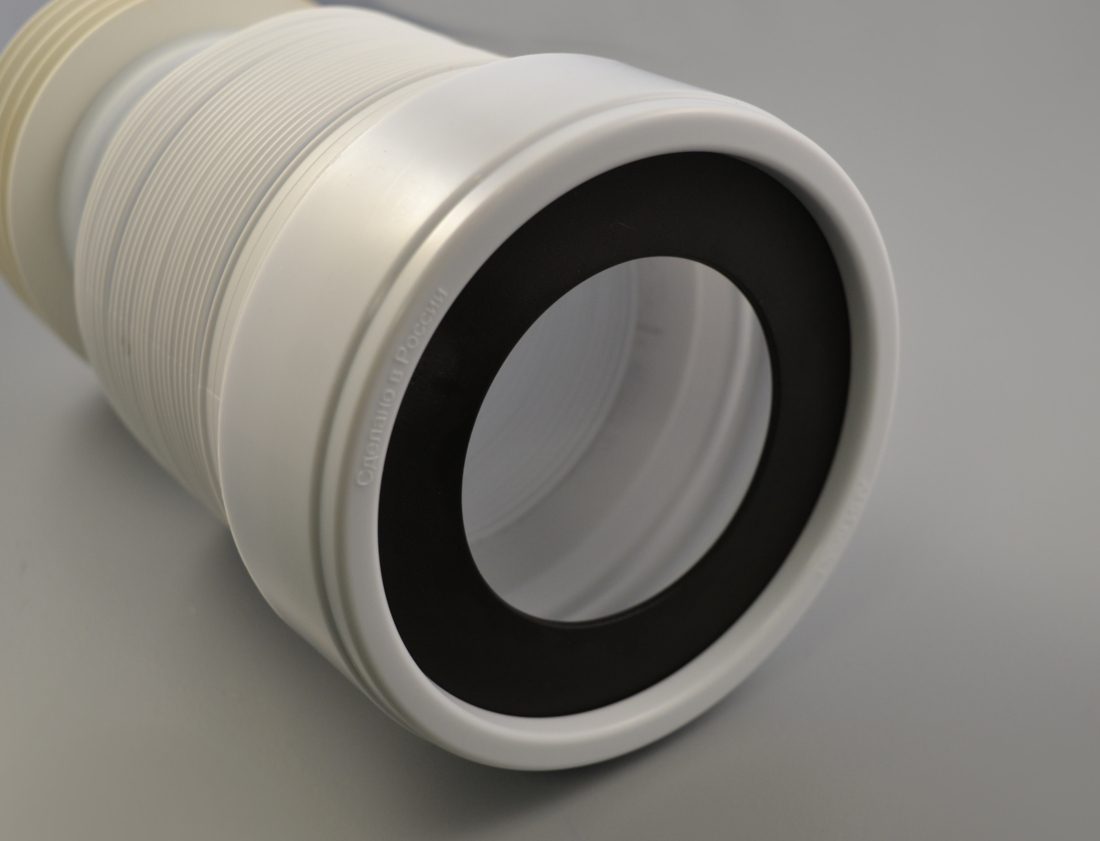
Carefully remove the worn-out product. Then we clean and degrease the seats at the ends of the bend on the bowl and the sewer pipe. We are waiting until it dries up. We apply sealant to the bends and install a new corrugation.
Tank problem
Before deciding how to repair a toilet cistern if water is running out of it, you need to understand what exactly is causing the problem.Above, we have already considered troubleshooting in the form of worn out or poorly tightened fasteners, problems with the drain mechanism and the float will be discussed below.
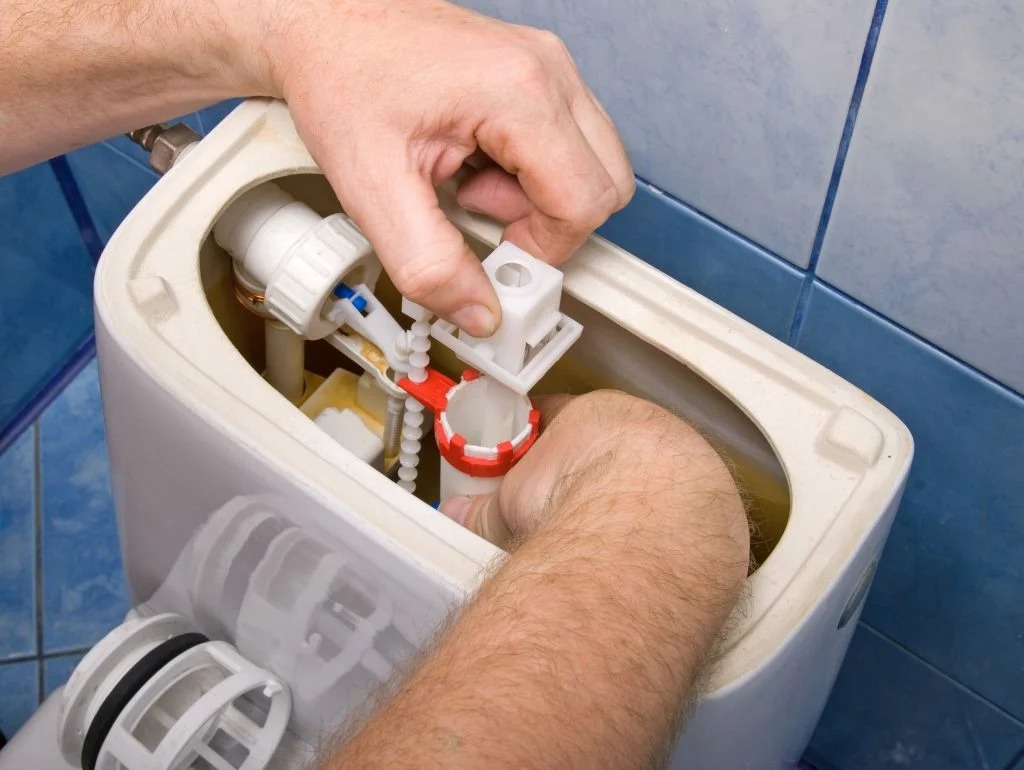
The most common causes of leaks are:
- The cistern is not firmly seated on the bowl. Screws loose. Solution: Tighten evenly on both sides, taking care not to skew the tank.
- Physical wear and tear of fasteners due to corrosion. Solution: replace screws.
- Through fracture with loss of tightness. Solution: replace the tank. Workaround: Try to bond with epoxy and hardener.
- Coupling worn out. Solution: carefully remove the tank, replace the coupling, install the tank, tighten the screws evenly, remembering to pre-install the washers.
Before replacing the gasket or screws, you need to empty the tank and carefully unscrew the bolts. If the screws are badly rusted, you will have to tinker.
To check the tightness of the coupling, it is enough to remove it and squeeze it with your hands. If the material is elastic and easy to compress, the problem is most likely not with the gasket. If it has hardened and bends poorly, it is time to change the coupling in any case. The joints must be cleaned of dirt and degreased!
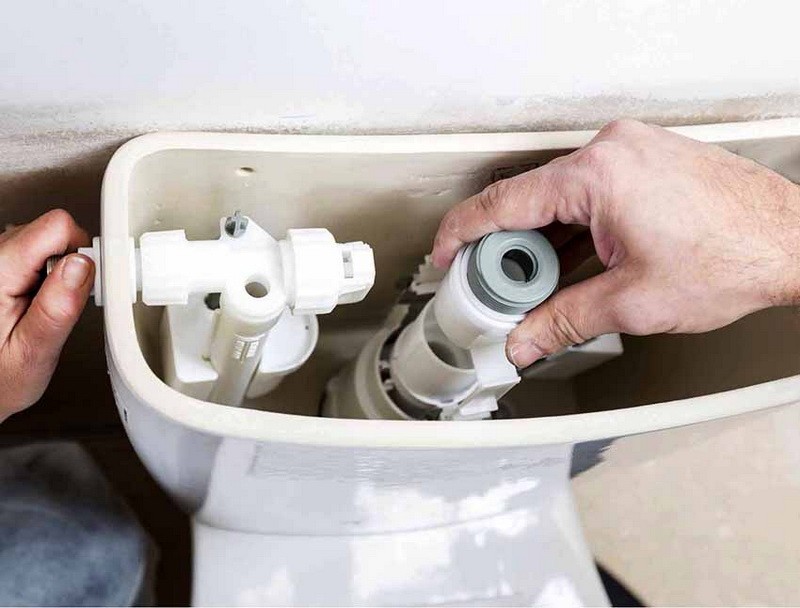
The problem between the cistern and the toilet seat
In general terms, we looked at replacing a worn gasket / coupling in the previous paragraph and answered the question of what to do if the toilet is leaking at the junction of the bowl and the tank. Whether the cuff is made of dense rubber, polyurethane, or silicone, wear can be easily identified by:
- leaks under the reservoir;
- cracks visible upon visual inspection;
- loss of elasticity, which is easy to determine by trying to compress the product.
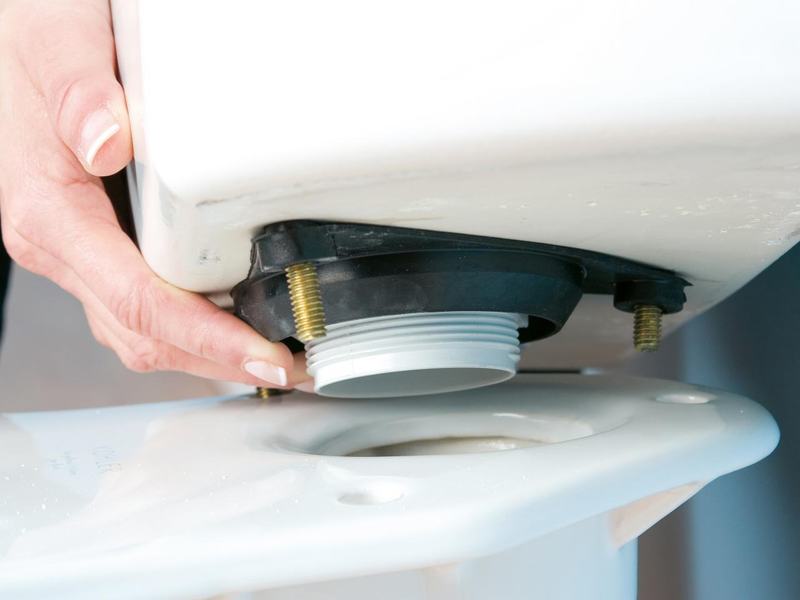
Damaged seal
Before eliminating the malfunction associated with damage to the seal, you must press the button (or lever) of the drain mechanism and drain the water. Then you need to turn off the water and disconnect the drain pipe, supply pipe and overflow pipe.

As a temporary solution, you can place a strip of cloth oiled in oil under the worn seal. Alternatively, you can use a rubber band and then secure it with copper wire.
Float problems
The buttons and the design of the tanks are changing, and the design of the float has not undergone significant changes over many decades. All the same, the water level is regulated by a float mechanism.
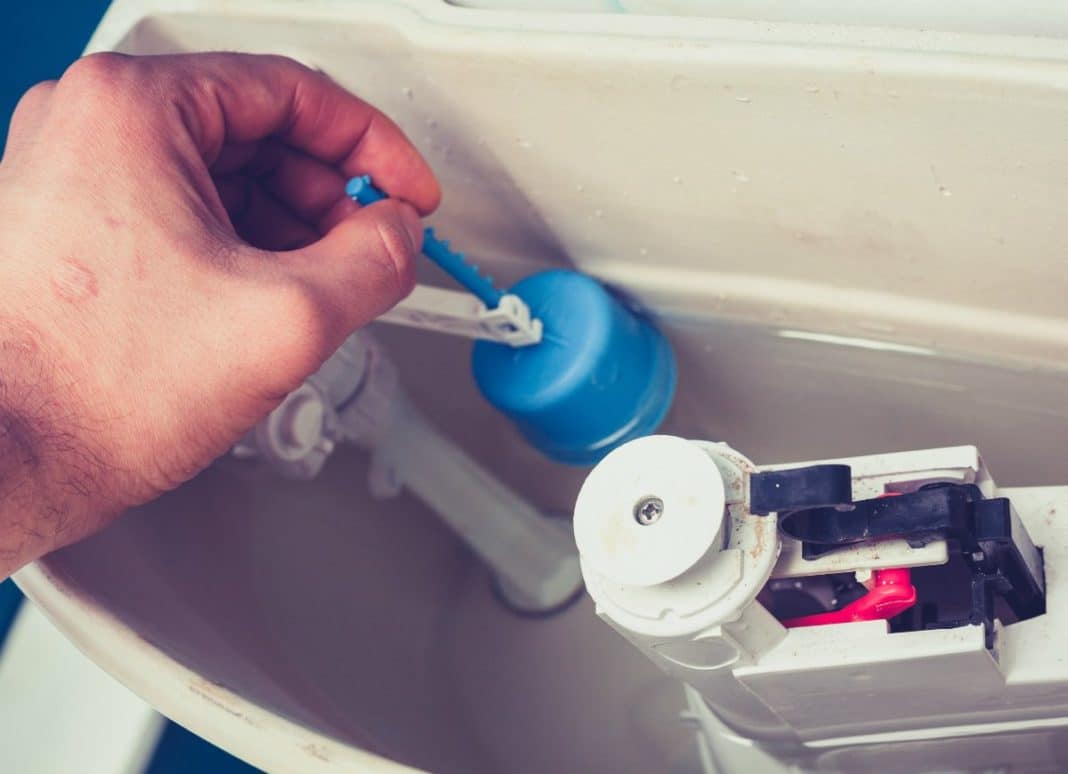
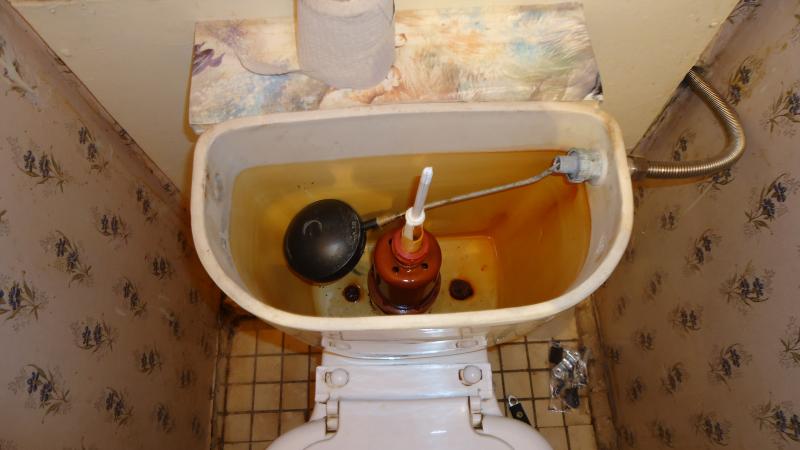
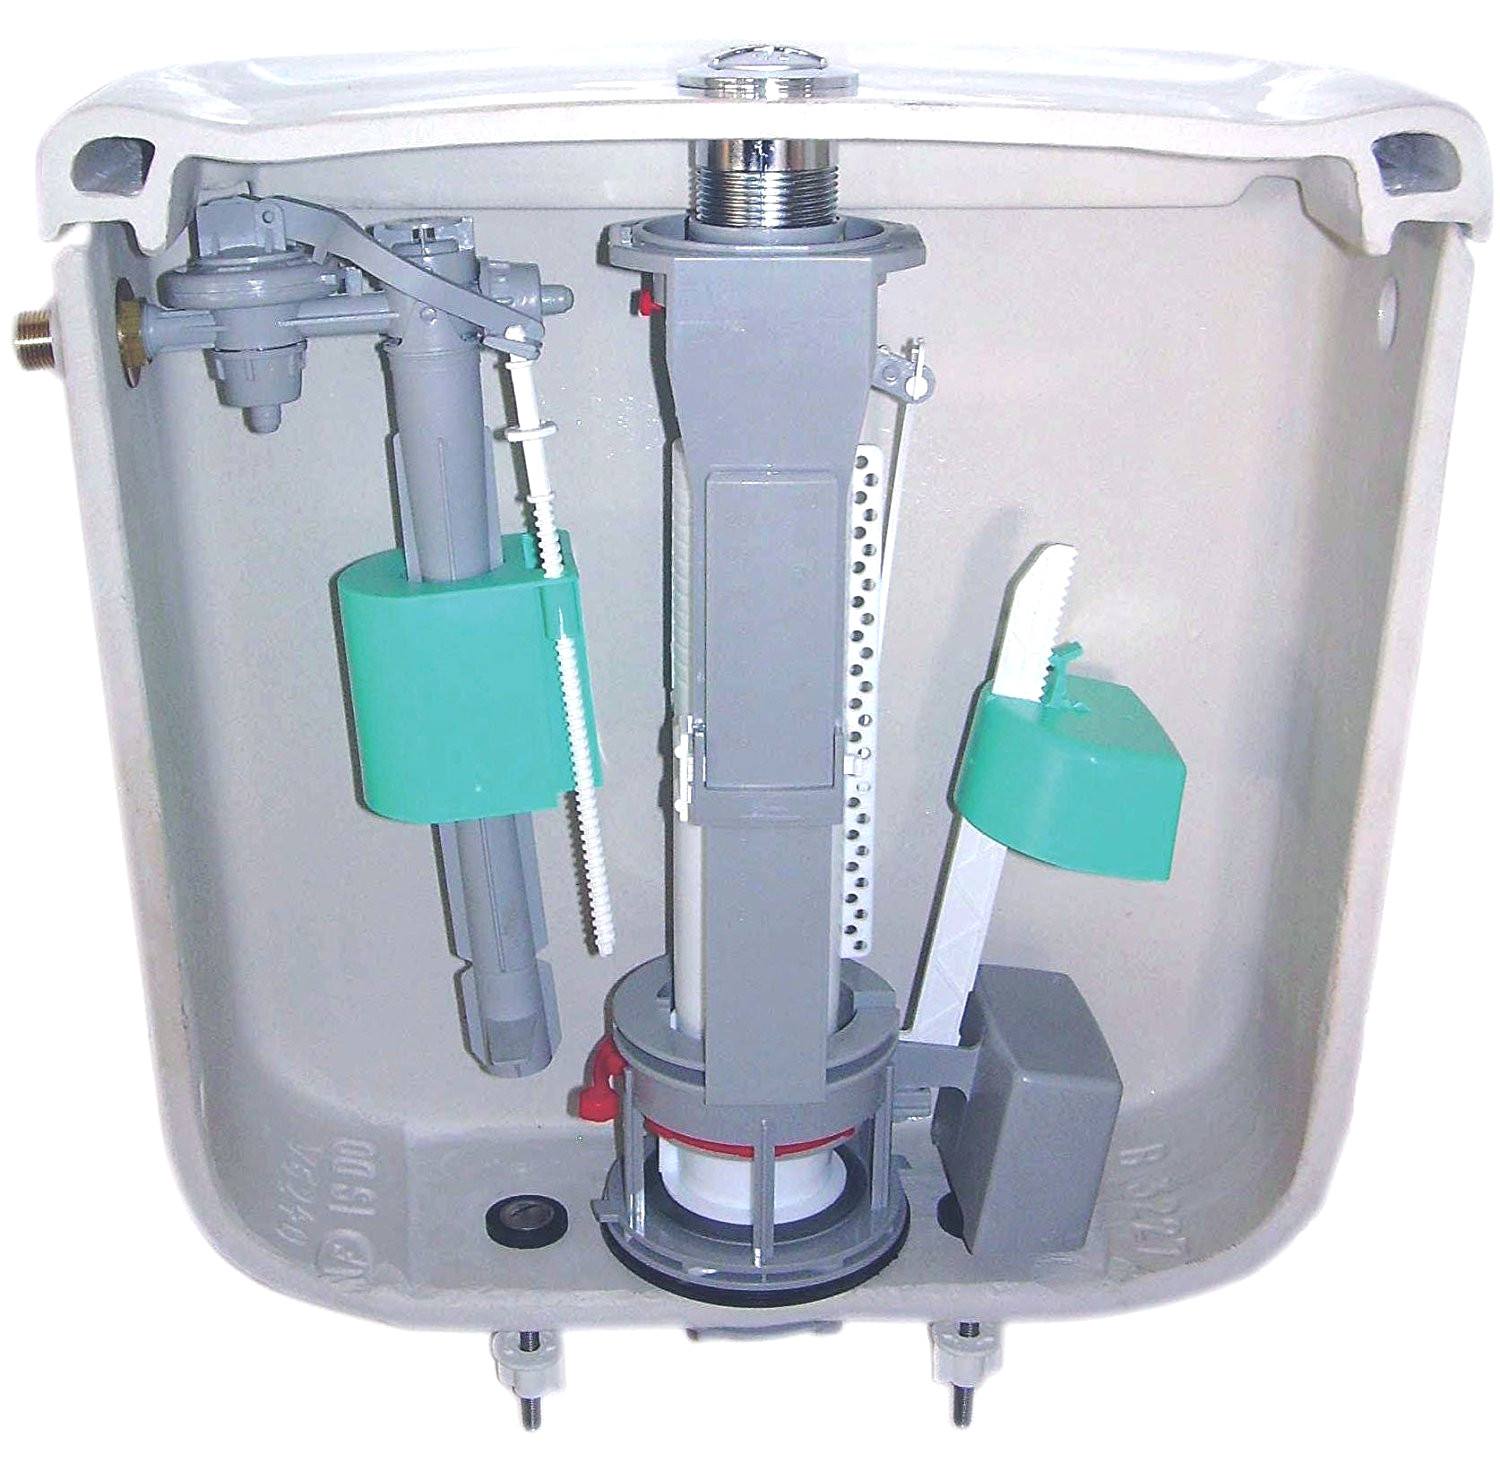
The figure shows a "classic" cistern scheme. In more modern models, the drain handle is often replaced with a button, but the basic principles of the mechanism do not change. The functions of the float and the shut-off valve remain the same.
The most common problem is that the tank is constantly refilling and draining. There are several possible reasons:
- Physical wear of the float or diaphragm.
- Valve malfunction.
- Float misalignment.
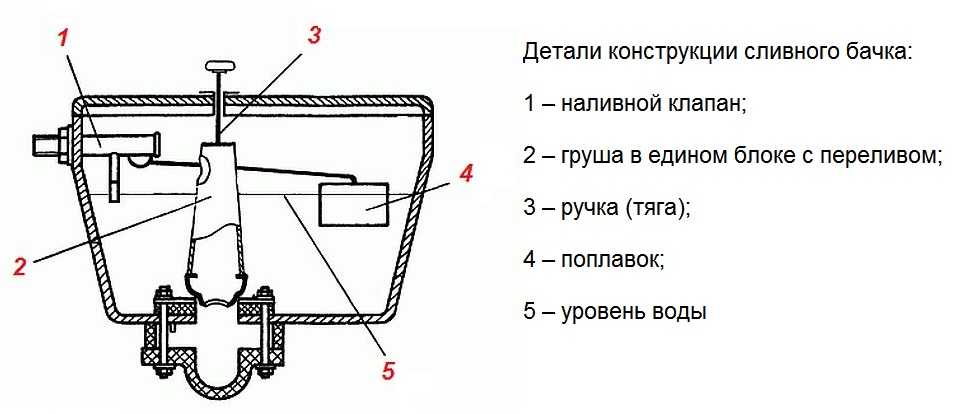
To adjust a float with a brass lever, it is often sufficient to simply bend the lever slightly. On plastic models, adjustment is made by loosening or tightening the fixing screw. In case of physical wear of the float, membrane or valve, it is necessary to replace the failed part, after draining the water from the tank.
Drainage mechanism
The drain mechanism itself rarely fails. Usually there is nothing to break in it. The problem most often lies in the rubber valve blocking the water.
If water flows and does not fill the tank, in 90% of cases, the problem is in the misalignment of the float or shut-off valve.
How to fix the problem
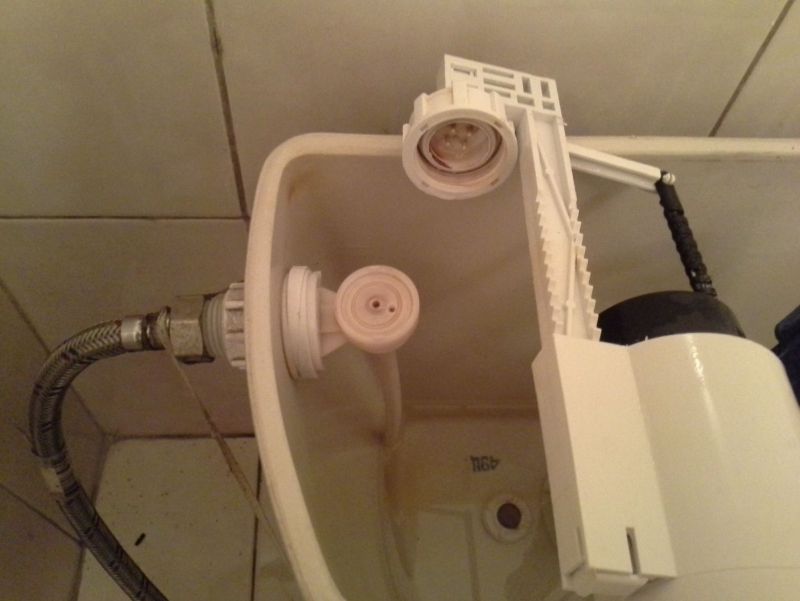
First, we check if the problem is really in the valve. To do this, we collect water and press on the valve. It will immediately be seen whether water is flowing into the toilet or not, and also whether the valve needs to be replaced.
What to do if water flows constantly
First, we determine the cause of the malfunction. Lift the lid and raise the float. Has the water stopped flowing? If so, we press the lever of the brass float mechanism or adjust the plastic screw (depending on the design).
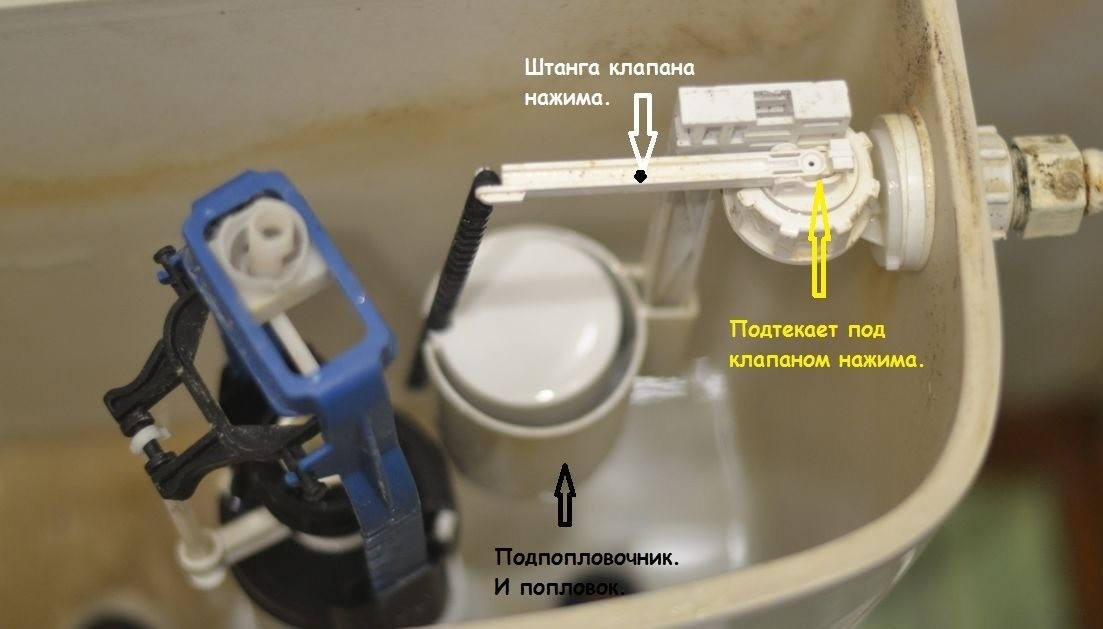
Otherwise, you need to make sure the integrity of the valve and stud. The latter, if necessary, can be easily replaced even with a piece of copper wire. It will be more difficult to replace the valve. It is better to remove the old part and take it with you to the store or to the market. Otherwise, you will have to explain to the seller on your fingers what exactly you need. And there is a high probability that you will not take exactly what you need. Water can also leak due to the worn out pear. There is only one option - replacing a worn-out part.
Preventive measures
The toilet bowl and cistern should be washed regularly, removing rust, limescale and other contaminants from the surface. If you do it all the time, you won't even need powerful "chemistry".
It is also recommended to check the condition of all fittings at least a couple of times a month. In case of loss of elasticity by corrugations, couplings or gaskets, it is worth immediately replacing the failing element, until the wear has led to more serious consequences.

Most of the problems with leaks in the bathroom are easy to fix on your own, without resorting to the help of a plumber. Do-it-yourself repairs will save not only money, but also time. The latter is especially true if the plumber is not obligatory and his call stretches over days, or even weeks.
Video: the toilet cistern does not hold water - reasons






Discussions
Yes, there is such a misfortune. Tell us, which company can you buy a shower cabin from?