The procedure and rules for starching napkins
Many housewives are fond of various hobbies. Crocheting remains one of the most popular hobbies. Experienced knitters create unique handmade designer items and sometimes even put up for sale or present as a gift.
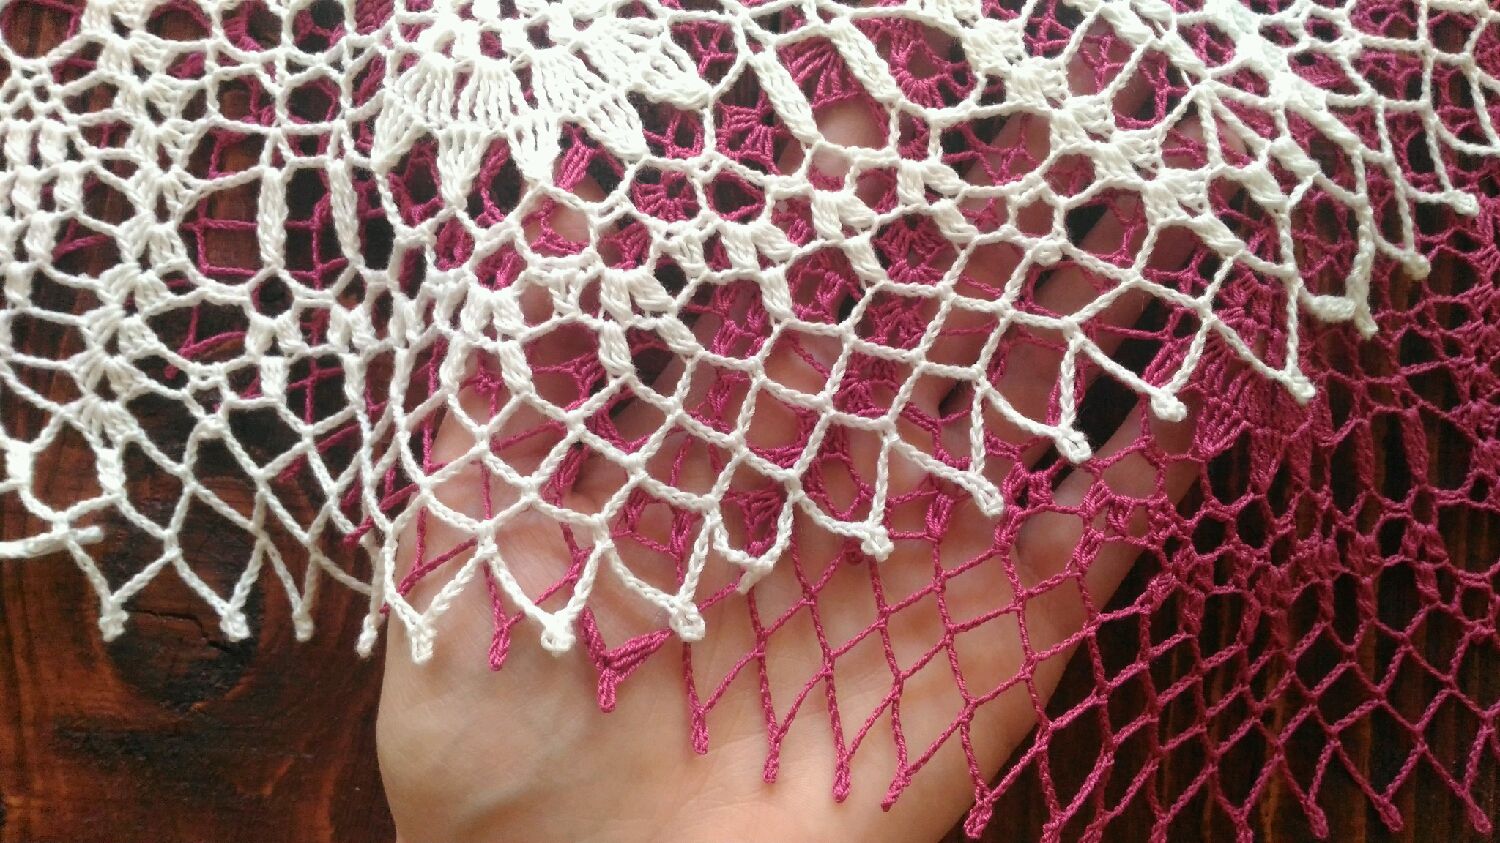
It can be children's toys, snowflakes, blankets, rugs, clothes. Often, in order to understand all the intricacies, beginners start knitting napkins, since they are the simplest products. Gradually improving, they begin to knit decorative, refined interior items.
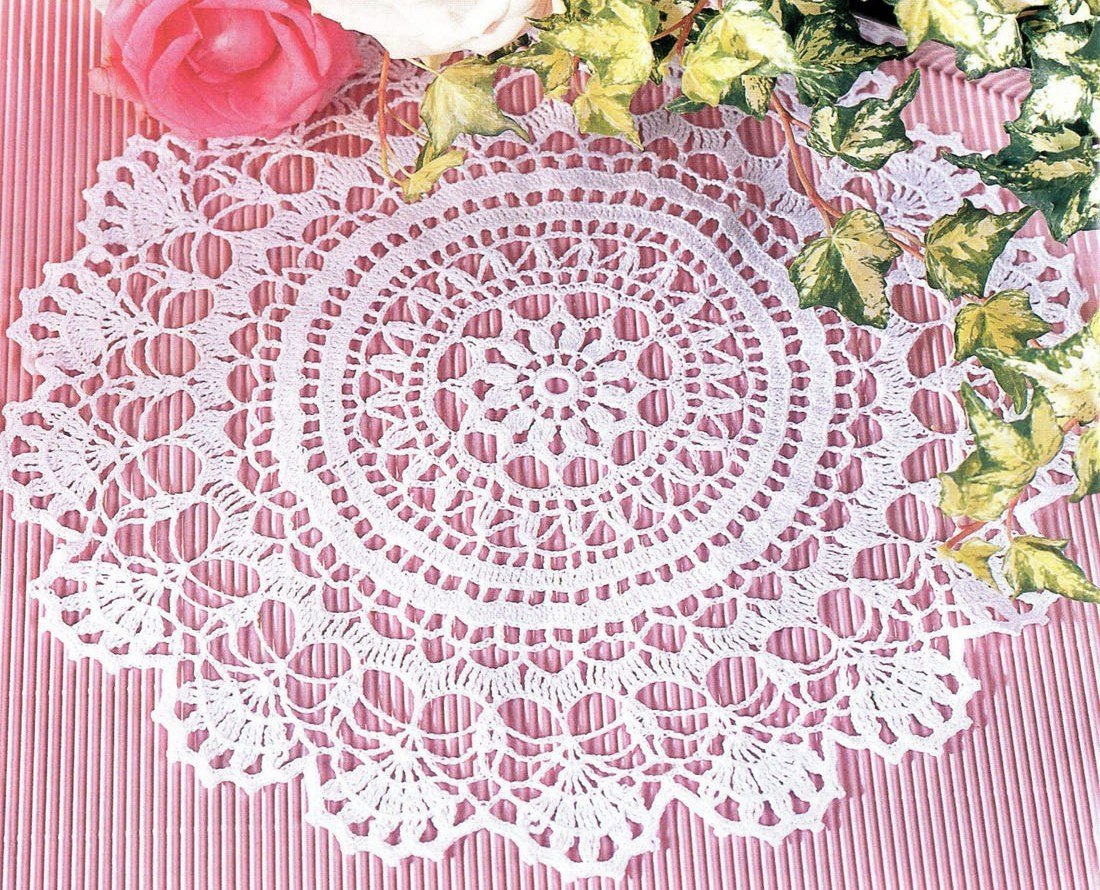
They create a special atmosphere of warmth and comfort. But before decorating a house with them, the knitted decor needs to be starch. Below we will look at how to properly starch a crocheted napkin.
Why do you need to starch knitted napkins
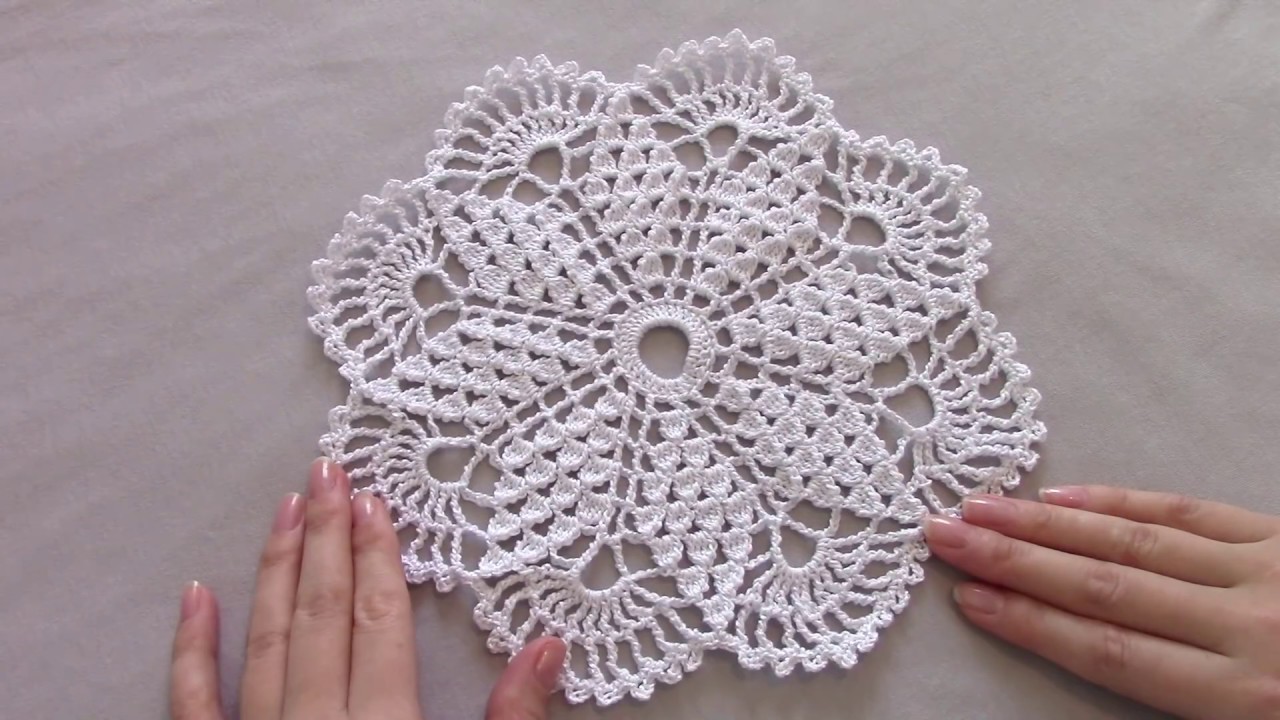
In the process of knitting, even high-quality yarn becomes soft and naughty. At the end of the work, you get a very beautiful, but too wrinkled napkin, which you have to stretch with your hands to see the beauty of the pattern.
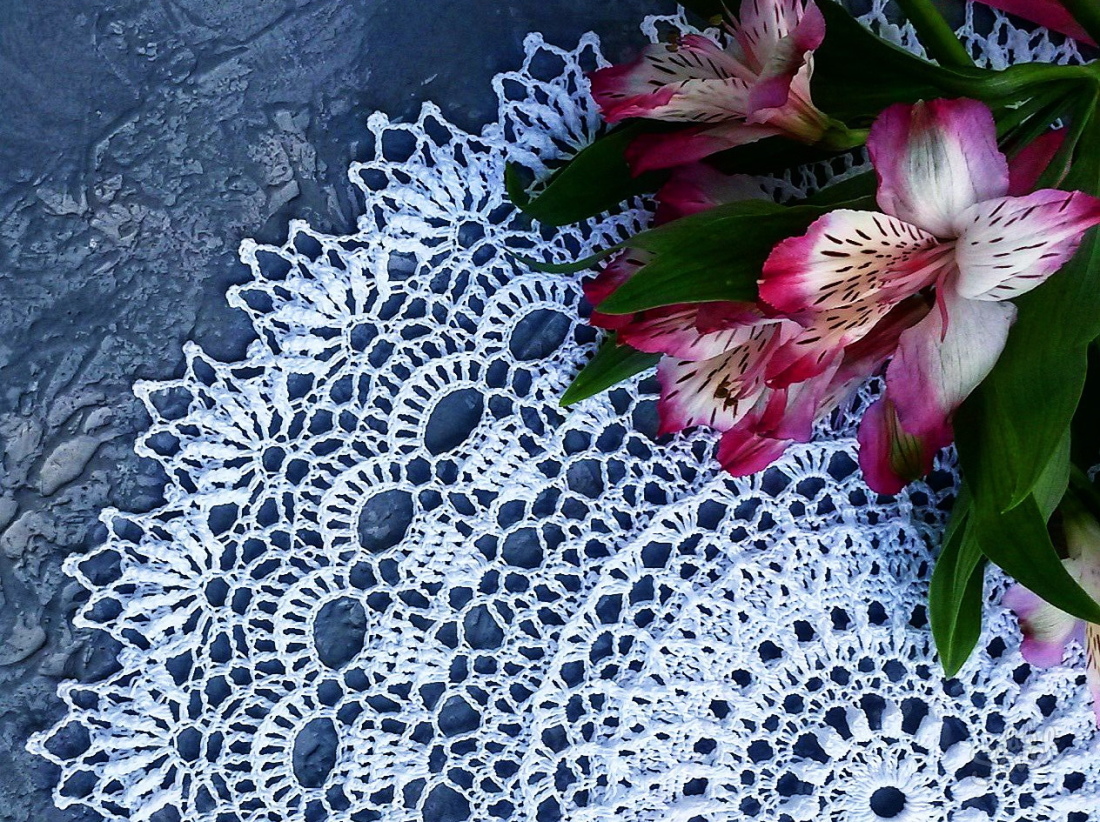
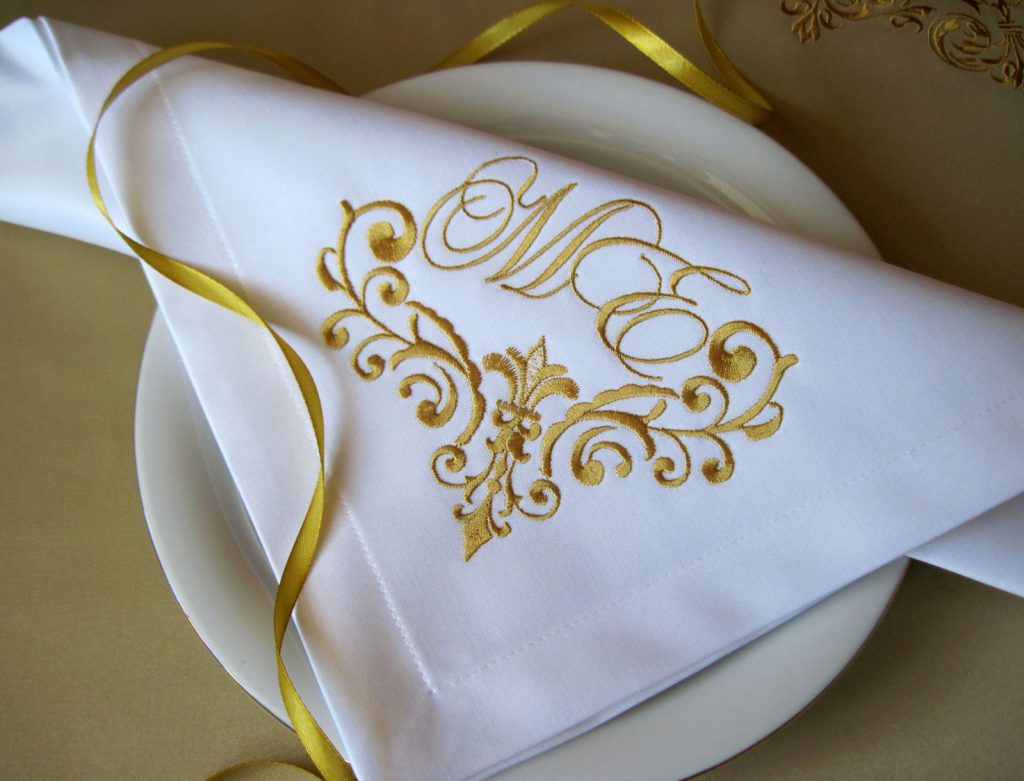
In order for a cotton or linen napkin to hold its shape well, it is usually starchy. After that, the threads are enveloped in a film and become elastic, acquire a shine. It also protects the product from dust, moisture and other contaminants.
Sometimes, after starching, bulky interior items are created from napkins, for example, vases for flowers or saucers for sweets.
What is required for starching
When the product is already connected, it should be washed gently by soaking it briefly in warm water, to which a small amount of washing powder has been added, and rubbing it a little. Then the product must be carefully rinsed. Next, proceed with starching.
If you decide to starch a crocheted item, then you need to prepare in advance:
- container for the ready-made solution and a saucepan for cooking paste;
- spoon;
- basin;
- pins with beads on the edges;
- paper;
- white fabric;
- ruler.
Some techniques may require a spray bottle.
To add volume to the product, prepare the desired shape, for example, a glass vase or salad bowl.
Also, before starting work, you need to learn how to starch crocheted napkins and prepare the necessary ingredients for the chosen method.
Classic method
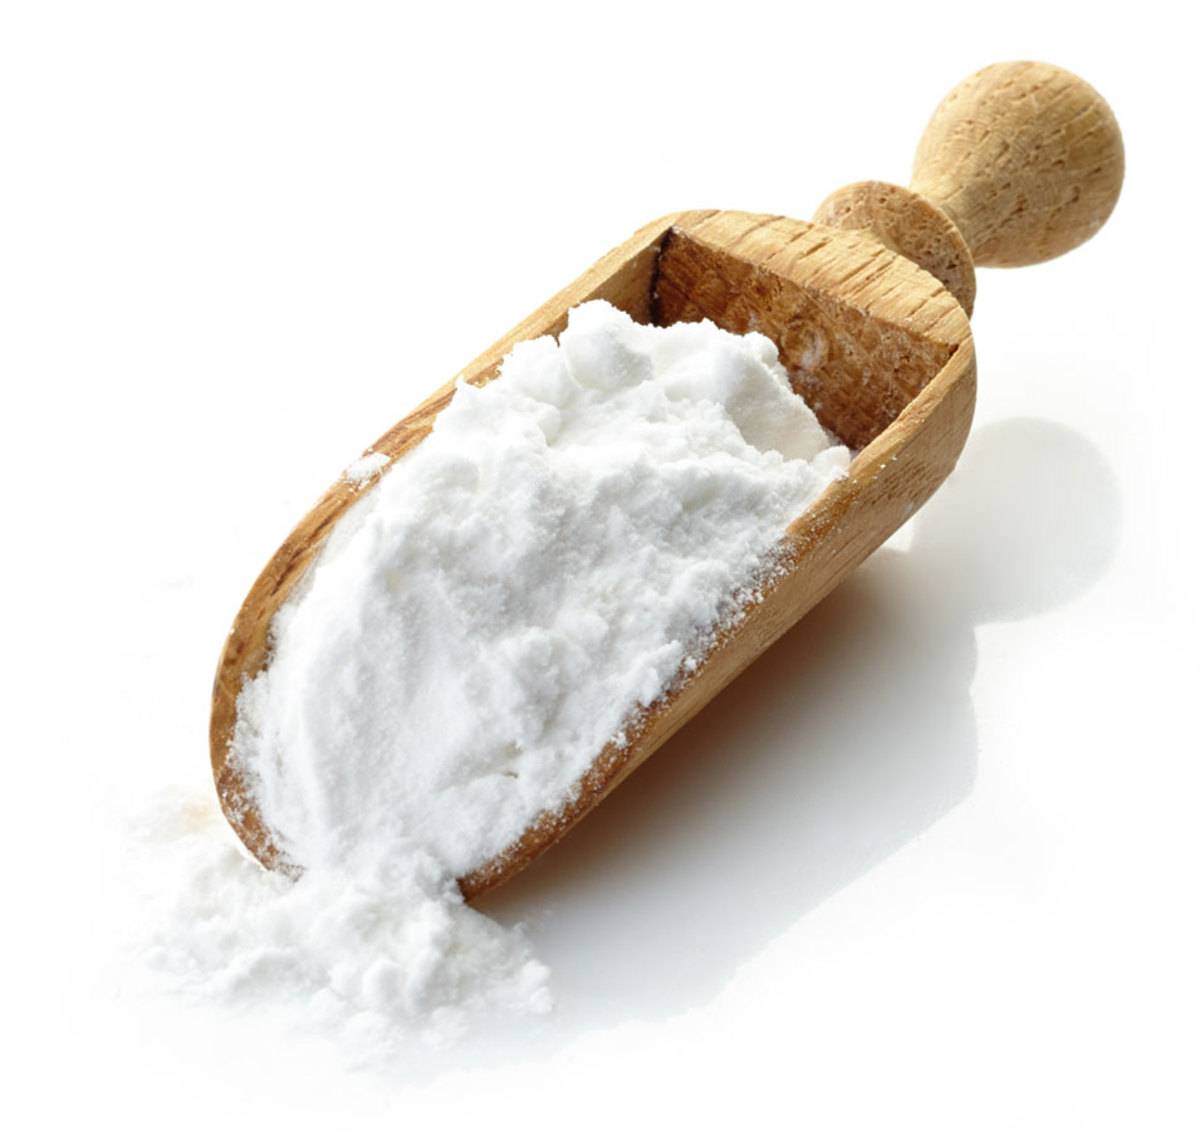
Even those who have never knitted before have probably heard of the most used method - using potato starch. Other types of starch will work, but you will need a lot more.
In army units, from infantry to air defense units, there is still a rule to starch the collar so that it holds volume.
Now let's figure out how to starch a crocheted napkin with starch. There is no difficulty - you just need to add starch to the water. However, below we will consider the nuances of preparing the correct solution and cooking the paste.
Important! It is necessary to bring the resulting mixture to a certain concentration, depending on what hardness the finished knitted product should be.
Solution concentration
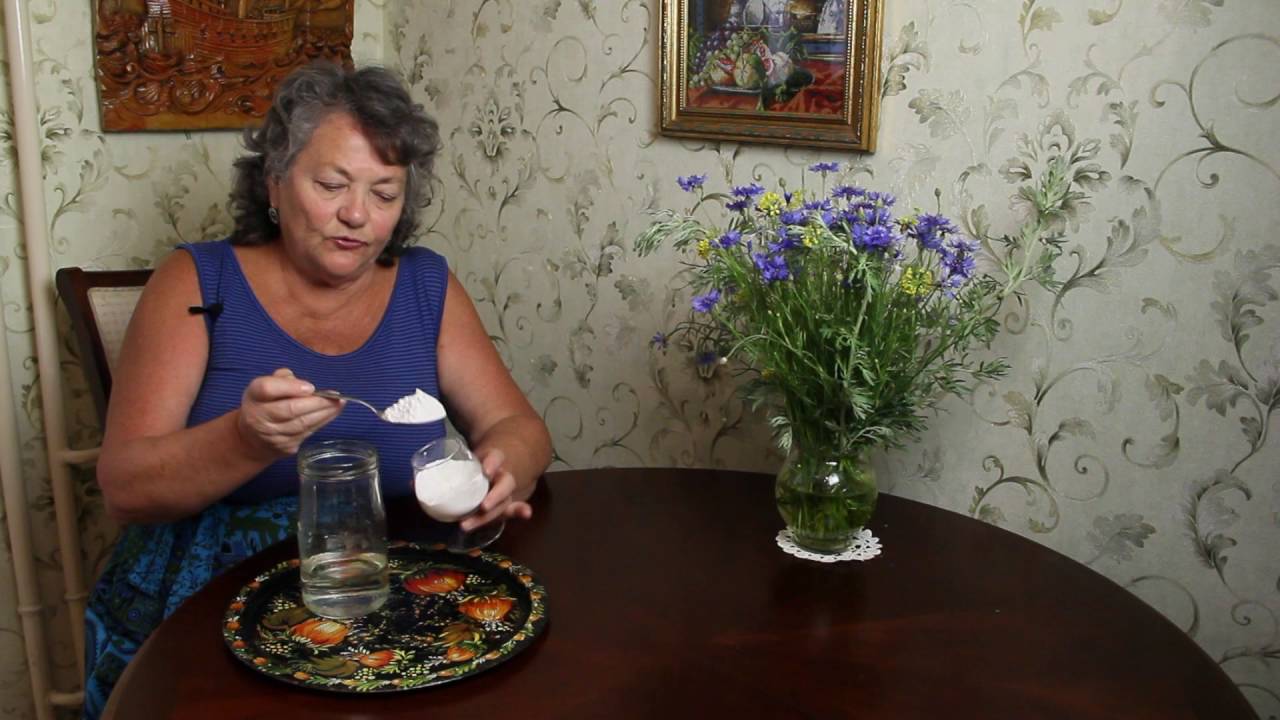
If the finished napkin needs to become only a little harder so that the edges are strong and not sagged enough, prepare a weak solution by adding 1 teaspoon of starch to 1 liter of water. Also ideal for soft items such as rugs, curtains, tablecloths.
A solution of medium hardness is most often used for ordinary napkins, they become hard, with a distinct openwork pattern. To make it, 1 tablespoon of starch is added to 1 liter of water. Also, such a solution can be used to starch the collar and cuffs of a shirt.
For bulky napkins and other shapes, it is necessary to induce a hard concentration solution by adding 2 tablespoons to 1 liter of water.
Making the paste
Consider what steps are included in the correct preparation of the paste:
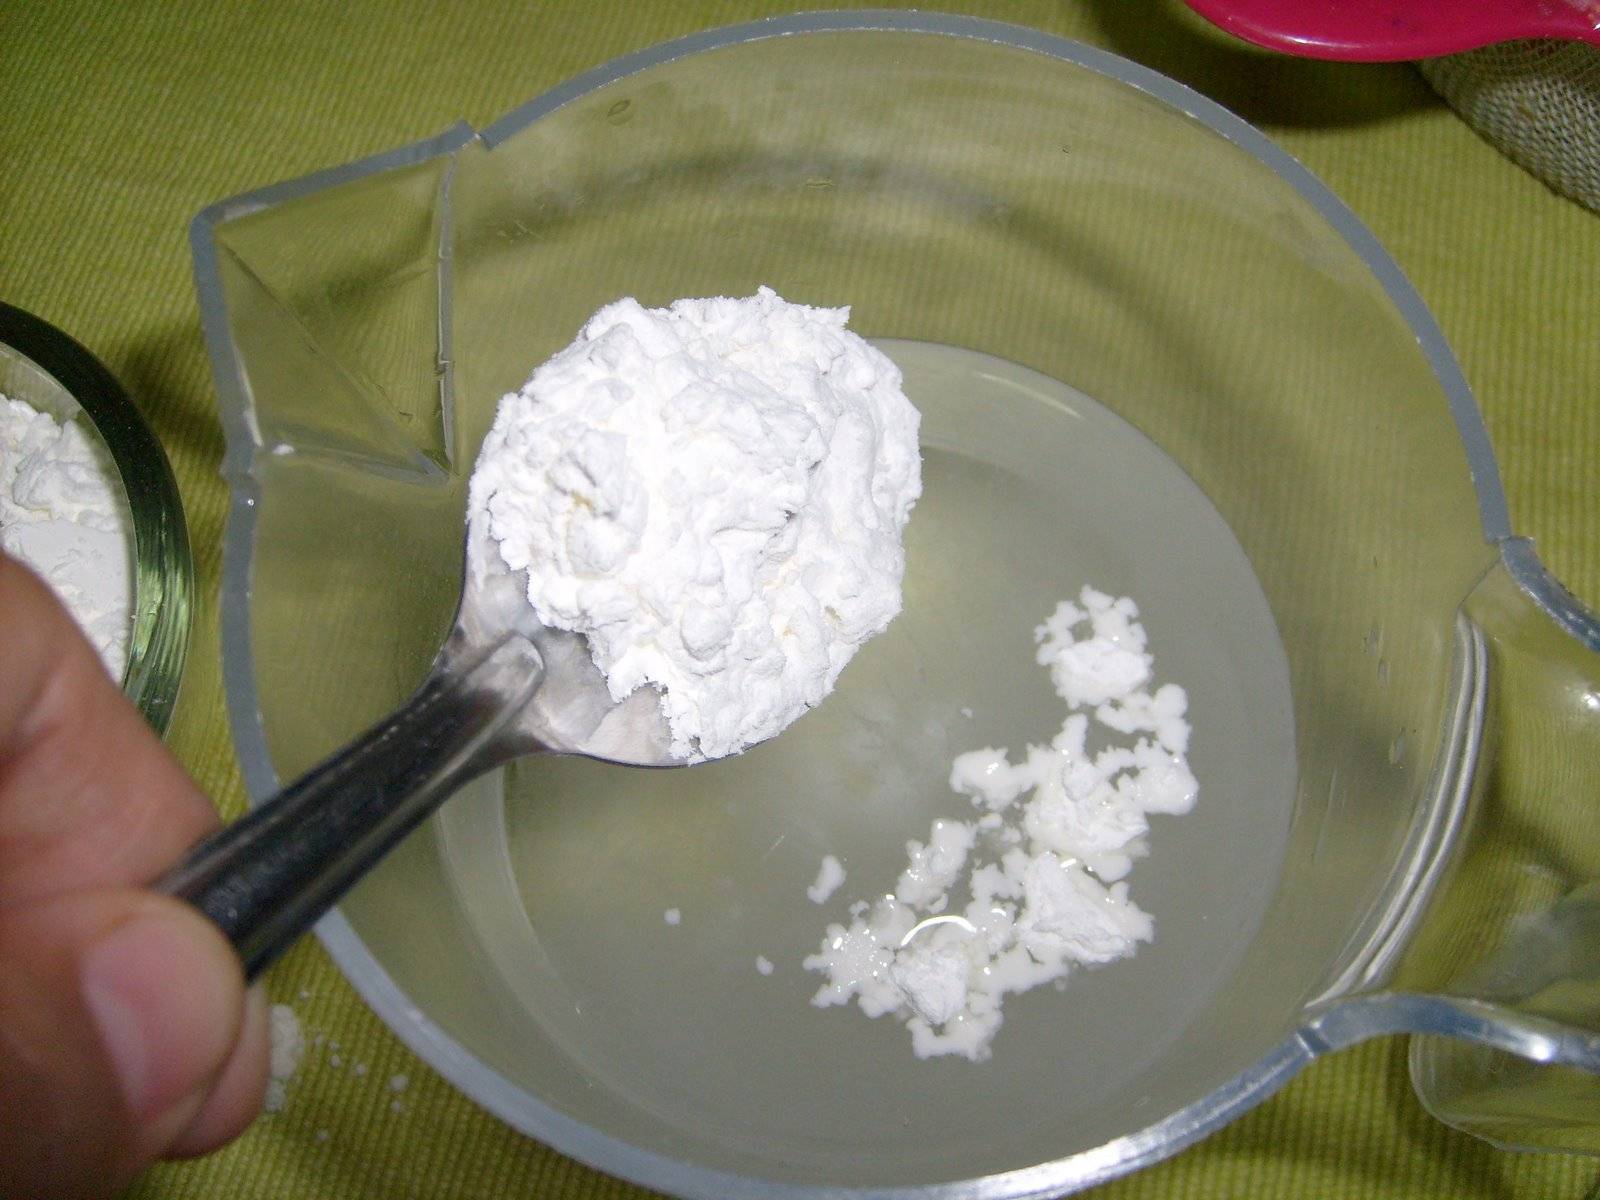
- the required amount of starch is added to a small amount of cold water and mixed until uniform. If, nevertheless, clots have formed, you need to pass the mixture through a sieve;
- bring the rest of the water to a boil;
- little by little pour in the solution with starch, stirring the brew;
- bring to a boil again;
- remove the pan from heat and cool the resulting paste to 35 degrees Celsius.
Important! Sometimes starch can contain impurities, which is why dust is formed during the preparation of the solution. To eliminate this problem, add starch to cold water, then, after waiting a little, drain it, and repeat this several times until the water is clear.
The procedure and rules for starching
After preparing the paste, we move on to the long-awaited base of the starching process. It is important to follow certain steps here:
- pour the cooled paste into a plastic bowl;
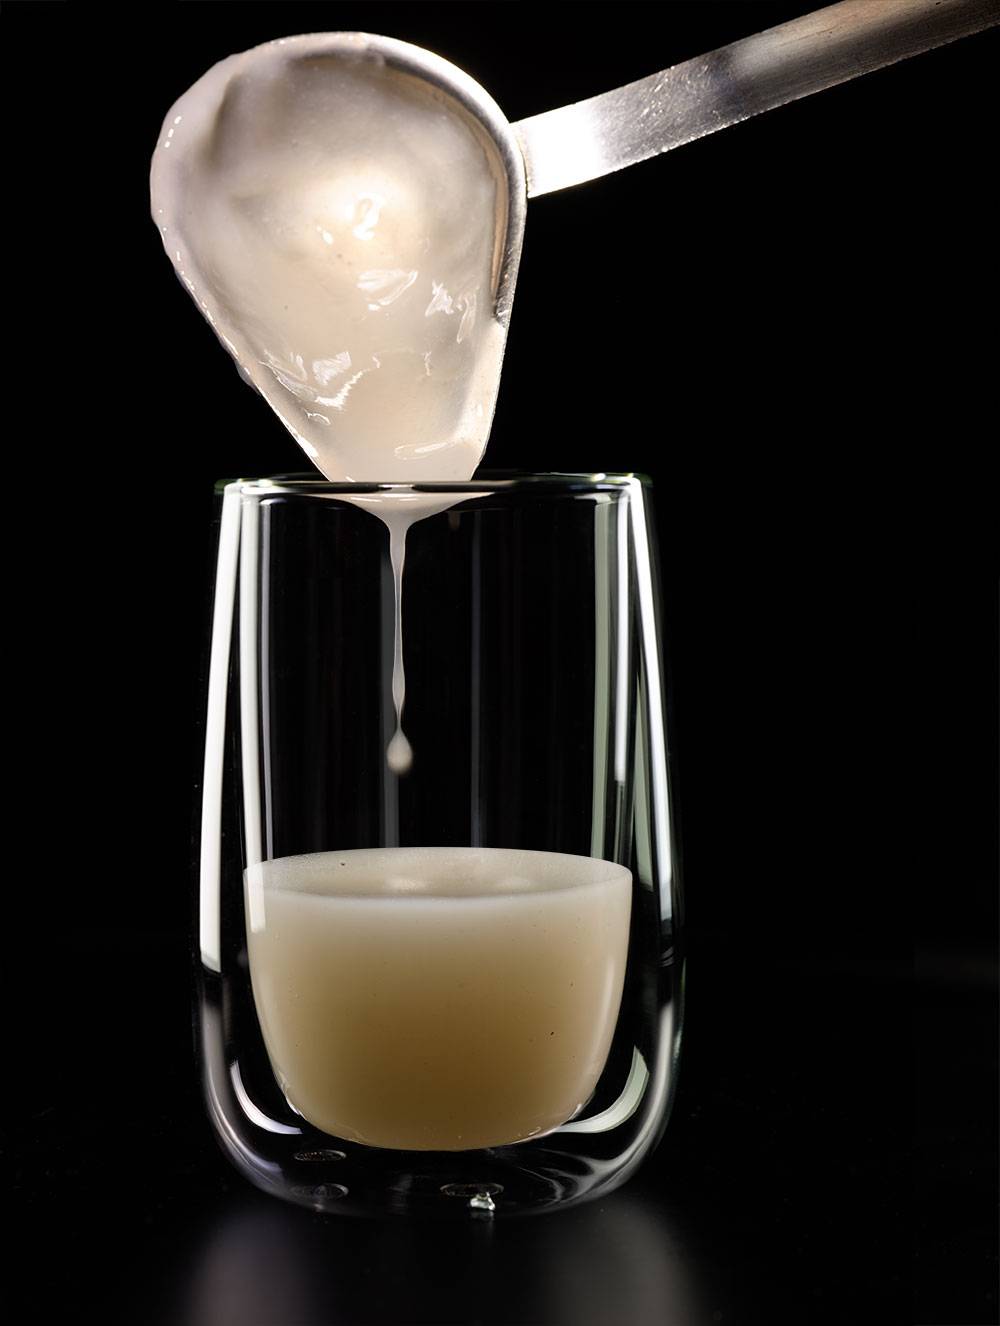
- completely immerse the knitted product in it, if the yarn is thin - for 5 minutes, if the yarn is of medium thickness - for 10 minutes, thick - for 15 minutes.
- we take out a napkin, wring it out and, placing a clean white material, dry it.
Important! If you plan to give the napkin a certain shape, this should be done when the product dries slightly, while remaining slightly damp.
Other methods
There are also unconventional, but also quite effective methods of starching. Let's consider them in more detail.
Sugar
If you plan to create not just a napkin, but, for example, a bowl for fruit, a cooking technology with the addition of sugar is used.
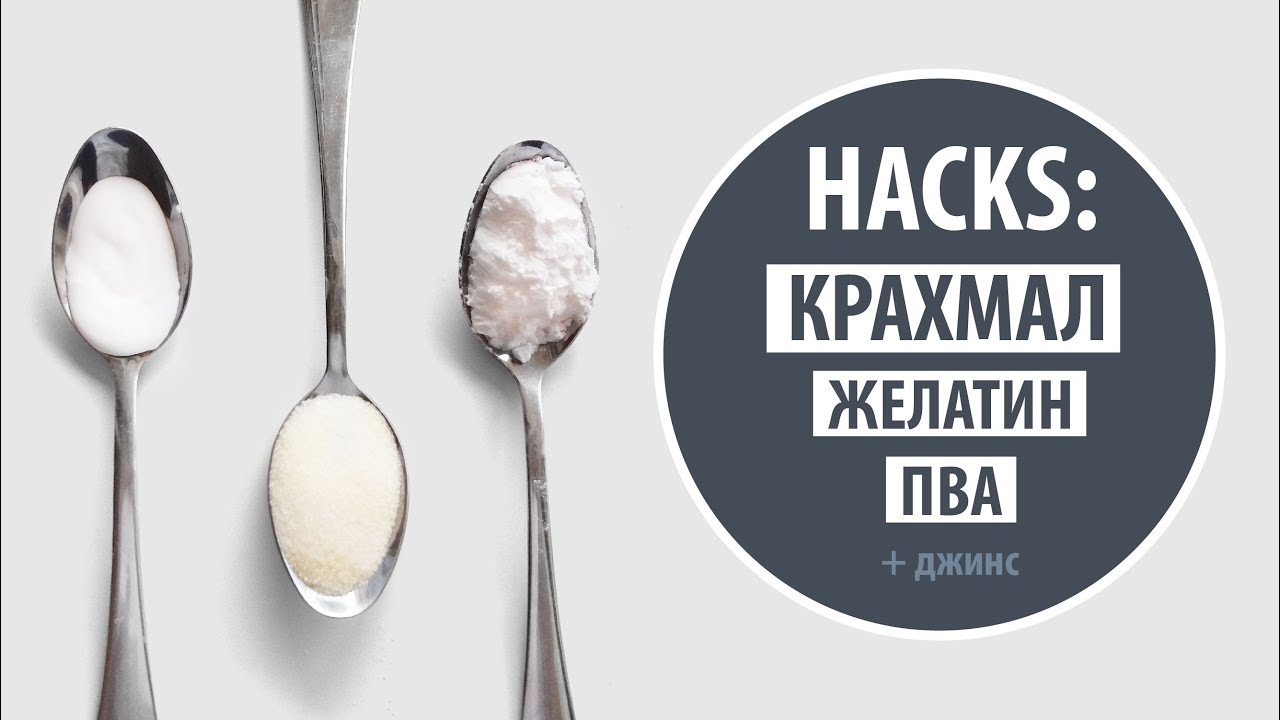
Sugar solution for starch is prepared as follows: 2 tablespoons of granulated sugar must be dissolved in a glass of water. Heat the resulting mixture and add 1 tablespoon of starch. Stir until smooth and remove from heat. Immerse the knit in the solution for 10 minutes, squeeze lightly and iron with an iron.
PVA glue
To fix a variety of shapes and obtain a hard napkin, you can use the starching method using PVA glue.
- To do this, you need to mix the glue and water in the same amount, and mix the resulting mass well.
- Next, you need to immerse a napkin in it for 10-15 minutes. After fully soaking, remove the product and let it dry.
- When the product is almost completely dry, shape it to the desired shape.
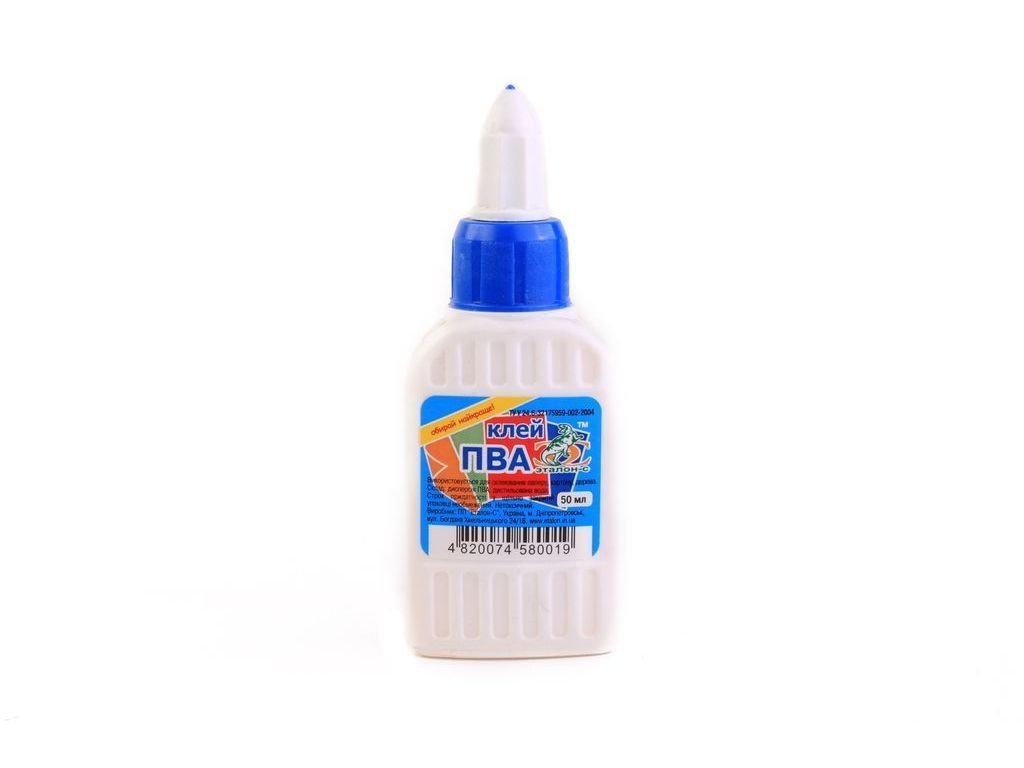
In the case of using silicate glue to prepare the solution, dissolve half a teaspoon of glue in two and a half liters of water.Further, the process completely coincides with the use of PVA glue.
Salt
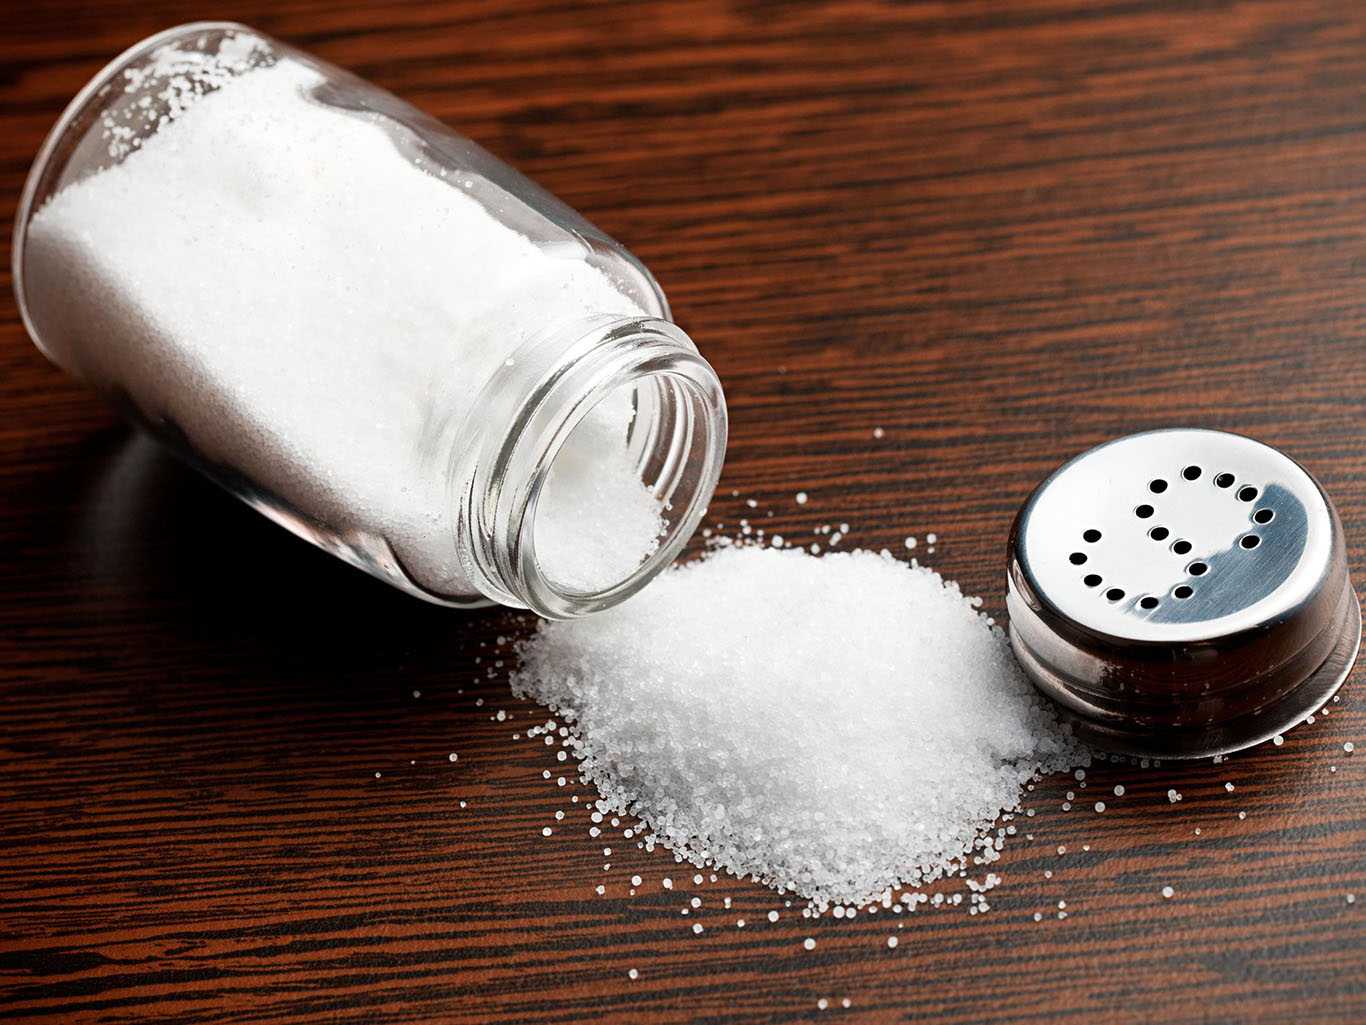
To give the napkin a glossy look, you can add half a teaspoon of salt to the still hot paste. Next, you need to mix everything well. After that, place the napkin in the solution for a while and then squeeze it out.
Spray can
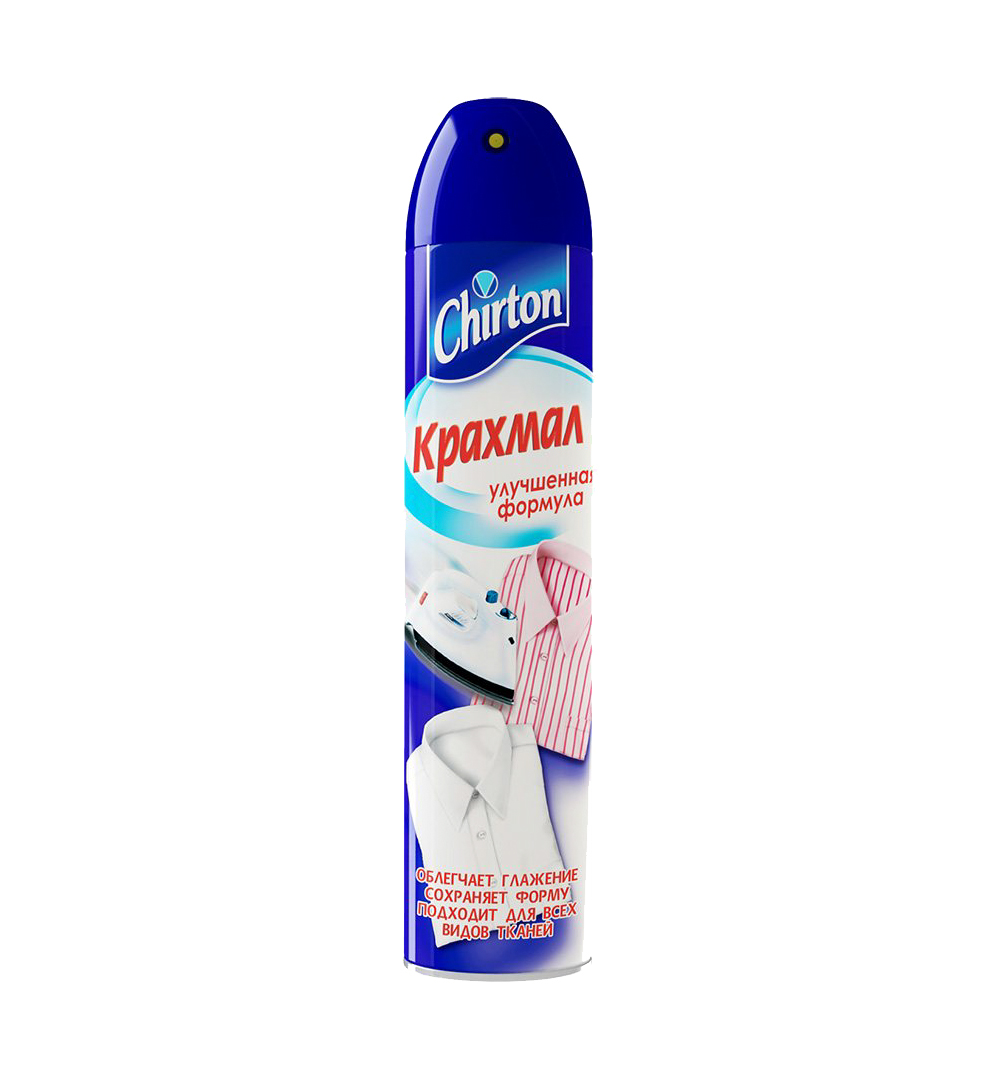
In stores, special aerosol containing starch is sold. In accordance with the instructions for use, a slightly wetted napkin should be sprayed with an aerosol and ironed with an iron. Unfortunately, this method gives the appearance of starch only for a short time.
Gelatin
You can use gelatin to shape the napkin. To prepare the solution, two tablespoons of gelatin must be poured into a glass of warm water, and wait until the gelatin swells. Next, you need to steam it until the grains dissolve.
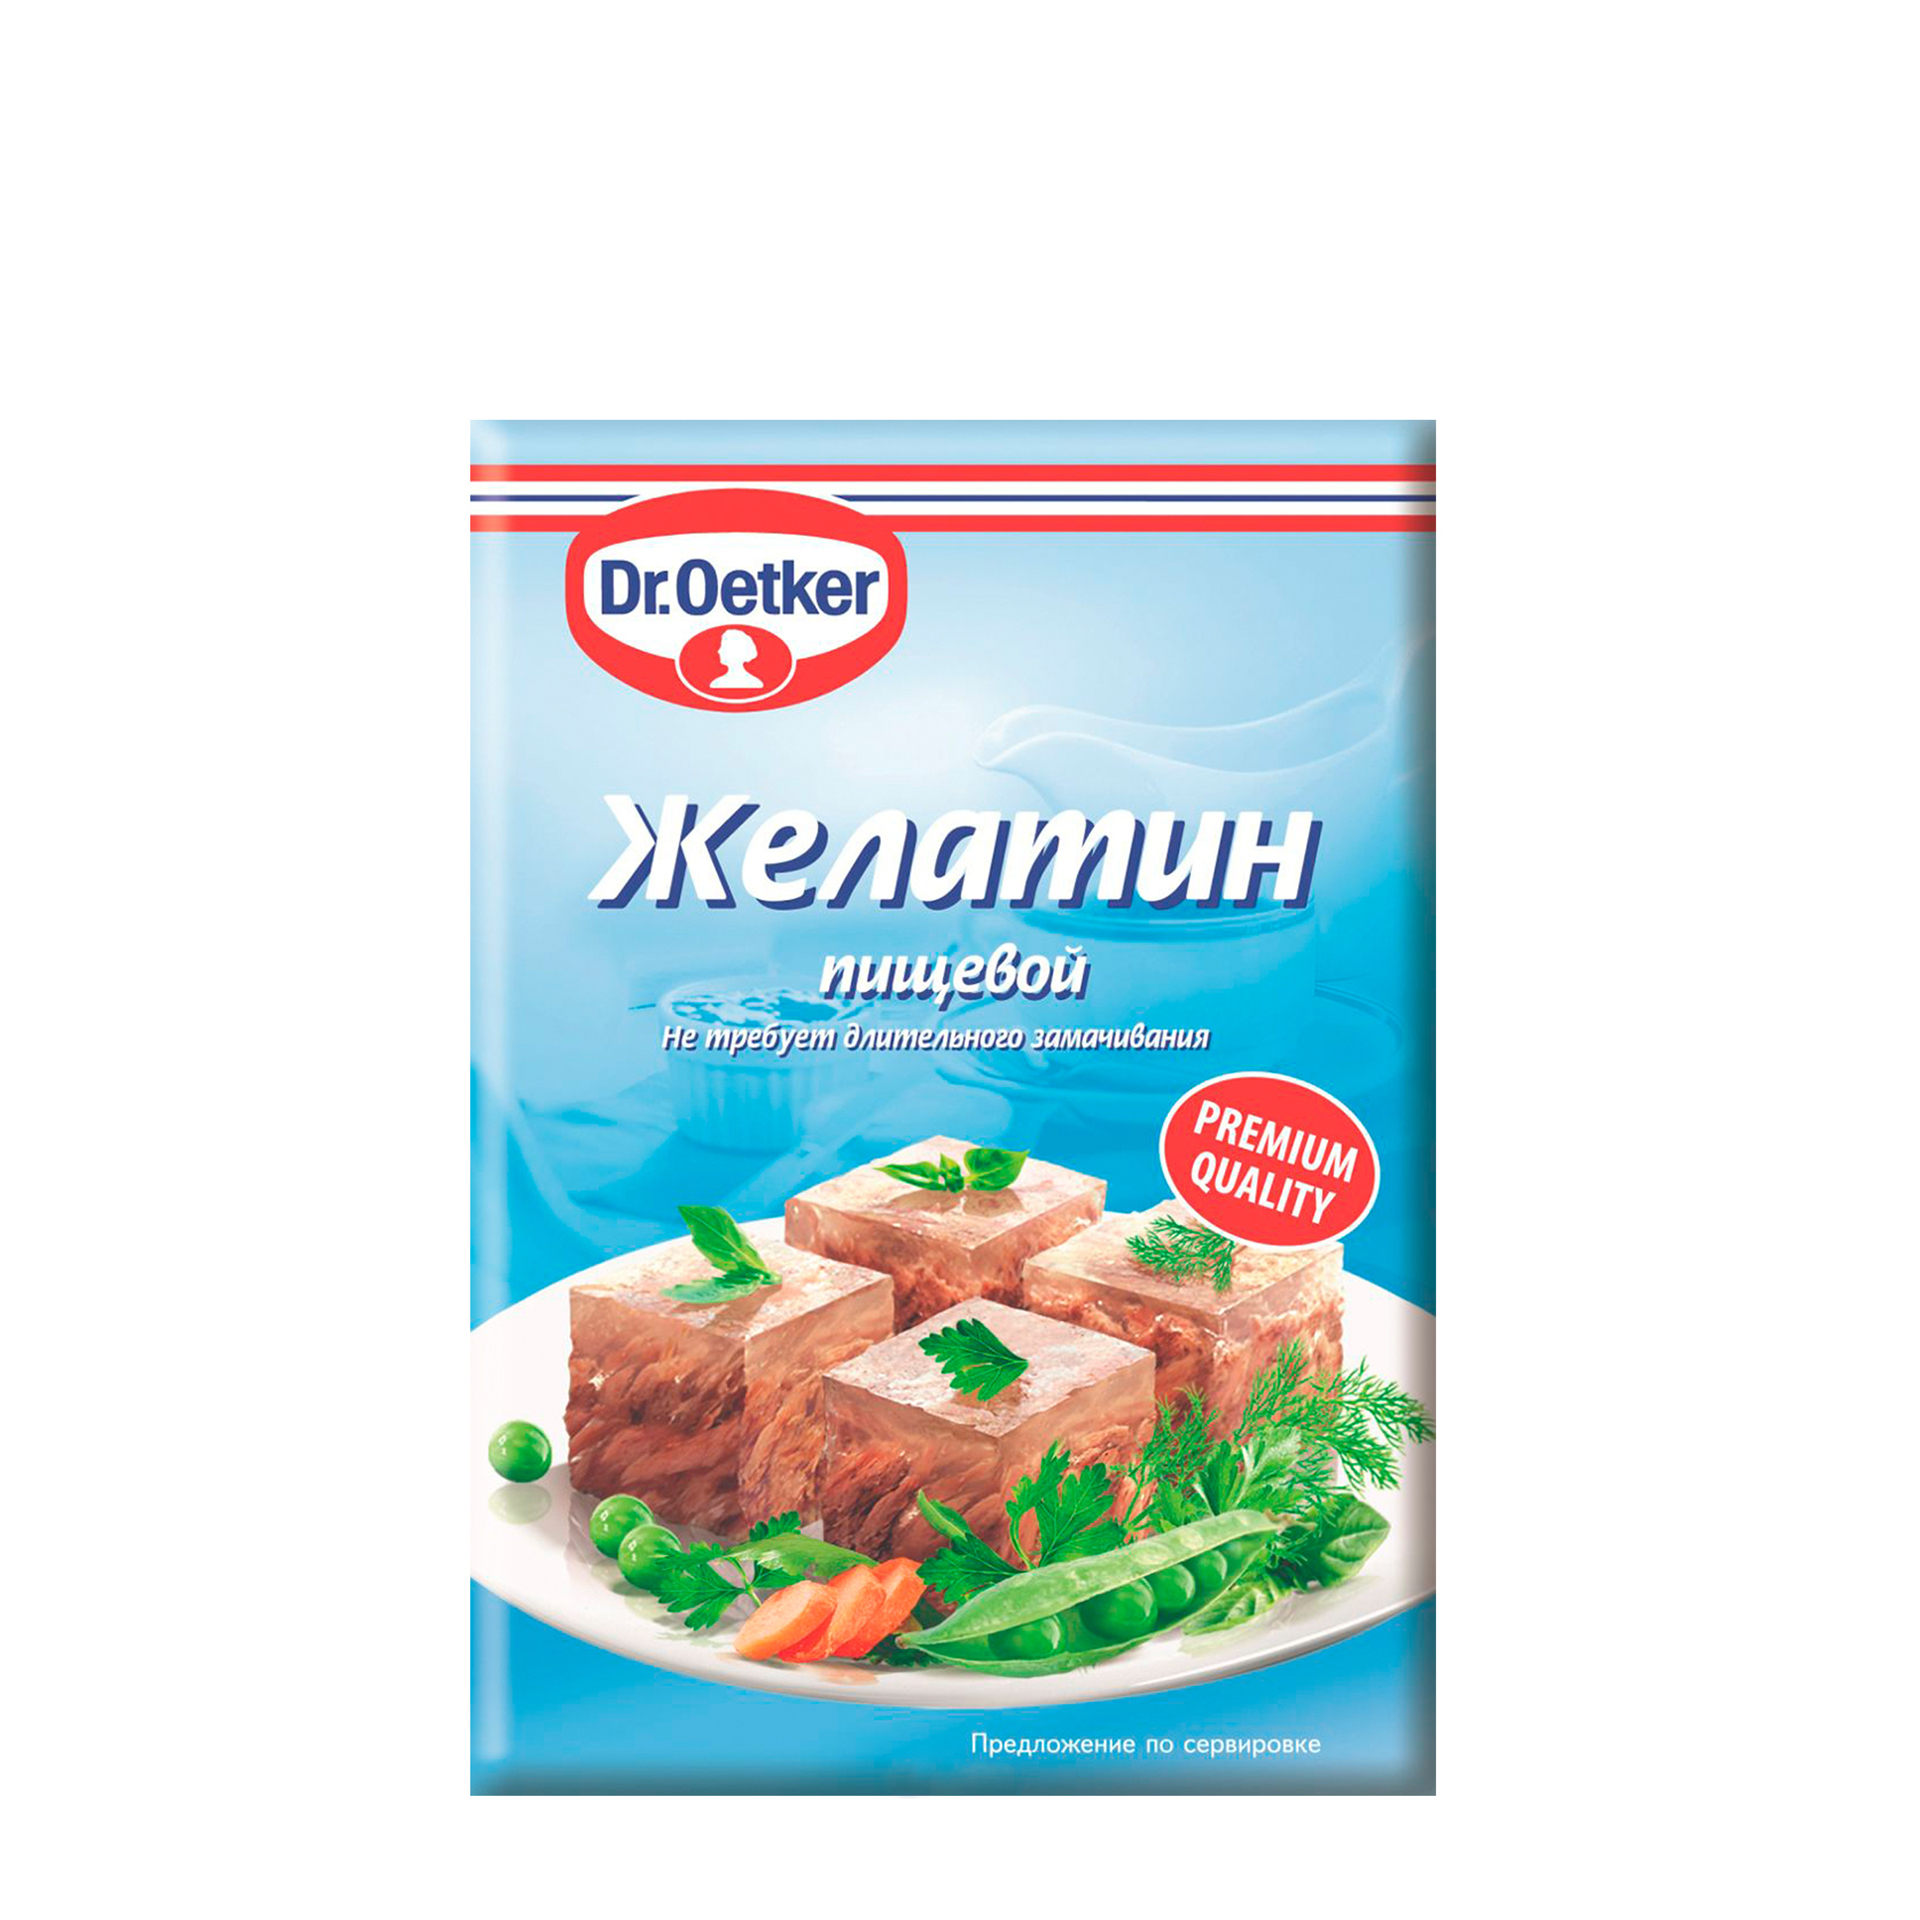
After the solution has cooled, place a napkin in it and let it soak, then dry it.
Dry method
If you don't want to mess around with starching for a long time, you can resort to the dry method. It consists in the fact that you do not need to prepare a paste and soak a napkin. Simply on the product, fixed on a flat surface, starch is poured in a small uniform layer, for example, through a sieve.
Spray lightly with a spray bottle. Dry, iron and shake the napkin, shaking off the remainder of the starch. You can brush over it to completely remove the crumbs.
Important! The disadvantage of this method is that the napkin becomes firm and elastic for a short time and quickly returns to its original appearance.
Cold way
The nuance of this method is the absence of the need for heating the solution. The starch is mixed with cold water. A napkin is placed in it for about half an hour. Then, it is dried in the usual way. The product is slightly hardened.
Features of drying, ironing and storage
After starching, it is necessary to properly dry the product. To do this, spread it on a horizontal perfectly flat surface, otherwise, after drying, the product will take a crooked ugly shape. Better if it gets sunlight.
Place a thick white cloth, sheet or towel in advance to secure the product with pins, about 1 cm thick. This is done to immobilize the drying masterpiece in order to avoid deformation. First, the middle of the napkin is fixed, then the edges.
The distance between the pins is measured with a ruler so as not to skew the product. For greater confidence, you can additionally fix the gaps between the main mounts.
Important! The litter should not get wet, otherwise the product will dry for a long time.
If the product is bulky, then it should dry directly on the object being shaped, a bowl, saucer or even a balloon, which then bursts and is carefully removed.
Not always after drying, but in some cases ironing may be required.
Quickly, without heating up the iron too much, gently iron the napkin. So that it does not deteriorate, it is better to cover it with gauze. Now you can enjoy the result, decorate the room with your work or give it to a loved one.
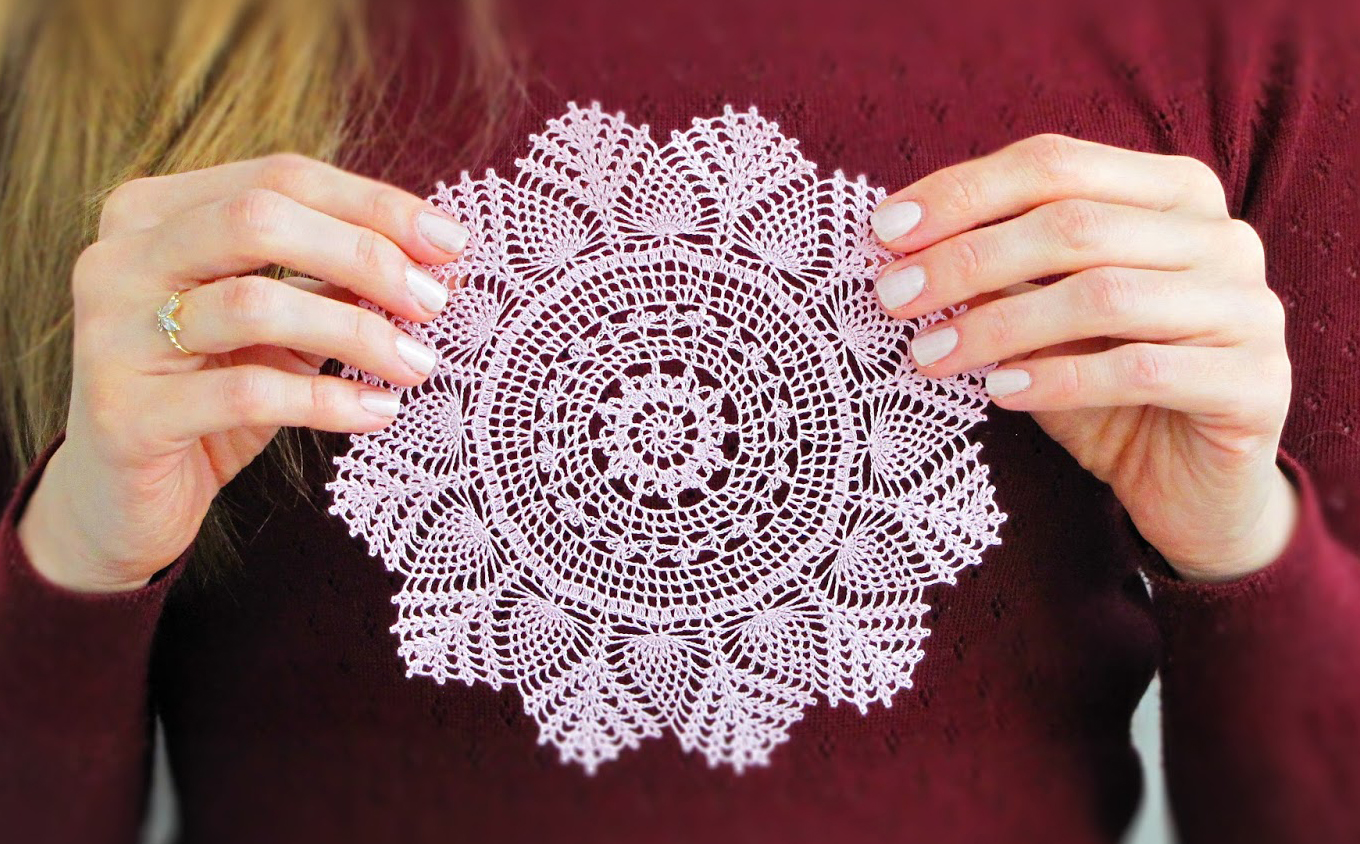
However, do not forget to keep the napkin as beautiful for a long time, you need to follow the operating conditions. The room should not be too humid, otherwise it will lose its shape and mold, spilled sugar can lead to the appearance of ants.Also, try to keep it clean and avoid staining.
What napkins can not be starch
You can knit something from various threads. For starching, you need to choose white cotton or linen yarn. It makes no sense to starch woolen, silk, synthetic works, as well as products from floss.
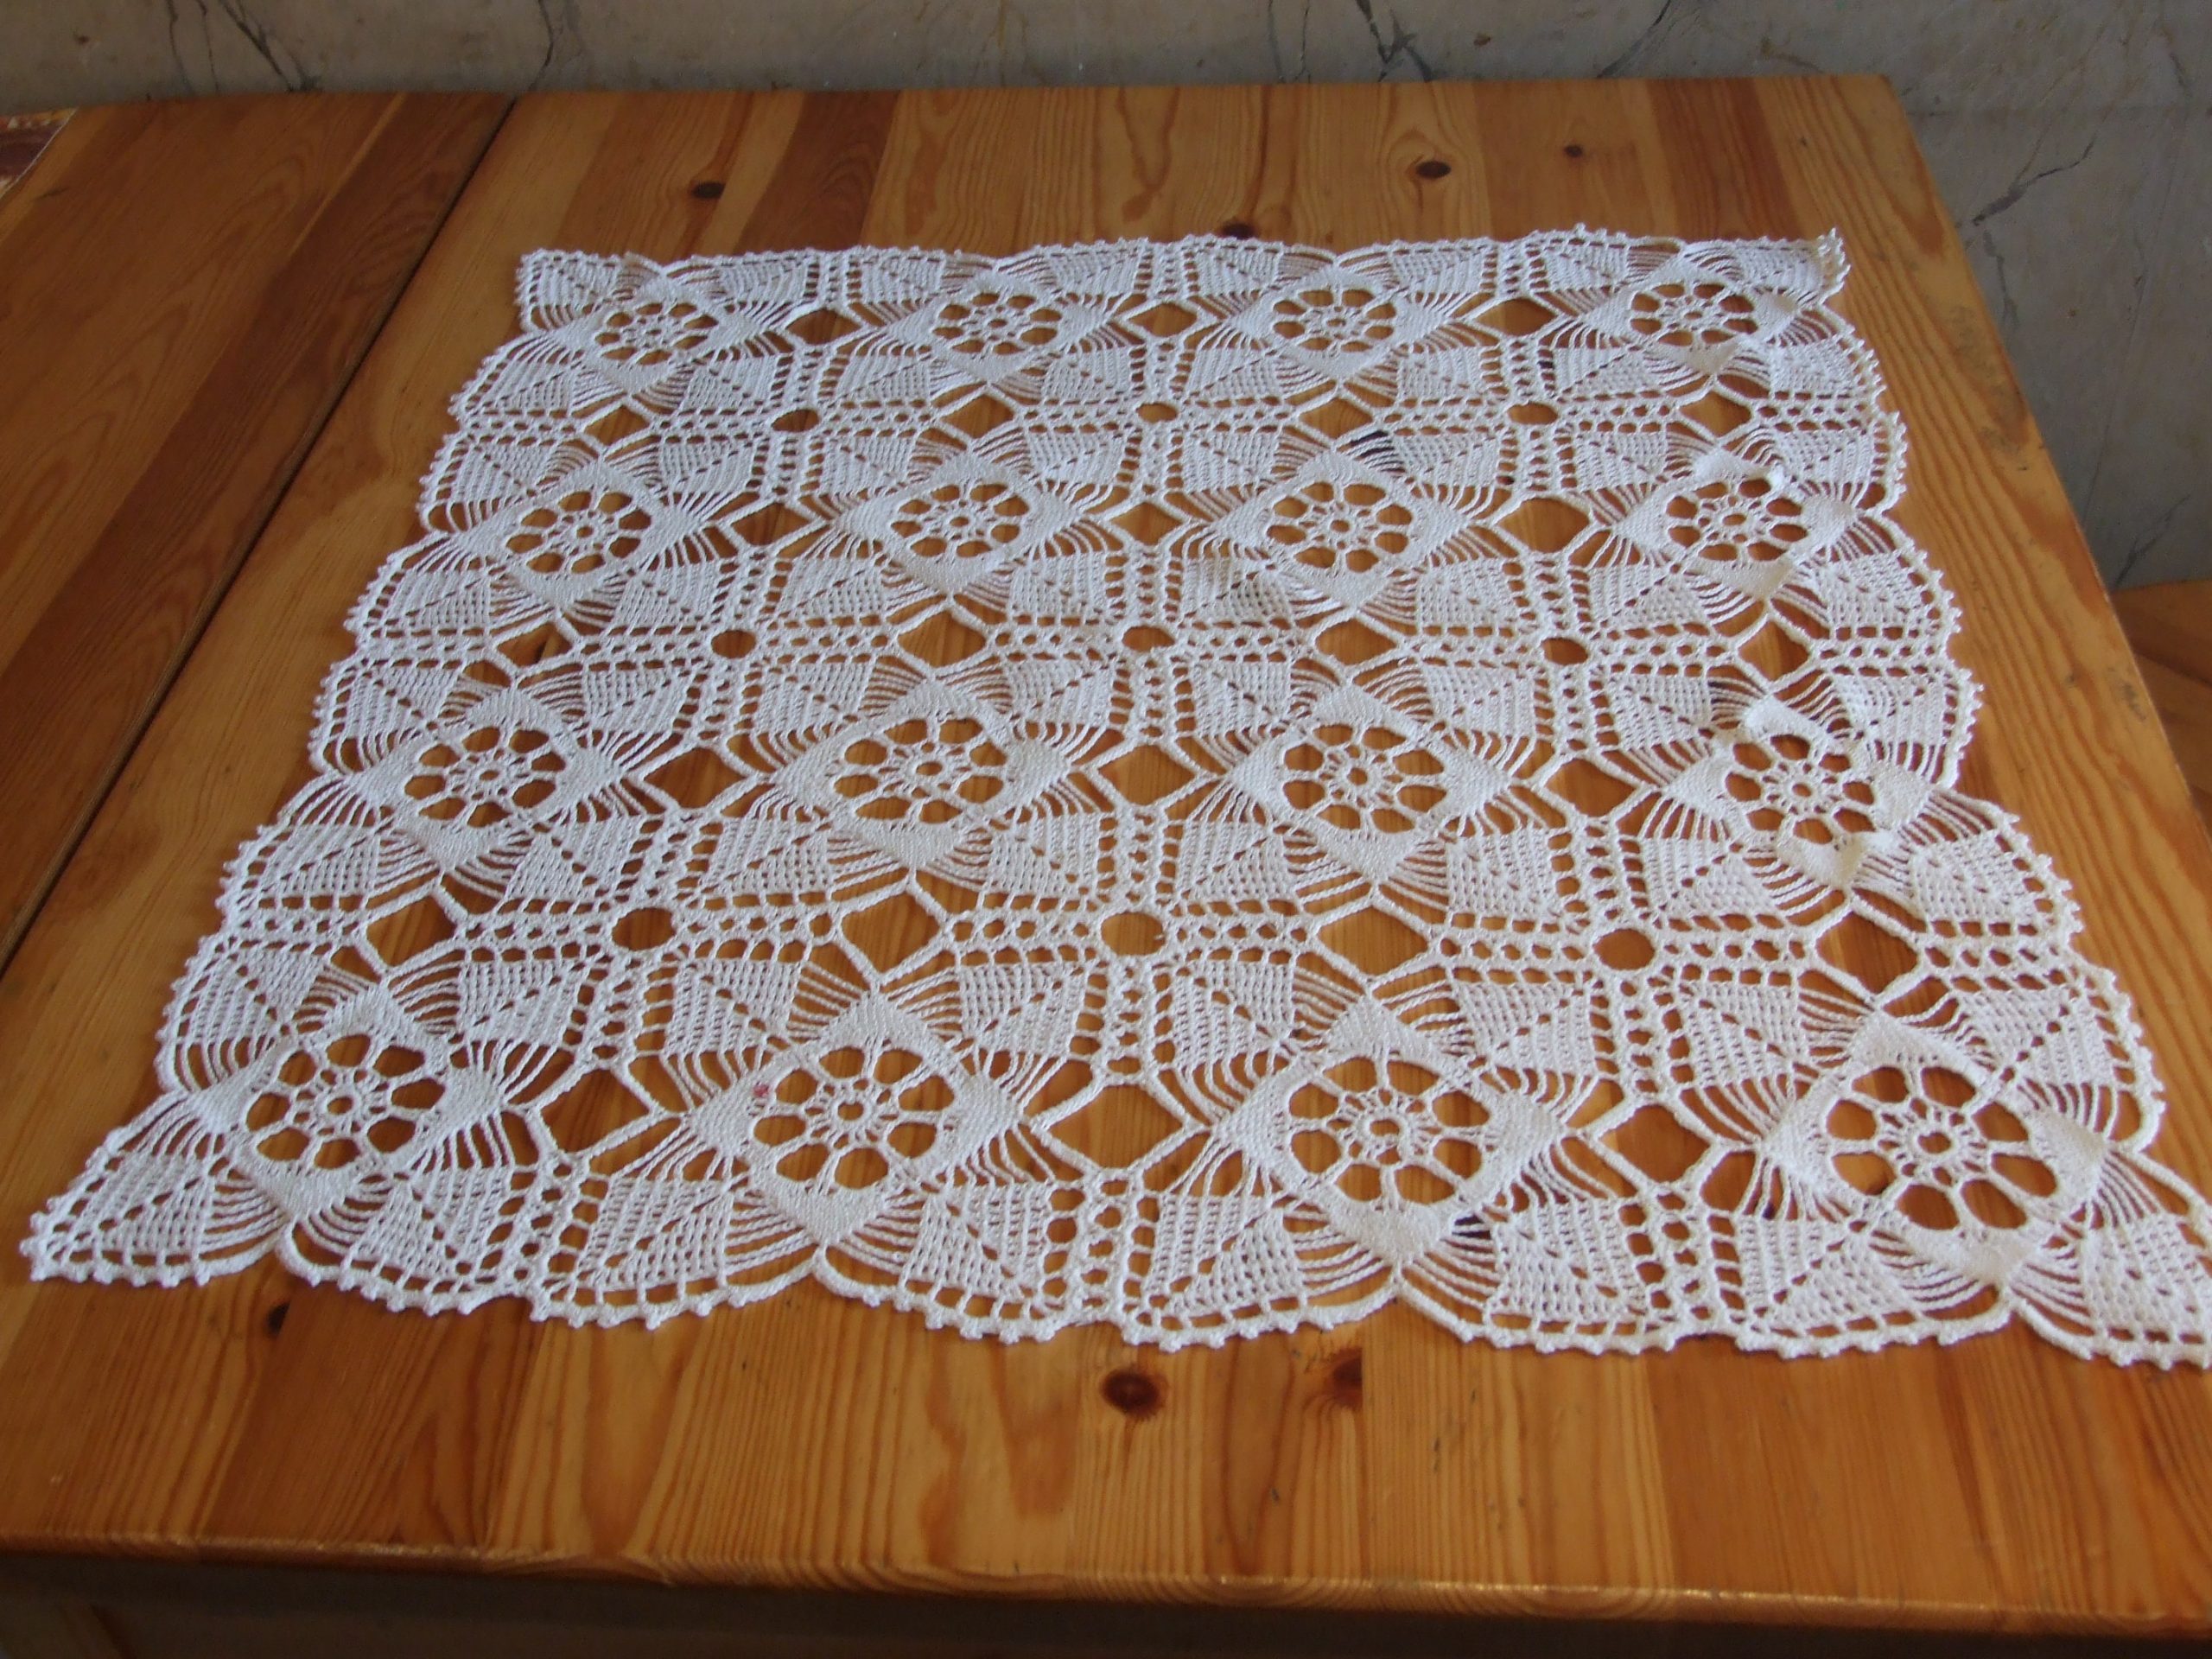
On the contrary, instead of stiffness, they will completely lose their texture. And colored and dark napkins will lose their color and acquire ugly whitish stains.
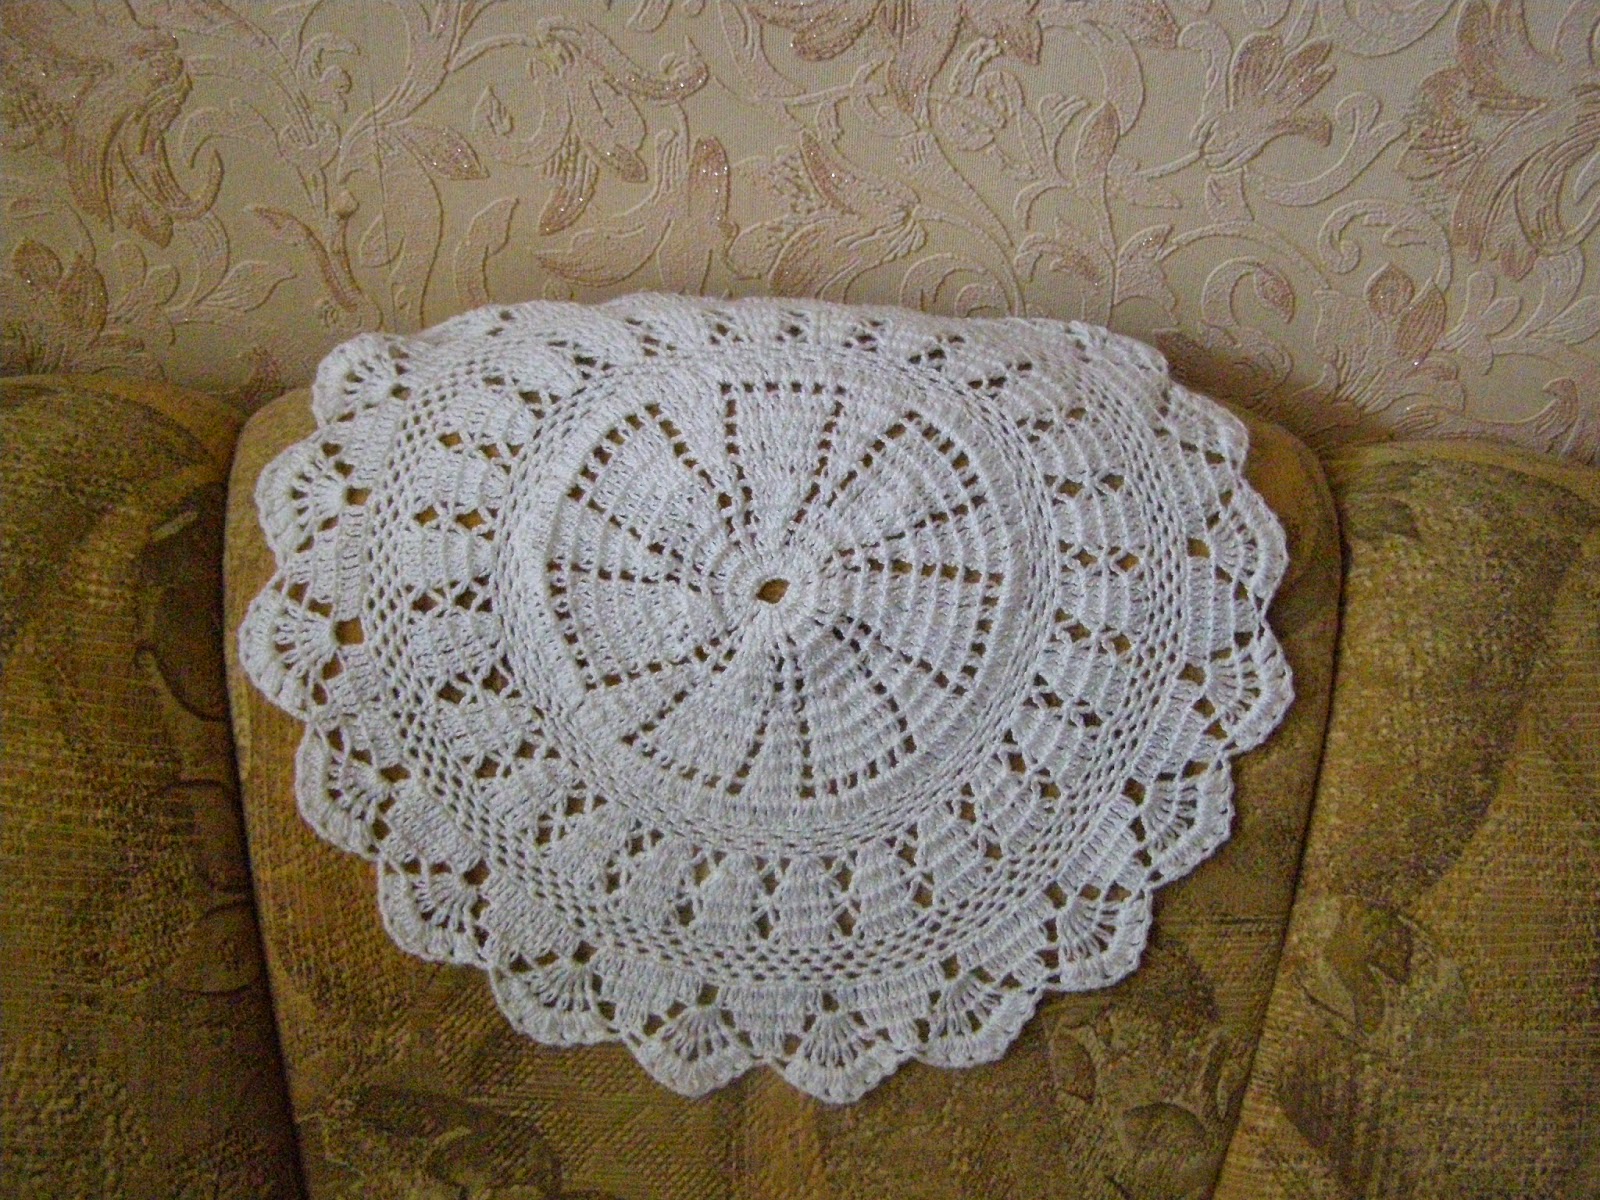
We hope that after studying our article, you will understand all the features of the question of how to starch crocheted napkins with starch and using other methods, and you will be happy to do what you love, creating handmade masterpieces.
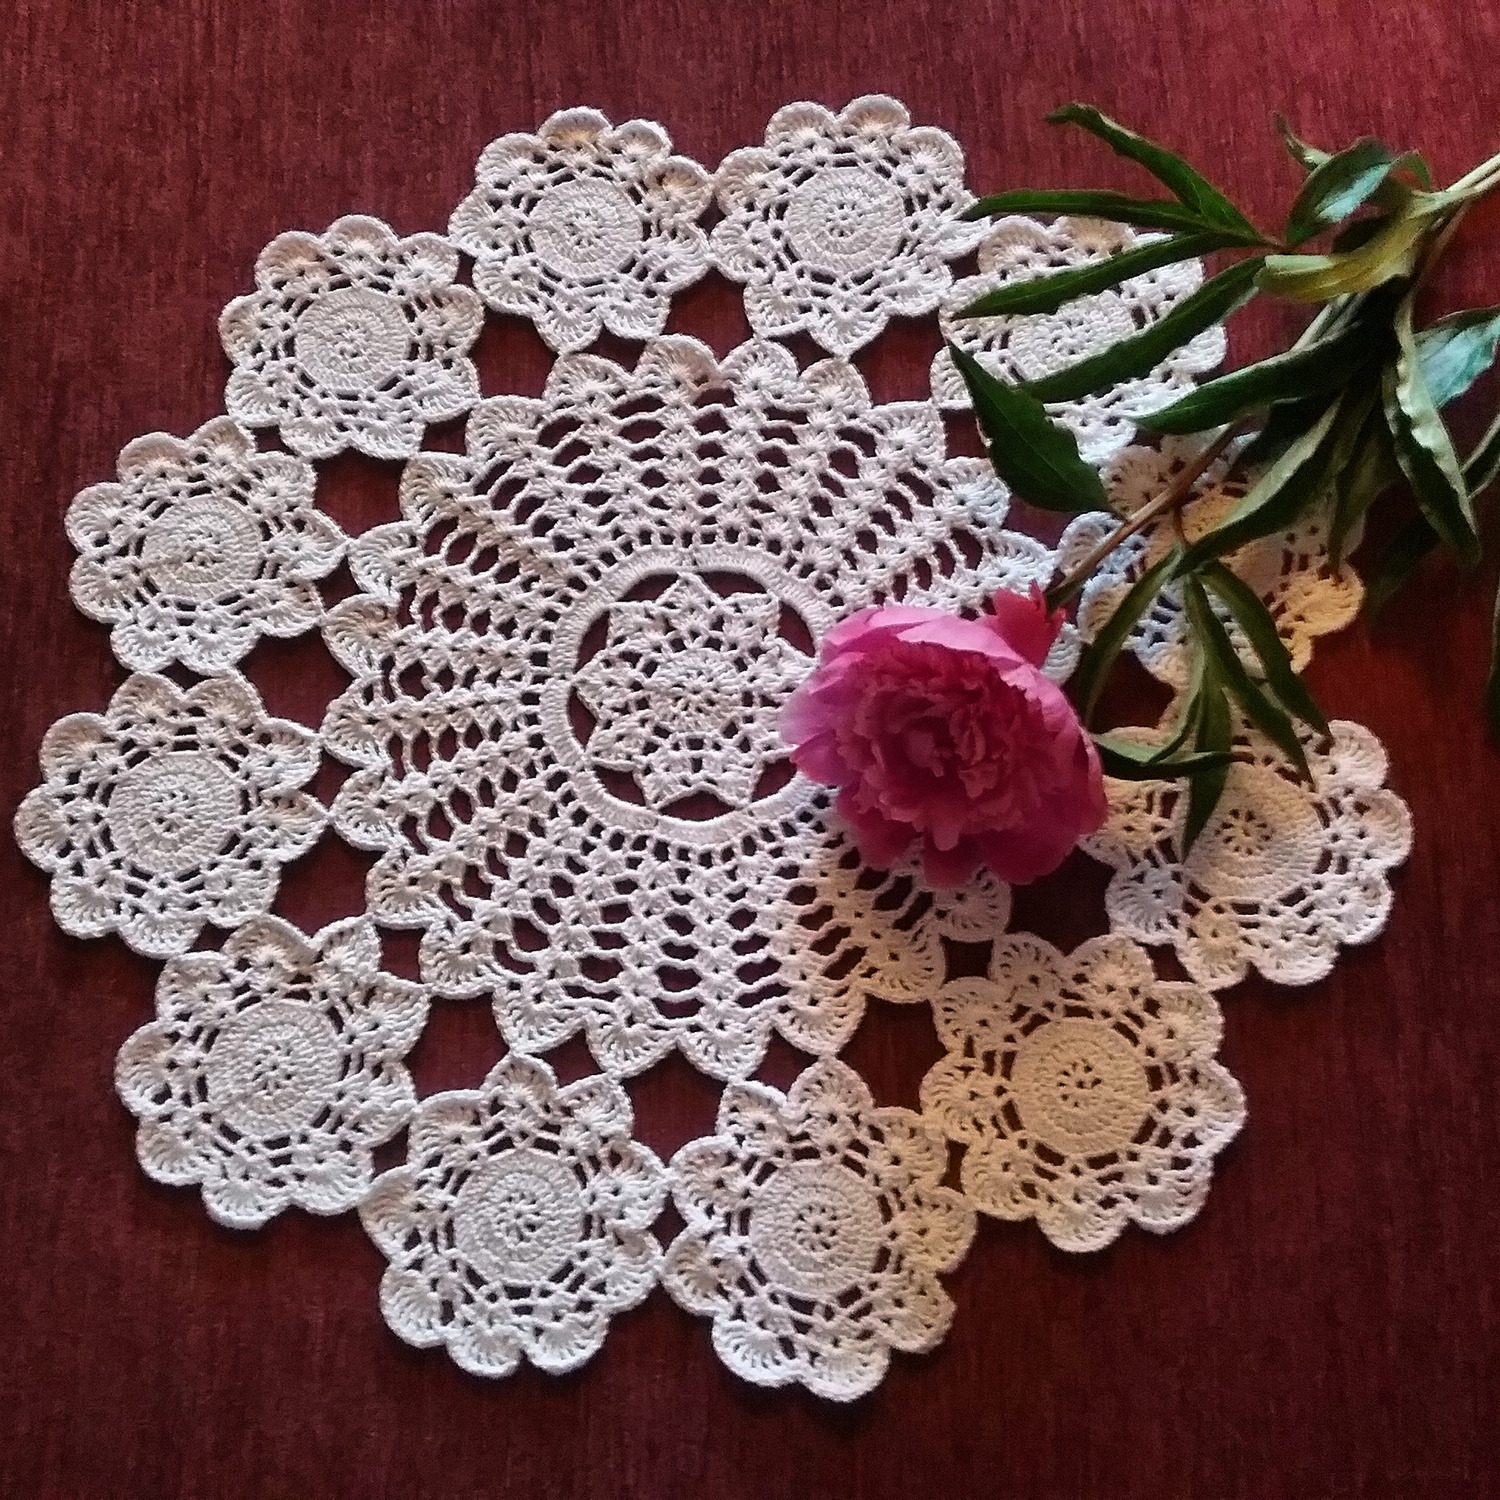
They will give comfort to your home, bring joy to you and your loved ones, and maybe even bring you some income.
Video: how to properly starch napkins
