Sealing the camera on the bike
Lovers of fresh air switch to a bicycle for a pleasant pastime or to get to work, which is economical and useful. A road accident can happen any time the wheel is deflated. A beginner may be faced with the question: how to glue the bicycle camera at home so as not to contact the service department.
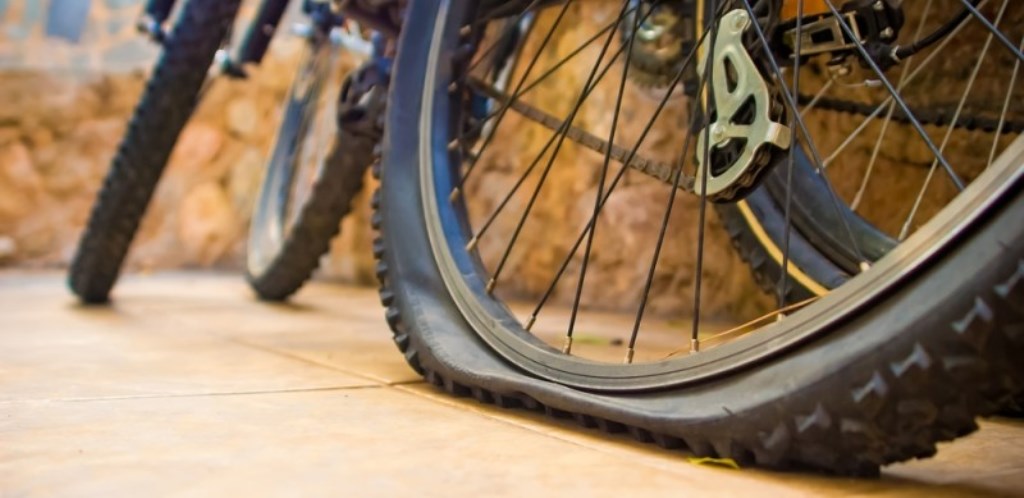
Preparing the camera
To find the puncture site and make repairs, you need to remove the wheel from the bike.
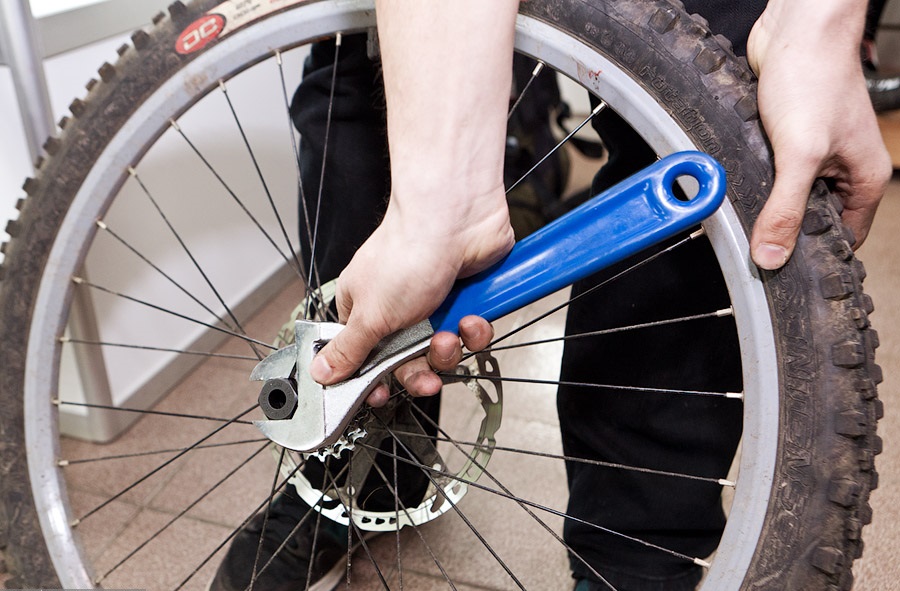
On mountain and sports bikes, the wheel is latched and removed in half a minute. Simple road bikes will require a wrench.
How to remove it correctly
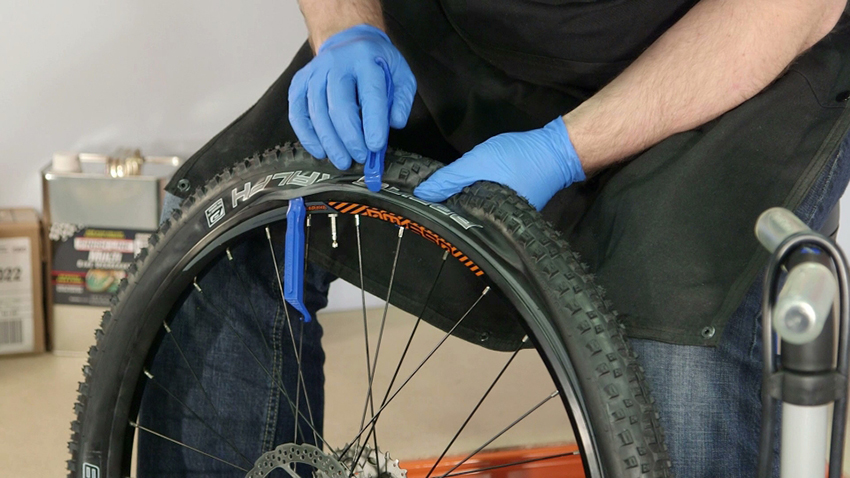
When disassembling, you need to remove the cap, unscrew the spool and deflate the bicycle wheel, so it is easier to reach the camera. With a plastic mounting we hook the rim in several places, 2-3 points are enough to pull out the bike camera. Instead of a mounting, you can insert a screwdriver or an ordinary spoon to bend the tire away from the rim. We carefully pull the camera out of the tire, and you can start looking for the place of damage.
Finding damage
- You can find the puncture site by ear. To do this, you need to pump up the camera a little and listen to where the air comes out. Place a mark with electrical tape or chalk where you need a patch.
- It is easier to locate the hole with a bowl of water. We lower the pumped-up camera into the water and fix the place where the air exits, you can insert a match into the hole. But before gluing the puncture site, the camera must be dried.
- The hole can be found with a soapy solution, this will dry the chamber faster and keep the patch clean. Add 3-4 drops of dish detergent to a glass of water, whip up the foam and apply it with a sponge on the surface of the camera. The puncture site will bubble.
Before starting repair work, pay attention to the condition of the rubber. Severe abrasions and many small cracks signal that it is time to change the camera, and not glue it.
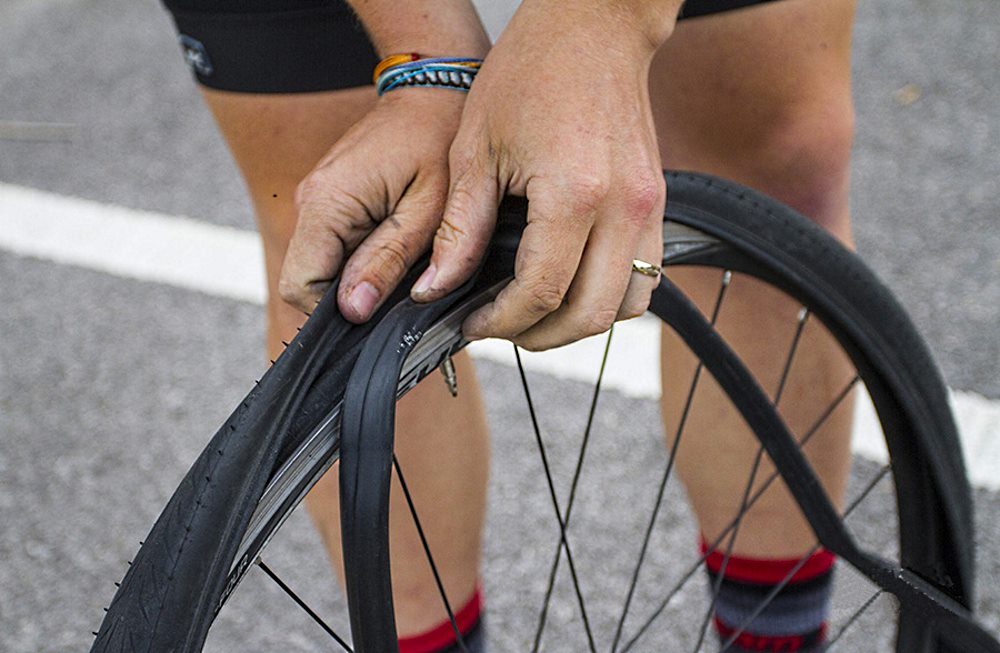
The better to glue the camera
When riding a bike, you should always have the necessary wheel removal wrench set and a repair kit with you. It will help at home and in the field when repairing a puncture. Driving on a flat tire can compromise the integrity of the tire and deform the rim. This will result in a wheel change, which is an expensive purchase.
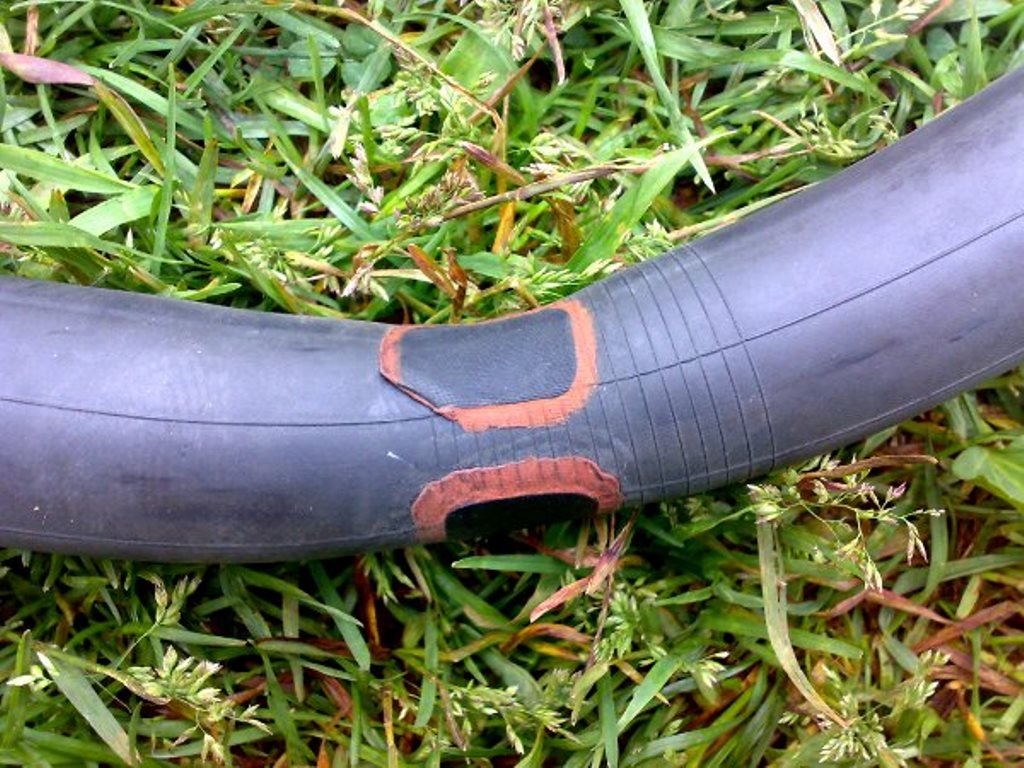
Automotive and specialized bicycle shops sell repair kits for all types of tire damage and repair.
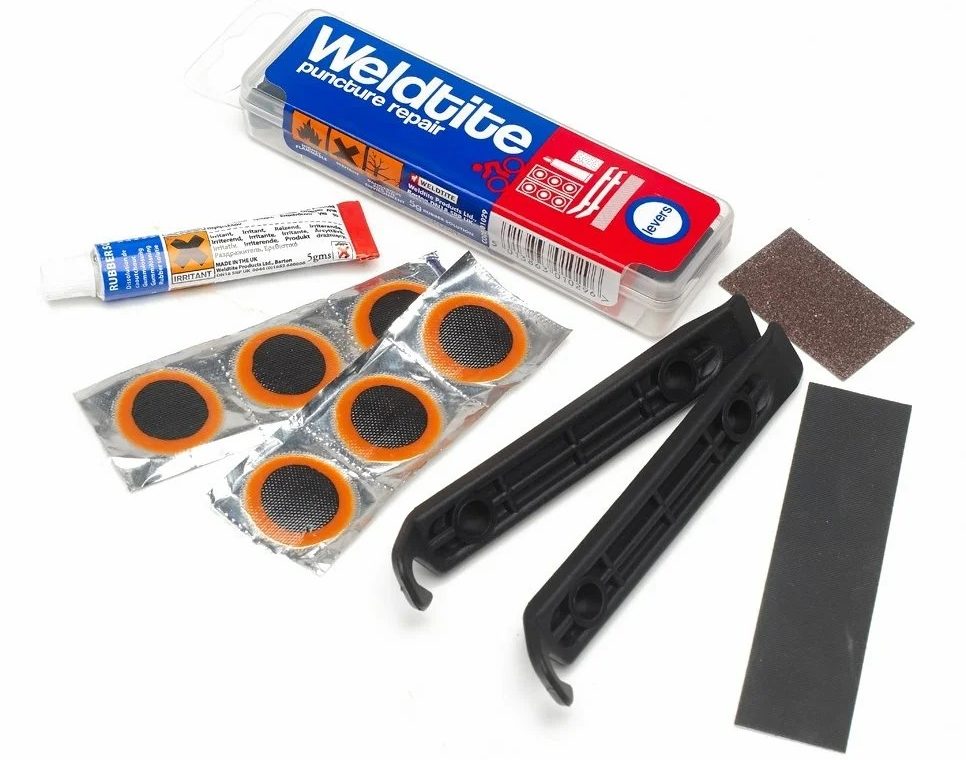
Using a repair kit
Novice bike enthusiasts often ask themselves the question: how to seal the bicycle camera using a repair kit. Detailed instructions are written on the packaging, but the sequence of the process can be confused.
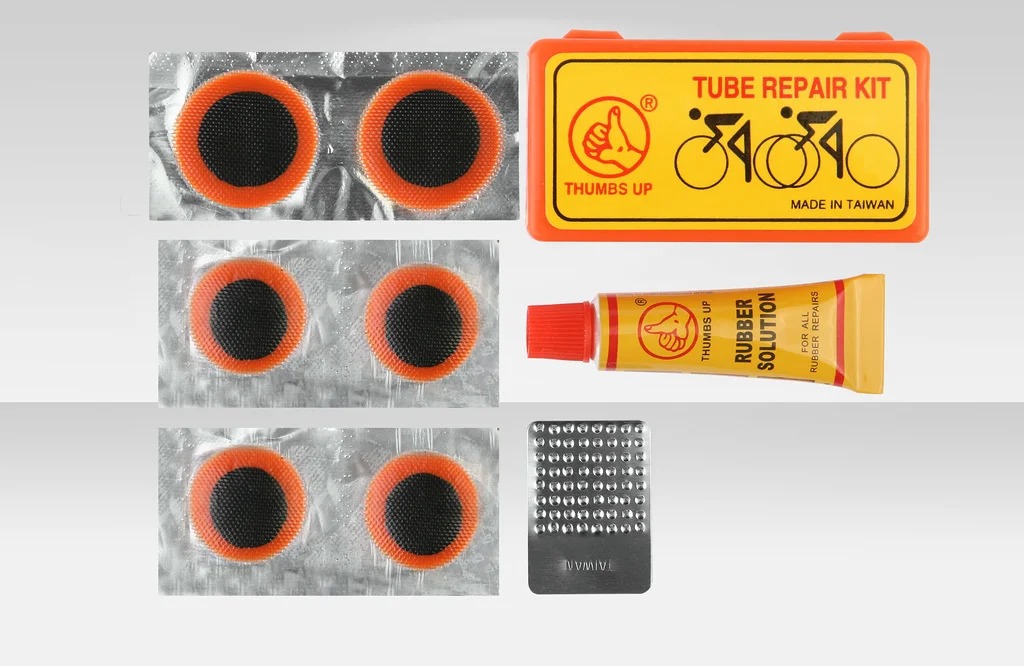
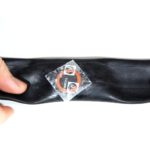
The kit includes: 5-6 rubber pads for all types of damage, special quick-drying glue, a piece of sandpaper for cleaning the joints, a bottle of acetone for degreasing the surface and plastic assemblies. There are kits sold with self-adhesive adhesive patches. It is enough to remove the protective film from the cover and apply it to the cleaned surface of the camera. Removing such a patch is quite problematic from rubber, so when applying it you need to be careful and precise. The patch will serve until the camera is replaced, they can be applied countless times.
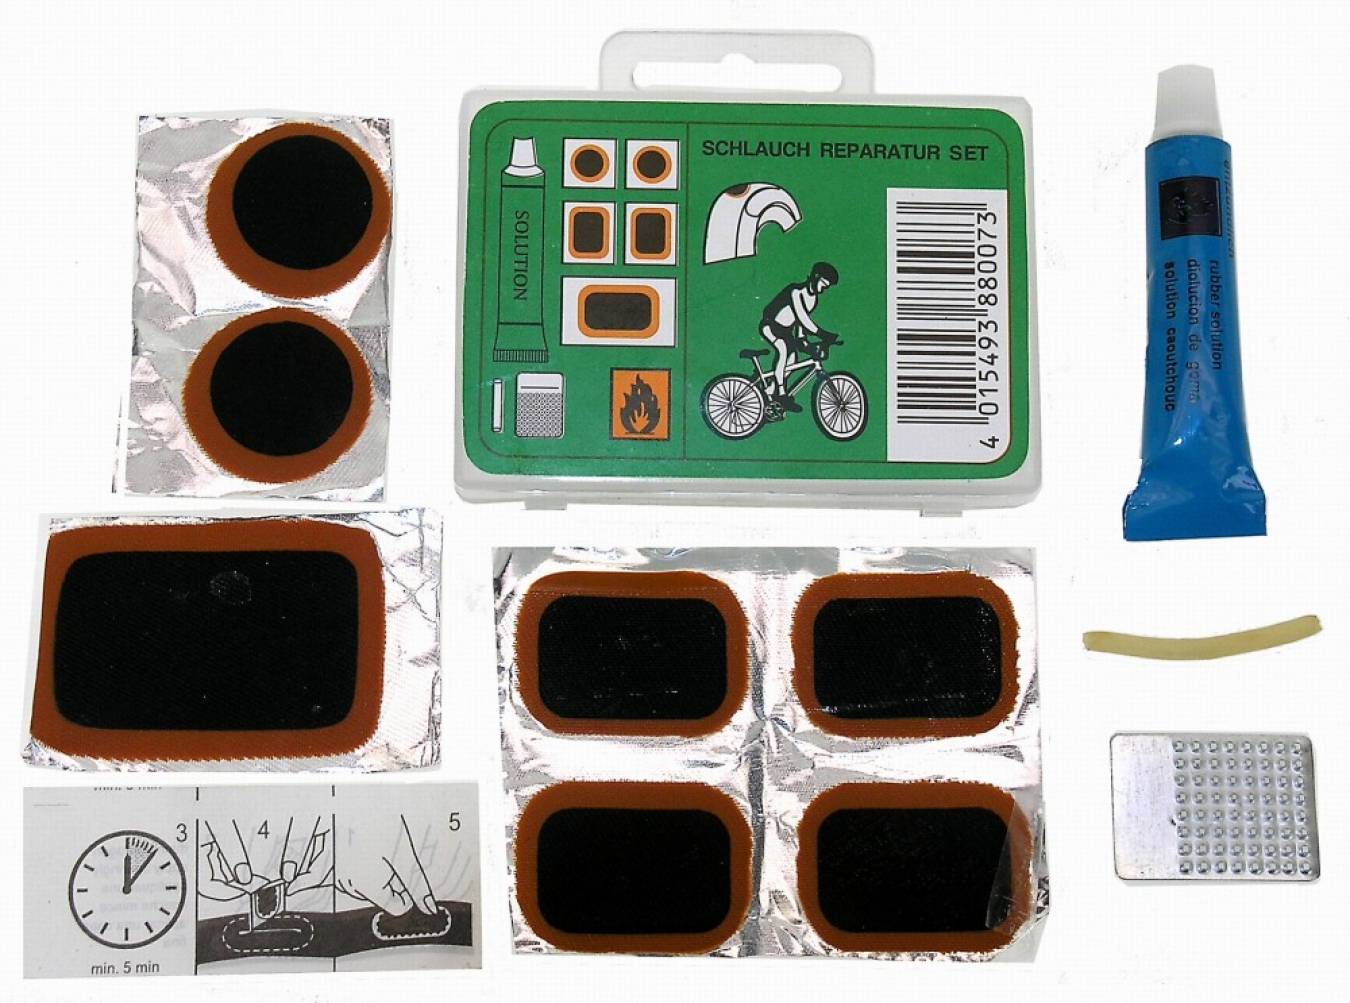
Special glue
In order to glue the tires on their own, several compounds are sold, moisture resistant and designed for difficult working conditions - for heavy loads.
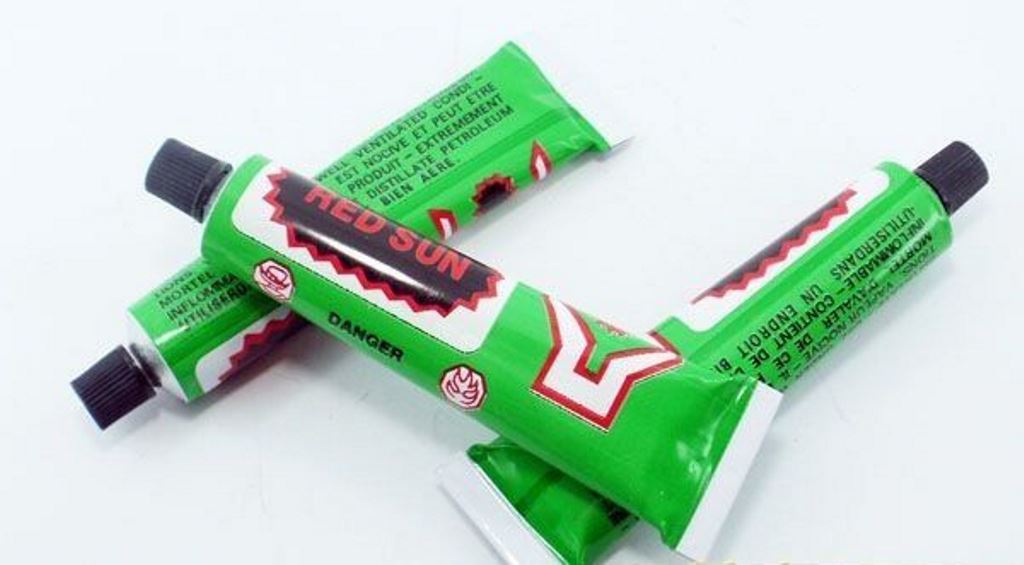
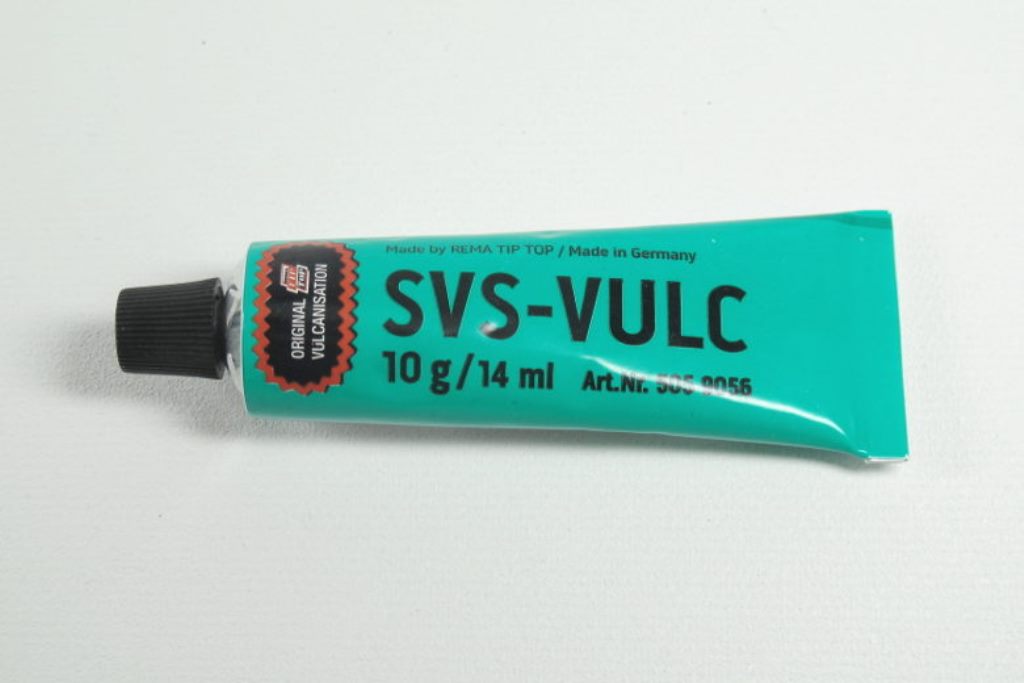
Types of adhesives for repairing a bicycle camera:
- Moment. Suitable for universal, "crystal", "extra" and rubber. These compounds are used for all rubber compounds. Complete drying of the patch takes 24 hours. For quick repairs, pay attention to the "superglue" from this series. It is sold in small tubes that you can always have with you and use when needed.
- Tip Top SC. Consists of two components. It is used at a temperature of + 10-25 degrees. Demanding for cleaning and degreasing glued surfaces. To obtain glue, mix 10 grams of base and a drop of hardener, smear the joints and press them together. The camera will be ready for travel in 10 minutes.
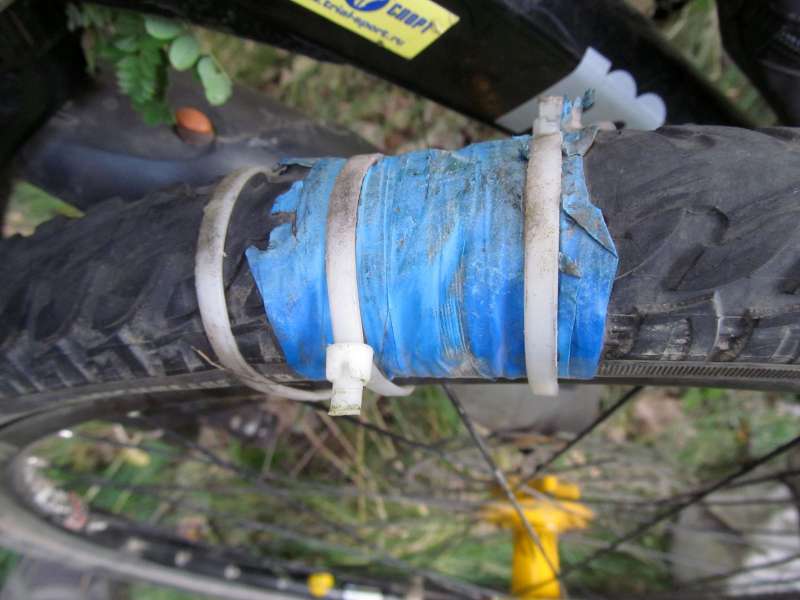
If it is impossible to properly repair the wheel in the field. PVC tape or stationery tape will help you get home. The method is very unreliable, but it will help to drive several kilometers.
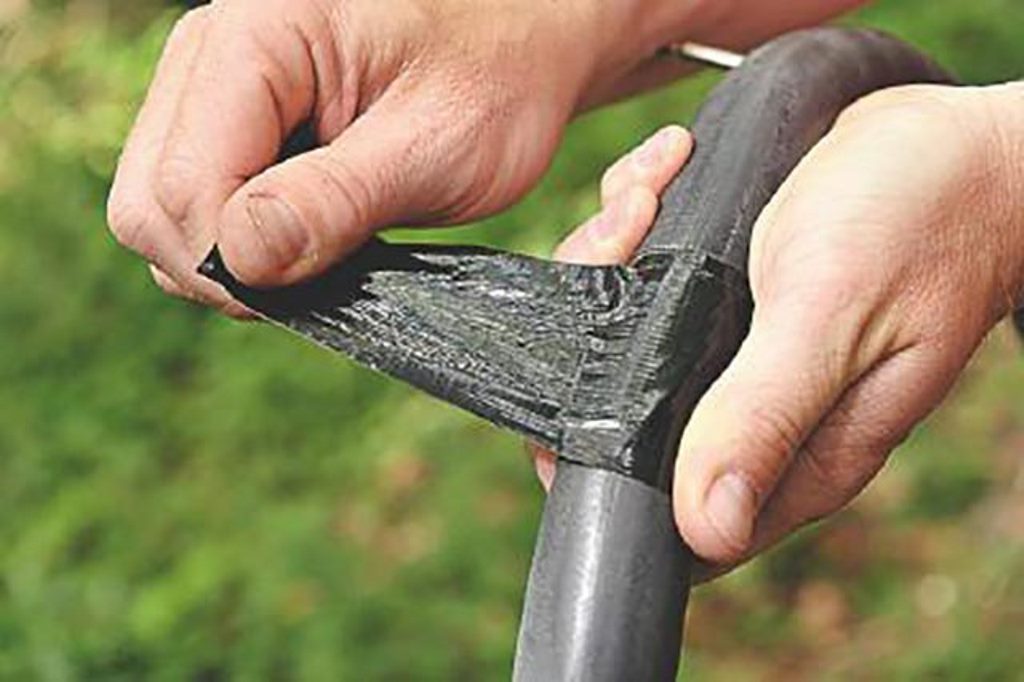
It is necessary to disassemble the wheel and find the puncture site. In case of minor damage, carefully wrap the camera over the puncture for 2-3 layers. Insert the tube into the tire with extreme care, without breaking the "wrapper".
How to glue with your own hands
Beginner cycling enthusiasts know little about how to remove the wheel, disassemble and which side to glue the patch to the bicycle camera. You have to learn how to deal with it yourself.
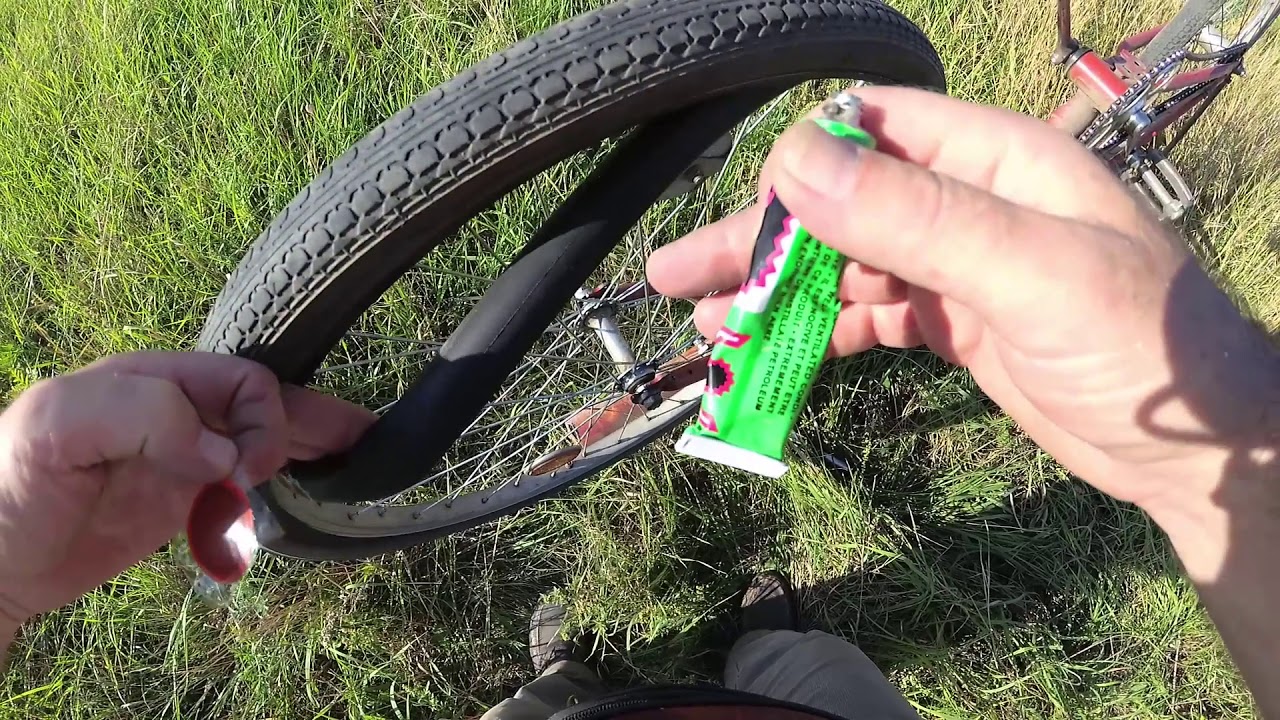
Bonding a patch
- Match the patch to the size of the puncture. It should be more than two centimeters in diameter larger than the hole. You can cut the patch yourself from the old tire.
- Sand the puncture site and patch with sandpaper. This will improve the adhesion of the surfaces.
- Wipe the bonding area with a degreaser. It can be gasoline, acetone, or any solvent.
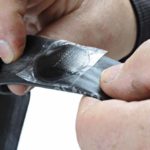
- Remove the protection from the purchased patch and press firmly to the puncture site. The adhesive will dry in 5-10 minutes.
- If the patch is cut by yourself. Spread a thin layer of glue on the camera and the patch, after 1-2 minutes, attach it to the bonding area.
It is better to apply adhesives in two stages. Apply a thin layer on the camera and patch and dry for 5-15 minutes depending on the air temperature. Then apply a second coat and dry again for 5-15 minutes. Place a patch over the puncture site and press down hard. Responsible adhesive joints are punched with a hammer through the gasket. The composition dries from 5 minutes to several hours, depending on the adhesive base.
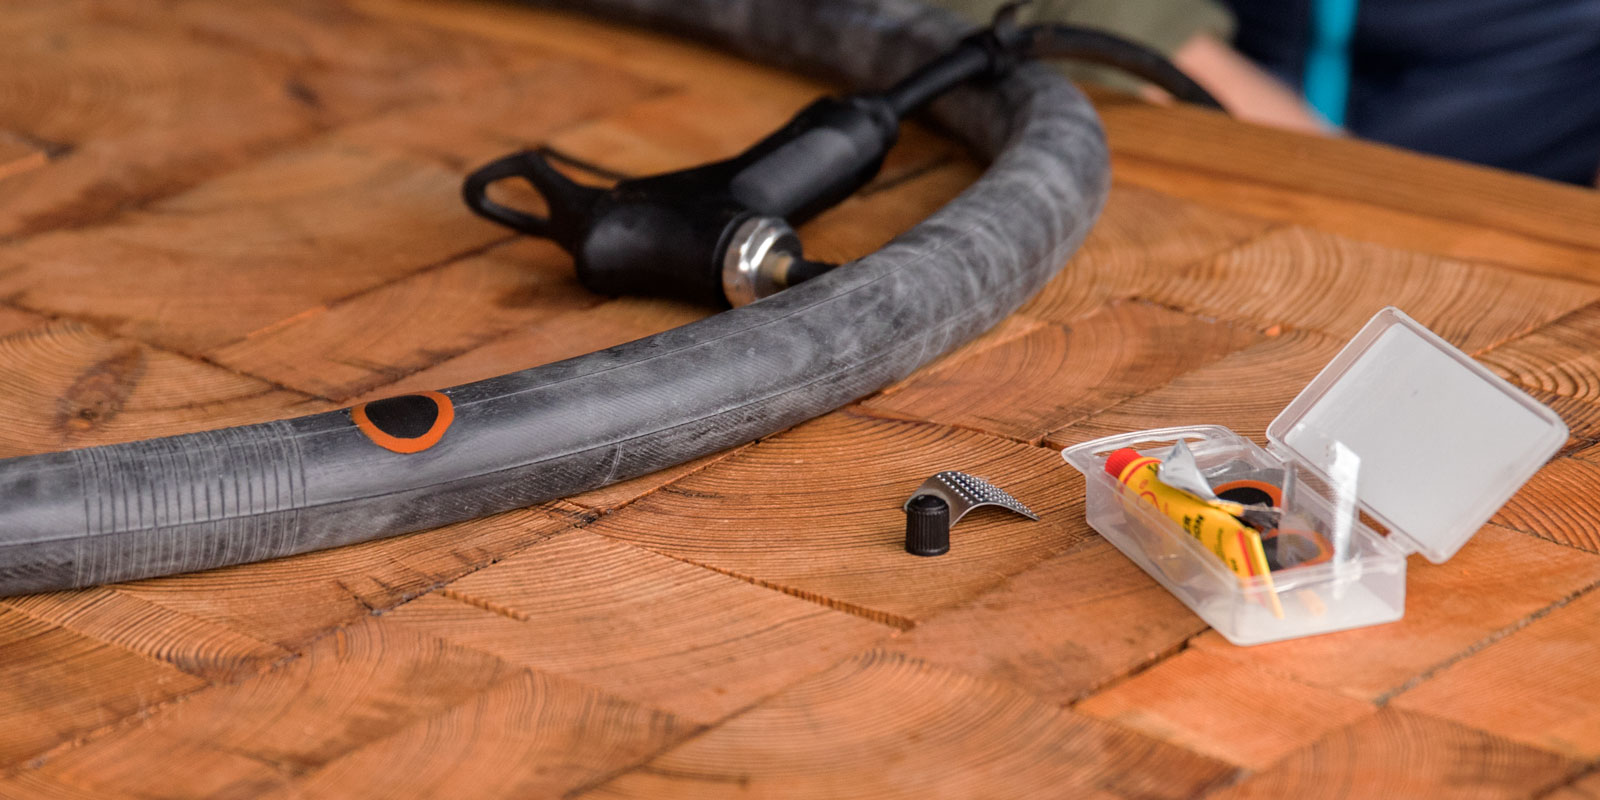
Once dry, you can gently slide the camera back into place. We pump up the wheel a little so that there are no creases, and the camera stands up straight. We remove the assemblies and fully inflate the wheel. You can go.
In order to avoid punching the camera and frequent sealing of holes, you can buy anti-puncture tape in stores, which protects the camera when hitting a sharp object.
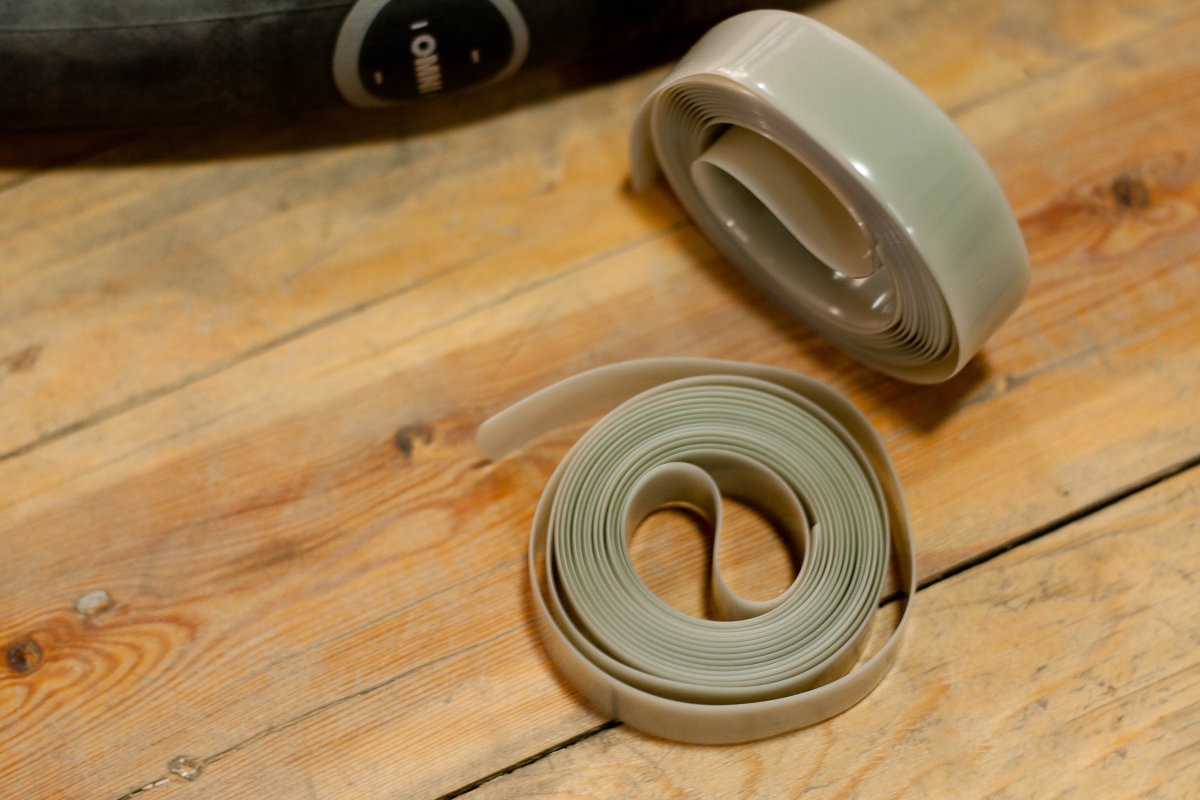
You need to purchase protection by footage equal to the circumference and width of the wheel. For installation, it is necessary to disassemble the wheels and lay the tape between the tube and the tire.
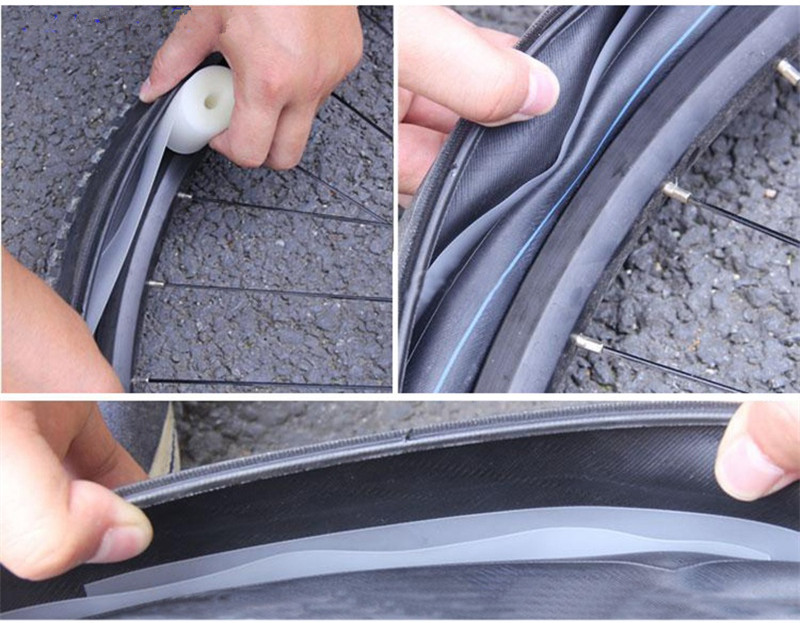
It is not difficult to glue the patch, but you should avoid hitting sharp objects. With each puncture, the strength and reliability of the wheels decreases, which can be unsafe at high speeds on highways and with increased loads on mountain trails.
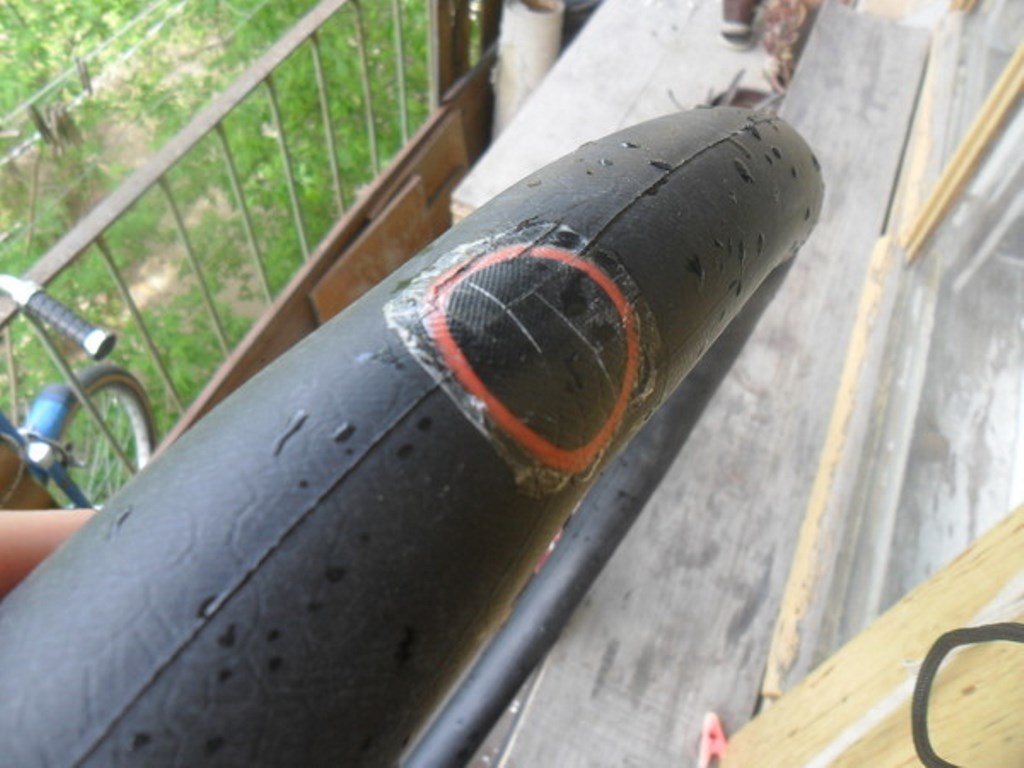
VIDEO: How to glue a bicycle camera with your own hands.






Discussions
Can rubbing alcohol be used for degreasing?
Air began to come out from under the edge of the patch. Can I put a patch over the old one? How to do it?