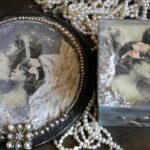
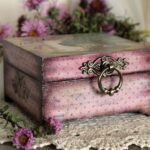
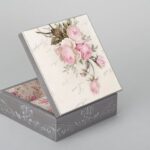
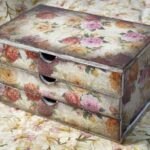
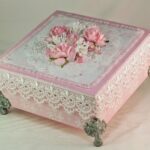
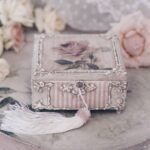
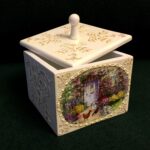
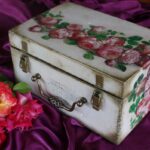
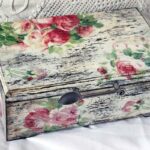
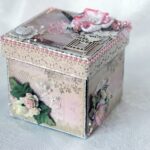
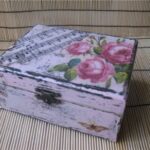
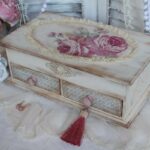
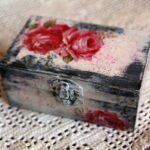
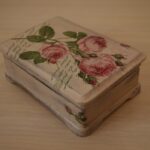
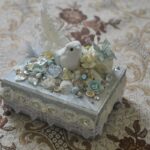
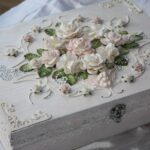
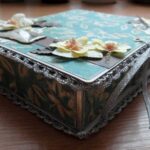
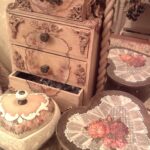
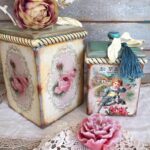
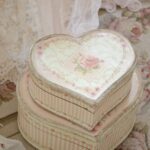
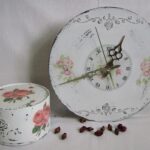
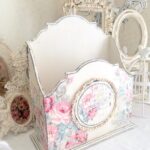
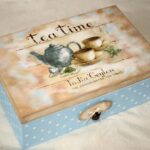
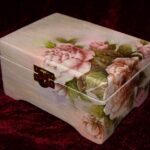
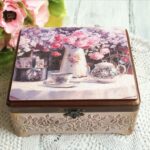
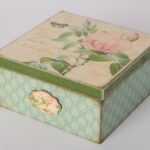
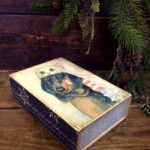
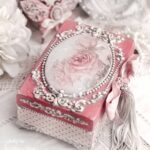
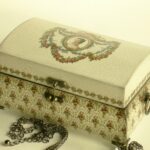
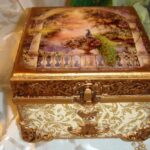
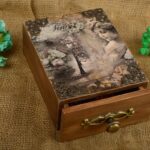
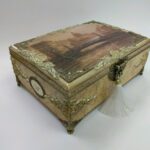
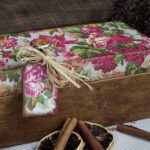
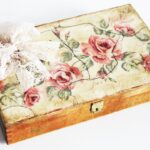
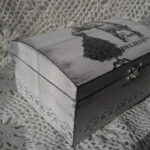
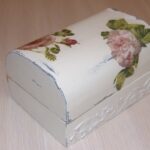
Decoupage boxes in the style of "shabby chic"
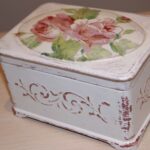
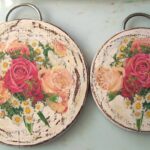
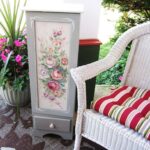
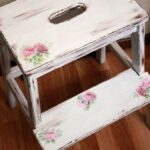
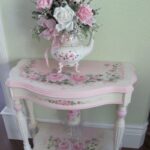
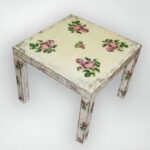
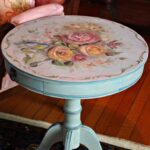
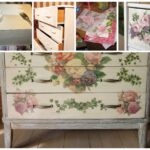
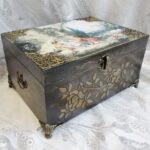
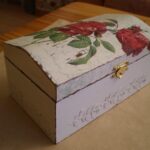
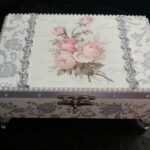
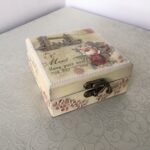
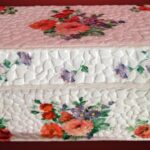
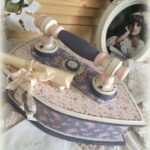
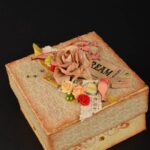
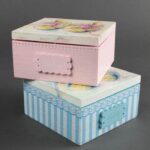
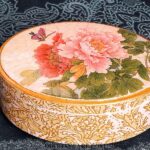
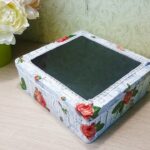
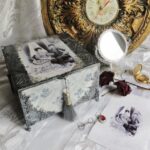
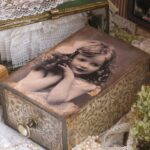
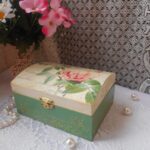
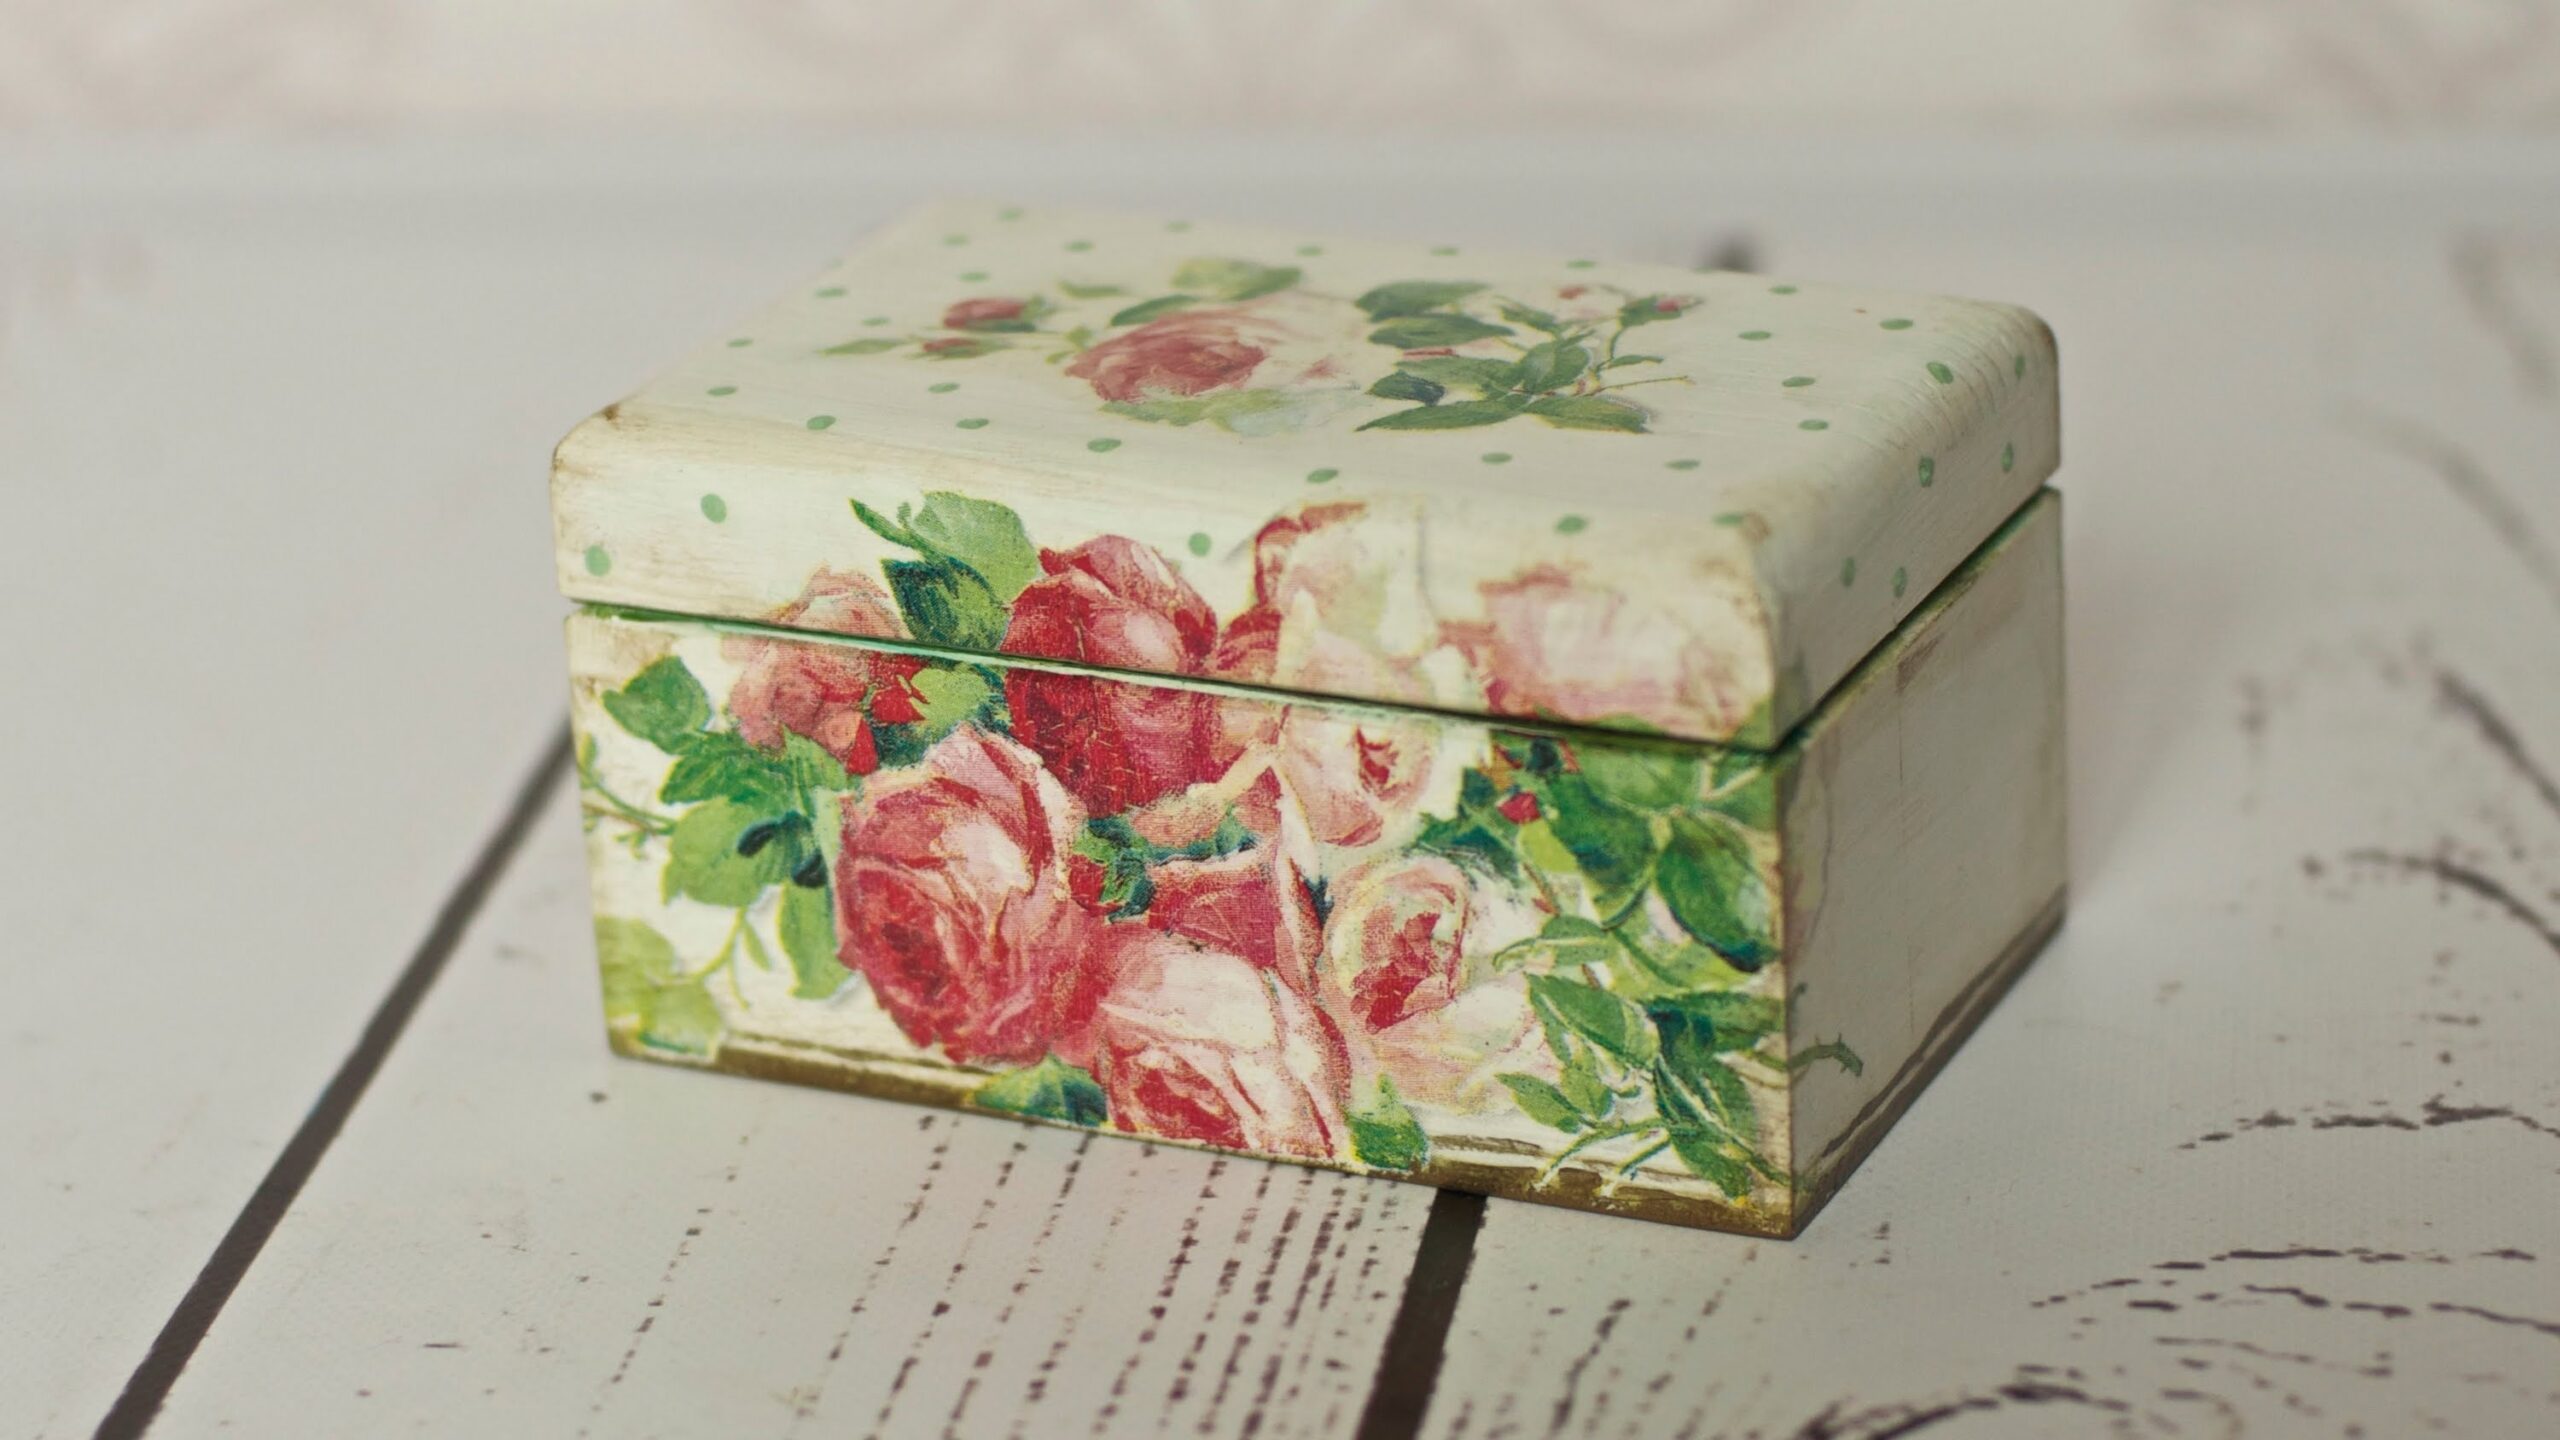
Shabby chic is a pleasant and gentle style of decoupage technique. It involves the use of pastel colors, decoration with floral motifs and stylization of antiques, on which time has left its mark. The shabby chic style box looks very colorful and will suit any interior: from classic to modern. Even a novice designer can do such a craft.
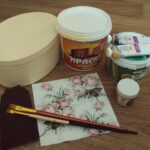
What you need to decoupage the box
An antique shabby chic box is quite simple to make. For a family with children or for friends, this will be an interesting and exciting experience. It is on such products that it is most convenient to train in honing the skill of decoupage.
To create an old box, you will need the following materials:
- Box or box.
- Beige or white acrylic primer paints.
- Brown acrylic paint.
- Acrylic paints in pastel shades: pink, purple or blue.
- Sandpaper.
- Wax or paraffin candle.
- Varnish-glue for decoupage.
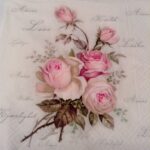
- Decoupage cards or napkins with flowers.
- Brushes.
- Stencils.
- Stationery file.
- Additionally, you can take beads or rhinestones.
Before you start making a do-it-yourself shabby chic box, you need to prepare it. To do this, you need to remove the lock, hinges and other overhead parts from the product and clean it.
Scuffed decoration
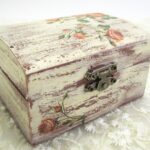
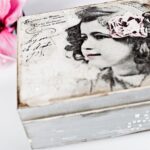
Before you start decorating the box with decorative elements, you need to create scuffs. For this, the object is first primed. Use acrylic brown paint as the first coat of primer. It will help create scuffs. After that, you need to rub with wax or paraffin from a candle the places where scuffs are supposed to be. Usually these are the corners and ends of the object.
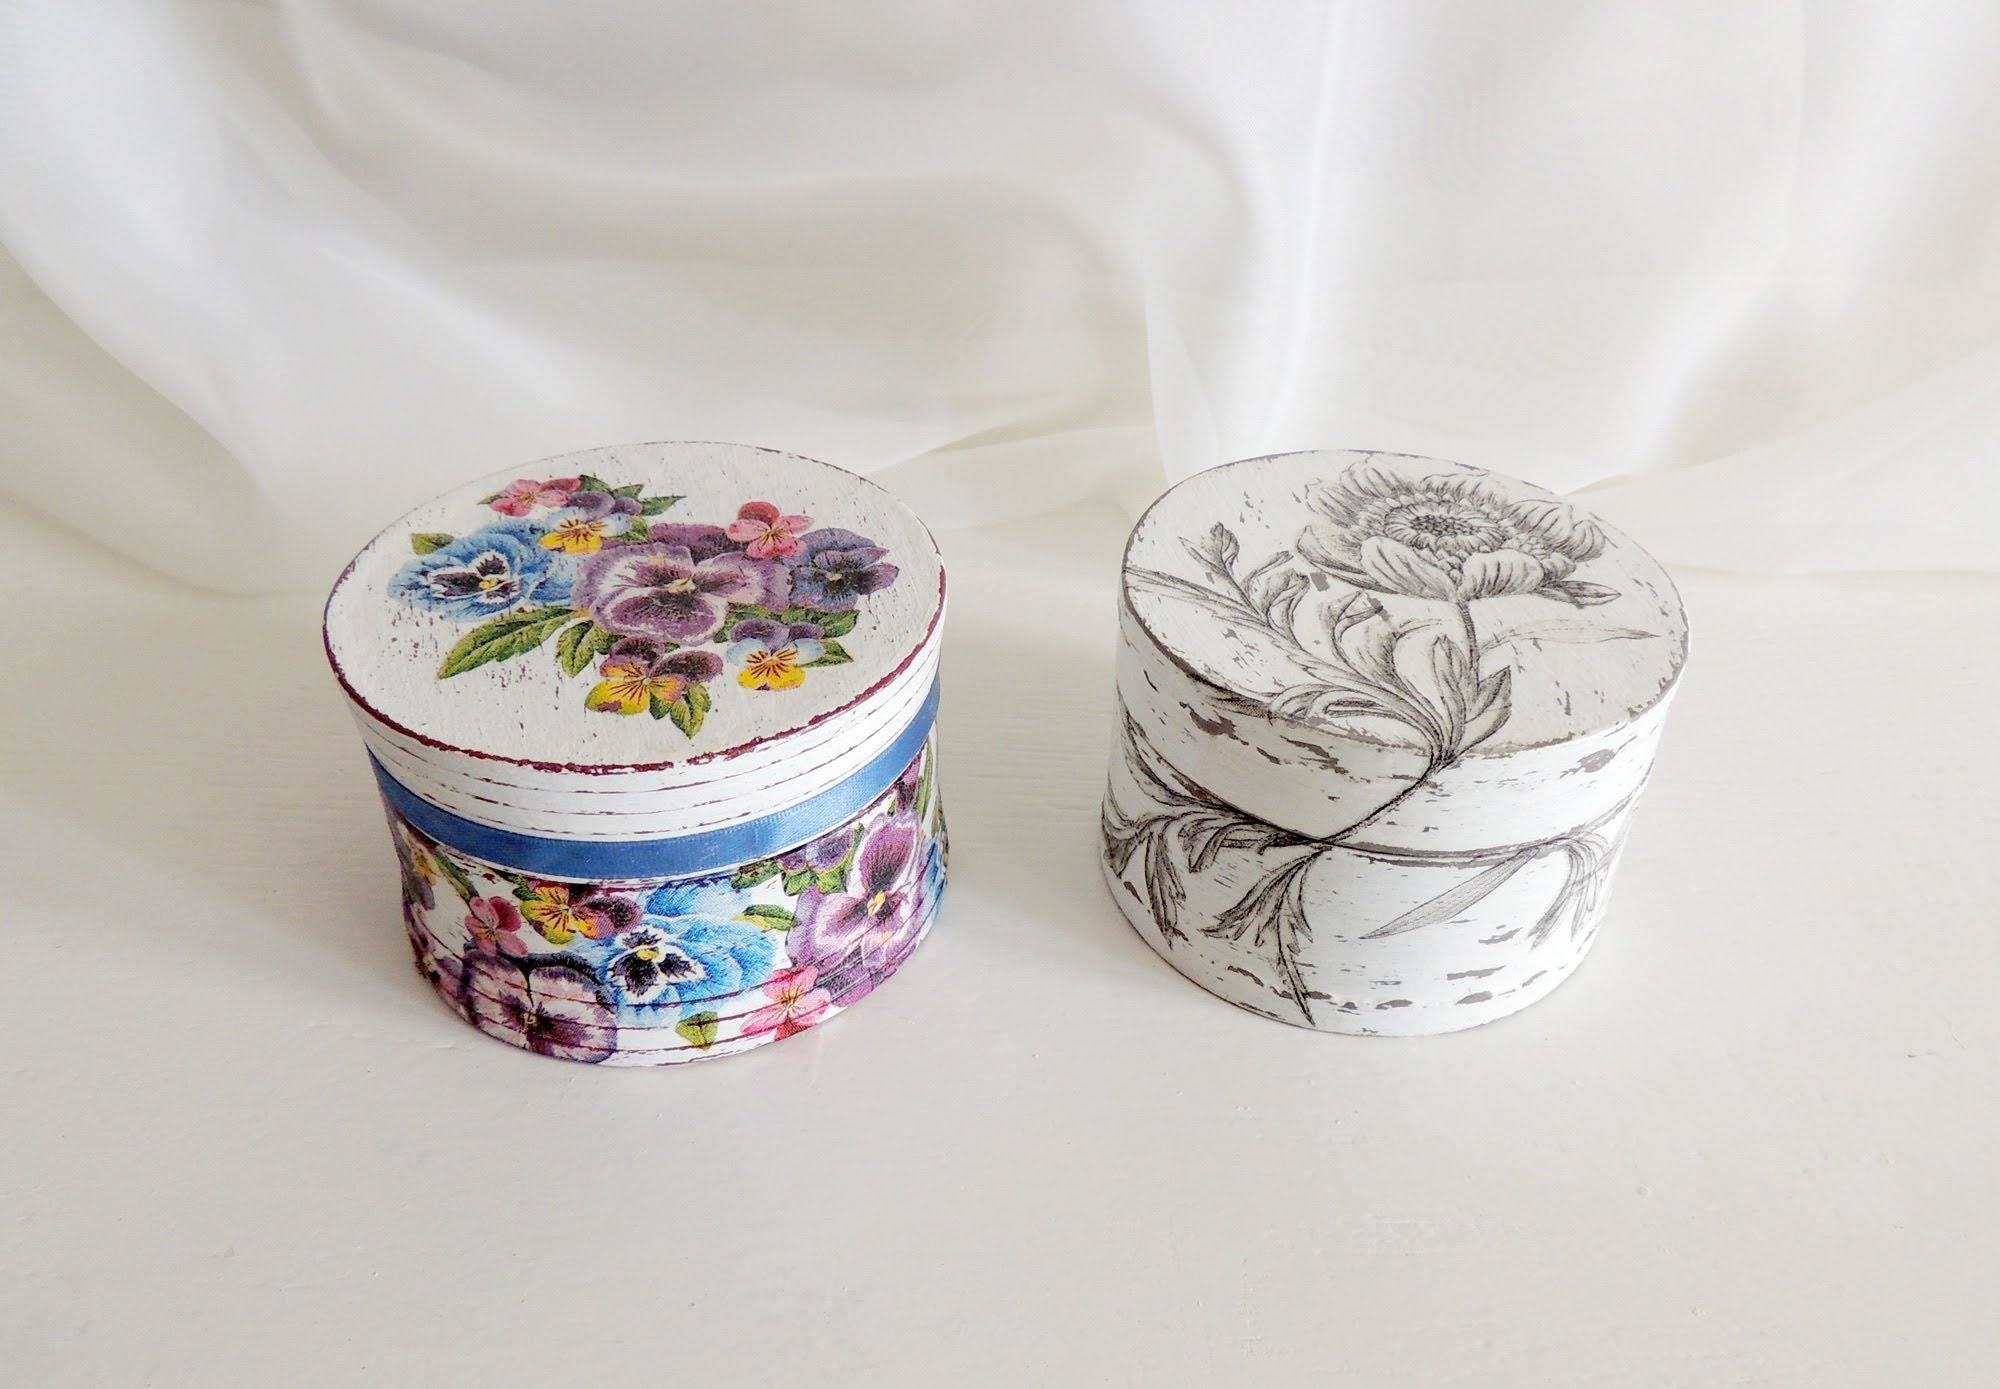
After that, you need to cover the product with white or beige. After the background dries, the box needs to be lightly sanded. In places where there was paraffin or wax, the paint will come off easily with this substance. This creates a stylish and natural look.
Stylistic moments
For scuffs, you can use not only brown, but also any other contrasting color. A dark purple or burgundy tone will work well with a white or pale pink background. Dark blue scuffs will blend beautifully with a white or slightly bluish background.
The white background of the product looks more elegant. On the other hand, beige is more natural. Pastel colored background will look more beautiful if you add a little gradient. For this, the first layer of the base can be put in white. With the second color layer, cover only the central parts of the surfaces, while blurring the boundaries of the second layer.
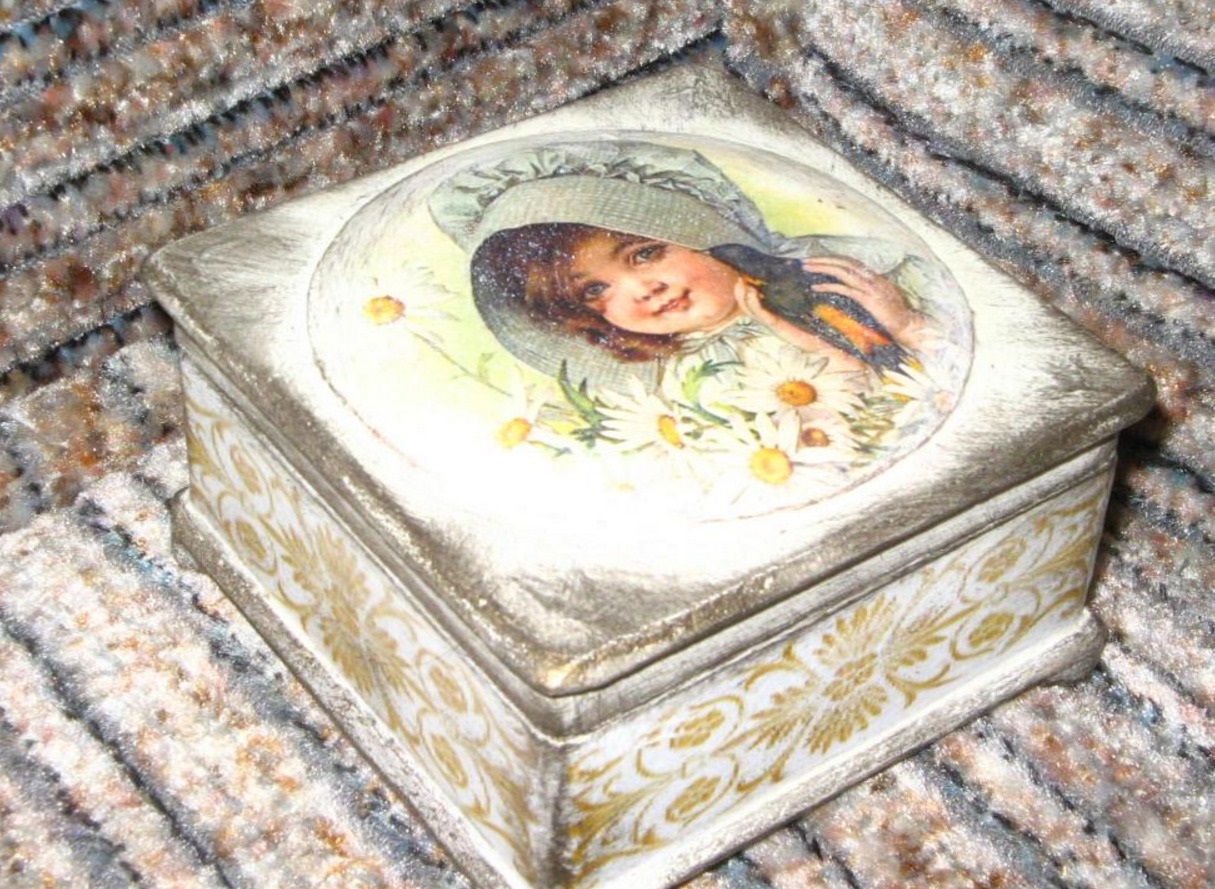
Important! When creating a background with a gradient, the tones of the two colors should be subtle. This will create the effect of a slightly faded or yellowed paint.
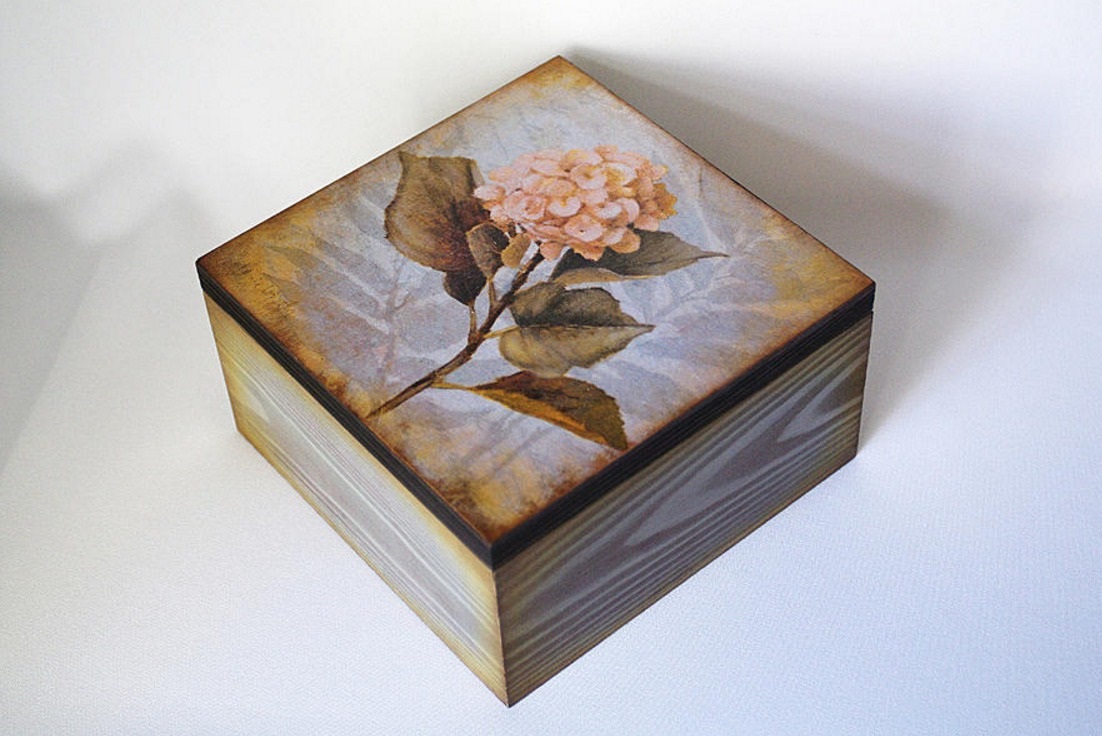
Advice. A wooden box will look bright and unusual if you take a bronze or golden tone instead of brown or another dark color.
What can be made old
In this way, you can age any item, not just a box. It can be:
- Any wooden boxes.
- Frames for mirrors or paintings.
- Plastic or metal boxes.
- Pocket mirror.
- Wooden plates.
- Furniture: stools, chairs, small benches.
What materials can be used to decorate the box
After creating the background and base, you can start decorating the product. You can decorate an object in two ways: with an embossed pattern or transferring a pattern from paper.
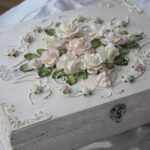
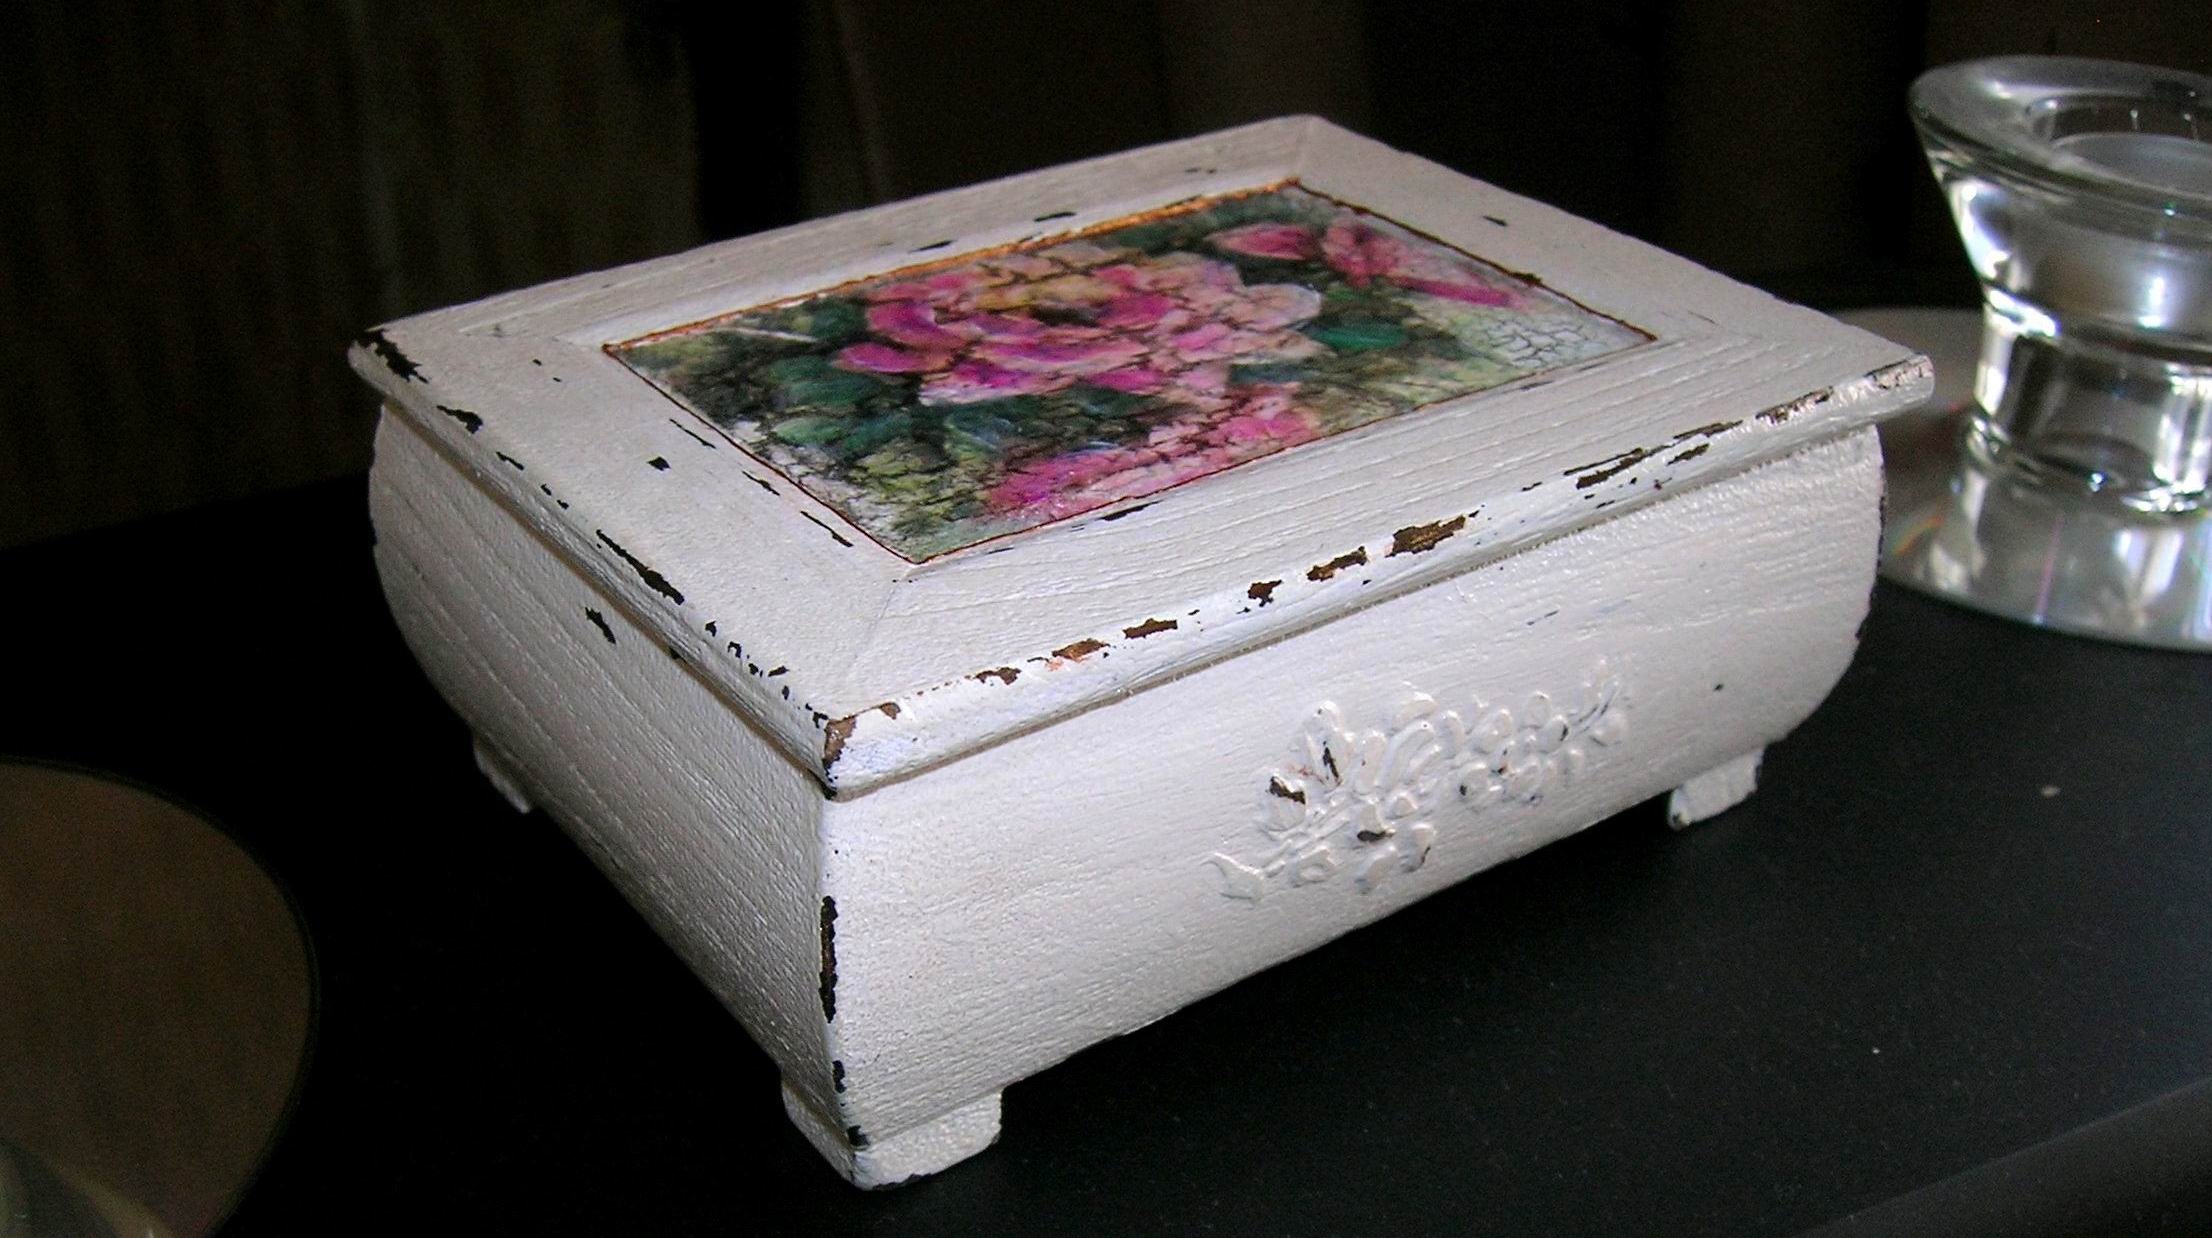
For a relief pattern, a stencil is applied to the side walls. A drawing is applied on it with a putty for wood. The drawing must be applied in several layers, which should dry out at the same time. 4-5 coats of putty will be enough. They can dry out for about 1-2 hours.
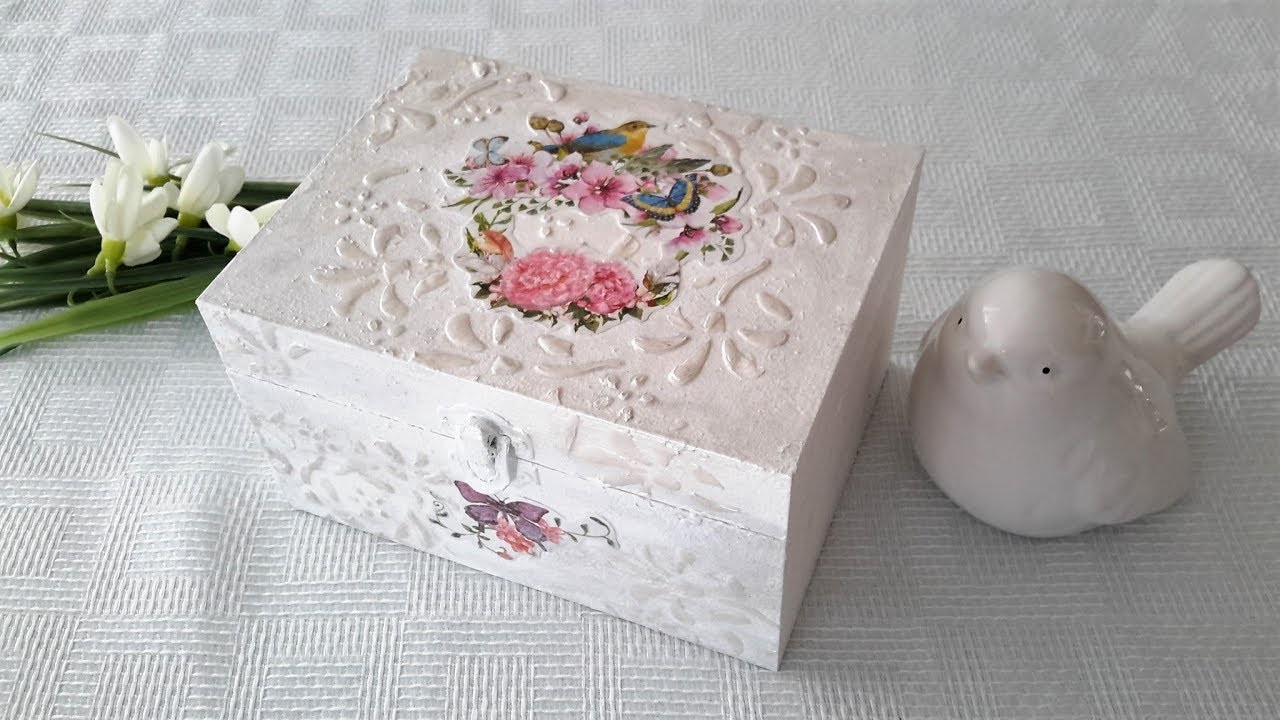
After that, you need to remove the stencil. Then the pattern must be covered with one layer of clear varnish. Let it dry and cover the pattern with the dark paint that was used to create the wear. While the paint is wet, gently rinse it off with a damp cloth. Thanks to this action, a dark paint will remain in the grooves of the pattern, which will enhance the aging effect.
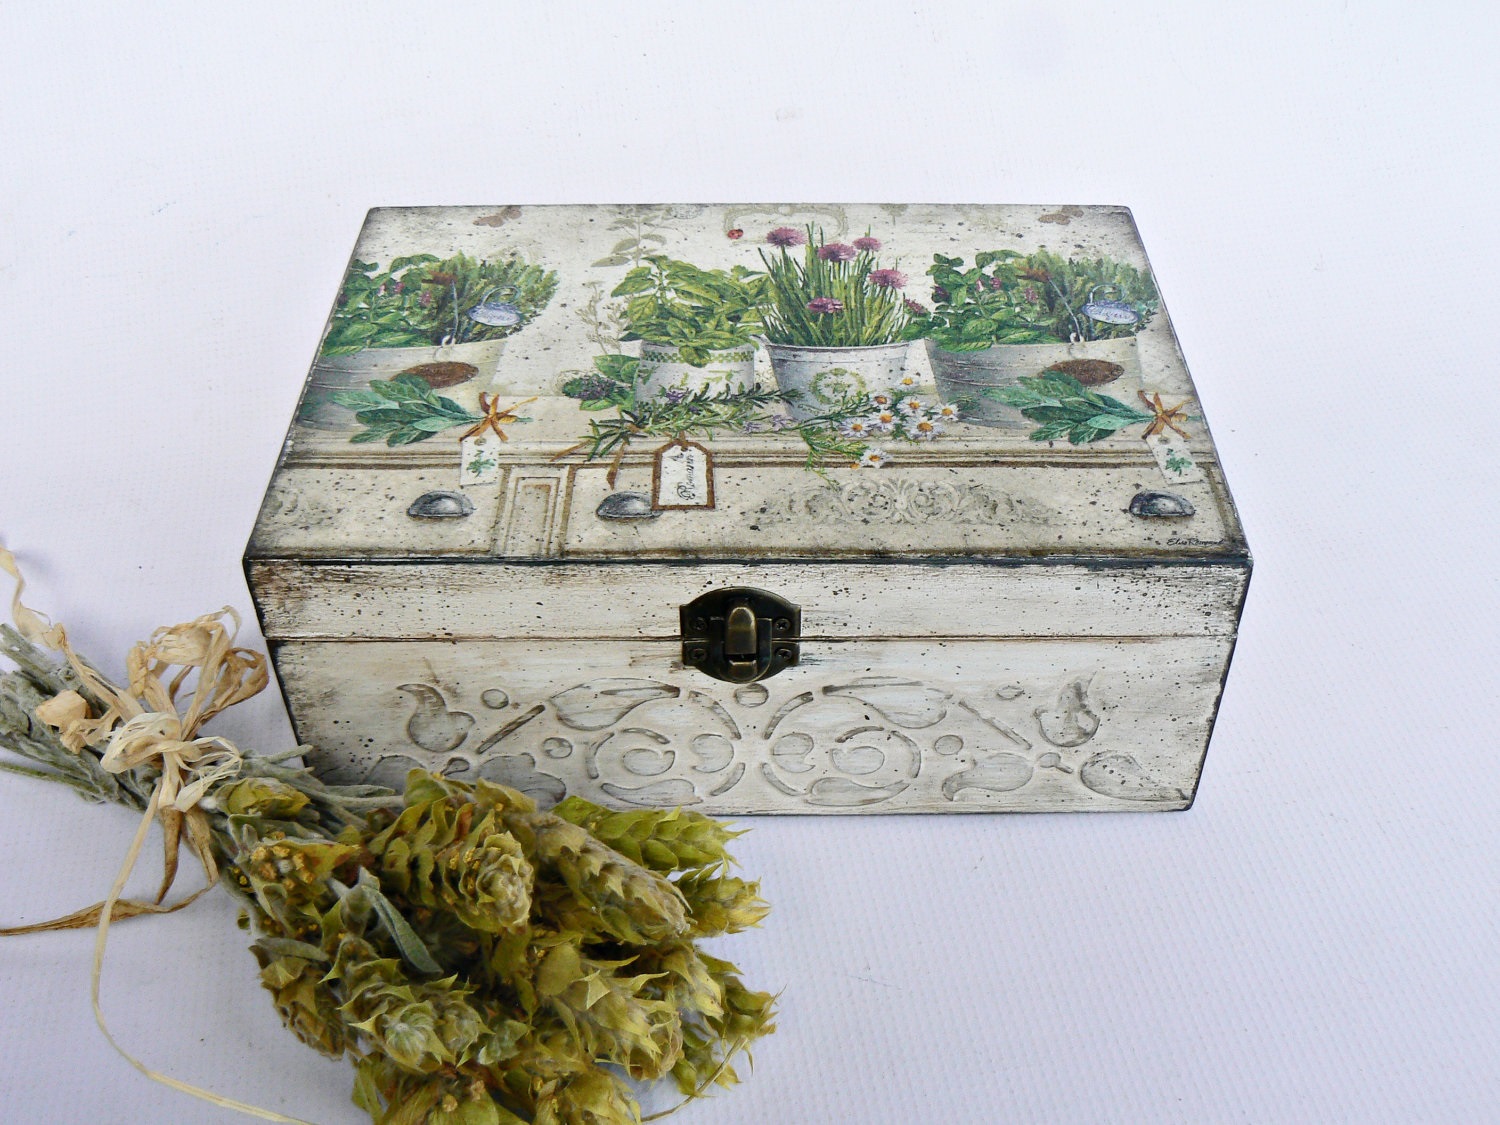
Advice. Thus, you can create a stylish monogram of your first and last name or the monogram of the person to whom you are supposed to give the craft. Get an old personalized thing.
Paper flower decoration is applied to the box lid. Flowers can be cut from napkins or decoupage cards. After that, the borders of the picture are processed with a light paint of the background so that they are blurred, and the picture looks drawn. The central parts of the picture can be additionally worked out with paints. This will create the necessary accents in the design.
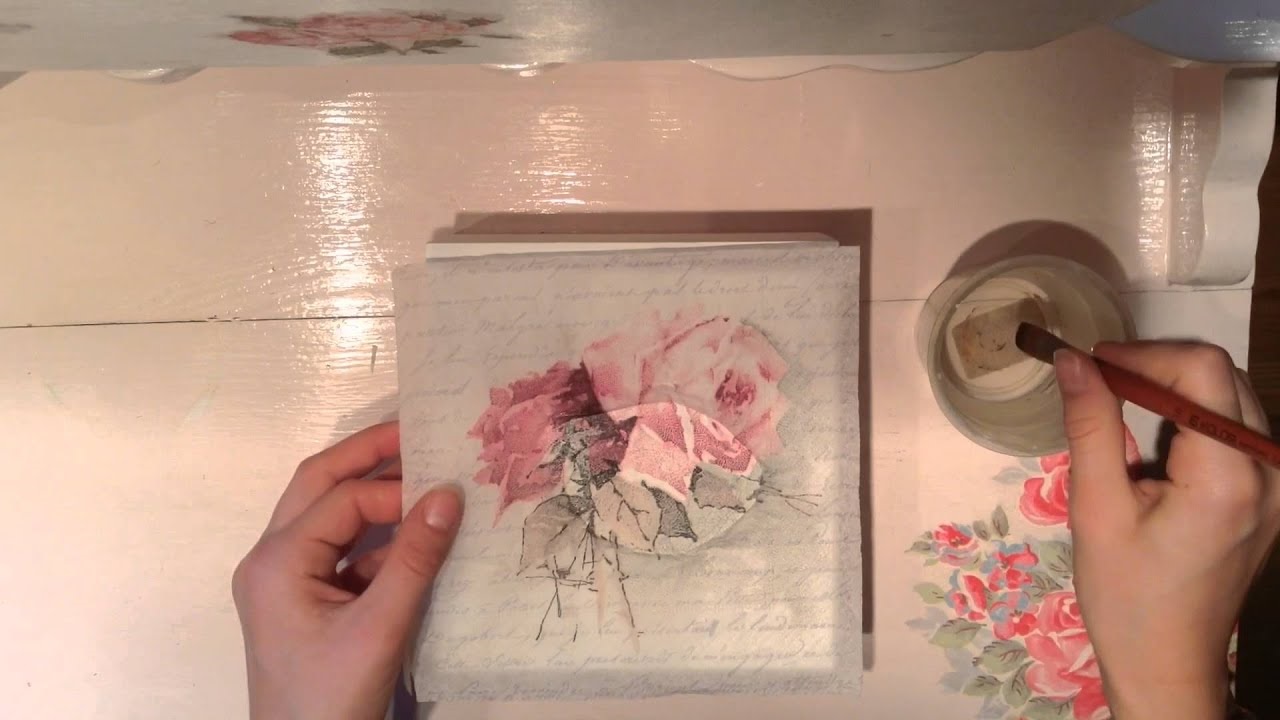
How to make do-it-yourself decoupage of a shabby chic box
After the decor is done, the finishing touches should be applied:
- Cover with 2-3 coats of clear varnish. At the same time, each layer should dry out.
- Reinstall the fittings.
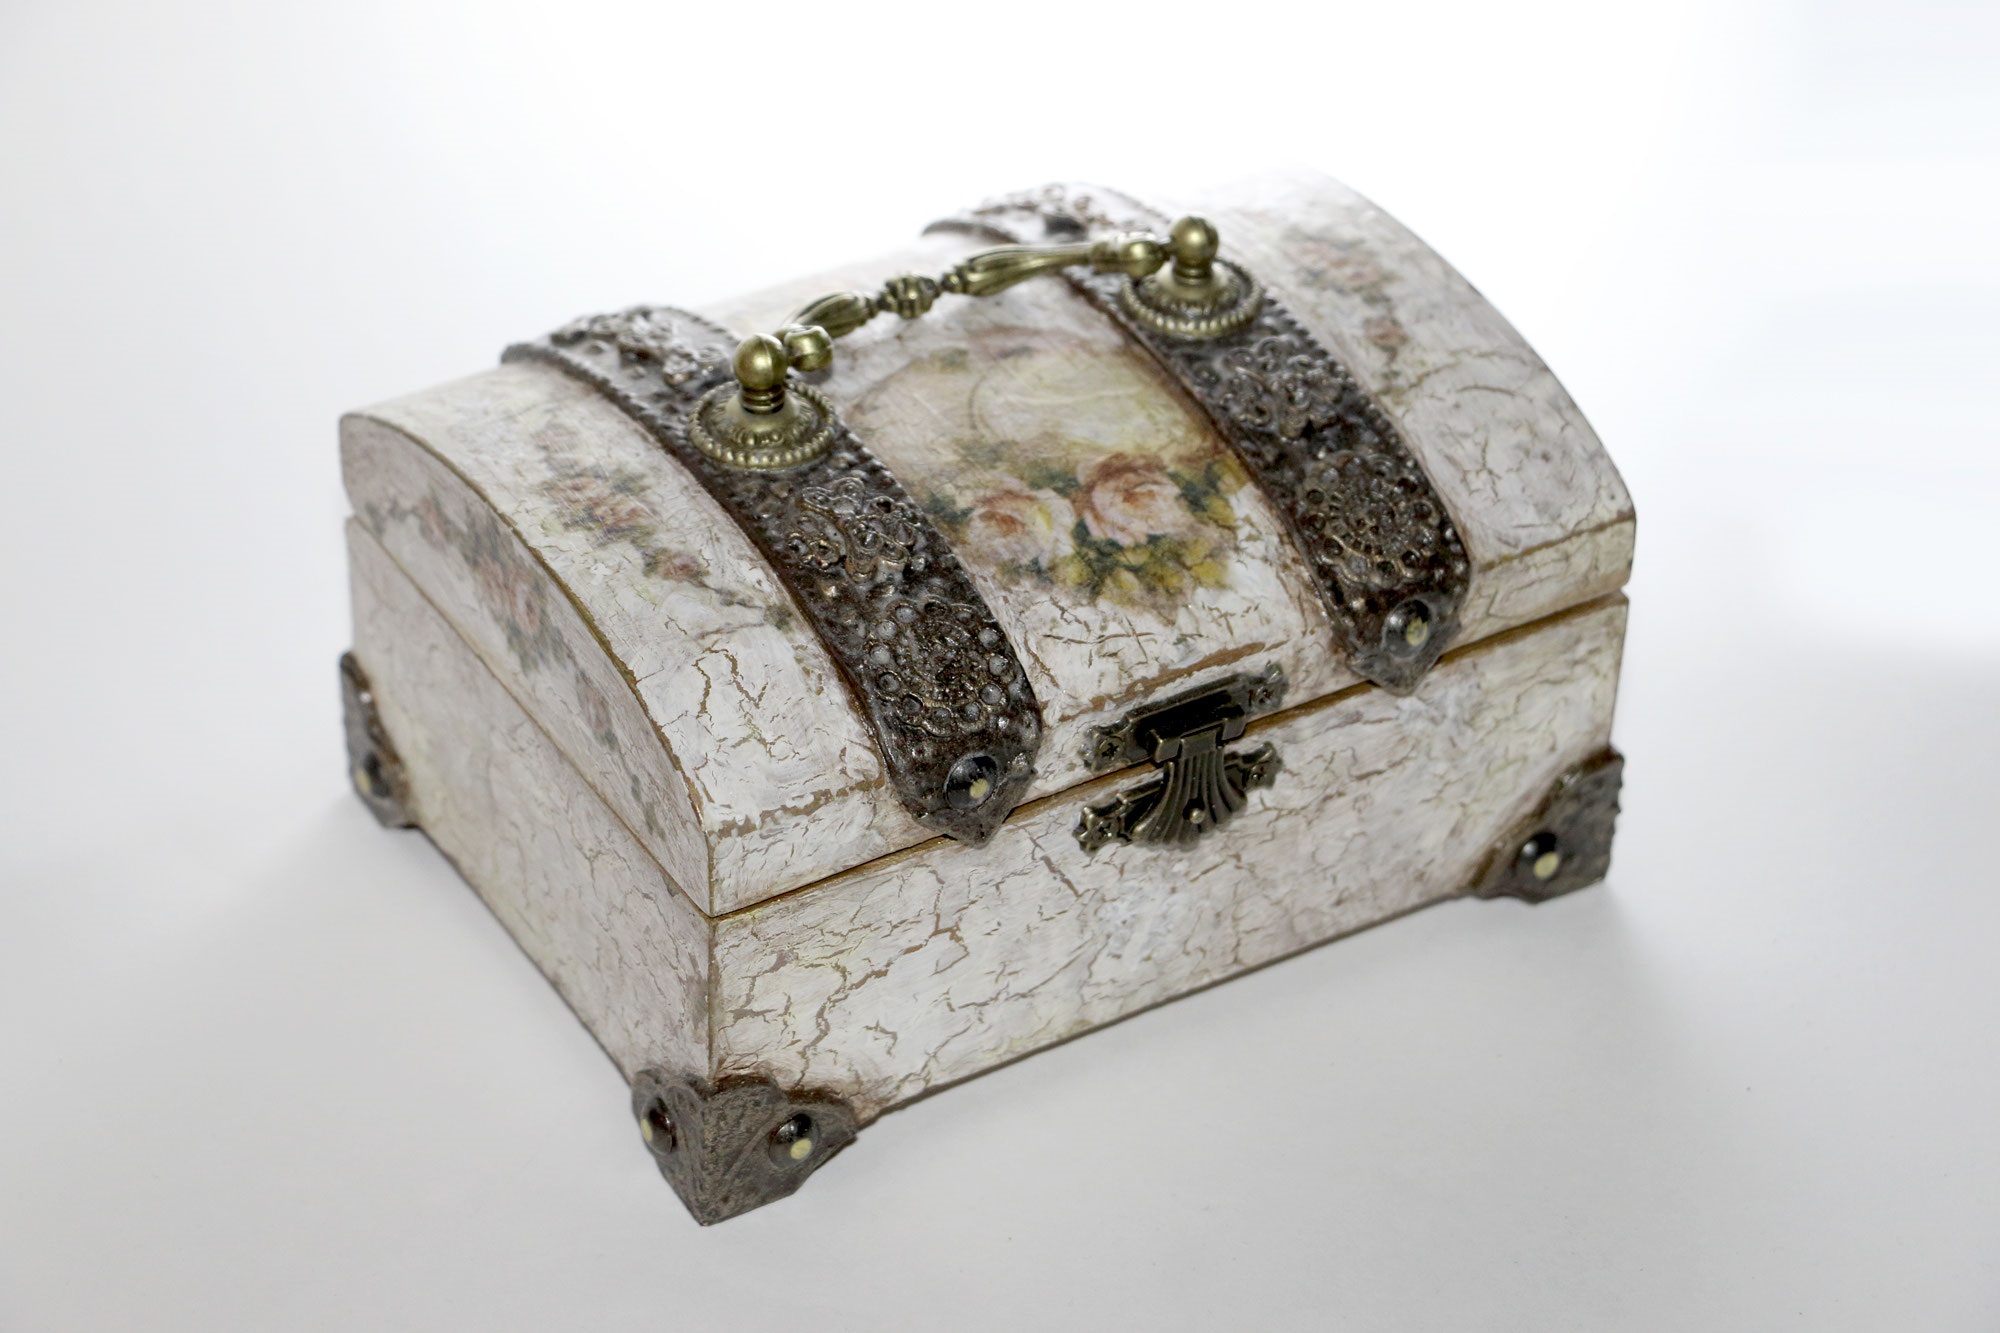
To make the box more elegant and stylish, you can supplement it with other decorative elements:
- Wooden or metal legs. They can be purchased at furniture supply stores. The legs can be painted and aged to match the color of the product, or you can choose them from the same metal as the hinges with a lock.
- Rhinestones or beads around the perimeter of the lid.
- Cover handle. The handle can also be purchased additionally or cut out of wood. It is important that all the fittings are in harmony with each other: they are made of the same metal or painted with the same paint. The model, richly decorated with fittings, looks more luxurious and rich.
- The surface inside the product can be decorated with a modest pattern. It is applied with a darker or lighter paint than the tone of the product. For this, a stencil can be used, according to which the external drawings were made. This will give the box a more finished look.
In the old days, household items were decorated very richly, people knew what chic was. Therefore, when creating a box in the shabby style, there is no limit to the author's imagination.
Video: how to decorate a shabby chic box
