Making a stand for a doll with your own hands
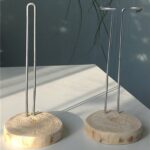
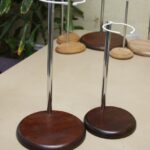
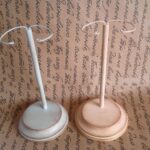
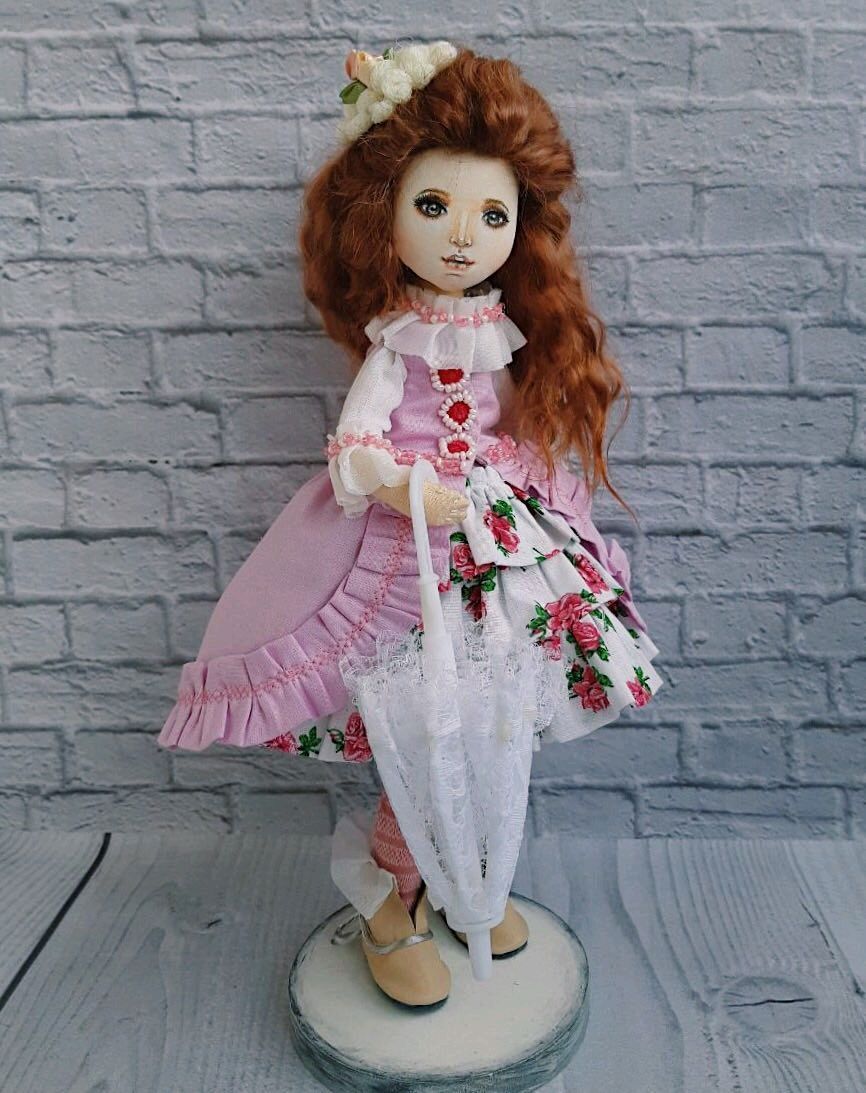
Collecting dolls has become widespread, which has created a need for the manufacture of suitable stands. Holders should not only securely fix the collection, but also optimally approach it, emphasizing its originality and uniqueness.
Required materials and tools
Regardless of the materials of manufacture, a do-it-yourself doll stand should meet the following criteria:
- stability that allows you not to fall on your side under the weight of the doll;
- simplicity that does not distract attention from the doll;
- ease of use;
- accuracy.
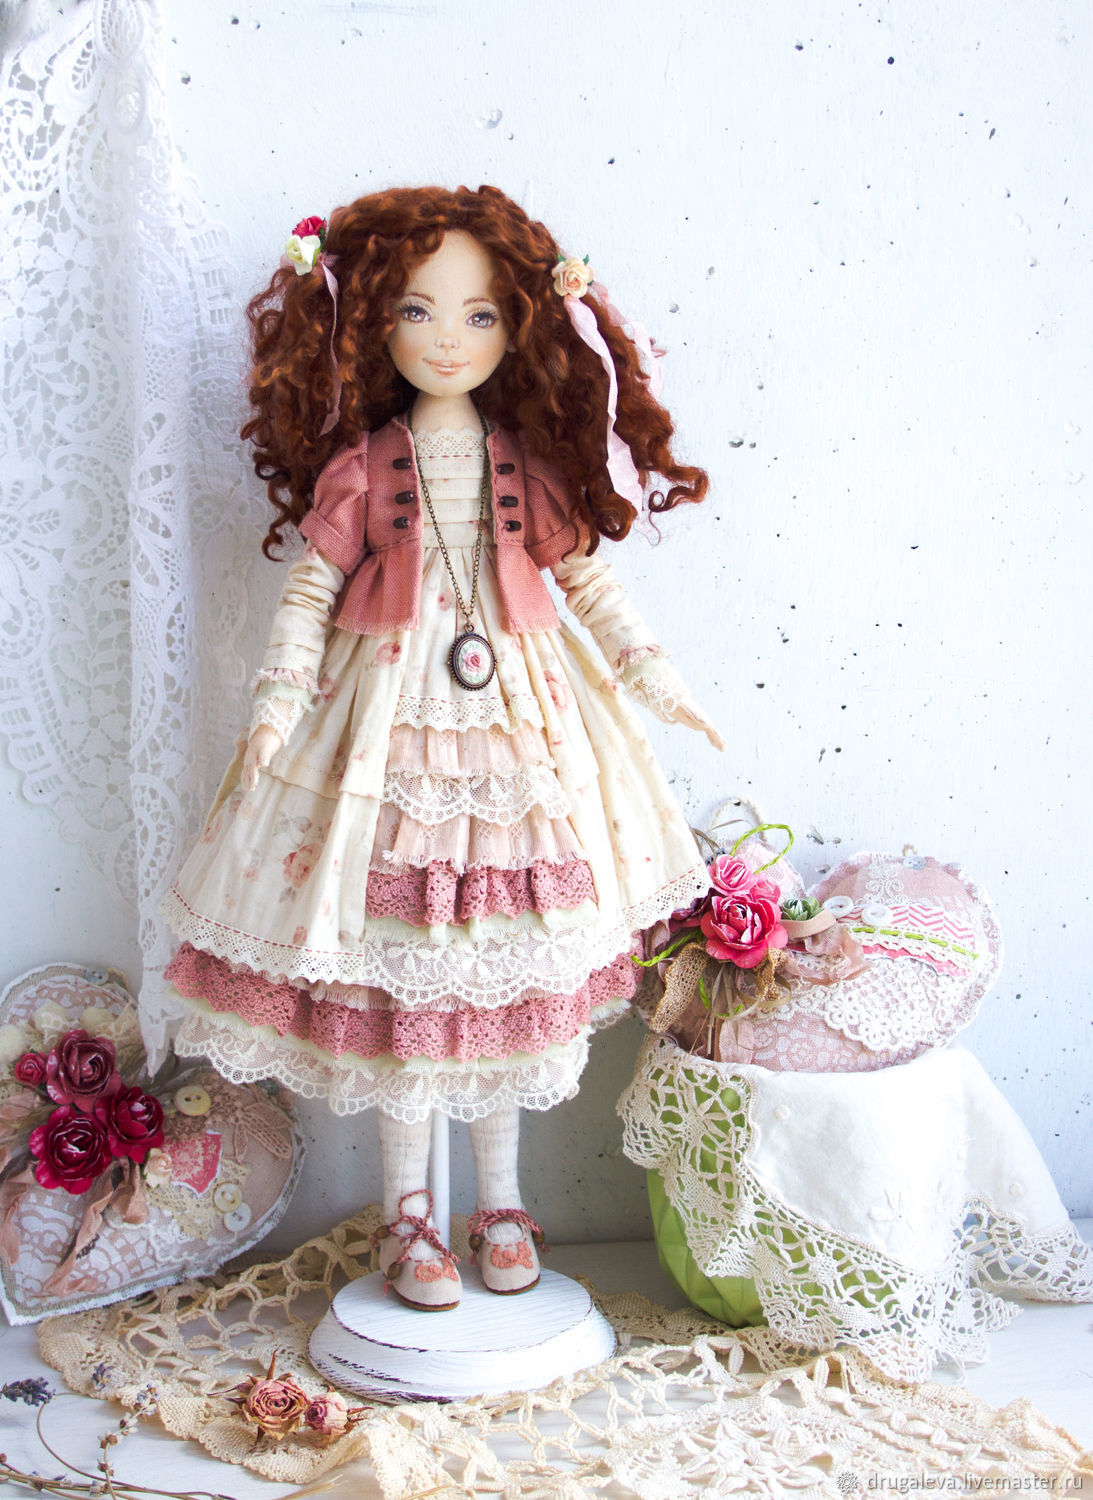
Stands that meet these requirements can be made from:
- wood;
- wire;
- cardboard;
- newspaper tubes;
- gypsum;
- computer disks;
- seaming caps.
Step-by-step instructions for making a stand
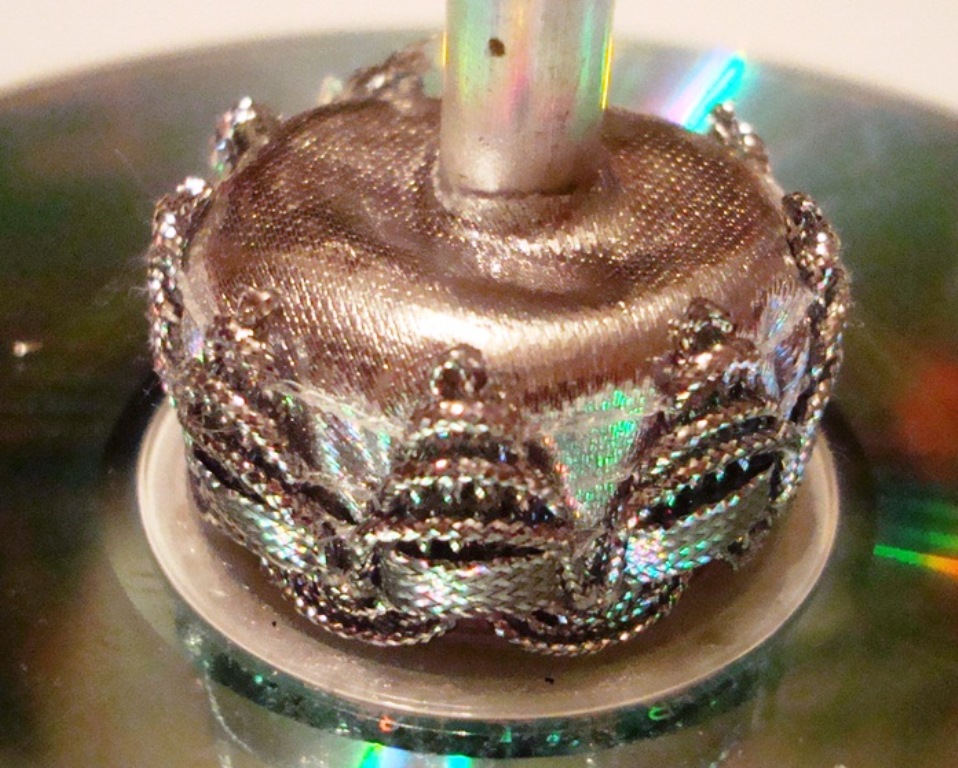
From disk
For such a stand, on which the doll will sit, like on a bicycle, in addition to old disks, you will need:
- two plastic bottle caps;
- a piece of tin that can be cut out of a can;
- aluminum tube, for example, from an old antenna;
- drill;
- Super glue.

The work process is as follows:
- Cut off the bottom of one of the lids. This can be done with a hot knife. Cut a small piece from the wall of the resulting ring.
- Fold the tin rectangle two or three times in width so that it can grasp the cork ring and close under it into a single strip. This manipulation will give the workpiece rigidity.
- Insert the ends of the strip obtained into the aluminum tube.
- Drill a hole in the bottom of the second cover and insert the workpiece there. The drill diameter must match the tube.
- Glue the cover to the disc to stabilize the structure.
Made of cardboard
For such a stand, cardboard or newspaper tubes are suitable. For work you will need:
- white paper or napkin;
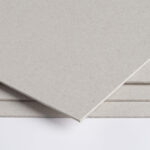
- cardboard 2 mm thick;
- glue Moment;
- PVA glue;
- acrylic paints;
- sandpaper;
- acrylic lacquer.
The cardboard stand is made according to the following scheme:
- Cut 6-10 pieces of cardboard, depending on the desired size and thickness of the stand.
- Cut out equal circles from the pieces, glue with a Moment and place under a press for an hour.
- Sand the bumps on the sides with sandpaper.
- Glue the blank with crumpled paper and dry in the oven.
- Make a hole for the holder.
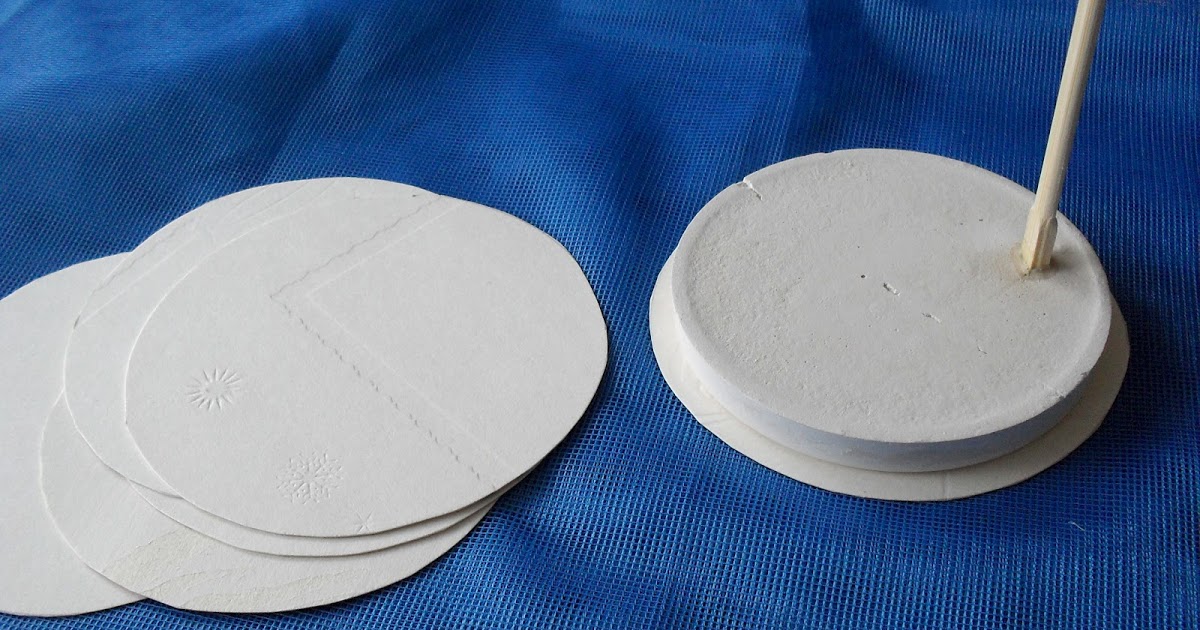
Note! If desired, the stand can be painted and then opened several times with varnish.
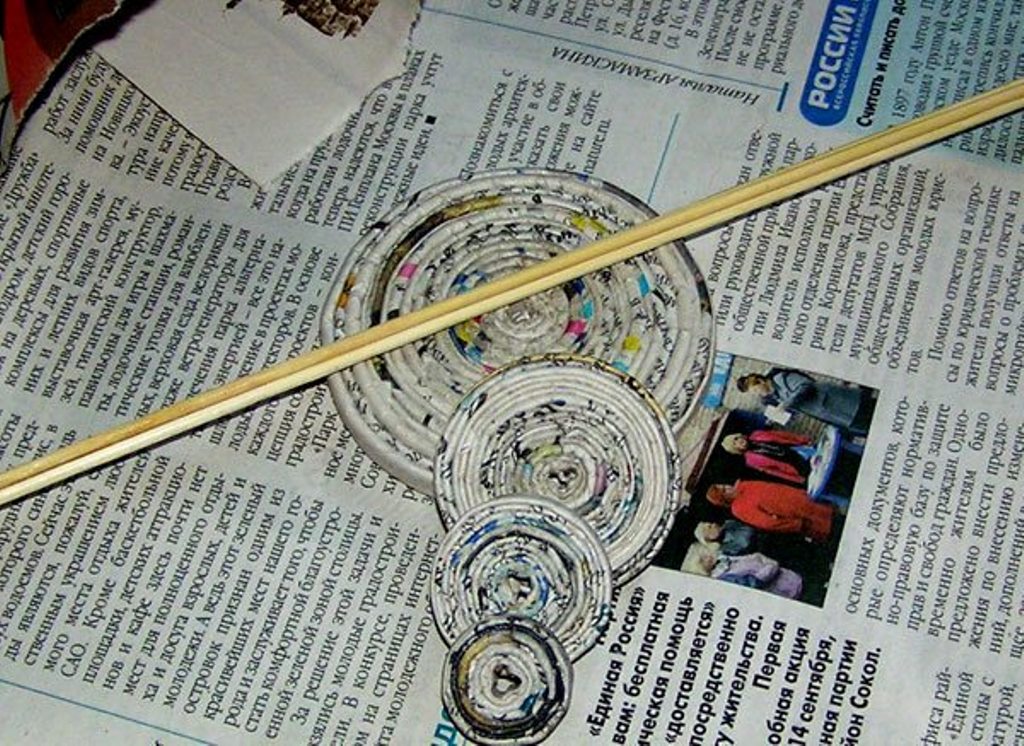
The base of newspaper tubes is made as follows:
- Prepare the tubes. To do this, you need to cut a newspaper page into four strips, then screw each of them onto a knitting needle from the corner.If the spoke is hidden under the newspaper, then it should be moved aside and the wrapping should be continued. After the end of the strip, glue the tip with PVA glue.
- Screw the first tube onto the rack. After the first stick runs out, the rack can be removed.
Note! It is necessary to wind as many tubes as the diameter of the base is sufficient for a stable stand.
- Make several similar discs of gradually decreasing diameter.
- Assemble the entire stand onto the stand by gluing the new disc to the previous one. The finished pyramid can be decorated.
Metal
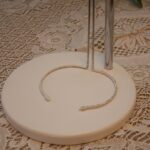
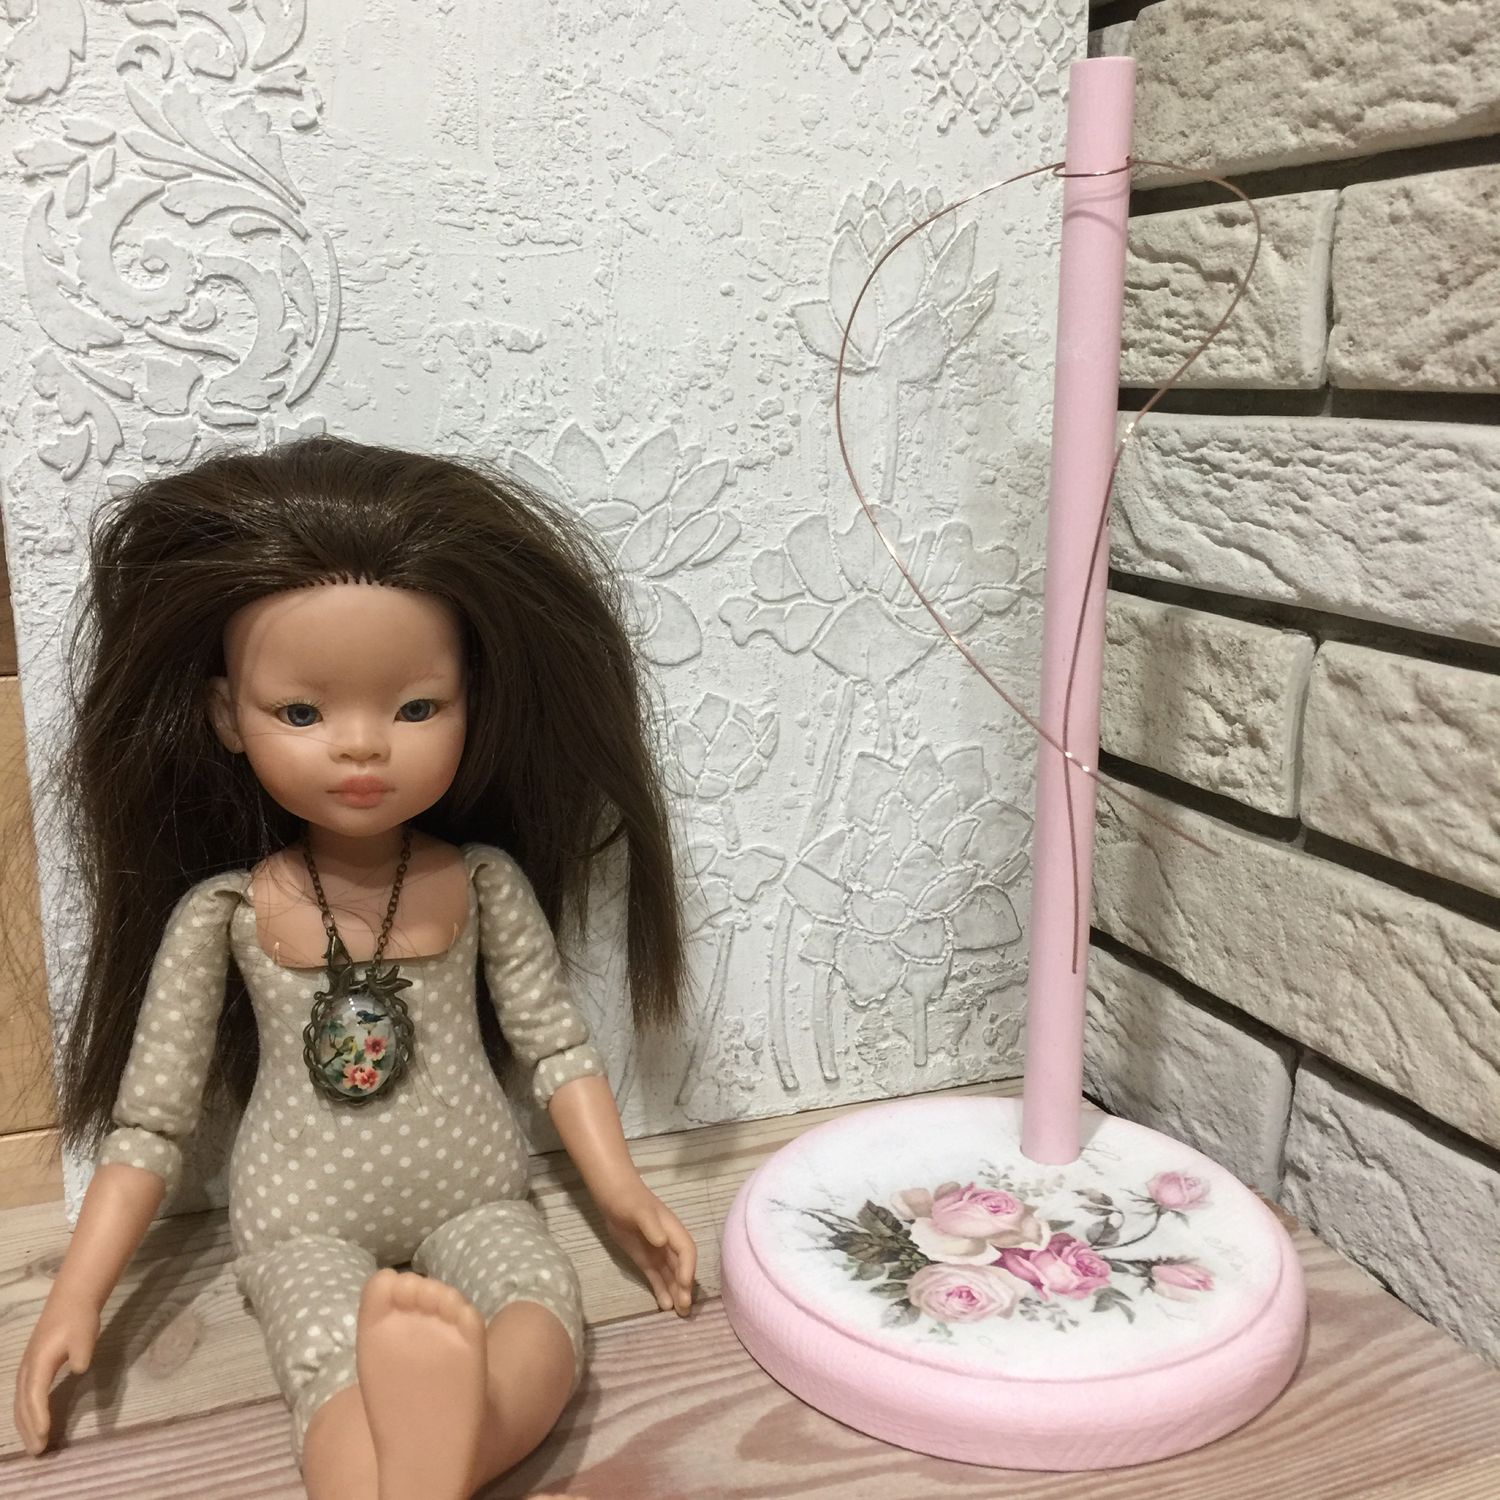
The main materials for such a stand are thick wire, plaster of paris and a metal tube. The creation process is as follows:
- Bend the wire, the length of which is 3 times the height of the stand, in half and on one side form a ring that will be attached to the stand, and on the other - a holder corresponding to the size of the doll.
- Pass the ends of the wire through the metal tube.
- Dilute the gypsum in the proportion indicated on the package and pour it into a plastic mold.
- Insert the rack into the plaster mold and leave to dry at room temperature. Take it out of the mold after a few hours and leave to dry.
- Decorate the stand. It can be painted with acrylics, covered with corrugated paper or fabric.
Note! The adhesive does not adhere to wet plaster. In addition, the substrate can be easily damaged if it is not dry enough.
Saddle type
For such a holder you will need:
- wooden stand;
- wooden stick;
- silk thread;
- wire;
- PVA glue;
- jersey or fleece;
- acrylic paint.
The order of work is as follows:
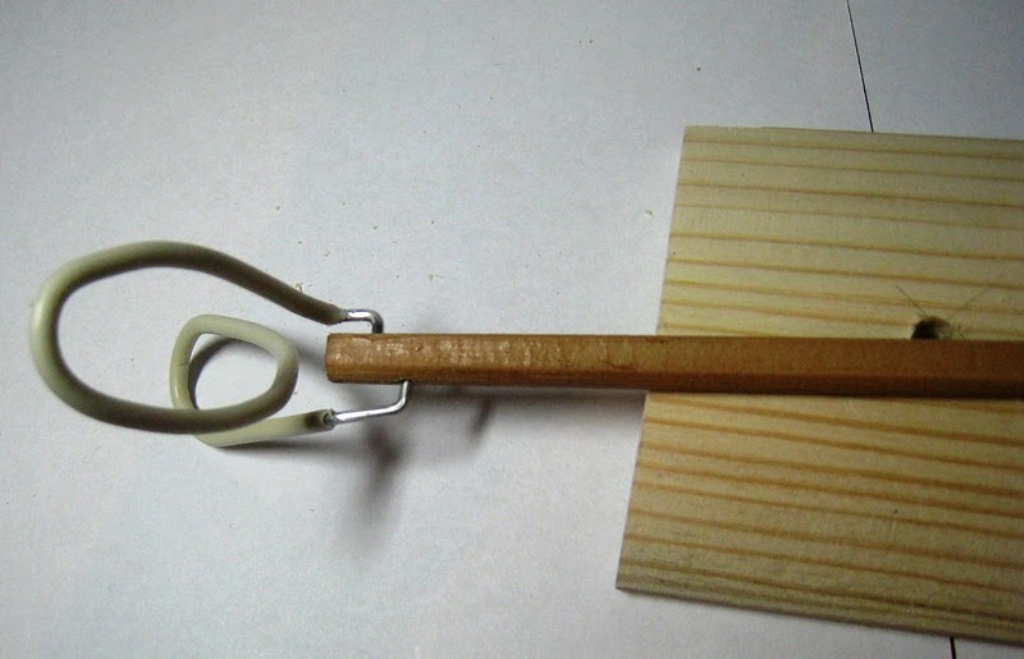
- Drill a hole in the middle of the workpiece corresponding to the thickness of the stick so that it is securely held.
- Drill blind holes in the stick from opposite sides, making an indent of 0.5 cm and 1 cm from the edge.
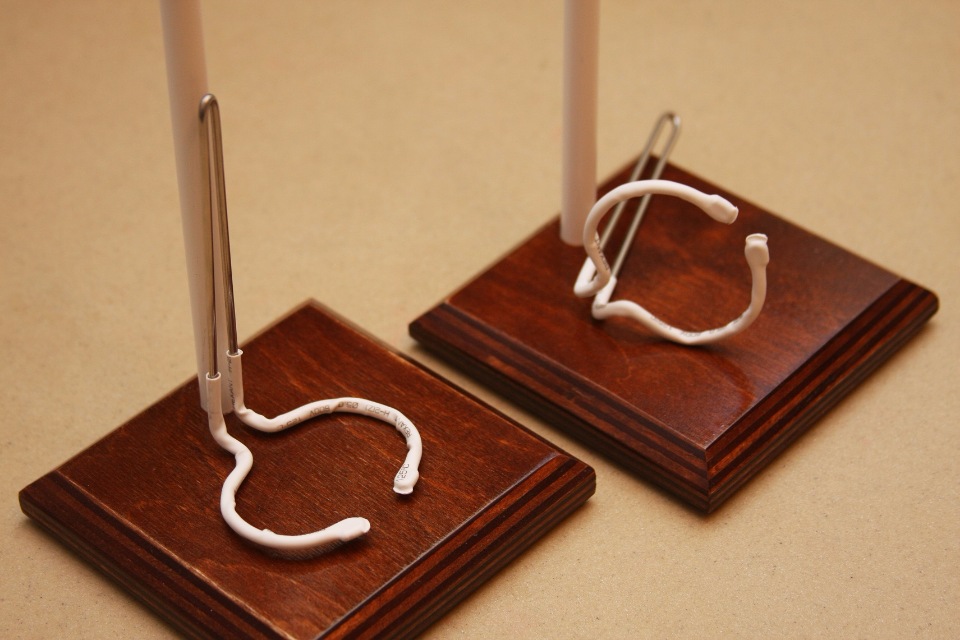
- Make a wire blank in the shape of a saddle. One end must be inserted into one of the holes, and the other into the other.
- Tighten the joint with silk thread. Spread out the saddle and try on the doll.
- Cut a piece out of the fabric to fit the saddle. Sew the part on the structure.
- Decorate the stand and open with varnish.
Heart stand
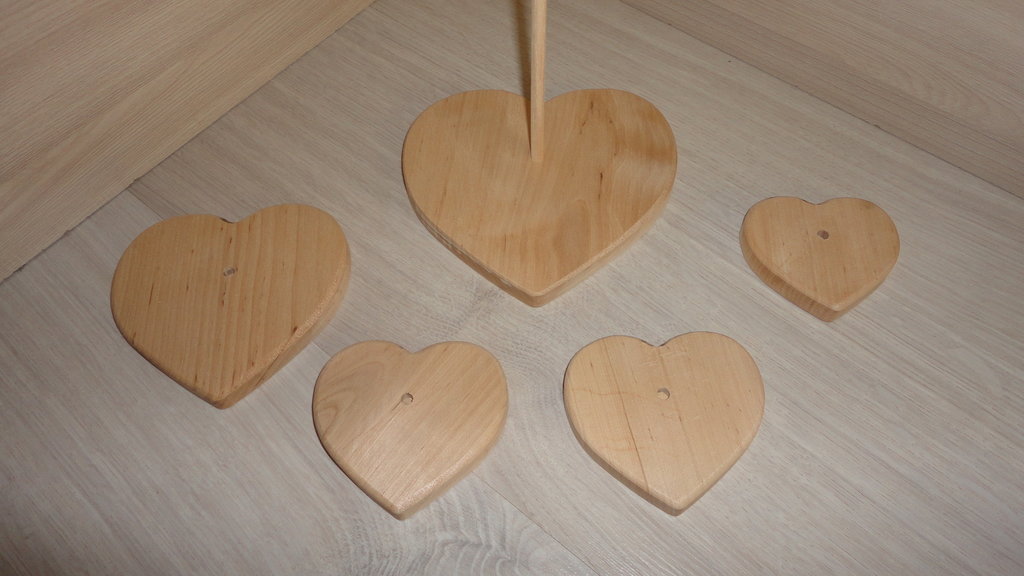
Such a base-stand is suitable for small compact dolls, the height of which does not exceed 15-22 cm. The dolls are held on the stand thanks to a spring attached to the base. The base can be made of wood as follows:
- Cut a flat piece of wood to the desired size.
- Carefully sand all surfaces of the workpiece with sandpaper. The wood must be leveled and properly sanded.
- Drill a pair of through holes, slightly stepping back from the edge of the bar.
- Paint the workpiece and open it several times with varnish.
- Insert a small tight spring into the holes and fix with small nails.
Beautiful design
When decorating the stand, it should be taken into account that it should optimally fit the image of the doll, being its organic continuation.
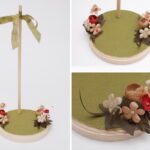
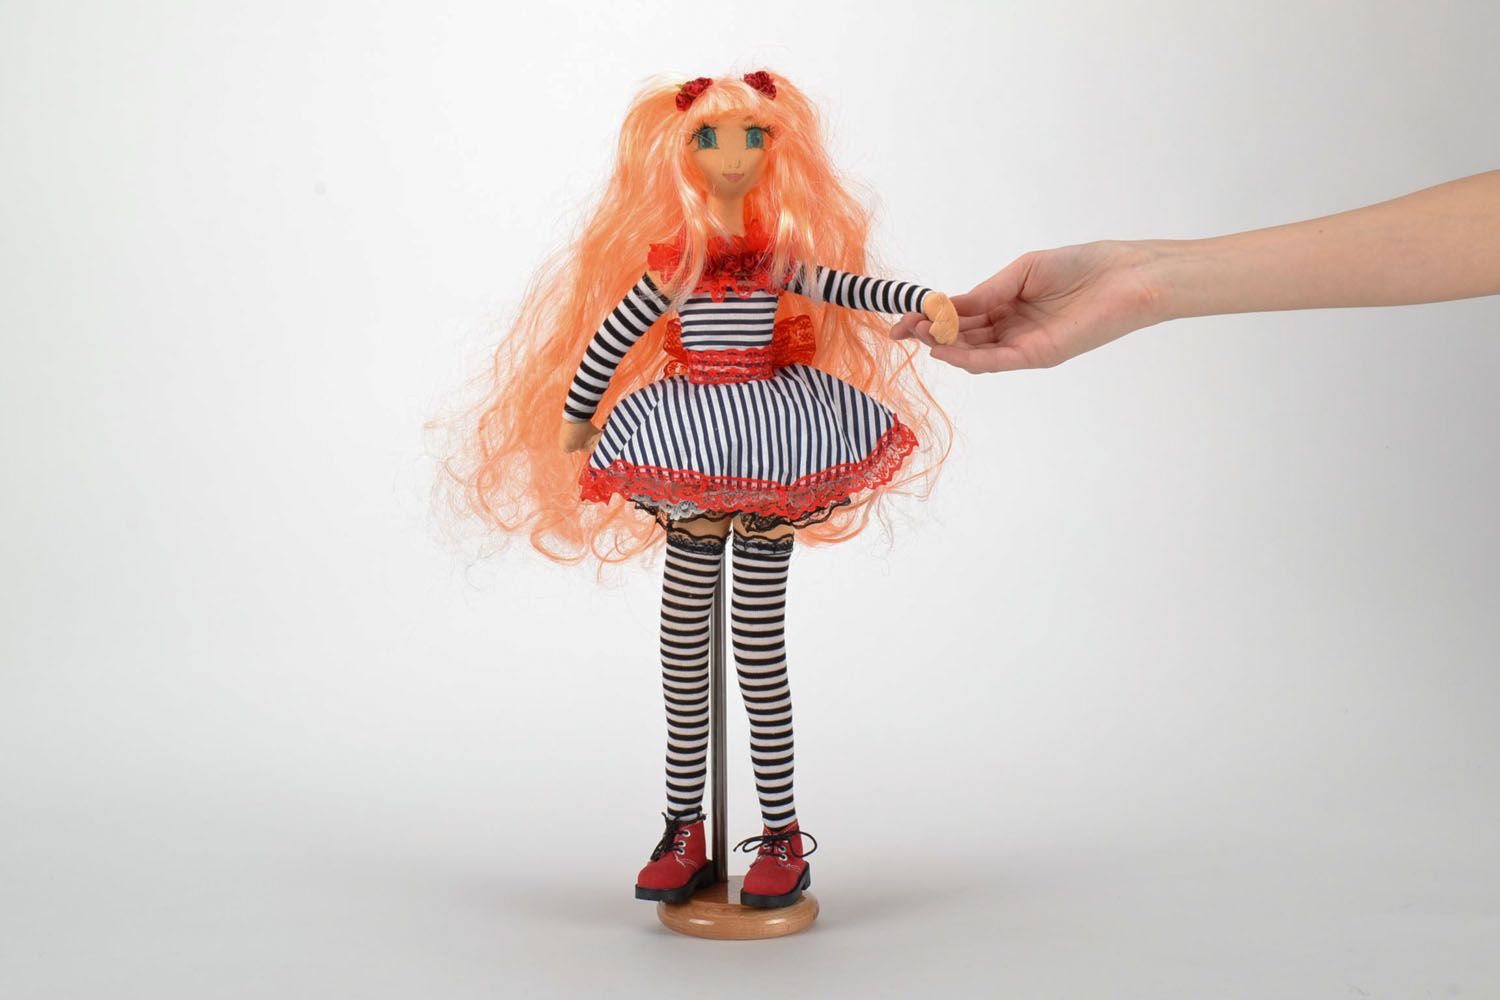
A simple rule should be adhered to: the stronger the visual load on the doll's outfit, the simpler the stand under it should have. Variants of this design include pasting with felt of a harmonious color and tying with contrasting ribbons.
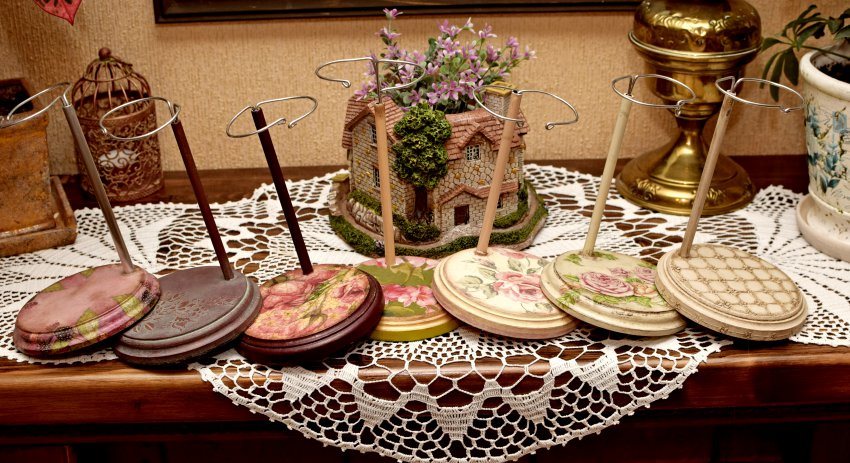
To decorate wooden coasters, you can use the aging effect. This can be done in several ways:
- Cover the workpiece with wood stain or dark acrylic paint, then apply petroleum jelly to the aging areas, and on top - a second paint in a contrasting color. After complete drying, the paint must be wiped off, and the stand must be covered with a medium or wax for aging. When all layers are dry, the base should be covered with acrylic varnish.
- Sand and treat the workpiece with an acrylic primer, then cover with two coats of dark paint. Sand with wrapping paper and candle the stand where a scuff effect is desired. Next, cover the wood with light paint in one layer and leave to dry, then melt the wax with a hair dryer. Remove excess wax with a cloth.
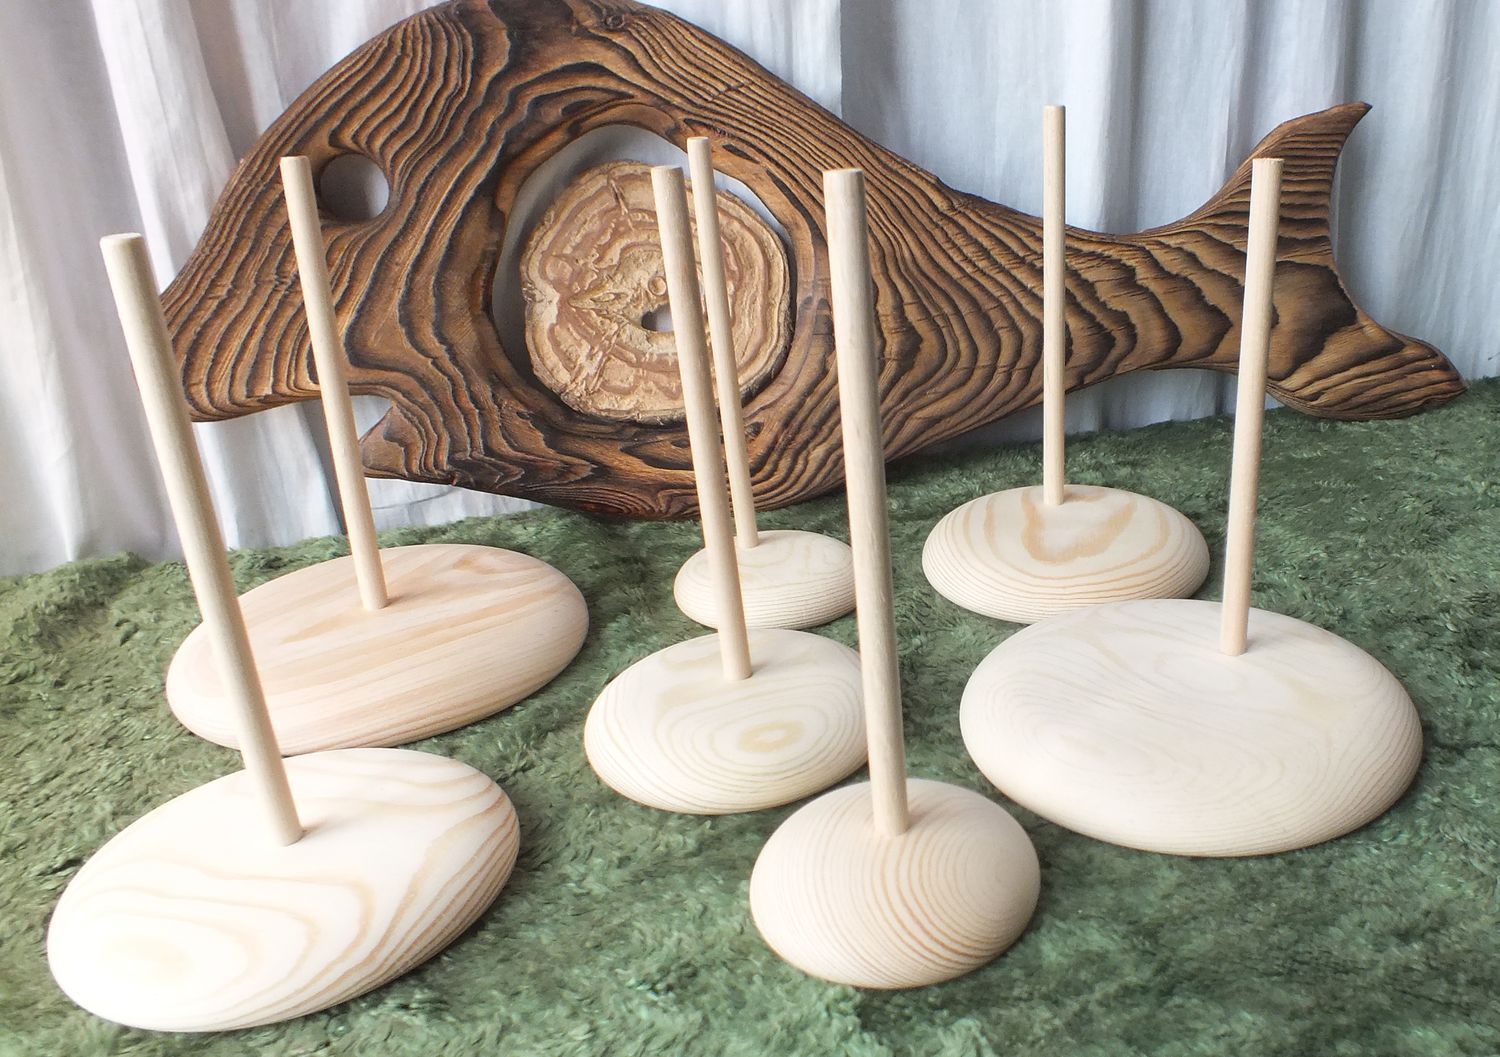
Before you make a stand for a doll, you need to decide on the method of attachment and style of decoration. The resulting product will become a functional addition to the collection, ensuring its convenient placement.
Video: how to make a stand for a doll with your own hands

