How to make a photo frame from cardboard with your own hands - step by step instructions
Family photos of memorable moments can make your home feel much cozier and the atmosphere warmer. Purchased things do not always make it possible to convey such feelings, but on the contrary, they can look cold and unattractive. To make your home unique, you can make a photo frame with your own hands at home. Consider the step-by-step manufacturing instructions.
What materials can be used to make a photo frame
First of all, you need to dwell on the choice of material, which will become the basis for the future frame. Consider the most popular materials and their characteristics.
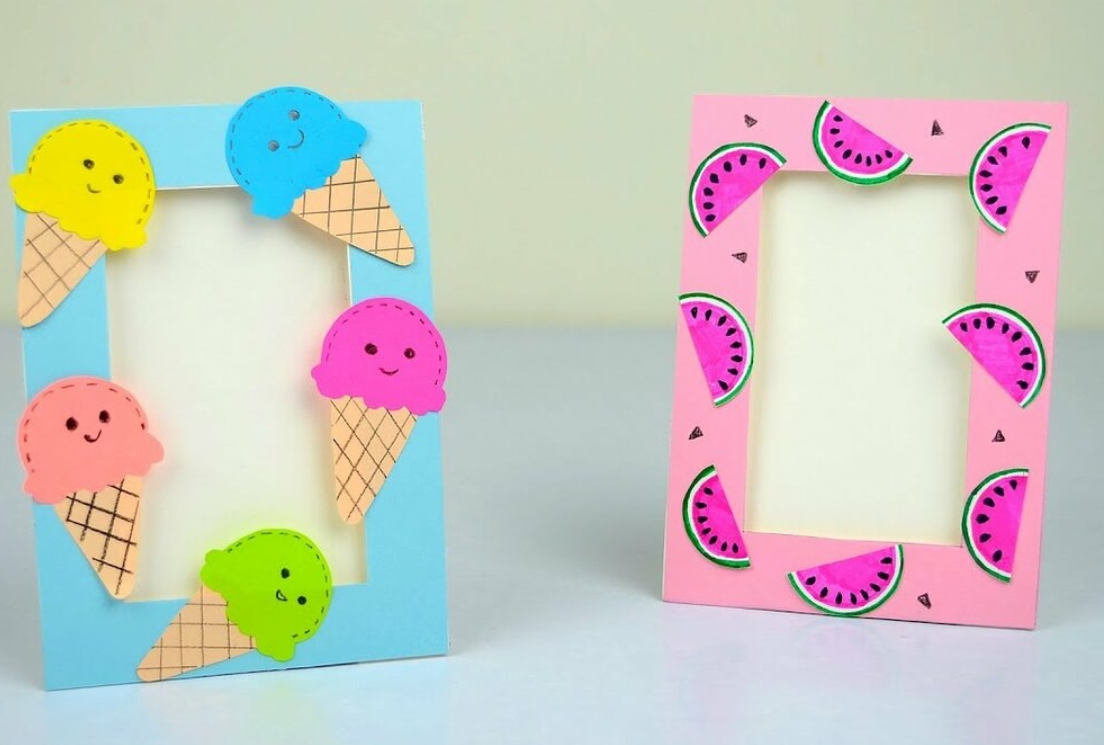
Cardboard photo frame
This is the simplest and most affordable material; a child can also take part in the manufacture, if a cardboard photo frame is made by hand for children.
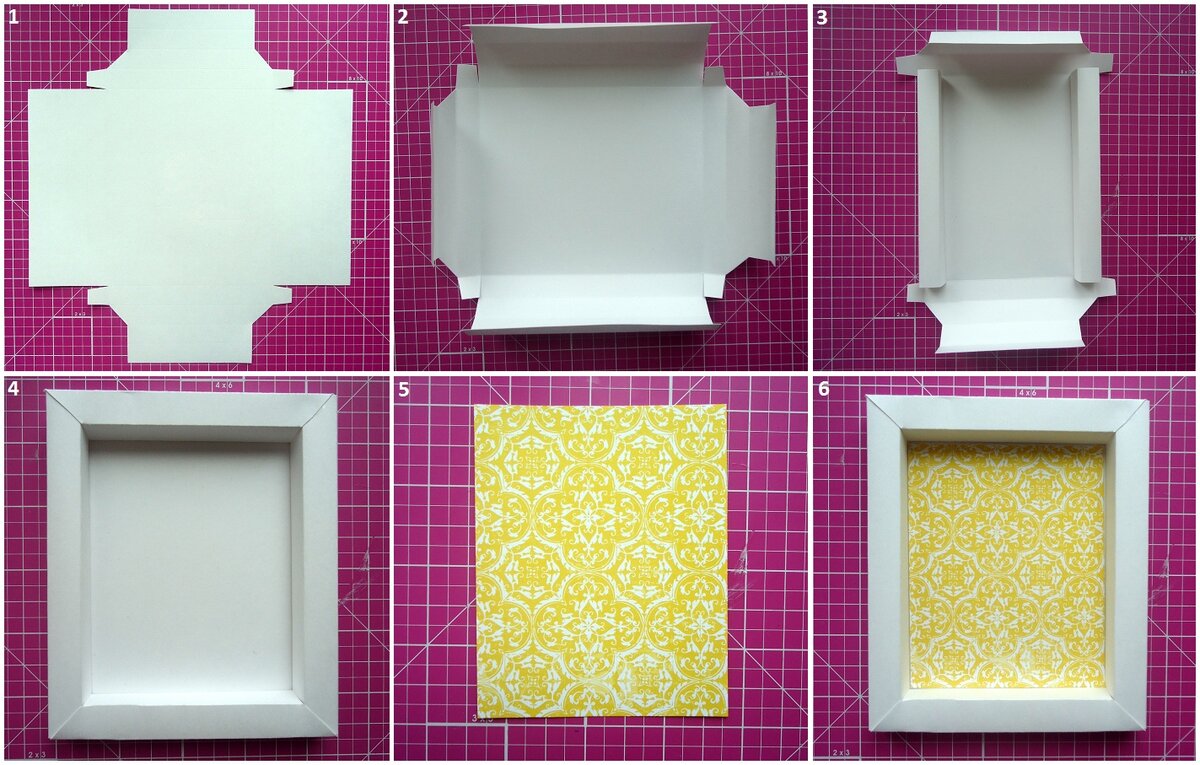
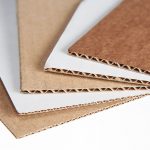
You can take ready-made colored cardboard or a box as a basis. The main thing is that the material is dense, without cracks and abrasions. In addition, you will need a small set of tools and accessories. These are glue, scissors and a stationery knife, as well as material for decoration and decoration.
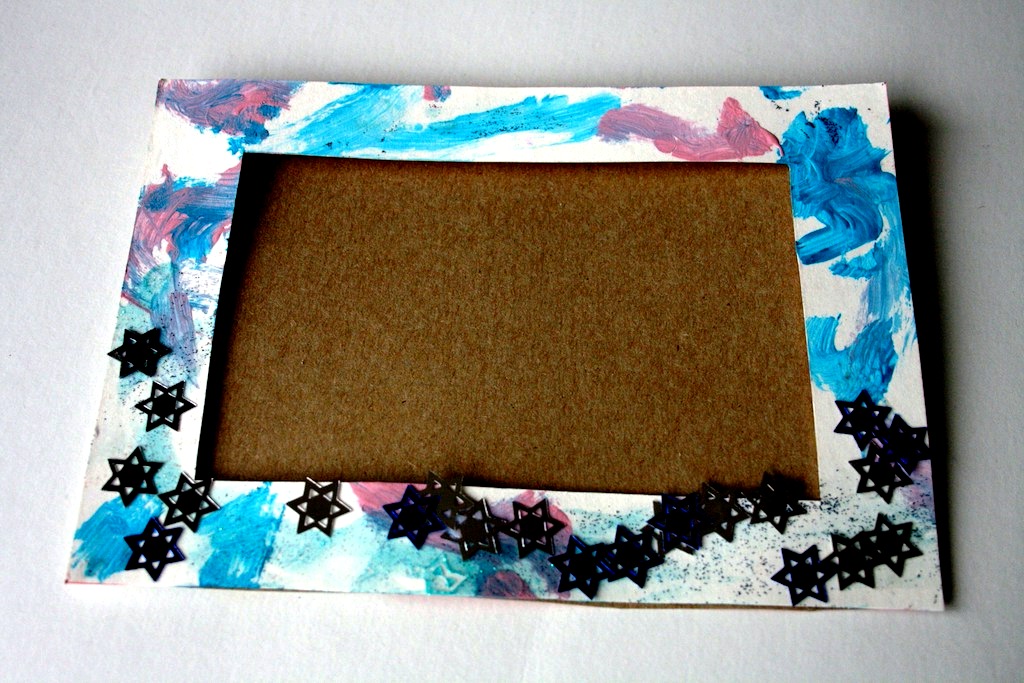
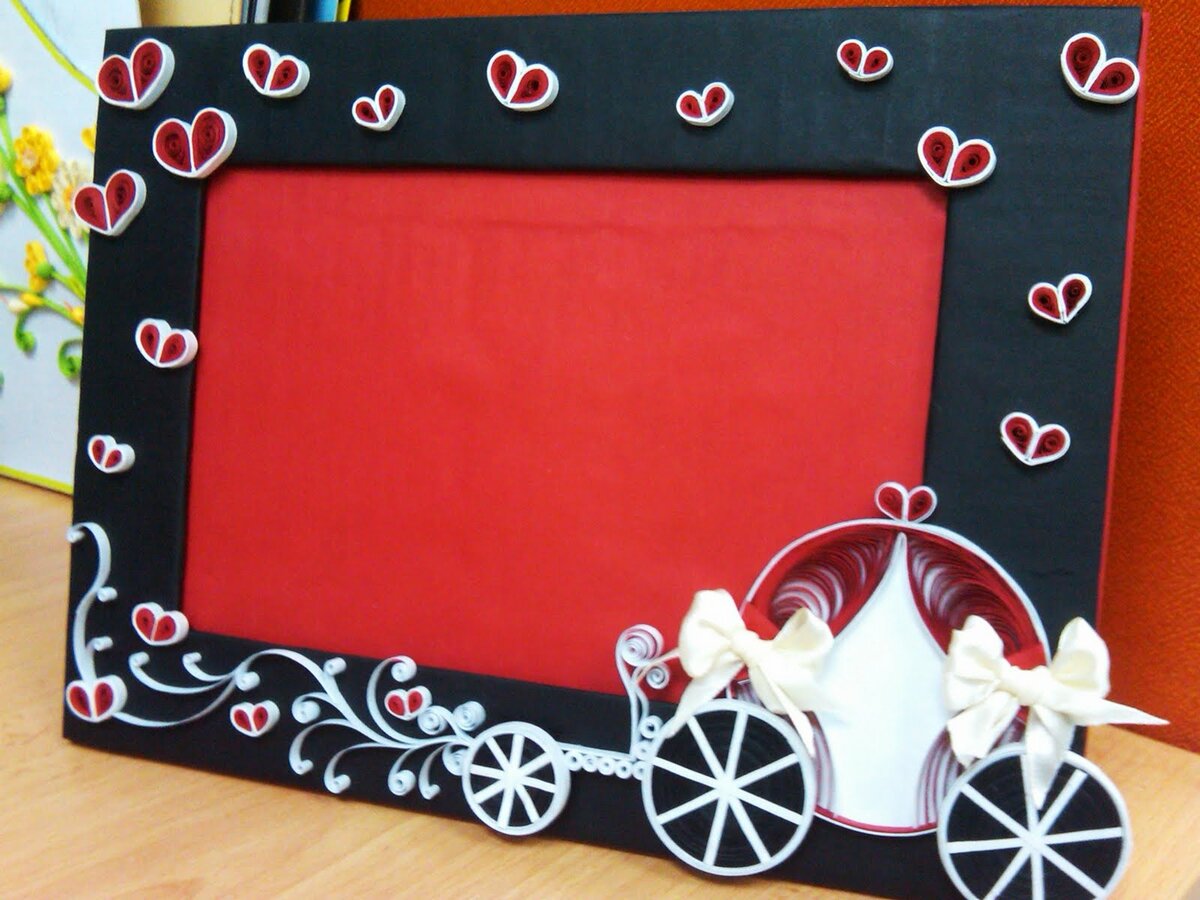
From paper
This material can also be used in the manufacture, but it must be borne in mind that the paper is quite soft and only from it a strong and stable frame will not work. You need to use an additional base, for example, cardboard or glue several layers.
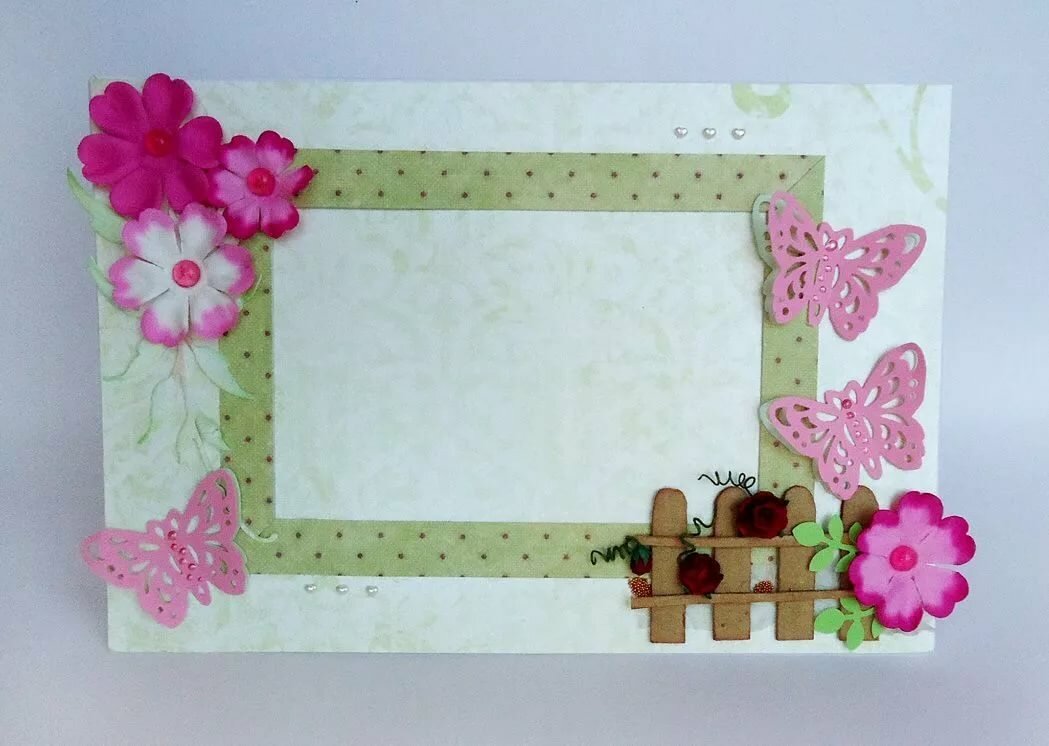
It is better to choose colored paper. The stores offer a wide range of different products: glossy, matte, sequined, patterned, velvet, metallic, various colors and so on.
Made of wood
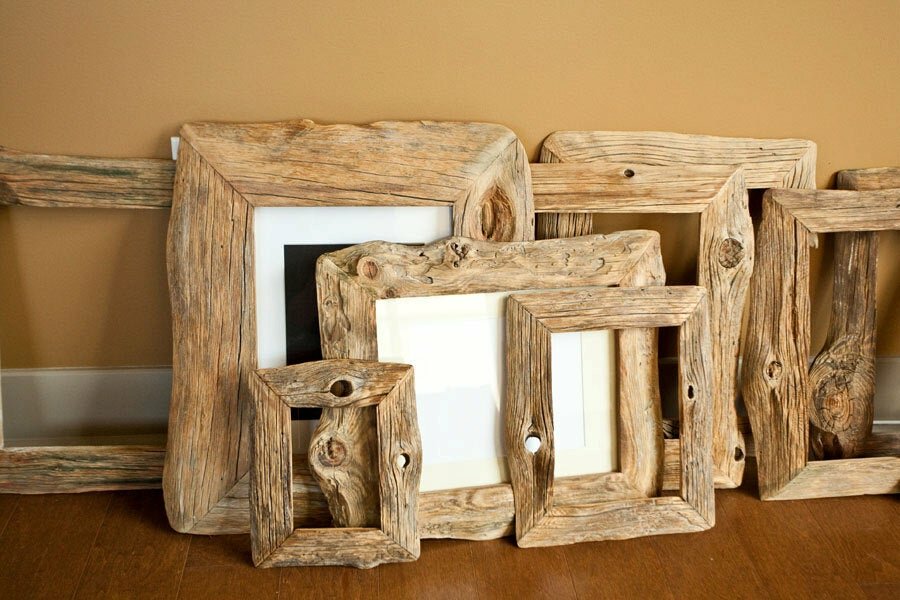
Most often, it is wood that is used, since it has good characteristics, which allows it to be used for the manufacture of various items.
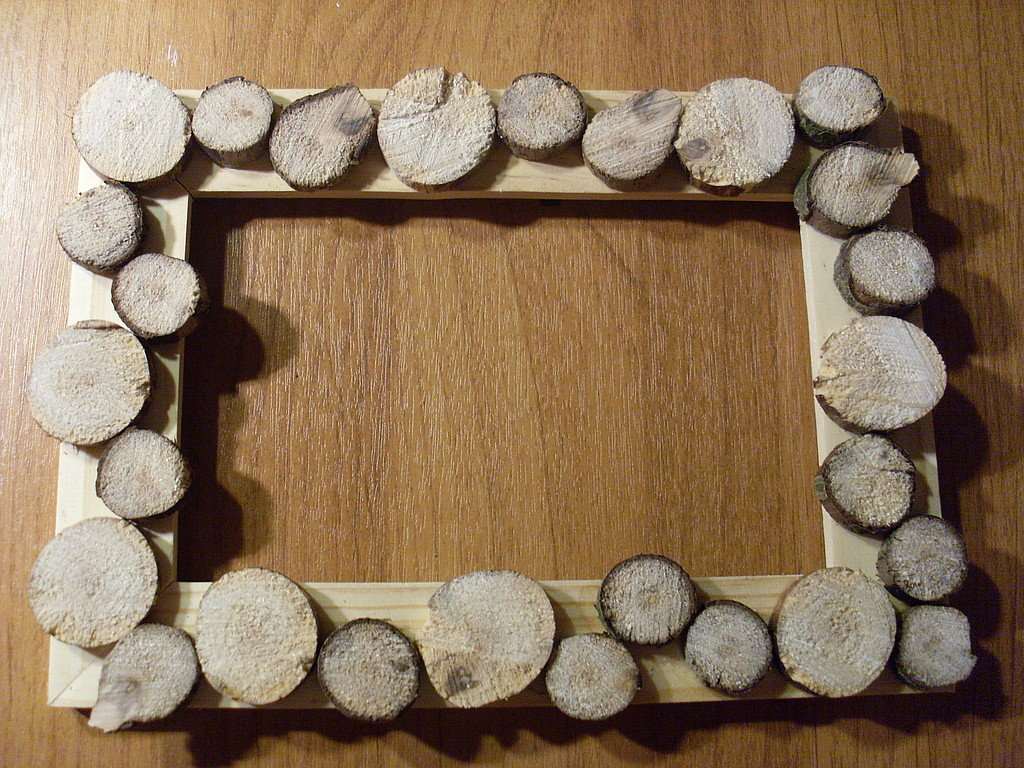
It is equally important to pay attention to choosing the right wood. Conventionally, breeds can be divided into two groups: soft and hard. The first includes cedar, pine, thuja, spruce, alder, aspen, linden. The second is birch, ash, oak, beech, walnut and maple.
Both soft and hard varieties have certain advantages and disadvantages. Let's take a closer look at the most popular wood arrays.
- Alder. Differs in a low price.When using it, do not use nails, as it can severely crack. A significant advantage is moisture resistance;
- Pine. Low cost, but at the same time it cracks quickly and does not withstand high loads. The advantages are that it has antiseptic properties, disinfects the air and does not deteriorate under the influence of pests;
- Linden. It quickly deteriorates under the influence of negative factors: the sun, moisture and too dry air;
- Oak. A very durable and wear-resistant material that can withstand almost any load. It is also resistant to aggressive environments. But oak is quite an expensive material, so few can afford it;
- Ash. It quickly deteriorates under pressure, but does not bend under weight and does not deform at all. Quite high cost, but the durability of the material is worth it. In order for it to serve for a long time, it is often necessary to process it from beetles;
- Birch. Cracks do not form, so you can safely drive nails into it. Differs in high strength and durability. The price is not very expensive, so you can safely use it when making to save on the purchase of finished products. The only and significant disadvantage of birch is that it often needs to be treated with a special agent so that a fungus does not form;
- Beech. It has a high density and, if properly processed, has a fairly long service life. With strong changes in temperature and high humidity, the tree loses its characteristics. Under the influence of gravity, the beech can be strongly deformed.
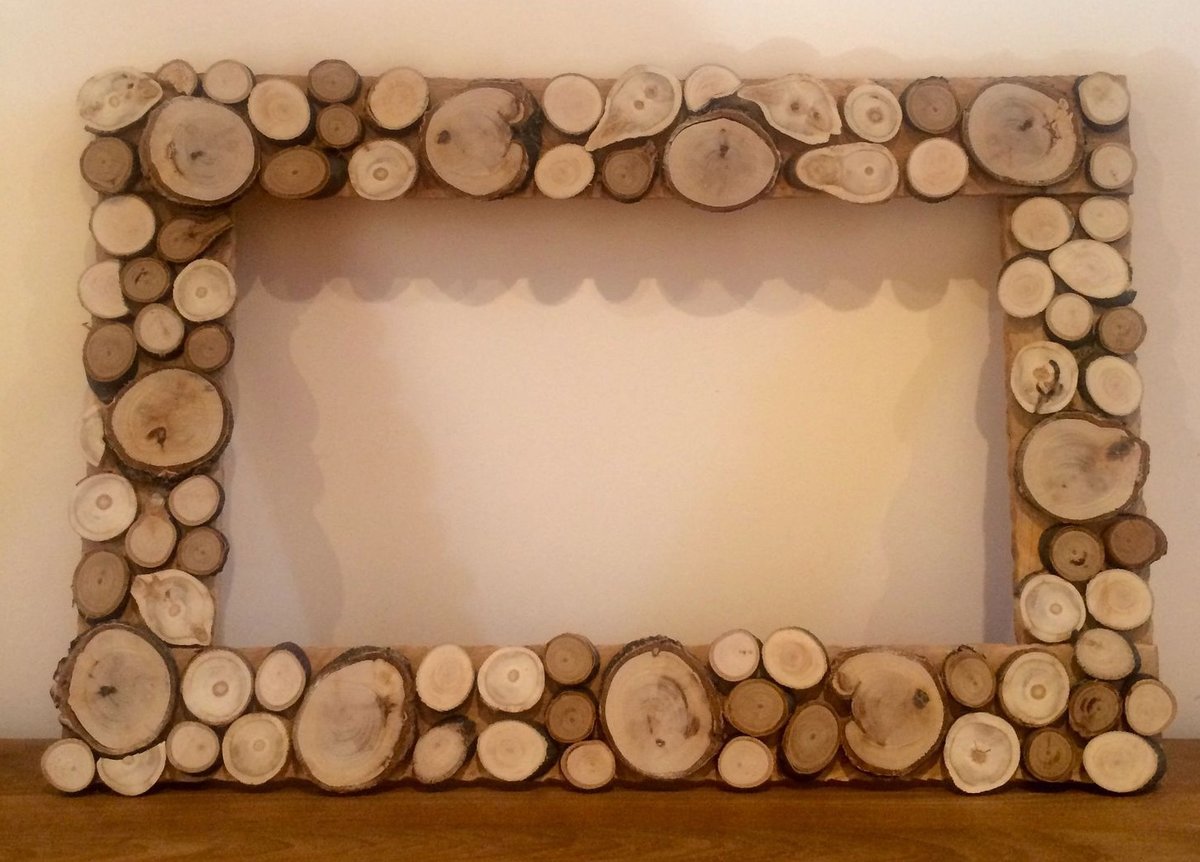
The choice of one or another wood depends on the funds available and personal preferences. It is advisable to choose one that does not deform and does not require too frequent processing. You don't need a lot of material for a photo frame, so you don't have to rely on a low cost.
What you need to make a cardboard photo frame
The second stage of preparation is the selection of tools and accessories. If cardboard is taken as the basis, then production will be quick and easy. You need to prepare in advance:
- Cardboard. You can choose regular or already decorated;
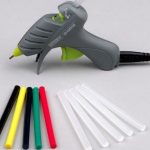
- PVA glue and a brush for applying it. If possible, it is better to use a glue gun;
- Pencil or marker for marking;
- Scissors and a stationery knife;
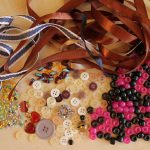
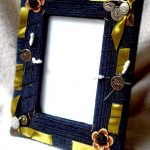
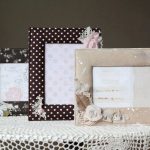
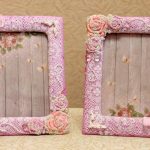
- Dyeing accessories - beads, buttons, ribbons, paper flowers, etc.
Note! It is necessary to focus on the quality of the cardboard, since it will be the basis of the entire structure. Avoid scuffs and cracks, you also need to choose a dense and hard material, without softness.
DIY step-by-step instructions for making
Now you can proceed directly to manufacturing. Consider various installation options.
Plain cardboard frame
DIY cardboard photo frames can be simple or with complex decor.
First you need to take two sheets of cardboard on which the marking will be carried out. To do this, you need to attach a photo and draw a diagram using a pencil or pen.
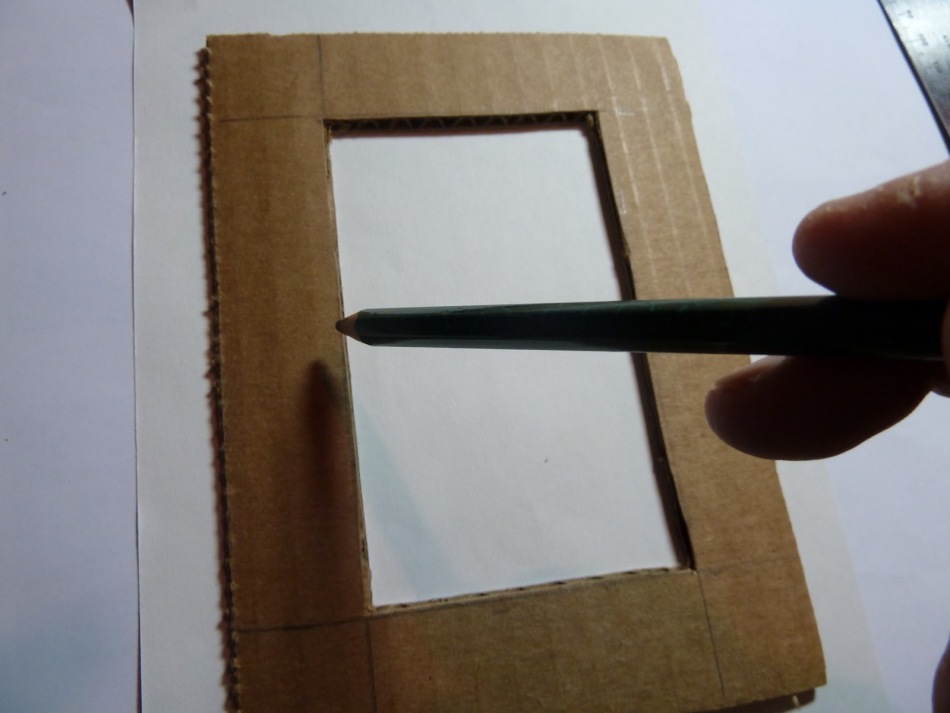
Keep in mind that the marks should not be made strictly according to the size of the photo, but two or three centimeters larger. And if a large-scale decoration is planned, then it is better to retreat 5-7 centimeters. The frame can be rectangular or square.
The craft should be deep enough for the photo or painting to look good. To do this, you need to glue a strip of cardboard so that it is between the first and second layers.
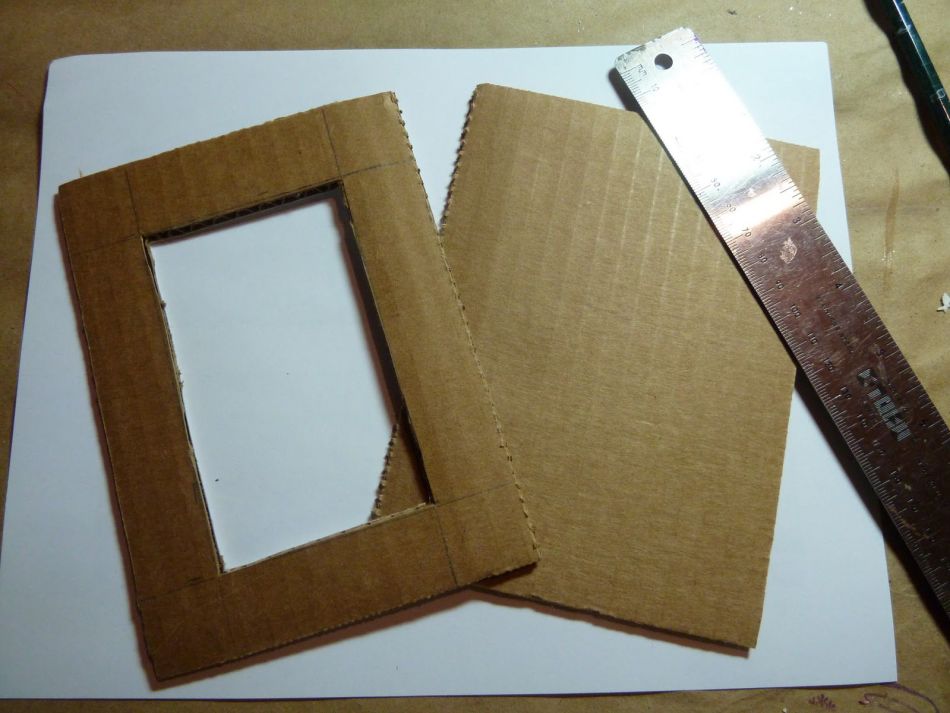
Important! If a corrugated base is used out of the box, then the need for a strip disappears.
Now you need to start making the legs for the frame. To do this, you need to draw it, and then cut it out with a clerical knife. The leg is attached to the back.If the frame will be hung on the wall, then you need to attach a thread or a small hook. Done, now you can start decorating.
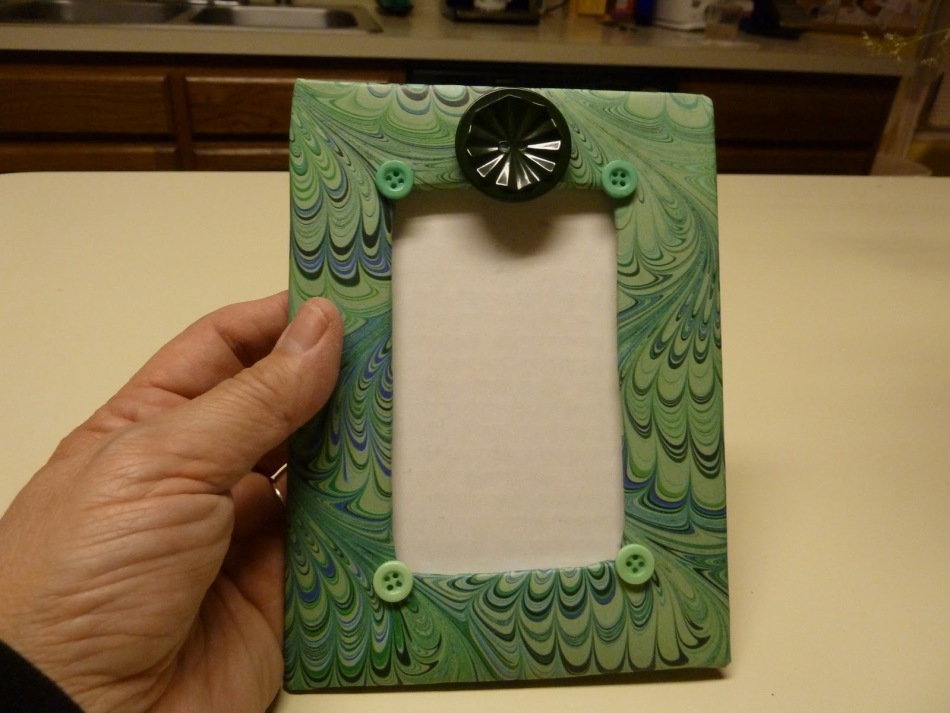
Volumetric frame
Such designs look very attractive and elegant. For their manufacture, you will need everything the same as for a simple frame. The manufacturing steps are identical.
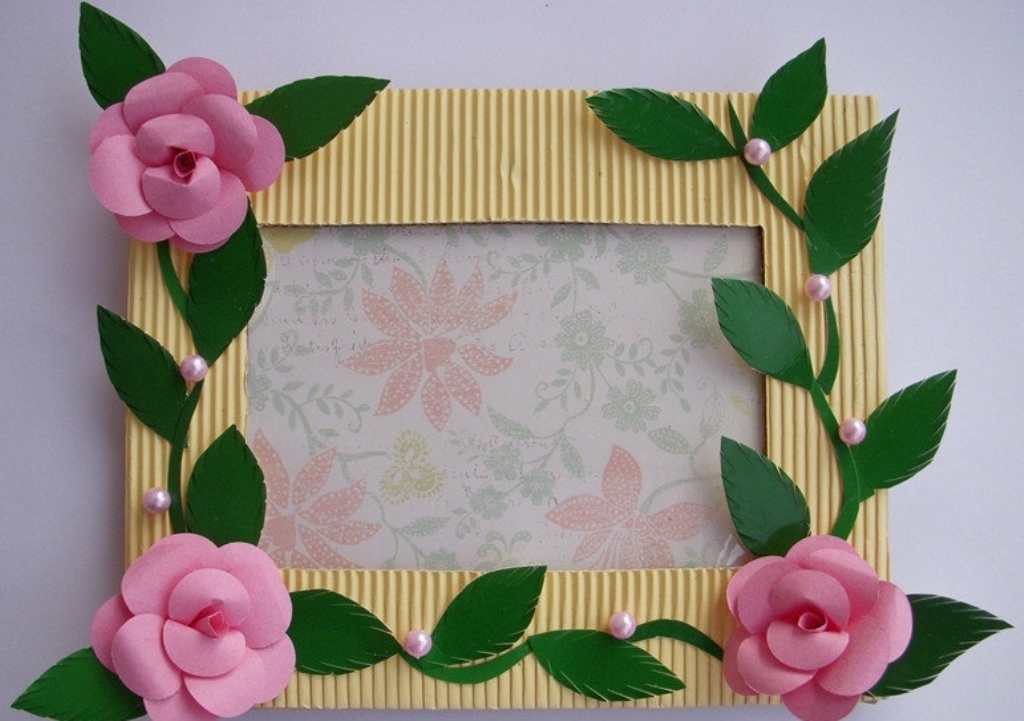
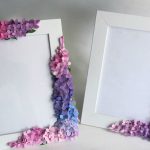
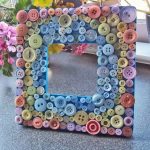
There are only some exceptions: you need to cut the blanks a little more than necessary, bend the edges and connect the two parts so that you get a three-dimensional structure. Such a volumetric frame will look great if it is decorated with volumetric flowers or buttons. In this way, it is good to make frames for kindergarten for text and pictures.
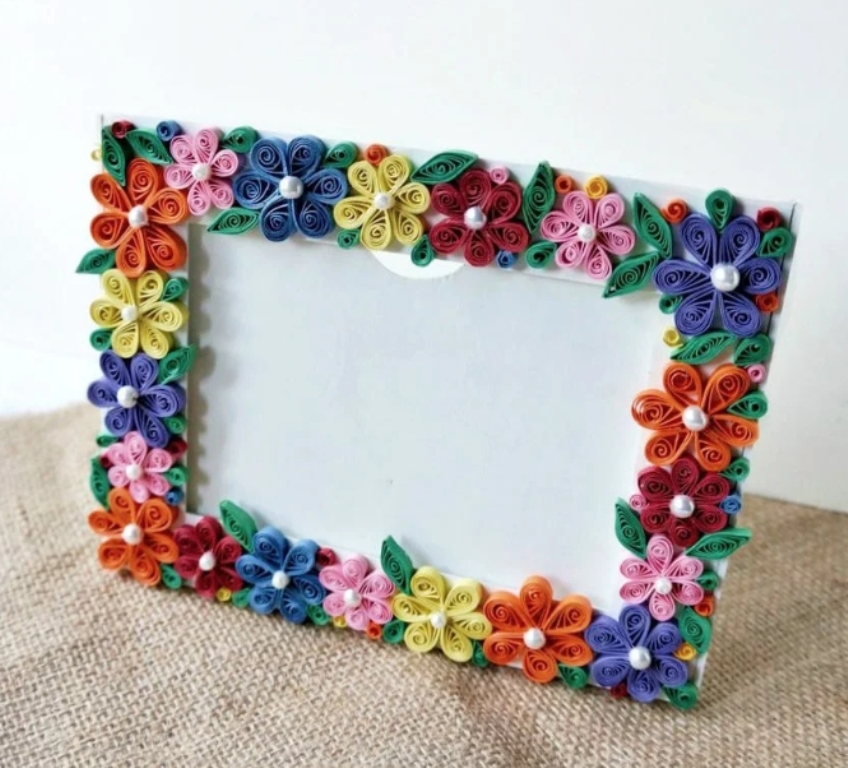
Photo frame made of cardboard boxes for eggs
The frame can be made from almost any available means, including from an egg box. It can be used for decoration, but it will not work as a base.
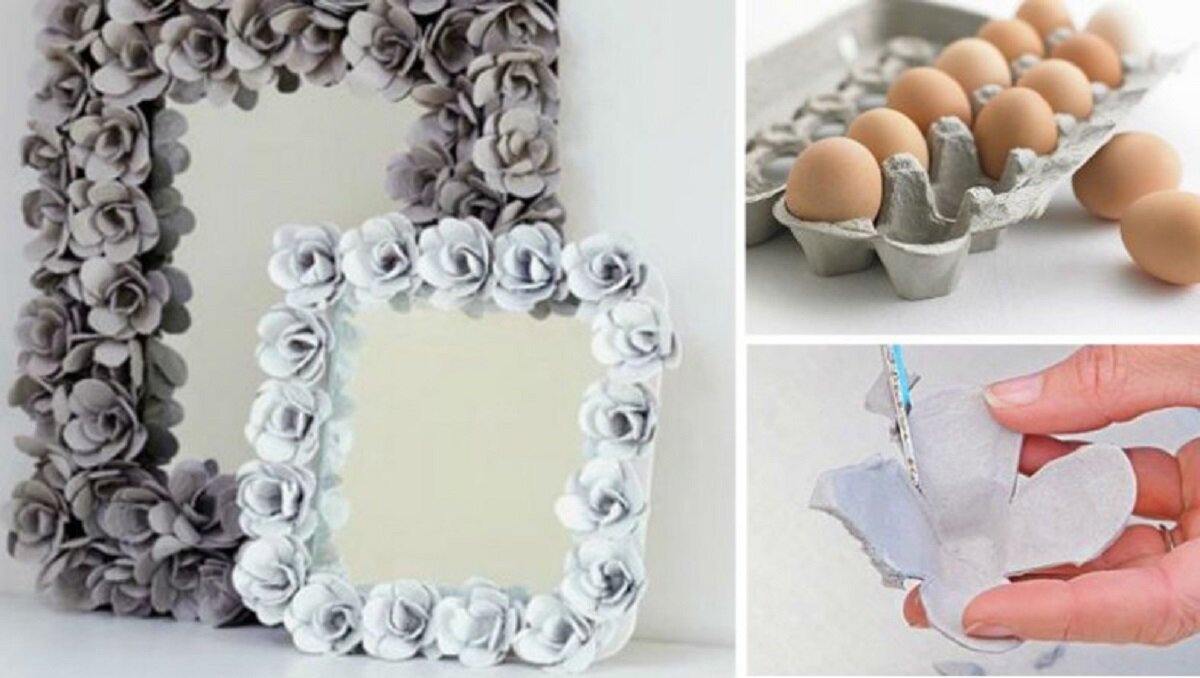
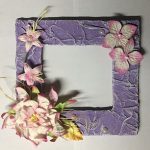
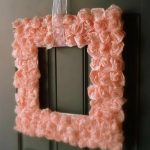
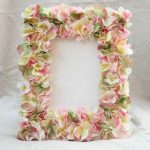
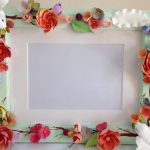
Flowers are made from the egg box. To do this, cut out the cells so that you get petals. Cut out smaller petals from other cells, fasten the elements together with glue so that you get a rose. Ready. Now the flowers can be glued to a simple or three-dimensional frame.
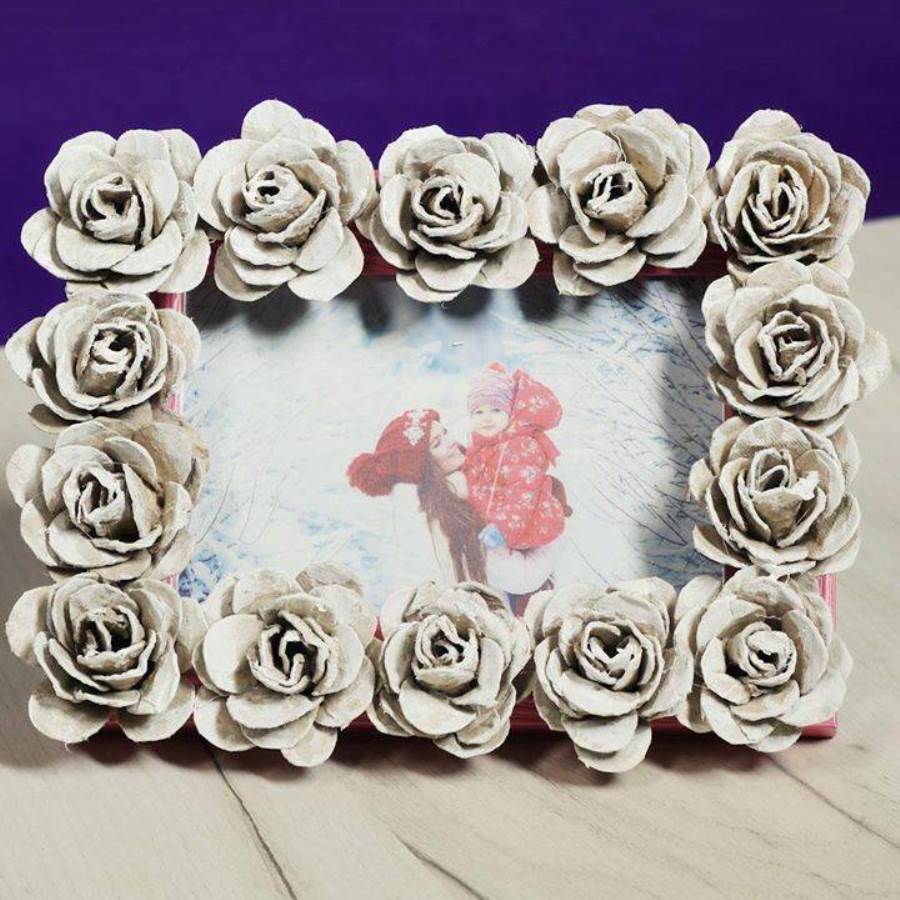
Roses will look great if you paint them with paint or cover them with sparkles, in addition, you can use green ribbons as leaves.
Interesting options for decorating cardboard photo frames
When making a frame at home, you need to follow some rules that will help to achieve harmony in the interior. These include:
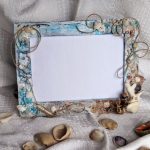
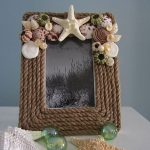
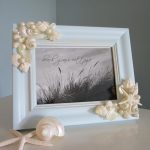
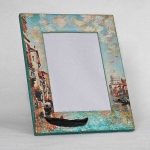
- The style of the frame should correspond to the photo or picture. For example, if the photo shows a family vacation at the sea, then it is better to decorate the product in a marine style;
- Consider where the frame will be located. If this is an office, then it is better to avoid bright and colorful patterns, and in the children's room, on the contrary, it is better to focus on this;
- Please note that the main thing is the image, not the frame itself, so do not overdo it on jewelry;
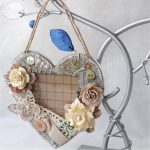
- Unusual shapes will look great: rhombus, heart and so on.
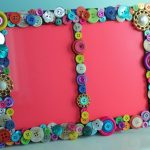
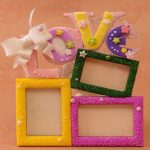
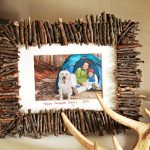
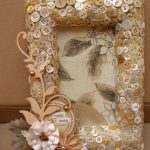
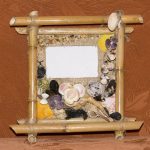
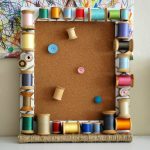
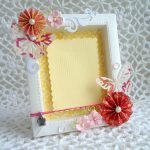
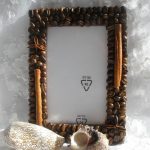
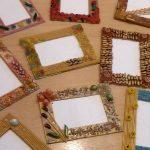
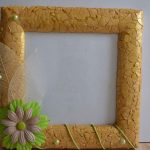
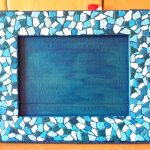
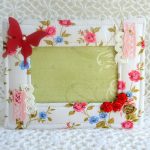
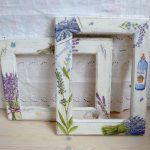
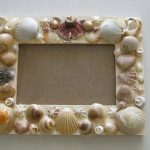
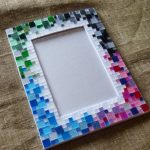
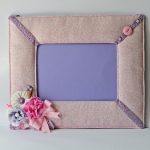
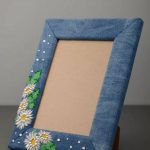
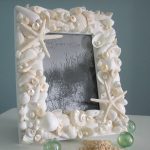
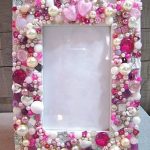
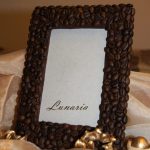
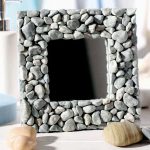
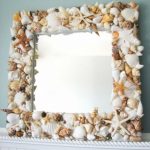
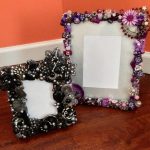
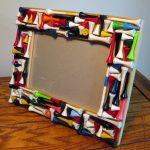
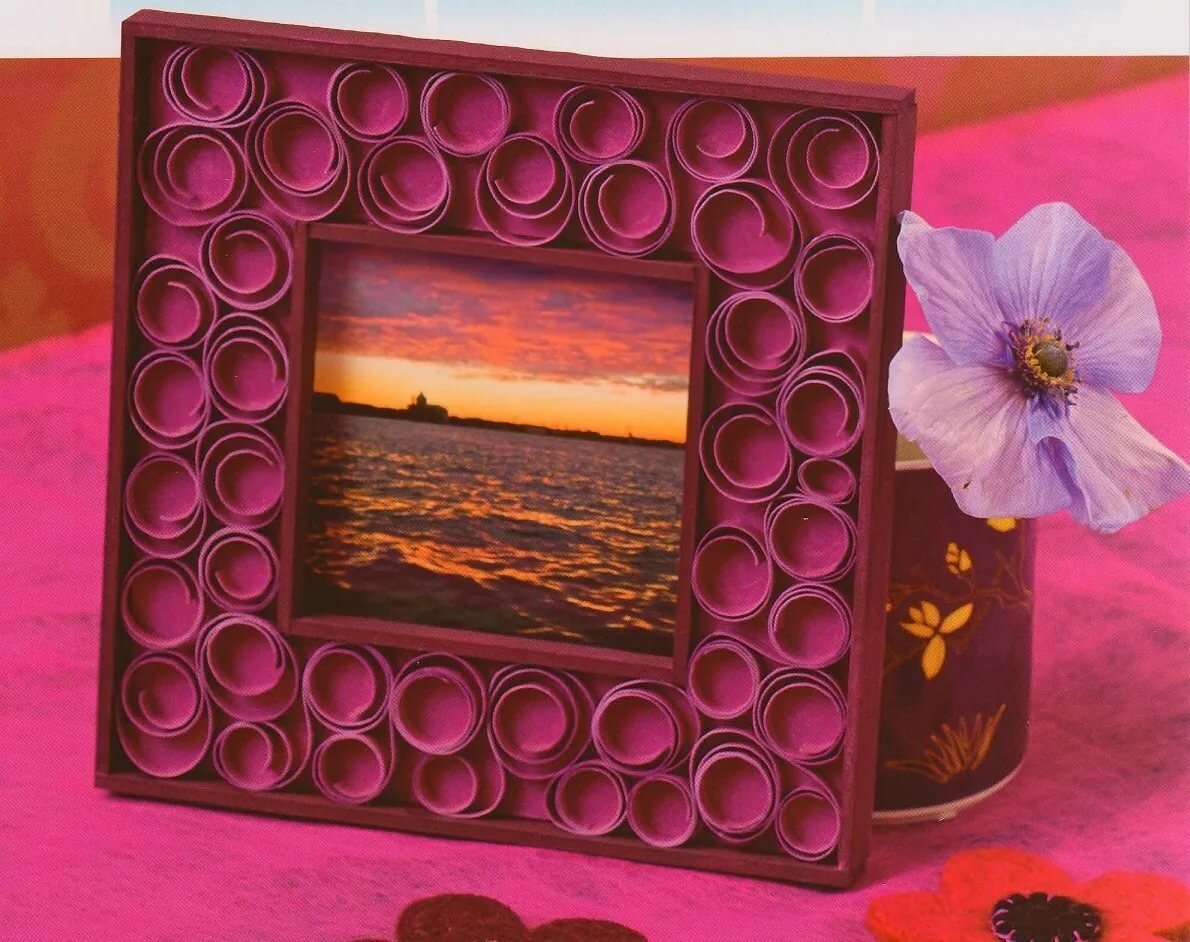
After you have chosen the style and color of the frame, you can start decorating. For this, dyed eggshells (laid out in the form of a mosaic), multi-colored buttons, satin ribbons, flowers from corrugated paper, beads, shells are usually used.
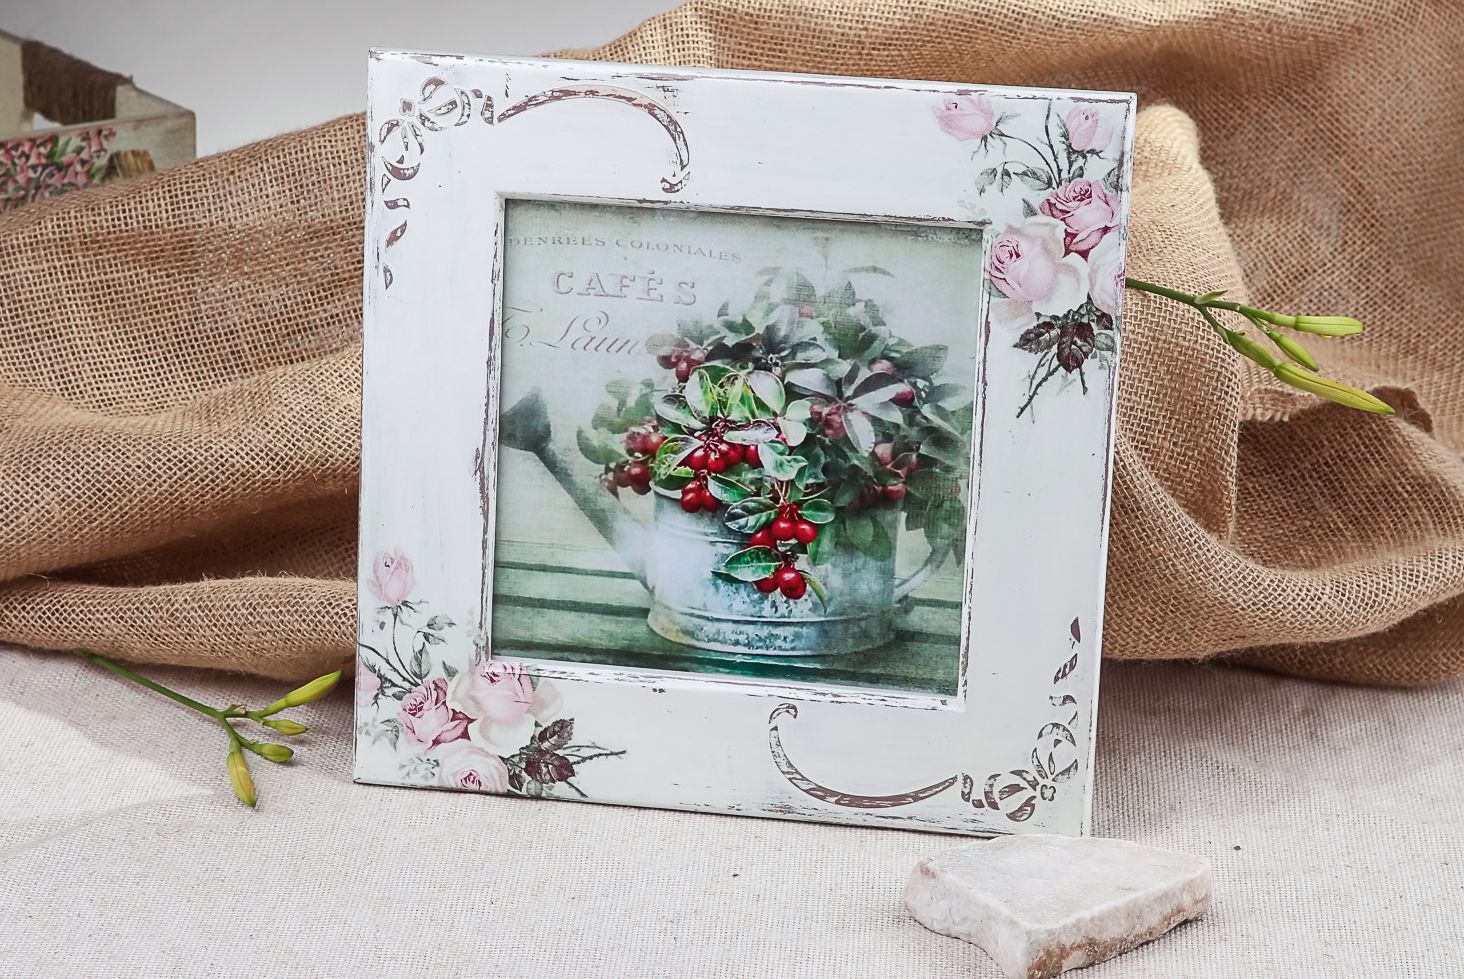
Making a frame with your own hands at home will help make the room more comfortable and attractive. Particular attention should be paid to the material from which it will be made and the decor, since it is he who creates the appearance of the entire product.
Video: how to make a photo frame from cardboard
